Today we welcome Rachel from Stitched Together with a simple yet effective tutorial on how to add piping to a sleeve for a beautiful customized look. If you’re curious how to add piping to a neckline, please check out our previous tutorial here. Thanks for being here, Rachel!
I love using piping or trim in my sewing. I’ve added it to necklines, bodices, and faux cap sleeves. But sleeves are different. The technique for adding piping or trim to necklines and bodices doesn’t work for sleeves because they are usually hemmed rather than finished with bindings, facings, or linings.
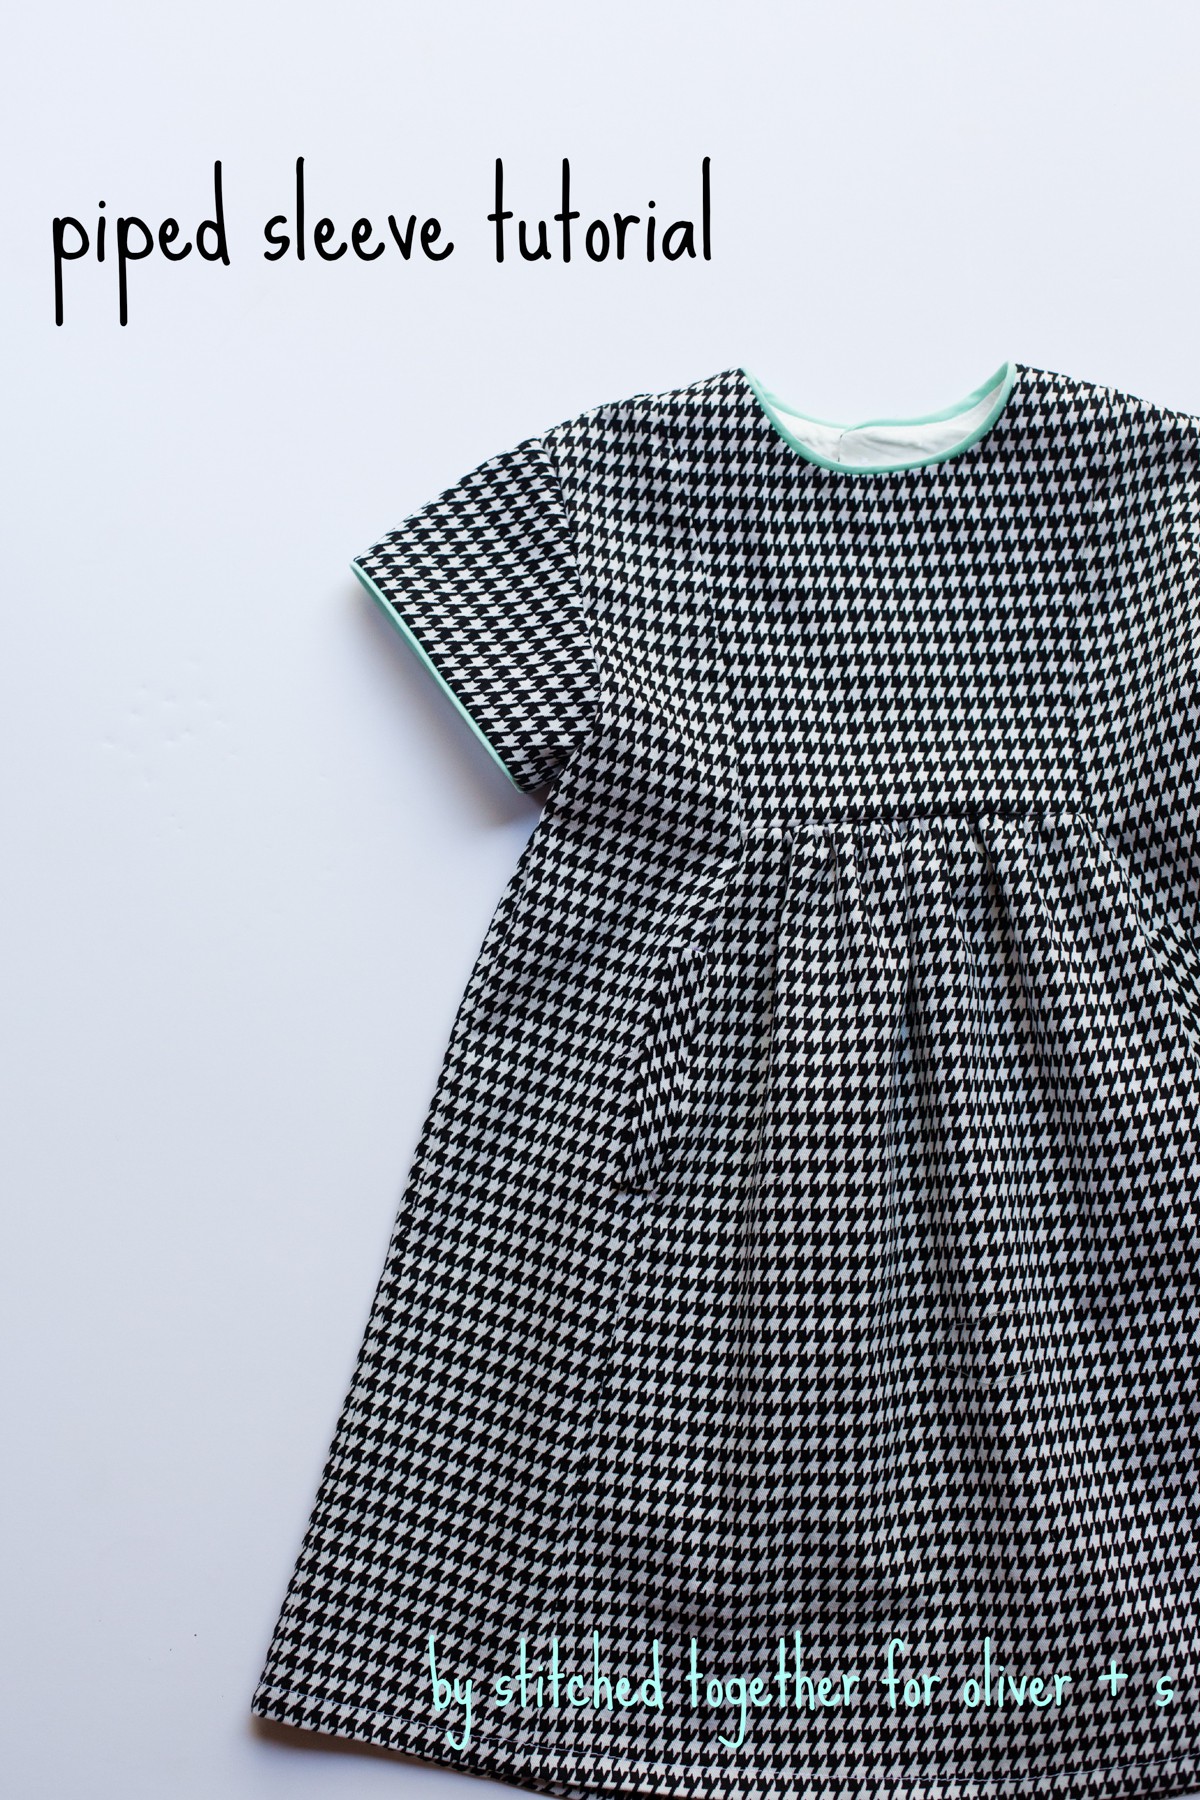
When I wanted to add piping to the sleeves of this dress, I Googled how to do it. There wasn’t a lot out there, so I created my own technique. It was easy and came together beautifully. I thought I’d share how I did it here, in case you were looking, too. This tutorial works not only for the Hide-And-Seek but for any dress or top, and works to add trim as well as piping.

Tutorial
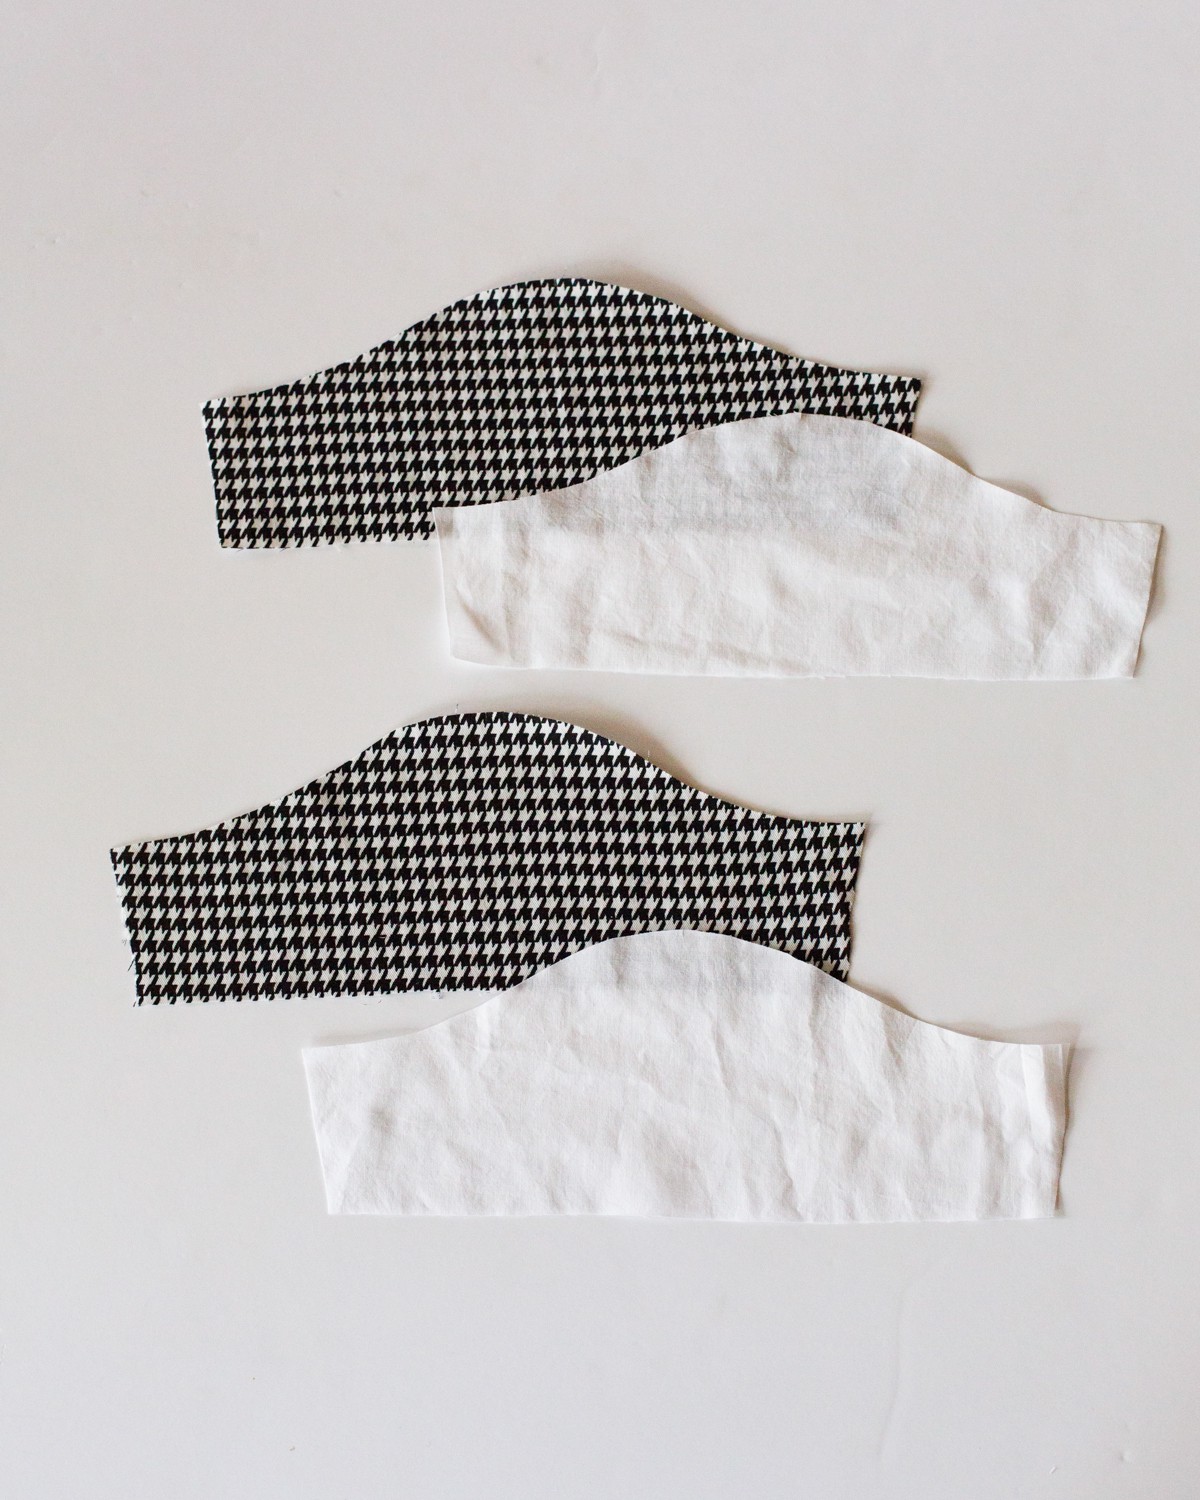
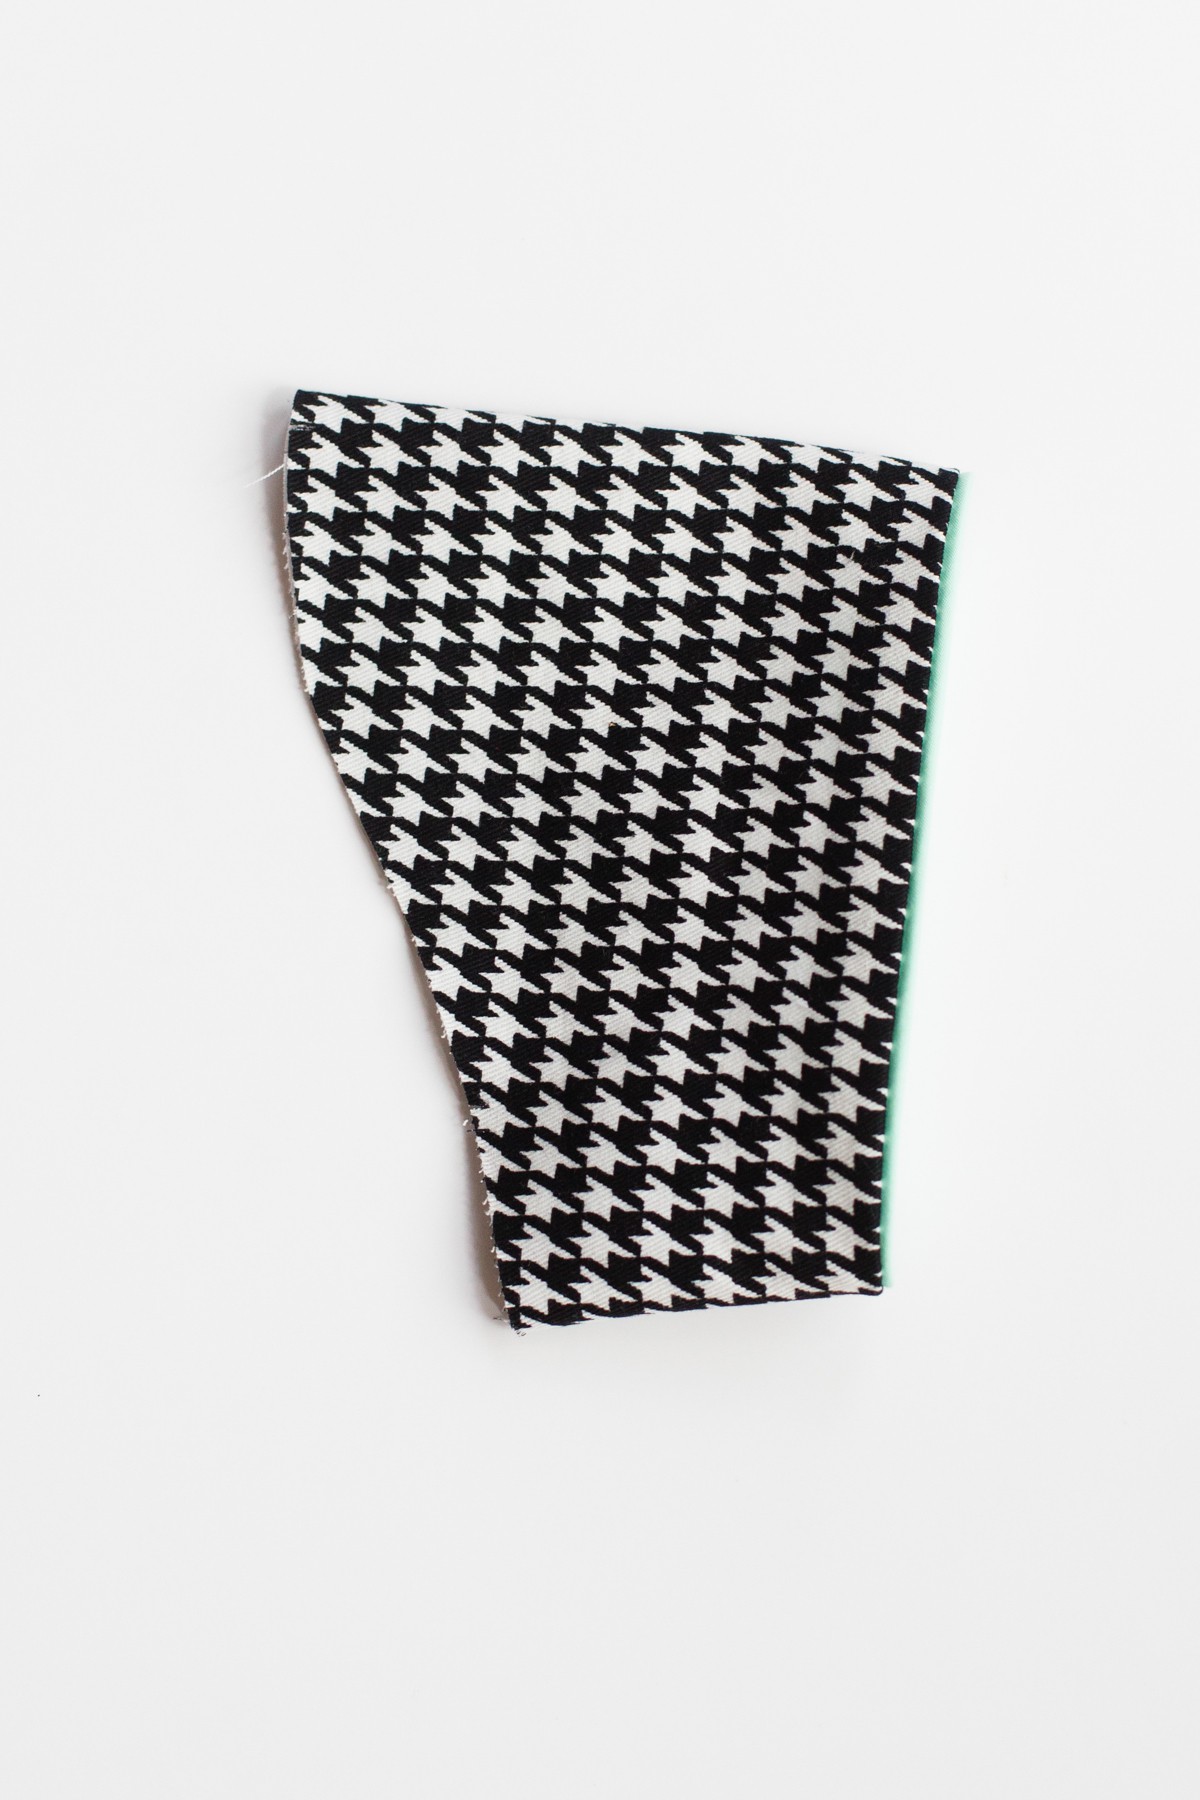
1. In order to avoid the trim showing on the inside of the sleeve, you’ll need to either create a hem facing for the sleeve or line it. I chose to line the sleeve with a lightweight fabric which matched my main fabric.
Simply cut 2 sleeves in your main fabric and 2 in your lining fabric using your sleeve pattern piece.
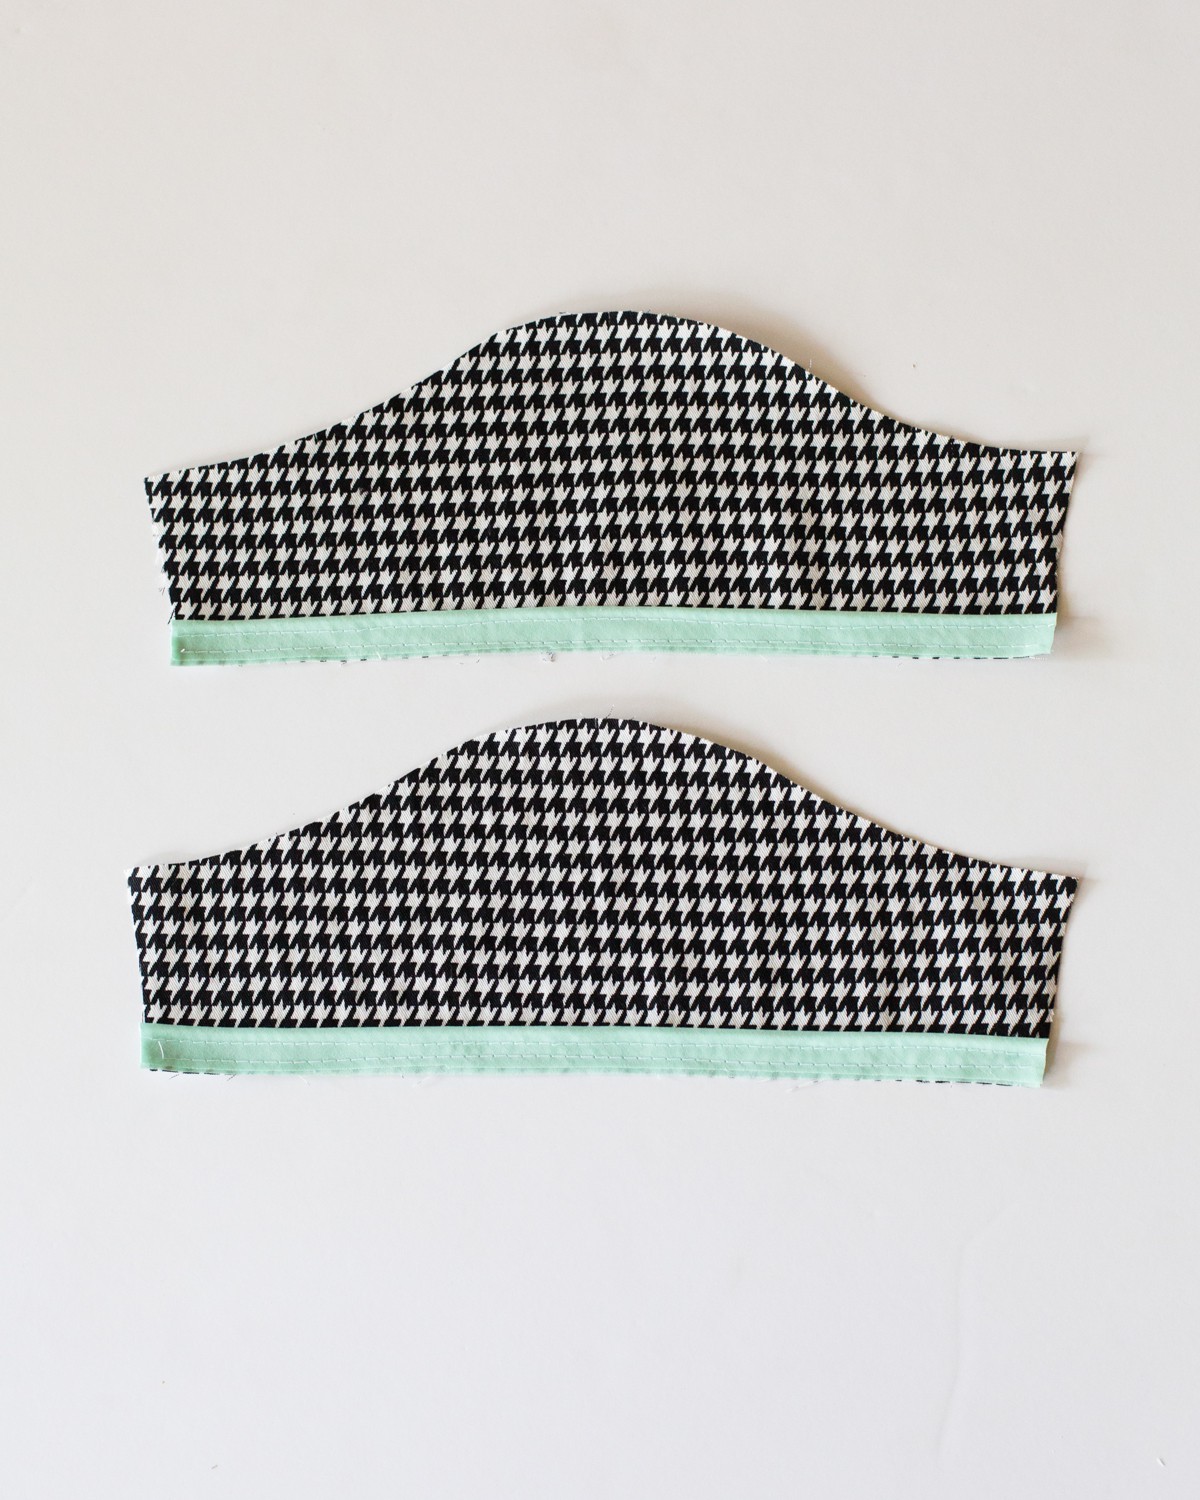
2. Next you will baste your piping onto your main fabric, aligning the raw edges. But first let’s talk about seam allowances for a moment.
Here’s a piping tip: Anytime I sew piping onto anything, I trim the seam allowance of the piping to match the seam allowance of the pattern. For example, if I’m using a pattern with a 3/8″ seam allowance, I will trim the seam allowance of my piping to 3/8″. That way I can line up the raw edges of the fabric with the piping, making it a breeze to sew on, while still being precise. In this case, the sleeve was finished with a 5/8″ narrow hem, which matched the seam allowance of my piping exactly.
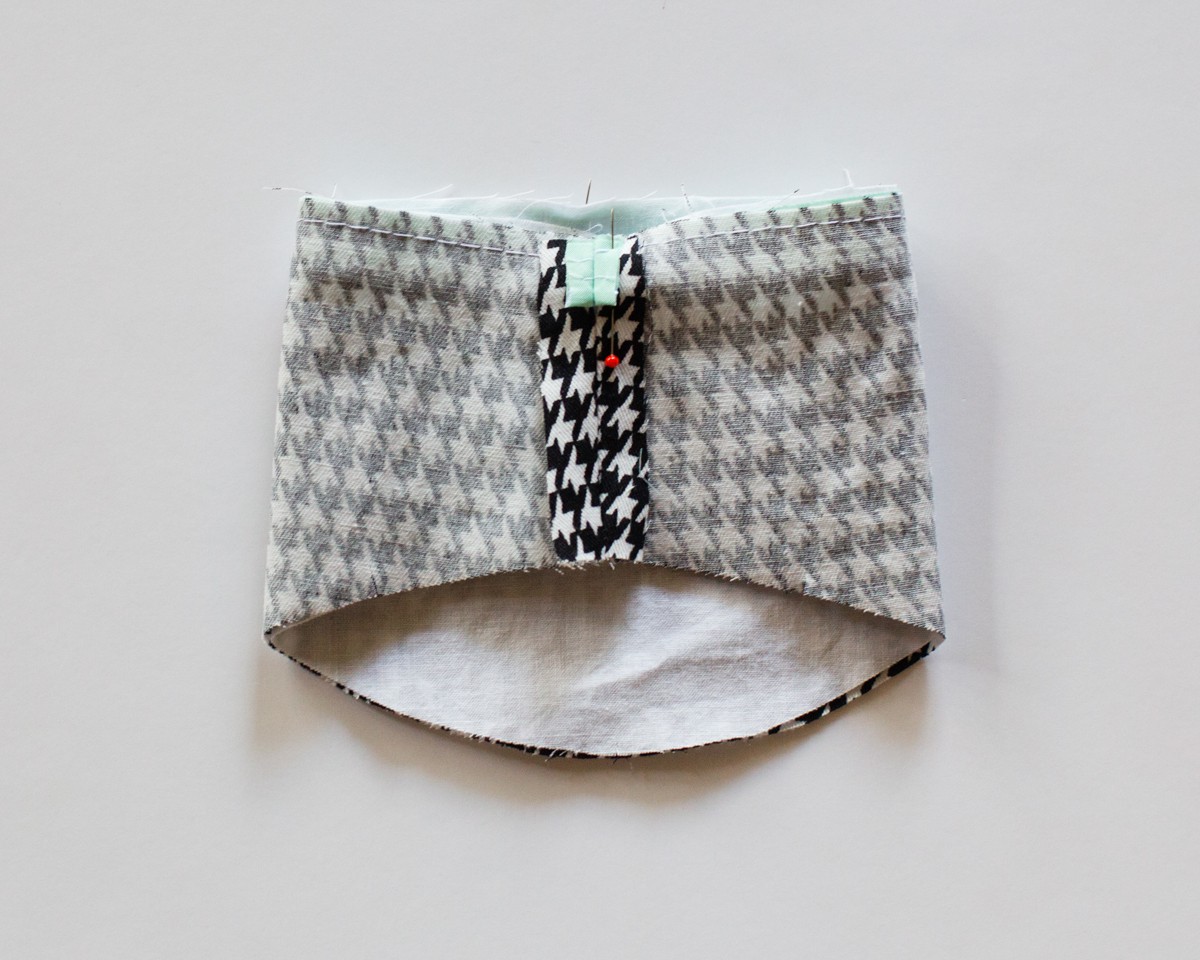
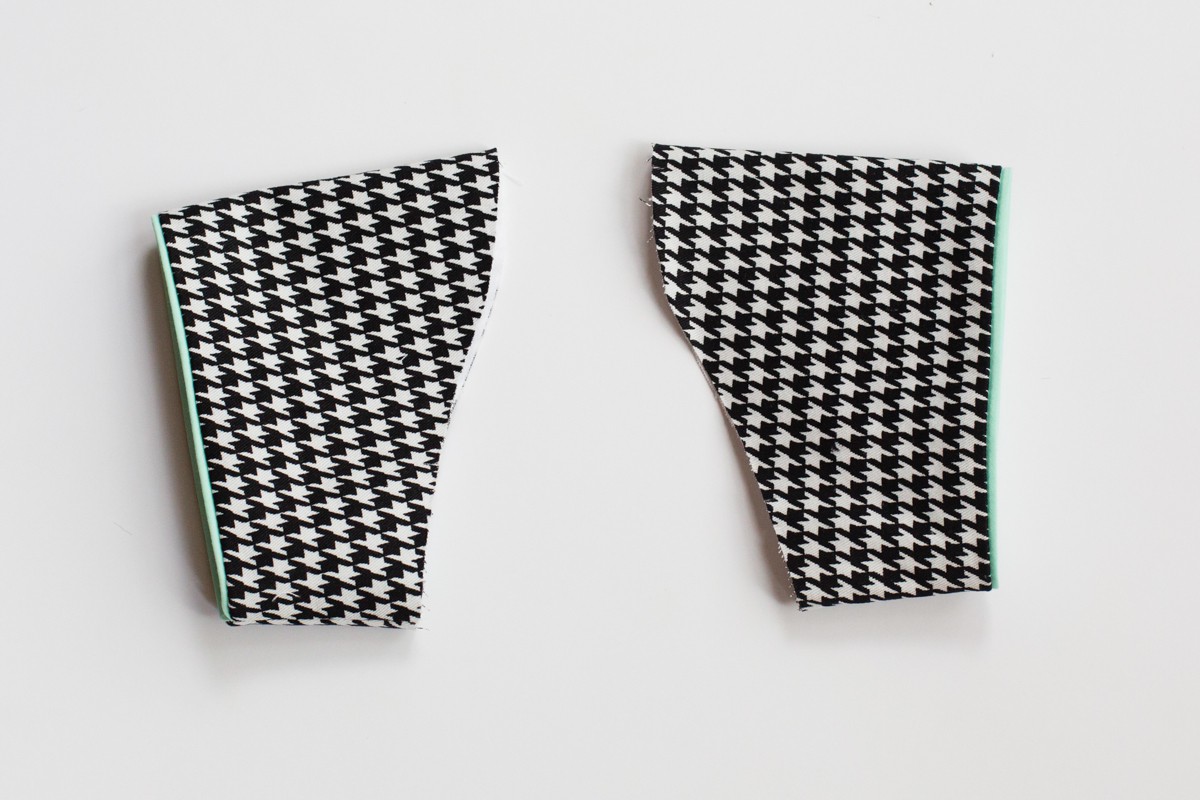
3. After you’ve sewn on the piping, fold your sleeve in half, right sides together, and sew the side seam. Doing this will enclose the raw edges of your piping. Then you can trim the piping (and seam allowance, if you wish) to reduce bulk. Repeat with the sleeve lining.

4. Turn your main sleeve fabric wrong side out, and place your sleeve lining inside it so the right sides are together. Match the seams and notches (if applicable). Then sew the sleeve to the lining along the sleeve edge, sewing as close to the piping cording as you can. I like to use a zipper foot for this step, but if you don’t have one, it can be done with a regular foot. Just be sure that you sew very close to the cording of your piping.
5. Turn the sleeve right side out and check to be sure you sewed close enough to the piping cording. Sometimes I have to go back and get a little bit closer to the cording in certain spots. When it looks good to you, you can trim the seam allowance to 1/4″ if you’d like.
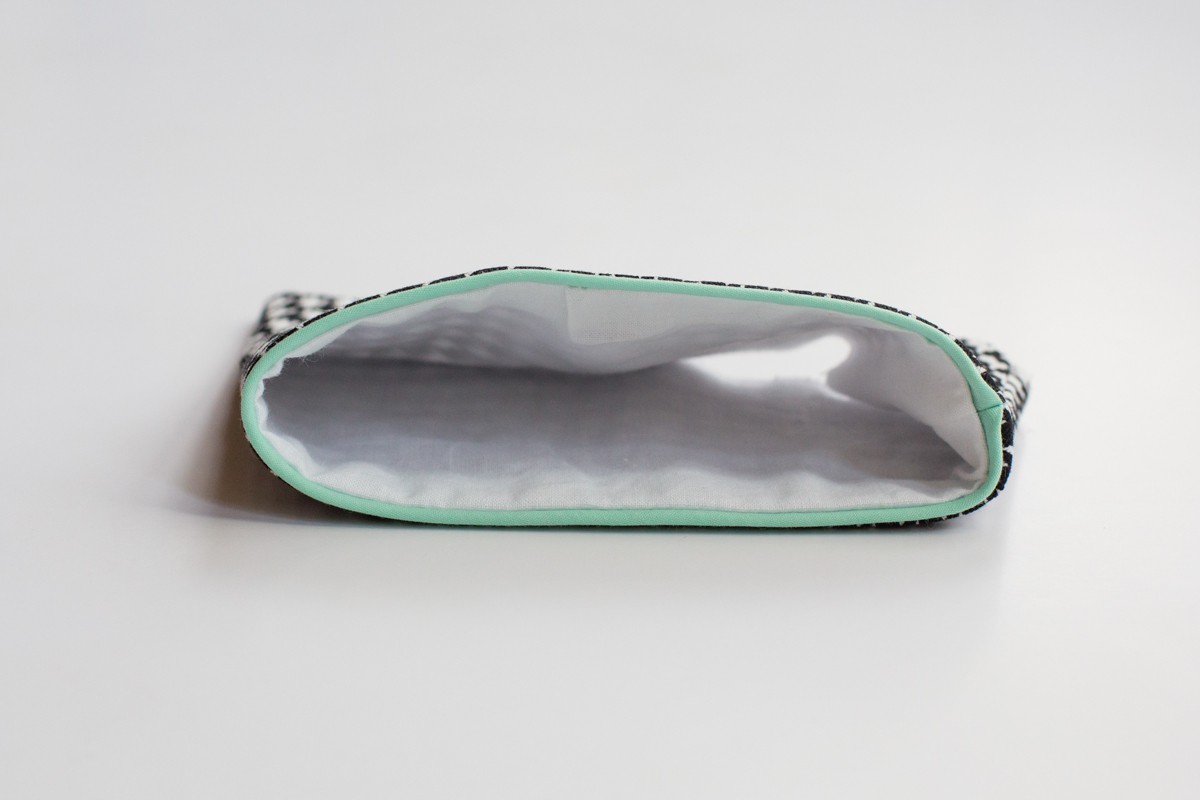
6. Turn your sleeve right side out and press. To retain the shape of the sleeve and avoid creases you could use a tailor’s ham. But I just roll up some fabric or a dishtowel, place it inside the sleeve, and press; it works well for me.
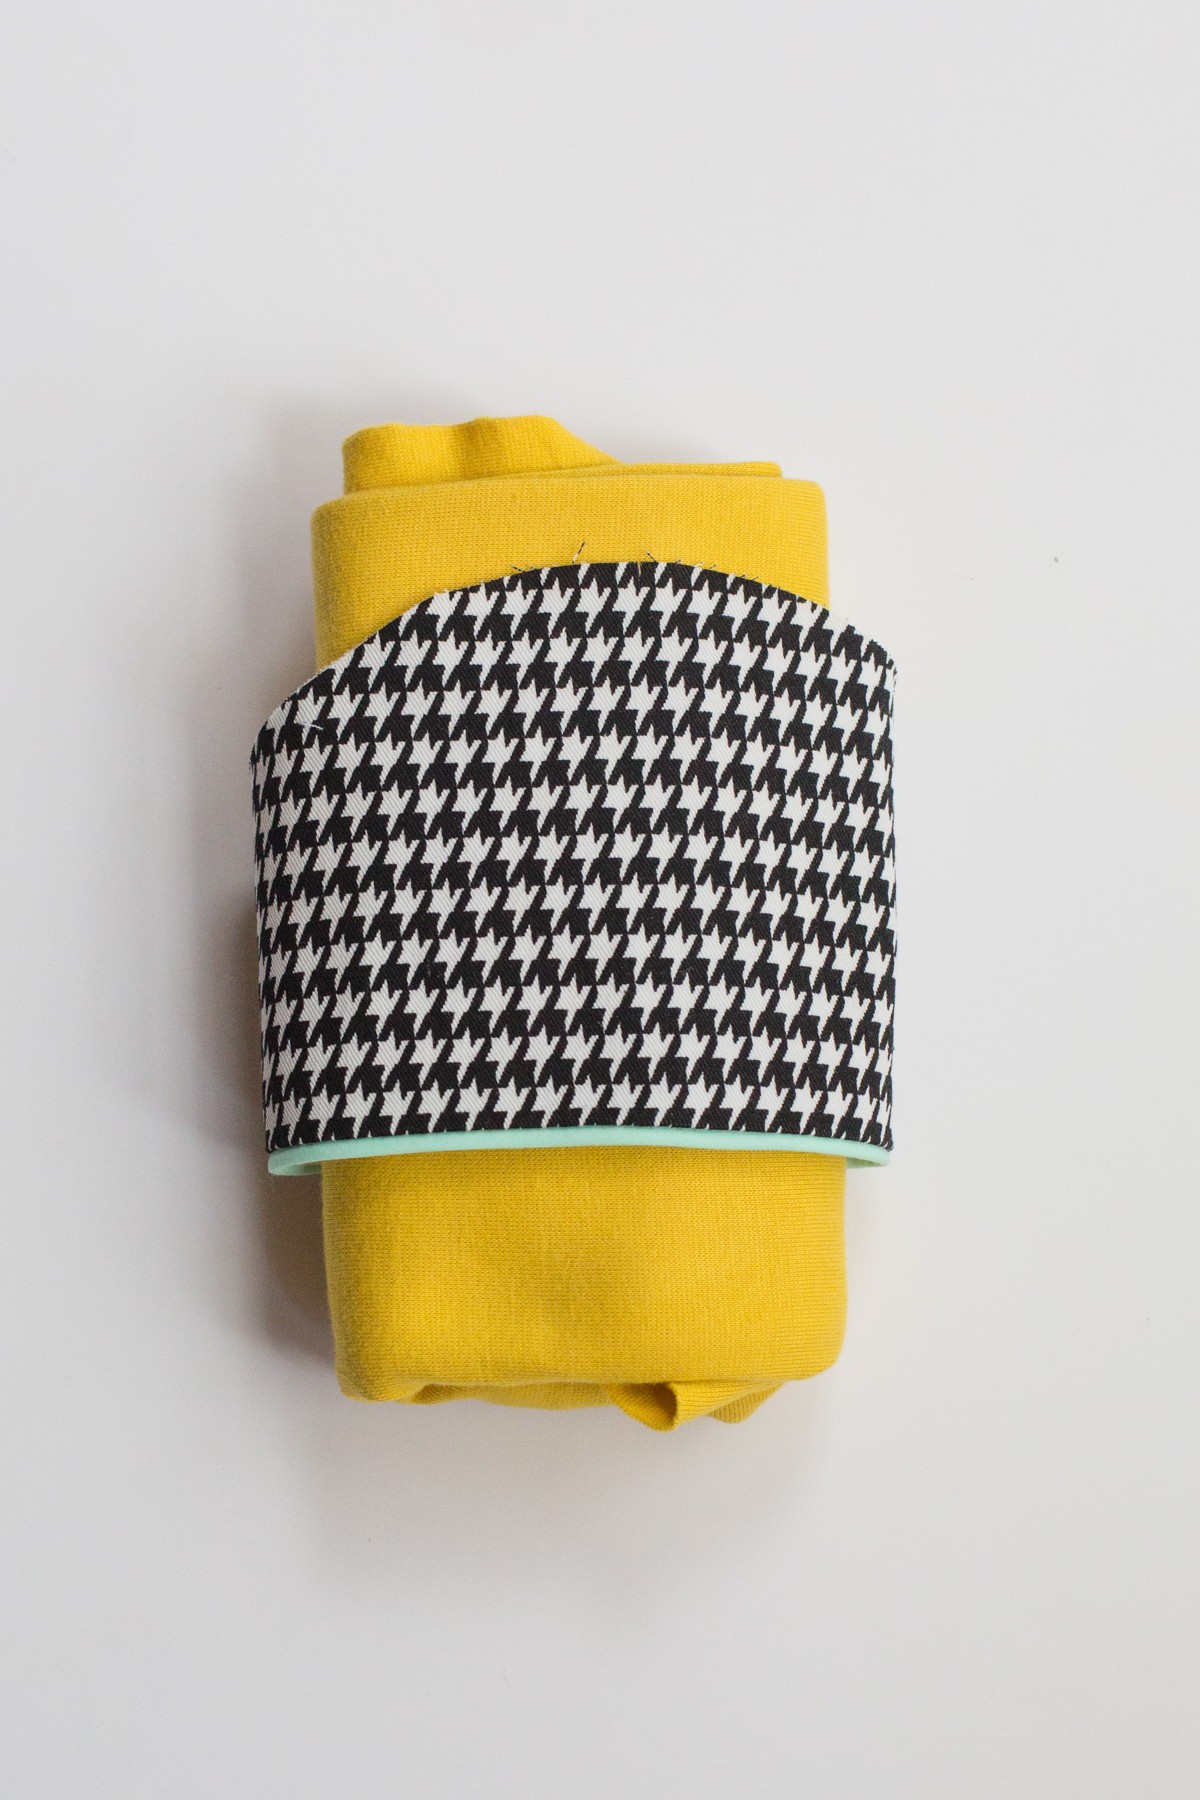
And there you have it: two piped and lined sleeves!
7. Now to sew the sleeves to the dress. Rather than inset the sleeves “in the flat” as shown in the Hide-and-Seek pattern’s instructions, you will need to set them “in the round.” Sew basting stitches along the tops of the shoulders to help you ease them around the armhole curve. Turn sleeves right side out and sew each to the armhole as shown, right sides together.
Enjoy your piped sleeves!

Please let me know if you have any questions in the comments below, and visit me at Stitched Together anytime.
Thanks for having me!
Rachel, this is one of my FAVES from you. It’s so good…. 🙂
Great tutorial, Rachel! what a trifecta of talent: well written tutorial, gorgeous dress and beautiful little girl:)
Fabulous!!! What a wonderful tutorial. I can’t wait to try.
Rachel, beautifully done! Thanks so much.
great tutorial!
Sweetest dress and amazing tutorial! Thank you.
Rachel, thank you so much for this – a great tutorial (criteria being “why didn’t I think of that?). I love piping on sleeves more than I do between seams. And you’ve given me the courage, and the know how to give it a go. Love your styling of the H and S, btw.
Thanks so much – very easy to understand. I love using a lining instead of a facing when I can – leaves a much cleaner finish.
So (sew) . . . why not use lined sleeves and NOT sew the sleeve seam and still apply them “in the flat” as directed? What is the difference??
If you were to install the sleeve flat and close it with the side seams, the tails of your piping may be visible at the seam under the arm (underside of the sleeve). Enclosing the tails of the piping between the sleeve and sleeve lining gives a cleaner margin to the sleeve. You could sew the sleeve as directed and then hand-tack the piping tails to one side, instead.
Lovely dress, and the piping adds the perfect touch of color. Although I’ve used the sleeve lining method before when adding piping to the sleeve, I’ve never thought to use a roll of fabric as a tailor’s ham! Great idea that I’ll be using from now on.
Wonderful, thank you!
well described
Thank You, your directions are very clear. I like the idea of the lining to hide the piping edge.
Love the dress and the tutorial is great! What is the pattern? Many thanks.
Grace, it’s the Oliver + S Hide + Seek Dress: https://oliverands.com/shop/hide-and-seek-dress-tunic-sewing-pattern.html