
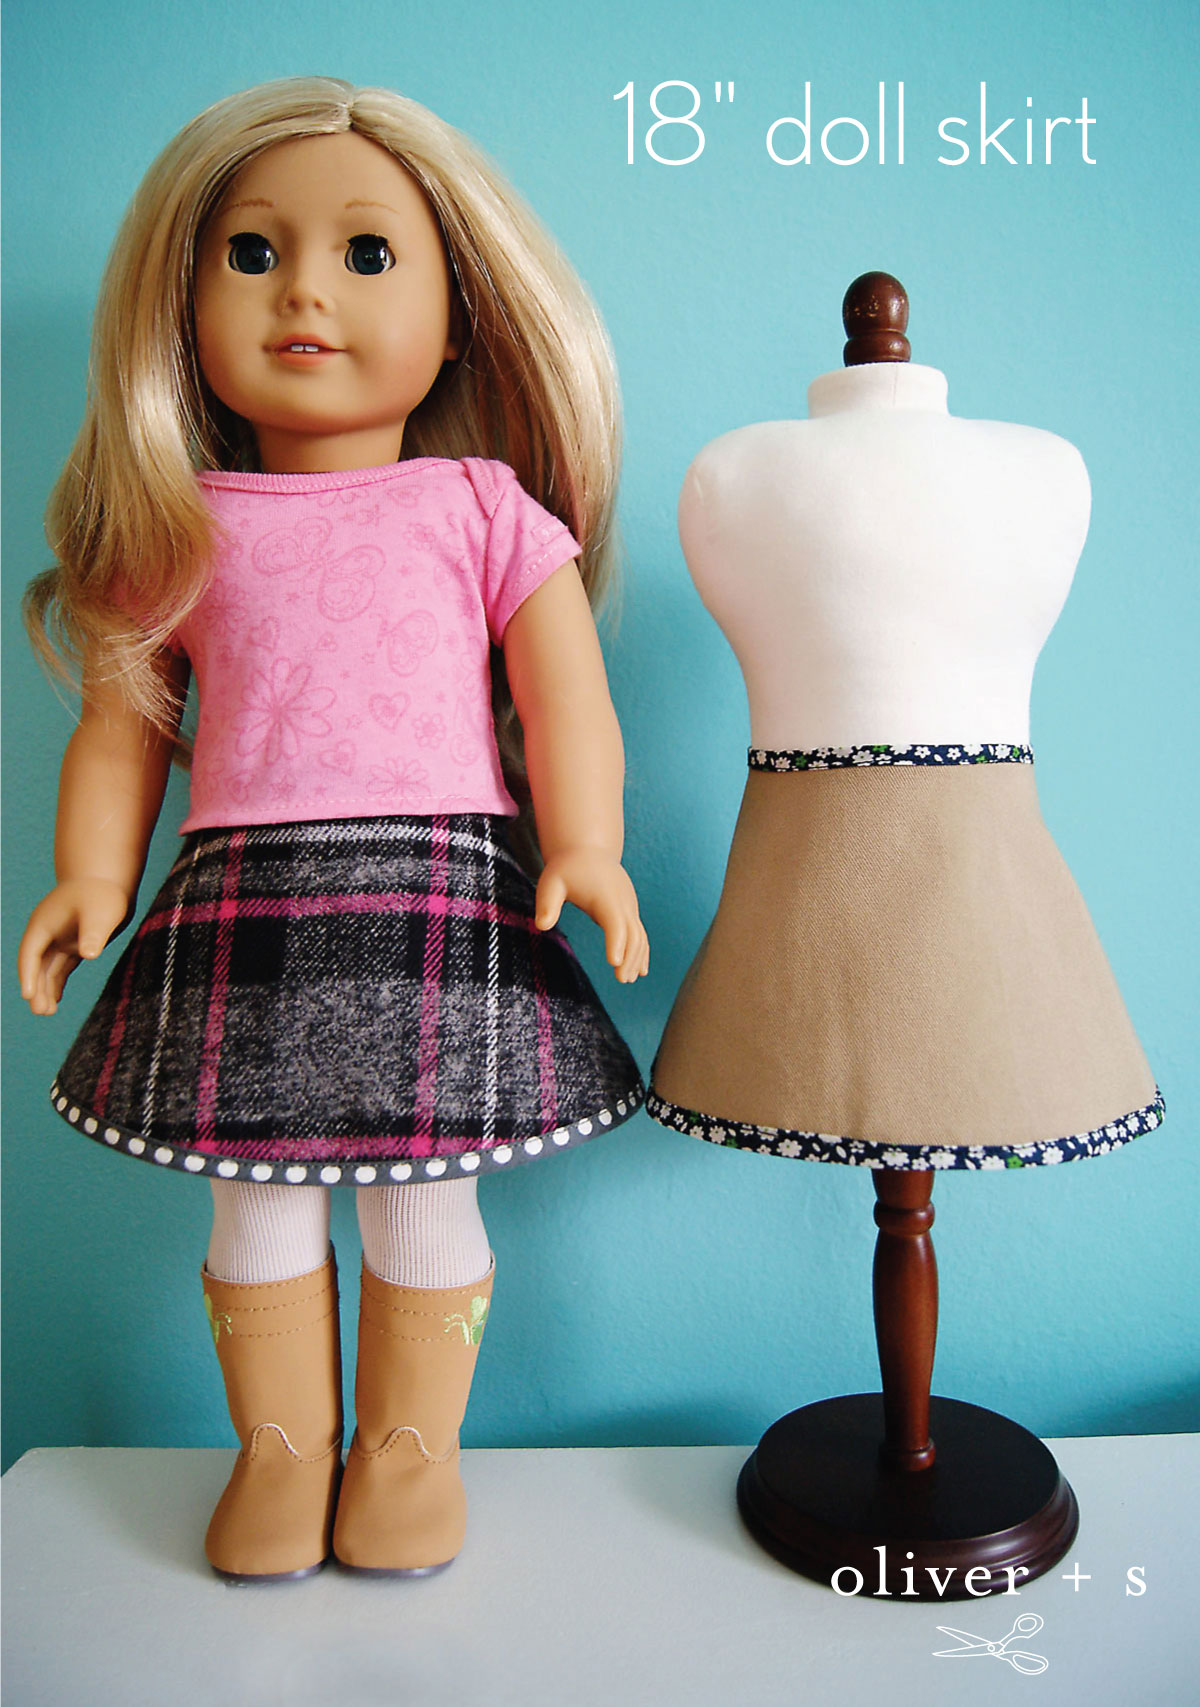
Our friend Rachel is back with a fun little doll skirt project that can be made from an Oliver + S pattern. This sewing project could be fun to make together with your daughter or granddaughter. And who doesn’t love sewing patterns that serve more than one purpose? You might be surprised which of our patterns Rachel used for this cute little skirt! Thanks so much, Rachel!
This doll skirt happened by accident. Let me give you a little bit of background and tell you the story.
For Christmas my girl got her first 18-inch doll and I got excited to start sewing doll clothes for it. She has her own fabric stash because she likes to play with fabric, too. She has some special fabrics from the store that she picked out, but she also sometimes gets pieces from my abandoned sewing projects. For example, she inherited some yellow cotton and gray linen pieces from my failed attempt at making a reversible bucket hat. (I added interfacing to places where it wasn’t suppose to go and couldn’t make it work, so I abandoned it. Oops.)
We have an 18-inch doll dress form and we have fun together designing different outfits by pinning fabric to it. One day, from her fabric stash we grabbed the abandoned brim piece from the failed bucket hat and wrapped it around the waist to make a skirt. And you know what? It looked like the perfect little skirt! It just needed finished edges and a closure. So that is how this skirt came to be. It is a super quick and easy project that uses only a small amount of supplies.
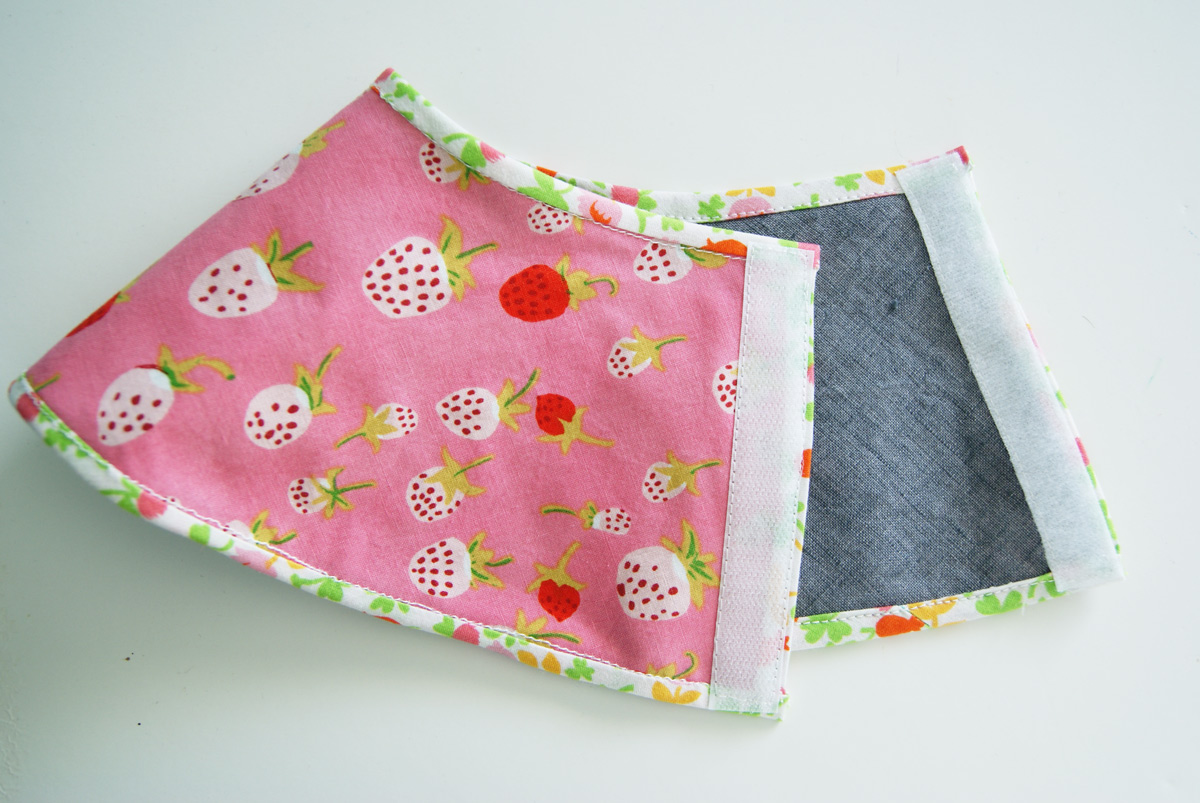
Here’s how you can make your own 18-inch doll modified circle skirt with bias trim and Velcro closure all the way down the back. And it can be made to be reversible!
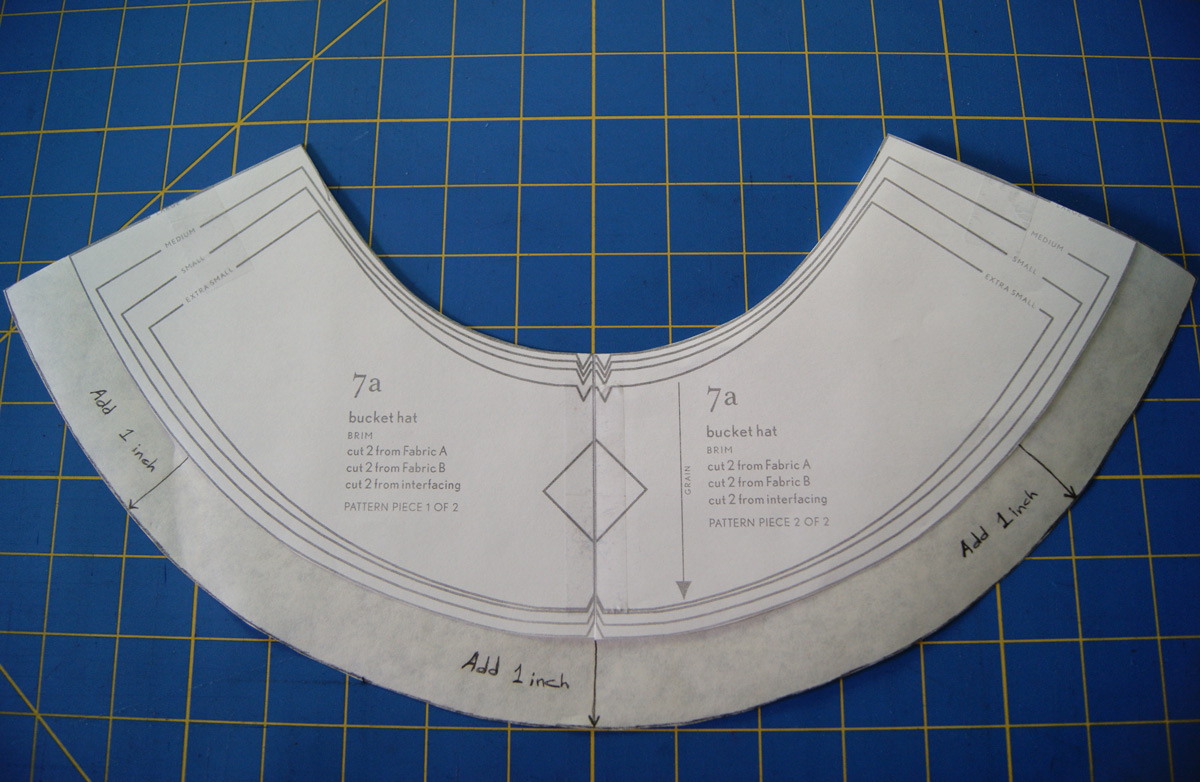
The Pattern Piece
The pattern comes from the reversible bucket hat which is from the Oliver + S Little Things to Sew book. You will need the bucket hat brim, size Large (pattern piece 7a): print out pages 5 and 6, tape them together, and cut out size Large. Place this pattern piece on top of a larger piece of paper, trace it, and add one inch to the bottom. Now you have your new pattern for the doll skirt.
Supplies Needed
- 8 inches by 17 inches of fabric
- 1.25 yards of bias tape
- 4.5 inches of sew on Velcro (5/8 inch wide)
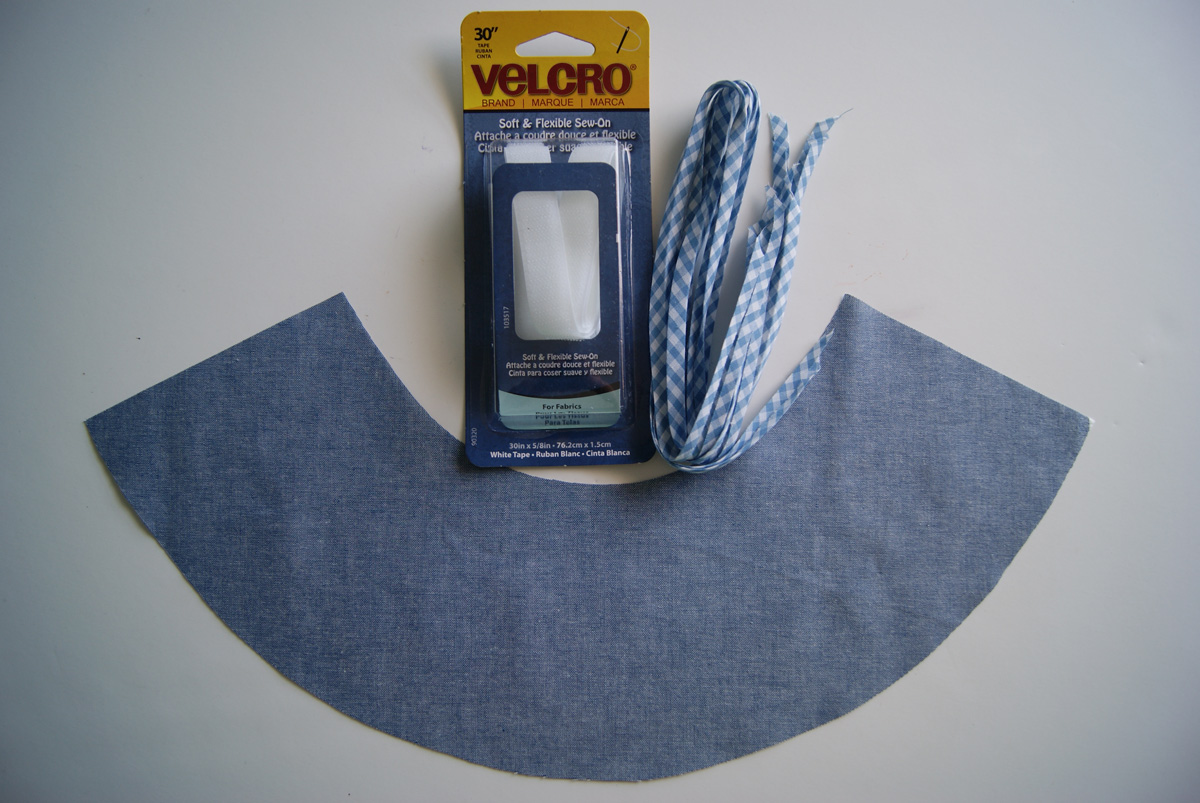
Instructions
Cut the skirt out of fabric, sew bias tape on all the edges, and then sew on the Velcro.
I sewed on bias tape on the two side edges first, then on the waist and bottom edges. But if you are skilled at sewing bias tape around corners, go ahead and sew one continuous bias tape around the whole skirt.
Place the Velcro strips right up to the edges of the skirt and sew around all four edges to secure it nicely.
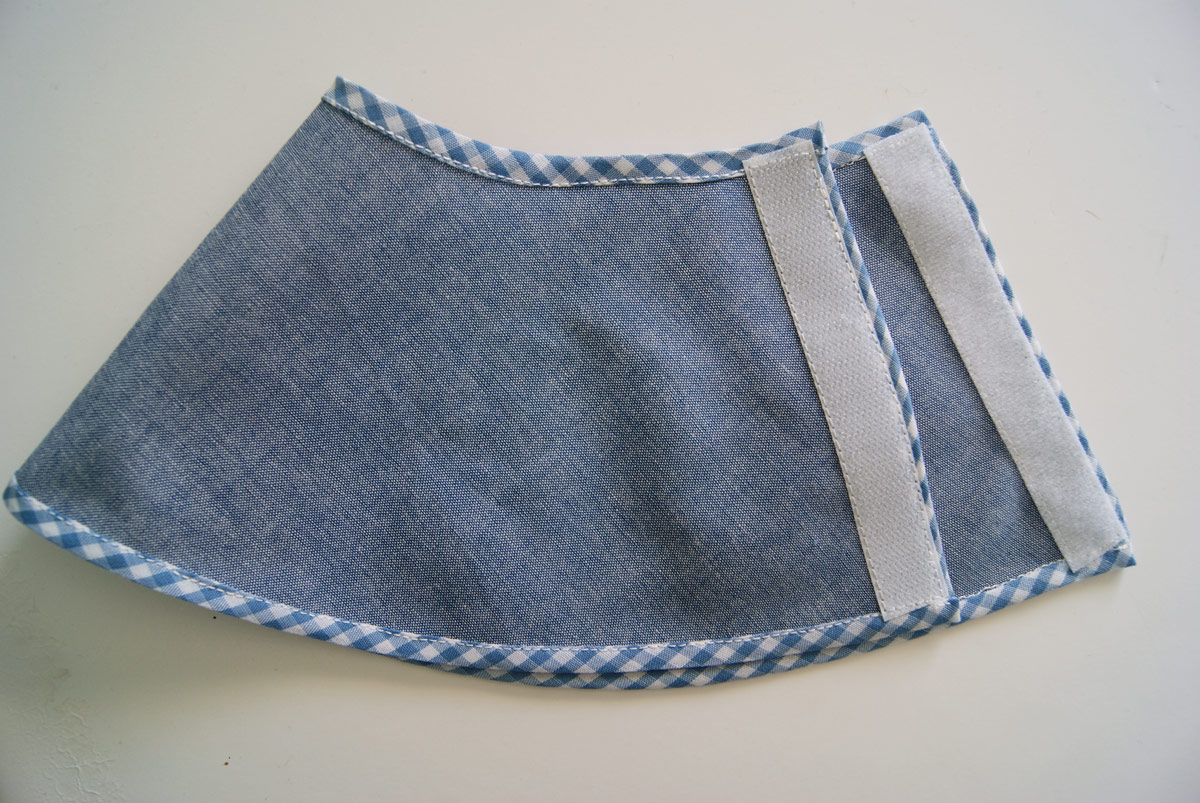
To make the skirt reversible, just take two cut out skirts, put wrong sides together and finish by following the rest of the steps.
You can buy pre-made bias tape, but the choices are limited (mostly solid colors). In order to have more variety and something more fun, make your own bias tape. When you make your own the options are limitless. I used a 1/2 inch bias tape maker, but a 3/4 inch bias tape maker or a 1 inch bias tape maker could be used as well.
For help with all things bias tape, here are tutorials from the Oliver + S blog.
- How to make traditional bias strips
- How to make continuous bias strips
- How to use a bias tape maker
- Bound seams tutorial
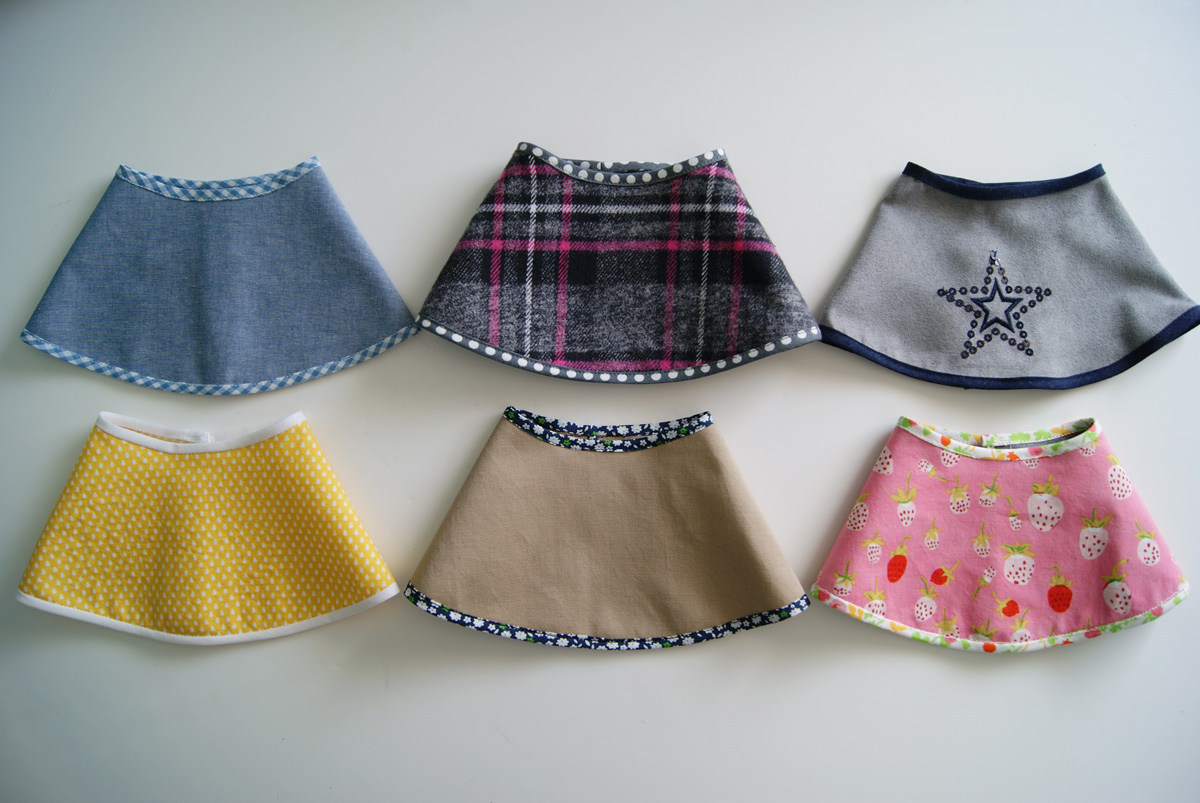
You could easily get two skirts out of a quarter yard of fabric or a fat quarter, but you probably already have enough fabric from scraps in your stash to make at least one. Maybe you have some fabric left over from a clothing item you sewed that special girl in your life, so now she can match with her doll.
Enjoy this instant gratification sewing project. Let this be a starting point. Have fun customizing and changing it up a bit. Also don’t worry about perfect sewing as this is just a doll skirt. I’m sure the doll won’t even notice!
If you are looking for additional 18-inch doll clothing sewing projects, be sure to check out the Popover Sundress (free downloadable pattern) and the Tea Party doll dress (which is a miniature version of the Tea Party Sundress) in the Oliver + S Little Things to Sew book.