
So now you’ve got all those nice bias strips cut and assembled, using either the traditional or the continuous method. What’s next?
Folding and pressing the bias strips to make bias tape can take a long time if you’re making a lot of it. In order to make bias tape, you need to press the binding in half to find the center, then open it up and press both of the edges to meet at the middle. That’s a lot of folding and pressing. But a bias tape maker can make quick work of it without singed fingers.
Keep in mind that bias tape makers come in different sizes, so it’s important to use the right size bias tape maker for your bias strips. (I use and recommend Clover bias tape makers. I have one in each size that they make.) I tend to use 3/8″ binding for a lot of apparel sewing projects, and for bias binding that’s 3/8″ wide you’ll use the 3/4″ bias tape maker. (The width indicated on the bias tape maker package is twice the width of your finished binding, because you’ll fold the binding in half again when you apply it. So for 1/2″ binding, you’d use the 1″ tape maker and 2″ wide cut bias strips. Makes sense, right?)
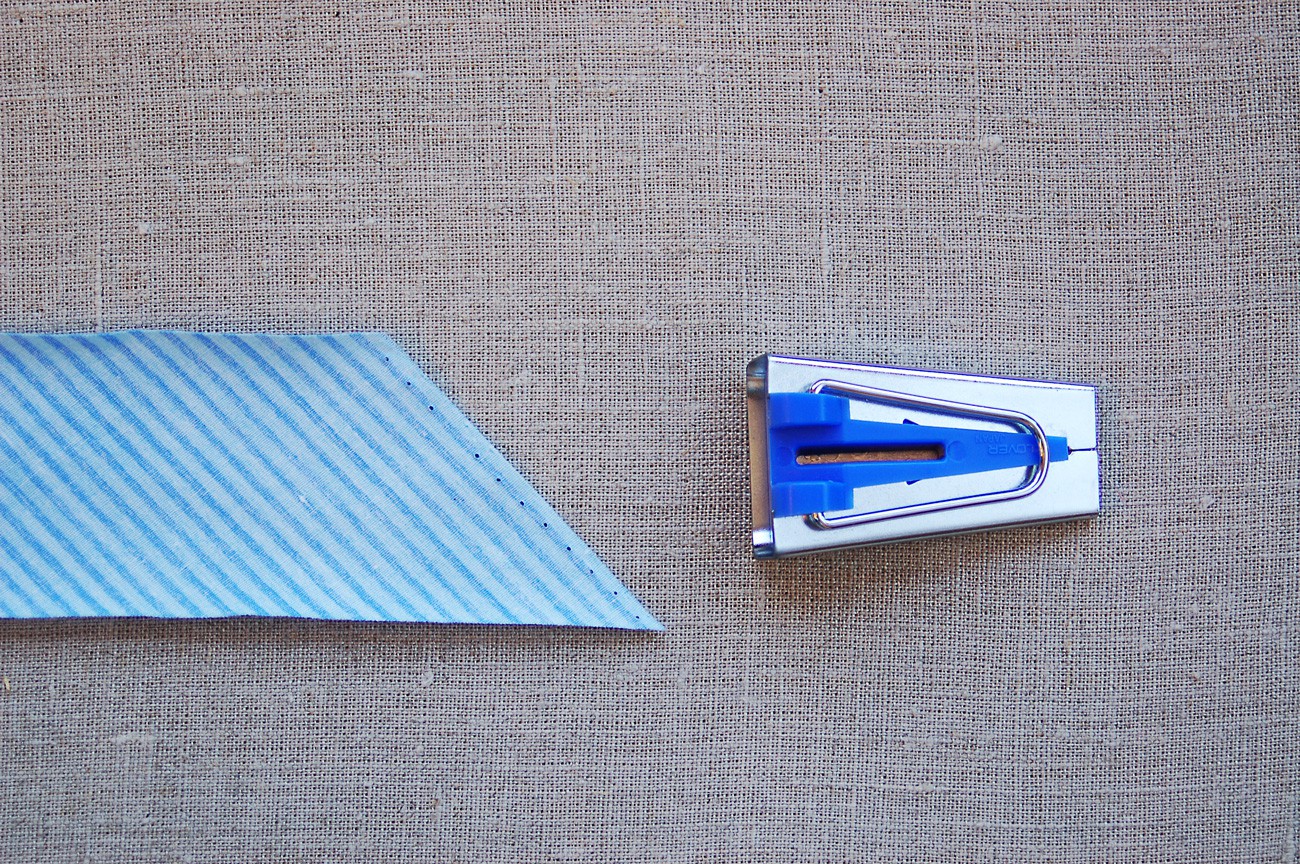
The process is very simple. Once you’ve got your strips assembled, you simply feed one end of the strip into the wide end of the tape maker. It helps if the end of the strip is cut at an angle.
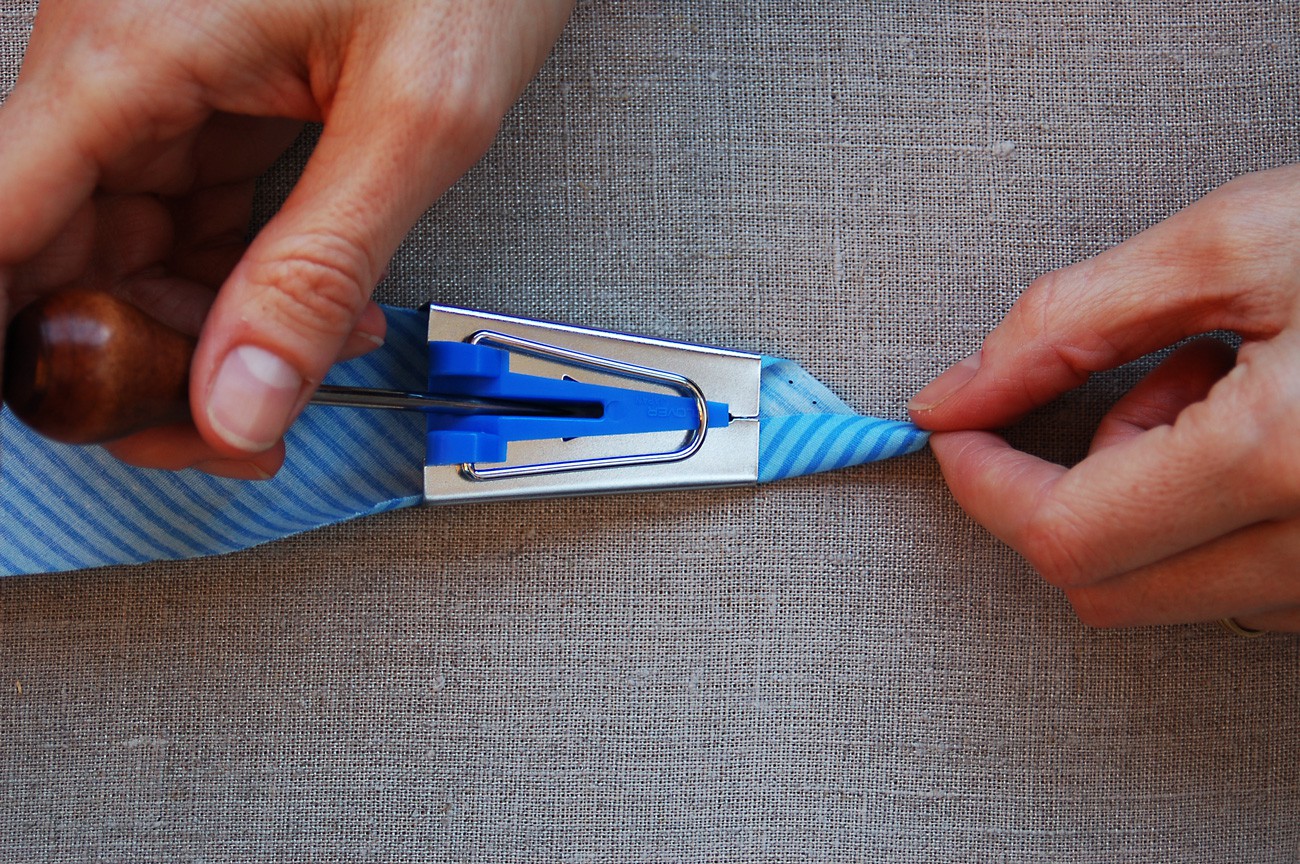
There’s a little groove down the center of the bias tape maker so you can use a pin or bodkin to pull the fabric through the tape maker if it doesn’t slide in easily. Then gently coax the strip out the narrow end of the tape maker and you’ll see that the fabric is being folded as it passes through the tape maker.
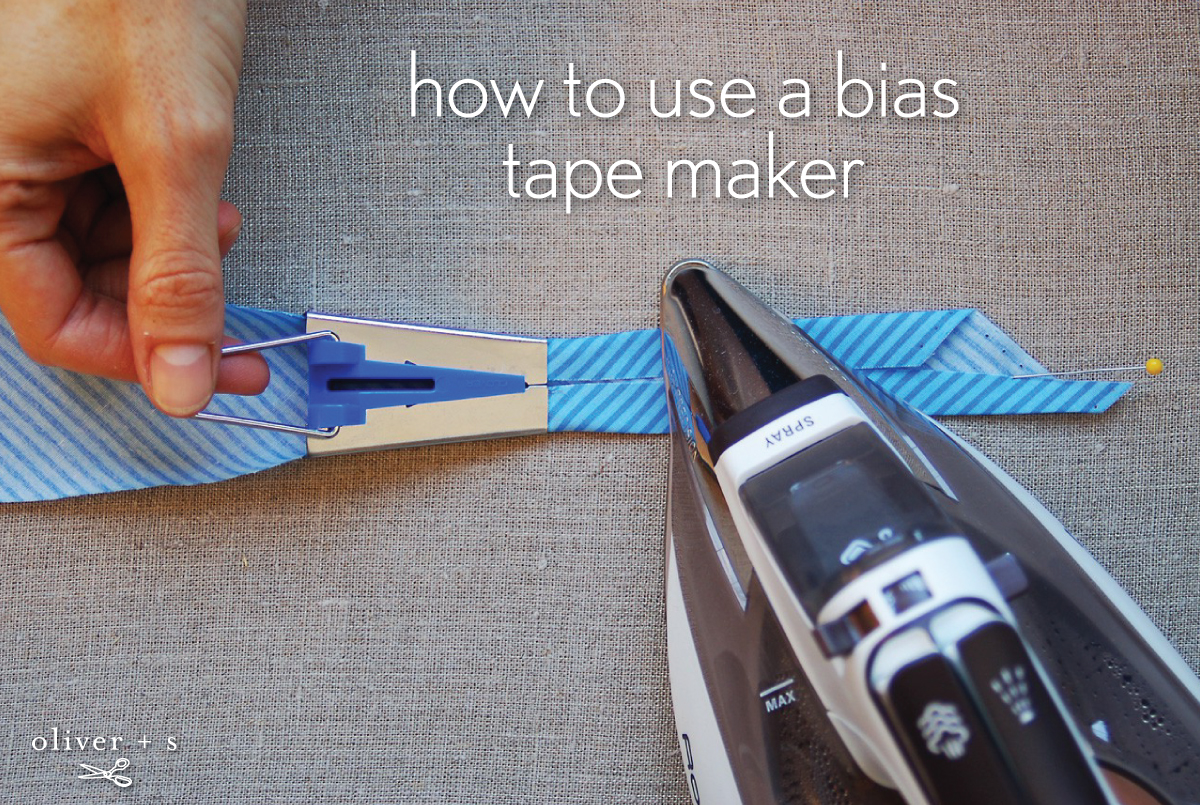
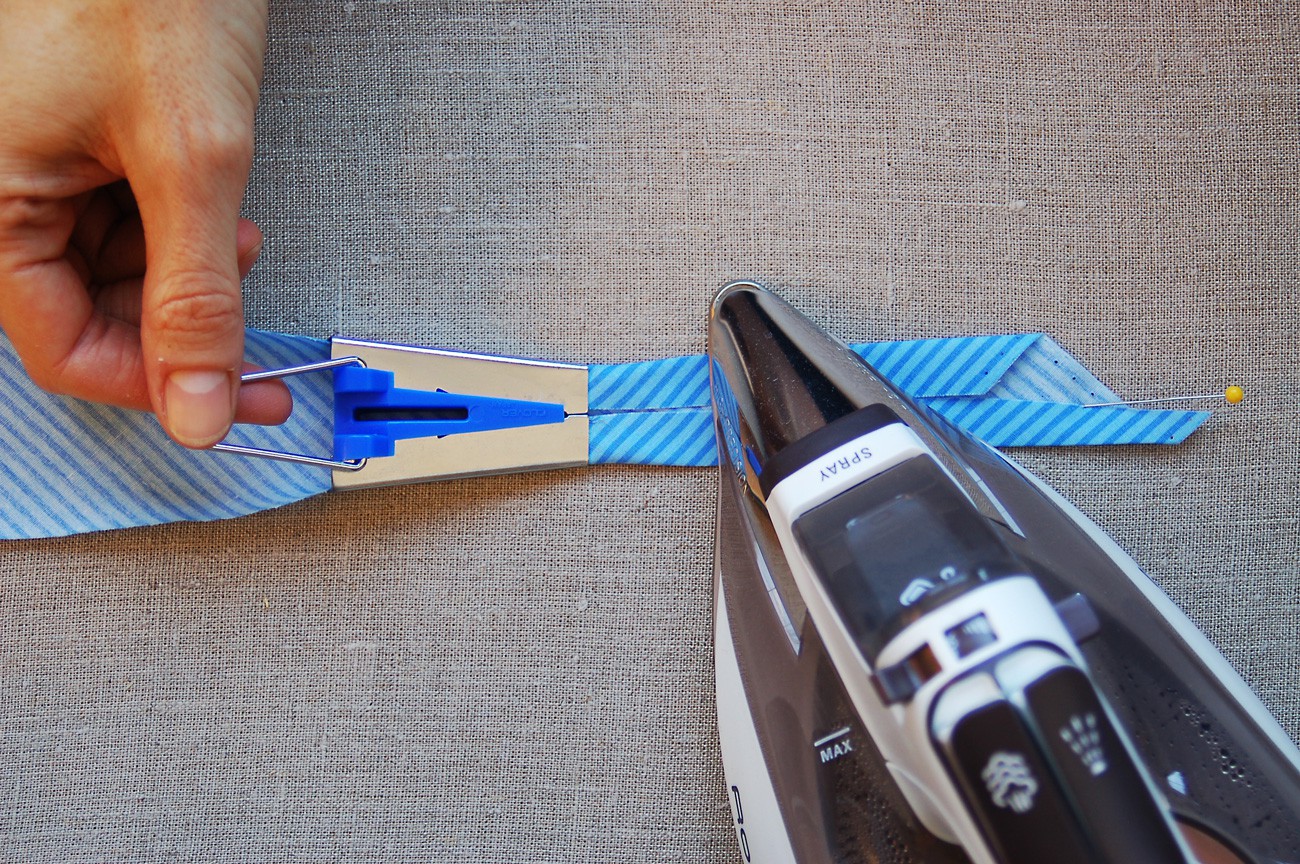
I like to pin the end of the strip to the ironing board to get started. Then slowly slide the tape maker along the bias strip, moving your hot iron along with it, just a couple of inches behind the tape maker so you’re pressing the folded bias as it emerges from the tape maker. Once you reach the end of your ironing board, simply unpin the strip and shift the binding so you can fold and press the next section. Easy, right? With practice, you’ll get really fast at this and your bias tape will be smooth and professional looking.
Continue to slide and press, and when you come to a seam, stop and coax the fabric into the tape maker carefully if it needs help. (It’s best to keep the seam allowances open so the tape will be less bulky.)
When I’m finished pressing my bias tape, I like to wind it around a piece of heavy cardstock to keep it nicely pressed and ready for use. I usually make quite a bit of binding at one time so I have extra for other projects. Like for the fabric bunting I made for S’s birthday party. If you make more than you actually need you’ll slowly build up a stash of binding for those unexpected projects.

Instructions for applying the bias tape are included in most of our patterns, as well as in my book. (I use a slightly different approach to sewing binding than most people.) And April wrote a really nice tutorial for us about bound seams, if you’re thinking about using bias tape to finish the seams on the Secret Agent Trench Coat, the Sunday Brunch Jacket, or any other projects without a lining.
Now that you know how to do it, I hope you’ll be making your own binding for some of your sewing projects!
If you enjoyed this blog post, why not sign up for our newsletter? It’s free, and you can opt to have new blog posts sent to you by email too!