Our Fitting Room blog series focuses on altering patterns to fit your shape. One of the best aspects of sewing is the ability to create a garment that fits YOUR body. Today, we have a visit from Lyndsey Stanfill, owner of Made Stitch Company and a former member of the Advisor’s Circle. She is sharing her new Prado Trench Coat and discussing how she achieved such a great fit! Take it away, Lyndsey.
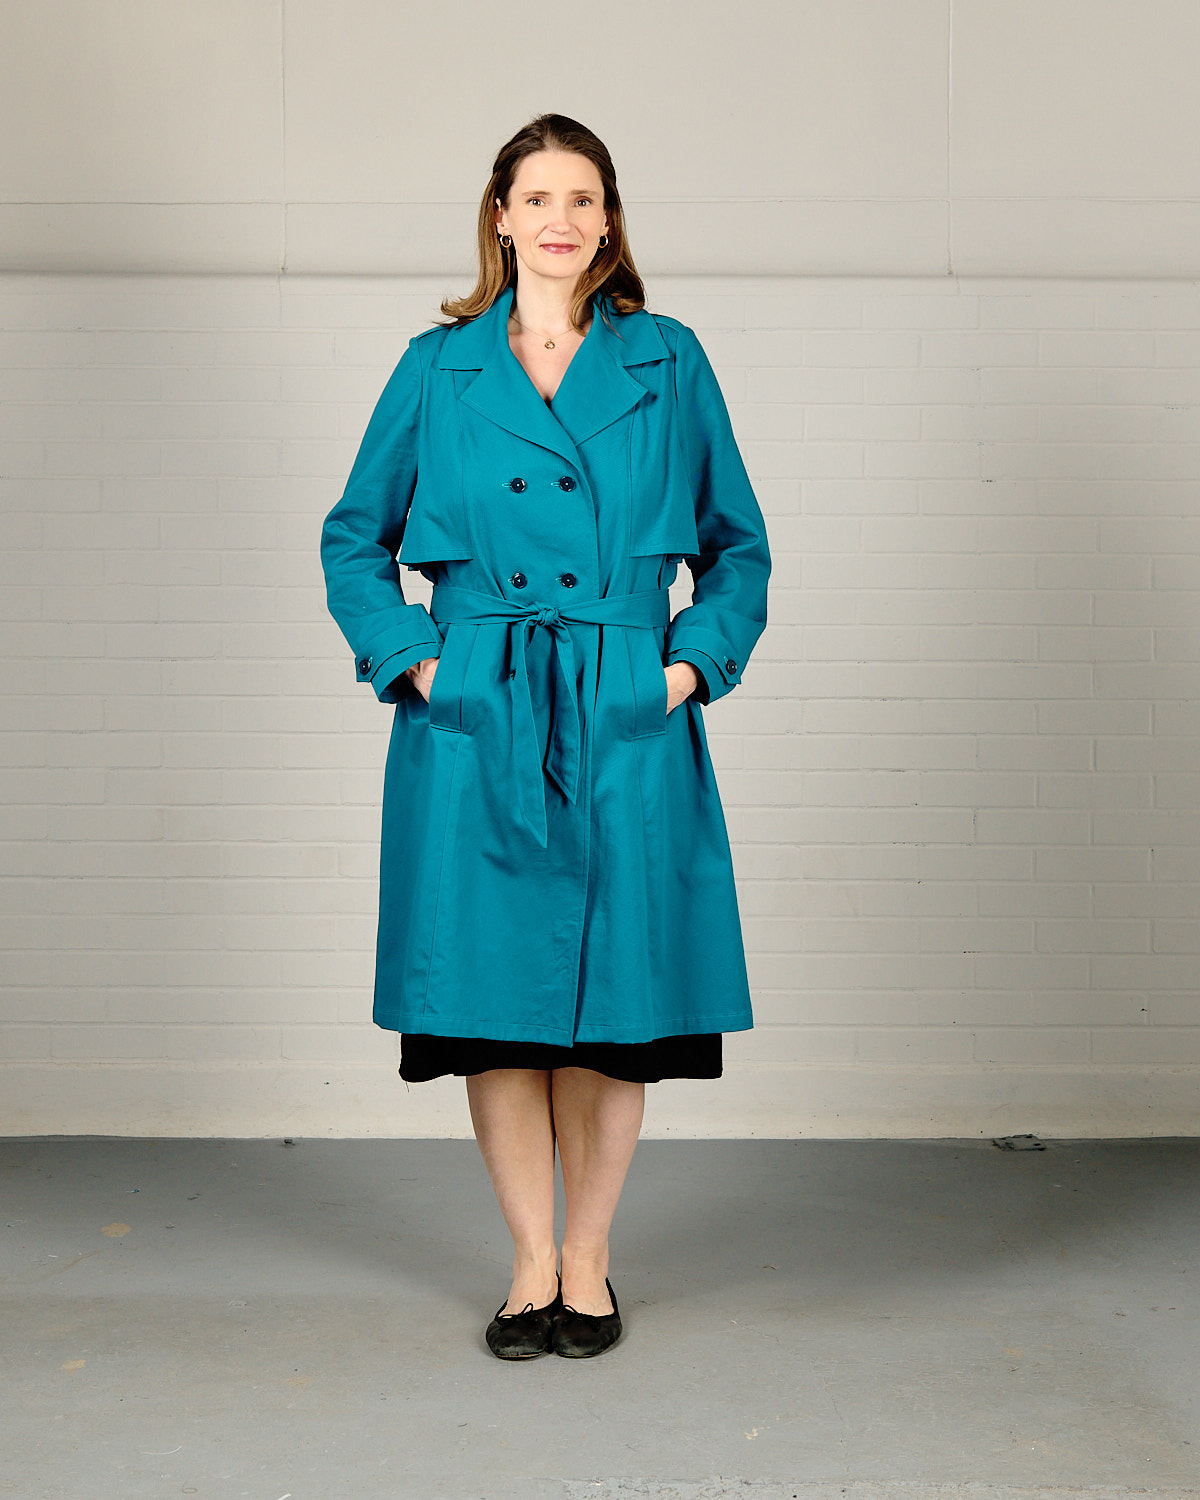
Hello! I’m Lyndsey Stanfill, and I am here to talk about my fabulous new Prado Trench Coat, finished just in time for Fall weather. For as long as I can remember, I hoped that Liesl would design a trench coat. The Prado is everything that I dreamed it would be. Today, I’ll walk you through the fitting adjustments I made to the pattern to get a great fit.
Choosing a Size
My measurements are high bust 37.5″, full bust 40.5″, waist 33″, and hips 42″. Based on my high bust measurement, I selected size 10. My waist and hips are larger than the body measurements for a size 10, but I will be able to make width adjustments during the fitting process.
Tissue-fitting
Have you ever used the tissue-fitting method for altering a pattern? Palmer/Pletsch developed tissue fitting over the course of decades of teaching fitting workshops. When using this technique, you pin the pattern pieces together (as they would be sewn) and try the tissue on YOUR body. I’ve got a video of the fitting process, as well as pics below.
View this post on Instagram
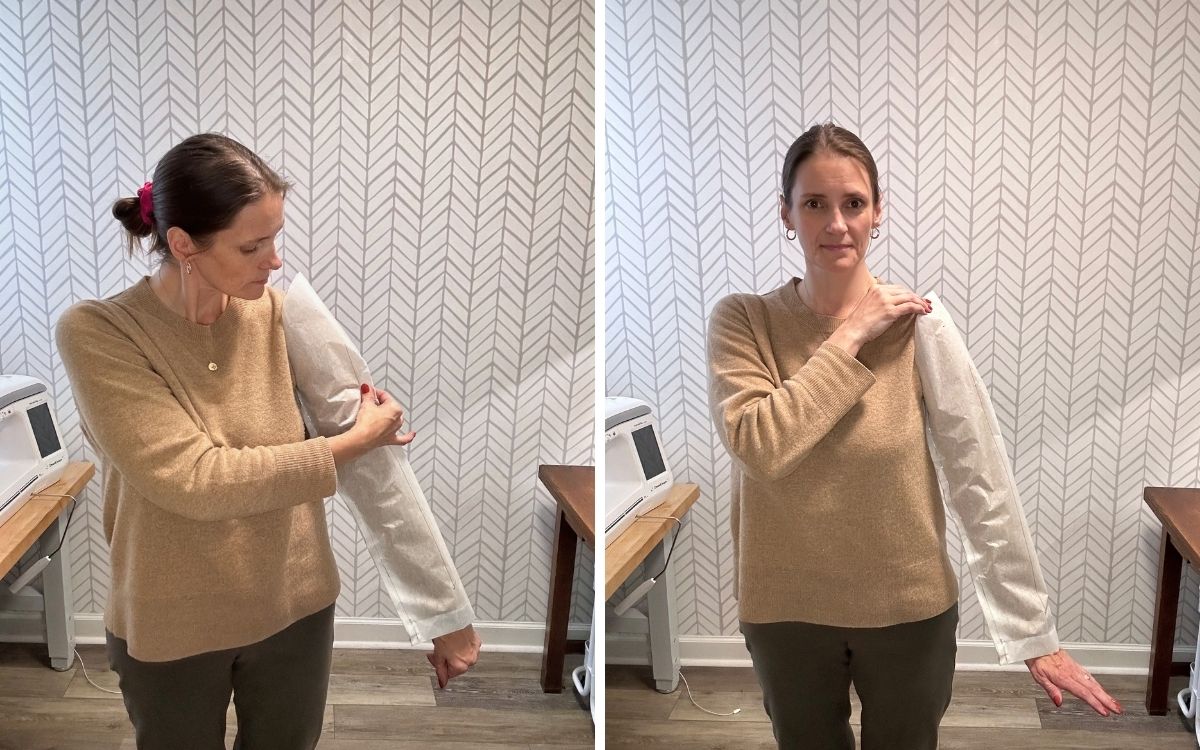
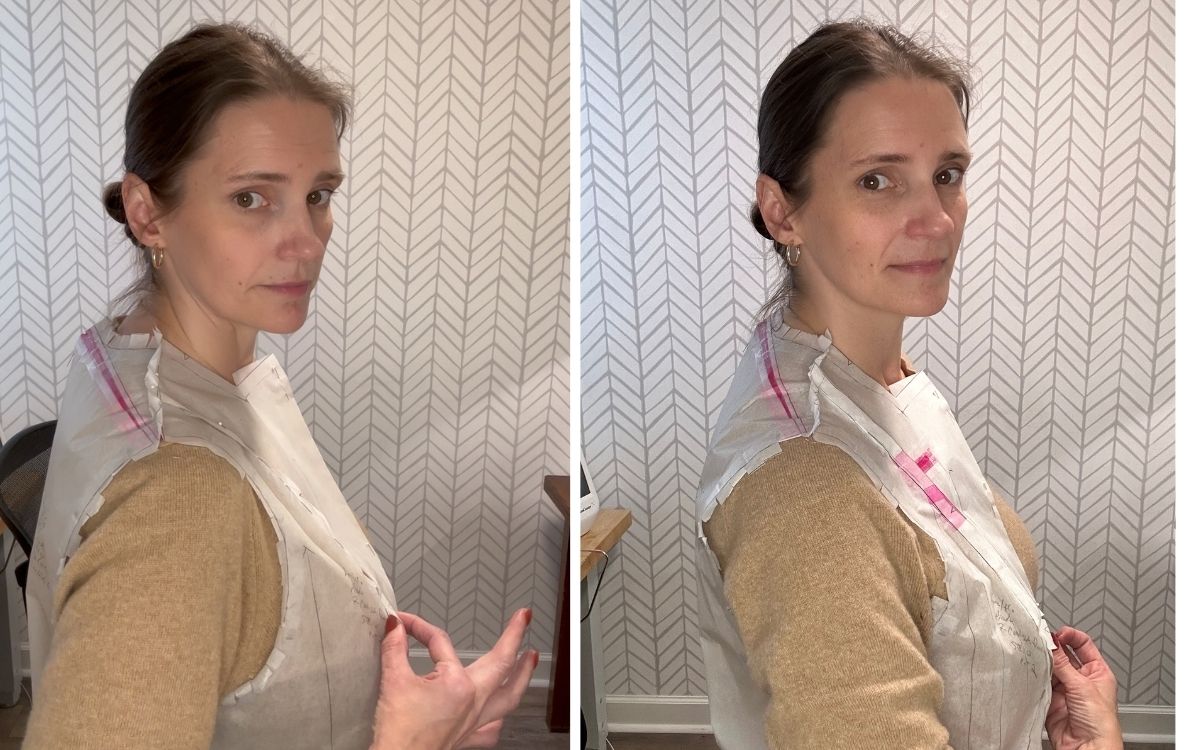
Since I will wear the Prado Trench Coat over my clothes, I tissue fit on top of my clothing. I started with the sleeve, checking to ensure I had enough ease at the bicep and sufficient length. The sleeve had at least 2″ of ease and was plenty long for my taste, so I did not need to make any changes.
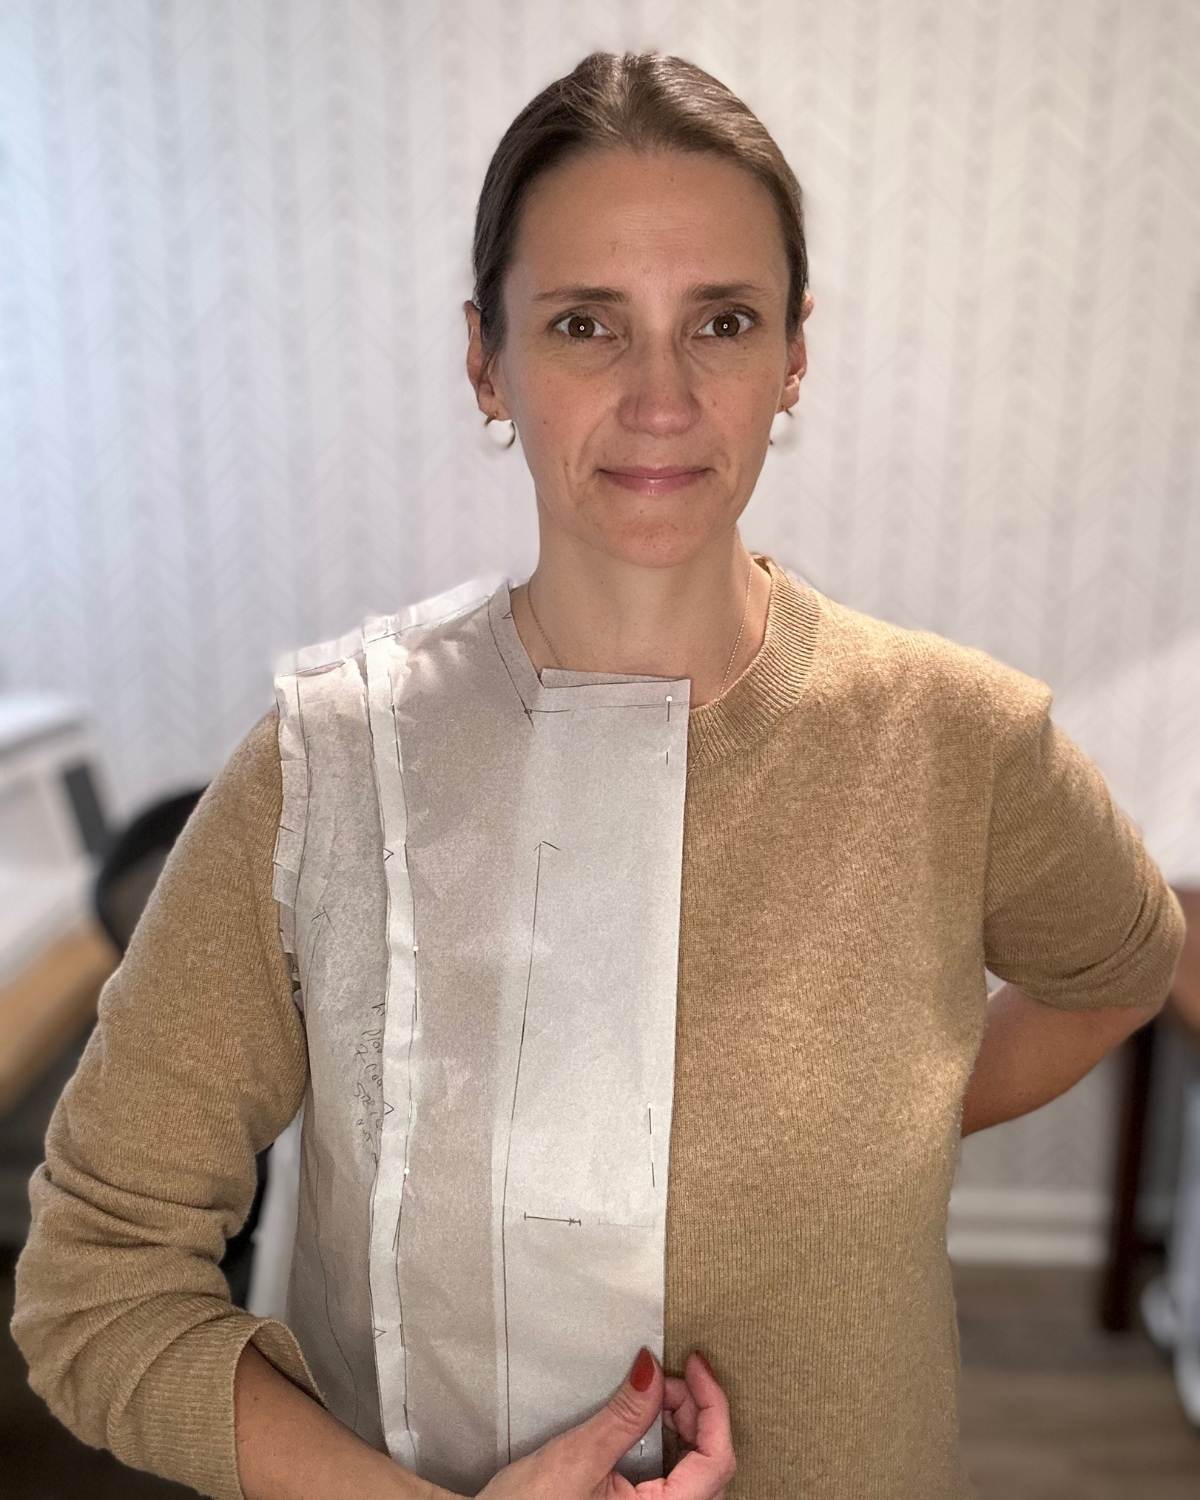
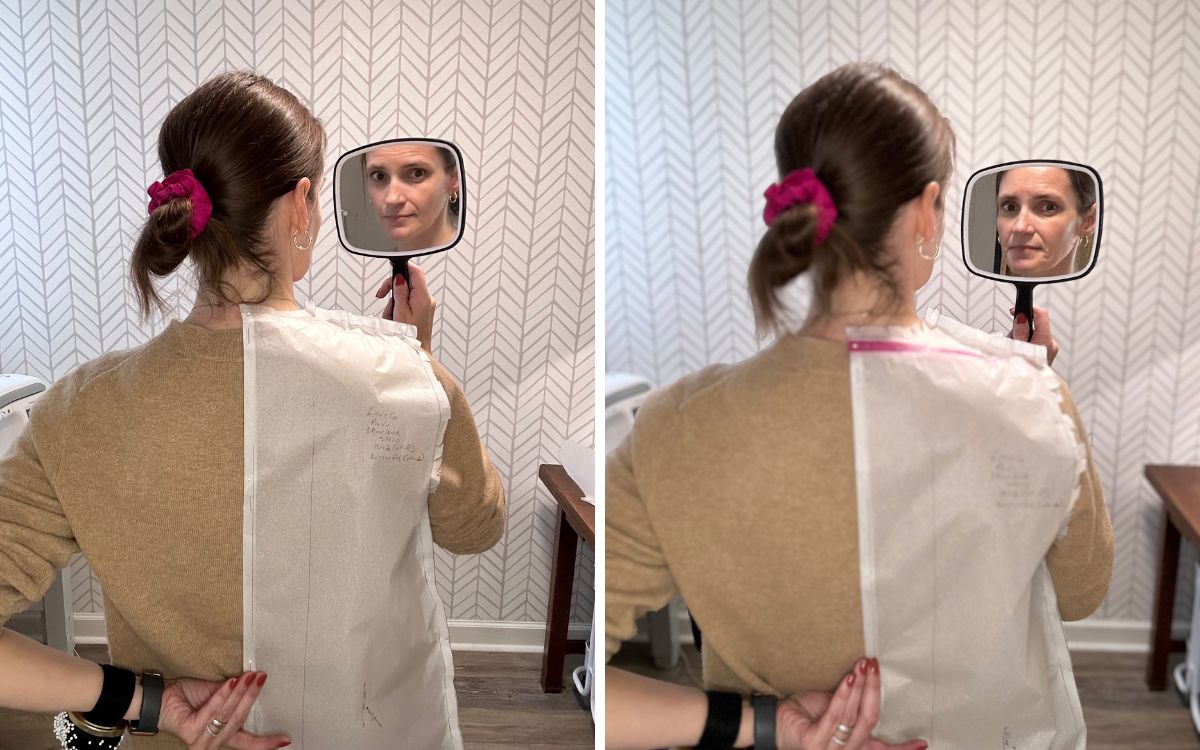
Next, I tried on the bodice for the first time. In the first fitting, I checked to ensure that the back was broad enough, that the armhole depth was sufficient, and that I had enough length at the neck. The only change needed was a high round adjustment to add more length at the back of the neck.
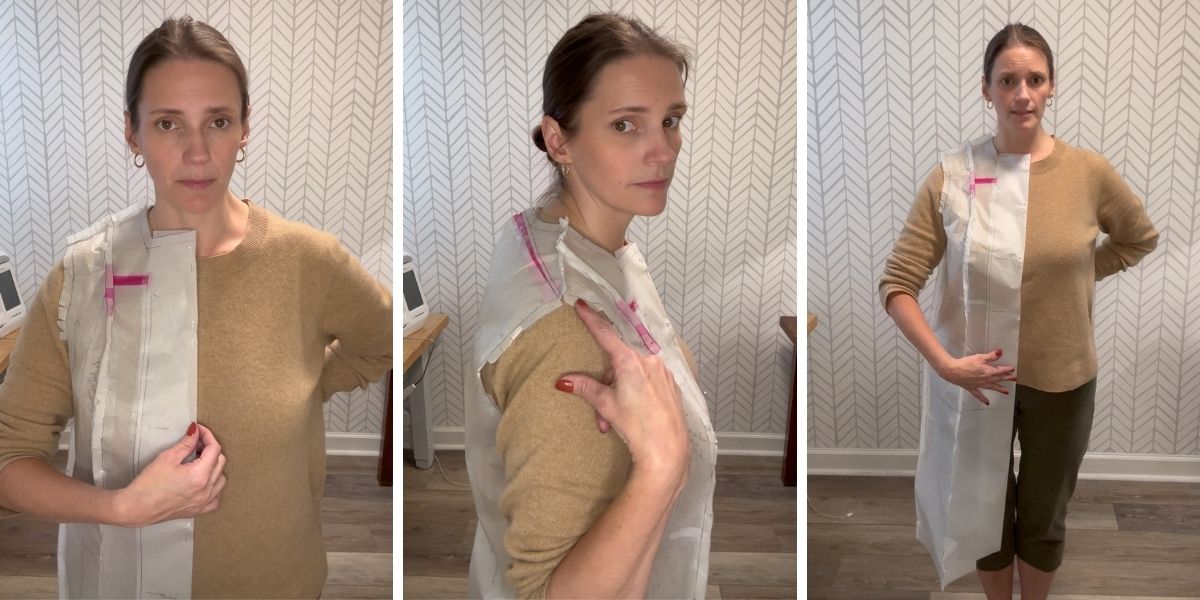
With the back fit, I moved on to the front. Since this coat features princess seams, the apex on the pattern must be in the exact location as my apex on my body. The apex on the pattern fell a half inch above where MY apex sits. After lowering the curve of the bust a half inch, the apex is now in the correct placement for my curves.
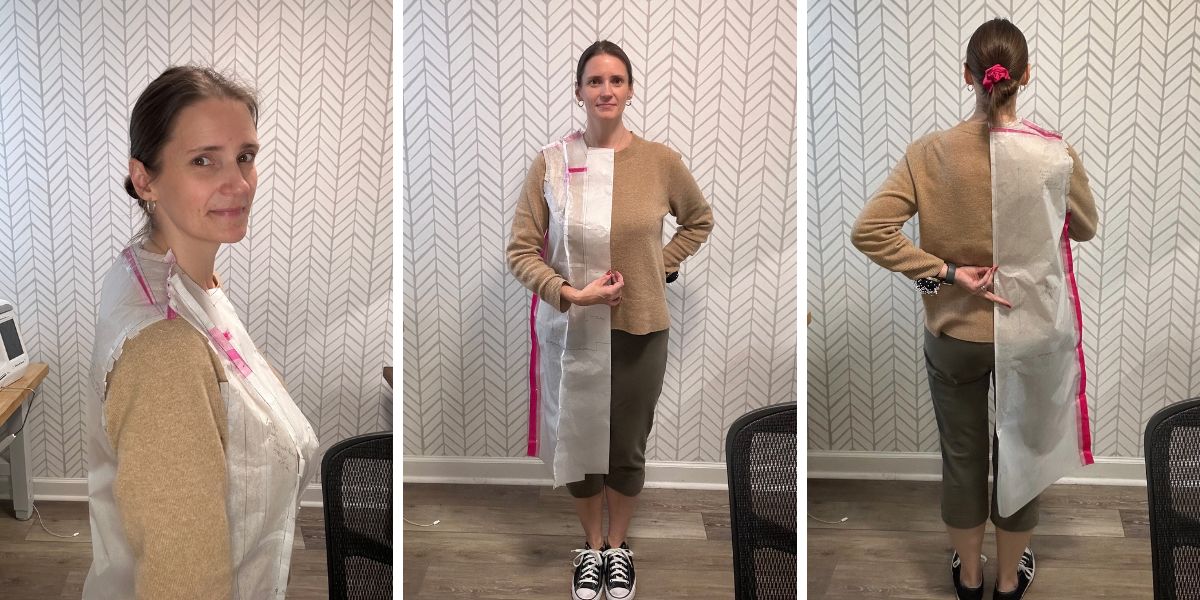
With the bust curve in the correct place, I can check for any remaining changes that may be needed. I determined that I did not need a full bust adjustment, but I did need a forward shoulder adjustment and a little bit more room at the hips.
With all of the adjustments made, I was ready to cut fabric!
Final Prado
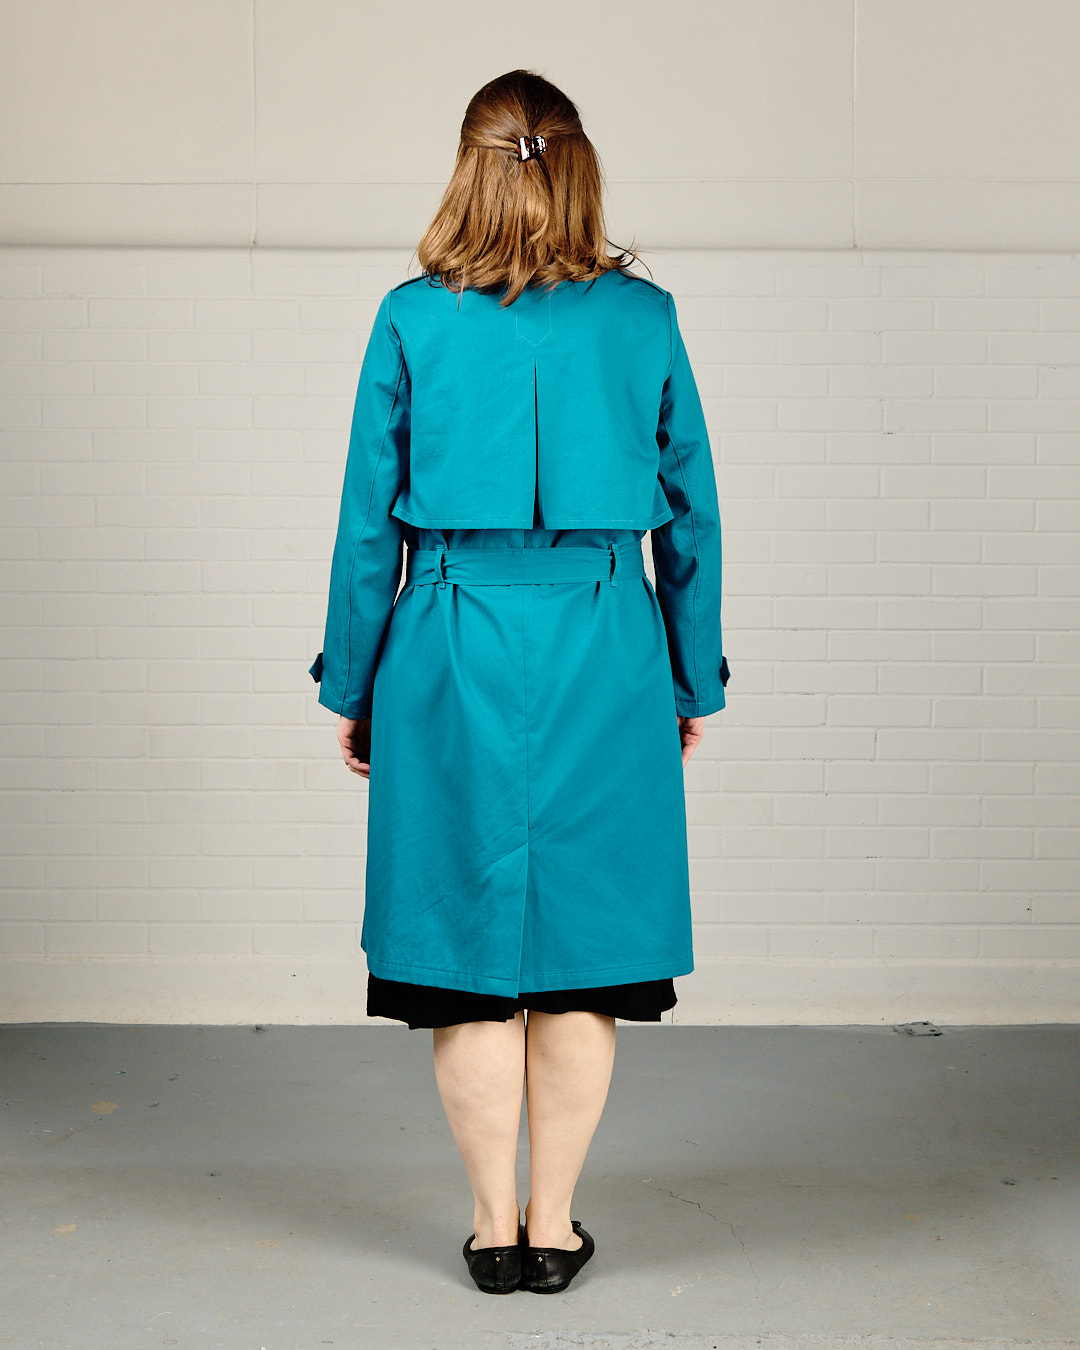
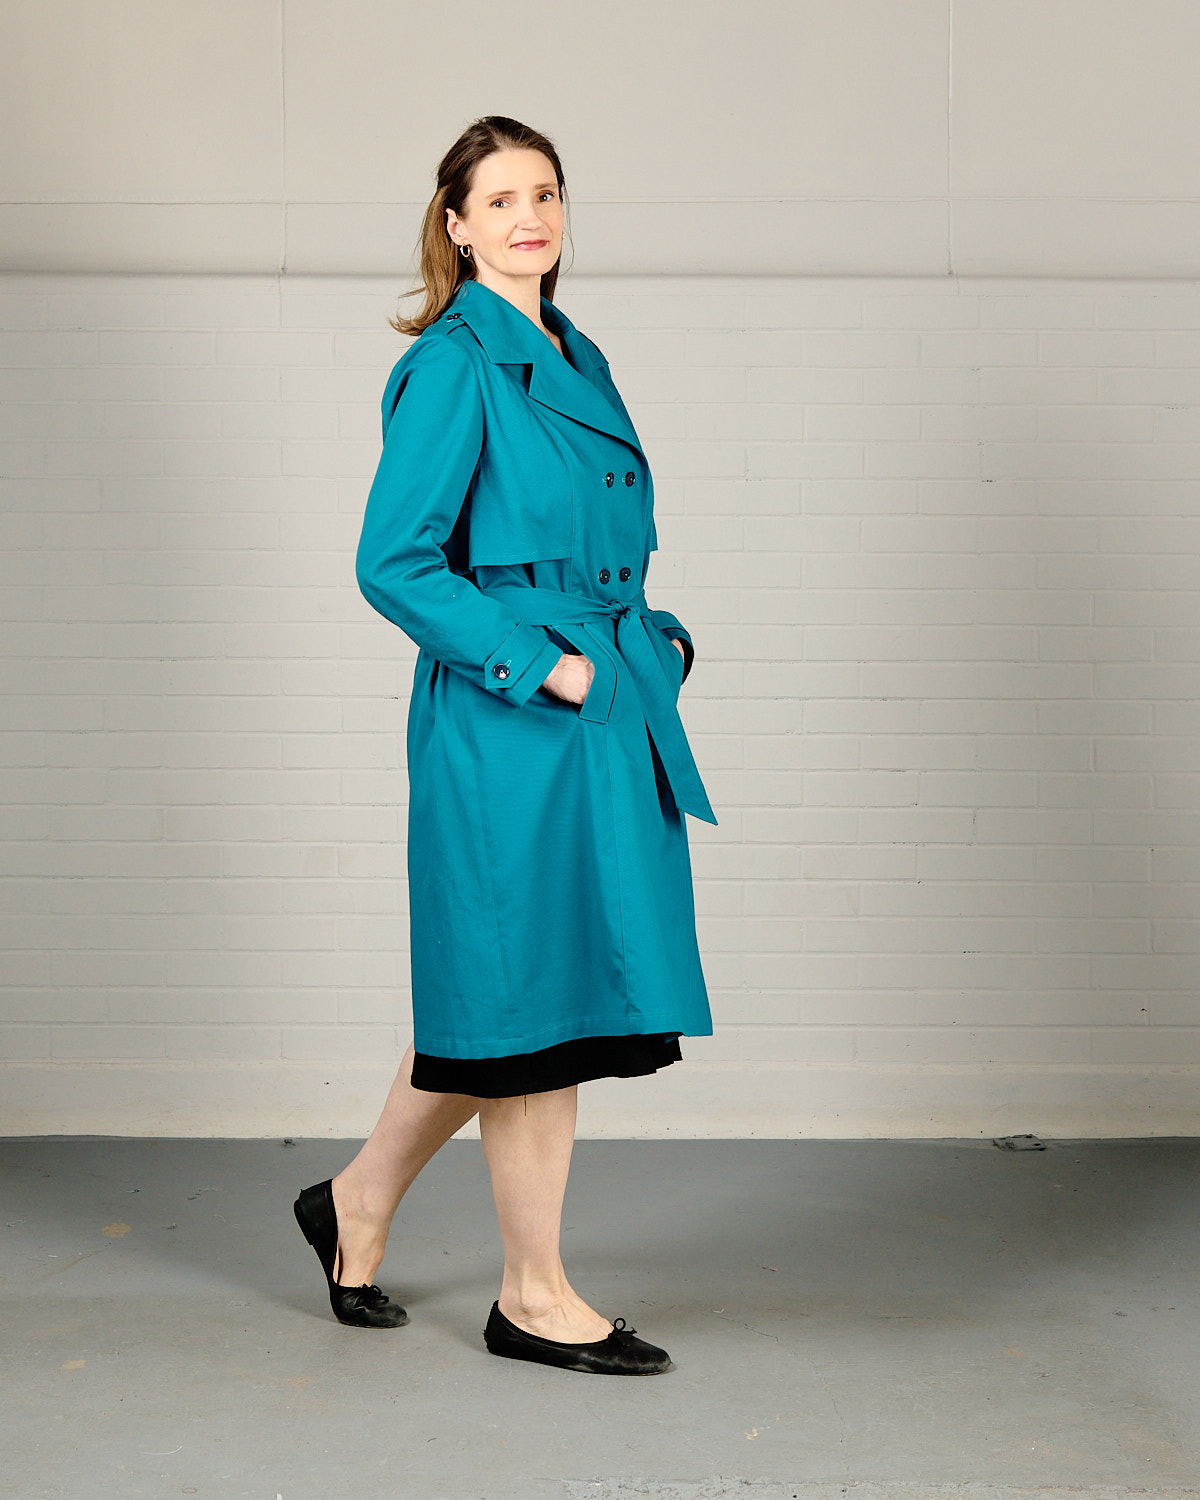
With all of my pattern adjustments complete, I was ready to cut my fabric and start sewing. I already own a ready-to-wear beige trench coat, so I wanted to sew a trench coat that would pop! I chose a peacock blue 100% cotton gabardine, and I love it! Now I’ll be ready for all of our rainy days this fall.

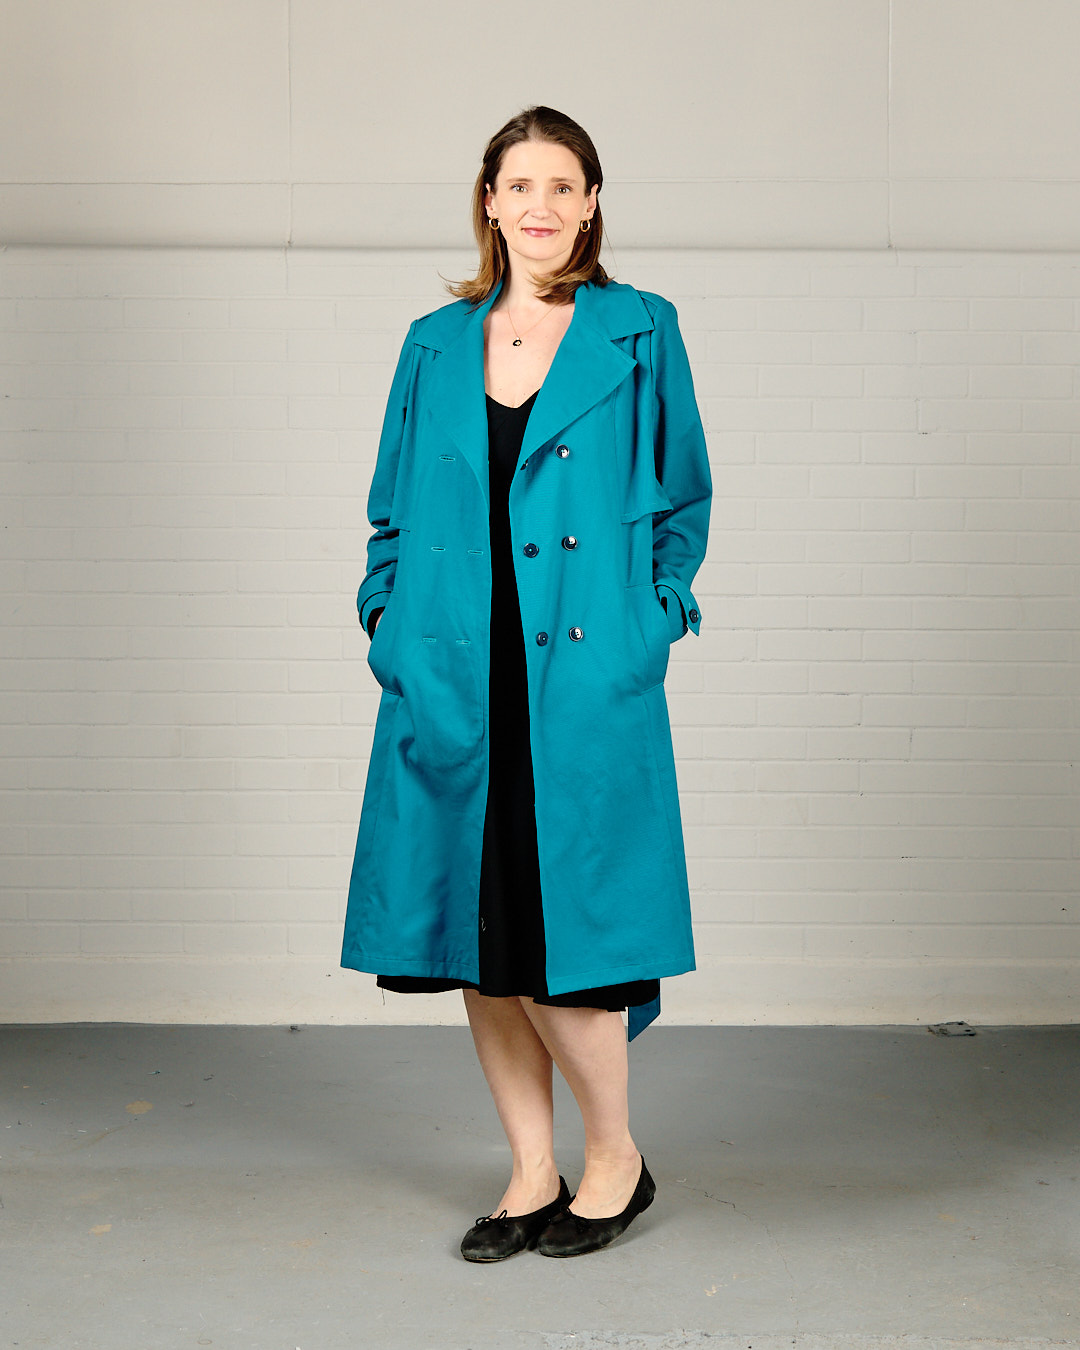


I love it- the color it so cheerful for dreary days. And great job on the fitting- thanks for the detailed explanation of your process.
Thanks, Lisa! I love the color, too.