I have not had much time at all for sewing recently. I was pulled back into it earlier this year due to the fact that it’s nigh on impossible to find ready-to-wear dresses that fit my tall and slender 11-year-old daughter.
I had purchased the stretch velvet fabric in the fall with the idea of making a simple gathered-waist t-shirt dress. But then I saw my sister-in-law wearing a sleeveless knit column dress with a turtleneck and inspiration struck.
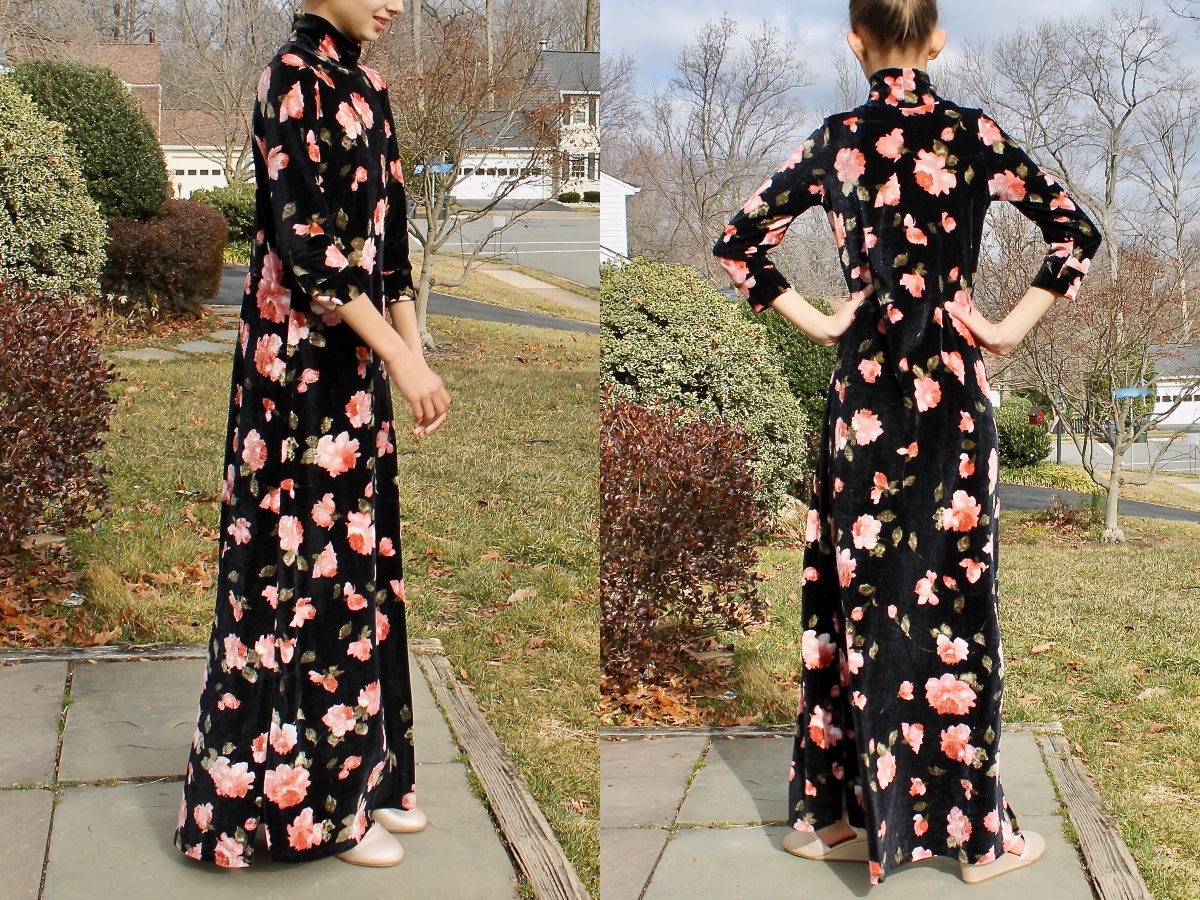
I envisioned something similar for my daughter, but I wanted her dress to have a little more shape than a column dress. I decided to achieve that with a waist seam and an A-line skirt. I sketched my plan out for her, and she enthusiastically agreed.
Next it was time to draft the pattern. My building blocks were the School Bus T-Shirt pattern and our turtleneck drafting tutorial.
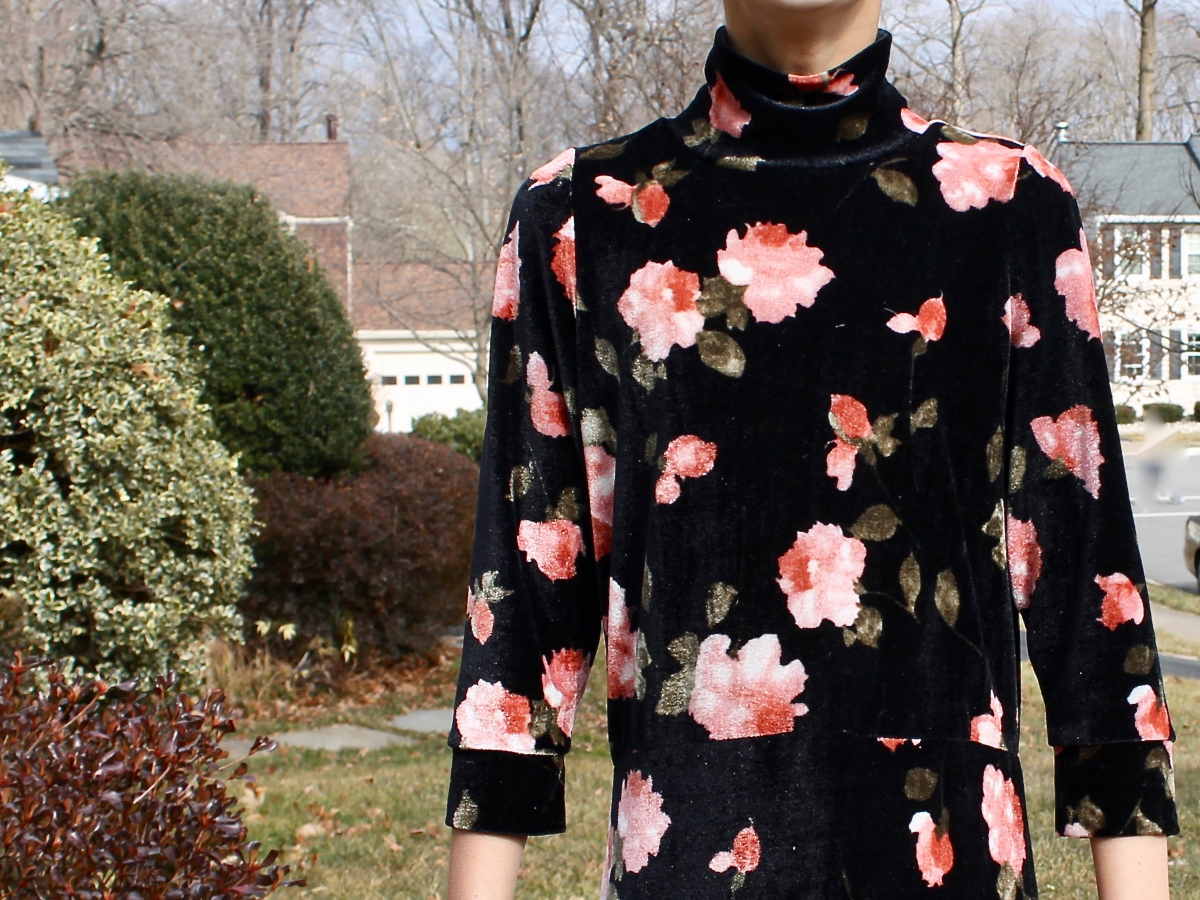
Based on the size chart, I mashed up the size 7 and the size 12. I used the size 7 width, but extended the height of the shoulder (and armscye) to the 12. I also used the size 12 neckline and the size 12 sleeves, which I made 3/4 length and finished with simple cuffs.
For length, I simply measured from my daughter’s shoulder to the spot that I wanted the bodice seam to hit on her torso, and cut the top to that length. In this case, that was 15″.
I used the method from our turtleneck tutorial to draft the turtleneck pattern. I cut my turtleneck piece the length of the size 12 neckband and 6 1/2″ high, and tapered it in 1/2″ on either side so that it would sit nicely at the top (the tutorial describes how to do this). After folding over and attaching, this left me with a 3″ high turtleneck, which was exactly the right height.
Then I measured how long I wanted the skirt to be. I cut it at 37″ (which turned out to be a tad bit long, even after a 3/4″ hem). I didn’t want any gathering, so I cut the waist to the same width as the bottom of the bodice (15″ for each piece) and flared it out as wide as my fabric would allow (about 28″ in this case).
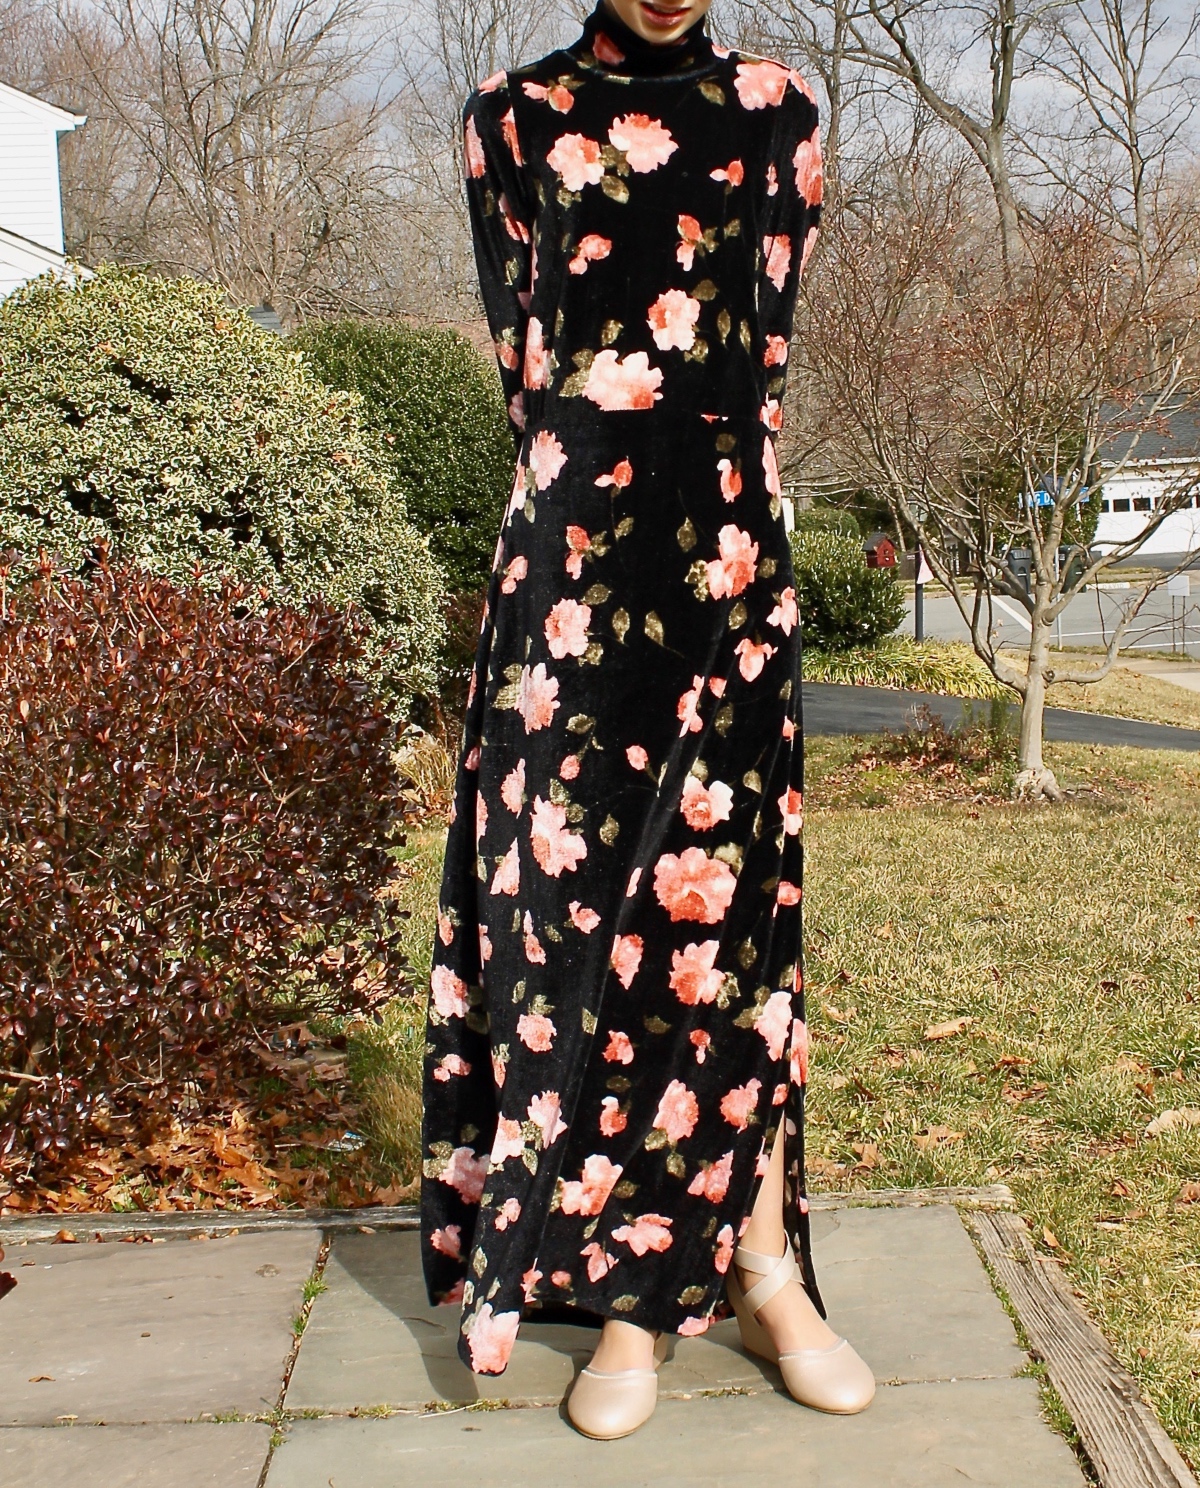
I sewed the side seams of the skirt from the top to 12″ from the bottom, to leave a 12″ slit on either side.
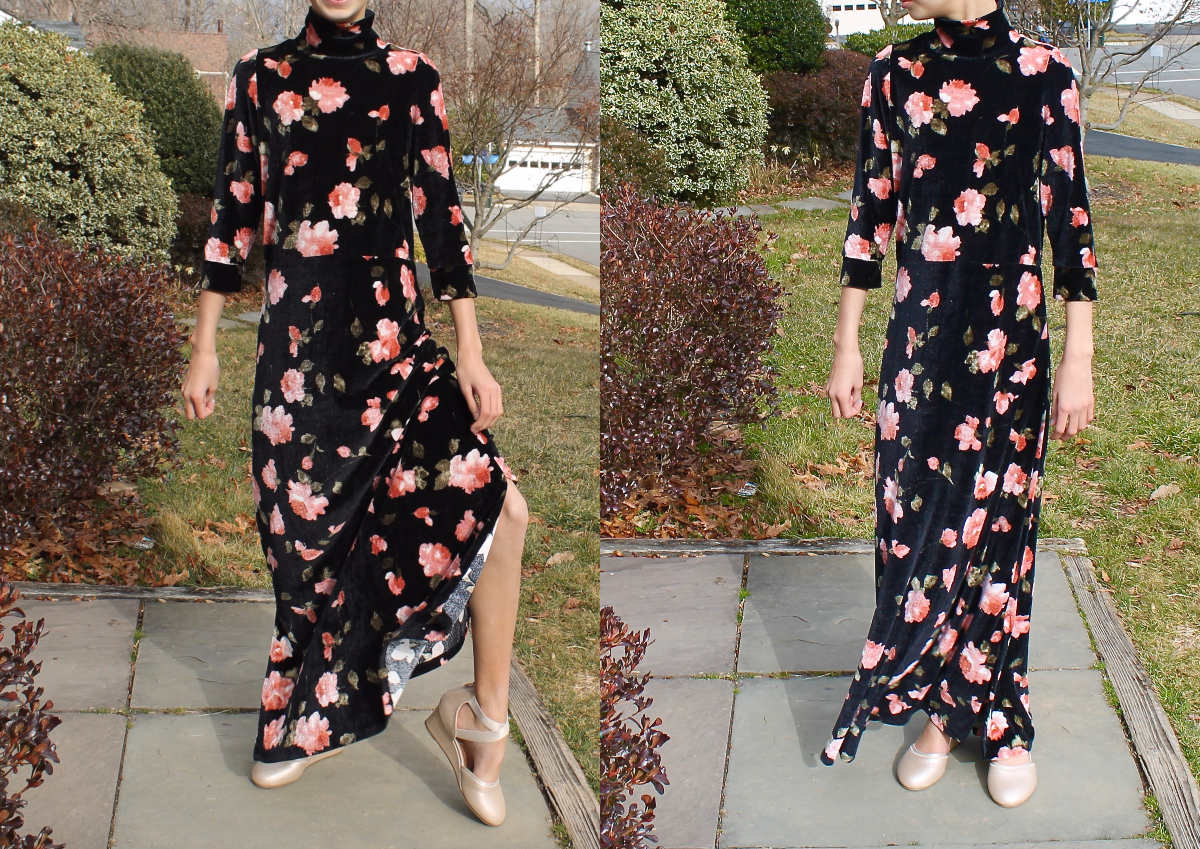
I’m quite pleased with the way it turned out. Despite being so simple to draft and sew up using the School Bus pattern, it feels very fancy and swishy. I do wish I had widened the shoulder about an inch. I also think that, actually, a slightly gathered skirt would have been nice.
But my daughter loves it. And that equals a successful garment on its own, doesn’t it?
This is so pretty. I love the fact that it looks very comfortable and fancy. The print is so pretty. I have to say finding maxi dress with sleeves ( even for adults) is so difficult. So I can definitely emphatize with you.
Good work!!!
I am so impressed by your expert drafting. Your daughter looks beautiful! Thanks for taking us through your process.
Do you have an advice on sewing with velvet?
I’m not an expert, but based on my experience, you want to be careful with pressing. You can lay a scrap of the same fabric under your piece, laid right sides together, to help the velvet keep its nap while you press. Other than that, I used a regular foot and the needle that was already in my machine (microtex, I think). I’ve read tips about putting some tissue under the presser foot to help keep it from crushing the velvet, but I didn’t have any problems with that. I hope that is helpful!
Yes it is helpful. Thank you 🙂
I love this dress and the ways you made it perfect for your daughter. The velvet print is so sophisticated in a way that is perfect for an 11 yr. old.
I made a velveteen dress for a relative at Christmas and found that my felted ironing pad worked very well for gently pressing on the wrong side.
Thank you, Beth!