

Fitting is probably my very favorite sewing-related topic. I am a true fitting nerd. I’m drawn to pattern reviews that talk measurements and adjustments (and I get frustrated when these details aren’t included, if I’m being honest).
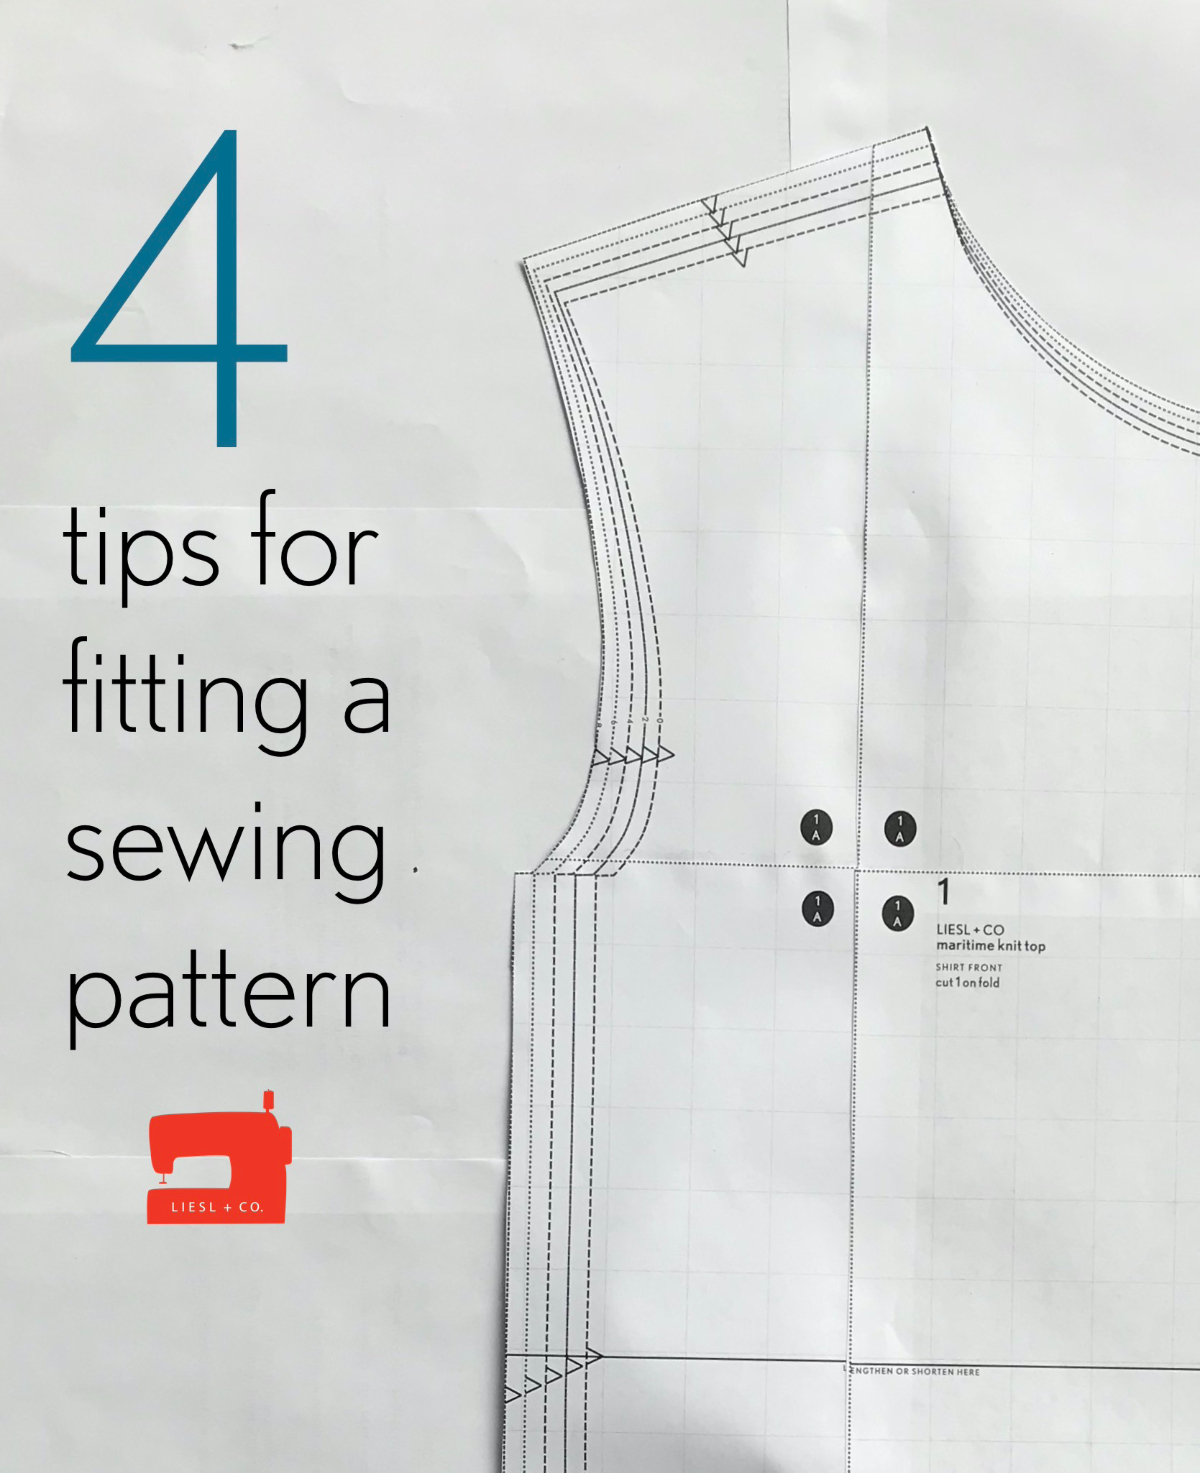
4 tips for fitting a sewing pattern
Here on this blog, my goal is to provide as much fitting information as possible, to demystify the process. We have a wealth of tutorials and posts about fitting, including our Fitting Room blog series.
But if you’re just learning to fit yourself, that might feel like too much information. So today, I wanted to share just my top tips for fitting a sewing pattern.
1. Start small
Fitting is about determining your preferences. You don’t have to adjust everything; heck, you don’t have to adjust anything if you don’t want to. If you like the way it fits, great, you’re done! If not, choose one area to start with and go from there.
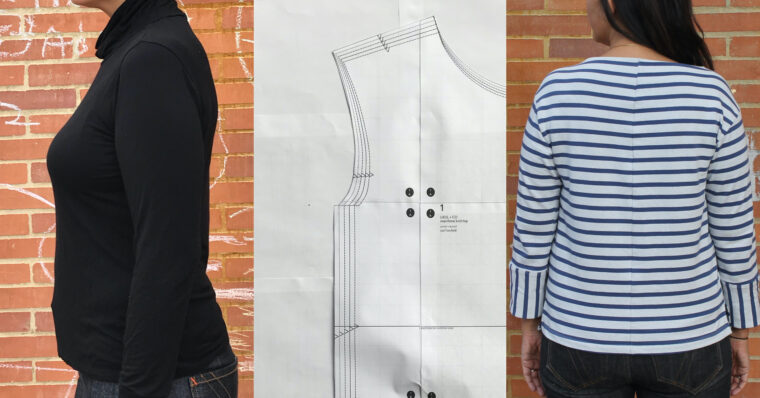
Me, I always focus on the shoulder and/or bust fit first. In fact, for a long time, the bust was the only thing I ever adjusted. Since then, I’ve learned that there are some other areas I should check on a garment. Despite that, I still have several shirts from those early days that fit quite well, and that I wear often.
If you need help with this, we have a number of bust adjustment tutorials, including how to move a bust dart, how to do a dartless pivot-and-slide bust adjustment, how to add a bust dart to a pattern. If you’re sewing a Liesl + Co. pattern, many of them already include full bust adjustment instructions.
2. Make a muslin
I’m not one of those people who thinks you should always make a muslin. I am more likely to make a muslin on a garment that is put together differently than I’m used to. For example, I rarely muslin a button-front shirt anymore, but I made a bodice muslin when I sewed the Saint-Germain Wrap Dress because I’ve never sewn anything with that sort of shape before and I wasn’t sure whether I’d be able to make adjustments on the fly.
That said, if you’re sewing something unfamiliar, or if you really just don’t have any idea how something will fit, definitely make a muslin. It doesn’t take long and, if you have an old sheet or unloved quilting cotton yardage laying around, it doesn’t cost you much either. We have a post on making a muslin here.
3. Take notes
A year from now, you won’t remember how big an FBA you did on that shirt you just sewed, nor how much you lengthened that skirt. But at some point, you may want a point of reference, so save that information!
I post about my garments on my personal blog, including all relevant fitting details and measurements so that I can refer to them later. If you don’t blog, try keeping a notebook with a few notes about your makes. As you build fitting knowledge, you will want to refer back these measurements. You will thank yourself later, I promise.
4. Don’t sweat the small stuff
Chances are, you’re never going to fit a garment to absolute perfection. There’s always going to be a wrinkle or a drag line that you don’t like. But remember, you made it. And that’s awesome. And I’m willing to bet that it fits you better than if you bought it in a store.
So there they are, my top tips. What about you? Are you already a fitting nerd with your own favorite tips? If so, please share them in the comments!
If you are just starting the journey of making customized clothing for yourself, what is the biggest challenge you face? Let’s talk fitting!