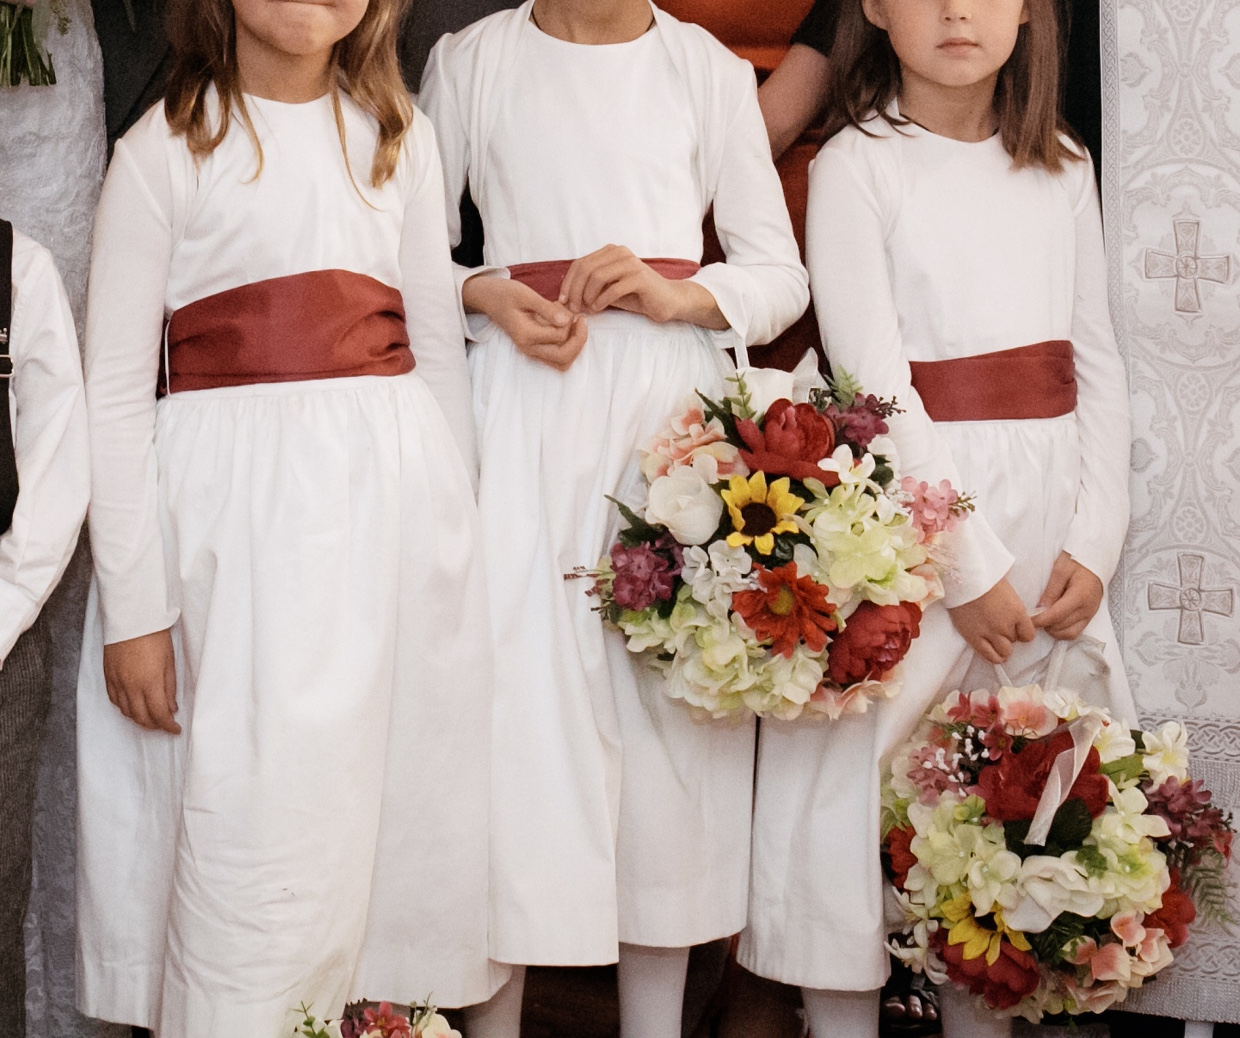
We have a fun project to share with you today. Masha is here to share the white flower girl Fairy Tale Dresses that she transformed into Christmas dresses. Take it away Masha.

Name: Masha
Where can we find you on the internet? Blog, Instagram
Project Details
Links to your projects: And Now For the Girls and Dress Enhancement
Pattern used: Oliver + S Fairy Tale Dress
Fabrics (and embellishments) used: Cotton sateen from Joann Fabrics, cotton voile (lining) from Mood Fabrics and glass beads (from Walmart) for embellishments.
Did the fabric (and embellishments) work well? Yes. I have worked with both the sateen and the glass beads before, and both are easy to sew/use.
How did the transformation go?
I actually sewed these dresses in 2016 as flower girl dresses for my brother’s wedding. We reused them for Christmas a year later, and I decided to embellish them with beads.
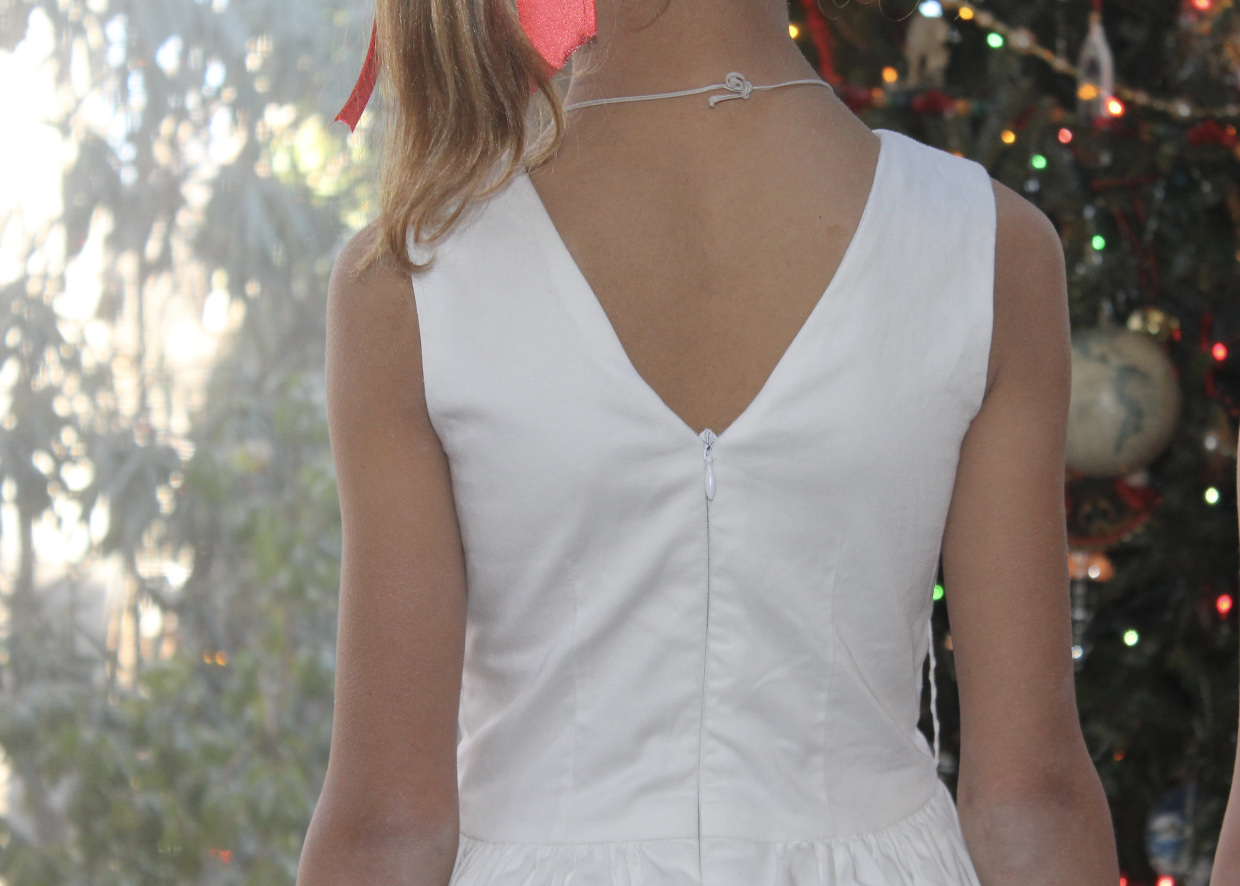
I also had to alter the back of my elder daughter’s dress because the zipper wouldn’t go all the way up anymore. I didn’t have much seam allowance to work with, as I had already let the dress out while sewing it the first time. So I zipped it up as far as it would go, and got the idea to just let the zipper stop there, and to change the shape of the back neckline to accommodate it. I envisioned a v-shape, and thought for a few days about how to do it. In the end, it was very simple. I just turned the dress back inside out, and on each side, sewed a diagonal line starting a couple of inches away from the center back neck, and ending where I wanted the point of my “v” to be. When I trimmed it, I made sure to leave at least half an inch of zipper tape inside the seam, so that it would not pull out. And because the zipper tape is sewn into the seam, I didn’t need to worry about making a new zipper stop.
For the beading: The small beads are easy to sew on as long as you have a hand sewing needle thin enough to pass through them. I secured the first bead to the dress without knots in the following way: To start a thread, I doubled my thread and passed the two ends through the needle. Then, working from the wrong side, I put my needle through both lining and outer, but did not pull it all the way through. On the right side, I put a bead on my needle, then stitched down through the outer fabric and the lining. On the lining side, I passed my needle back through the loop I had left, pulling snugly to tighten, before taking my next stitch. On the dress with the scattered beads, I tried to carry my threads in between the lining and the outer fabric as I moved to the next bead location on the bodice. I was not always successful, so there are some threads on the inside of the dress, but not enough to be scratchy.
I had planned to plot out where my beads would go with a disappearing ink pen, but when it came time to do so, 1) I couldn’t commit to an idea and 2) I was scared to mark up the fabric even testing out the pen on fabric beforehand. So I ended up just diving in. I started with the scattered bead dress by putting beads around the neckline, and then it evolved as I went. I probably would have beaded it more densely, had I had more time, but I needed to move on to the second dress. Again, I didn’t mark ahead of time, but just let my fingers decide as I went. It was a very enjoyable evening task while watching TV, and I think not having marks to match up with made the whole thing less stressful.
Because I knew this would be the last time my daughters would wear these dresses, I didn’t bother with making new sashes, but just bought some ribbon and used those for ties. We ended up leaving one of them off because we preferred the look without it.

What was the best part?
I was really happy to extend the life of a special occasion garment that had taken me so much time to sew the first time around. I also just really enjoy working with beads. I always think that it will take longer than it actually does, so I’ve only done it on special occasion garments so far. But a small bead design on a garment really doesn’t take much time. I’d like to do more of it in the future.
These look so pretty, Masha! I love the beading and your solution to alter the back to a v shape was perfect. It looks like it was designed that way!
What a great way to get more use from a pretty dress! And, I love white and gold. Very sophisticated. Nice work, Masha!
Beautiful work, and very ingenious. So many people would just give the dresses away; wonderful that you took the time to re-fashion them.
I simply love what you’ve done with these very sweet dresses. You’ve just inspired me for my granddaughter’s 2018 Christmas dress! I will add bead work to the bodice. A couple of snow flakes or Star of Bethlehem, if you will. I have a beautiful piece of deep red/almost maroon Pendleton wool that needs some dressing up. While I adore plaids and naturally they are the right thing to use at this time of year ( anyone know of forest green/dark red clan plaid name?), I think beading in the right placement could bring the design a little more forward in time. Though I could really mess it up. Any thoughts, ideas, cautions?