

Please join me in welcoming Lisa to the blog today! She is from Switzerland and is here with a tutorial on how to do English paper piecing, which she was kind enough to take the time to do. Thanks Lisa for this wonderful tutorial!
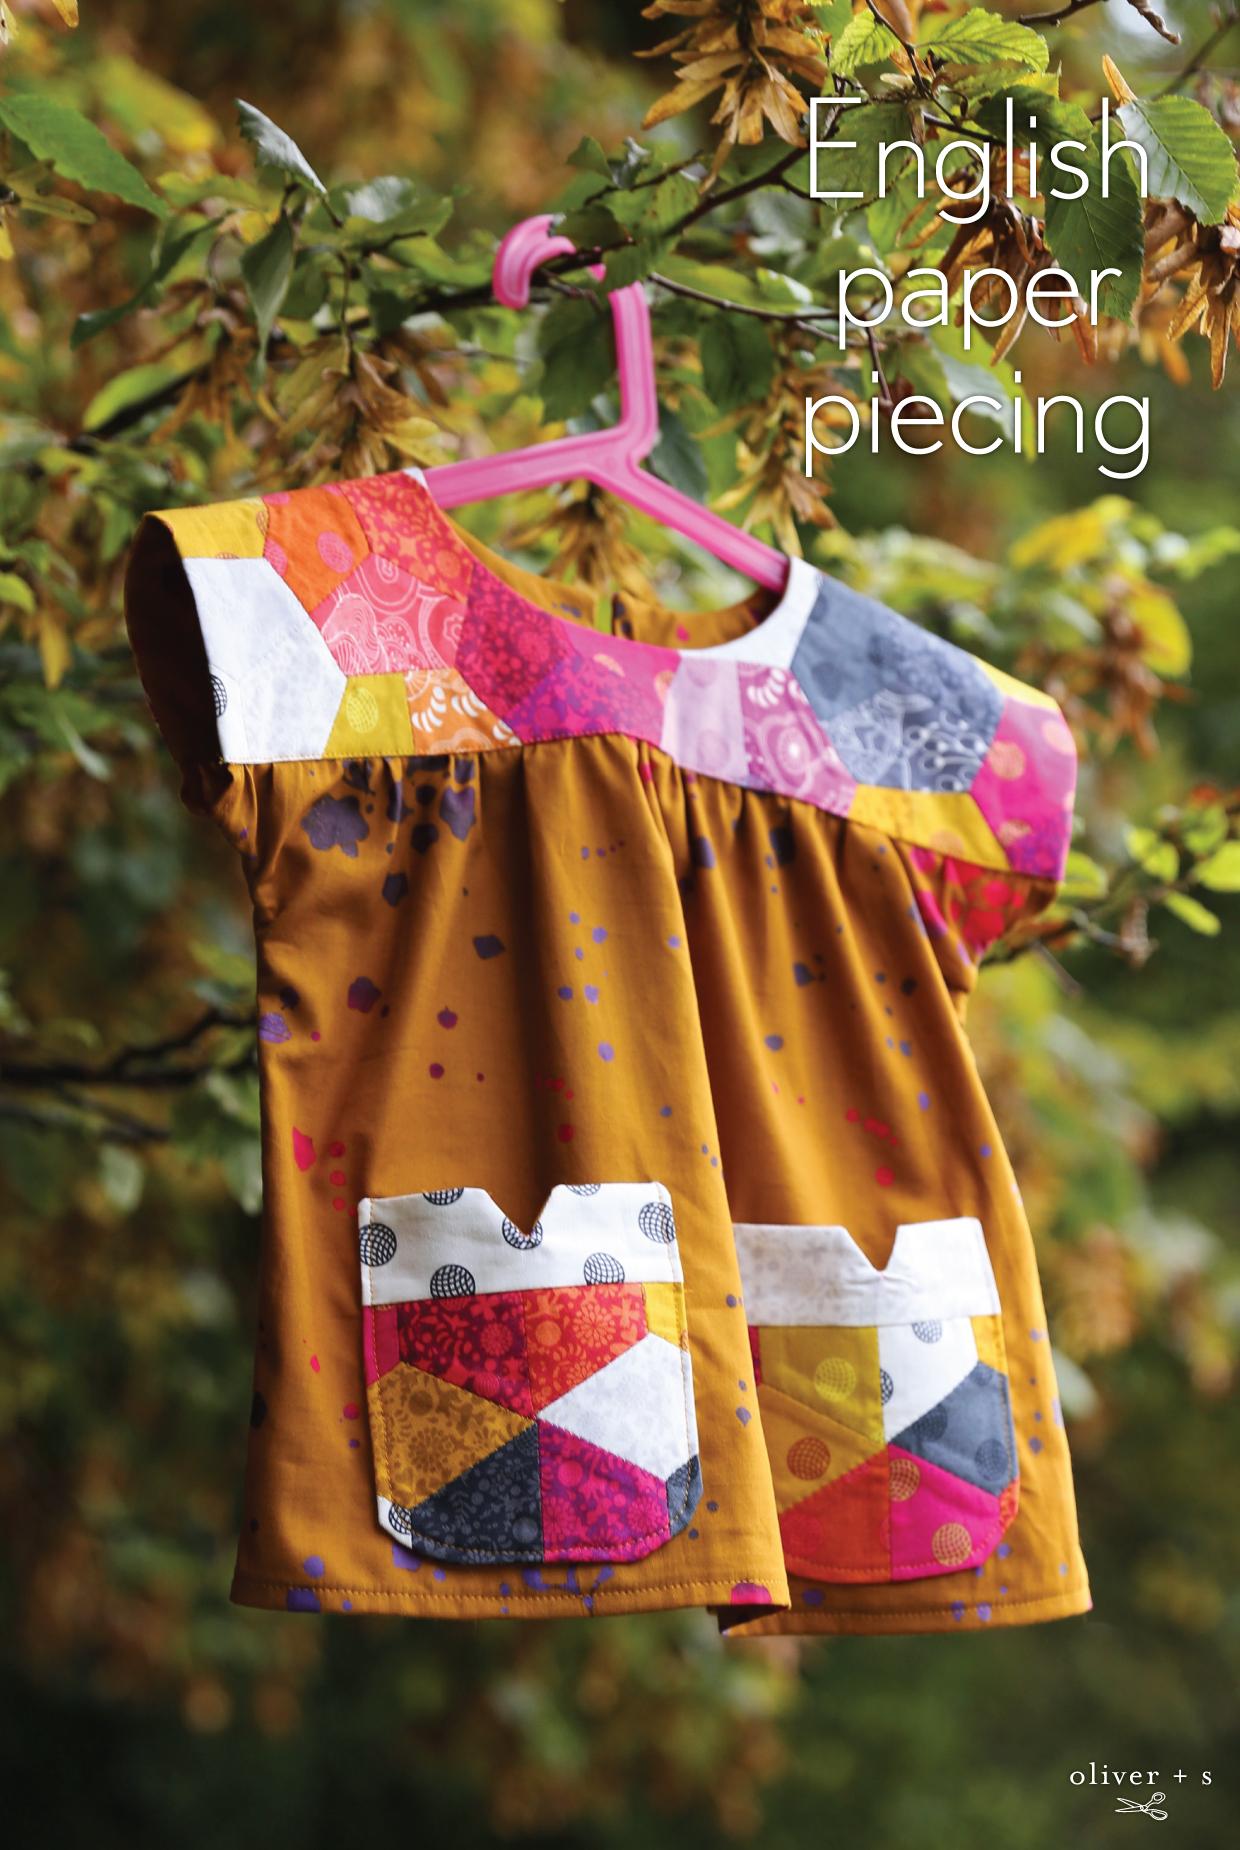
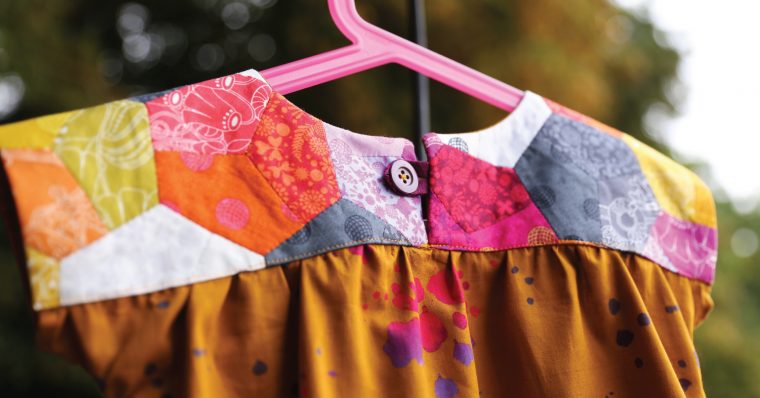
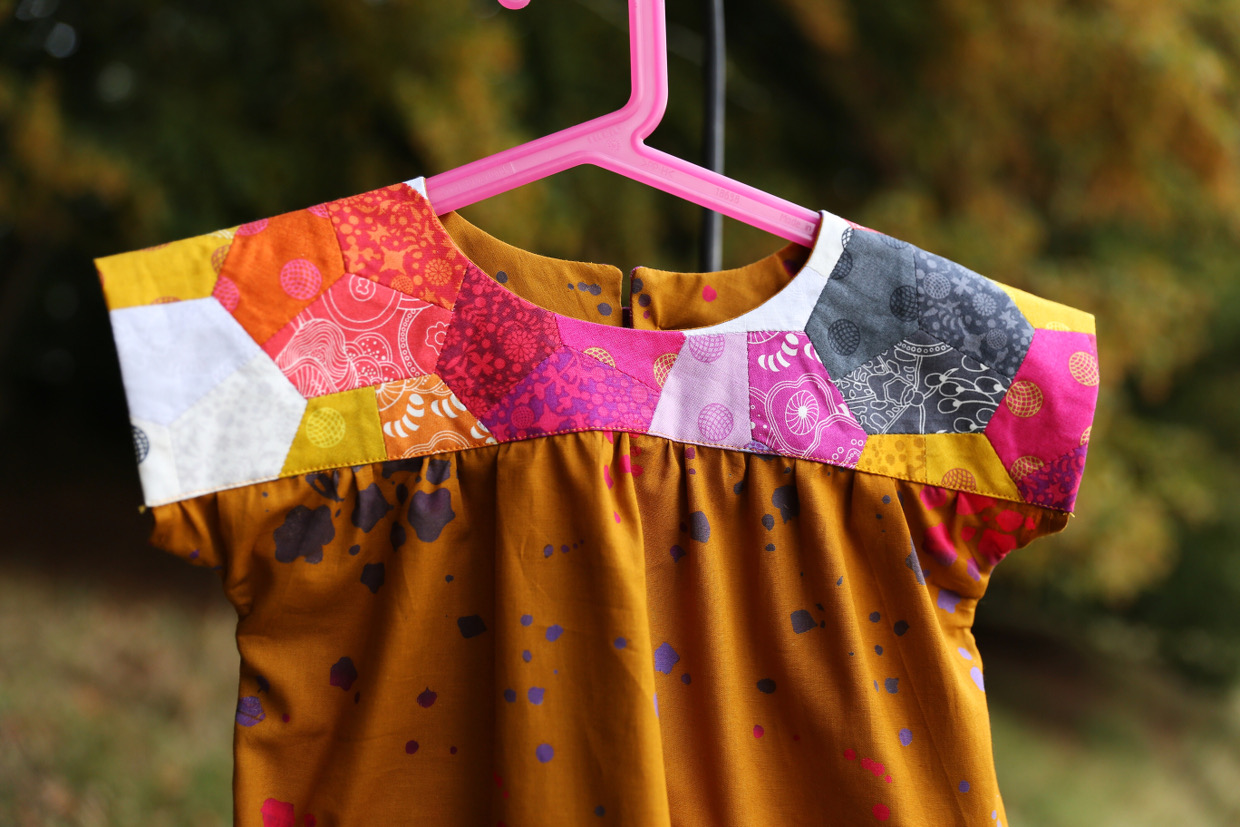
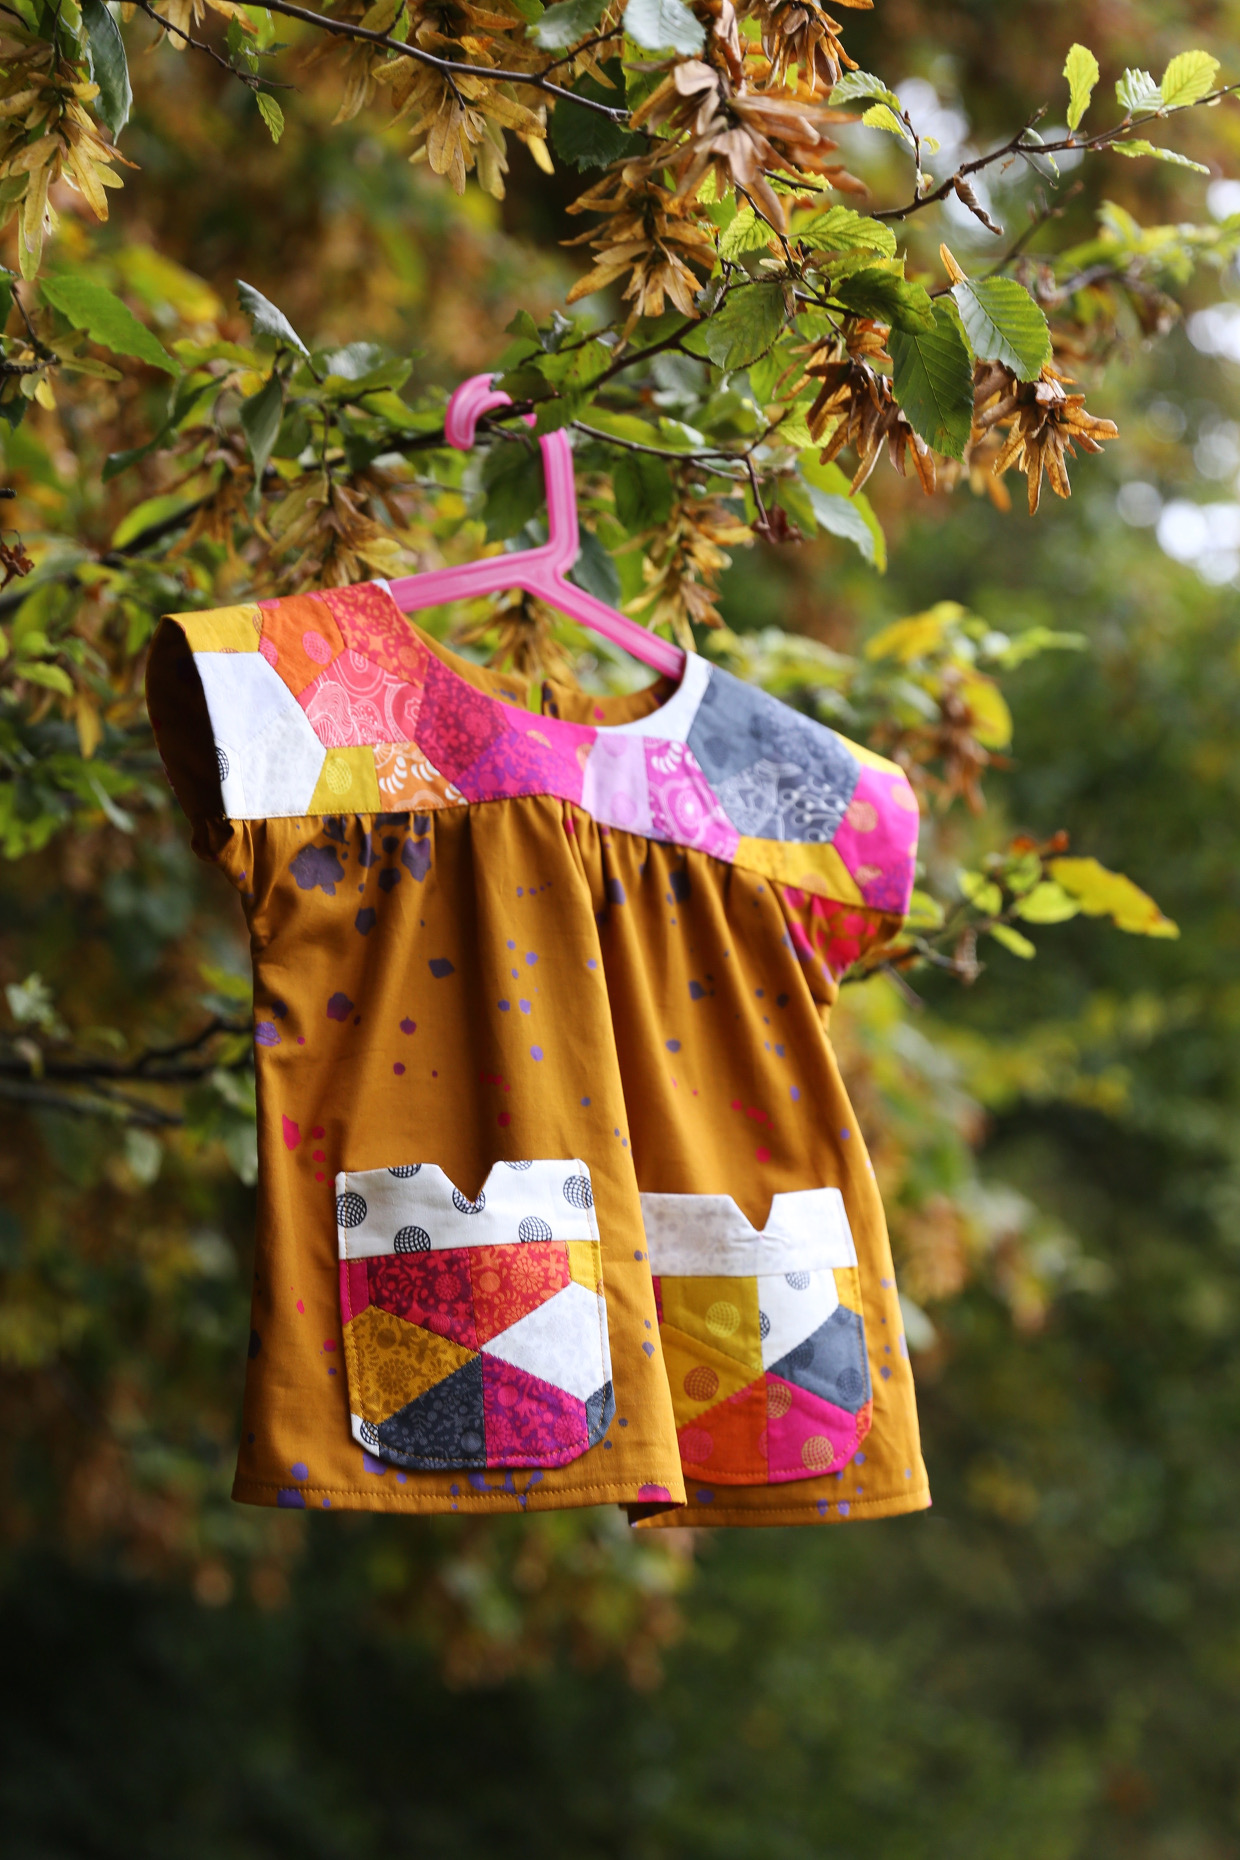
Hello fellow Oliver + S enthusiasts, this is Lisa from @sewwhatyoulove. Today I wanted to share a English paper piecing (epp) variation of the Ice Cream Dress I made for my daughter.

Before I caught the “quilting virus” I did sew a lot of dresses for my girls. So one day I had the idea of combining my two loves by adding some quilty highlights into my garments. I would love you to join in and design your own piece.

What you need:
- Epp papers (I used “Tales of Cloth” pre-cut papers)
- Cotton fabric scraps or fat quarters for the epp part, and yardage of matching fabric for the rest of the dress
- Hand quilting thread pick a color that will blend in with your fabrics
Light weight fusible interfacing - Glue stick (if you glue baste like I do)
- Fabric scissors or rotary cutter, and a ruler
- Hand quilting needle
- Paper scissors
- Iron
- Sewing machine (to assemble the dress)
- Pins
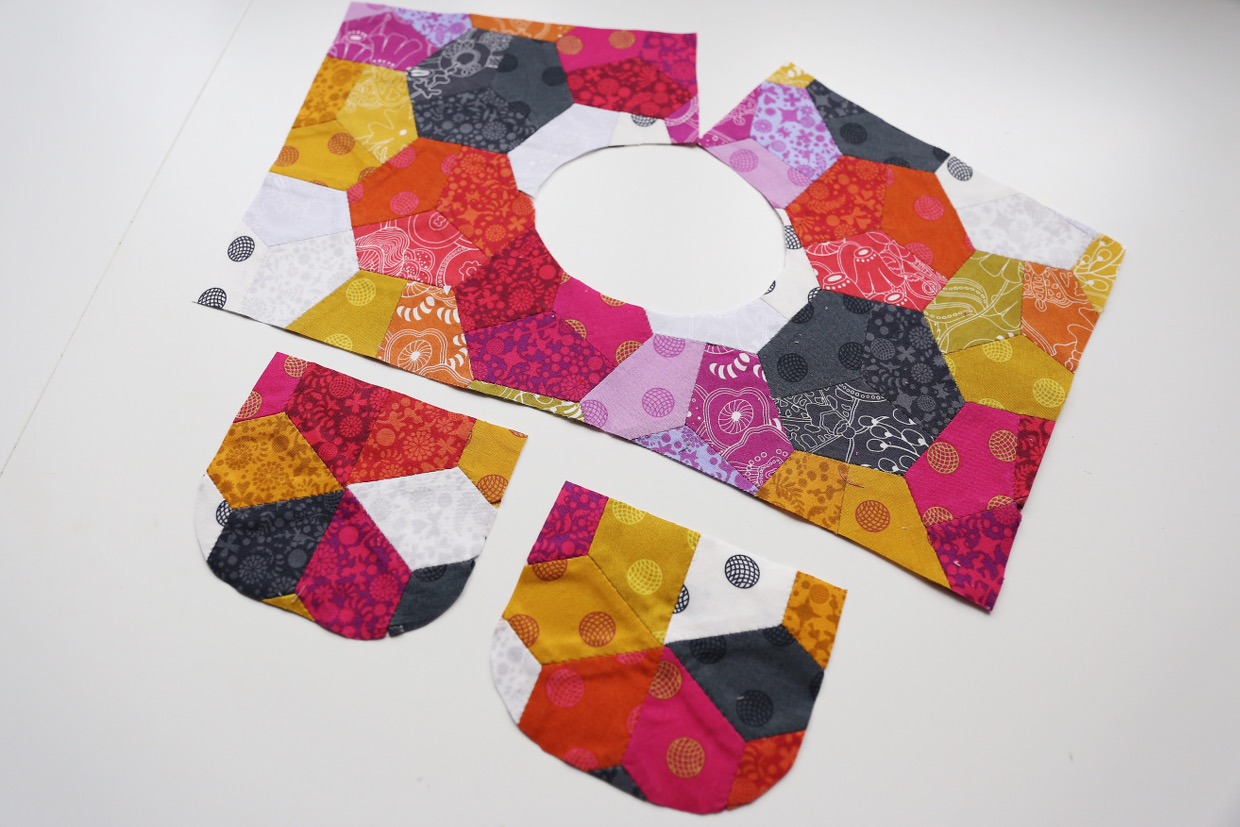
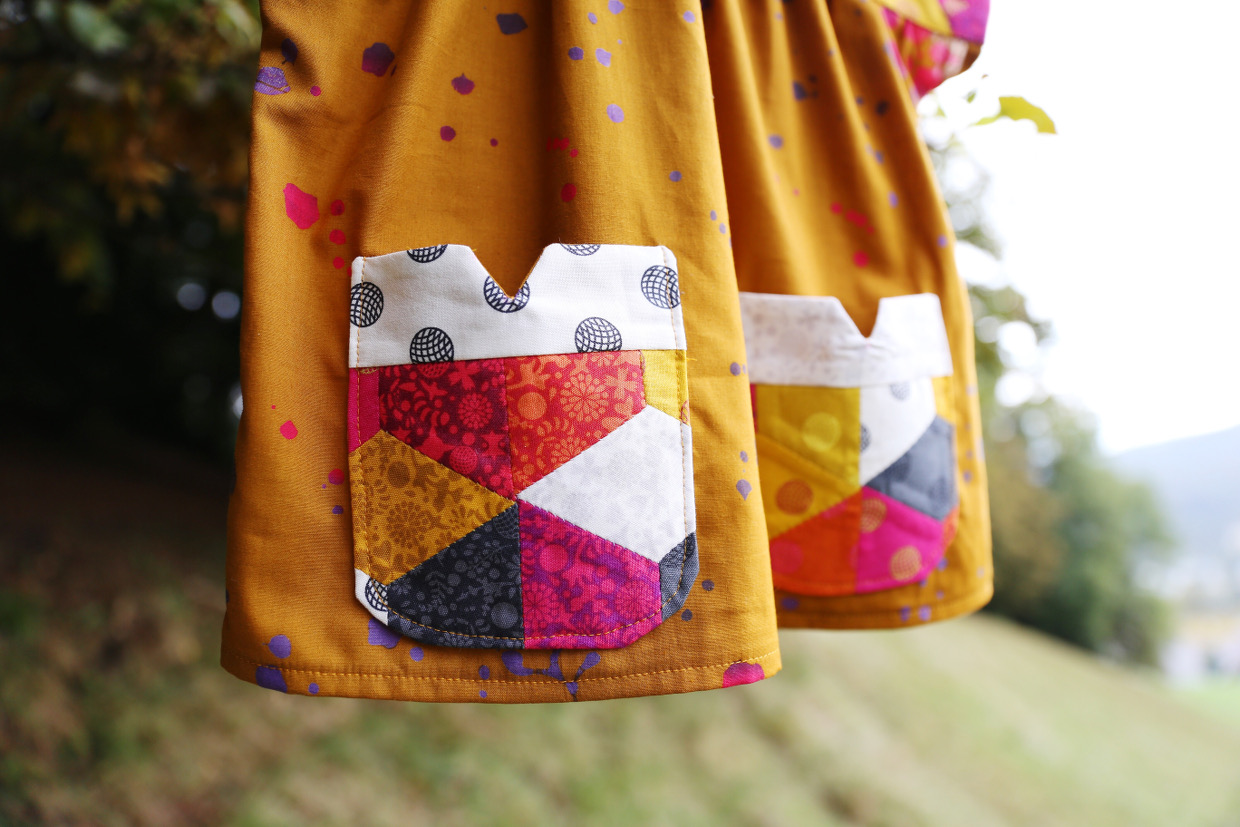
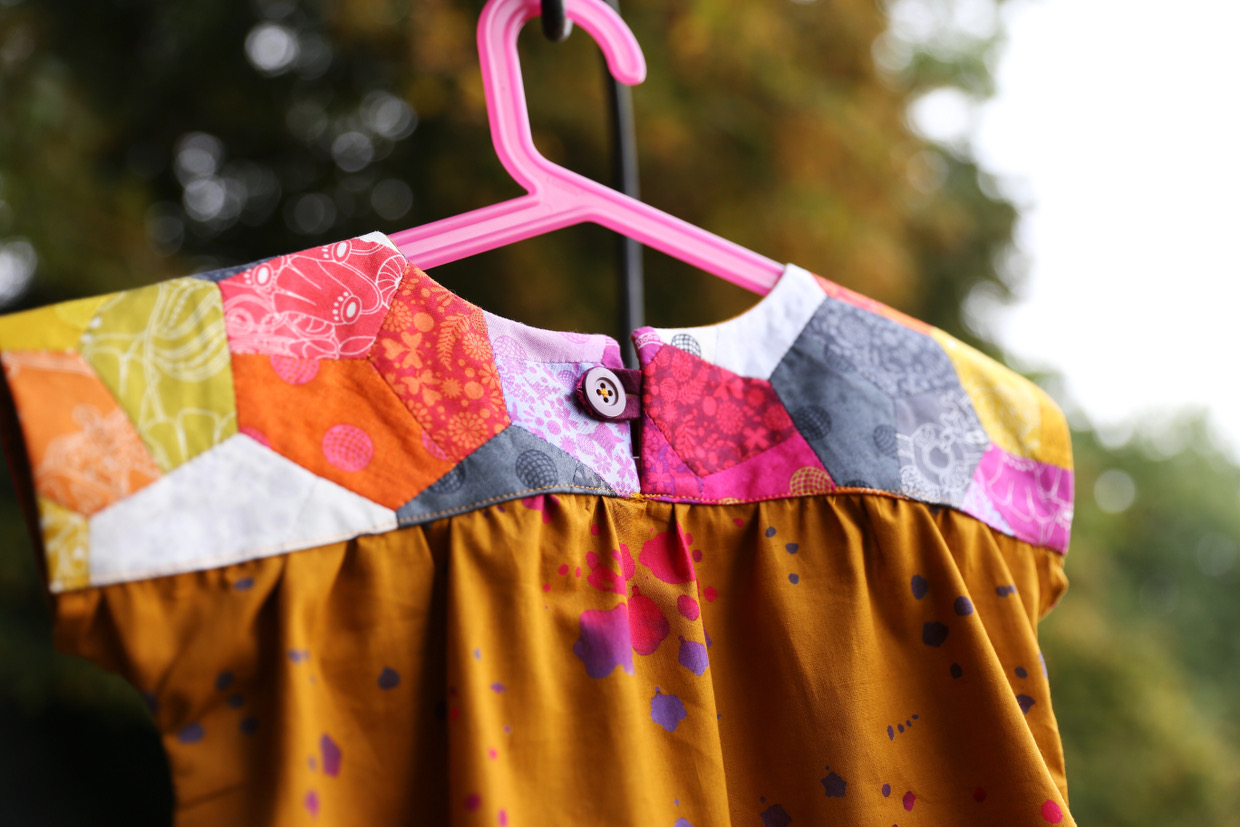
At first you need to choose what view you want to go with and what parts you would like to be paper pieced. I decided to make View C the blouse-length version of the dress with the optional matching pockets. And I decided to paper piece both the yoke and the pockets.
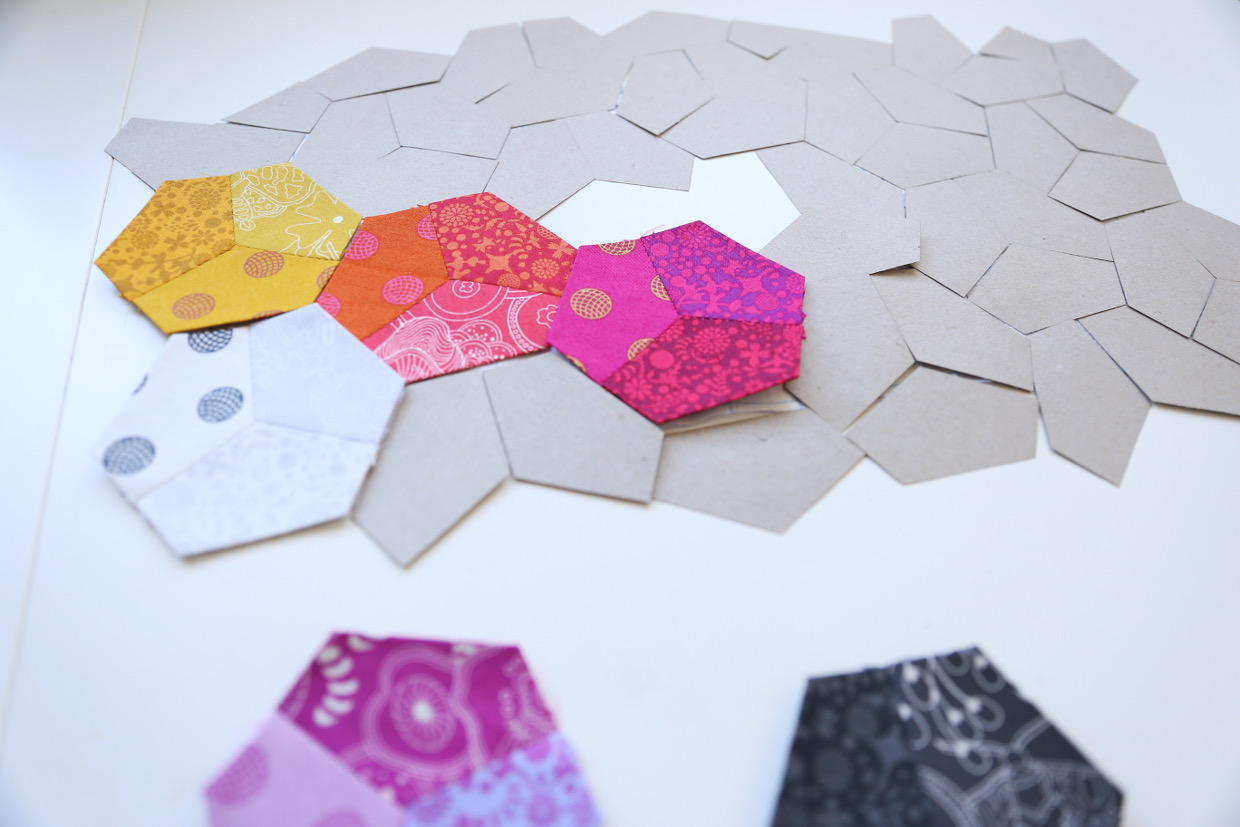
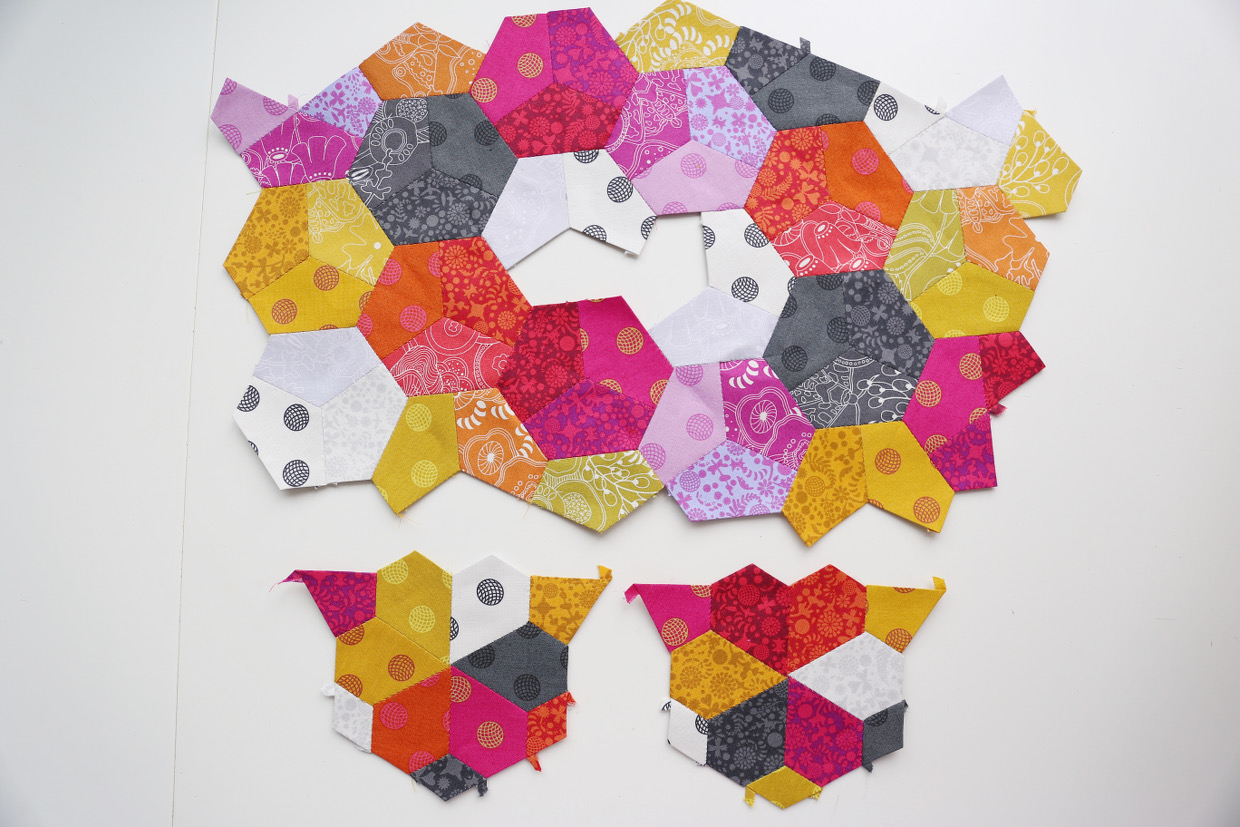
Select the yoke and pocket pattern pieces and get your epp paper shapes out. Now the fun of designing your own version can begin. Lay your pattern pieces flat on a table and cover them with your epp papers. I love pre-cut papers because you can just play around with the shapes until you love your layout.

Once you’re happy with your layout you can start basting your pieces. I glue baste my pieces, but you can do it your preferred way. If you are a novice to the basting process, there are great videos on YouTube to help you.
Hint: Take a picture of your layout prior to the basting process. If the pieces get mixed up while basting, the picture can help you get them back into the right place.
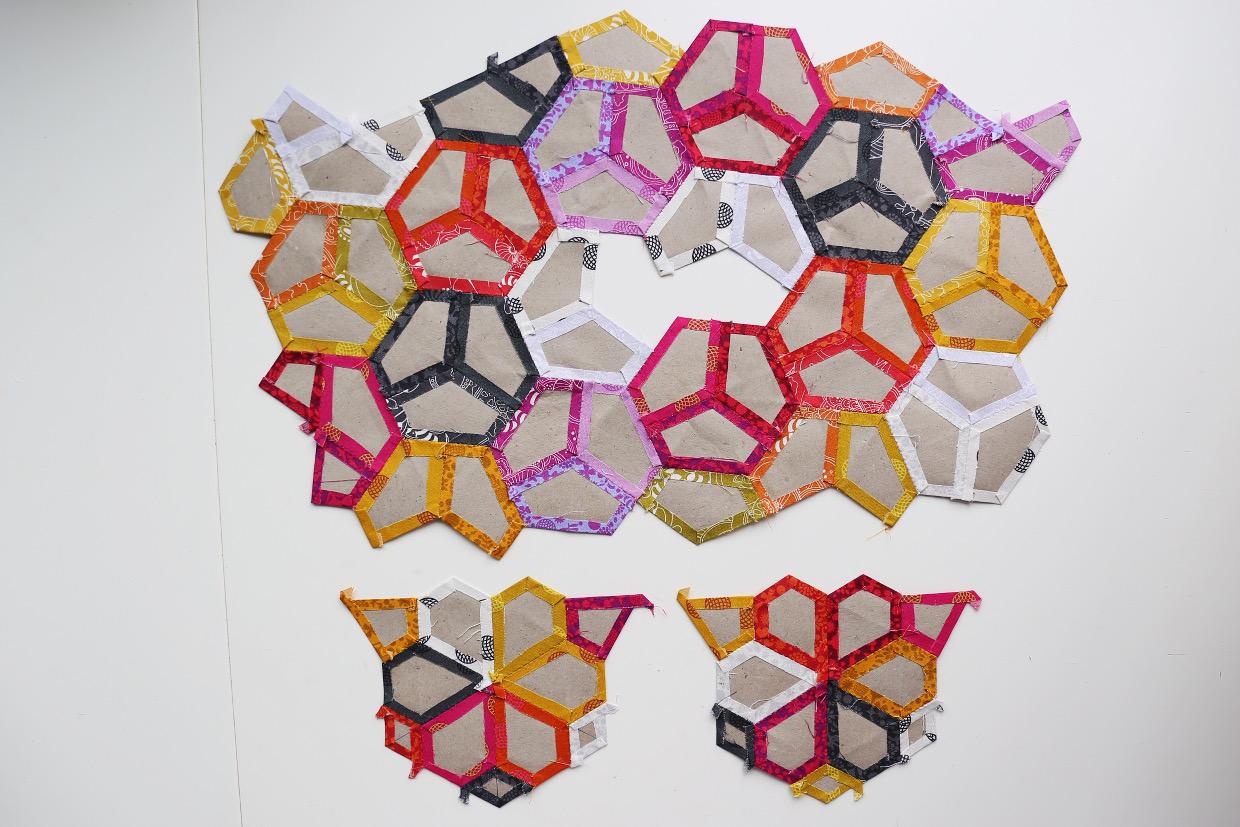
Once you are done basting you can start stitching your pieces together.
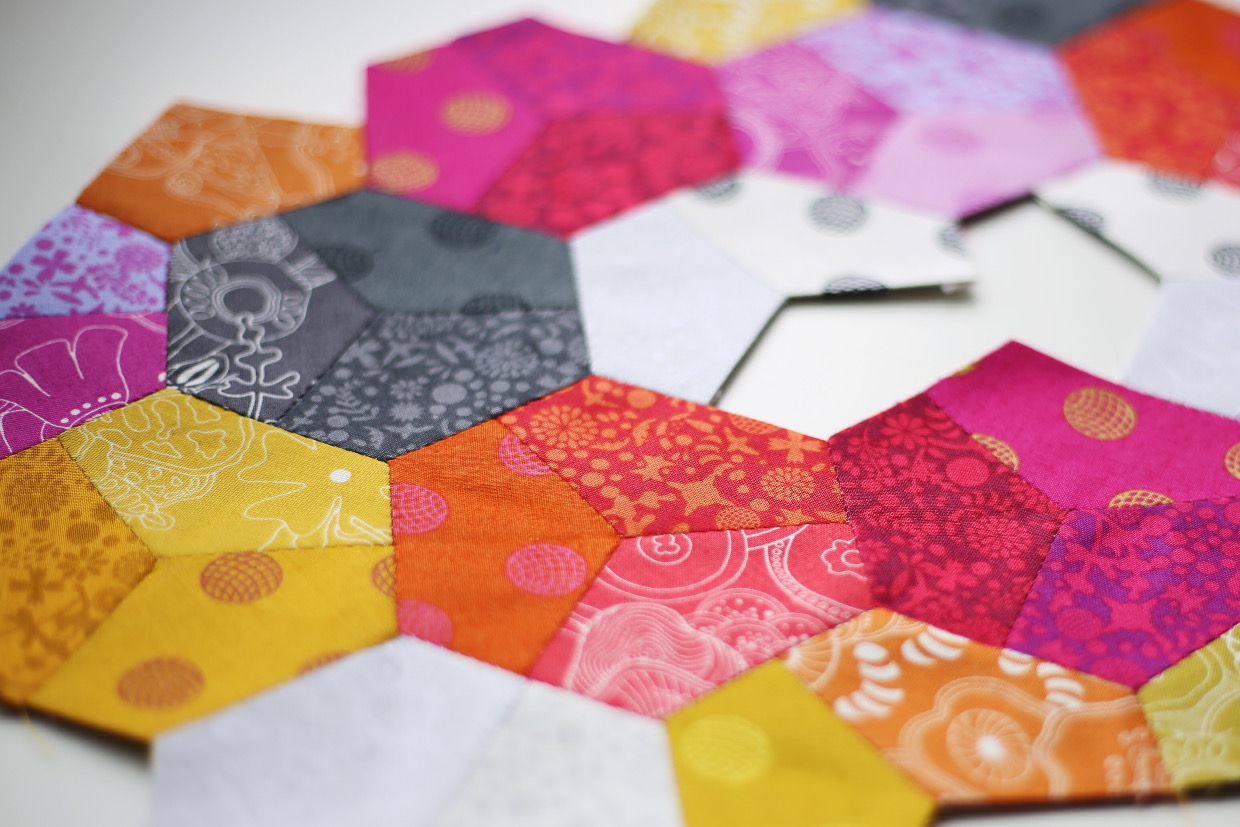
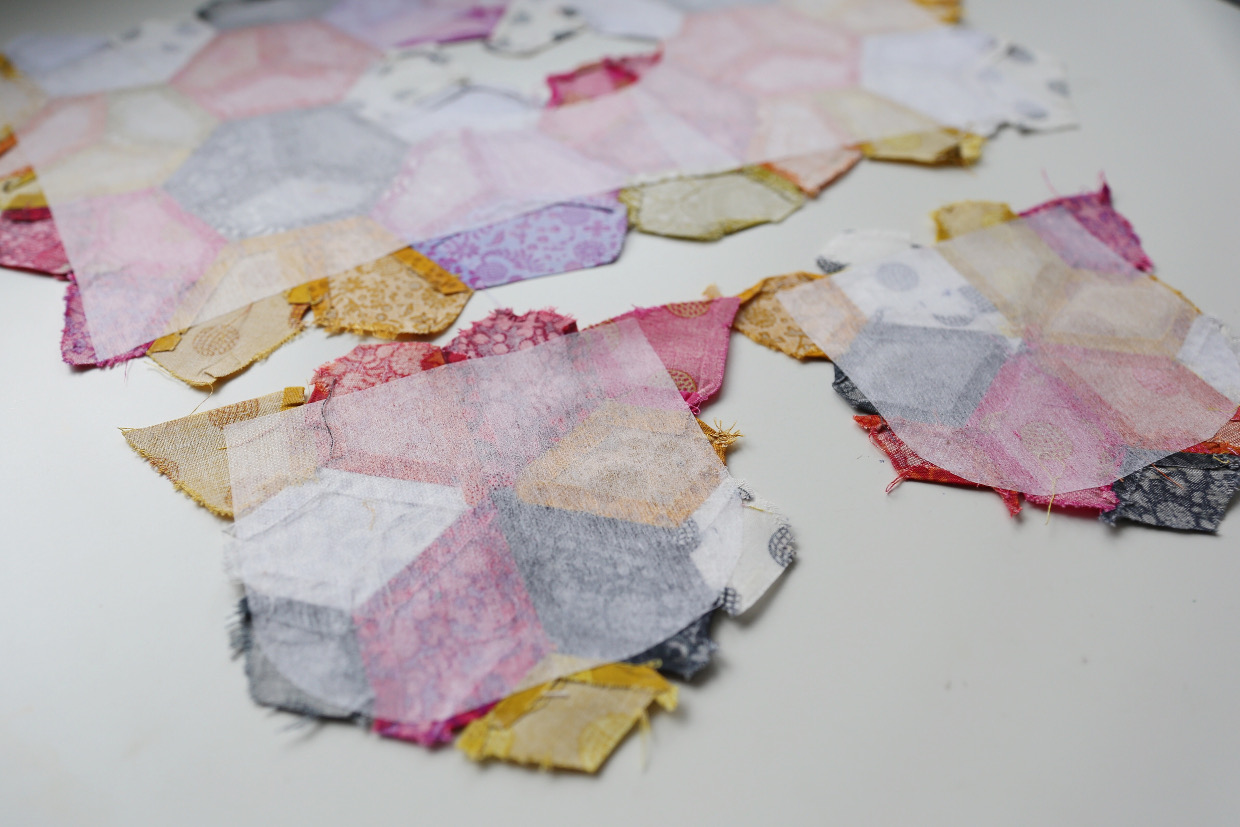
When you are done stitching all the paper pieces together take your pattern piece and see if it still fits on your epp piece or if you need to add a few more pieces.
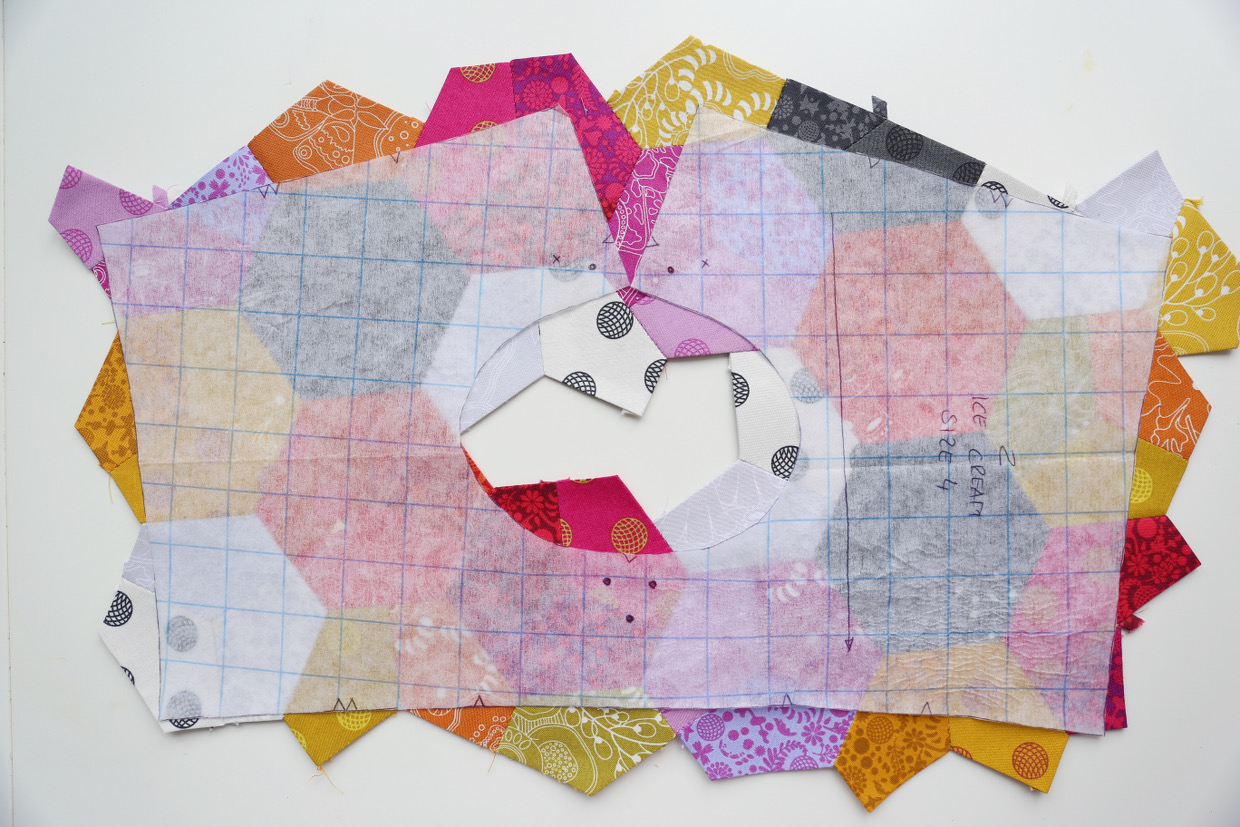
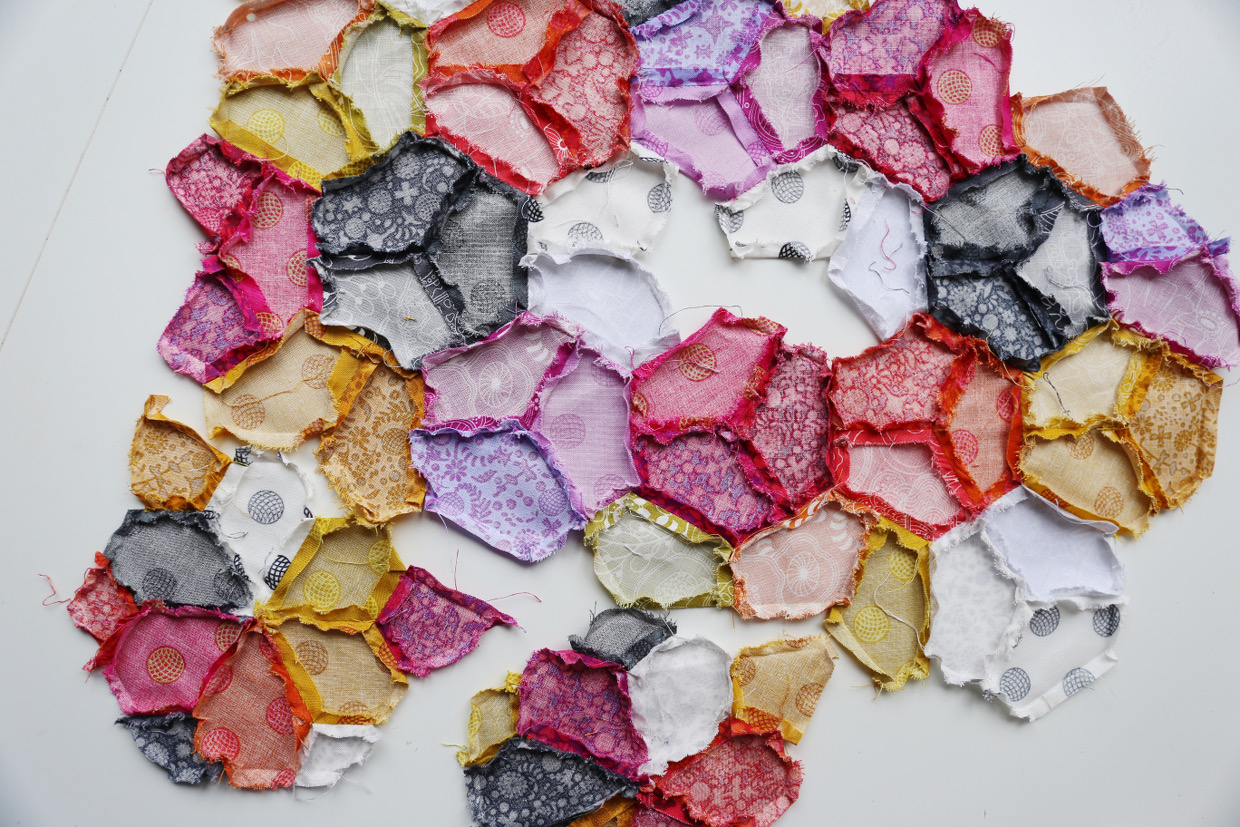
If it fits you can take the papers out and give it a good press with your iron. Now pat yourself on the shoulder because you accomplished the hardest part!
Next trace the outline of your yoke and pocket pattern pieces on light weight fusible interfacing and iron the interfacing on the wrong side of your pieced fabric. The interfacing will prevent your pieces from distortion.
Hint: When working with light weight fusible interfacing, I prefer to press rather then iron the interfacing on. I find pressing keeps the interfacing in the right shape.
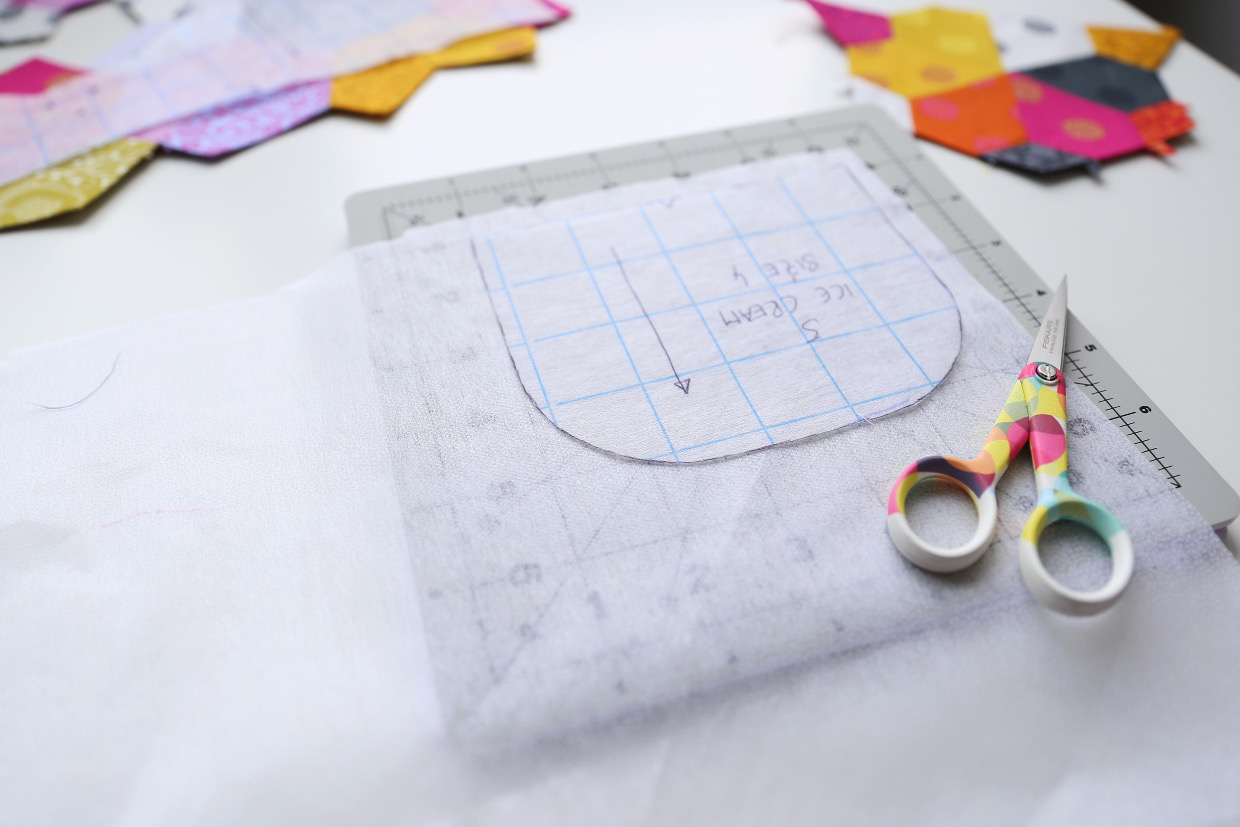
Afterwards cut along the outside of your ironed interfacing and you have your epp highlights ready to be integrated into the dress pattern.

Congratulations you’ve just made an eyecatcher that everybody will absolutely love!
If you have any questions along the way please don’t hesitate to ask!
You might have seen the other two dresses I made with the same technique for Jodi’s Shapefamily Challenge, the Hide-and-Seek Dress and the Music Box Jumper. As you can see you can adopt this technique to a lot of Oliver + S patterns. I’m already thinking of all the opportunities for cute matching Christmas dresses.

Happy sewing to you!
Thank you so much,
xoxo Lisa
If you would like more ideas on what to do with yokes, visit our Ten Yoke Tutorials post.