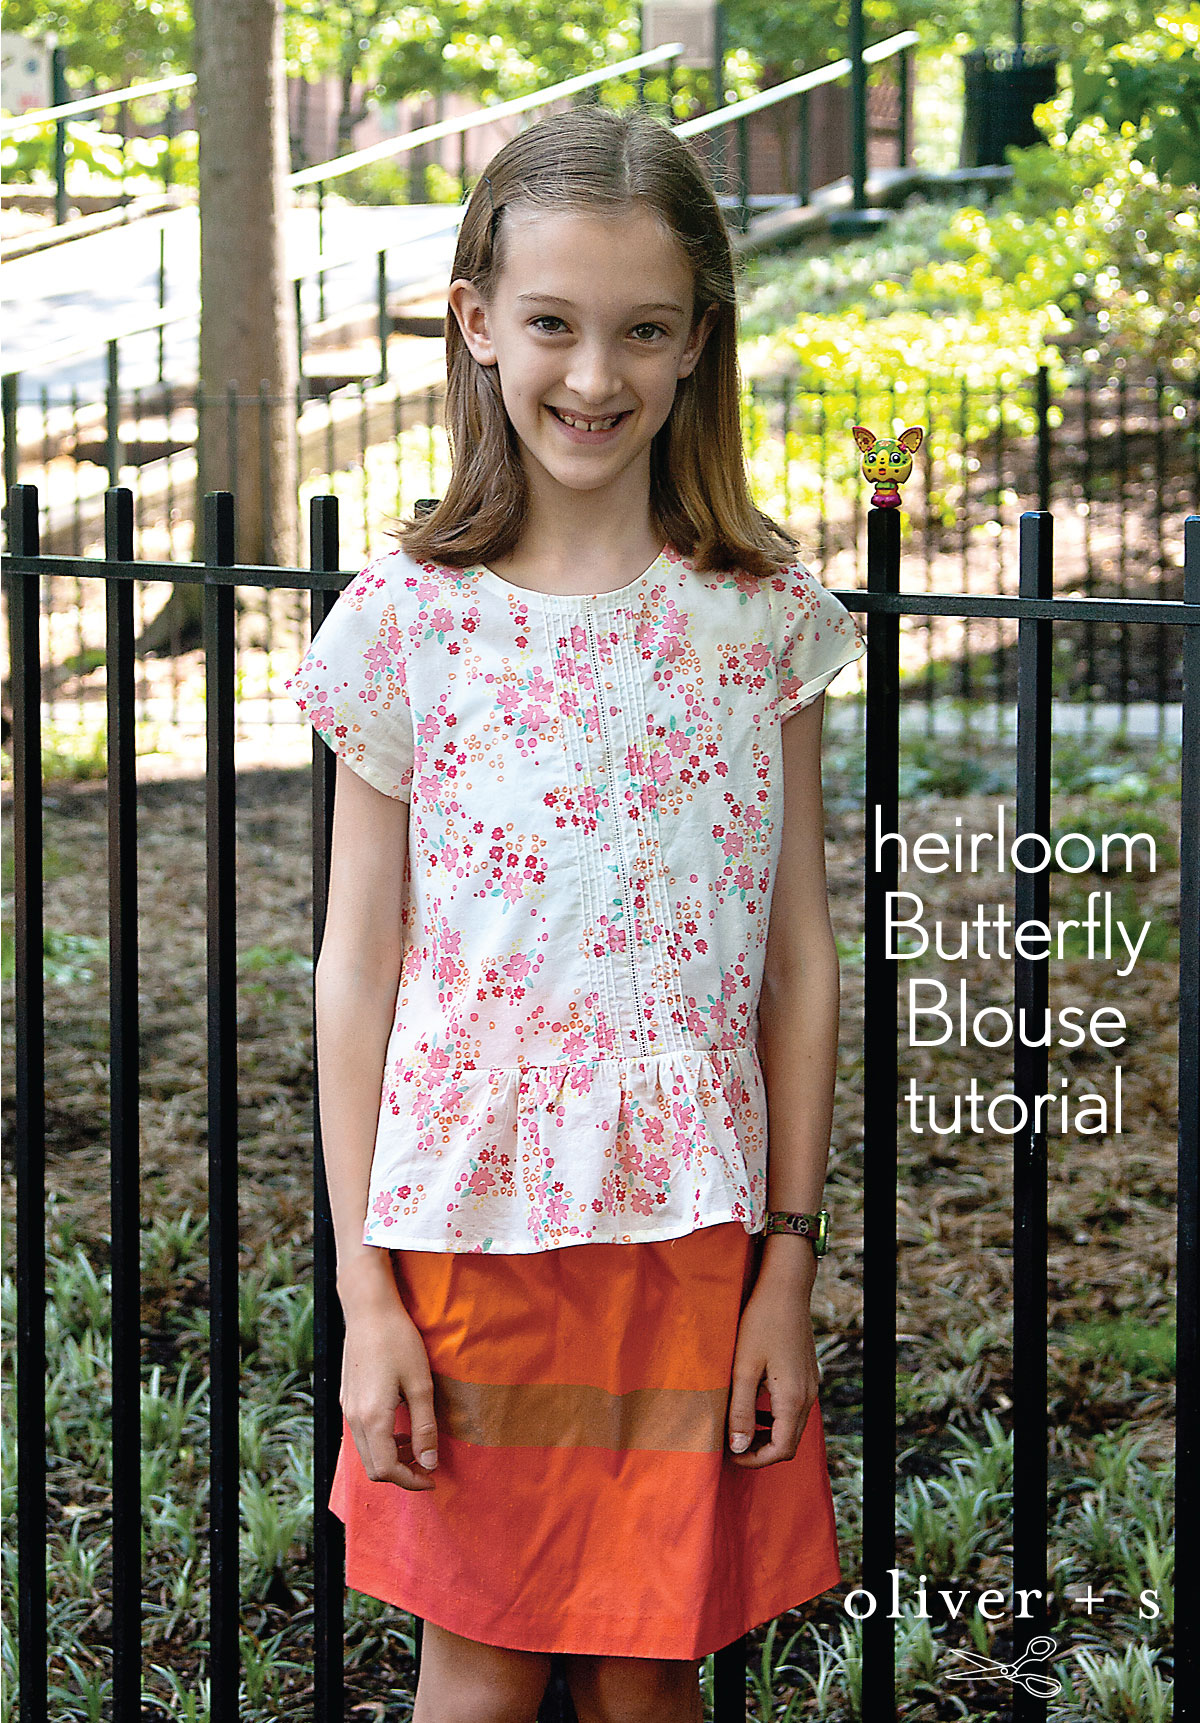
Today we’re starting the Butterfly Blouse sew-along in the new sew-alongs group of the discussion forums. I hope you’ll join us!
A couple of weeks ago when we released the Butterfly Blouse + Skirt pattern, Sarvi mentioned that she was looking forward to seeing the blouse “in a very special white fabric, something lacy or eyelets, perhaps, with sleeves left sheer.” Which would indeed be beautiful, and I hope someone does it and posts a photo so we can all “ooh” and “ahh” the way we do. But Sarvi’s comment also got me thinking about the possibilities for using heirloom techniques on such a simple blouse. This seemed like the perfect opportunity to try entredeux and pintucking. So I went ahead and did so, and it was so much fun I thought I’d share it with you so you can try it, too!
Entredeux and hemstitching
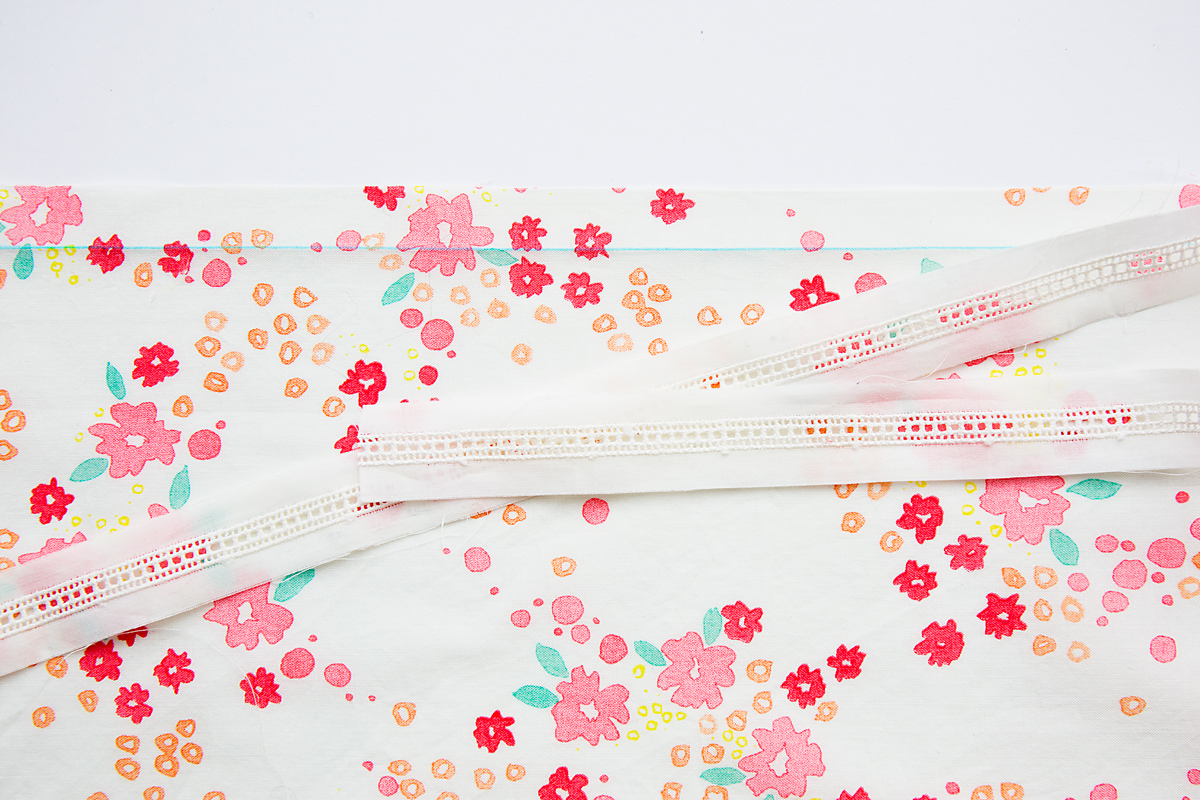
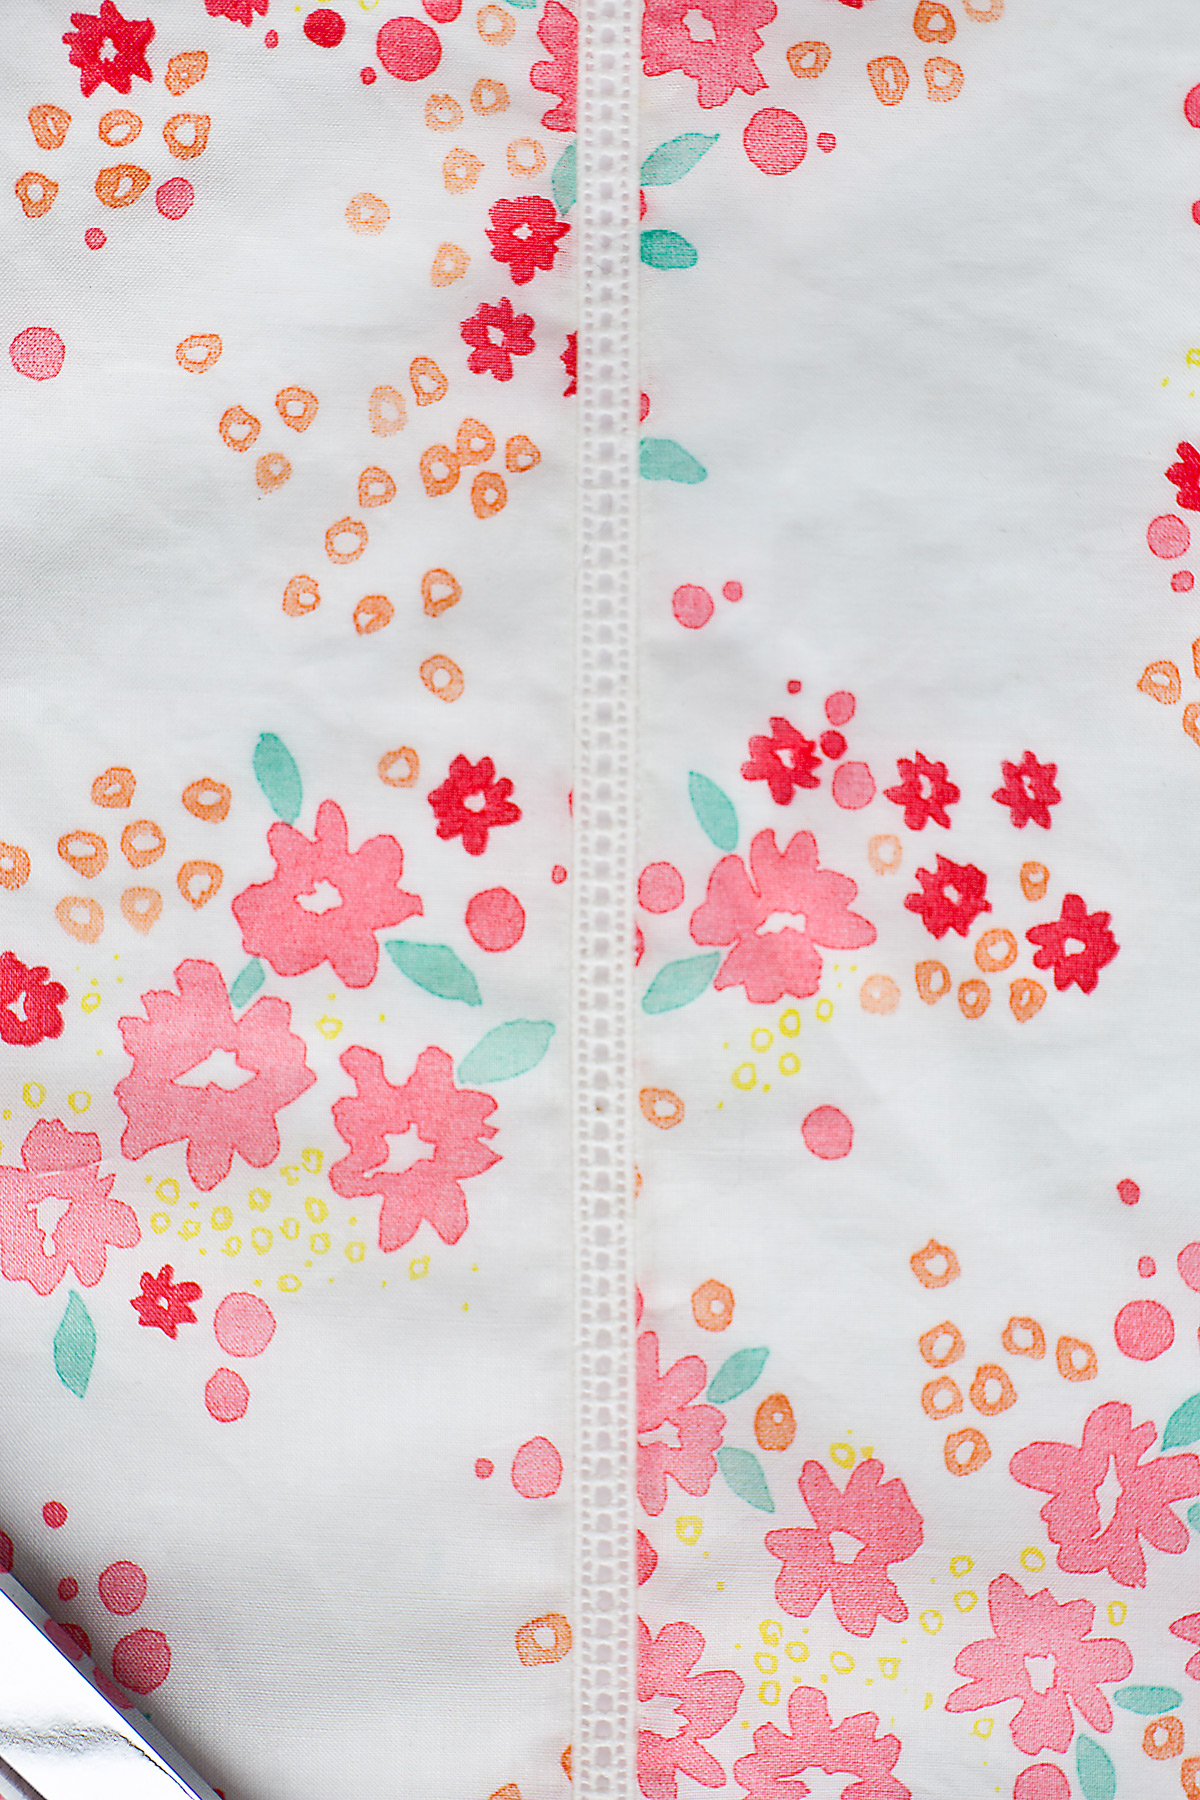
By way of introduction, entredeux translates from the French, meaning “between two,” which is a perfect description for this special trim. It’s simply a row of fancy hemstitching right down the center of a strip of lightweight fabric (usually batiste or organdy), so the hemstitching is literally positioned between two strips of fabric. When sewn, entredeux joins two pieces of fabric, lace, or whatever else you want to join. Here is a strip of entredeux before sewing, shown with the Cloud 9 Palos Verdes voile I chose for this blouse. Dreamy, aren’t they?
Now, instead of using entredeux, you could simply hemstitch directly onto your fabric. Years ago my mom and I hand sewed a linen baptismal gown for the grand kids, and it was a very time-consuming project that included a lot of hemstitching. (My mom did most of the work; I think I contributed one sleeve.) To do proper hemstitching, you pull a few threads from the warp or weft of your fabric and hand stitch the gap left behind to create little openings while pulling the remaining threads together in a pretty configuration. It’s gorgeous when done correctly.
You can also “fake” hemstitching with a sewing machine and wing needle, but I’ll admit I’ve never really cared for the look. It’s difficult to set your sewing machine tension and stitching just right, and it just doesn’t look the same to my eye. Eventually I’ll get around fiddling with this technique more and maybe I’ll end up liking it, but in the meantime I prefer to buy prepared entredeux, which is how many heirloom sewists do it too. You can find entredeux at heirloom sewing stores and websites, and it looks great while also being really easy to sew. I got my entredeux from the lovely folks at Farmhouse Fabrics several years ago when I taught a class at their shop, and I’ve been itching to sew it all this time.
I decided to stitch the entredeux right down the center front of the Butterfly Blouse, with pintucking on either side. To get started, I cut a piece of fabric several inches larger than the front blouse pattern. It’s easiest to do these heirloom techniques before you cut your pattern piece, so cut a piece of fabric large enough to leave yourself some extra room for entredeux seam allowances and the uptake from the pintucks, etc.
1. I cut my fabric down the center and used a water-soluble pen to mark a 1/2″ seam allowance on either side of my center cut. Like this:
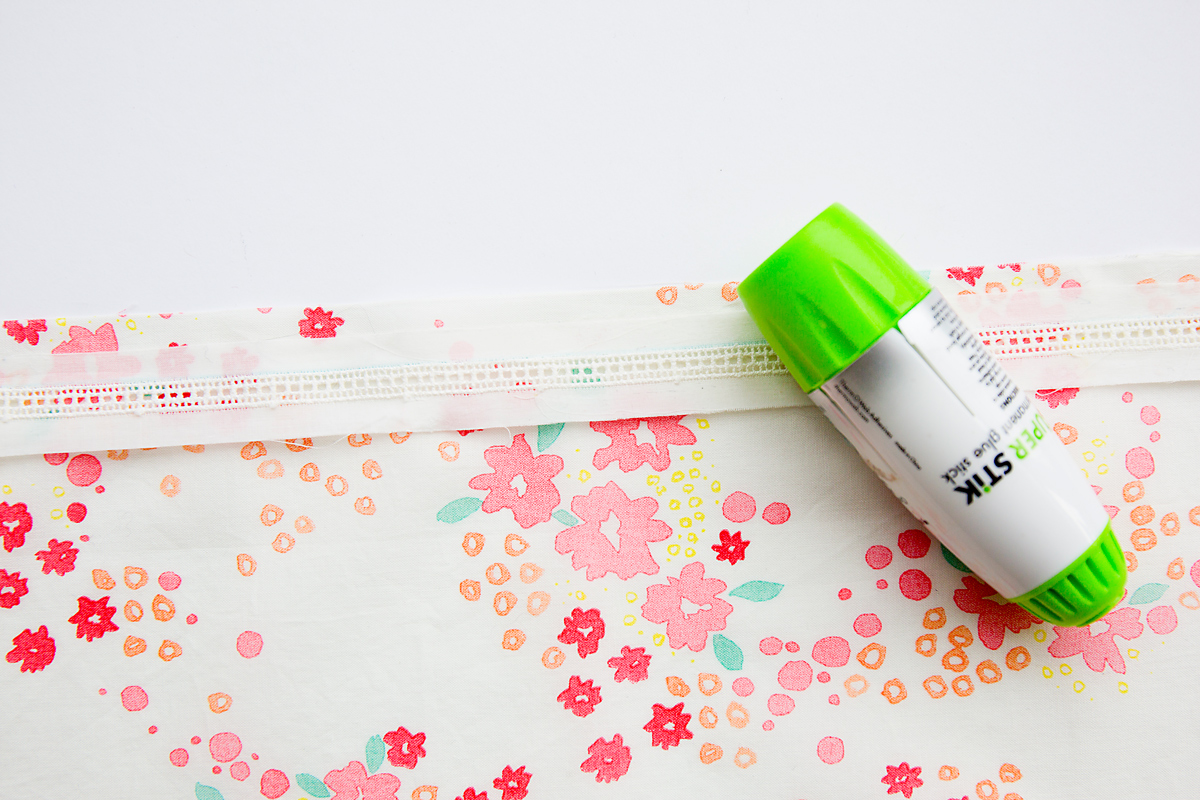
2. Grab a stick of fabric glue, because it’s the easiest way to do this. Really! (I’ve never used or liked fabric glue for any other sewing purposes, but it was great here.) Run the glue along the seam allowances of one fabric edge and stick the entredeux to the fabric, right sides together, so the edge of the entredeux abuts the line you drew. This is really easy with the white entredeux because you can see right through it. (When I use black entredeux on black fabric, I’ll try using a white chalk line to see if it’s also this visible. I suppose a row of basting stitches could be useful, too.)
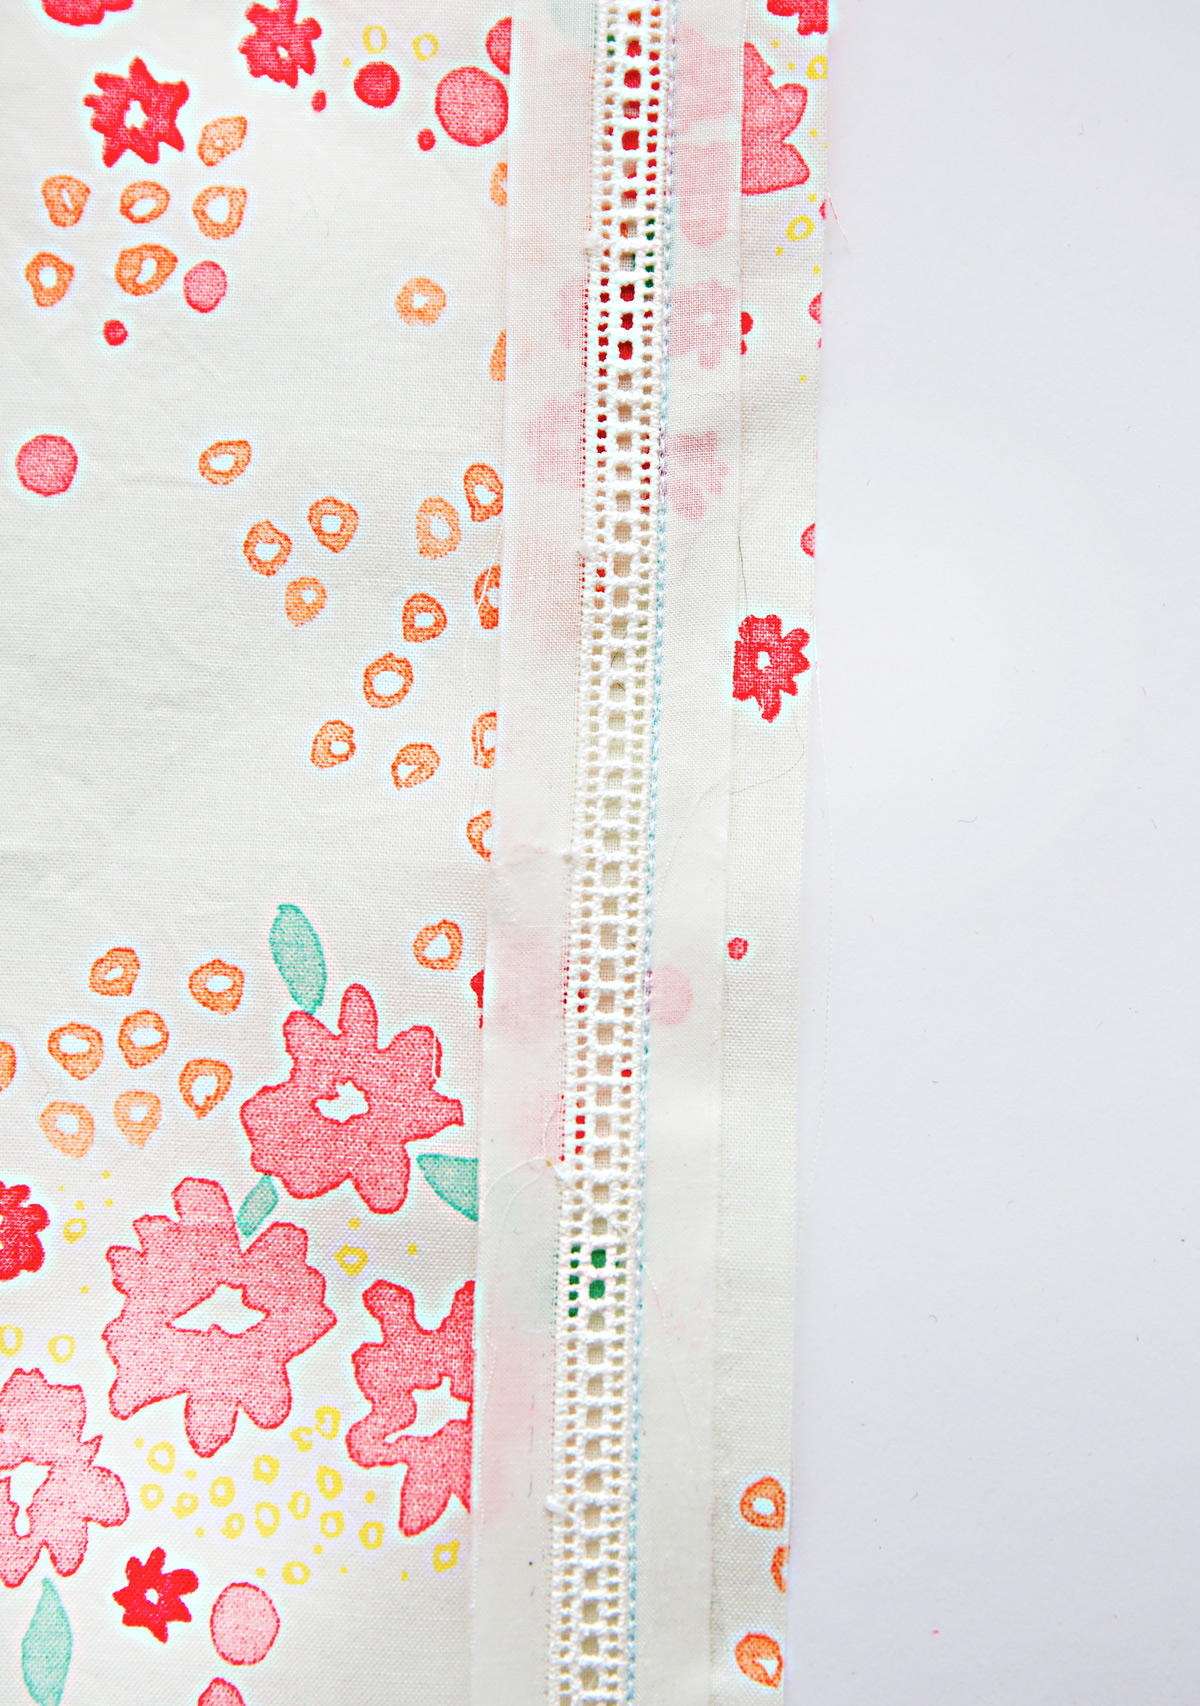
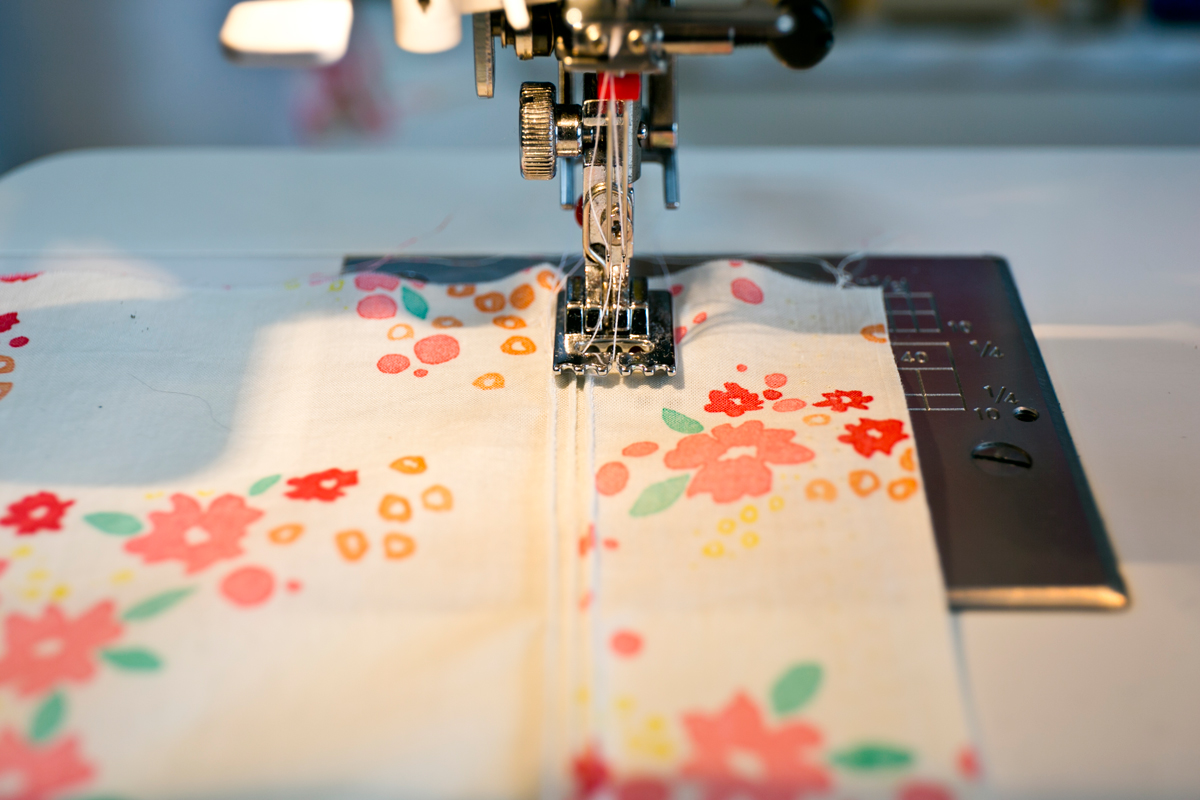
3. Once the glue is dry–and it doesn’t take long–set your sewing machine to a short stitch (2.0 is a good place to start) and stitch right along the edge of the entredeux, as close to the entredeux as you can. If you have an sewing machine foot with a stitching guide, use it here. Can you see the little guide right next to the entredeux in this photo? (Sorry–we just got a new camera and I’m still learning the settings. I discovered the macro setting shortly after taking some of these photos.)

4. Here is the stitching, very close to the edge of the entredeux:
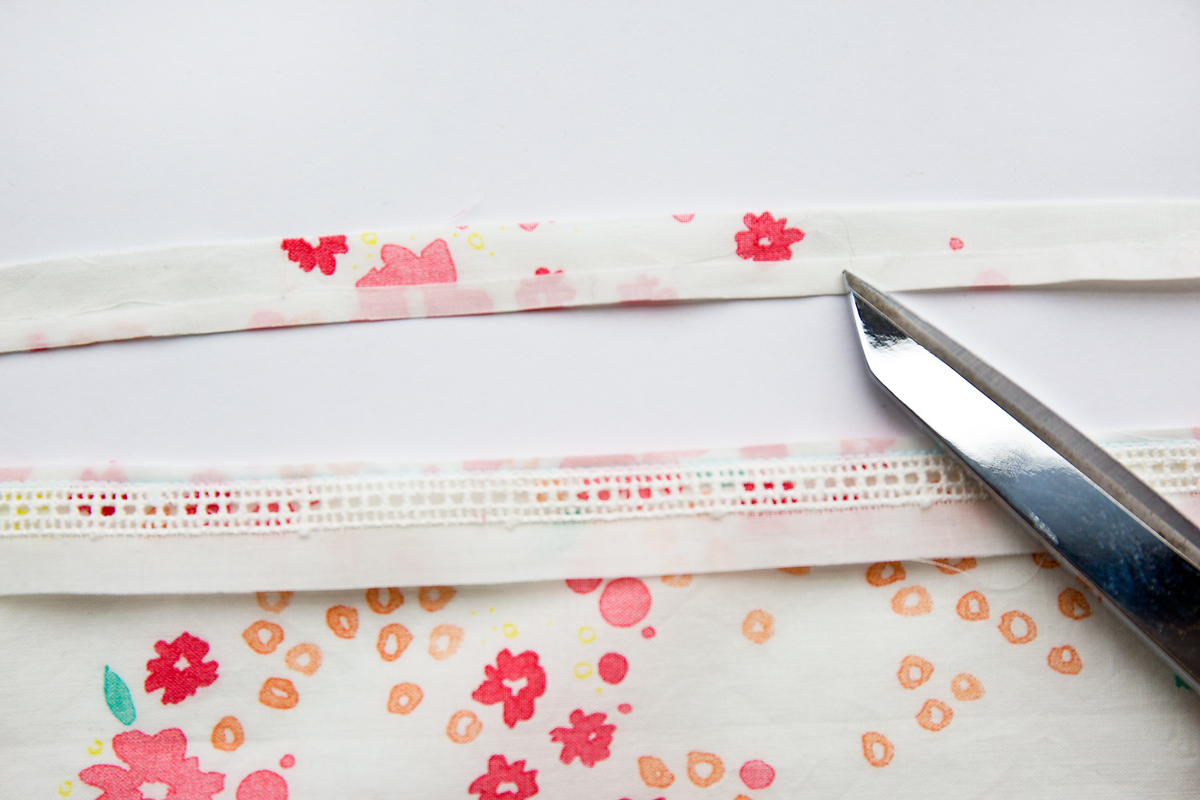
5. Once that’s taken care of you’re nearly finished! Next it’s time to trim the seam allowances to a scant 1/8″. Like this.
6. Next comes the fun part. I set my sewing machine to a small zigzag stitch and stitched over the seam allowances, rolling the seam allowances into a small bundle or almost a tube. To do this, you’ll want to set your machine so one side of the zigzag stitches next to your first stitching line and the other side drops off the cut edge of the fabric. The zigzag will pull the seam allowances together to make them narrow so they won’t show behind the entredeux. Like this:
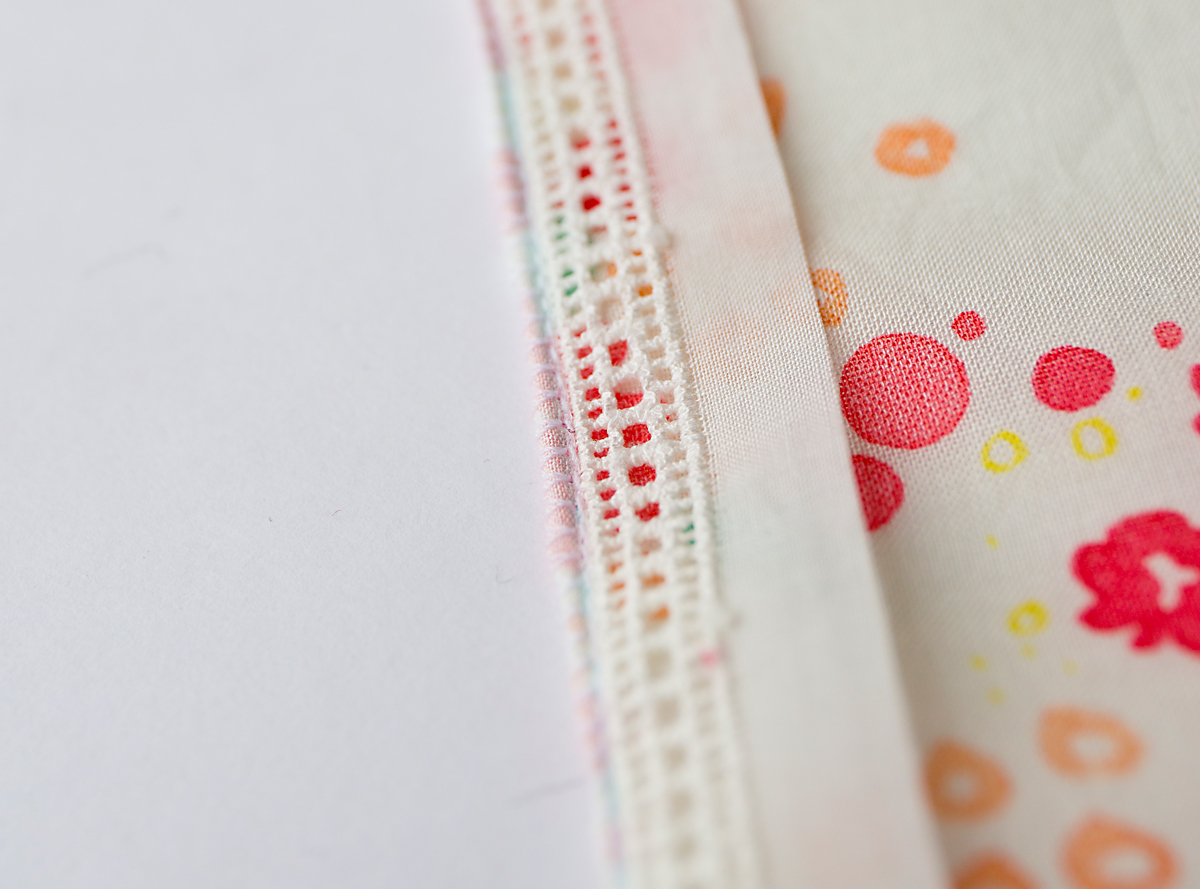
See how the seam allowances sort of rolled together into a nice, neat finish? Easy, right? Fiddle with your machine settings until you get it right. My machine was set at 2.3 length and 1.0 length for this part. You may need slightly different settings depending on how wide you trim your seam allowances.
7. And that’s it! Press the seam allowances away from the entredeux, and stitch the fabric to the other side of the entredeux in the same way.
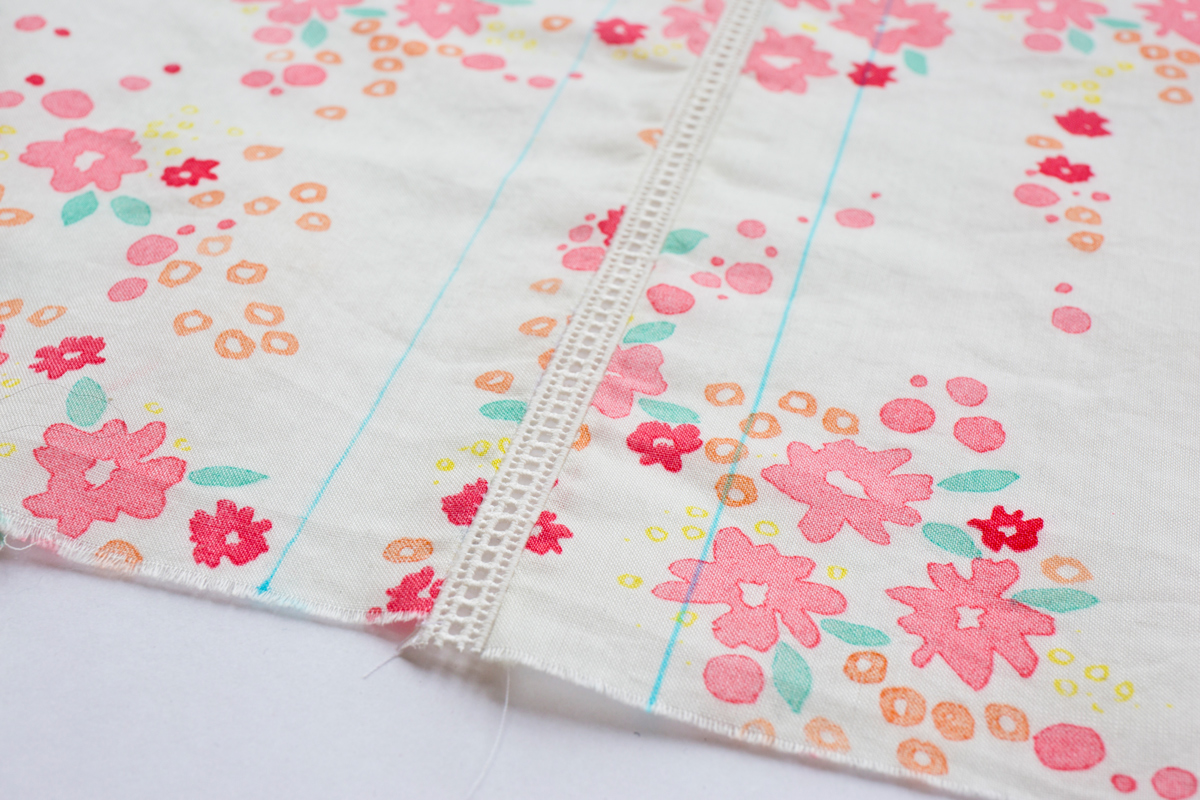
The entire time I was doing sewing the entredeux I kept thinking it should be more difficult than this. But it’s not! Here is the finished entredeux down the center of my fabric. “Between two” pieces of fabric, as it were:
Since this entredeux was so easy and fun to sew, I just ordered more–as well as some lace insertion–to use in some upcoming sewing projects for myself! Stay tuned, and I may also show you how to sew the lace insertion soon, too.
Pintucks
Now, on to the pintucks. If you’ve sewn our Family Reunion Dress or the Music Class Blouse patterns you’re familiar with the basic pintuck. In essence, the fabric is folded with wrong sides together and stitched very close to the fold to create tiny tucks that look really pretty and delicate, especially when sewn in multiples. But it can also be really difficult to keep pintucks even and parallel, especially when you’re sewing a lot of them or are sewing really long rows tucks!
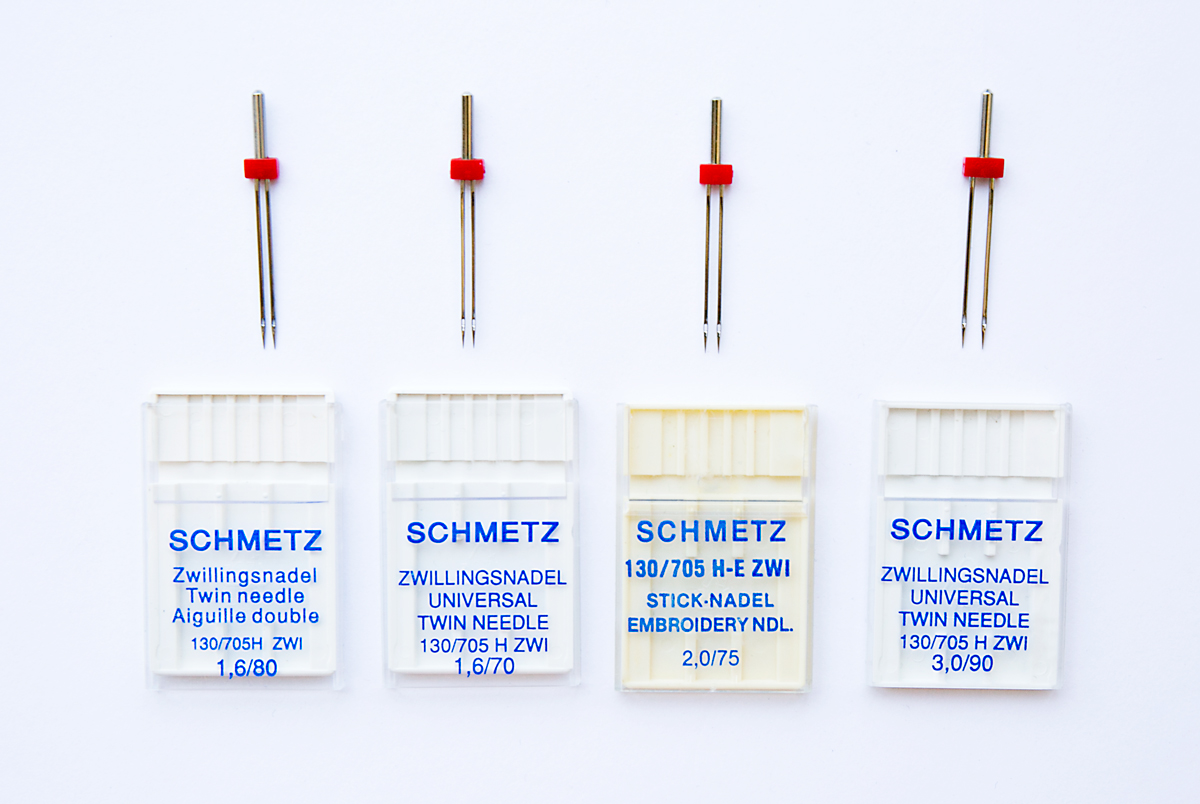
Enter the twin (or double) needle and the pintuck foot.
The twin needle creates the seam effect as a traditional pintuck by pulling the top thread tension really tight so the fabric puckers, creating a little pintuck in the process. Magic! The best size twin needles this pintucks seem to be either 1.6/70 or 2.0/80, depending on the size of the tuck you want. Keep in mind that this technique works best on lightweight fabrics like lawn, voile and batiste. Results may vary if you’re using a coarser quilting cotton.
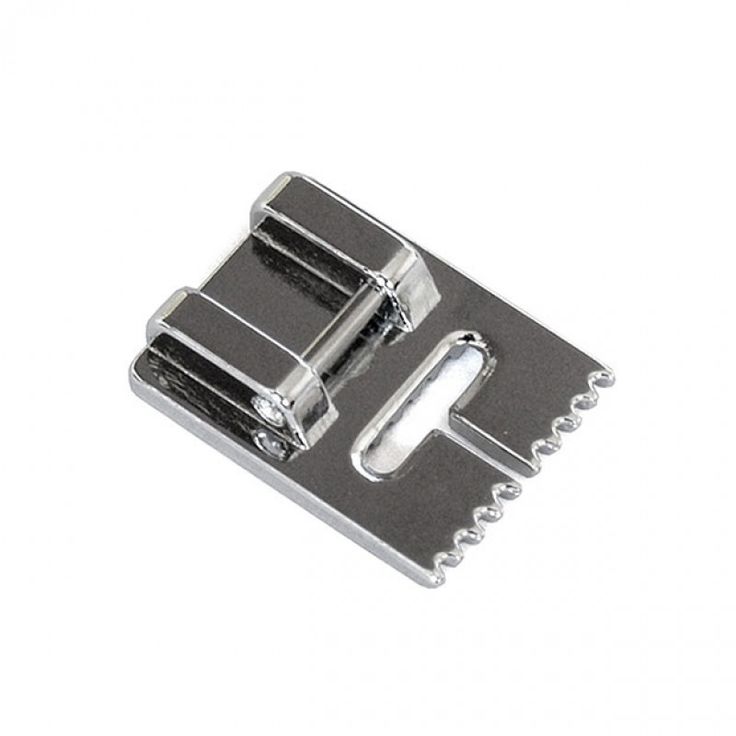
You can also buy a pintuck foot for most sewing machines. The pintuck foot has a series of grooves along the bottom that you can use to evenly space the pintucks. By positioning a groove in the pintuck foot over a previous row of pintucking, the foot keeps the pintucks evenly spaced. Nifty, yes? Pintuck feet come in different sizes, meaning that the grooves are spaced in varying widths. They’re also inexpensive, so they’re worth the small investment. I bought a set of two pintuck feet for my Janome machine for less than $20.
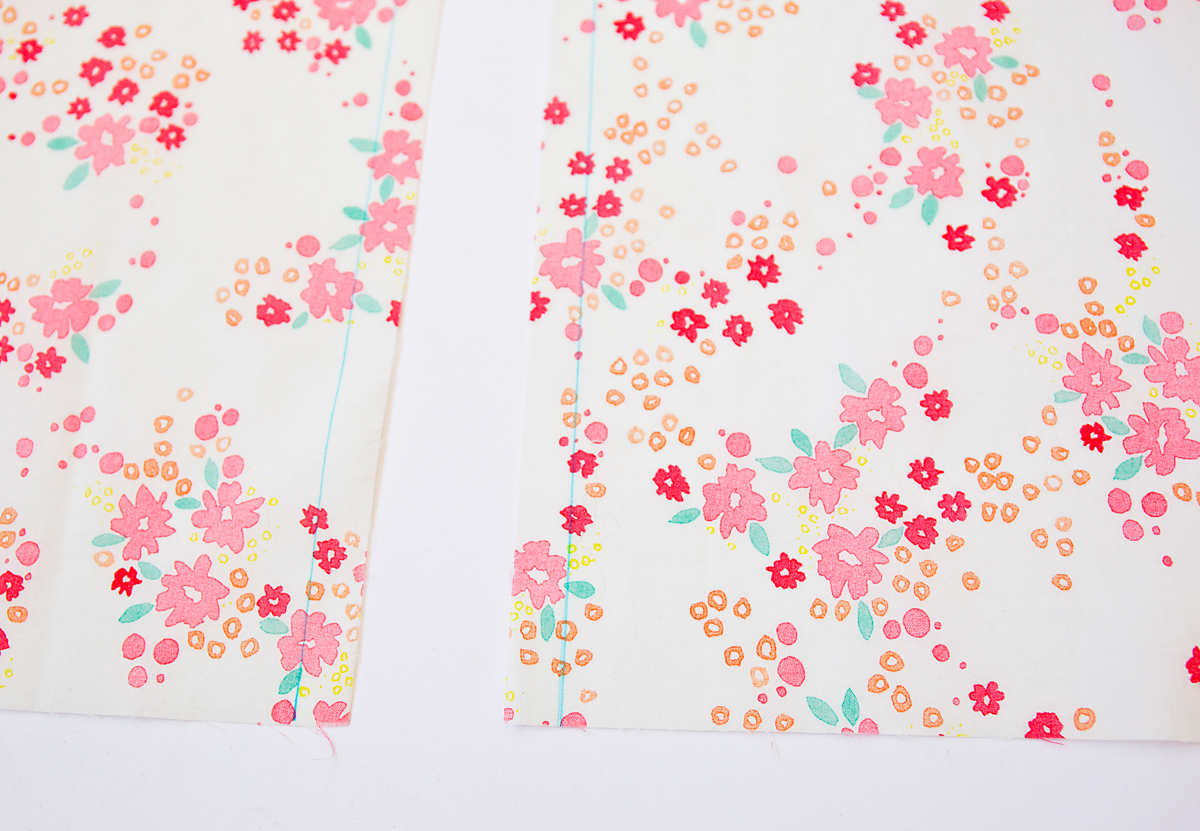
 1. To get started with pintucks, I drew a line 3/4″ from either side of my entredeux. These lines will serve as the stitching guide for the first pintuck. All the other pintucks will build off the first pintuck, so be sure you draw a nice straight line!
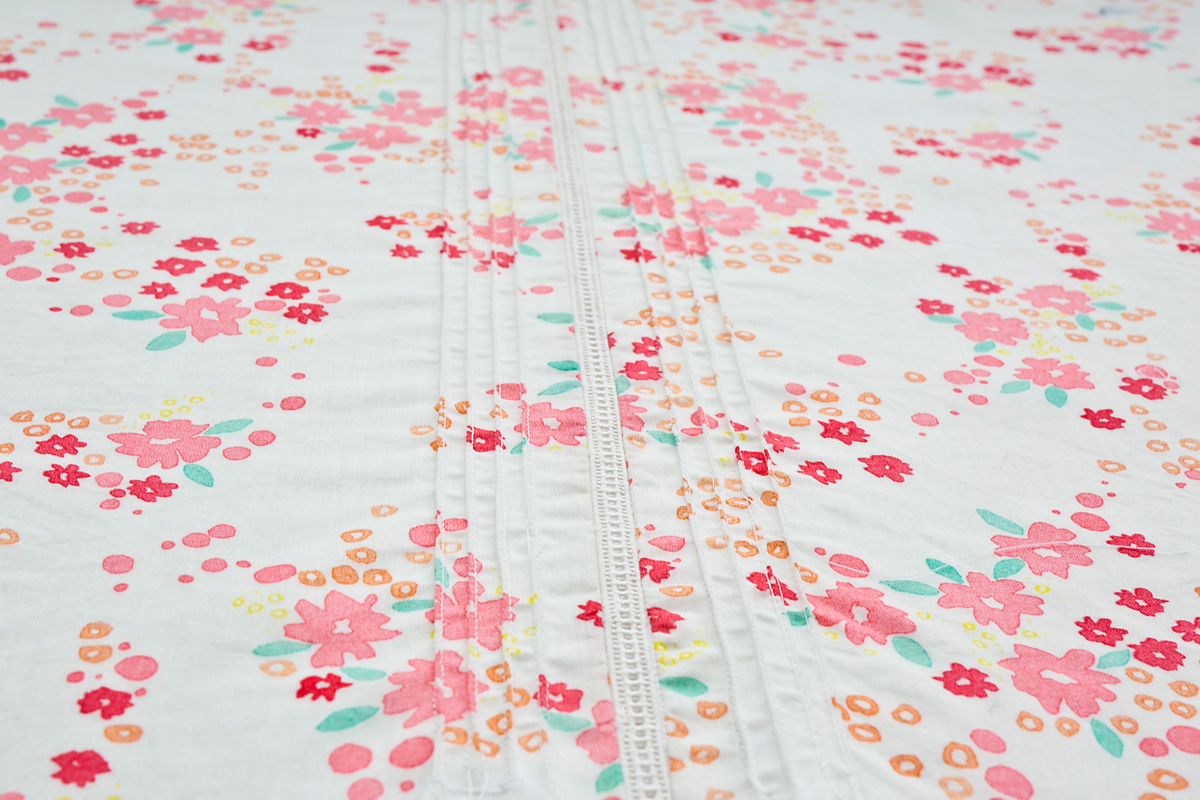
2. I cranked up the top thread tension on my machine quite a bit. Then I threaded my double needle and tested the double needle stitching on a scrap of fabric to be sure I was happy with the results. After a few trials I settled on a stitch length of 2.0 for my pintucks. (By the way, Bernina has a really nice downloadable worksheet about pintucks if you’d like to read more about them. They have lots of great tips that will help you to get good results, including how to thread the machine to avoid skipped stitches.) Once I was happy with my settings, I carefully stitched down the drawn line for my first pintuck, and then for each consecutive pintuck I positioned the previous pintuck under a groove on the pintucking foot to evenly the pintucks as I stitched. I skipped a groove for each pintuck so they landed further apart. In the photo below I was testing the pintucks on a scrap of fabric, and you can see how close together my first pintucks were. Close-set tucks would be really pretty too, but I decided I wanted them to be spaced a little further apart for this blouse.
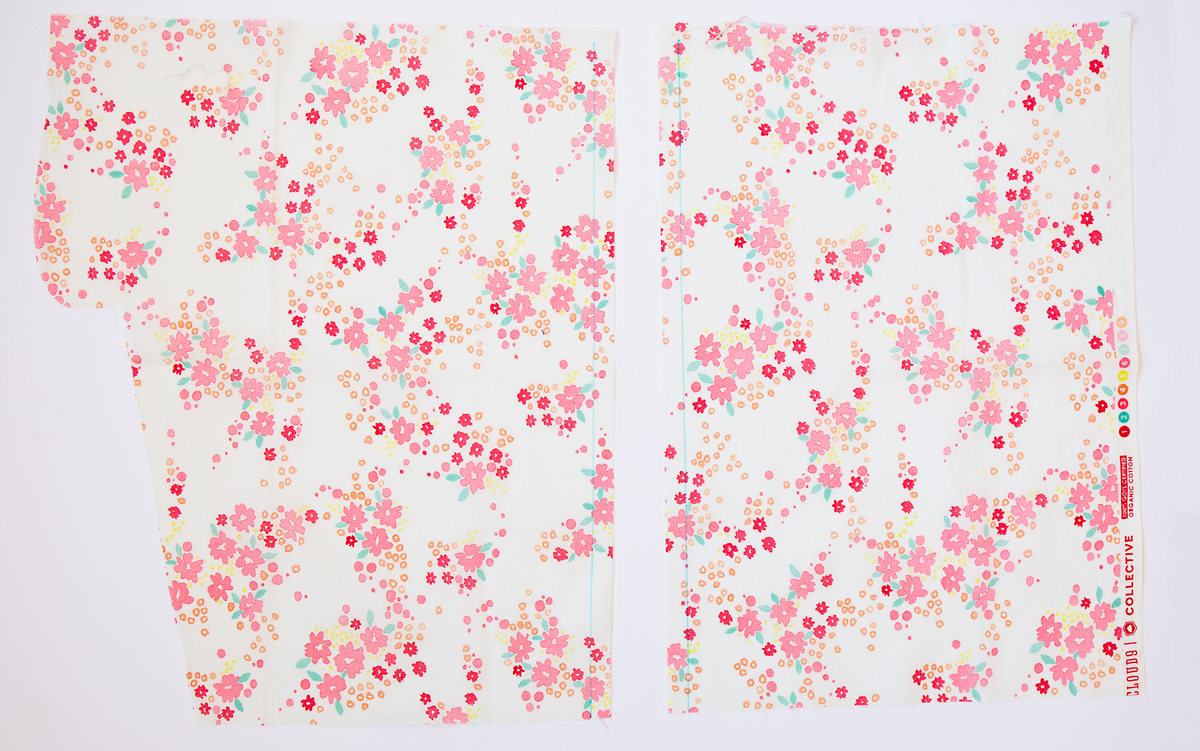
Here is the finished fabric panel before I cut it.
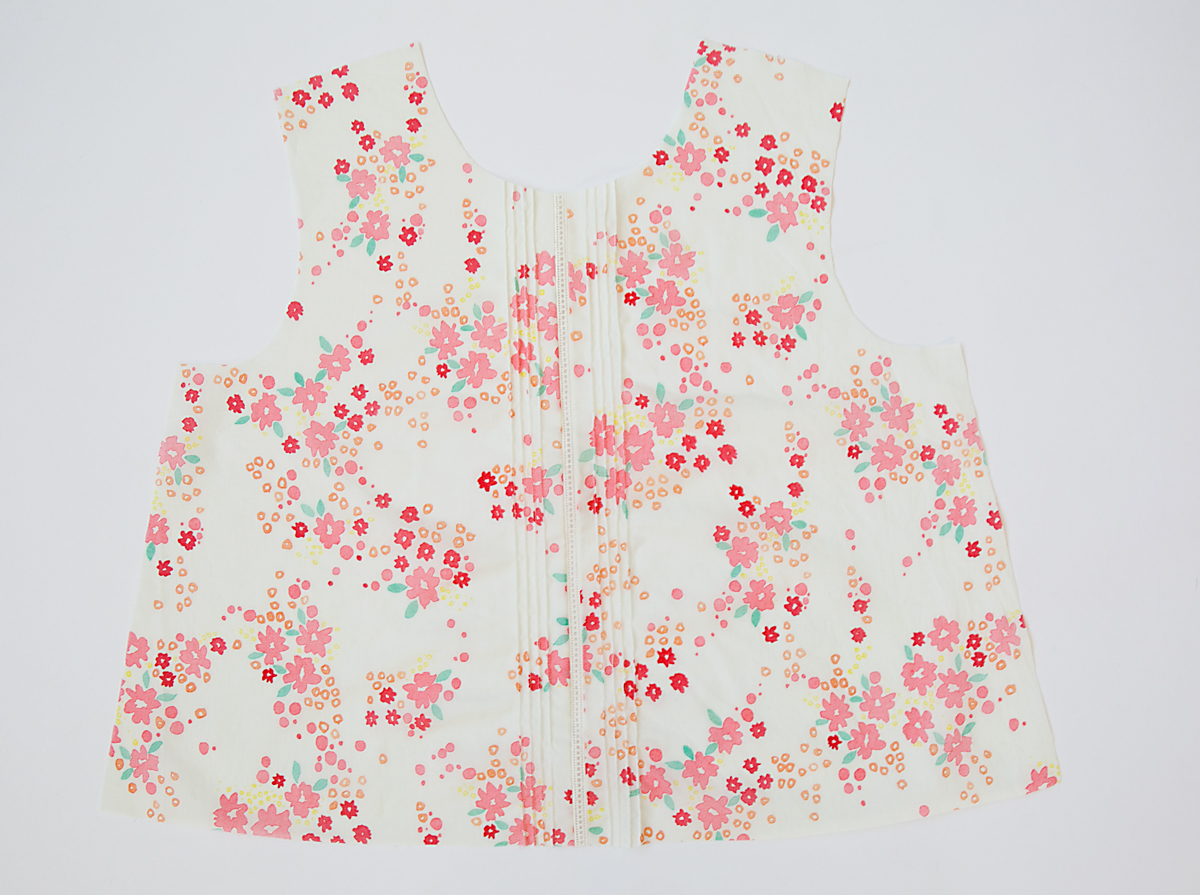
And here is the prepared front blouse piece, looking all fancy and heirloom-y. Once I was finished with the entredeux and pintucks I simply laid my pattern piece on top of the prepared panel and cut it out, one side at a time, so the entredeux was at the center front. And that’s all there was to it!
From here you can proceed with the regular Butterfly Blouse instructions. I hope you’ll join us for the sew-along!
What a wonderful post. I wonder what the difference is between entredeux and insertion lace? Is it just the pattern of spaces and threads? Or is lace always done on a net background? Thanks for sharing this, I really find technique posts so fascinating and useful.
Thanks, Sarvi! Insertion lace is actual lace with an edge, or border, on both sides. Whereas, entredeux is just the edgestitching technique on regular fabric. Does that make sense? Insertion lace gets sewn with a tiny zigzag, while you can sew the entredeux with a straight stitch. One of these days I’ll find the time to continue the series and will include the lace, for sure!
So loverly! I imagine hacking up a sleeve with entredeux an inch or so above the hem, if I ever get back to sewing. 🙂
so beautiful!! I want to try this so much.
That looks lovely. I’ve been thinking of playing with the handsewn version but maybe just a Playdate yoke. To do a border just above a hemline with this premade stuff would be fabulous!
And how genius is that method of pintucking. I’ve been fiddling with bobbin tensions and thread types for so long trying to AVOID that kind of raised bump when I hem really lightweight knits. It never occurred to me it could be a useful thing to have happen. Brilliant!
Gorgeous! I can see this happening on the layette shirt even! I love heirloom techniques.
Great post! I’d not considered either technique before, thinking them too tricky. I will now. Thanks, Liesl.
Great tutorial! I saw a similar blouse in the window at Gap, but not nearly as pretty a this one. I can’t wait to try the technique. Thanks for taking the time to demonstrate!
I had a peep at the Farmhouse Fabrics site and I think I have a better sense of the difference, now. I want to try this on a very small scale, top of a patch pocket, maybe, to try out the technique, so I picked up a fabric glue stick today. Any tips on how to keep an inquisitive and creative kindergartener from using the whole thing up in a single seating? She’s already figured out how to break into the locked cabinet 🙂 I suppose I could put it inside a sock and leave it on the bathroom floor. It could lie there unmolested for weeks that way.
Too funny, Sarvi! I know what you mean about the sock bit, too. I’ll definitely tackle the insertion lace as soon as I can!
Absolutely precious – and definitely one technique I want to try (on so many O+S patterns) 😉
And yes, please find some time to post about the lace insertion!