Yesterday was day one of the Bubble Dress sew-along. Today is the second and final day where Catherine will be showing us how to finish up the dress. Thanks so much for being here, Catherine!
Welcome back to the Bubble dress sewalong! This is the exciting bit where we get to make the actual “bubble.”
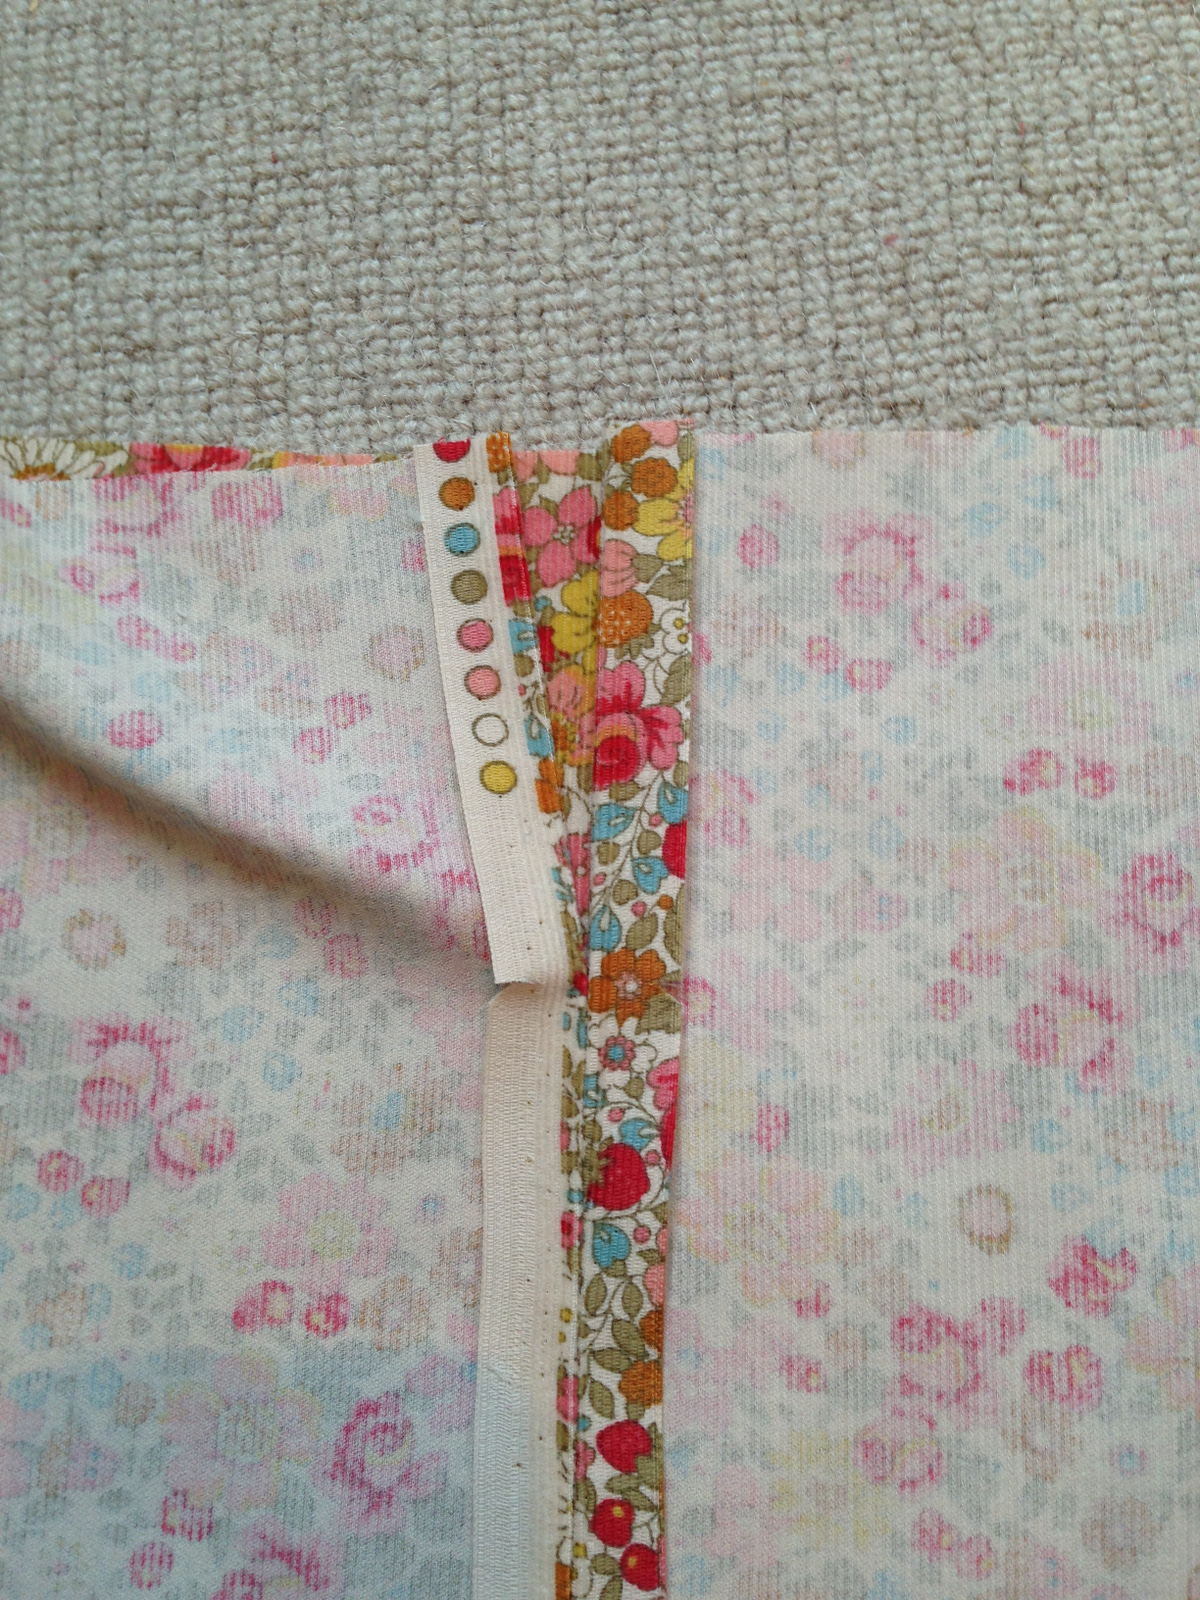
First take the skirt back pieces and make sure you’ve marked the dot on back centre seam. The stitch them, right sides together with 1/2” seam allowances, up the back seam of the skirt, finishing at the dot. Leave the seam open above it.
Press the centre back seam open, and carry on the press the edges above the dot so that they continue the 1/2” seam allowance.
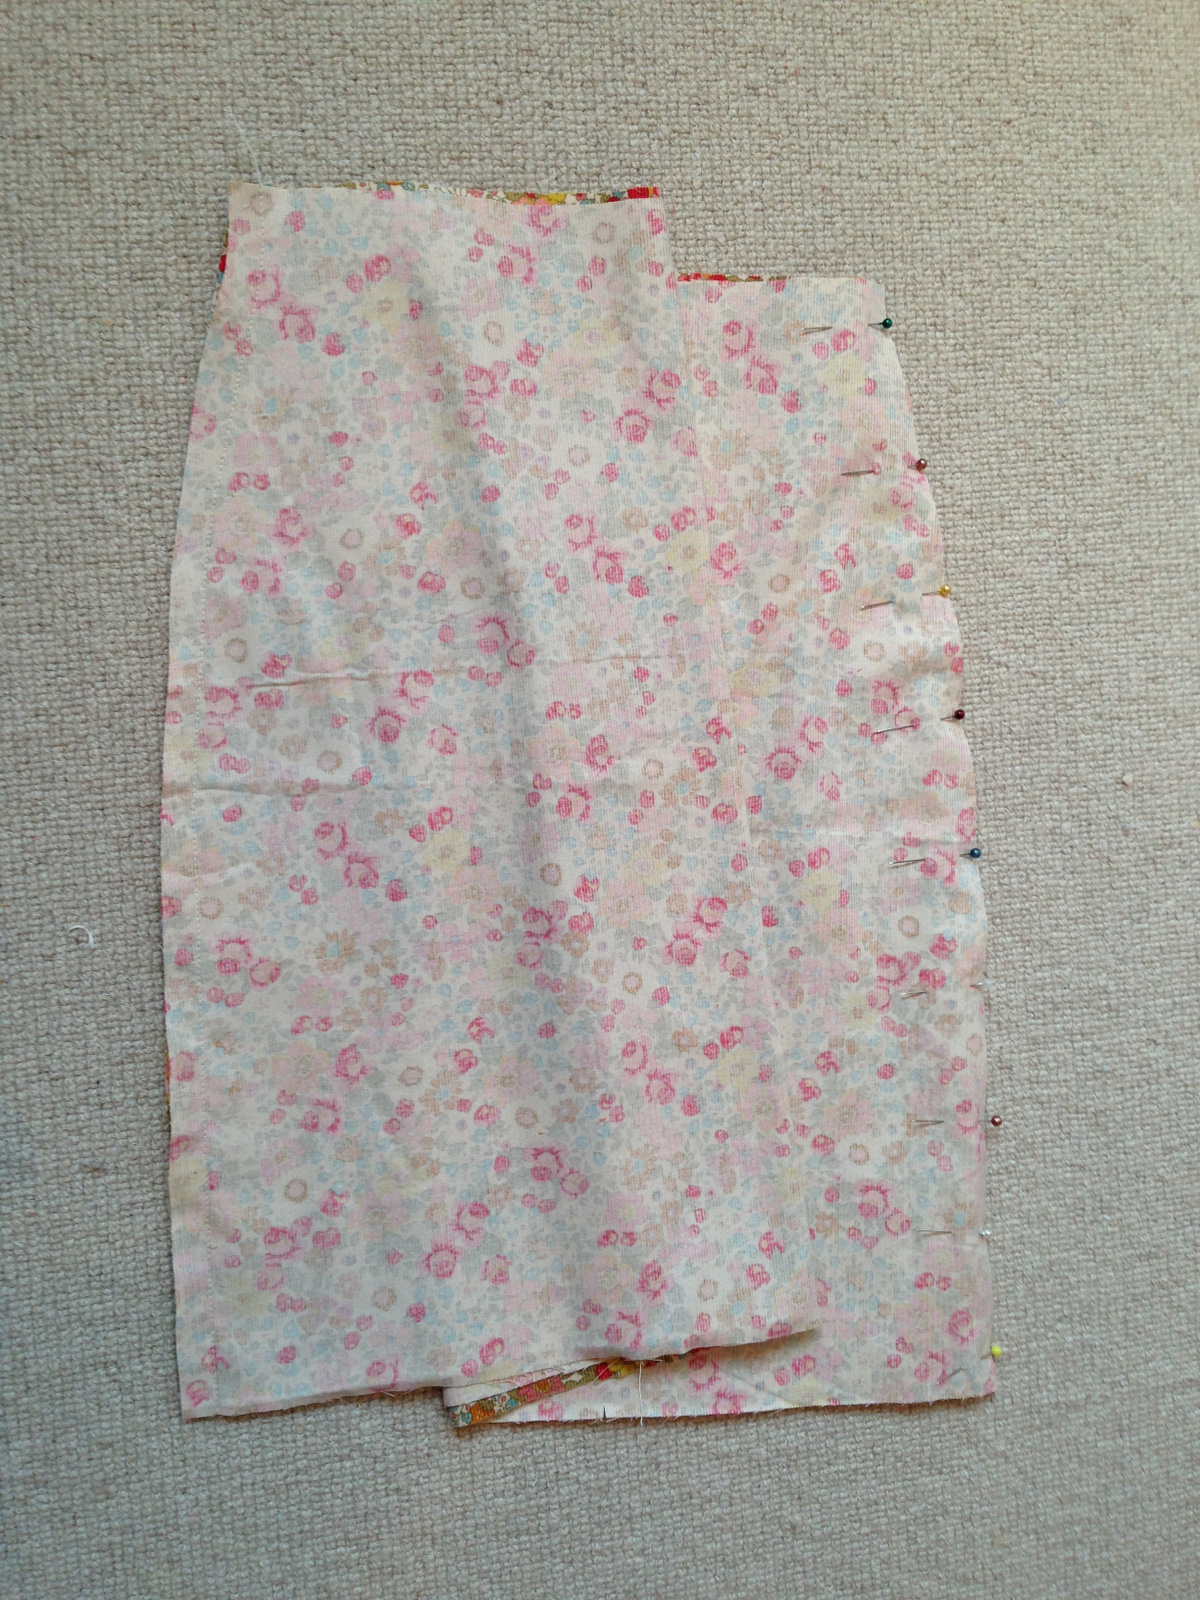
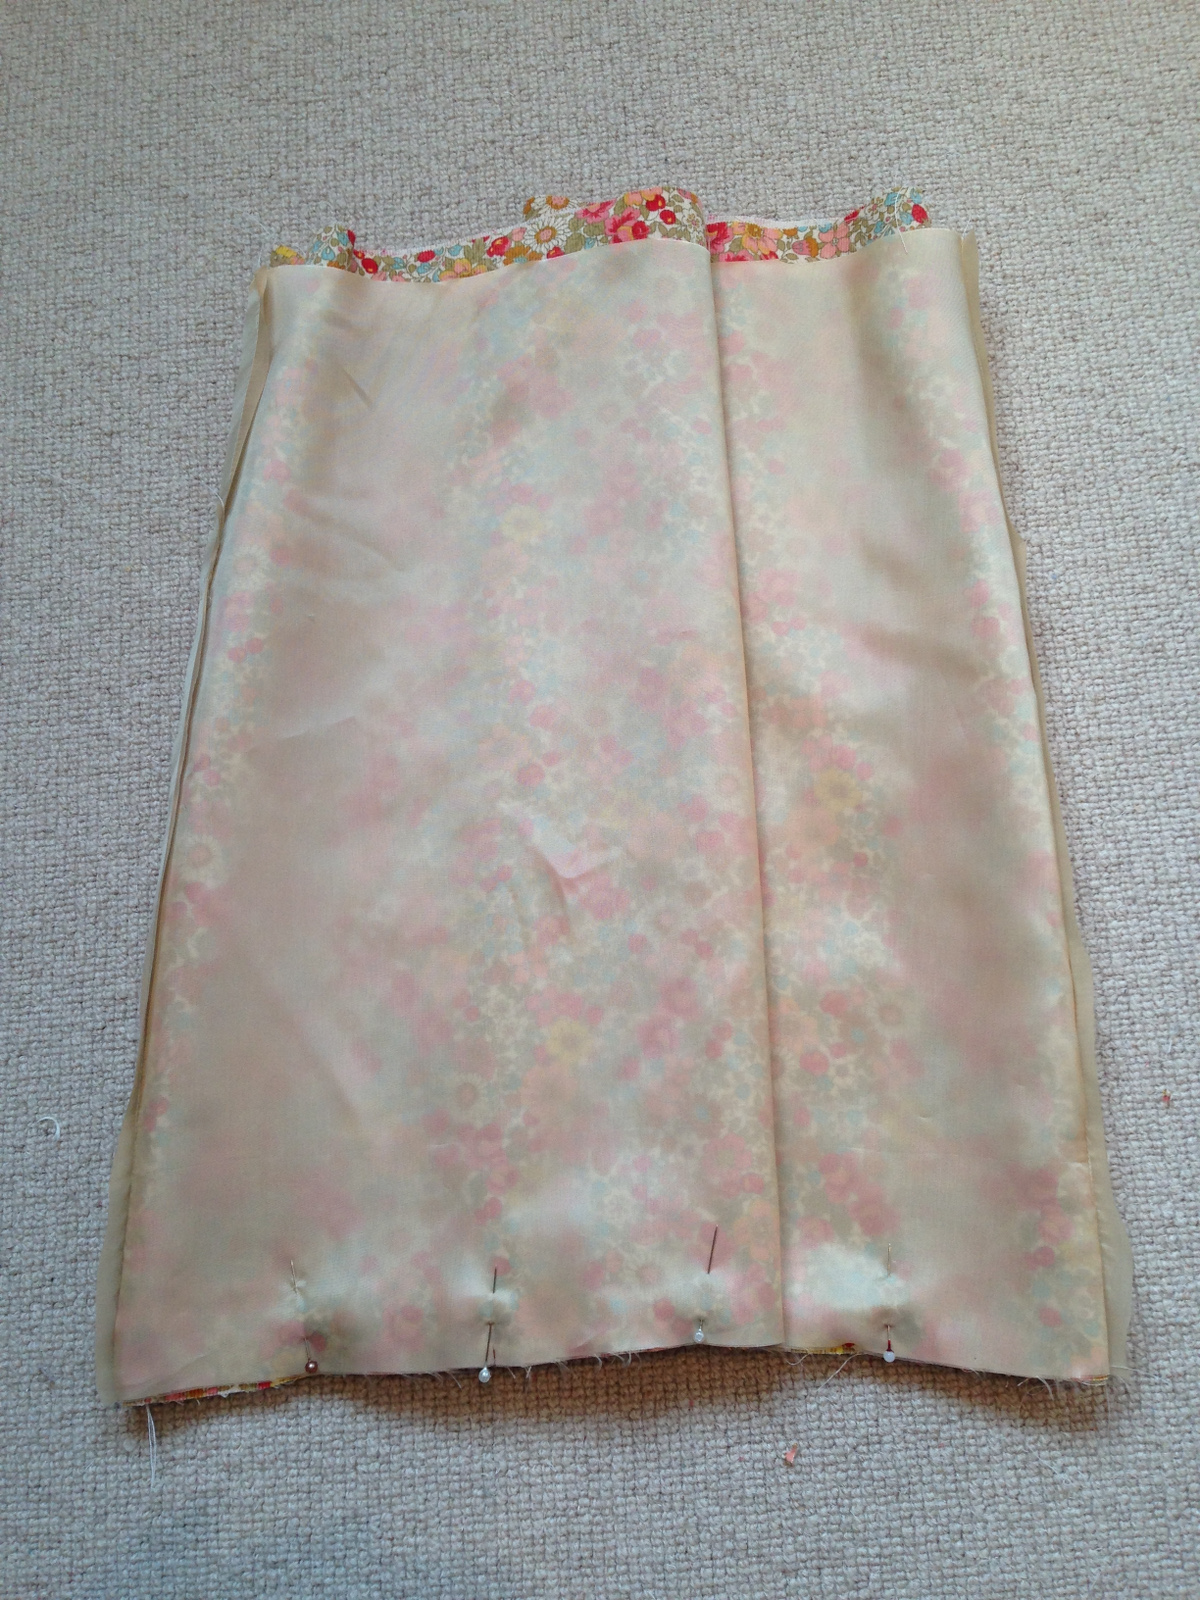
Now pin and stitch the front and back skirt pieces together along the side seams. I’ve made the non-scalloped version, but the pattern has very detailed scallop instructions if you chose to go for that option. For this version, just stitch and press the side seam open.
Sew and press the lining pieces in exactly the same way.
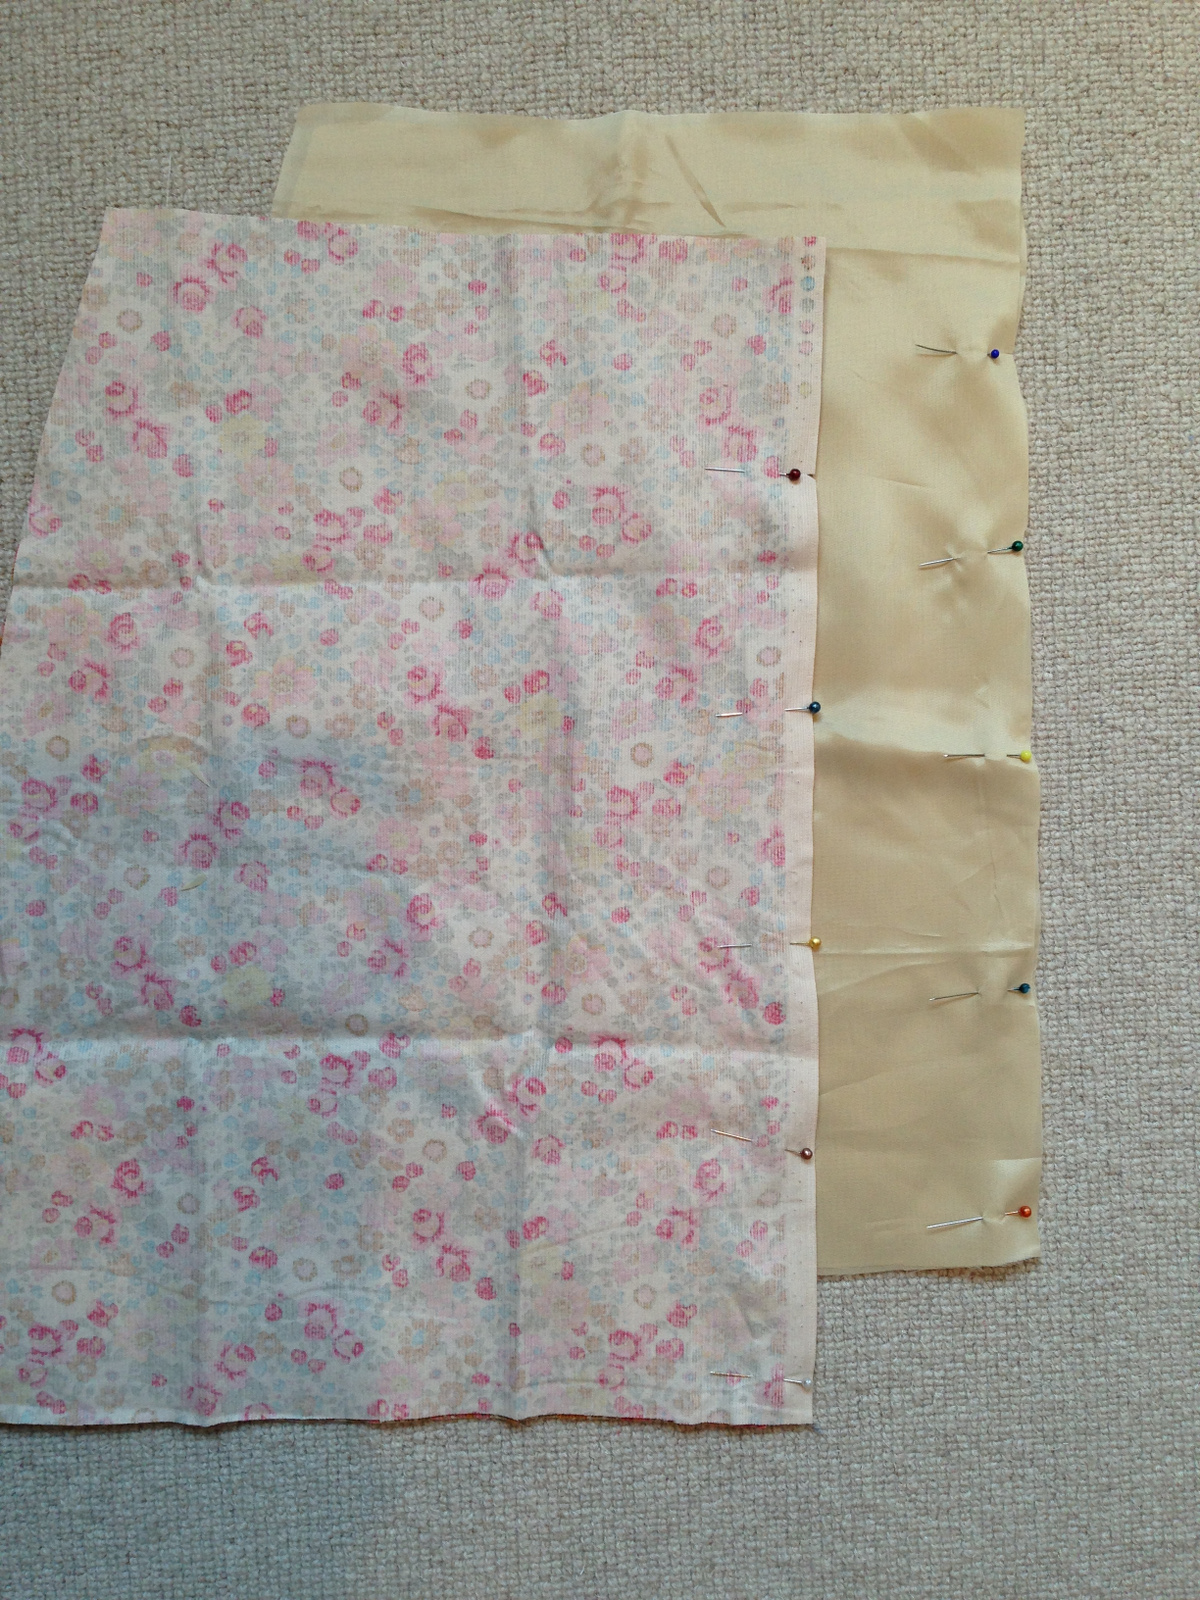
Turn the outer skirt so its right sides face outwards, and the lining so that its right sides face inwards. Slip the skirt inside the lining so that their right sides are together, matching the side and centre seams around the bottom edge. Don’t worry about the top edges – they won’t align at the stage. Pin and stitch around the lower edge of the skirt and lining.
Fold the front piece to find the centre and mark this or make a notch to help with placing the elastic at the next step.
Cut your elastic according to the size chart on the pattern – 33” for size 5. Form a loop with the elastic and stitch the ends together with a narrow zigzag.
Mark the elastic loop in quarters, by folding it in half and marking the folds, then matching these and marking the new folds. It’s easier it you make sure none of the folds fall on the join in the elastic, so this will end up mid-seam.
Pin the elastic to the seam allowance at the the side seam, centre back seam, and centre front, matching the marks on the elastic to each seam.The elastic will be shorter than the lower edge of the skirt, so don’t try to pin in between the seams.
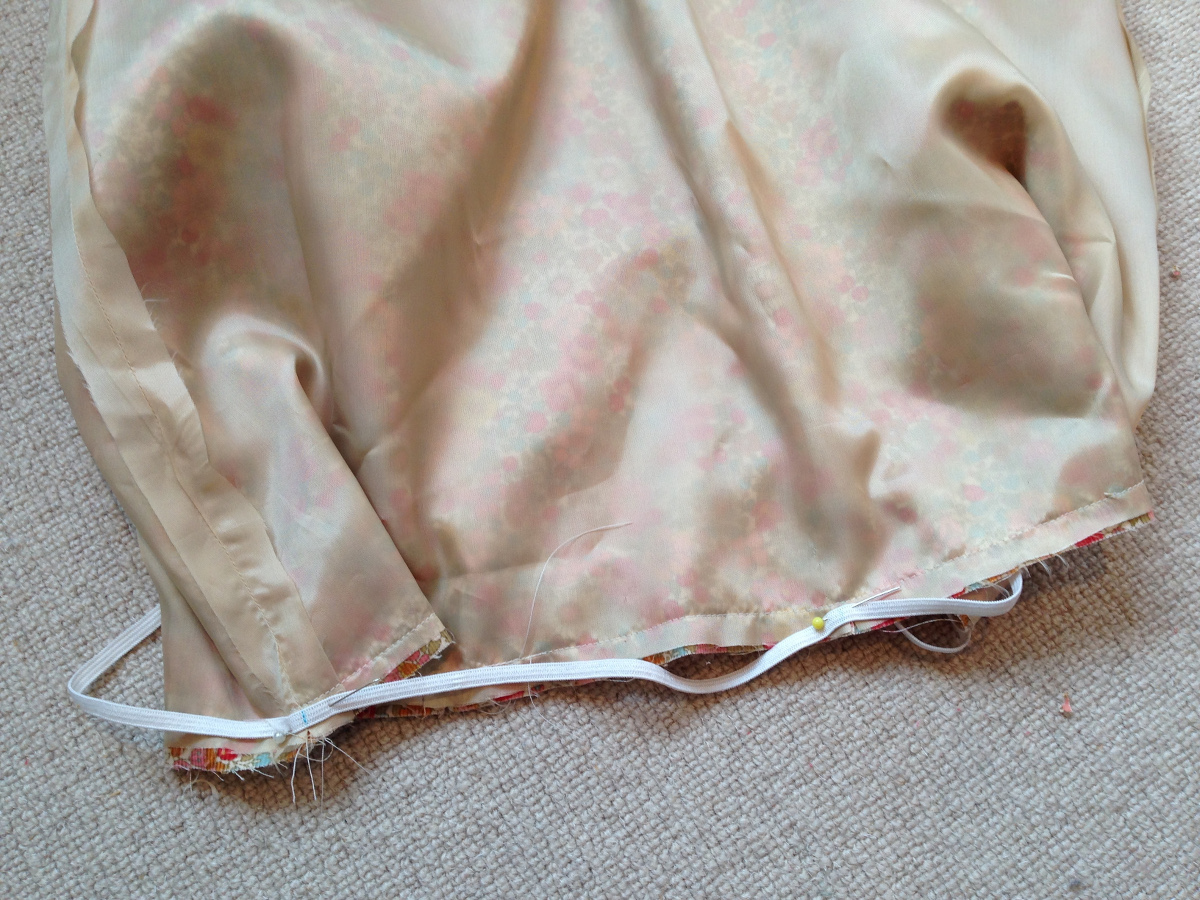
The next step is hard to photograph as it needs both hands! Set your machine to a narrow zig zag, and get ready to sew, placing your presser foot just before one of the points where the elastic is pinned to the skirt. Lower the presser foot and needle. Now hold the elastic and the skirt, with your left hand behind the presser foot and your right hand in front, holding the next pinned seam. Stretch the elastic until it is the same length as this quarter of the skirt’s lower edge. It should sit nicely on the seam allowance once it is stretched.
Sew along the elastic, attaching it within the seam allowance. If you need to stop and reposition as you go along, make sure you leave the needle in the ‘down’ position.
Repeat around the edge of the skirt.

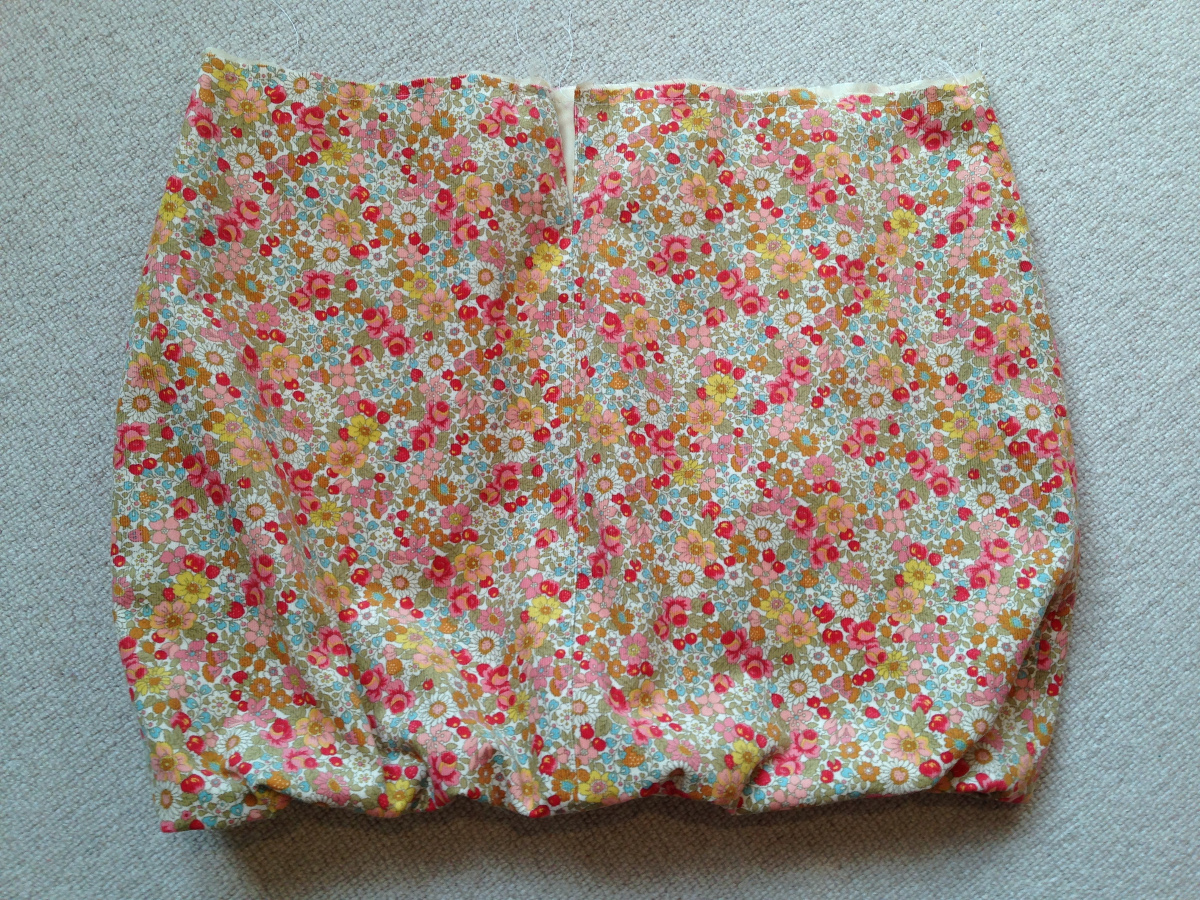
Ready for some more magic? Turn the skirt and lining so the right sides are outwards, and marvel at that beautiful bubble shape!
Match the top edges, and pin together the outer skirt and lining at the back centre seam, where you left the seams open above the dot, with the seam allowances sandwiched between the two layers. Carefully edge-stitch around the placket, with the outer skirt facing up, sewing down one side and up the other.

Baste around the top edge of the skirt and lining so that they can be gathered together as a single layer.
Before gathering the upper edge of the skirt, mark the centre front of the skirt so you can match to to the bodice later. I use a little notch; it won’t be visible on the finished dress.
Now sew two rows of gathering stitches around the top edge of the skirt and lining, and it’s time to attach the skirt to the bodice.
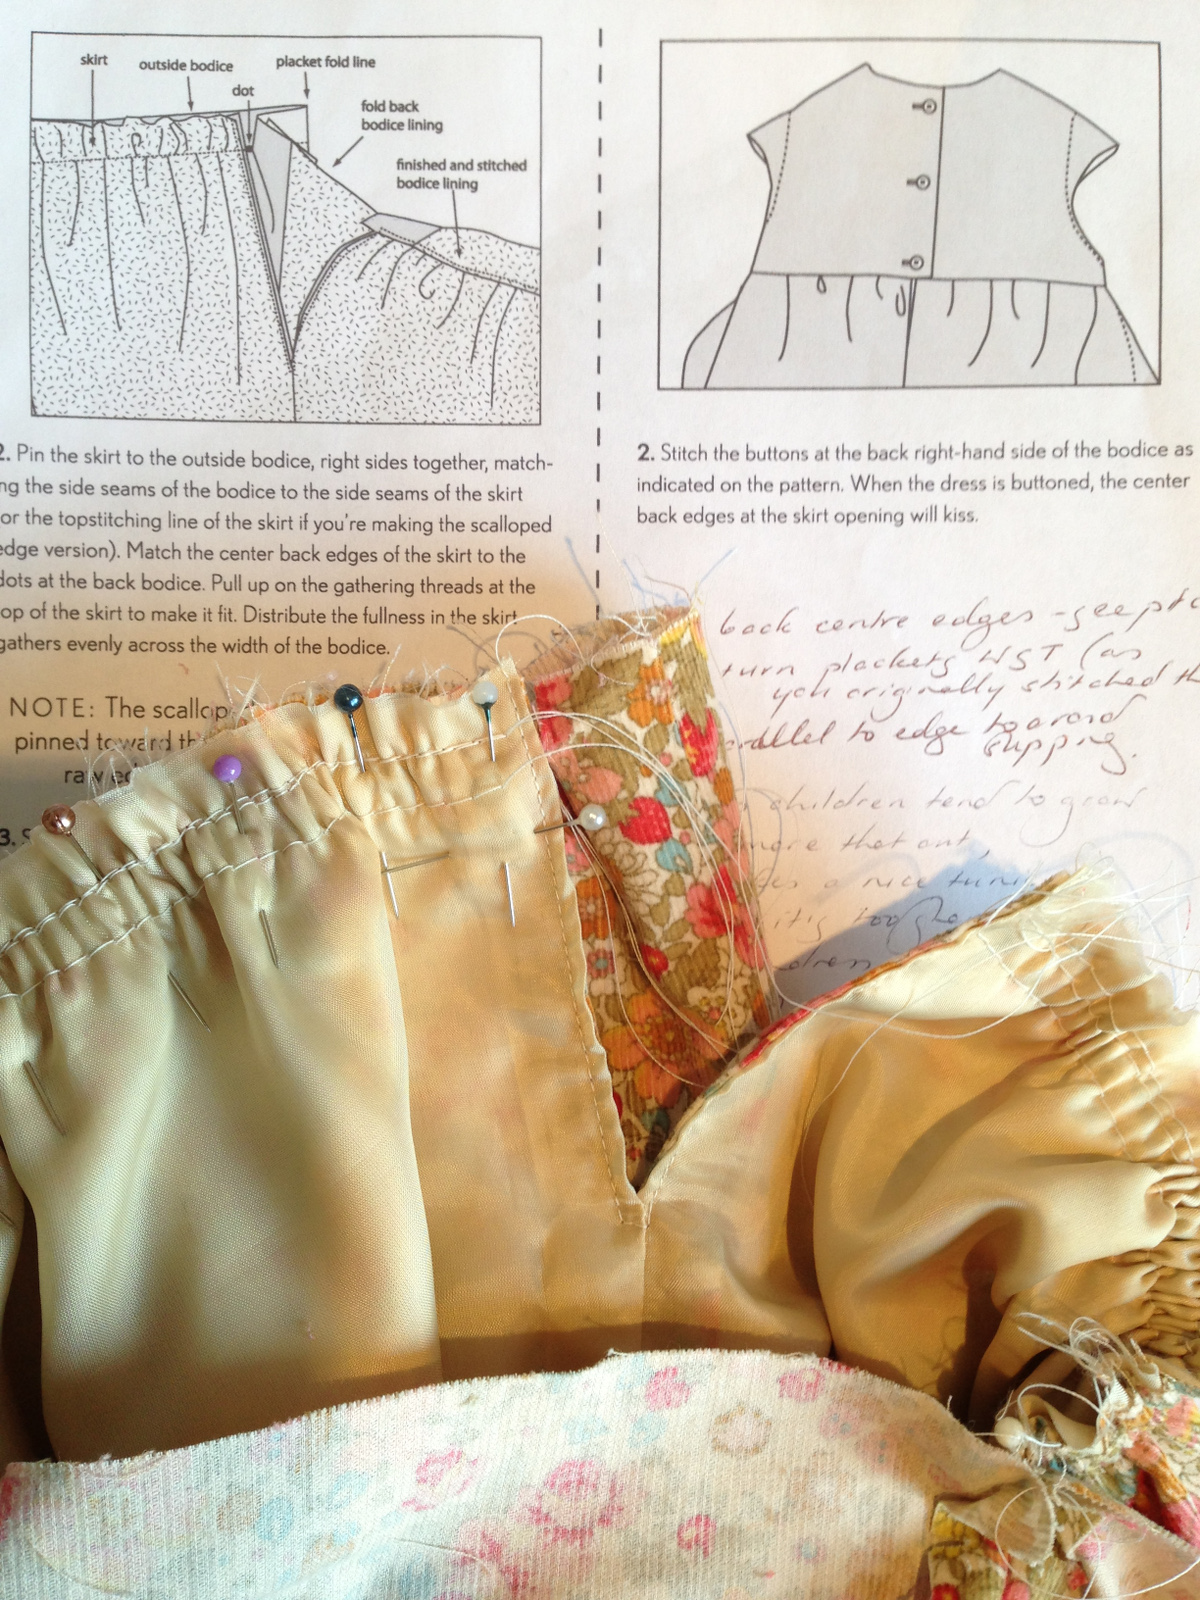
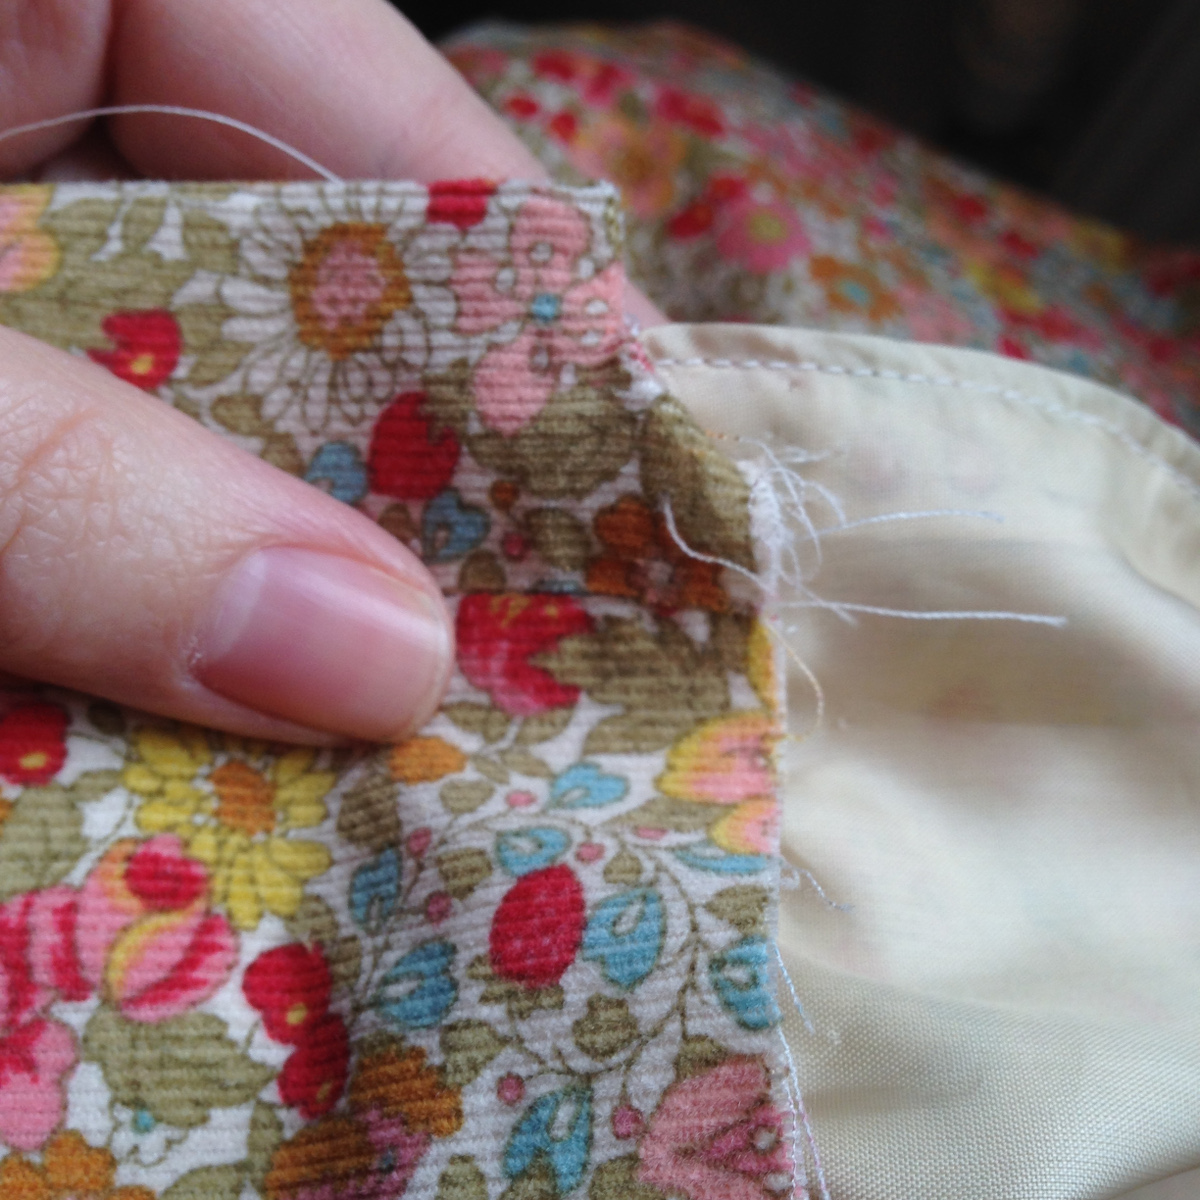
Find your bodice piece, which is nicely pressed with the right sides facing out. Now find the little seam you stitched at the bottom of the back placket on each side of the back bodice, and fold it out to the wrong side again, which will reveal the dot (or cross, in my case) which we used when we stitched it yesterday.
Now match the centre back edges of the skirt (where the outer and lining have been edge-stitched together) to the dots on the outside back bodice. The skirt placket needs to sit right up next to the end of that little line of stitching on the back bodice. I use a lot of pins for this corner, and I find the fabric can slip very easily.
Now gather the top edge of the skirt, matching the side seams and centre front, with the right side of the skirt to the right side of the outer bodice.
Stitch the skirt to the outside bodice at a half inch seam allowance, starting and stopping precisely at the dots where the placket seams begin (and remember – pins are your friends!).
Fold the bodice plackets back into place. The centre back seam of the skirt should be sandwiched between the bodice and bodice lining, just next to the back placket.
Magic? I think so!
Fold the bottom edge of the bodice lining, pin and handstitch or edgestitch it in place.

Time for buttonholes already! I love having a chance to mix and match some pretty buttons.
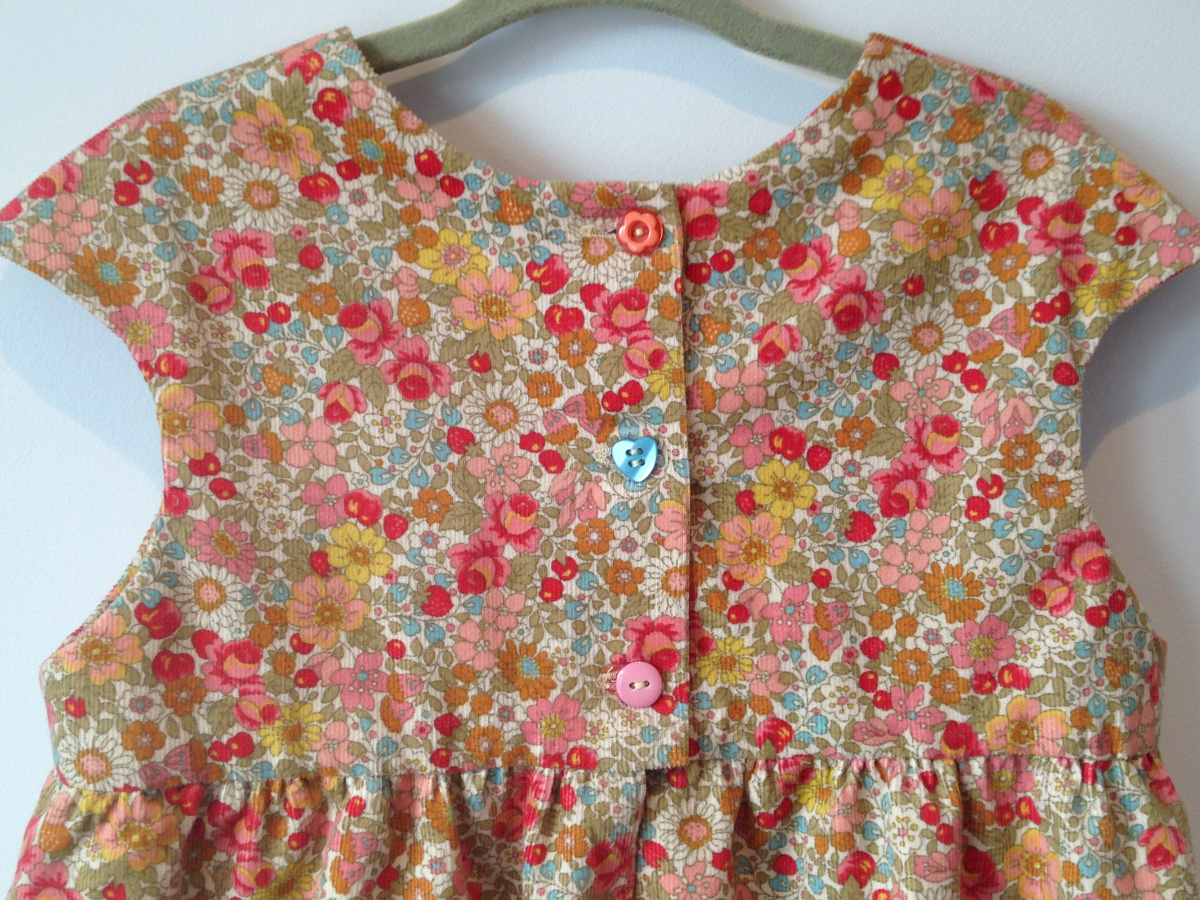
Sew the buttonholes on the back left-hand placket. I sew the top button first to match the neck edges, then the bottom button to match the placket edges, and then the middle button goes in last.
And we’re done!

I hope you’ve enjoyed sewing the Bubble dress as much as I have, and that your size-five will have lots of fun wearing it!
Thank you so much Catherine for your careful description of how to fix the back bodice to the skirt. I have made this dress a couple of times – with varying success – mainly because I found the markings for the buttonholes/centre back extremely puzzling. While Oliver + S instructions are always marvellous, I did find it hard to interpret the diagrams for this section. Thank you again!!
Agreed, really thorough and marvelous to see photos for each step in detail. I love tutorials with abundant photos, they’re just easier for my eye to interpret. Thank you, Catherine!
really thorough and marvelous to see photos for each step in detail