Are you ready to make yourself a cute dress? A few of you have already posted photos to the SewLisette Flickr group and they look great! I wore mine for the first time yesterday and received lots of compliments. It’s a fun dress to sew, too.

Here’s the itinerary for the week:
- Day 1: Full (or small) bust adjustment and interfacing.
- Day 2: Assemble the front bodice.
- Day 3: Add the midriff and (optional) ties.
- Day 4. Construct the back bodice and the sleeves.
- Day 5. Add the skirt, sew the zipper, and finish the dress.
Day 1
Let’s start with the full (or small) bust adjustment for those of you who have requested it. This is a really easy change to make.
Full Bust Adjustment
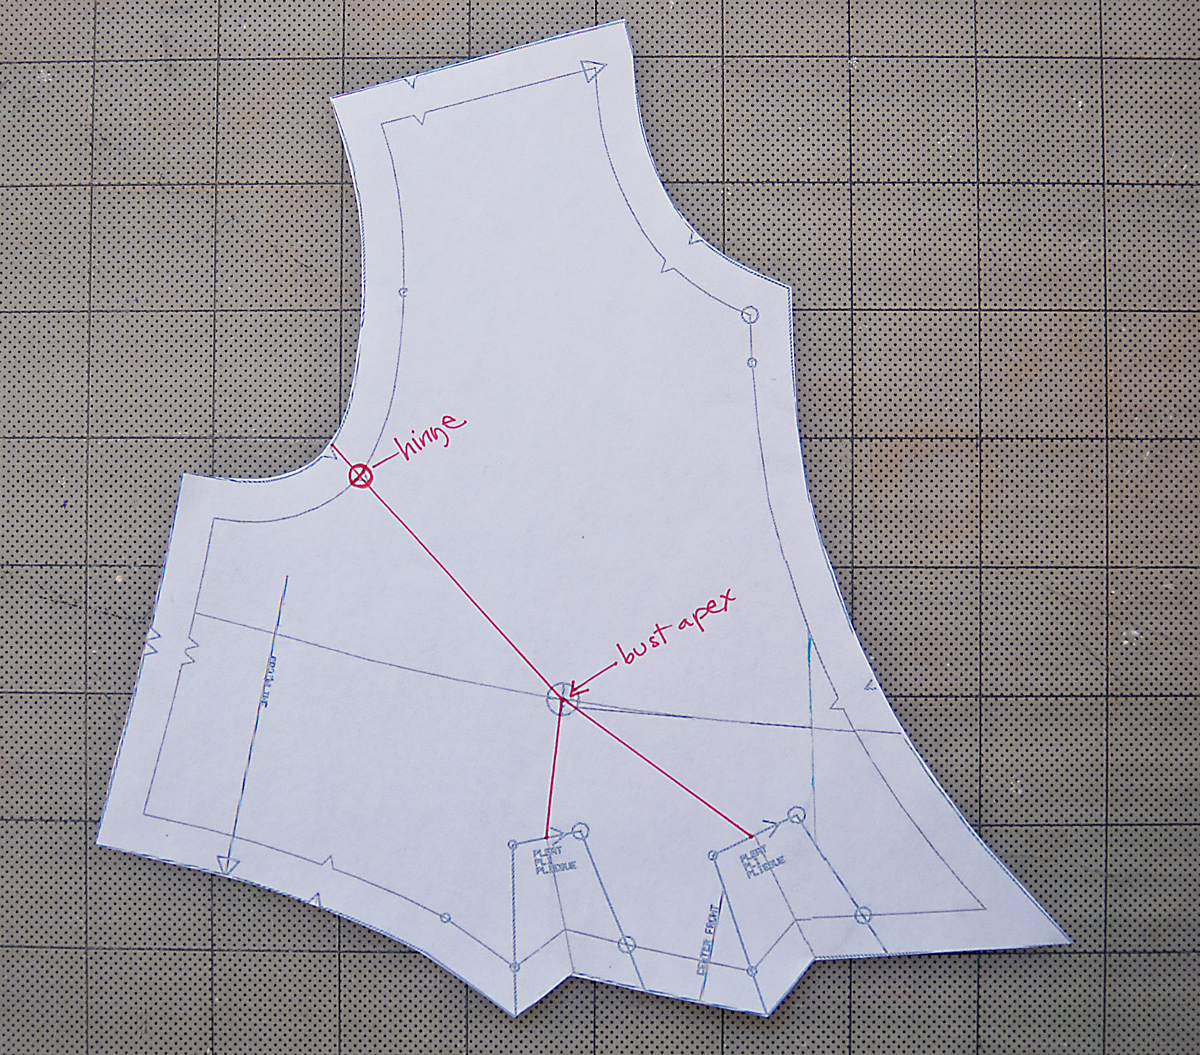
1. Mark the pattern. Begin by drawing in the 5/8″ seam lines on your pattern piece. Hold the pattern piece up against your body (be sure you’re wearing a well-fitting bra!) and position the side seam and shoulder seam against your body so you can check the placement of the apex. The apex is marked on your pattern piece with a cross inside a circle. If your apex is the fullest part of your bust (not necessarily your nipple!). Mark your own apex placement on the pattern and use that marking instead of the apex marking on the pattern if there’s a difference.
2. Draw a line from the notch at the armhole to the apex of the pattern. Draw a line from the apex to the center line of each pleat, as shown.
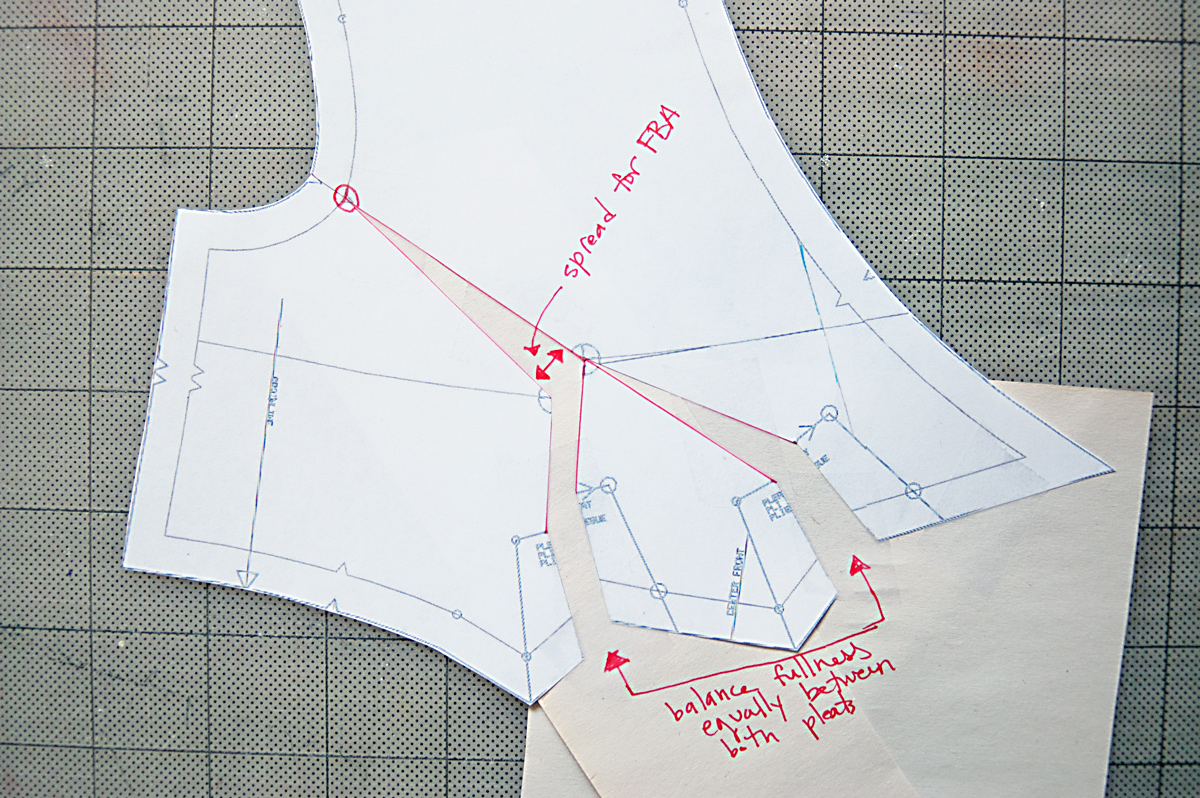
3. Cut along the center line of each pleat, pivoting to cut up the line to the apex. Leave a small hinge of paper at the apex itself as shown. Continue cutting from the apex to the notch at the armhole, leaving a paper hinge at the seam line of the armhole, as shown.

4. Spread the paper pattern apart at the apex. If your measurements indicated that you’re a C-cup, spread the pattern by 1/2″. If you’re a D-cup, spread by 3/4″. If you’re an A-cup, you can slide the pieces of the pattern to overlap each other by 1/2″ instead of spreading.
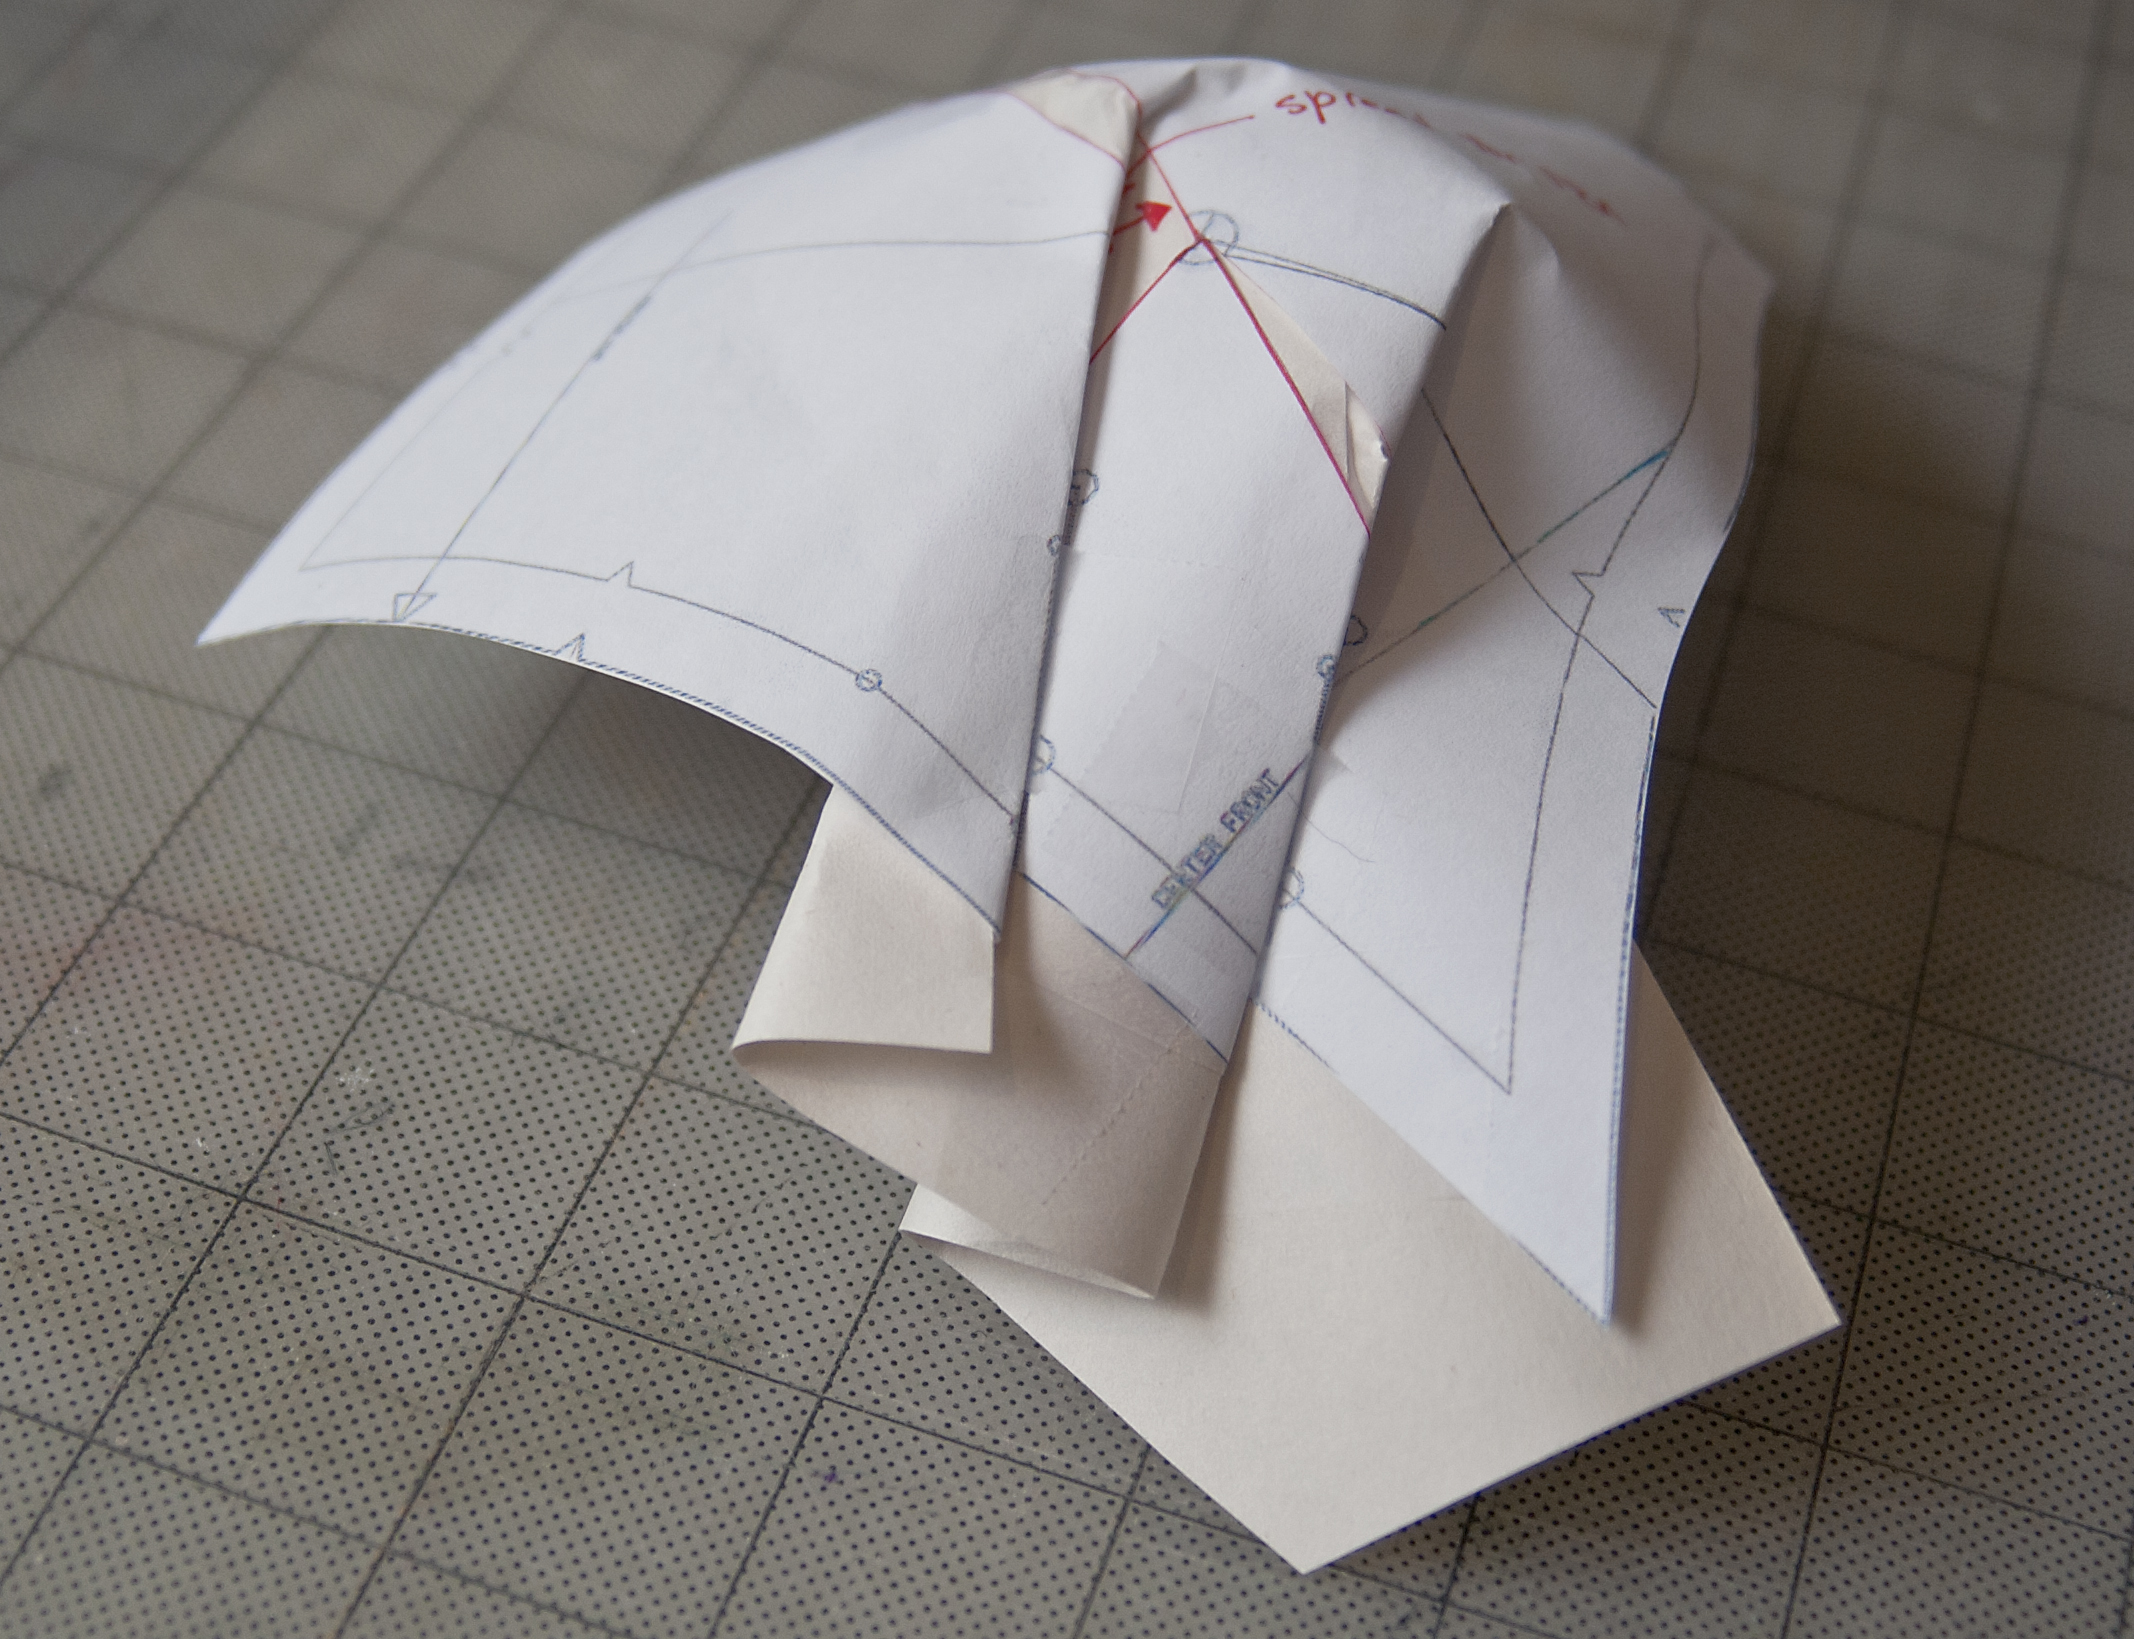
As you spread the pattern at the apex, the pleats will also get wider (or smaller if you’re overlapping for a small bust). Divide the amount of spread evenly between the two pleats by pivoting the flap of paper in the center, and tape a piece of paper behind the pattern to hold everything in place as shown. Leave some paper at the bottom edge of the pattern piece as well, so the lower edge can be adjusted in the next step.
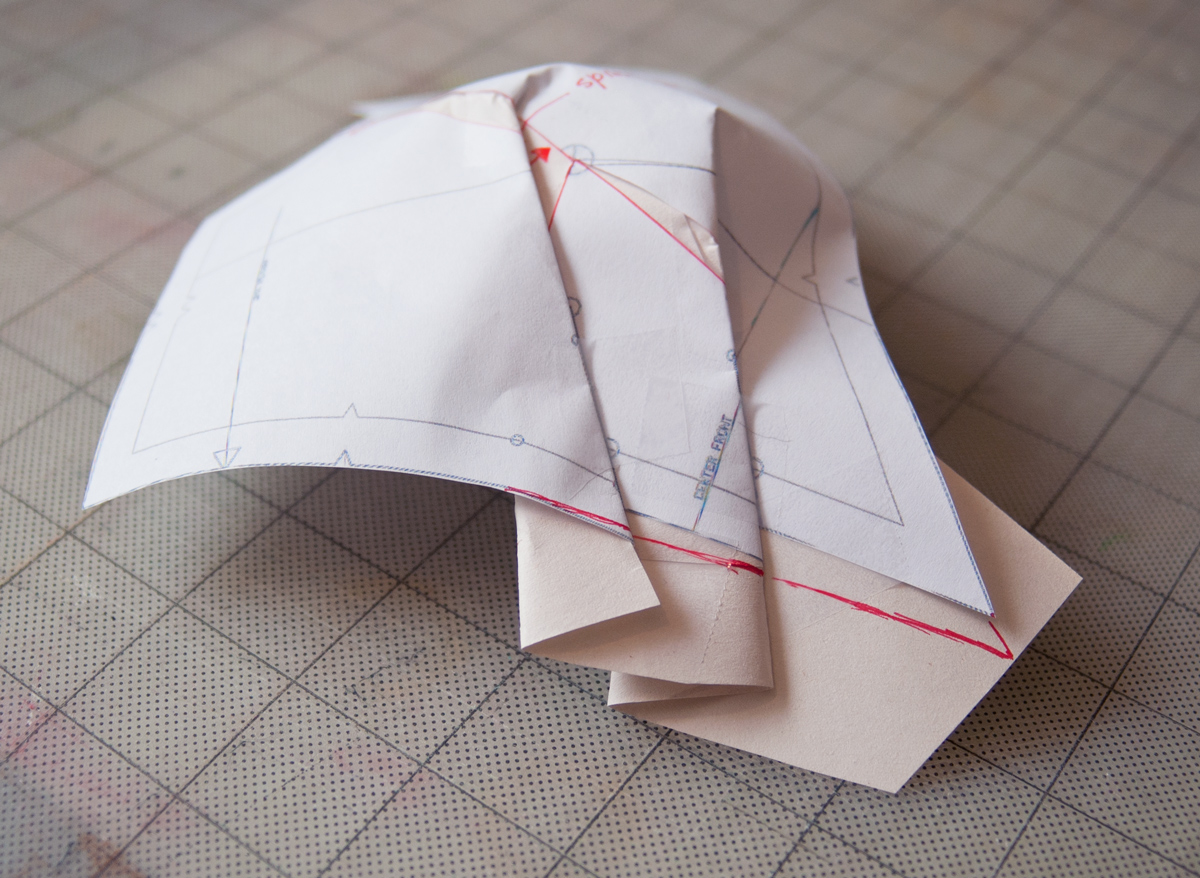
5. Once you’ve taped paper to fill in the gaps, carefully fold and tape the pleats together. Note that the pleats will no longer match up at the bottom edge. See how the dots don’t match anymore? That’s okay. Tape the pleat edges together for the time being so we can adjust the lower edge of the bodice and re-position the pleat dots.
6. Since we added length to the outside of the front bodice when we spread it at the cut, we’ll need to add the equivalent amount of length to the rest of the bodice. And then we’ll re-mark the dots that match up the two edges of each pleat. Start by drawing a curved line that mimics the curve of the bodice but drops down a bit. Blend the lines a bit as you draw the new curve, as shown below. (If you’re reducing for a smaller bust, you’ll be shortening the bottom edge of the bodice near the center front instead of lengthening it.)
7. Then, keeping the pleats folded, trim the bodice at the new bottom edge.

8. The result, when you un-tape the pleats, will be a new pattern piece that’s wider and longer to accommodate a fuller bust, with the pleat uptake adjusted as well.

And now you’re all set, with a new and improved pattern piece! Be sure to check the fit by making a muslin so you can do any further tweaking to customize the fit.
Once you have your fabric cut out and all your markings transferred from the pattern pieces, you’re almost ready to start sewing. We just need to add a little interfacing to a few pieces.
Interfacing
1. Trim corners of INTERFACING, as shown. Fuse interfacing to wrong side of each matching FABRIC section, following manufacturer’s instructions. (Note: I trim some of the interfacing from most of the seam allowances, not just the corners. It’s just a matter of personal preference; do as you see fit here. Also note that the facings for my dress are plain white lawn to prevent any show-through on my white dress fabric.)

And tomorrow we’ll get started with the actual sewing. That will give everyone who wanted to do the Full Bust Adjustment a little time to get caught up with us. I’ll see you tomorrow, right here!
Day 2
Those of you who are ready to get sewing, let’s get started. It’s always nice to get all the prep work out of the way so you can get to the fun assembly part, isn’t it?
For the sew-along, I’m using the words exactly as they’re written in the guidesheet of the sewing pattern itself, and I’ve added notes and explanations in parentheses so it’s easy for you to follow along. Here we go.
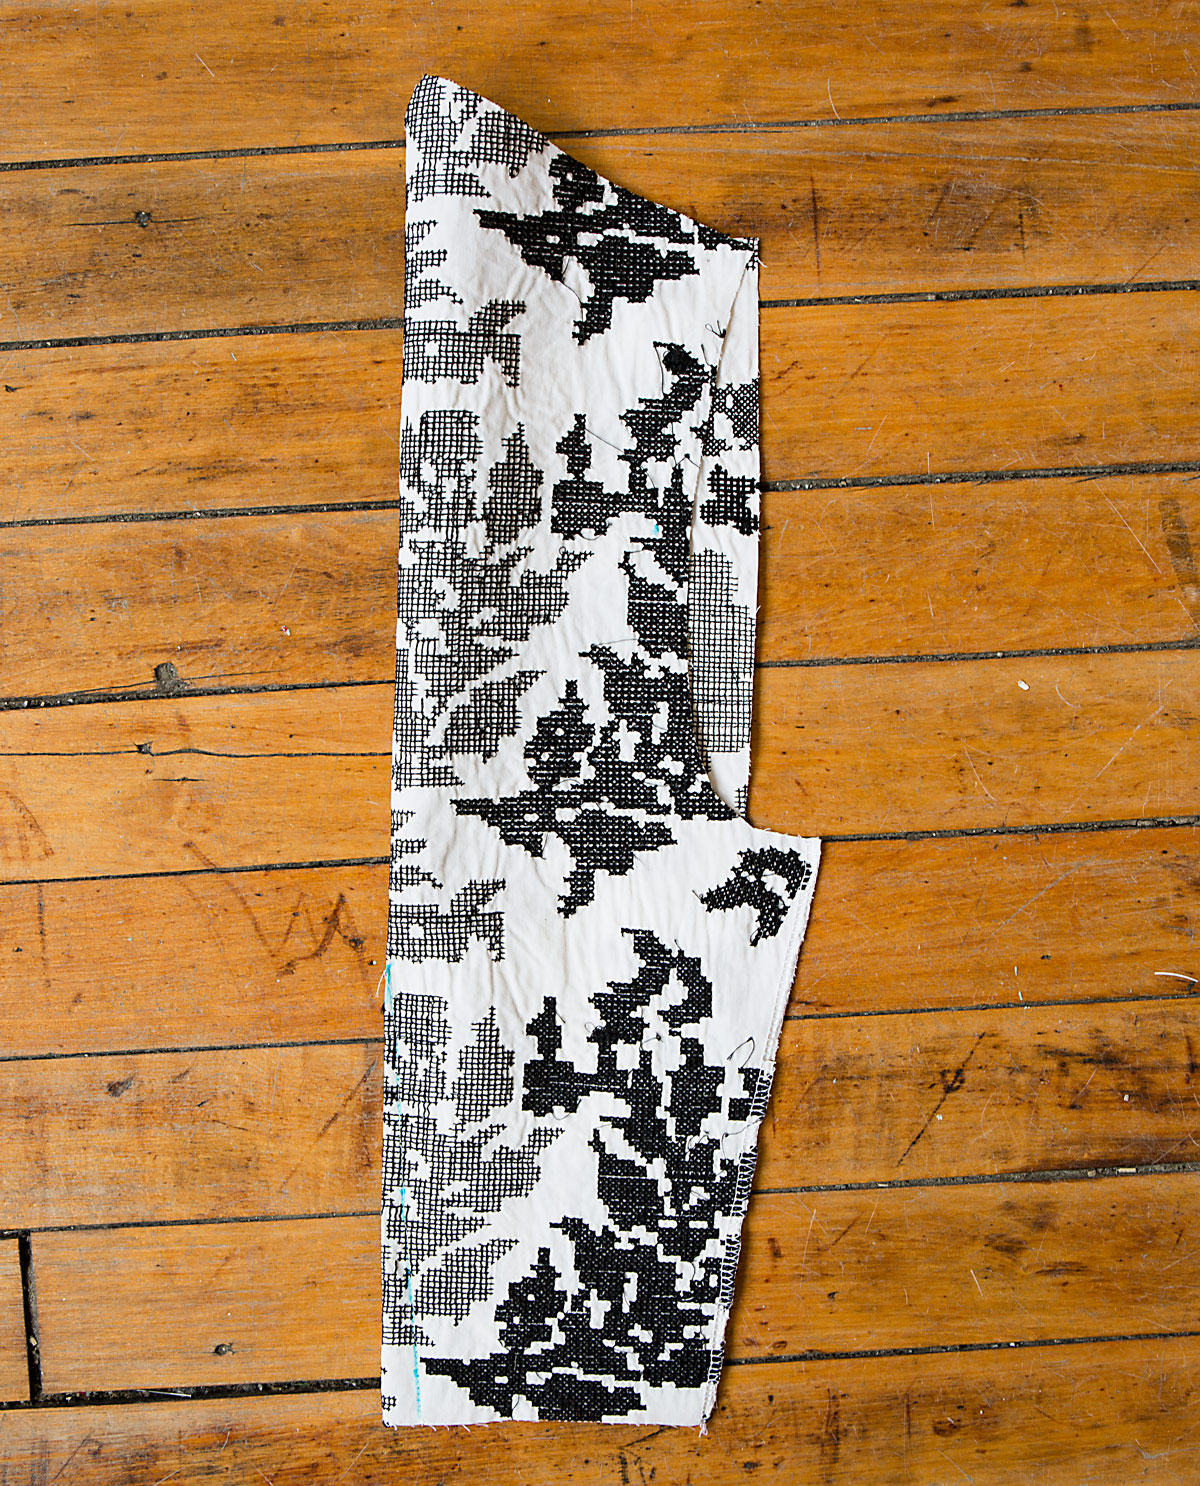
Bodice Front
2. To make pleats in BODICE FRONT, on outside, crease along lines of small circles. Bring creases to lines of large circles. Baste (center fronts). Baste across lower edge. Press. (If you start at the out side edge and work your way in it’s east to keep track of which line gets folded and matched to the next line, as shown below.)

 first pleat pinned in place
 both pleats pinned
 If you look very closely you can see the (white) basting stitches holding my pleats in place until I’ve finished constructing the dress, when I will remove them.
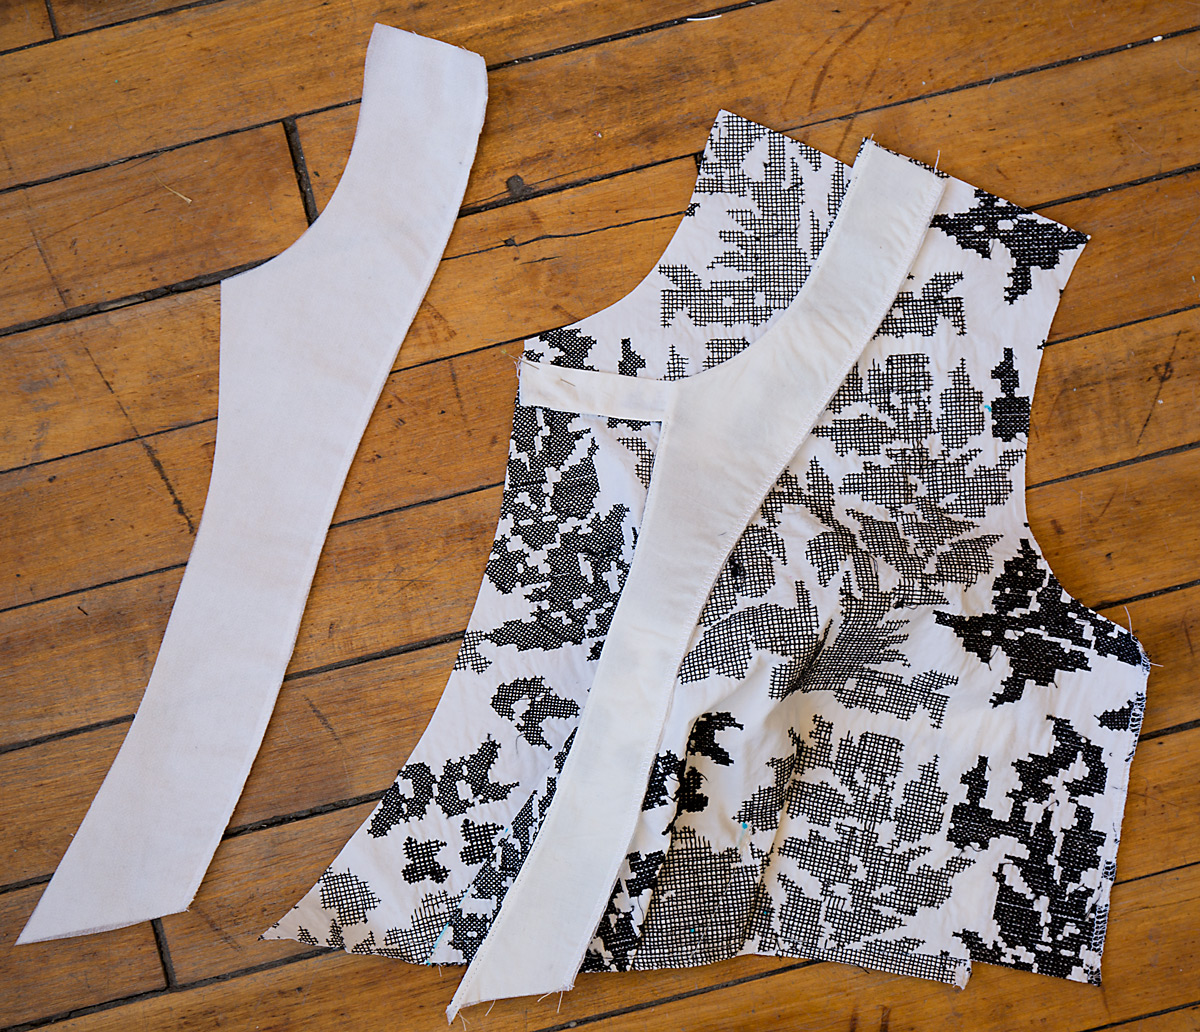
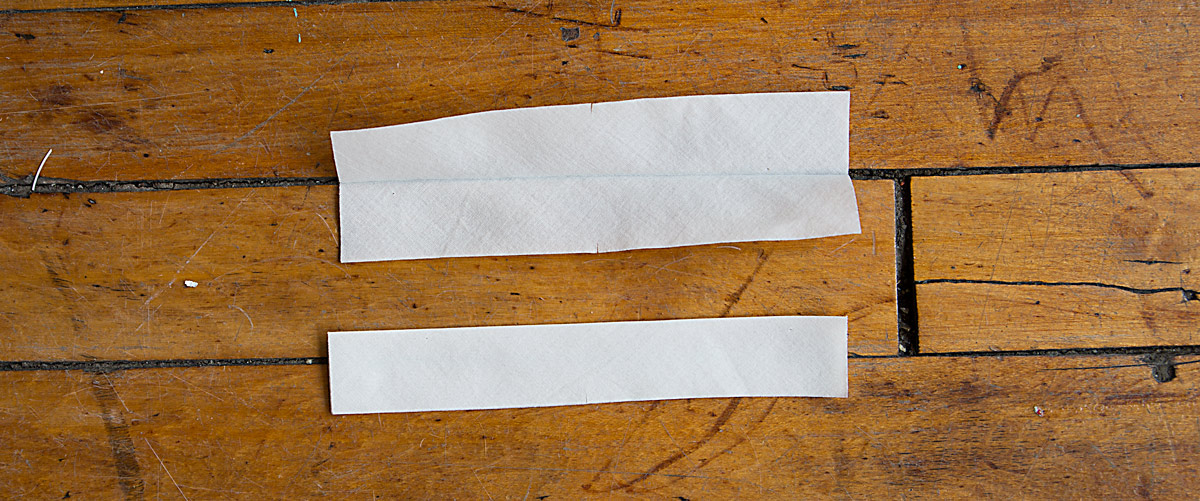
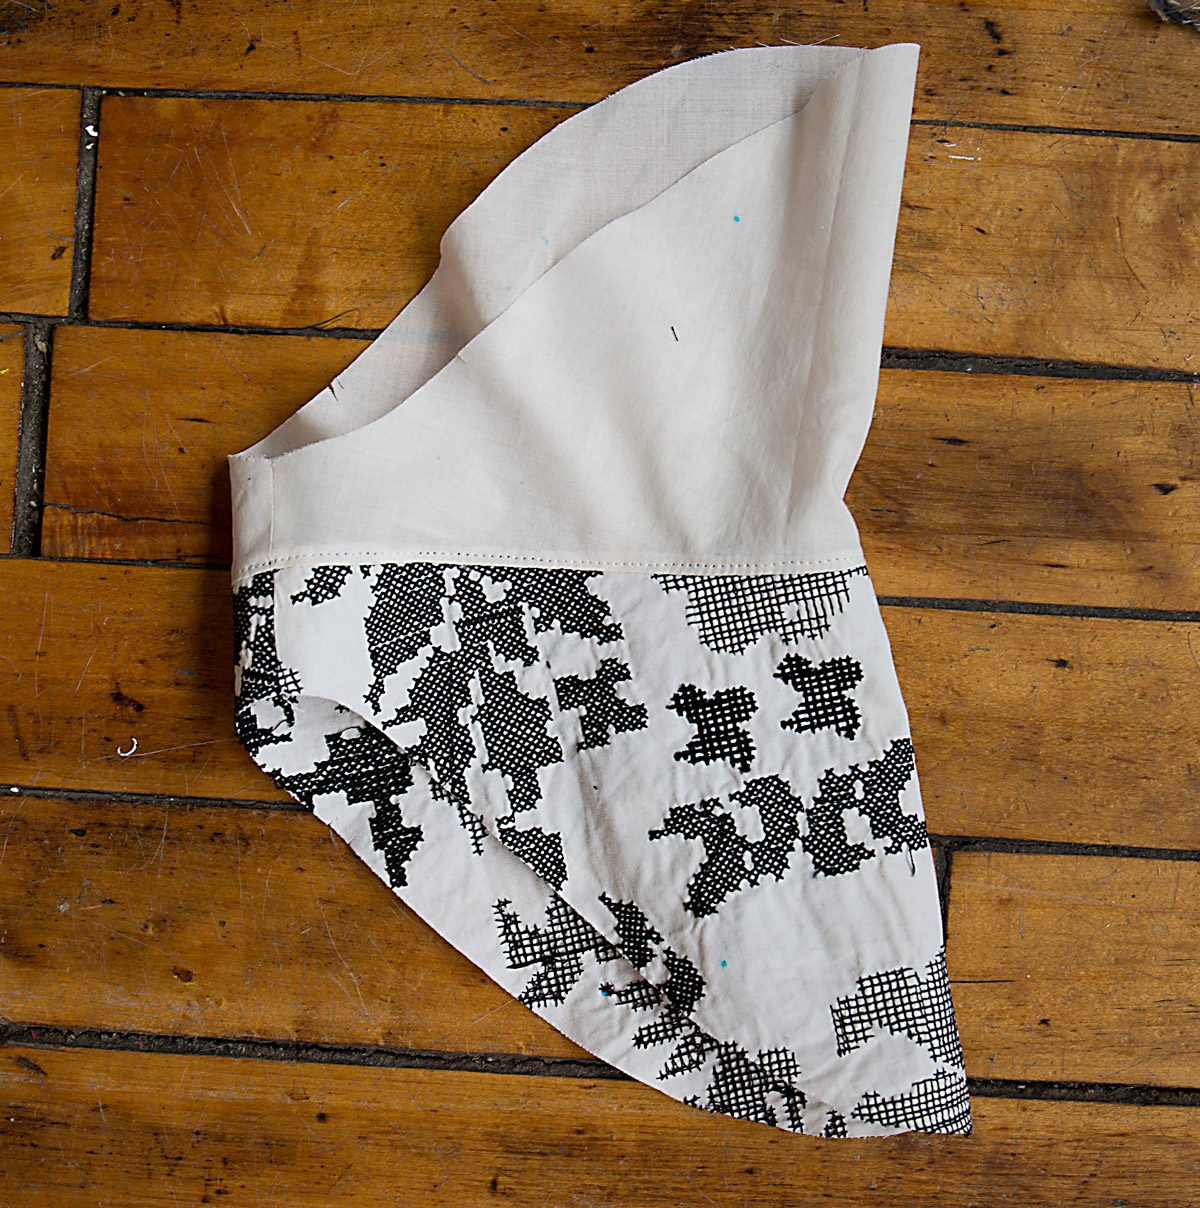
3. Fold TAB on foldline, right sides together. Stitch long edges. Trim seam allowances. (I trimmed my seam allowances to about 1/8″.)
4. Turn right side out. Press. Baste raw edges together. (Use whatever tool you like for turning the tab right side out; I used a safety pin, but a loop turner like the one shown will work well too.)
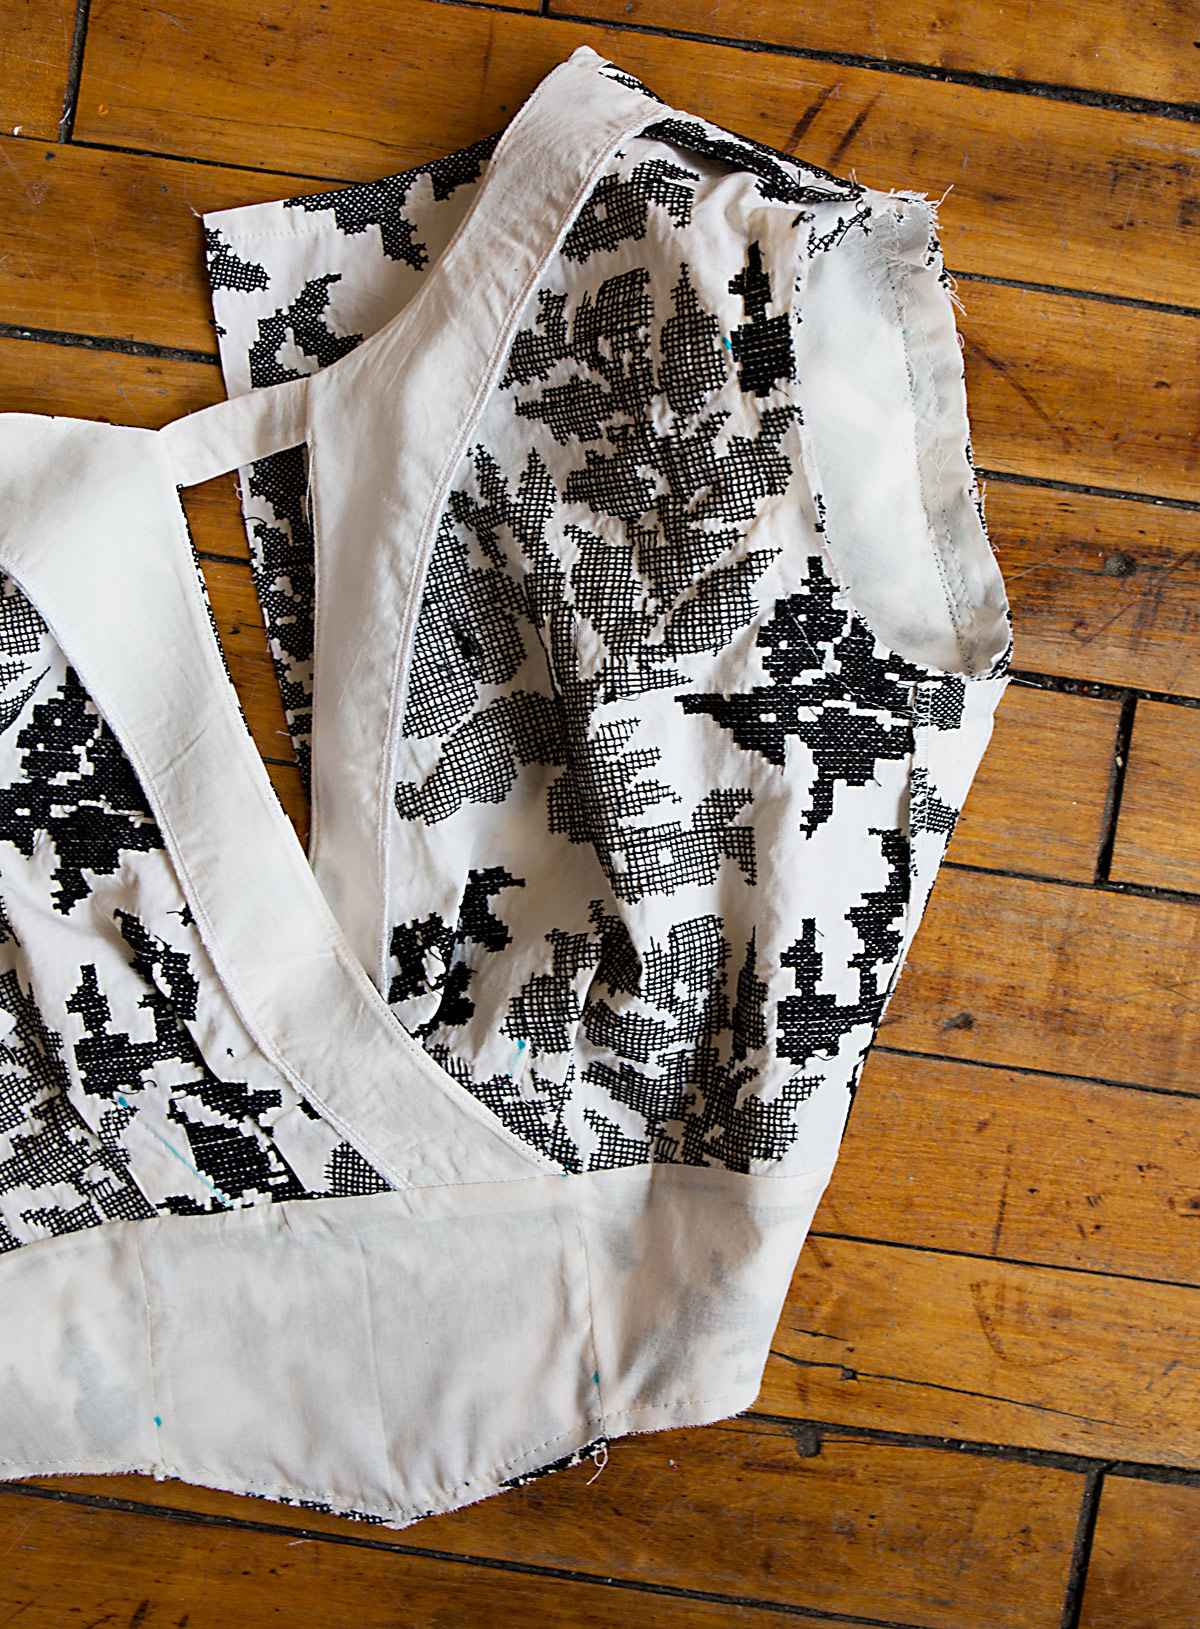
5. Pin tab to right bodice front, matching circles. Baste. (If your tab has a better side, it should be facing down in this step so it will be visible on the finished dress. I chose the side with a little embroidery as the better side of my tab.)

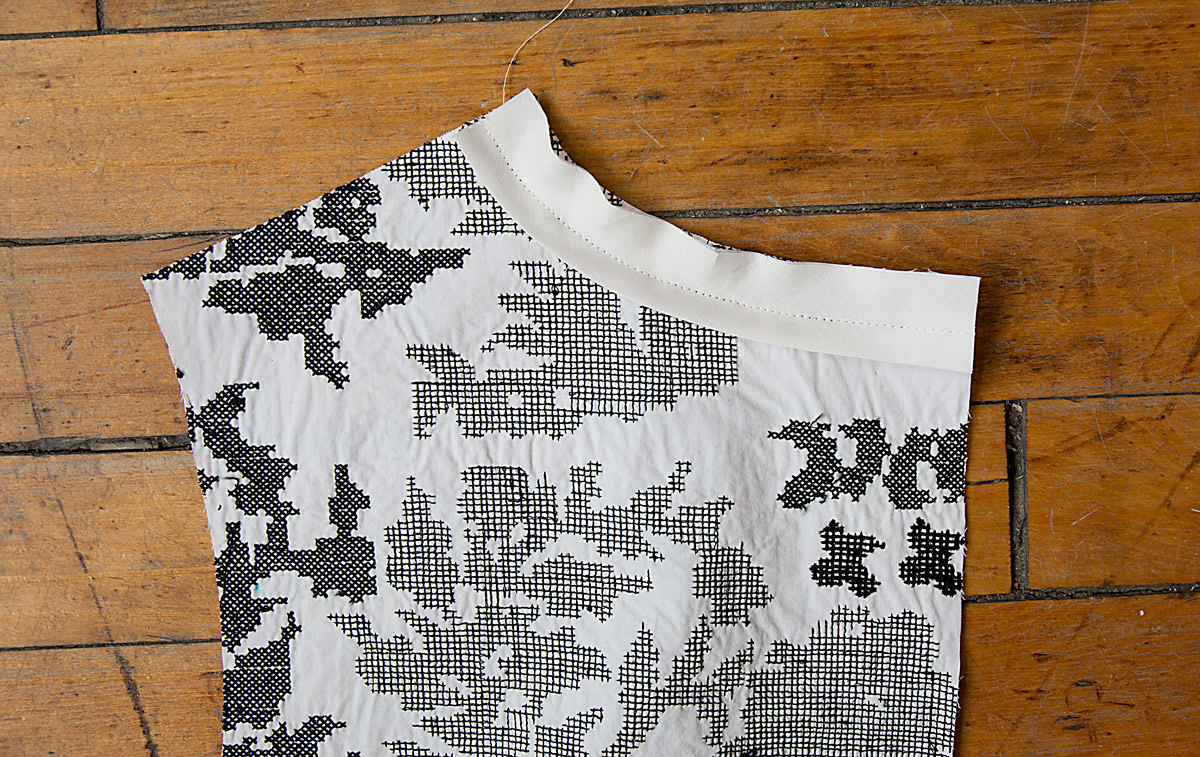
6. FINISH long unnotched edge of FRONT FACING. Pin right front facing to right bodice front, matching notches and circles. Stitch neck and front edges. Trim seam allowances. (Reminder: my facings are plain white poplin. I serged the outside edge of the facing to finish it, but if you don’t have a serger it’s fine to either zigzag stitch the edge or do a narrow hem. Once you’ve stitched and trimmed the seam allowances, press the seam allowances toward the facing so it can be understitched in the next step.)
 stitched
 trimmed
7. UNDERSTITCH facing as far as possible. (You won’t be able to stitch all the way to the tab, but try to understitch as much of the facing as possible to encourage the facing to stay well inside the neckline when the dress is worn. You can see in the photo below that I’ve pressed the seam allowances and the facing away from the bodice and edgestitched the facing as close to the tab as I could reach. I also edgestitched the neckline. If you’ve ever been confused about understitching, it’s simply an edgestitch on the facing side.)
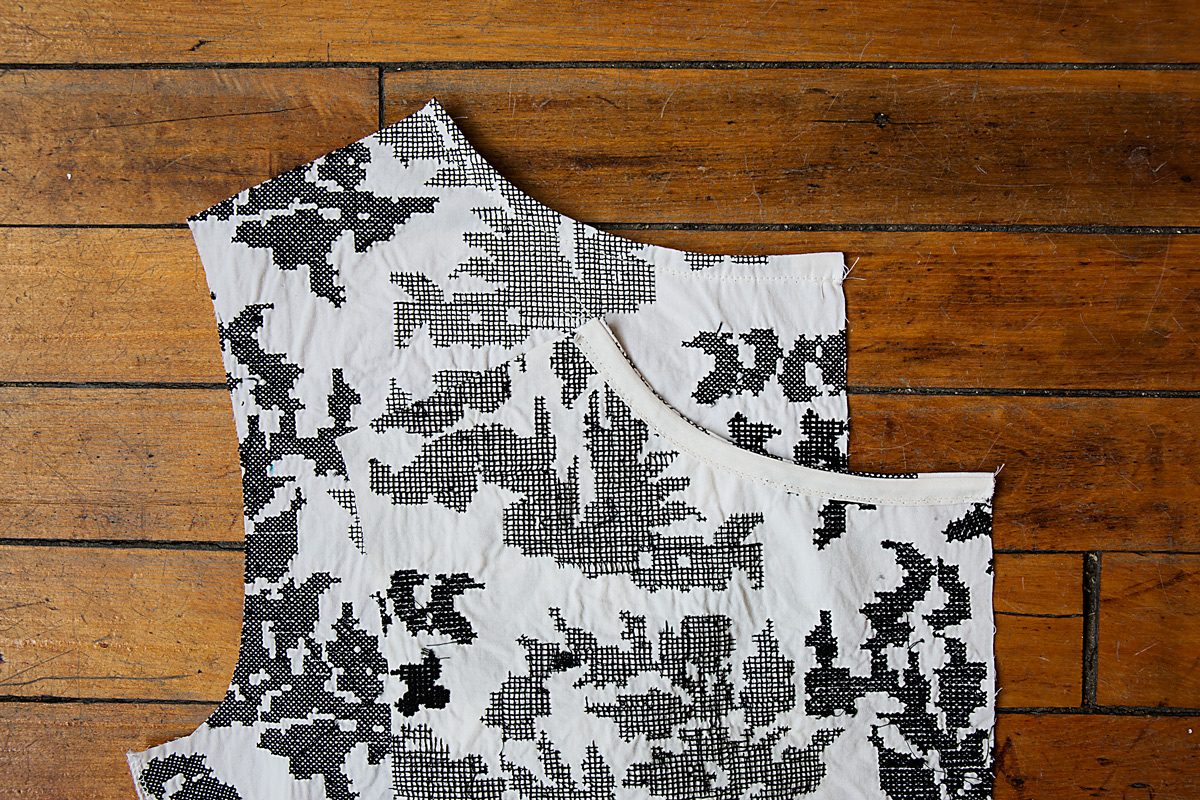
8. Turn facing to inside, turning tab outward. (Press.) Baste lower edges together.
9. Pin free end of tab to left bodice front, matching circles. Baste. Prepare and apply left front facing to left bodice front in the same manner as described for right bodice front. (So you’re essentially doing the same thing you did for steps 5-8 but with the other side of the bodice attached to the end of the tab this time.)
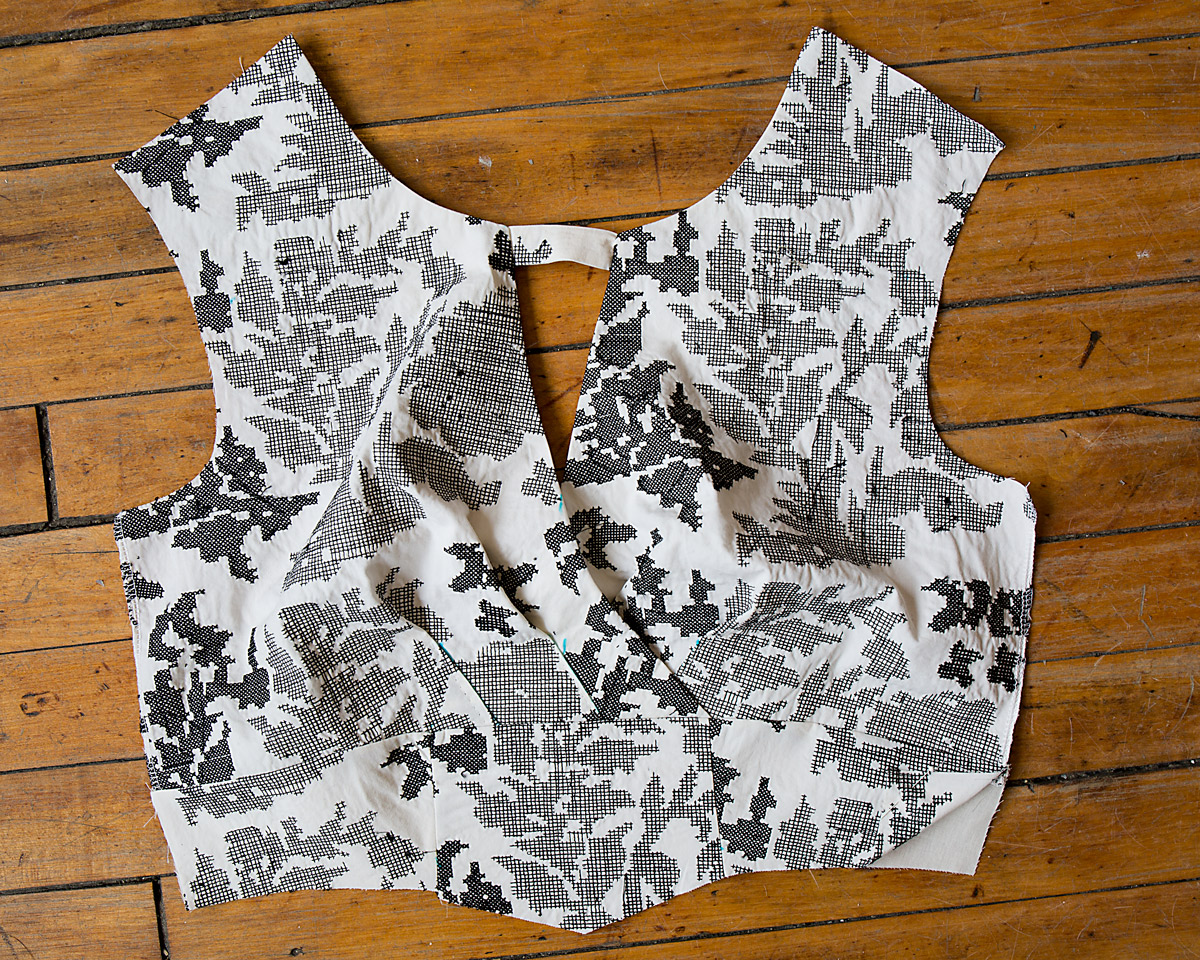
10. With right sides up, lap right bodice front over left, matching notches and centers. Baste along center front. Baste across lower edge. (Be sure you get those center-front lines matched and basted together so the neckline will be the right depth and the bodice is the right width. See step 11 below for a photo of the bodice basted and completed. If you didn’t mark your center-front lines, that’s OK. Just hold the pattern piece up to the fabric and it’s easy to mark them now, remembering to account for the stitched seam allowances.)
11. STAYSTITCH lower edge of bodice front.

That wasn’t too bad, was it? Our dresses are already starting to take shape.
Day 3
Today we’re going to construct the midriff and the optional ties. This part is really easy and quick.
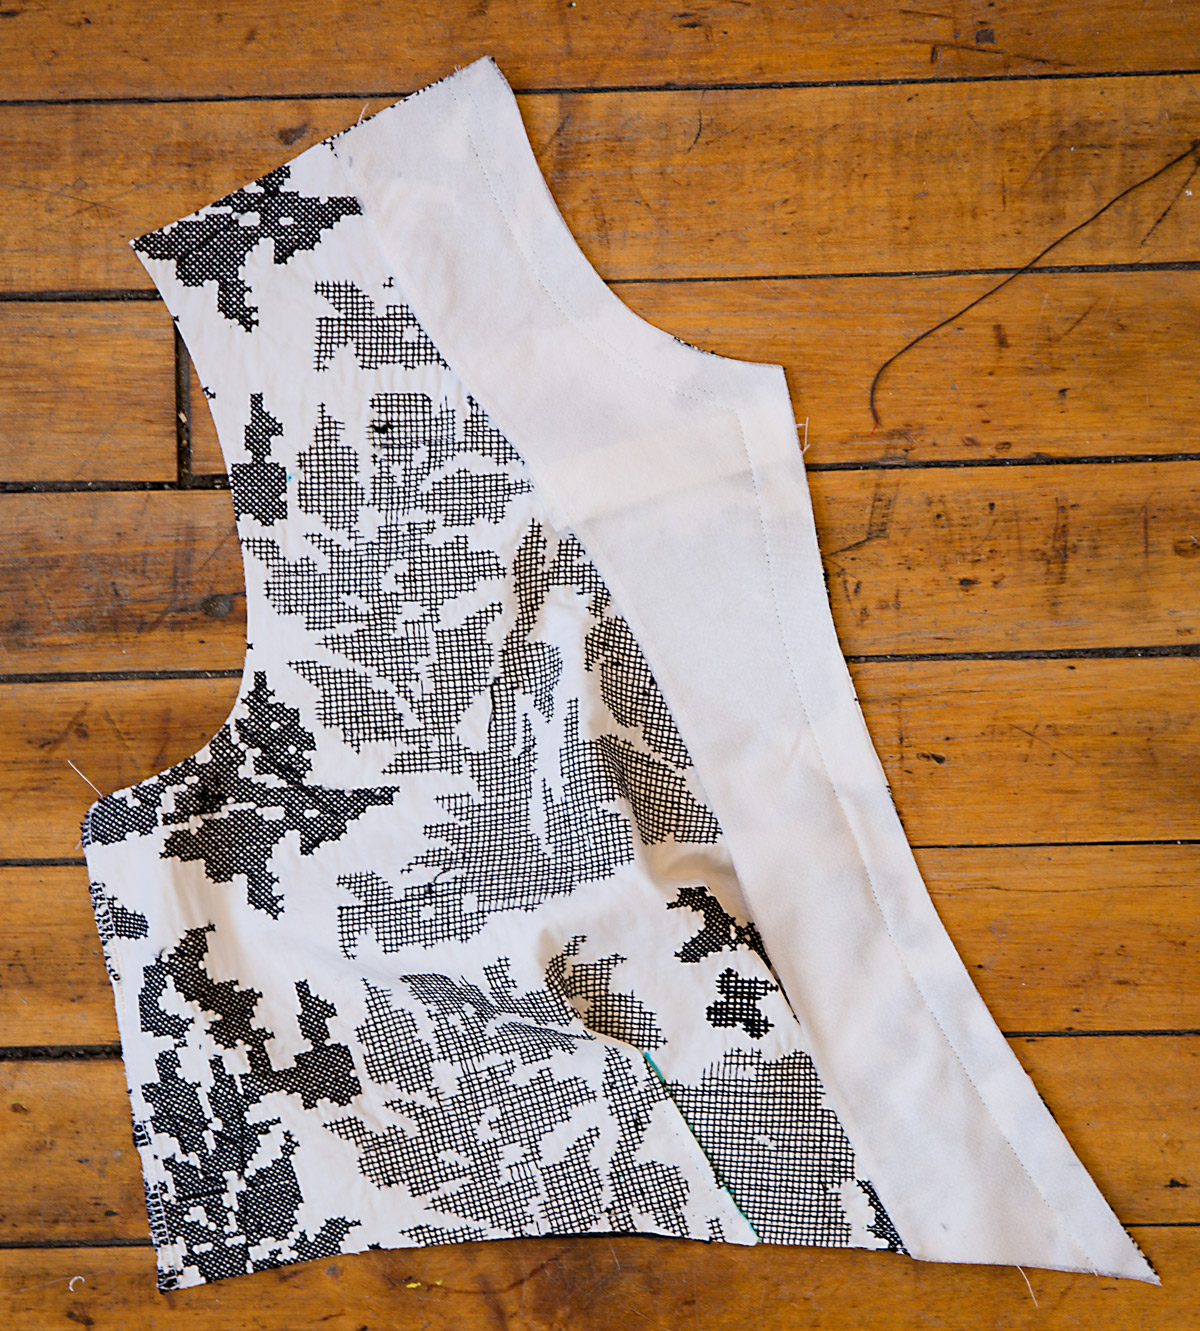
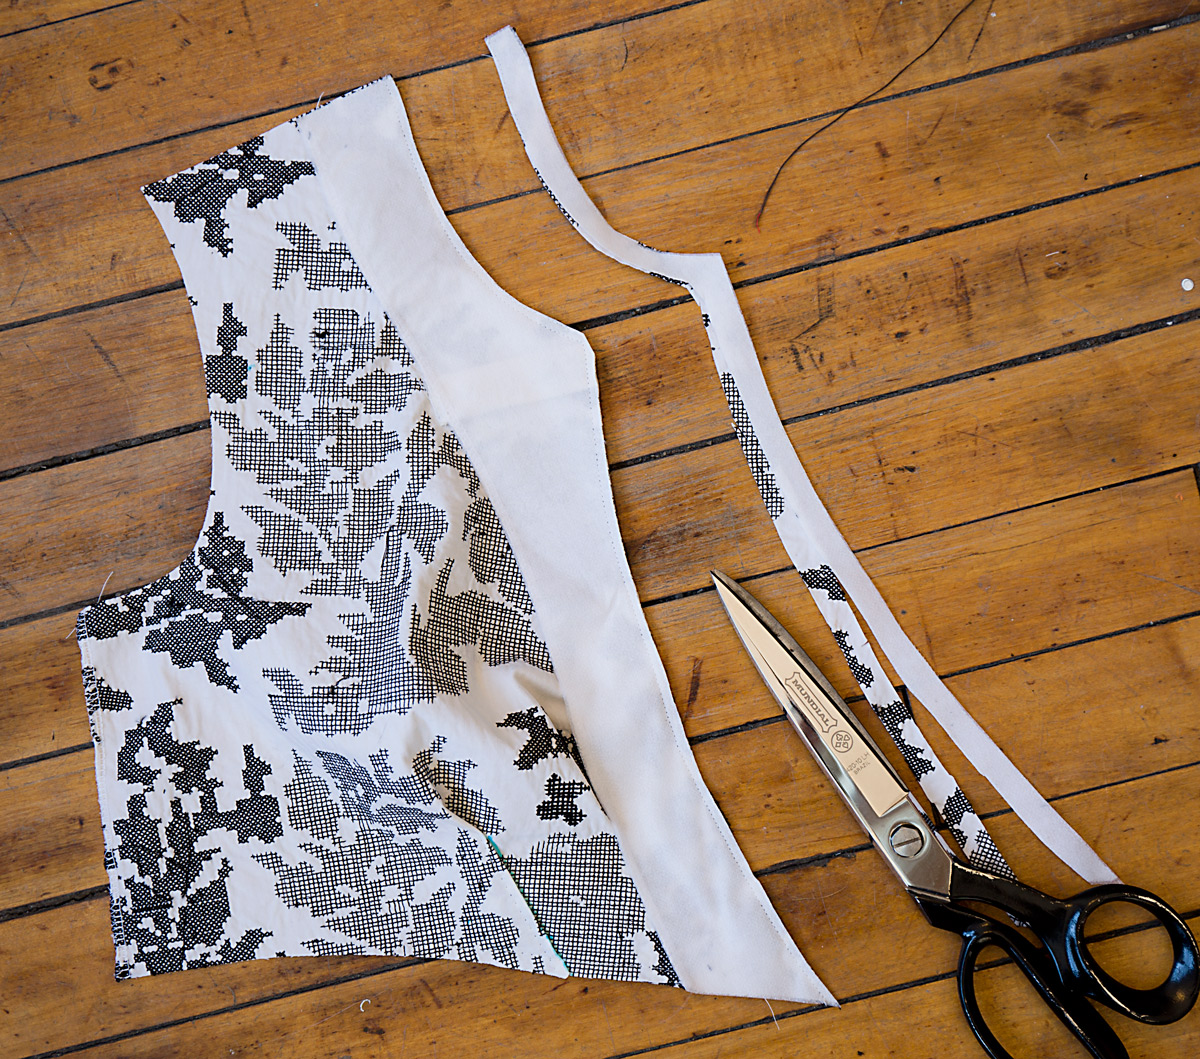
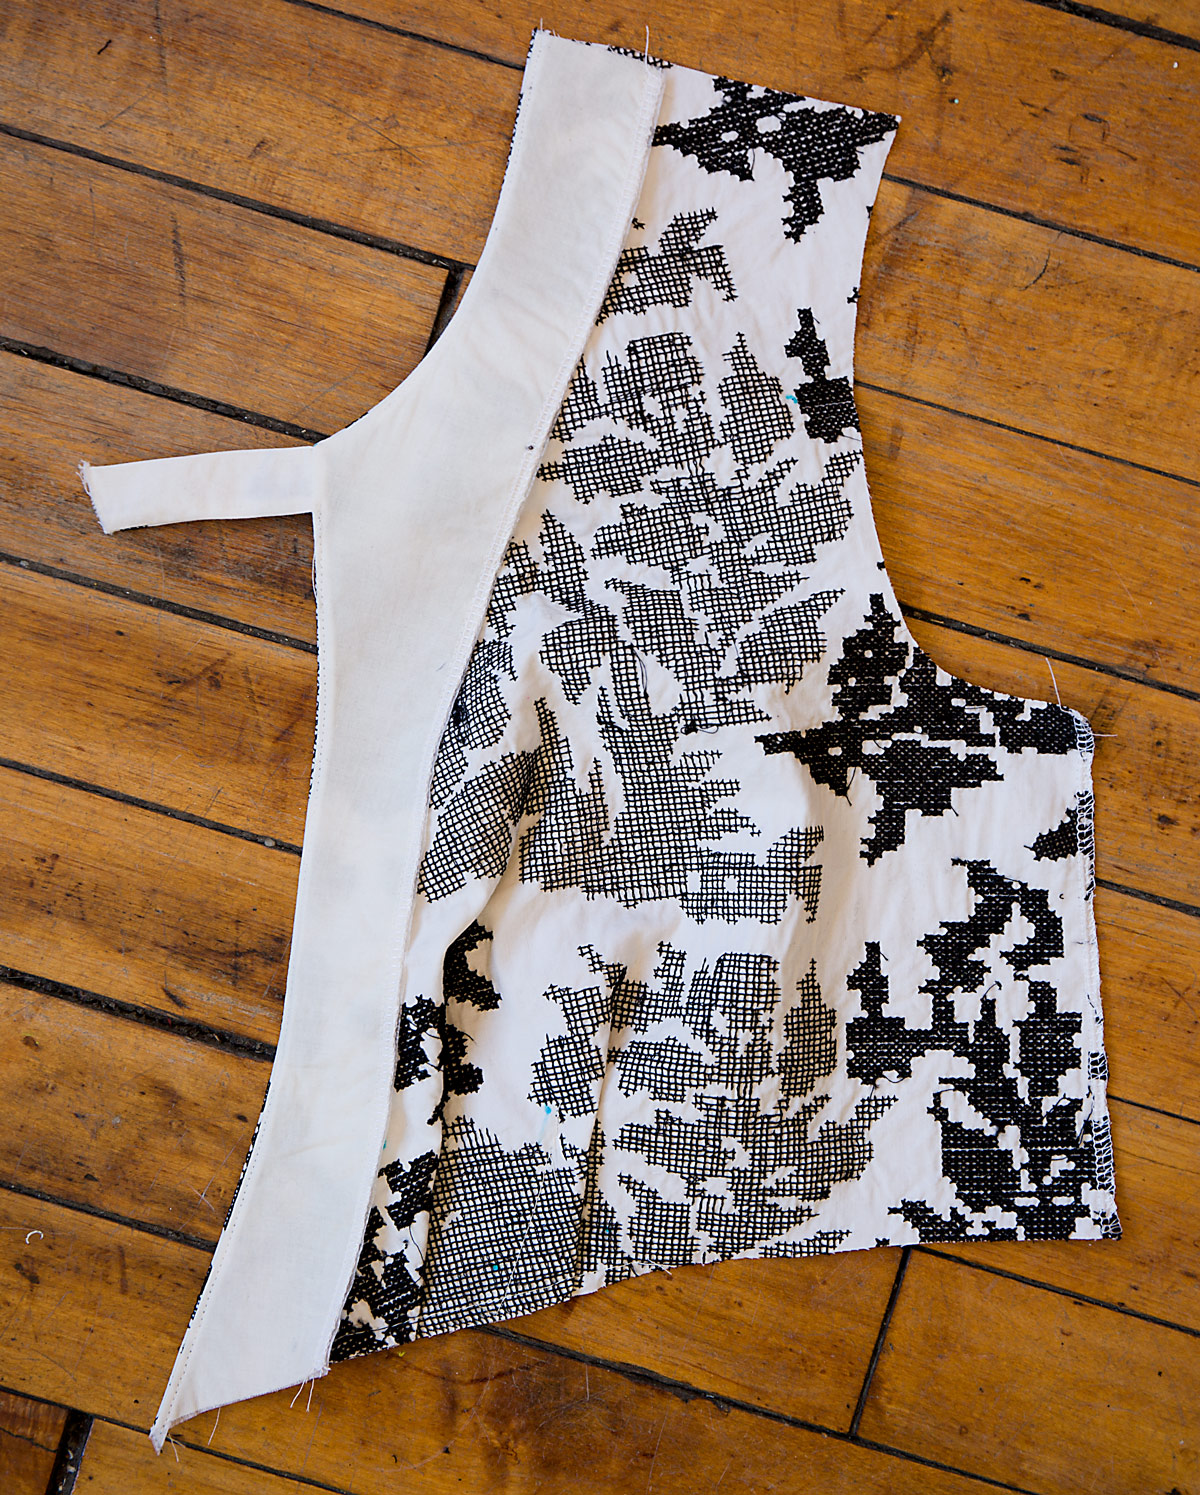
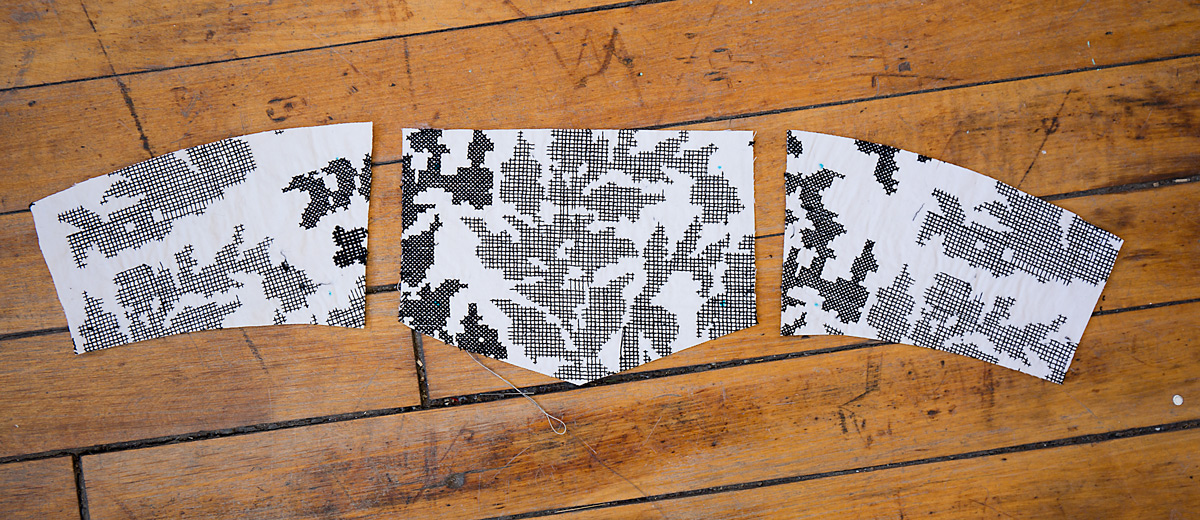
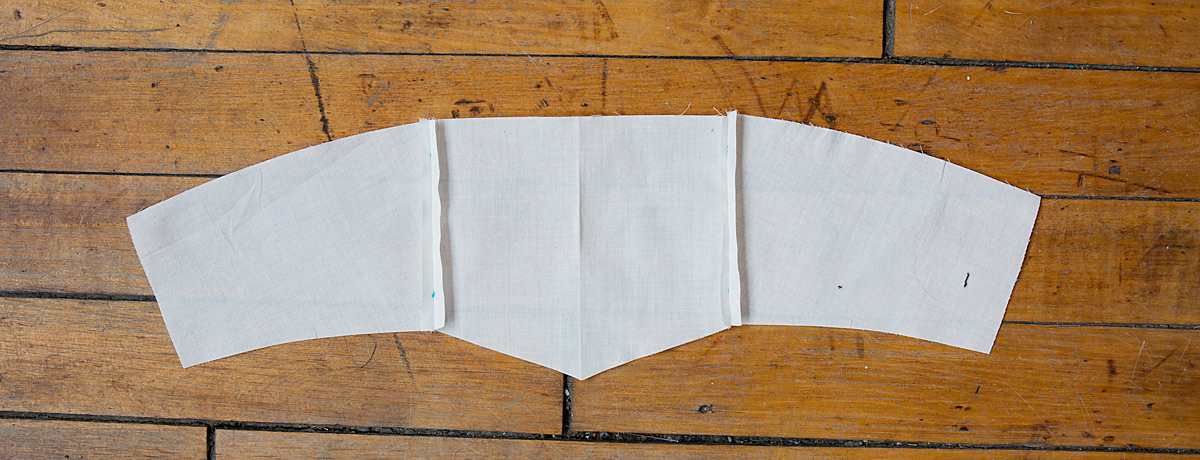
Midriff and Side
Note: Since I sewed View B and don’t have photographs of the ties, I’ve included the illustrations from the instructions for those steps.
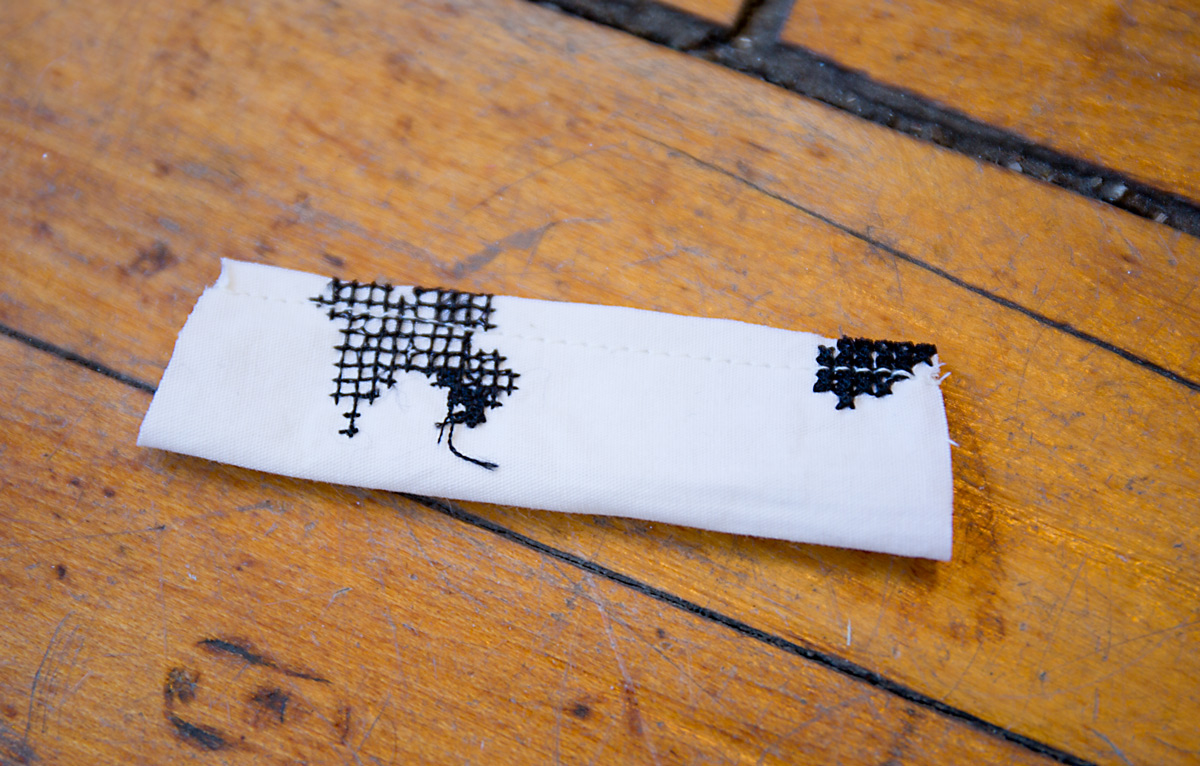
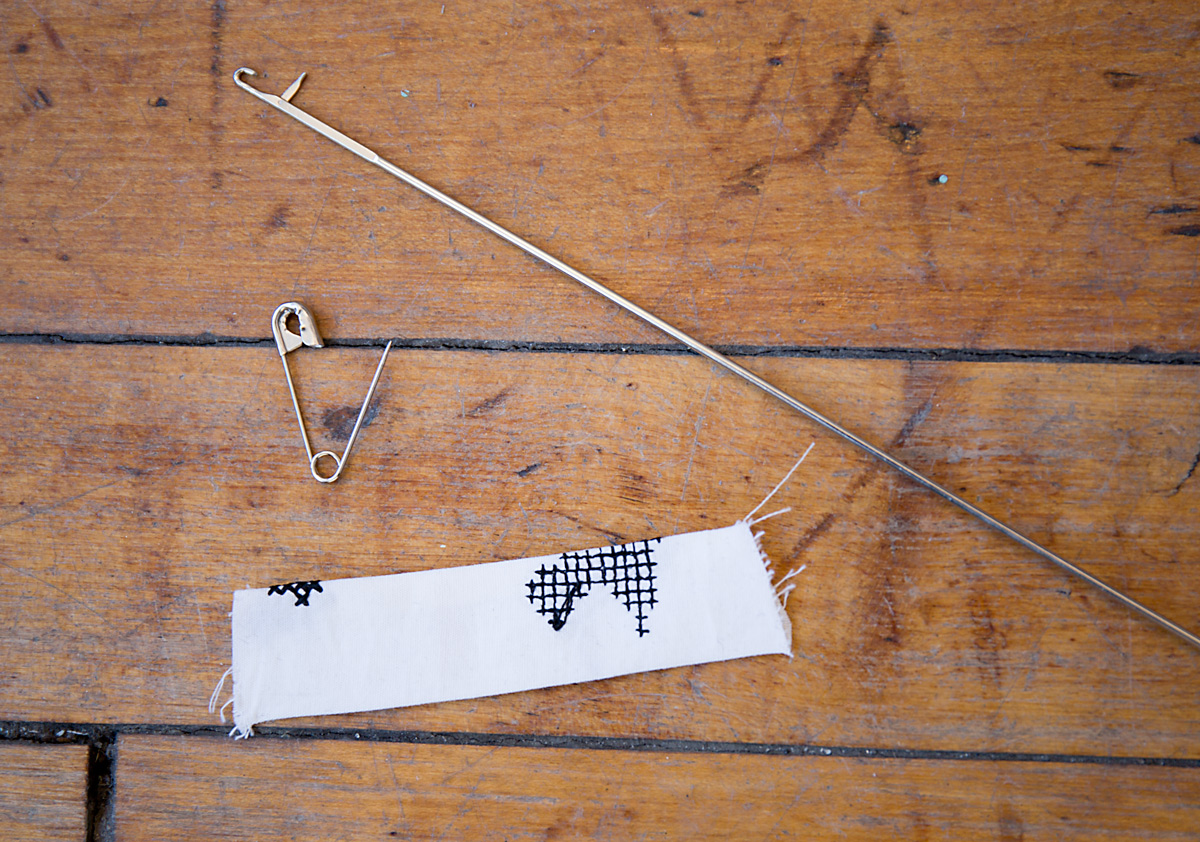
12. For each tie end, pin two TIE END (4) sections, right sides together. Stitch, leaving end with markings free. Trim seam allowances. (Especially trim the corner from the tip of the tie so you can get a nice point when you turn it right side out in the next step.)

13. Turn right side out. Press. Baste raw edges together. (Use a point presser or a knitting needle to help you gently push out that corner at the tip of the tie. I also find that it can be helpful to press the seam allowances open before turning the tie right side out. This makes it easier to press the edges of the tie once it’s turned.)

14. GATHER raw edges of tie end. (Two rows of basting stitches with thread tails for pulling. I like to stitch my gathering stitches at 1/2″ and 3/4″ so they’re on either side of the 5/8″ stitch line, but do whatever works for you.)

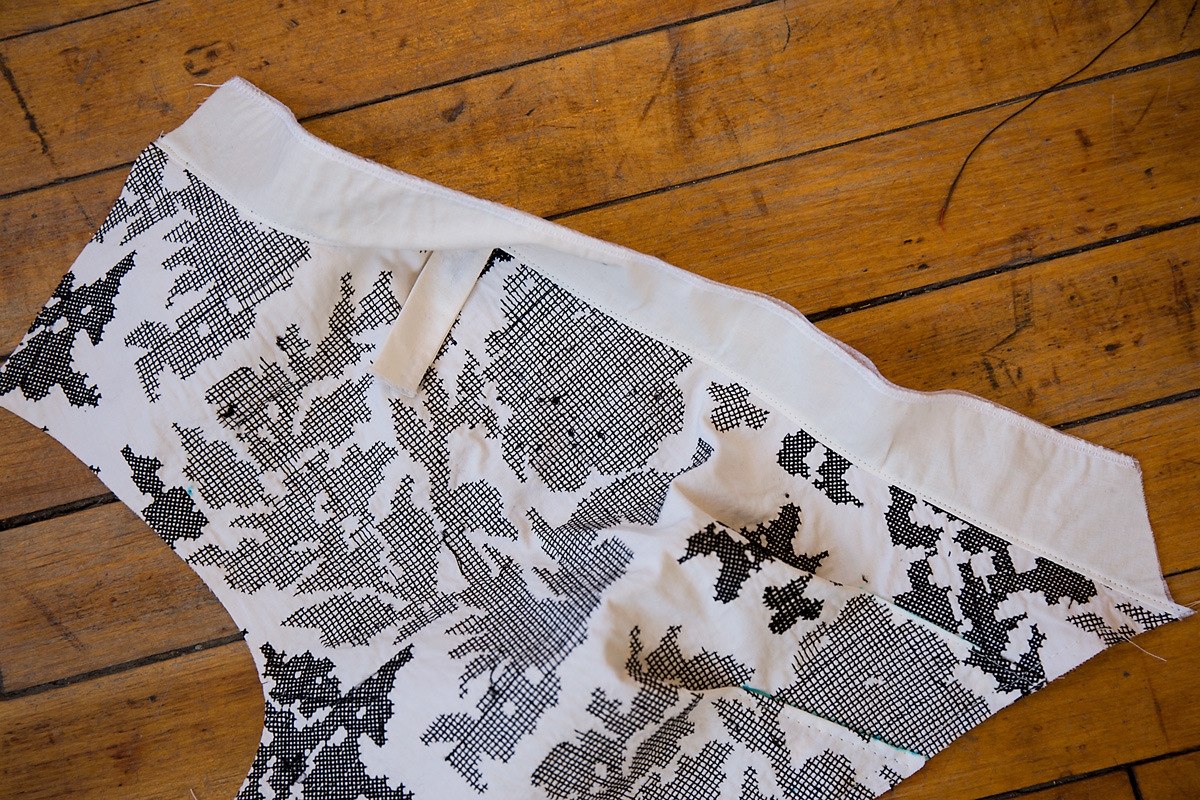
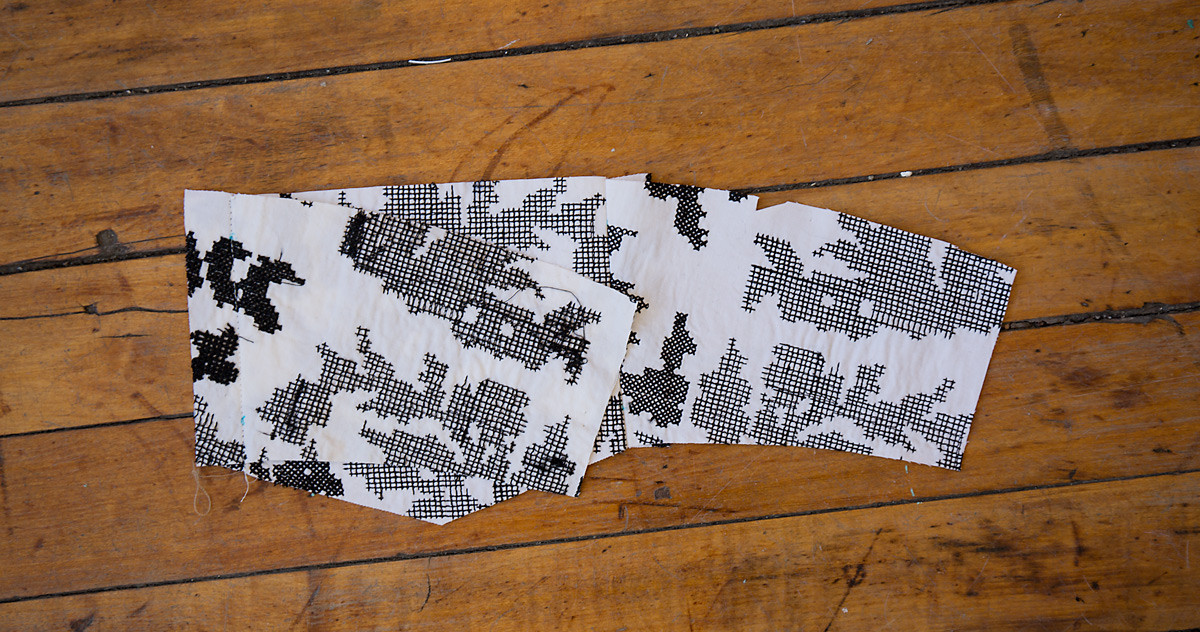
15. On outside, pin one tie end to side edges of interfaced MIDRIFF FRONT (5) section, matching circles. Adjust gathers. Baste. (Uninterfaced midriff front section will be used as facing.)

16. Pin one MIDRIFF SIDE (6) section to each side of midriff front. Stitch. Trim seam allowances. Press seam allowances toward midriff front. (Remaining midriff side sections will be used as facing. Remember as you’re stitching these seams that, if you’re adding the ties, they need to stay out of the 5/8″ seam allowances at the top and bottom edges of the midriff. That’s why you basted them between the dots in step 15, above, but keep an eye on them during this step to be sure they stay clear.)

17. View B: Pin one MIDRIFF SIDE (6) section to each side of interfaced MIDRIFF FRONT (5) section. Stitch. Trim seam allowances. Press seam allowances toward midriff front. (Remaining midriff sections will be used as facing.)

Views A, B:
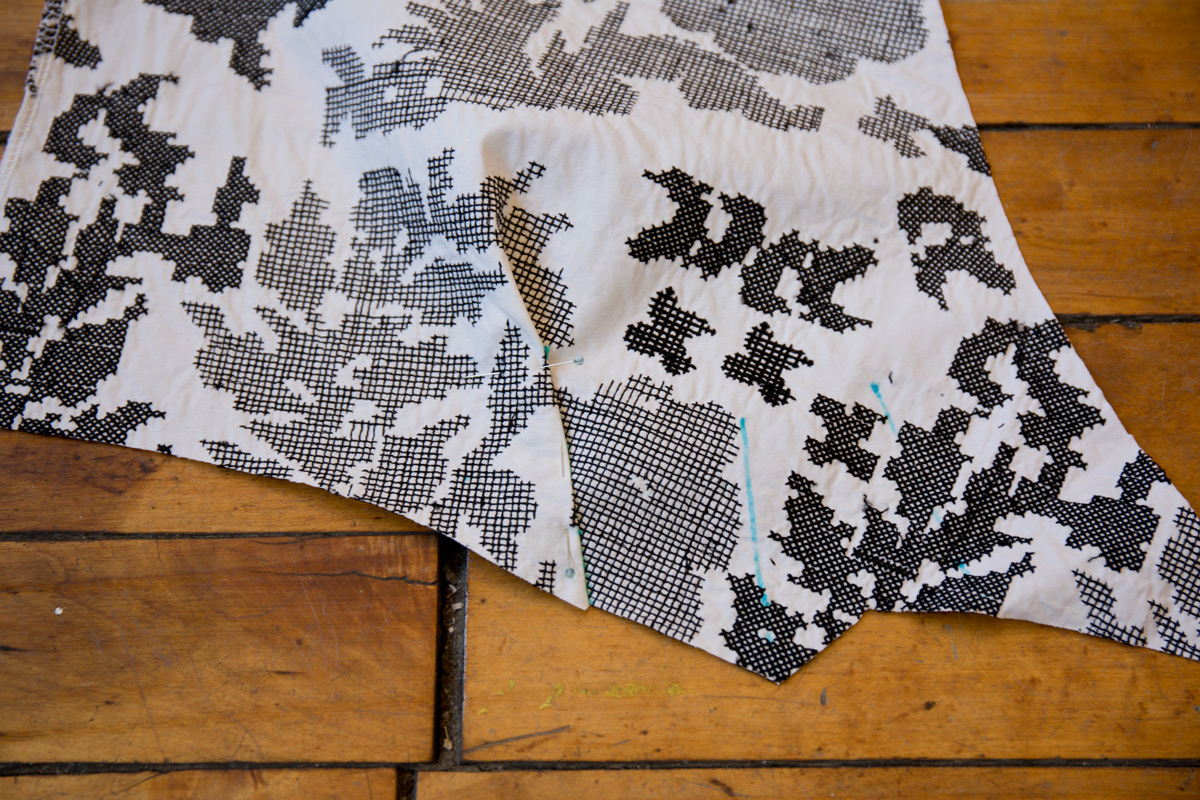
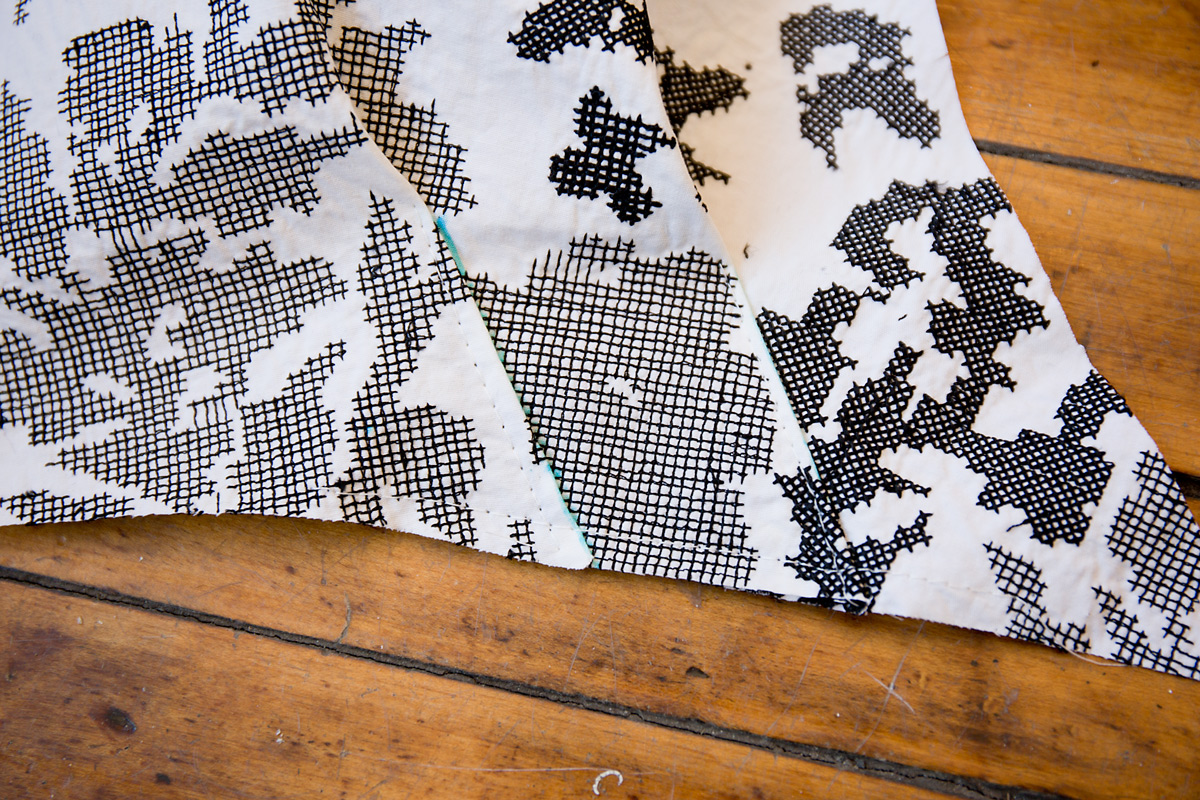
18. Pin midriff to bodice front, right sides together, matching notches, centers and seams to squares, clipping bodice where necessary. Baste.
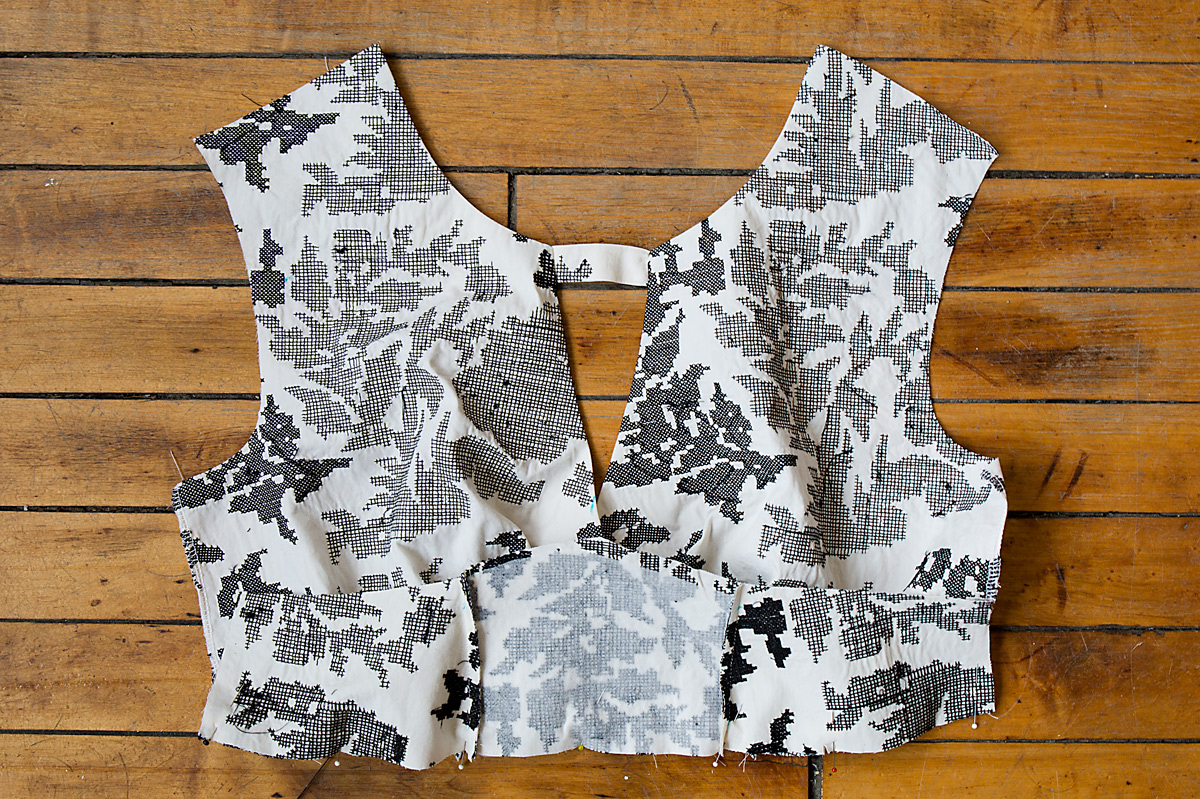
Prepare and stitch midriff FACING sections in the same manner as described for midriff front and side, disregarding tie ends for View A.
 My facing is plain white, so it’s easy to tell the difference between my basic midriff and the midriff facing. If you’re using the same fabric for both pieces, your facing will be the one without interfacing.
19. Pin FACING to midriff, right sides together, (over bodice front), matching notches and seams to squares. Stitch upper edge through all thicknesses. Trim seam allowances. (Just to be clear here, the front bodice is sandwiched between the midriff and midriff facing for this step.)
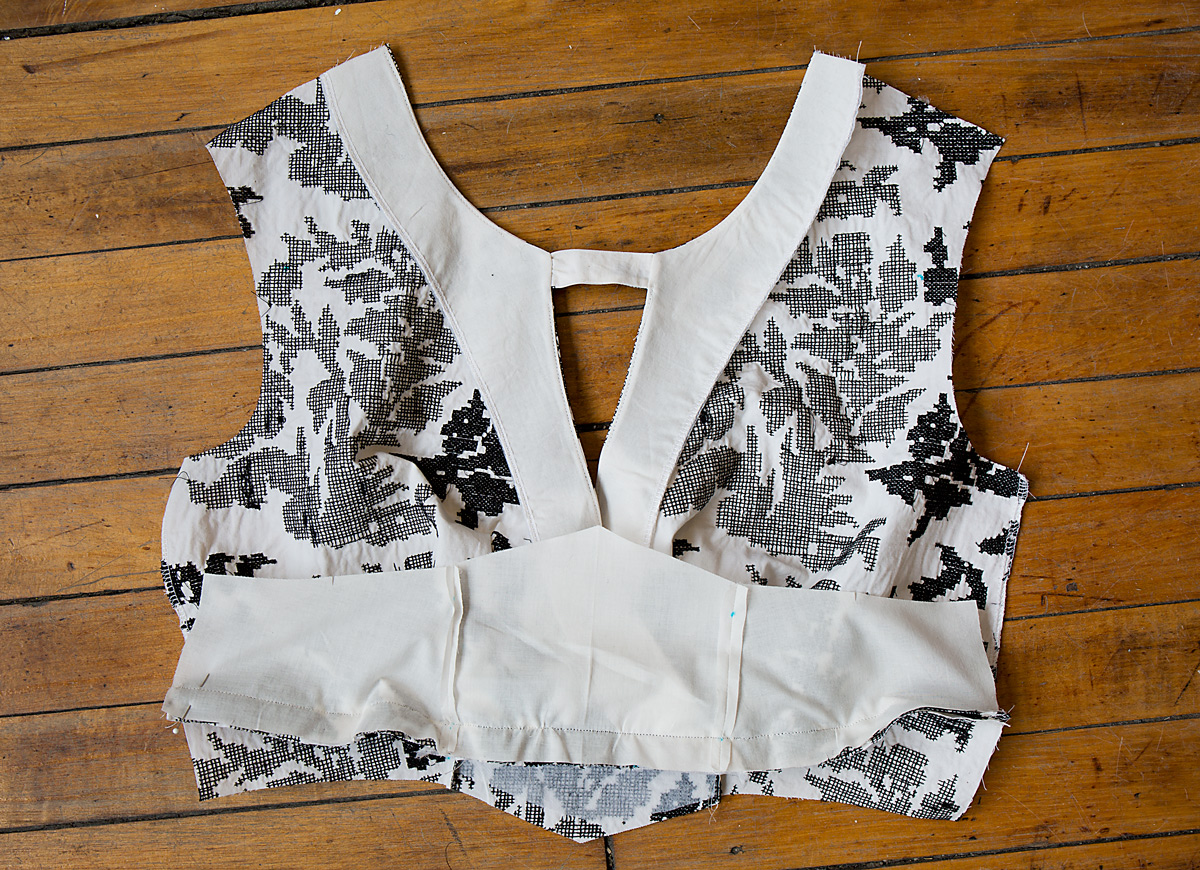
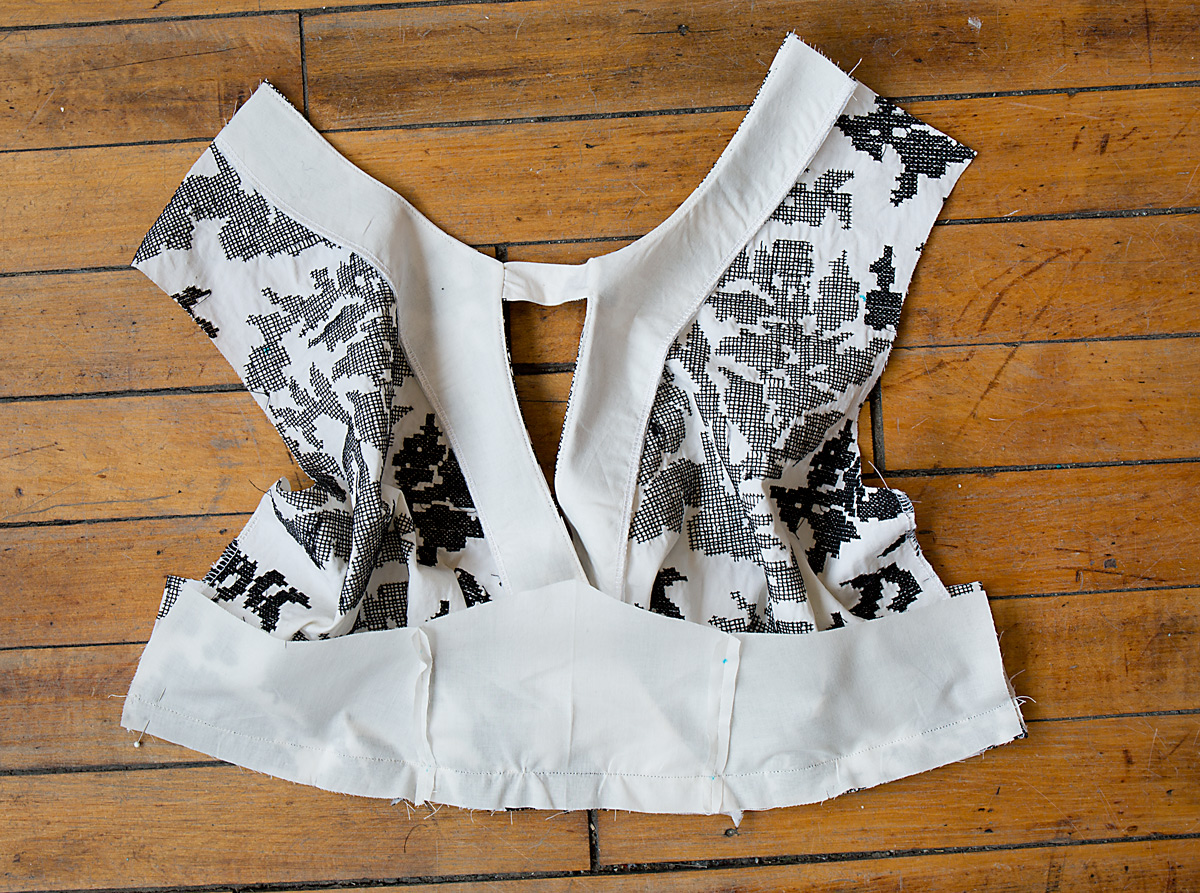
20. Turn midriff and facing down. Press. Baste raw edges together. (I like to trim down the seam allowances a bit at this point to reduce bulk at the top of the midriff, before basting the bottom edge of the midriff.)
 I turned up the bottom right-hand corner so you can see the facing.
All OK so far? Tomorrow we’ll construct the back bodice and put them together so we can add the sleeves as well.
Day 4
Today we’ll be constructing the back bodice, sewing the back and front bodices together, and adding the sleeve. Let’s get started, shall we?
Bodice Back
21. Stitch dart in BODICE BACK (7). Press fold of darts toward center.
22. STAYSTITCH back neck edge.
23. Fold BACK FACING (8) on roll line, wrong sides together, matching notches and triangles. Press lightly. Pin raw edges together.
24. Pin facing to neck edge, matching notches, center backs and triangles, clipping bodice neck edge where necessary. Stitch. Trim seam allowances.
25. Turn facing to inside. Press. Baste close to fold.
26. On outside, stitch back along basting. (Once you’ve stitched the facing you can remove the basting stitches, which just help to serve as a stitching guide. I love a dainty little bias facing like this. It’s such a simple but elegant way to finish an edge. And I really love the next step when we sew the shoulders. It gives such a clean finish to the inside of the dress.)
27. Open out front facing at shoulder edges. Pin bodice back to bodice front at shoulders, right sides together, matching notches and back neck edge to facing seam. Turn front facing to outside (over bodice back). Stitch entire shoulder seam. Trim seam allowances. (The trick to this step is to match the back neckline to the front neckline really precisely BEFORE you unfold the front facing. Then fold the facing around the back bodice very snugly and BASTE it first so you can check to be sure the necklines match up when you turn the front facing to the wrong side again. You may need to fiddle with this a bit–I re-basted one side twice before it matched up perfectly–but when it does match up it looks great and you can go back and sew it with a regular stitch.)

28. Turn front facings to inside again, turning shoulder seam allowances toward front. Tack facing to shoulder seams. (See that nice, clean neckline? And the facings look so neat when they’re done this way.)

Sleeve
29. Stitch seam of each SLEEVE (9) section. (Stitch the outer sleeve and the sleeve facing. Remember that my facing is white.)
30. For each sleeve, pin two sleeve sections, right sides together, matching seams. Stitch lower edge. Trim seam allowances. (I trimmed my seam allowance to about 1/8″. Then press the seam allowances toward the facing side to prepare for understitching in the next step.)
31. UNDERSTITCH one sleeve section. (Understitch the sleeve facing.)
32. Turn facing to inside. Press. Baste raw edges together. (See? A nice, lined sleeve with no visible seams when it’s finished! I showed you one right-side out sleeve and one inside-out sleeve because they’re both equally neat and clean.)

33. EASESTITCH cap of sleeve between small circles. (As usual, I easestitched with a 1/2″ and a 3/4″ seam so my rows of easestitching are on either side of the 5/8″ seamline.)
 34. With right sides together, pin sleeve into armhole edge, matching notches, underarm seams, small circles and large circle to shoulder seam. Adjust ease. Baste. Stitch. Stitch again 1/4” (6mm) away in seam allowances. Trim close to second stitching. Press seam allowances flat. Turn seam allowances toward sleeve. (I know, sleeves can be such a pain to insert smoothly. Here are a few tips: be absolutely sure the notches are matching up. If they aren’t, you’re probably adding even MORE fullness to the cap of the sleeve, which will make it really difficult to ease in the fullness. Also, I find that it helps a lot to hand baste the sleeve into position so I can control the fullness and it doesn’t shift around then I machine stitch it. And finally, machine stitch the sleeve with the sleeve itself facing down against the feed dogs on your machine. The sleeve WILL fit the armhole, I promise; sometimes it just takes some patience and a little fiddling. And sometimes a glass of wine.)

Look, a finished top of the dress! We need only to add the skirt and the zipper before we finish it. I’ll see you here again tomorrow.
Day 5
It’s the last day of our B6168 Fit-and-Flare Dress sew-along! Are you ready to finish up? We just need to attach the skirt, sew the zipper, and hem the skirt to complete our dresses.
Skirt
Note: I like to install zippers a differently than the written instructions, so I deviated a little bit for the next two sections. There’s no single right or wrong method for zippers, so do what works for you. If you want to follow along with my method, I’ll talk you through it. Otherwise, please feel free to use the instructions as they’re written in the pattern. There are only a couple of differences, really.
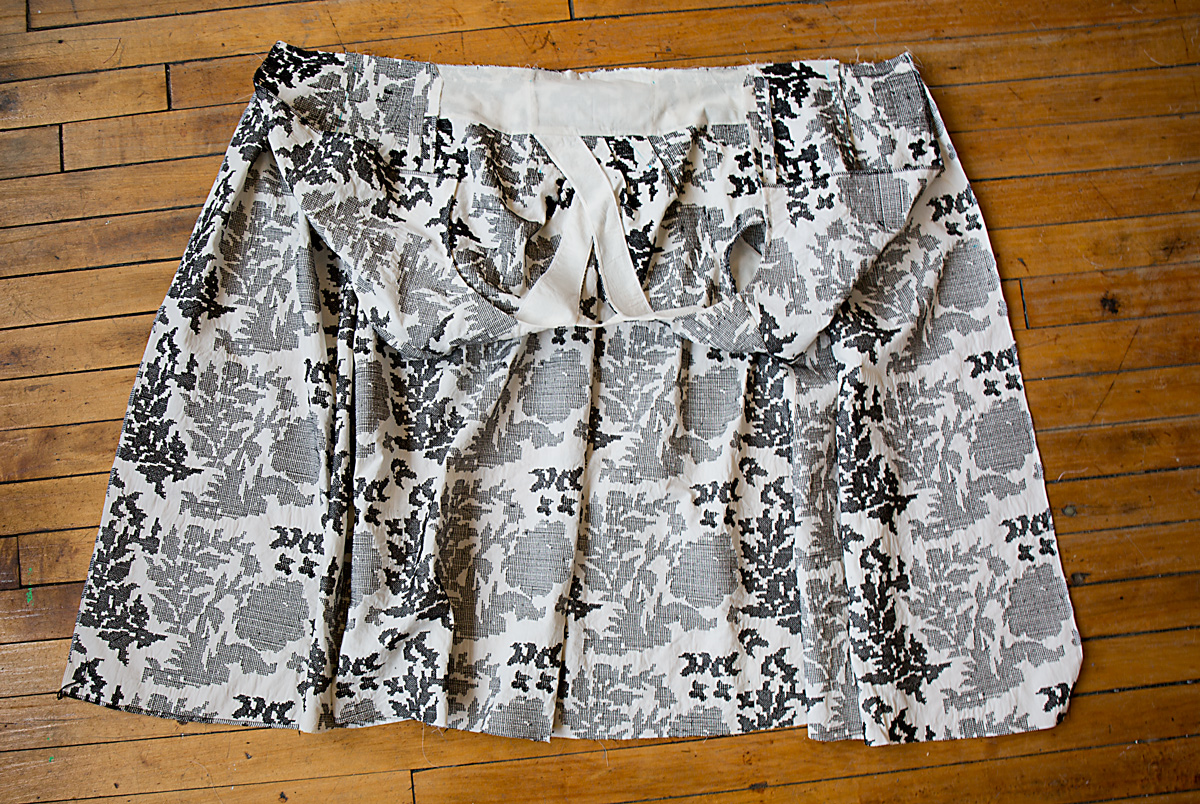
35. REINFORCE upper edge of SKIRT FRONT (10), pivoting at center front. Clip to center front. GATHER upper edge of skirt front between circles. (I waited to do the gathering until I pinned the skirt to the bodice.)
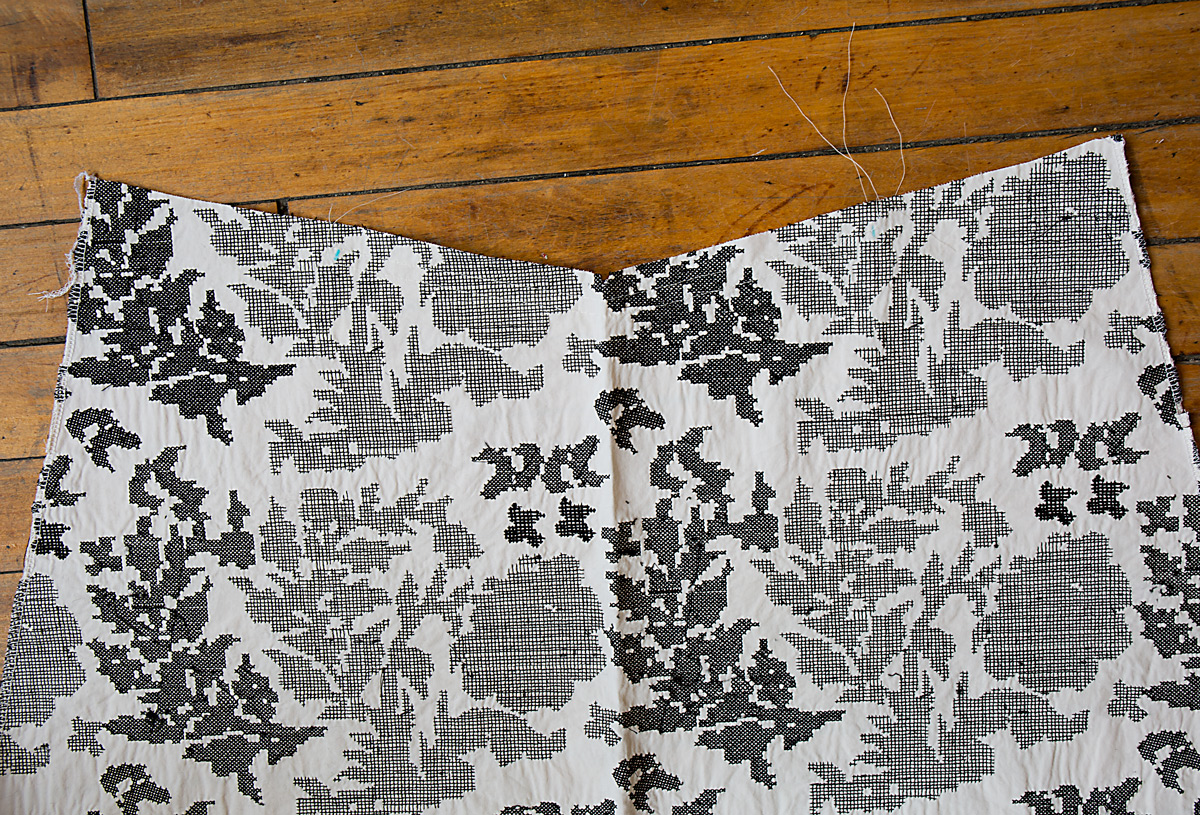
36. GATHER upper edge of skirt back between circle and square. (Again, I waited to do the actual gathering until I was ready to attach the skirt.)
37. Stitch skirt back to skirt front at sides. (I left the center-back un-stitched for now because I prefer to insert an invisible zipper into an un-stitched seam.)
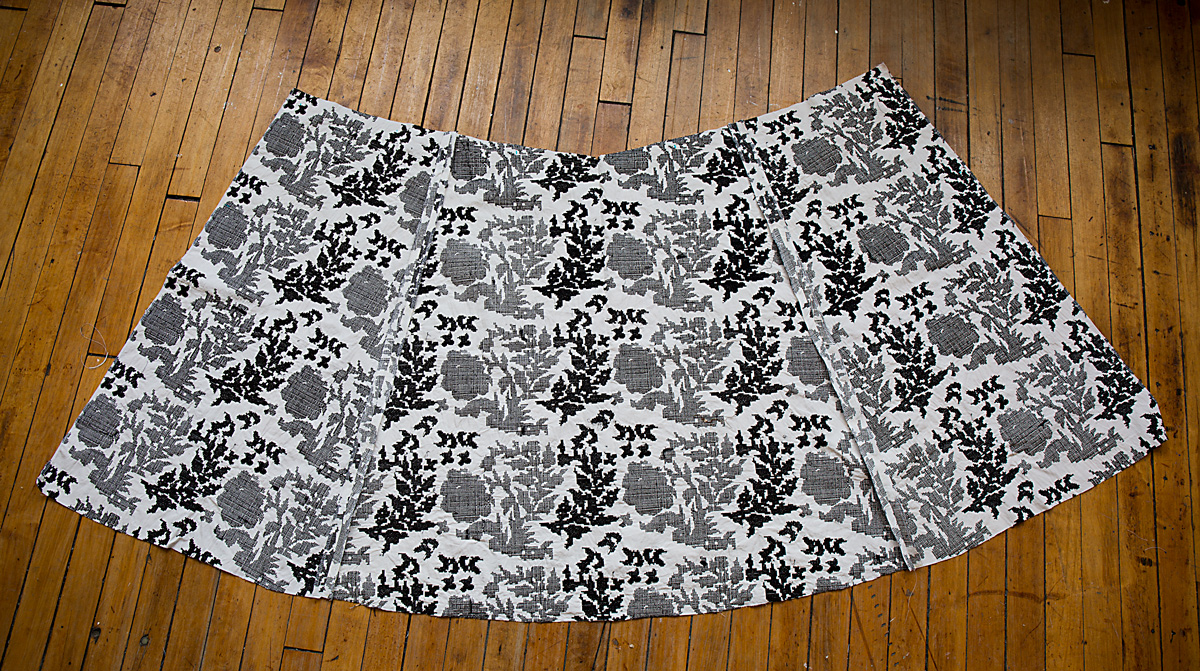
38. Pin skirt to bodice, right sides together, matching notches, centers, large circles, small circles to darts, squares and side seams. Adjust gathers. Baste. Stitch. Stitch again 1/4” (6mm) away in seam allowances. Trim close to second stitching. Turn seam allowances toward bodice. (The biggest trick here is to make sure you’ve clipped into the V of the skirt so it’s easy to pin and stitch the skirt to fit the midriff, but that’s easy enough, right? After finishing the dress, I wished that I had edgestitched the waist seam to hold the seam allowances down. I may still go back and stitch it, so if you think you might also like to do this, now is the time!)
39. Now, I like to fuse a 1″ strip of interfacing to the wrong side of the center back edge, starting at the neck edge and continuing just past the circle at the skirt center back. Interfacing stabilizes the fabric and really helps with adding a zipper. I think it prevents the zipper from getting wavy.
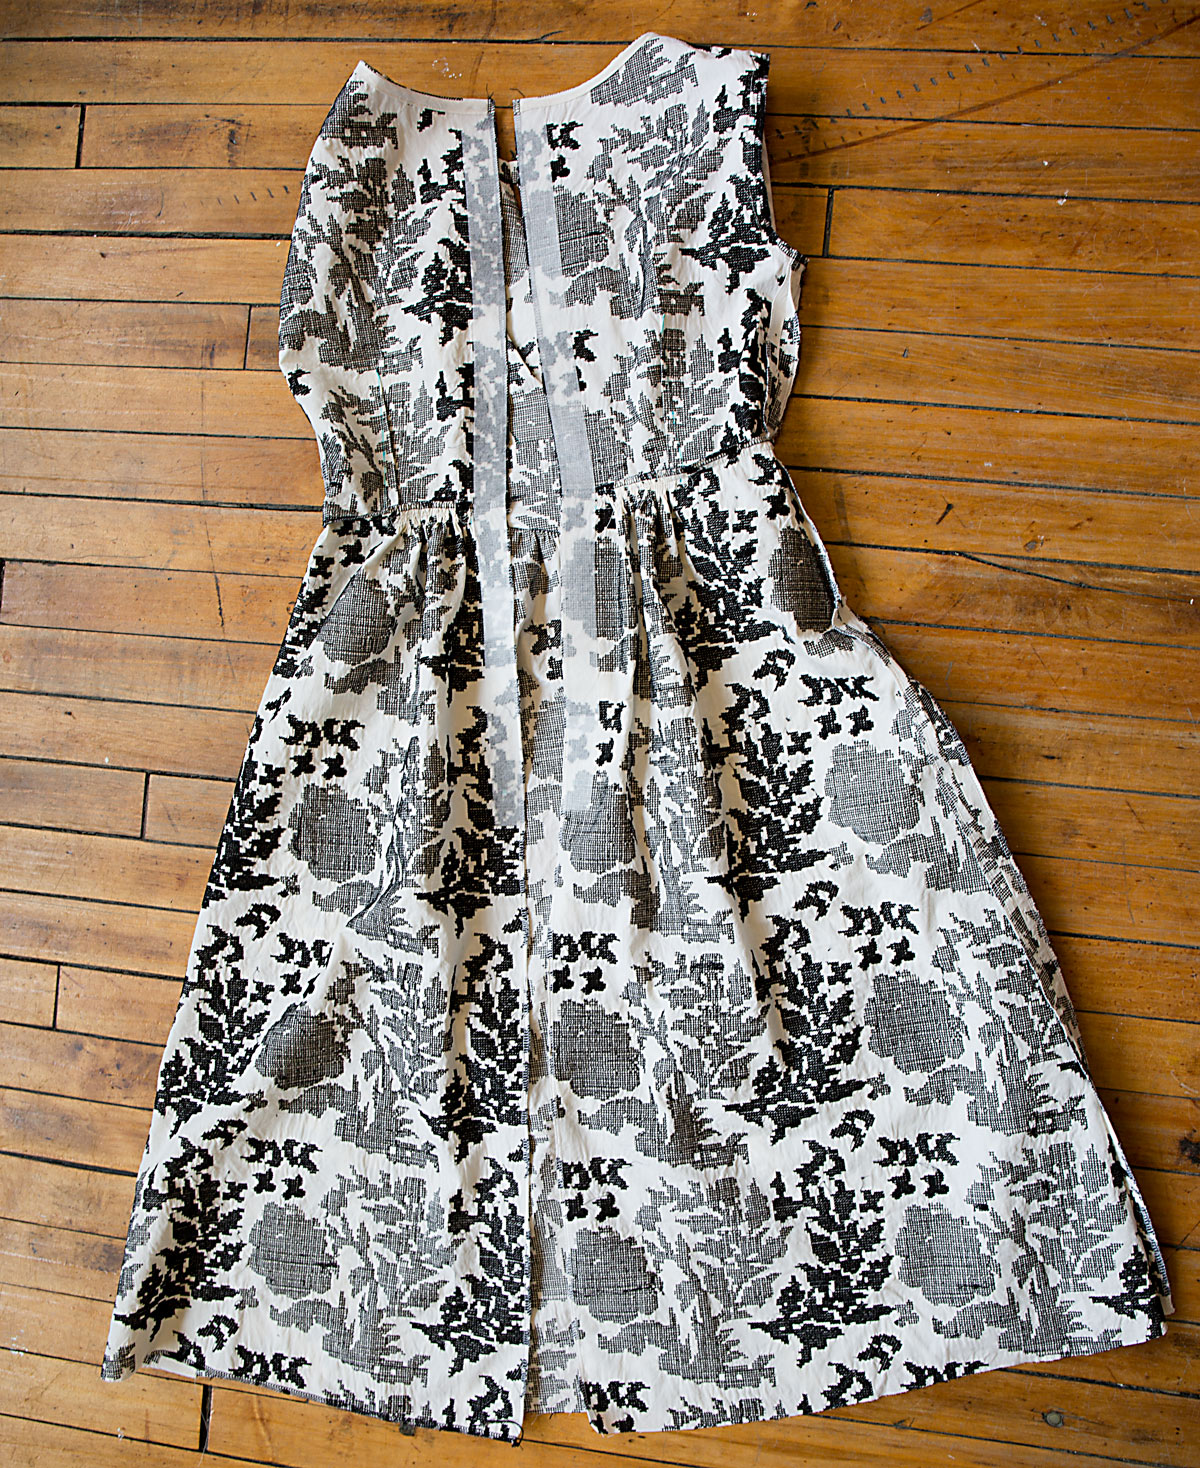
Zipper
NOTE: Use a special invisible zipper foot when applying invisible zipper.
40. Open zipper. On wrong side, press coils of zipper flat so that the two rows of stitching show. (This is the real key to a well-installed invisible zipper. By pressing the coils away from the zipper tape itself, you’re able to stitch closer to the coils. Then, when you zip the zipper, the coils wrap again and make the zipper truly invisible. Once you’ve pressed the coils, try to leave the zipper unzipped as much as possible so the coils stay flat until the zipper has been sewn.)

41. On outside, pin zipper to left back opening edge, face down in seam allowance, placing zipper top-stop 3/8” (1cm) below upper edge and zipper teeth on seamline. Position left-hand groove of zipper foot over teeth. Stitch from upper edge to as close as possible to circle. (Be sure to angle the top of the zipper tape into the seam allowance so it won’t be visible when the zipper is finished! See the photo at step 43 below.)
42. Close zipper. Pin remaining zipper tape to right back opening edge, placing zipper teeth on seamline. (When you pin the zipper to the right side of the dress, check to be sure the waistline is matching up on both sides. I often close the zipper just long enough to make sure that the waistband matches up as I pin.)
43. Open zipper. Position right-hand groove of zipper foot over teeth. Stitch from upper edge until foot touches slider. (The bottom edge of your zipper will be twisted, as shown below.)
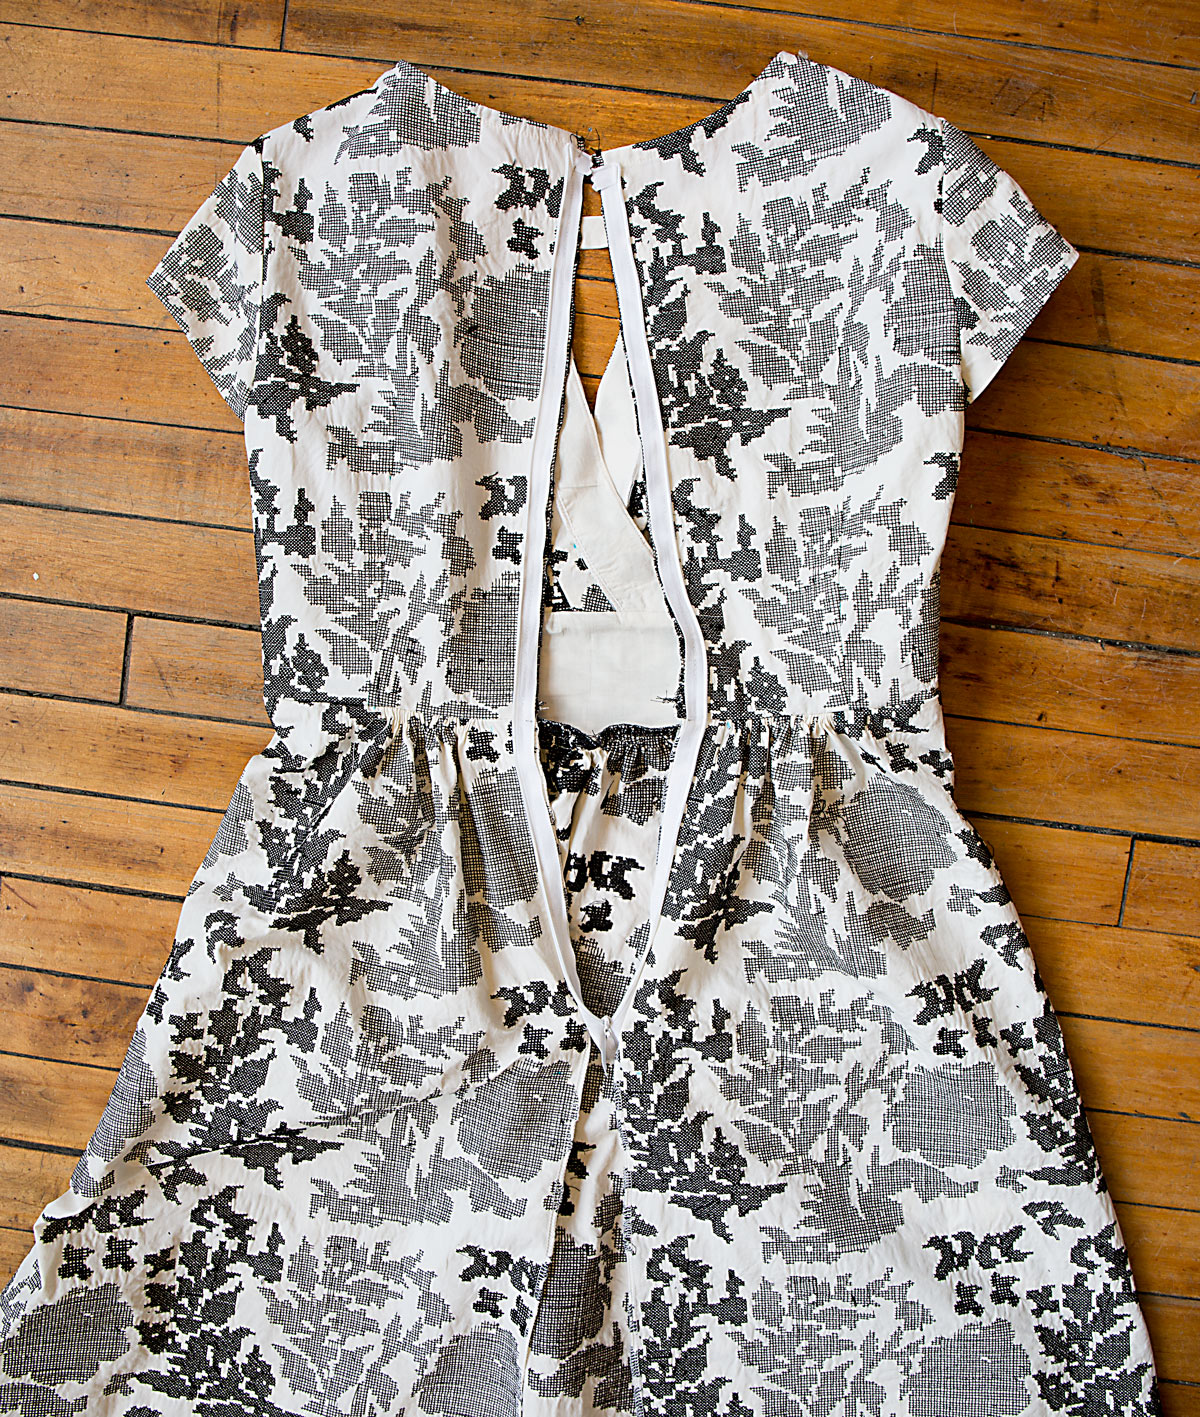
Then, once I’ve sewn the zipper, then I go back and stitch the remaining center-back seam. Fold the end of the zipper out of the way and lower the machine needle by hand about 1/8″ above and just slightly to the left of the last stitches on the zipper. Note that the two seam lines will not meet but will instead be slightly offset. Stitch the seam for about 2″ using the zipper foot, backstitching or lockstitching at the start of the seam. (The zipper foot will allow you to get closer to the seam line without the bulk of the zipper interfering.) Then switch to the regular machine foot, if desired, to finish sewing the remainder of the seam.

Check the seam from the outside to be sure it’s smooth, and re-sew the seam if necessary.
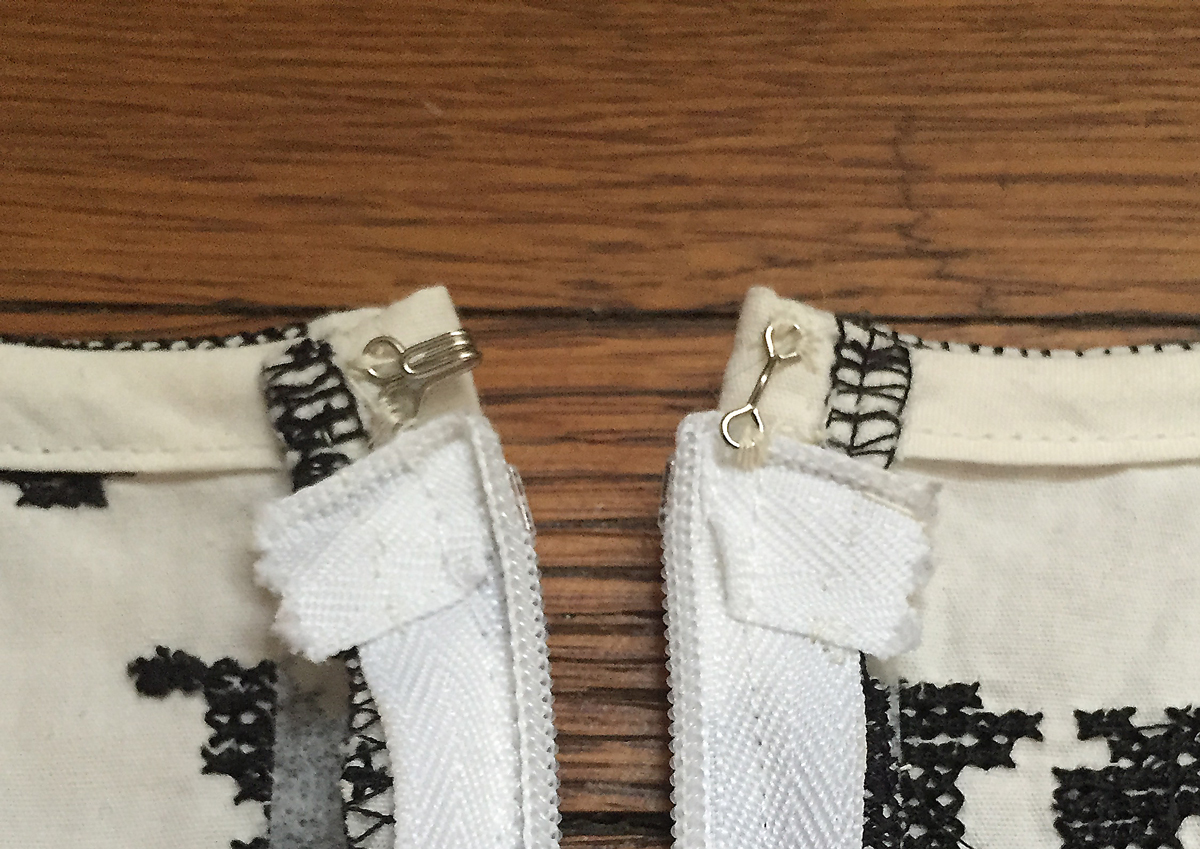
44. Close zipper. On inside, hand-sew remainder of zipper to seam allowance, from zipper stitching to large circle. (This just prevents the end of the zipper from flapping around and being annoying.)
45. Turn upper edge of zipper tapes and SLIPSTITCH in place. (I mentioned this in step 41 above, so if you didn’t do this when you stitched the rest of the zipper, now is the time to do it.
46. Sew hook and eye above zipper.
Hem
47. View A: Finish lower edge of tunic with a 5/8” (1.5cm). (I didn’t want to lose any extra length from my hem, so I serged the raw edge of the fabric with black thread (it looks just like the embroidery on my fabric) and folded it once before blindstitching the hem by hand.)
NARROW HEM
48. View B: Turn up a 1-1/4” (3.2cm) hem on lower edge of dress. Baste close to fold. FINISH raw edge. Hand-sew in place, easing in fullness, if necessary. Press. (Really, you can hem both versions of this pattern using whatever technique you prefer
You’re done! I wore my finished dress on Easter, but it was so cold out I’m really looking forward to some warmer weather so I can enjoy it. We snapped this quick photo the other day before dashing to the airport.

I hope you’ll post photos of your finished dresses to the Lisette Flickr group!
Wow, this is so beautiful, I think this will be the first dress I will sew when I have my “old body” back (I’m currently pregnant). Thanks for the detailed instructions, they will come in very handy 😉