We are delighted to welcome back Ashley and Emily from Frances Suzanne. You might remember their previous visits where they talked about customizing the Croquet Dress and sharing their favorite patterns: the Puppet Show and Music Class. This time around it’s all about an heirloom technique that they applied to the Ice Cream Dress. Great to have you here, ladies!
Hi everyone! We are tickled to be joining you again for the day, as we talk about our love of “Heirloom Sewing Techniques” and how we try to bridge those techniques into newer, trend-setting patterns.
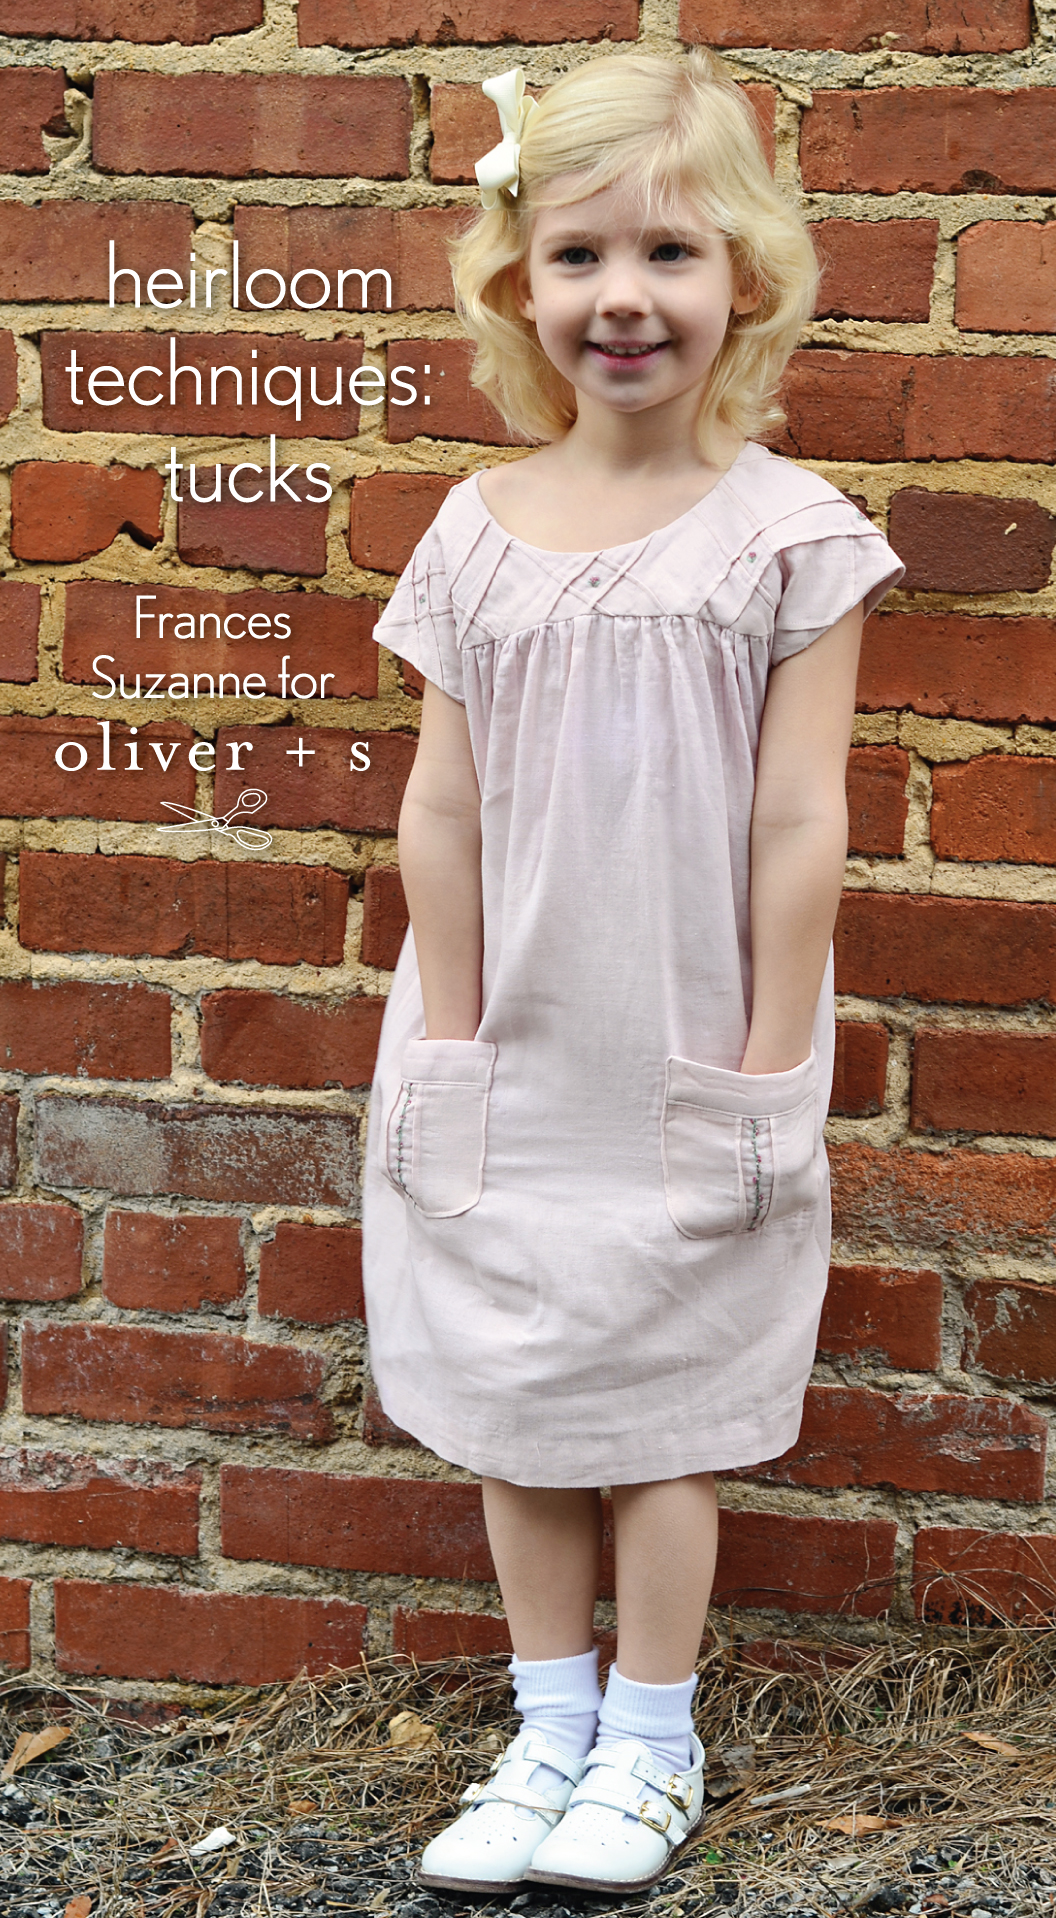
Our focus today? Tucks!! It’s such an easy technique that requires a wee bit of patience and time, but no other sewing “skill set” to achieve. It is also an inexpensive way to create an “heirloom look” for a cost conscious consumer.
A tuck is a merely a stitched fold of fabric, sewn wrong sides together. Tucks come in all shapes and sizes: basic tucks, narrow pin tucks, wide tucks, spaced tucks, blind tucks, and graduated tucks to name a few. However before using the actual fabric, it is strongly recommended to practice with scrap fabric to get the spacing and width of the tuck as envisioned.
Since we are extremely indecisive, we opted to use two Oliver + S patterns and create some variations of tucks within both (one to be shared here, while the other one is being shared on Frances Suzanne).
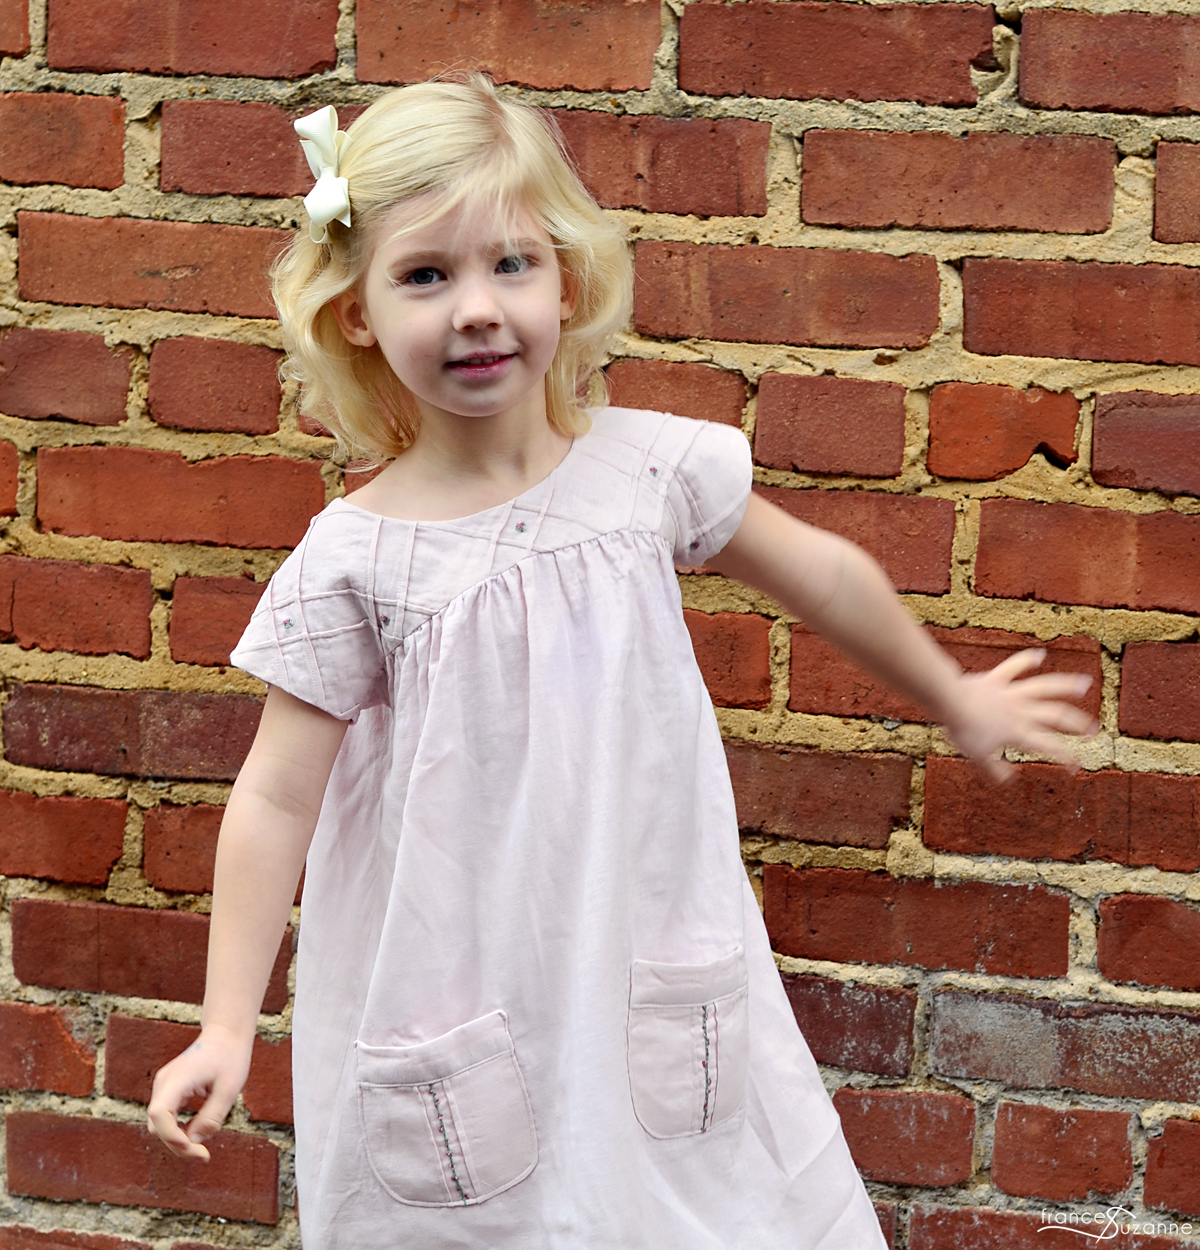
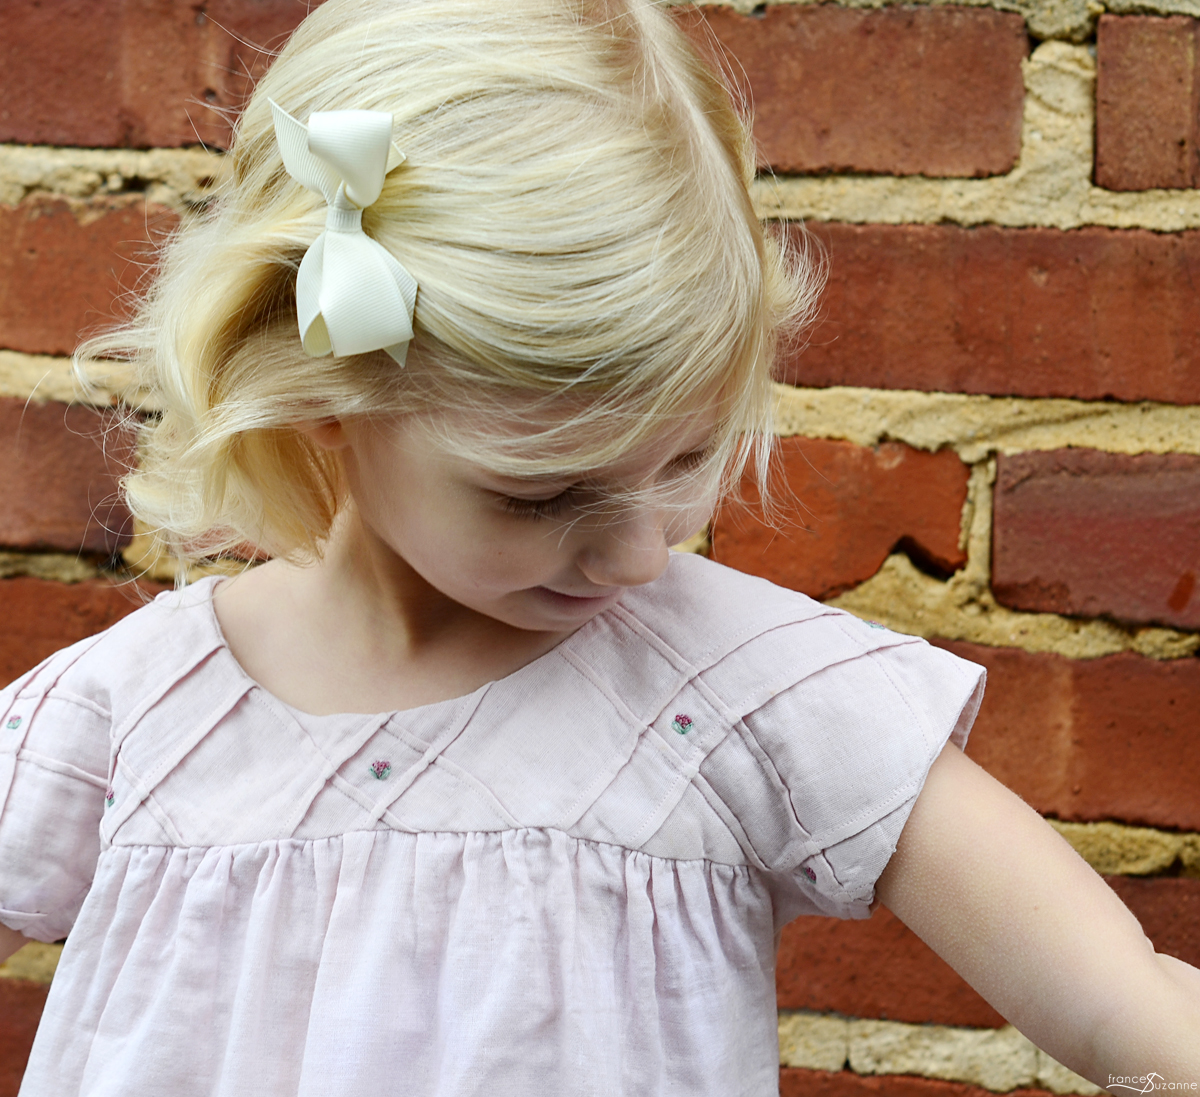
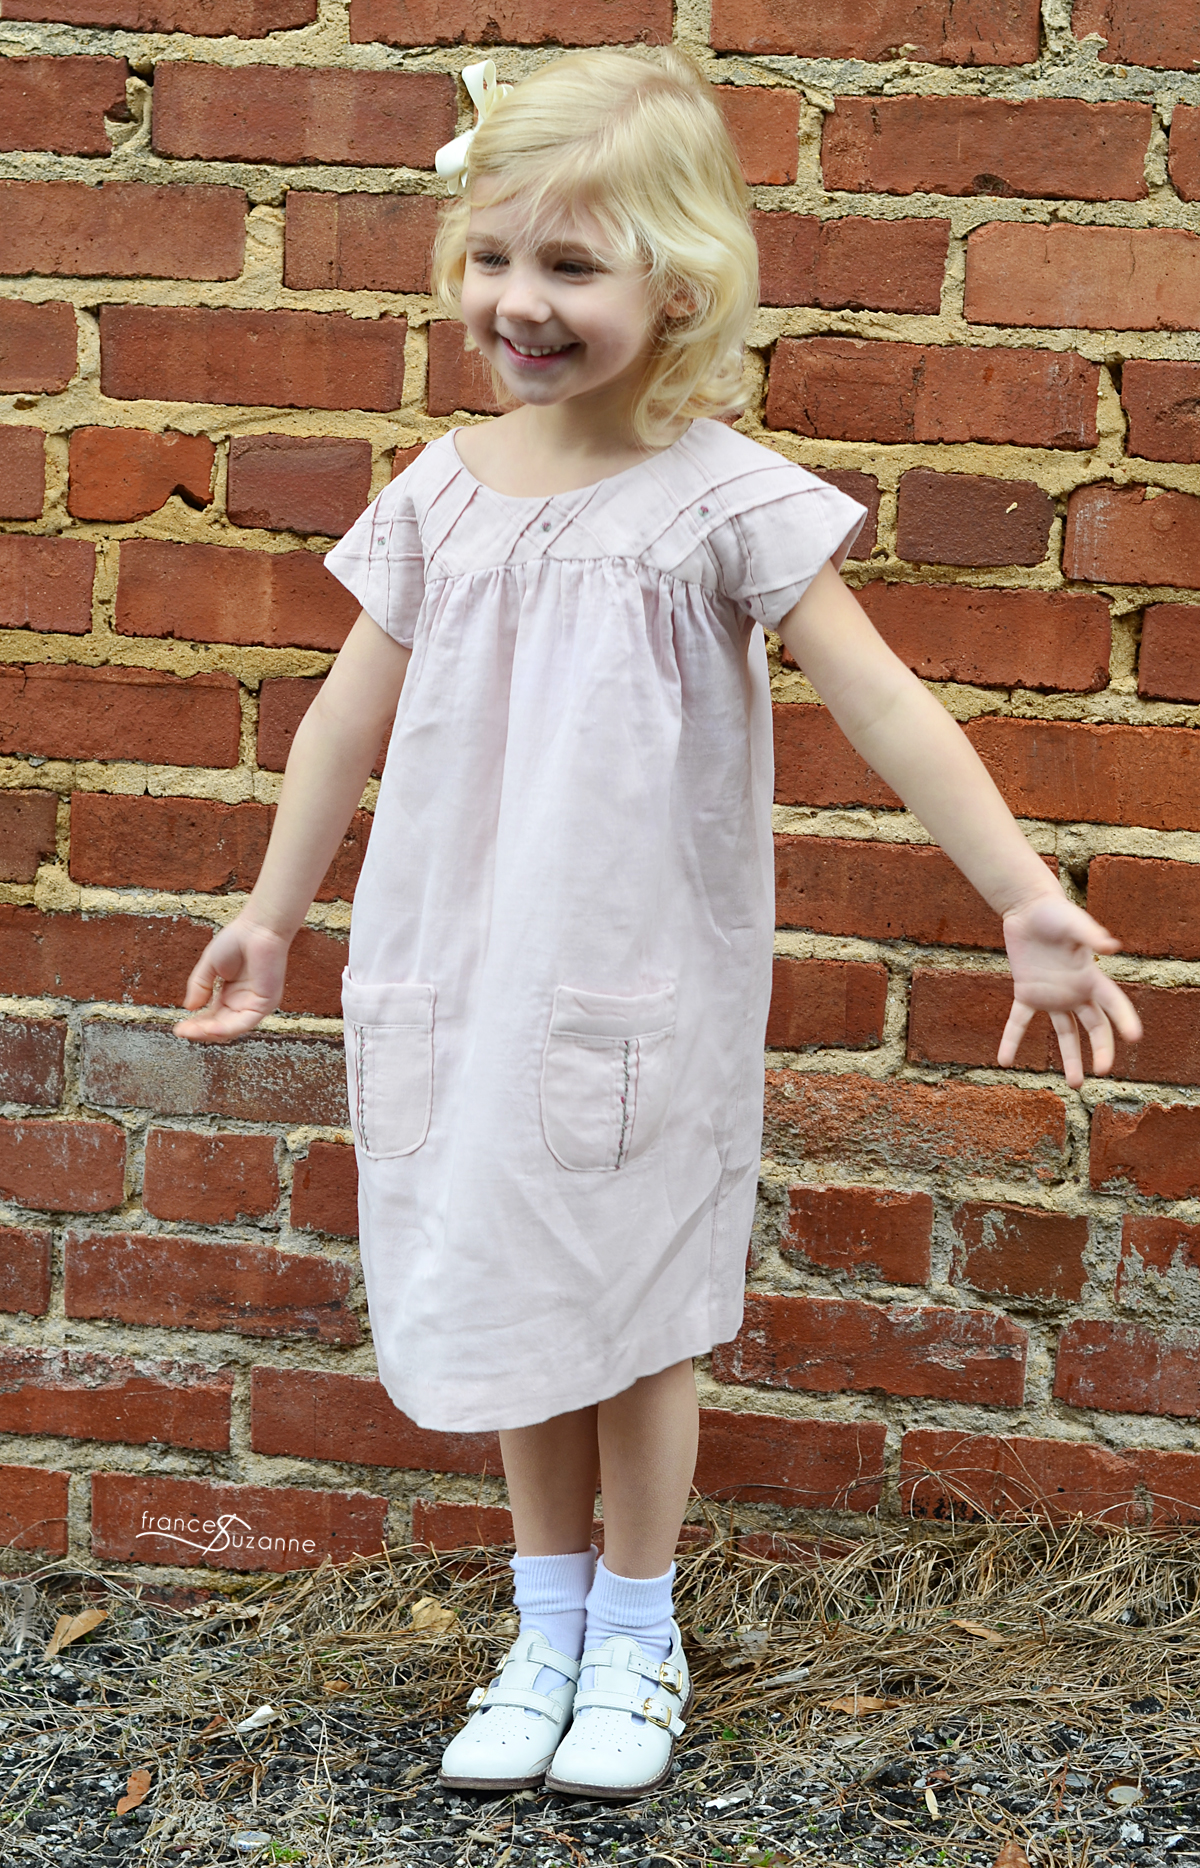
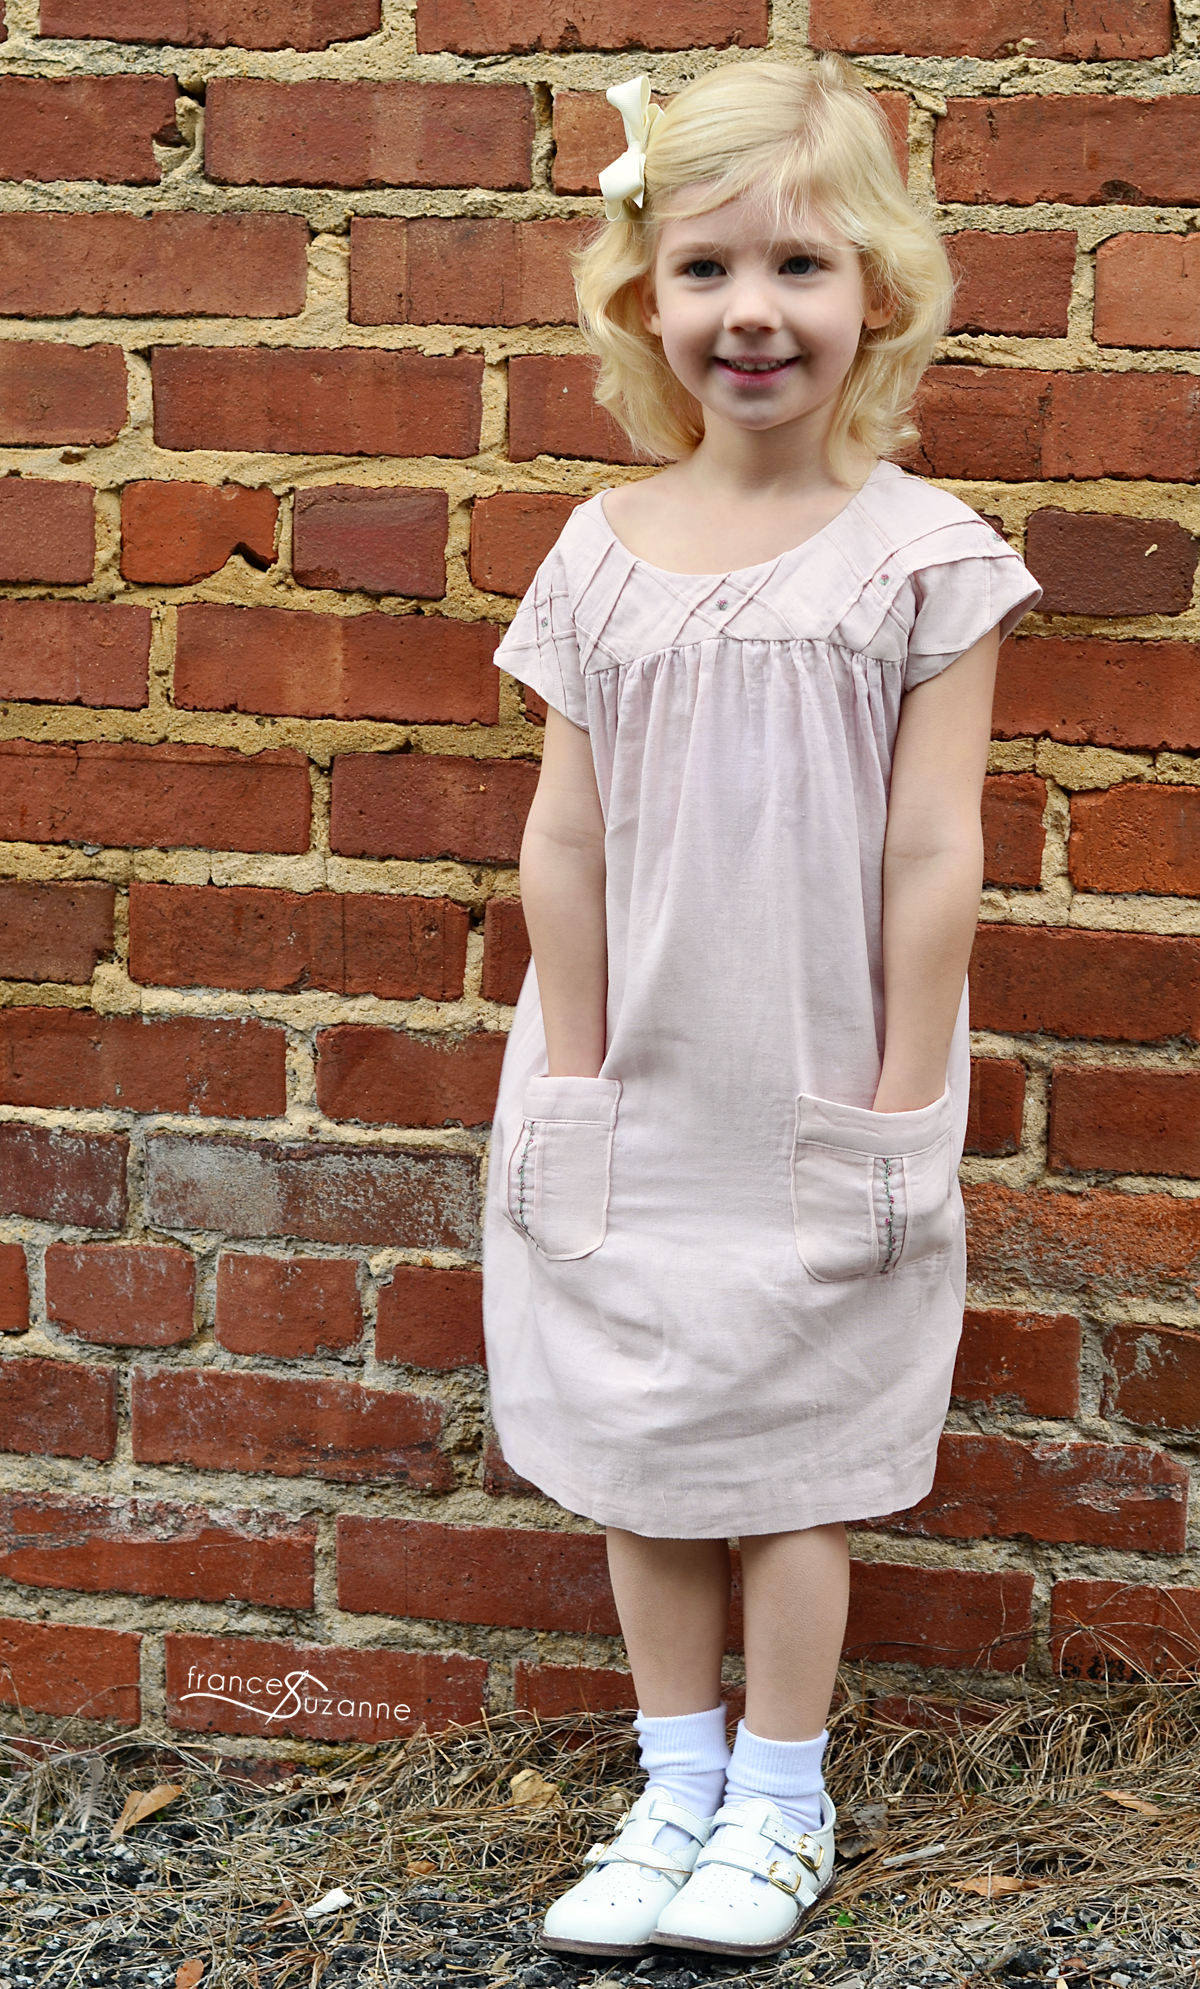
We selected the Ice Cream Dress as one of our featured patterns–truly a garment that lends itself to creativity and vision. It is a blank canvas for the sewist, and one that is opportune for showcasing heirloom techniques. This garment reminds us of Spring (and even Easter), and the hope that it is right around the corner! That’s right, warmer days are ahead!

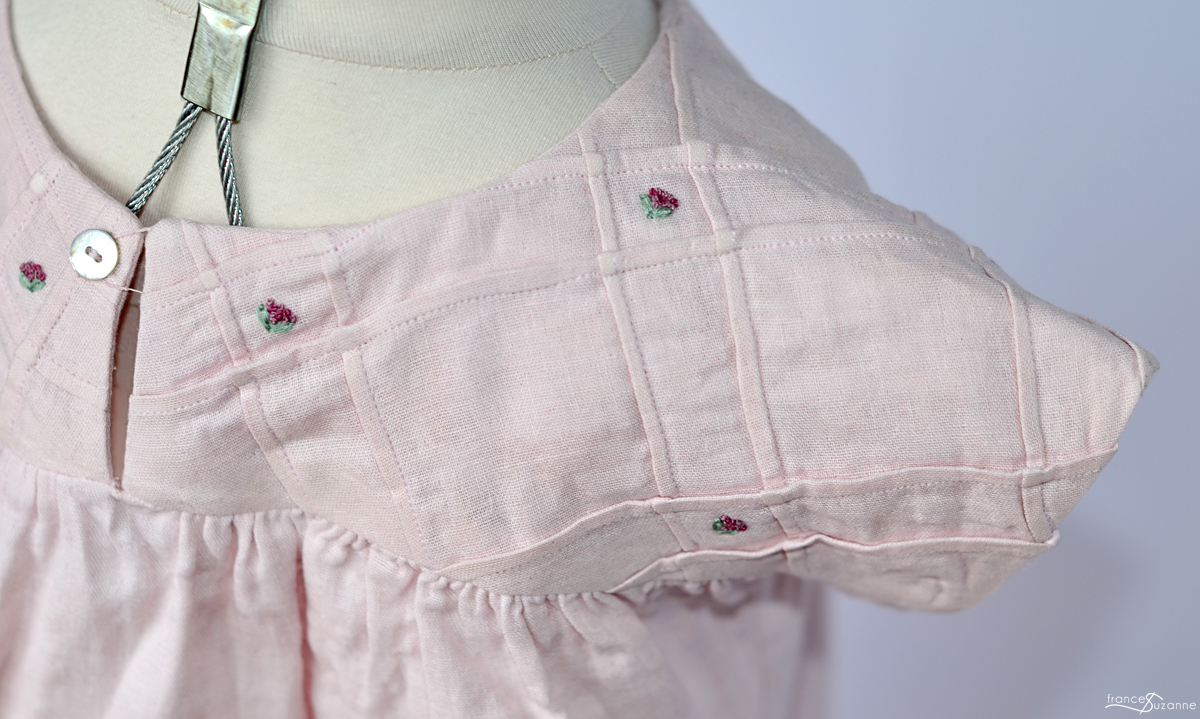
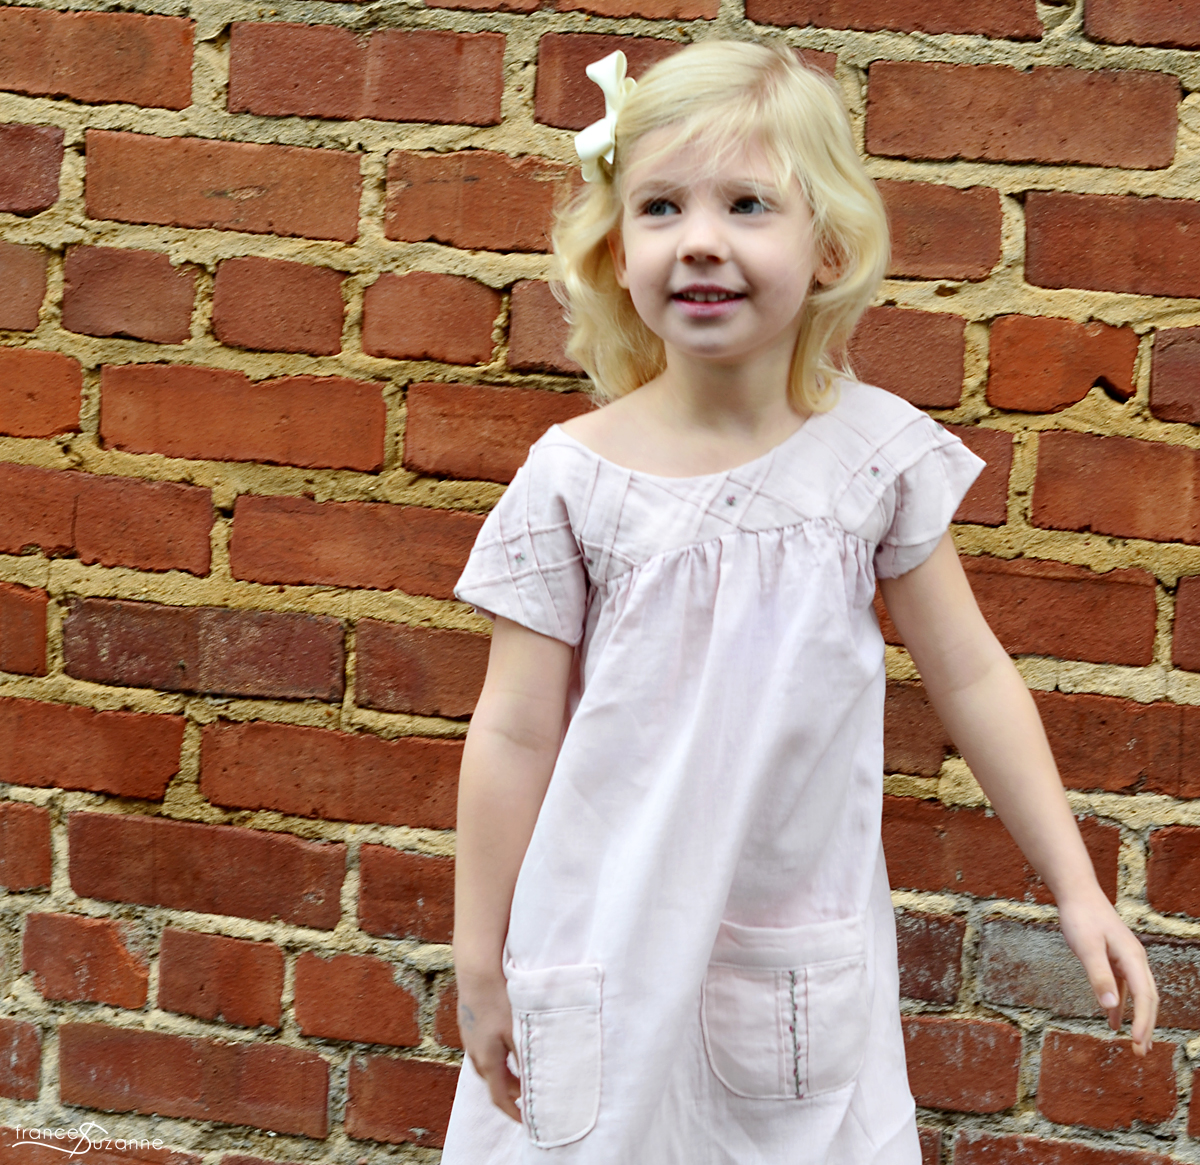
Utilizing the yoke pattern piece (rounding out the neckline, instead of using the notched version), we created a cross-hatched tuck design. This was a technique we hadn’t attempted yet, but had been intrigued by since reading about it in Lyn Weeks’ book, Tantalizing Tucks.

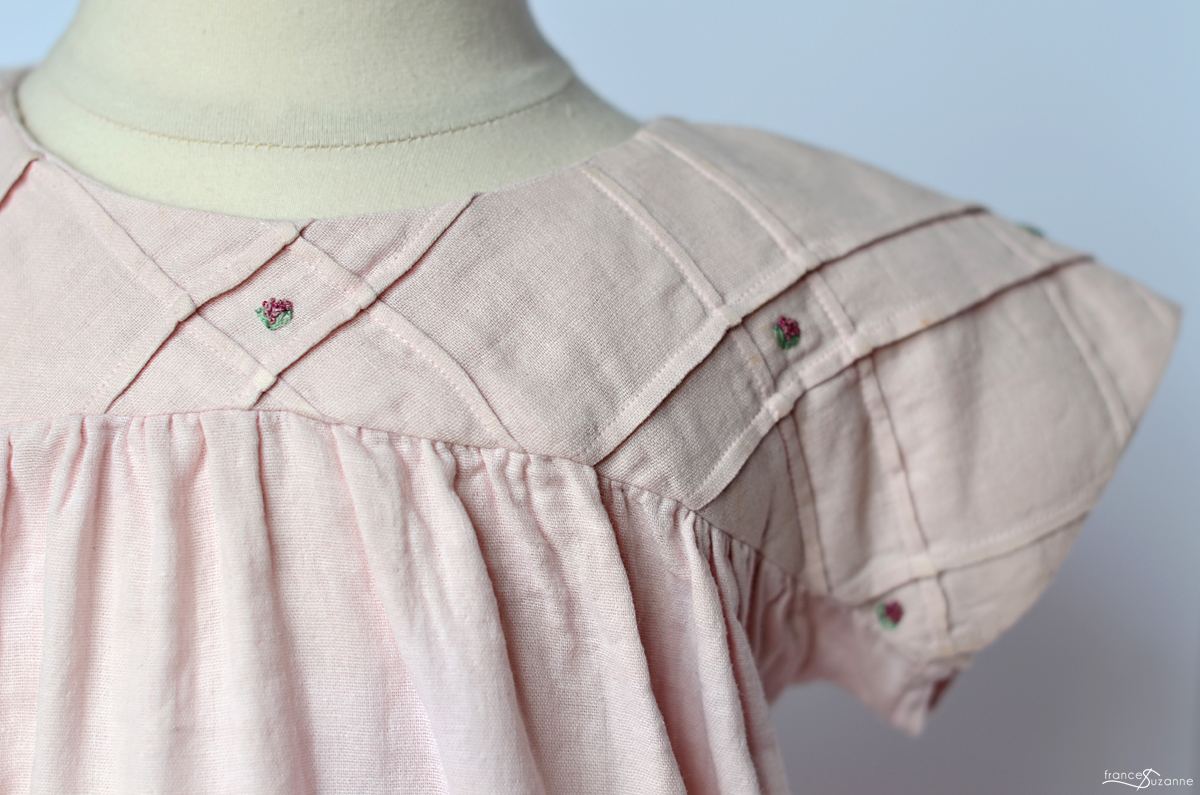
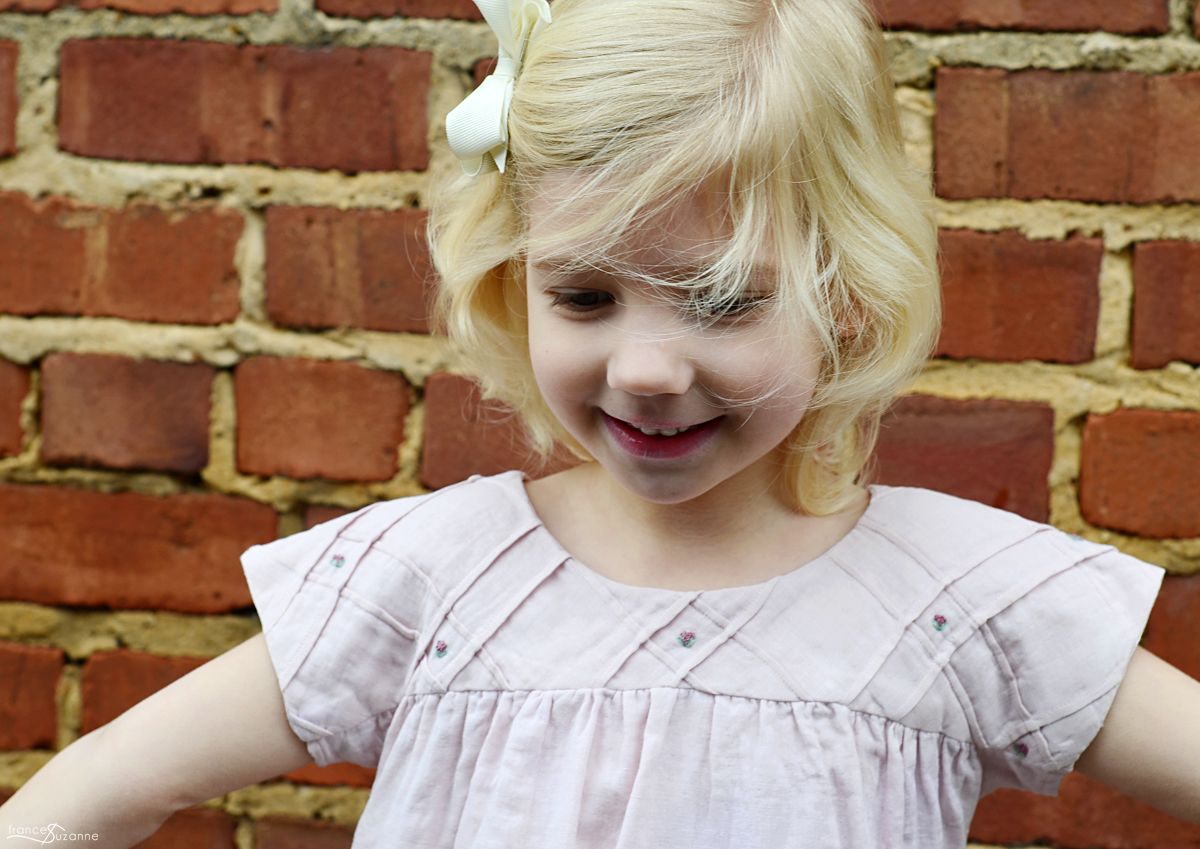
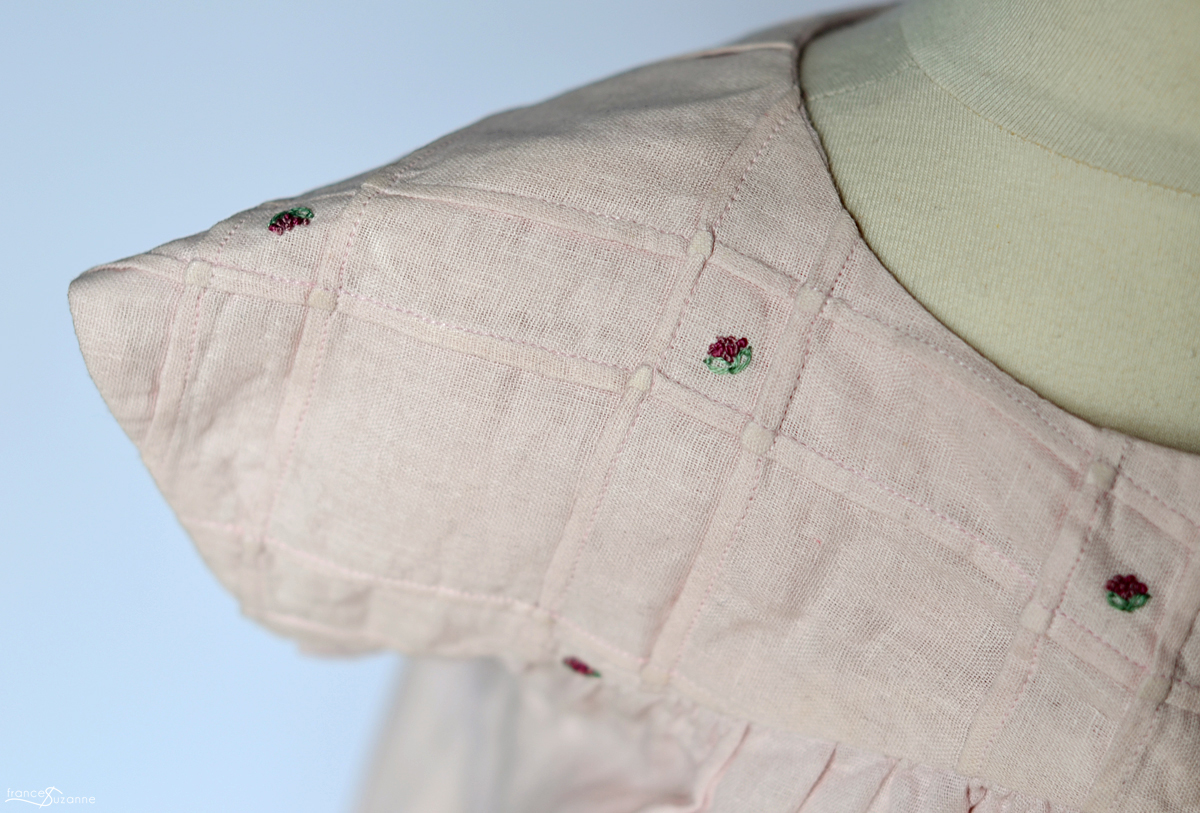
We varied the spacing to create a latticed texture (or a waffle cone, if you use your imagination) across the bodice area. Perfect for some simple embroidery, wouldn’t you say??
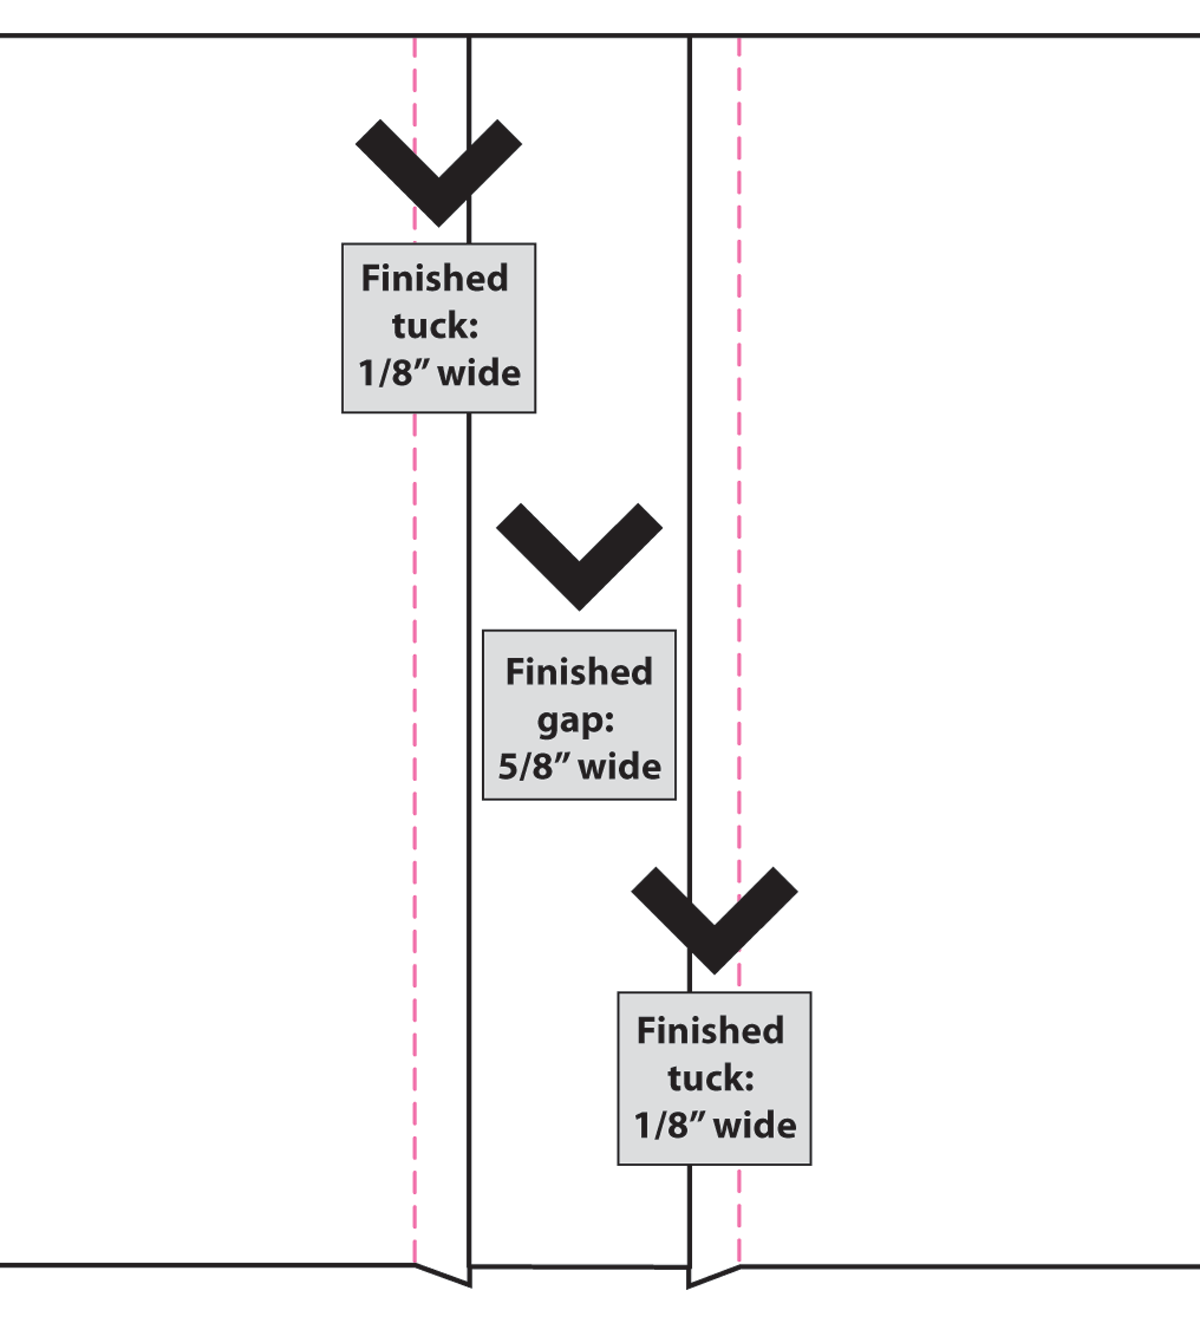
After experimentation, we decided to add 1/8″ spaced tucks to the yoke and pocket pattern pieces. A 1/4″ was allotted for each tuck (1/8″ on each side), and then 7/8″ was measured between them.
To prepare our fabric, we sewed several rows of spaced tucks on a large piece of double gauze fabric prior to cutting out the yoke and pocket pattern pieces. Call us lazy, but our feeble brains didn’t want to calculate the area of each tuck, along with the angle at which we would have to cut the yoke pattern piece.
We patterned the tucks by sewing 2 tucks, then skipping 1 (thus creating a larger space in certain areas).

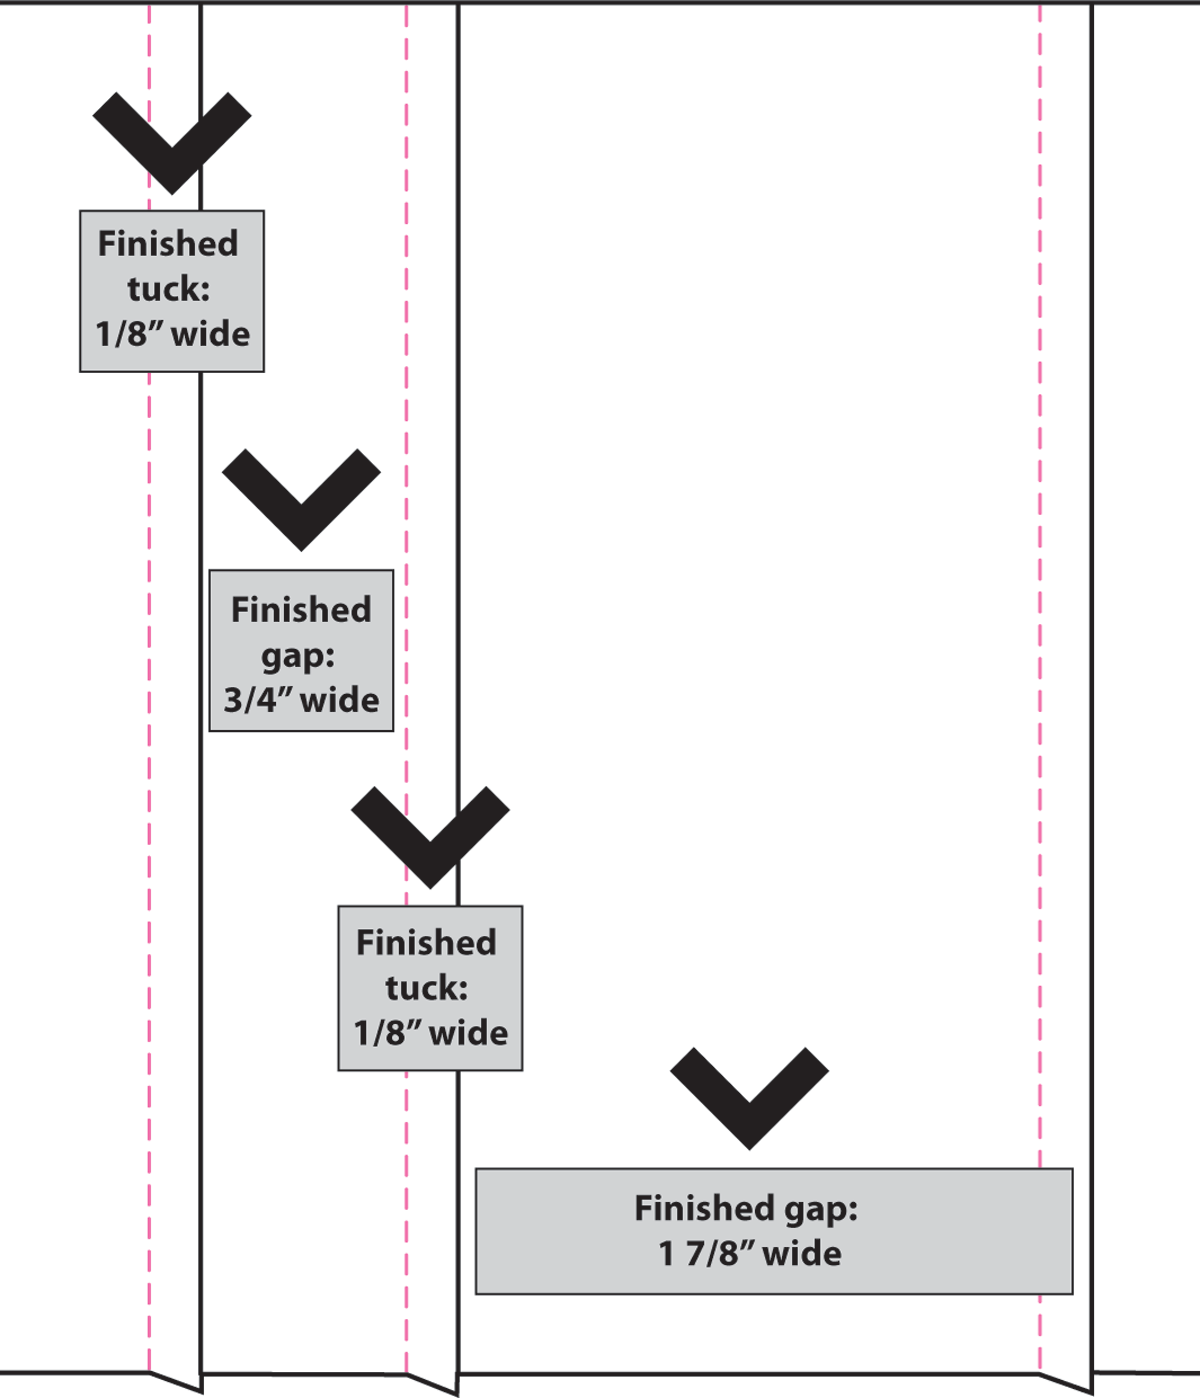
Once we had sewn several tucks vertically, we began sewing the same design horizontally (sewing 2 tucks, and skipping 1).

Once we had sewn a large swath of cross-hatched fabric, we lined up the pattern pieces at the angle desired. Then, we traced the yoke pattern piece, stitched it slightly inside the traced line to hold the tucks in place, and cut the pattern piece according to directions and specifications.

The small squares formed from the cross-hatched design were used to place a cluster of 2 varying shades of purple French knots and lazy-daisy leaves. It was a tiny addition, but one that seemed to draw the cross-hatched design to the forefront even more.
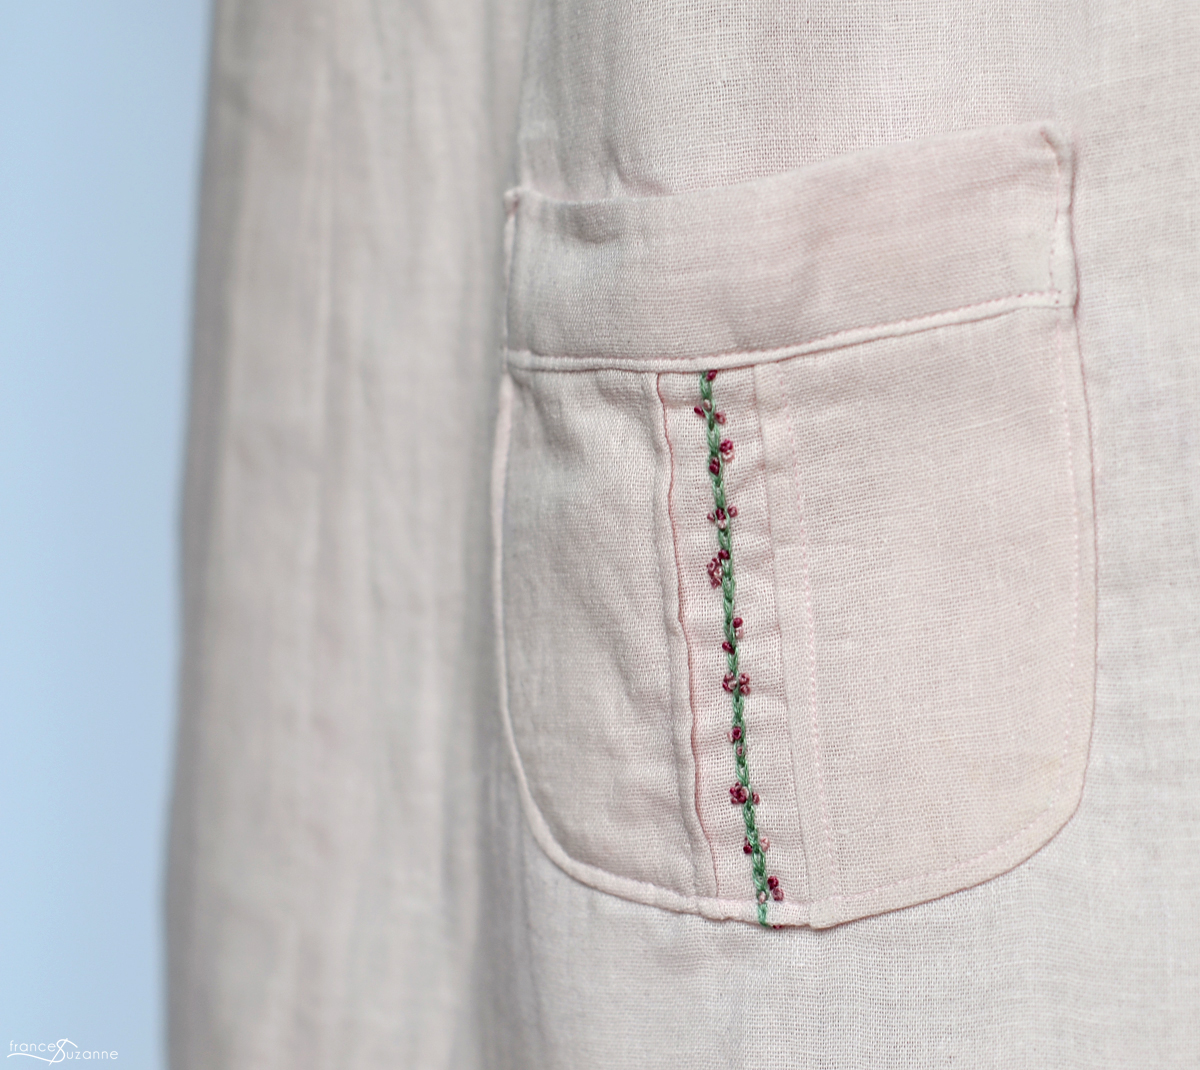
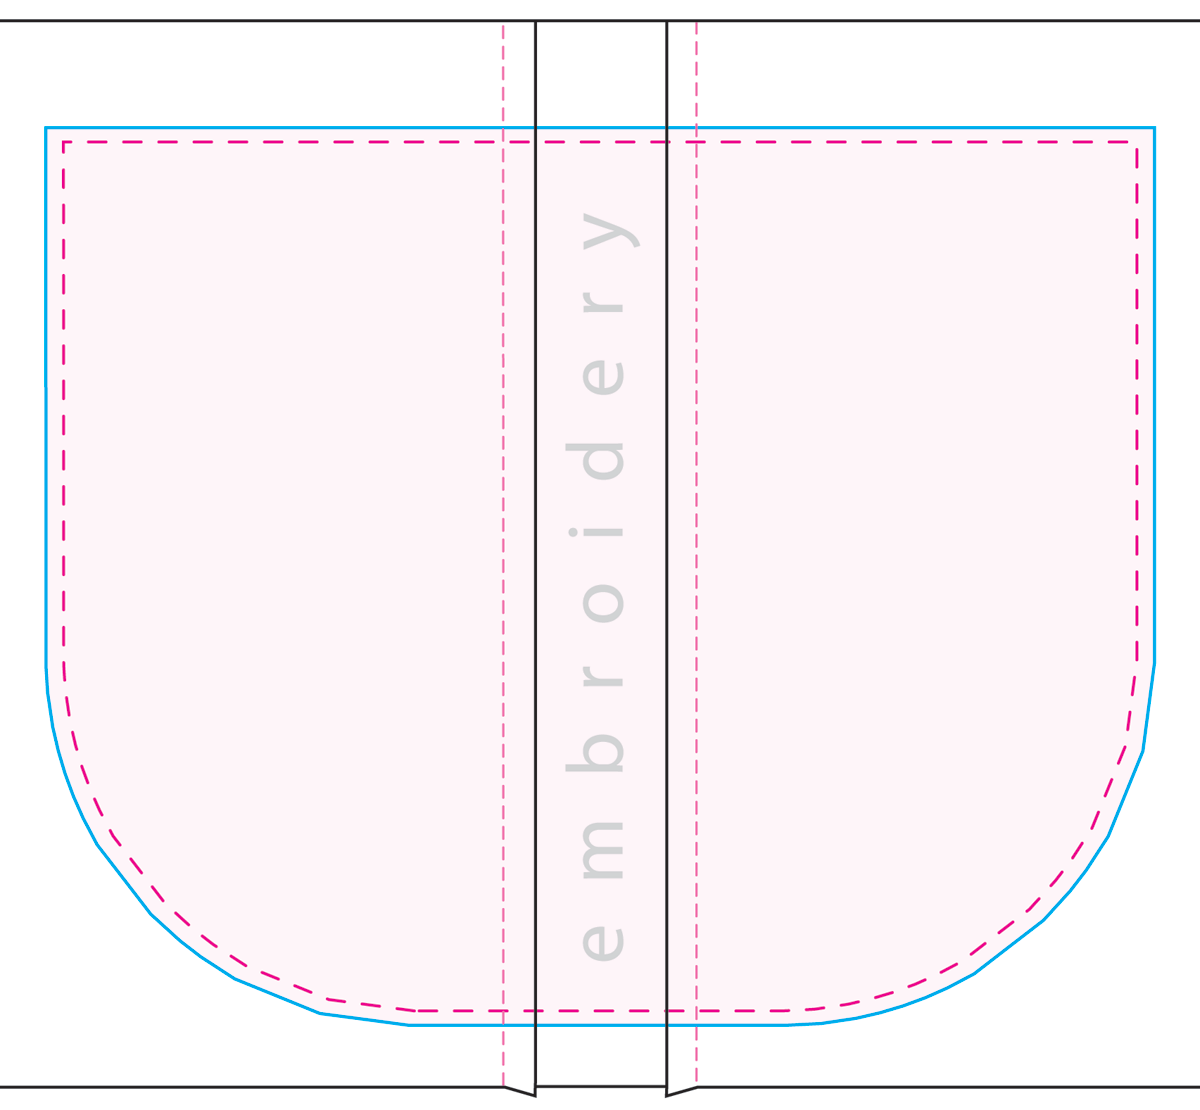
The pocket tucks were much simpler to construct – each containing two 1/8″ tucks, centered vertically on the pocket and ironed toward the center of the pocket.

Then, we added a touch more embroidery to continue the yoke’s design. Again, adding purple French knots (this time with 3 varying shades) and a chain stitch running vertically down the center section of the pocket.
Once the tucks were sewn and pressed and the embroidery was completed, the pattern pieces were traced onto the prepared fabric. This was done to ensure proper position of the tucks in relationship to each of the pattern pieces. In order for the tucks to be secure, we stitched right inside the traced line before cutting the pattern pieces.
Then, it was back to the directions! We attached the yoke slightly differently by hand-stitching (instead of machine stitching) the lining and main fabric together.

Ironically, the night before we showed our niece her new dress, she “designed” a Fairy Tale Dress in her Oliver + S coloring book (Thanks, Lotta!) that was pink with purple flowers. Ummmmm, that couldn’t have been any better timing! Surprise!!
Well, it’s been fun sharing an easy, inexpensive “Heirloom Sewing Technique” with you today! And, if you are interested in further discussion regarding the topic, we welcome you to join the Oliver + S Discussion Group on Heirloom Sewing and Embroidery! It’s a fun group that bounces ideas off one another, as well as encourages one another through various heirloom sewing and embroidery tasks!
Oh, and if this creation has you swooning for more tucks, we’d love for you to check out another Oliver + S creation using the heirloom sewing technique of tucks over at Frances Suzanne!
So beautiful, you two! Both dresses. Thank you so much for writing this post for us.
Ack!! Both of these dresses are just too stunning! What lucky little nieces you have.
Beautiful work!
What a lovely dress, not too fussy, just beautiful. Very nice graphics and explanation too. Well done
Well, you did it, ladies. You made me love this pattern even more! I love the heirloom touches made to this modern style. Beautifully done!