Welcome to day one of the Cappuccino Dress + Tunic sew-along!
Selfish Sewing Week starts today, so this is the perfect time to get some sewing done for yourself. And what better way to do that then with the Cappuccino pattern! Whether you’re sewing the dress or the tunic, it’s an easy-going pullover featuring a flattering V-neck and crossover neckband. Enjoy and have fun sewing along with your friends!
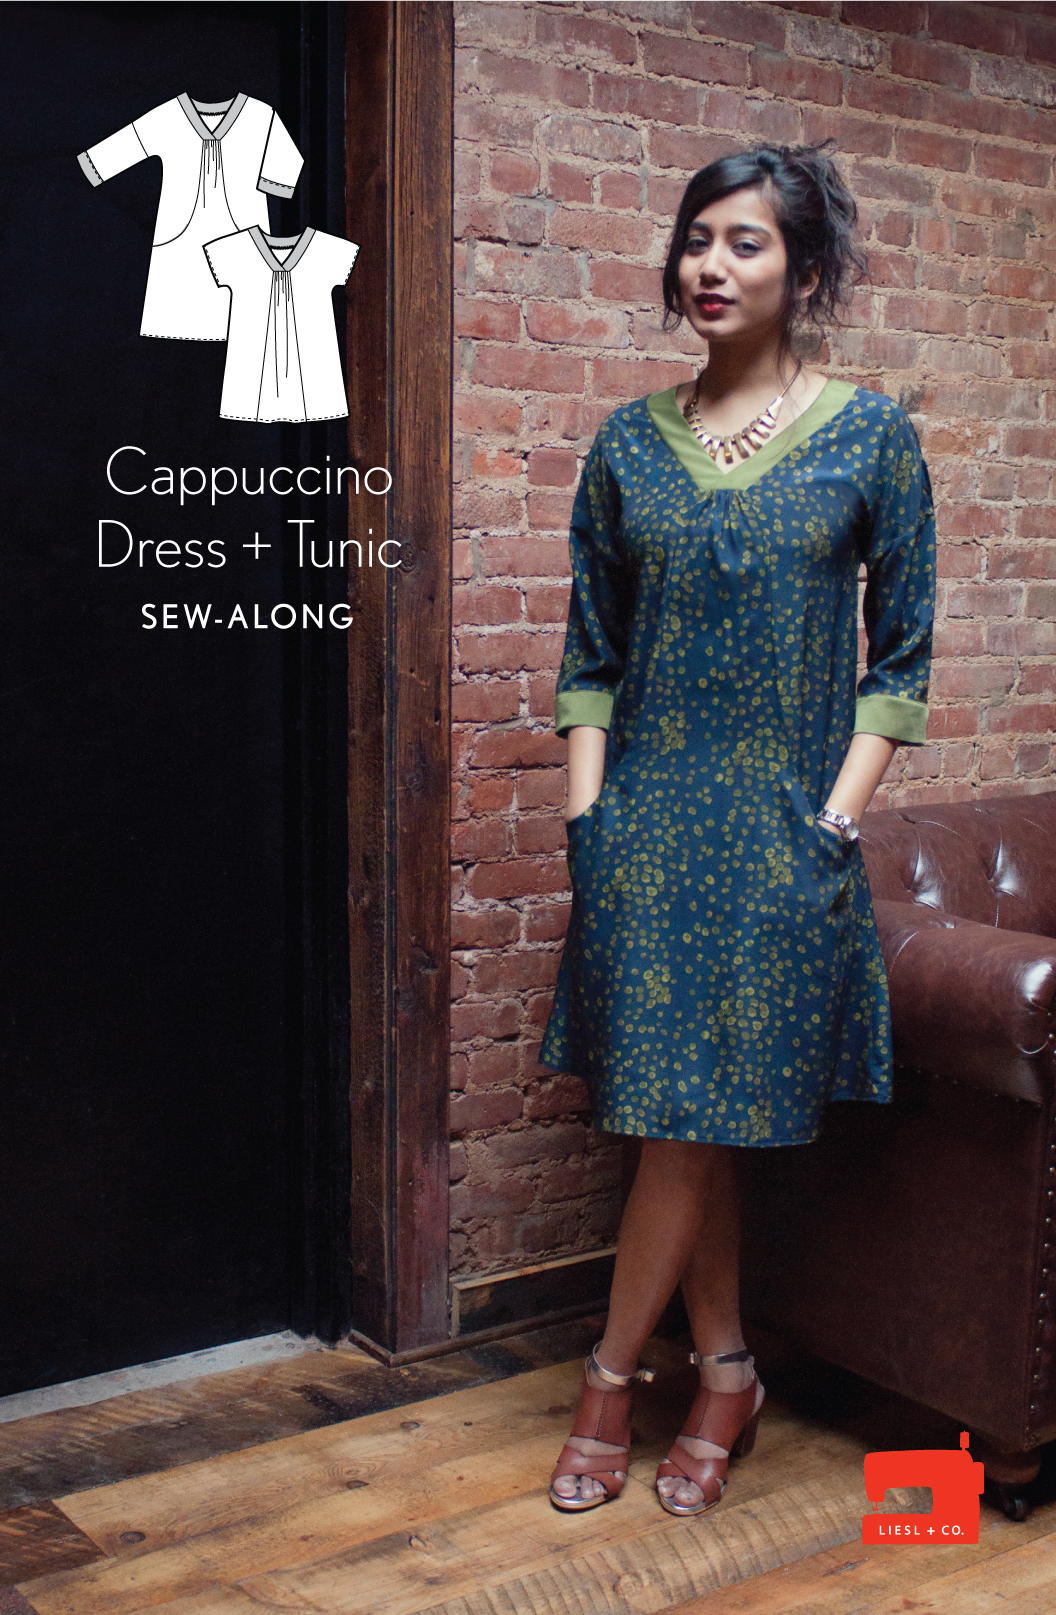
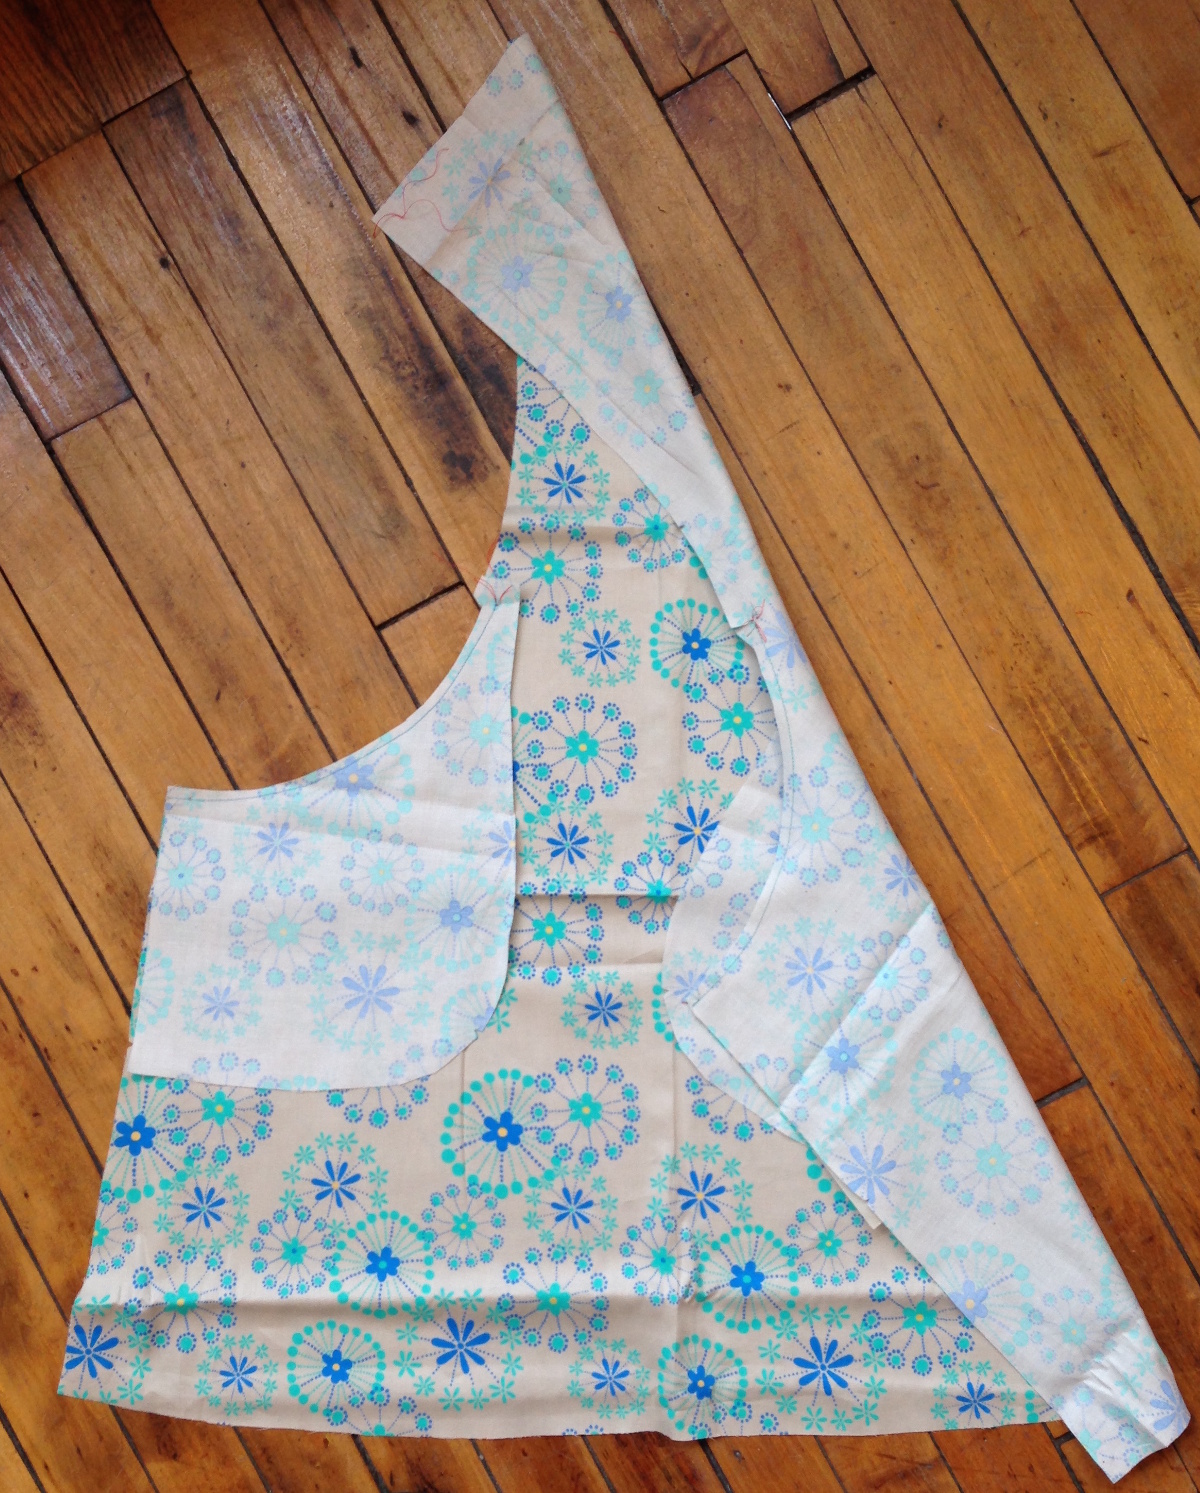
Today we will be assembling the neckband and preparing the pockets (view A only). So let’s begin, shall we?
Getting started
Transfer all markings and fuse interfacing to the wrong sides of the fabric pieces according to the pattern and instructions. Also staystitch the front and back necklines.
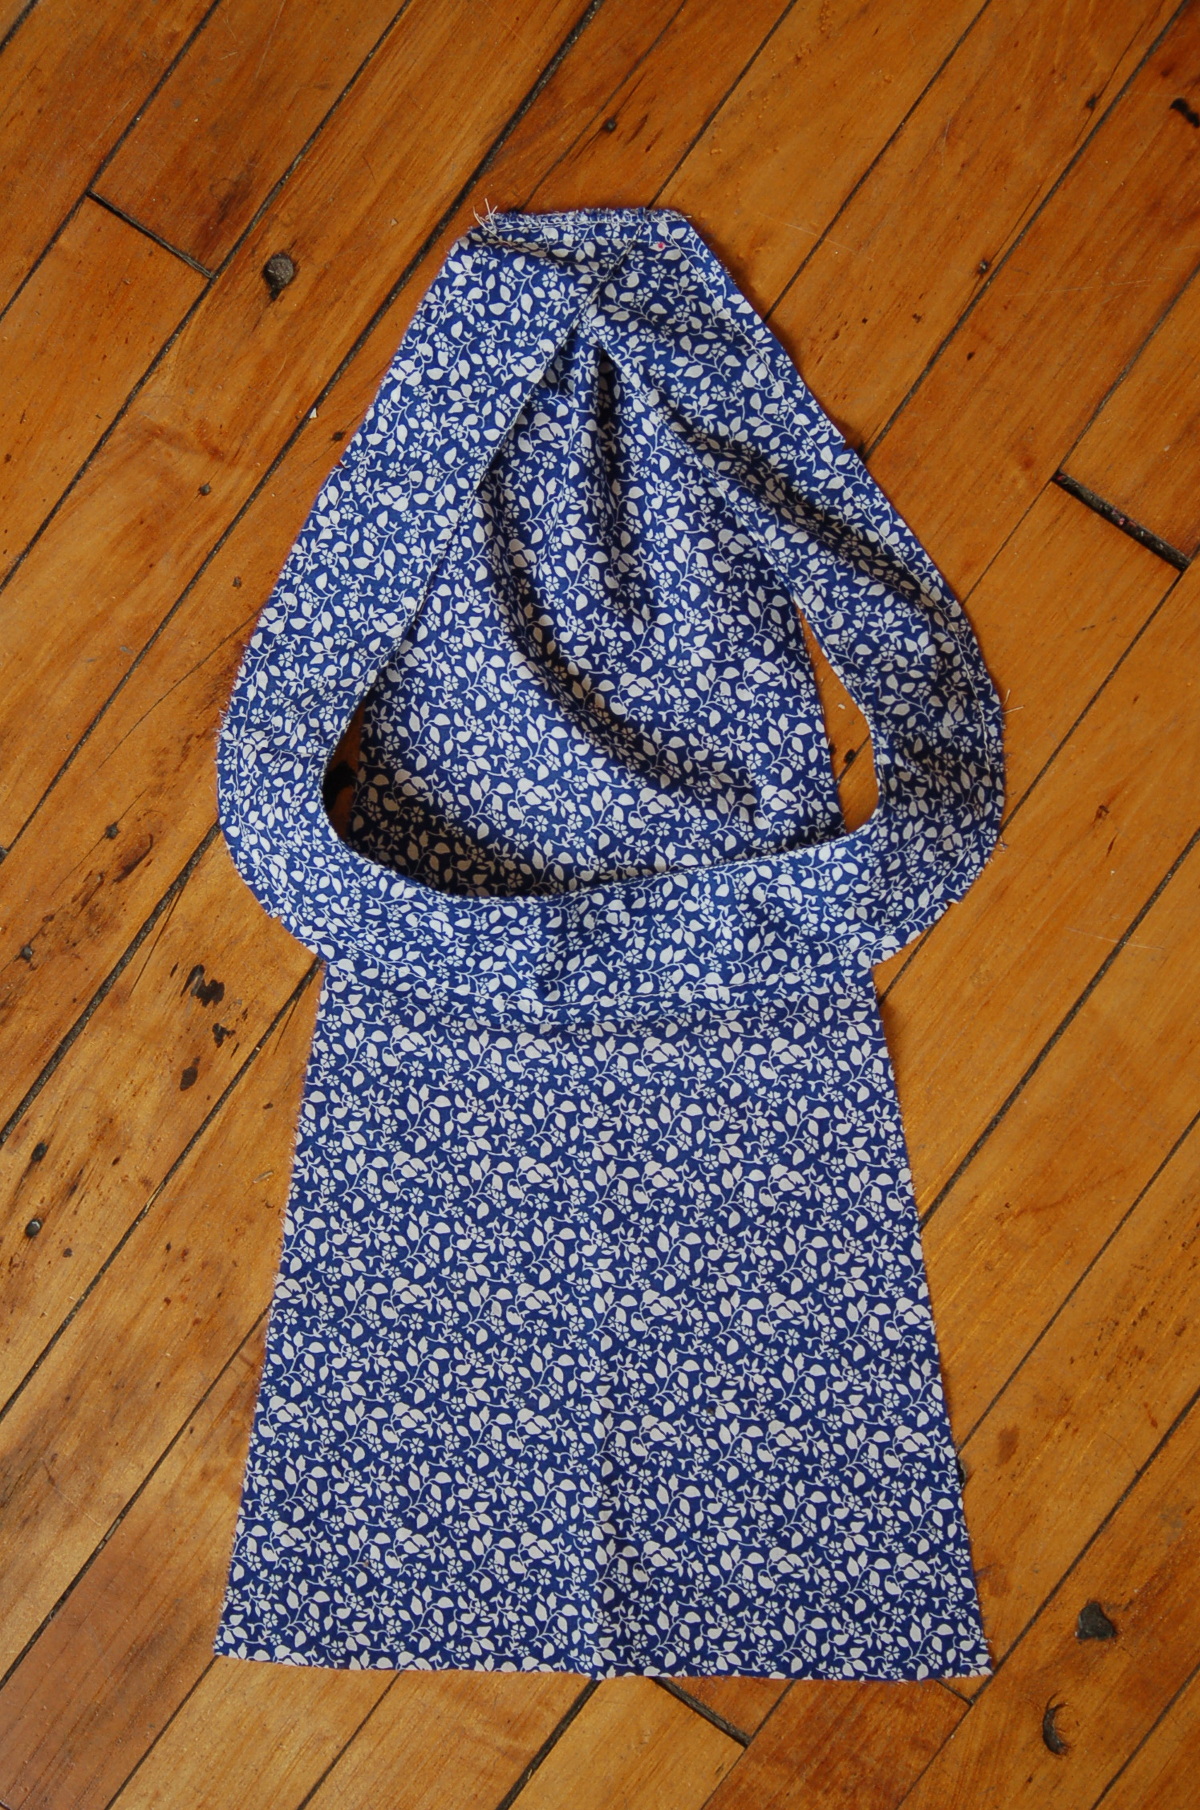
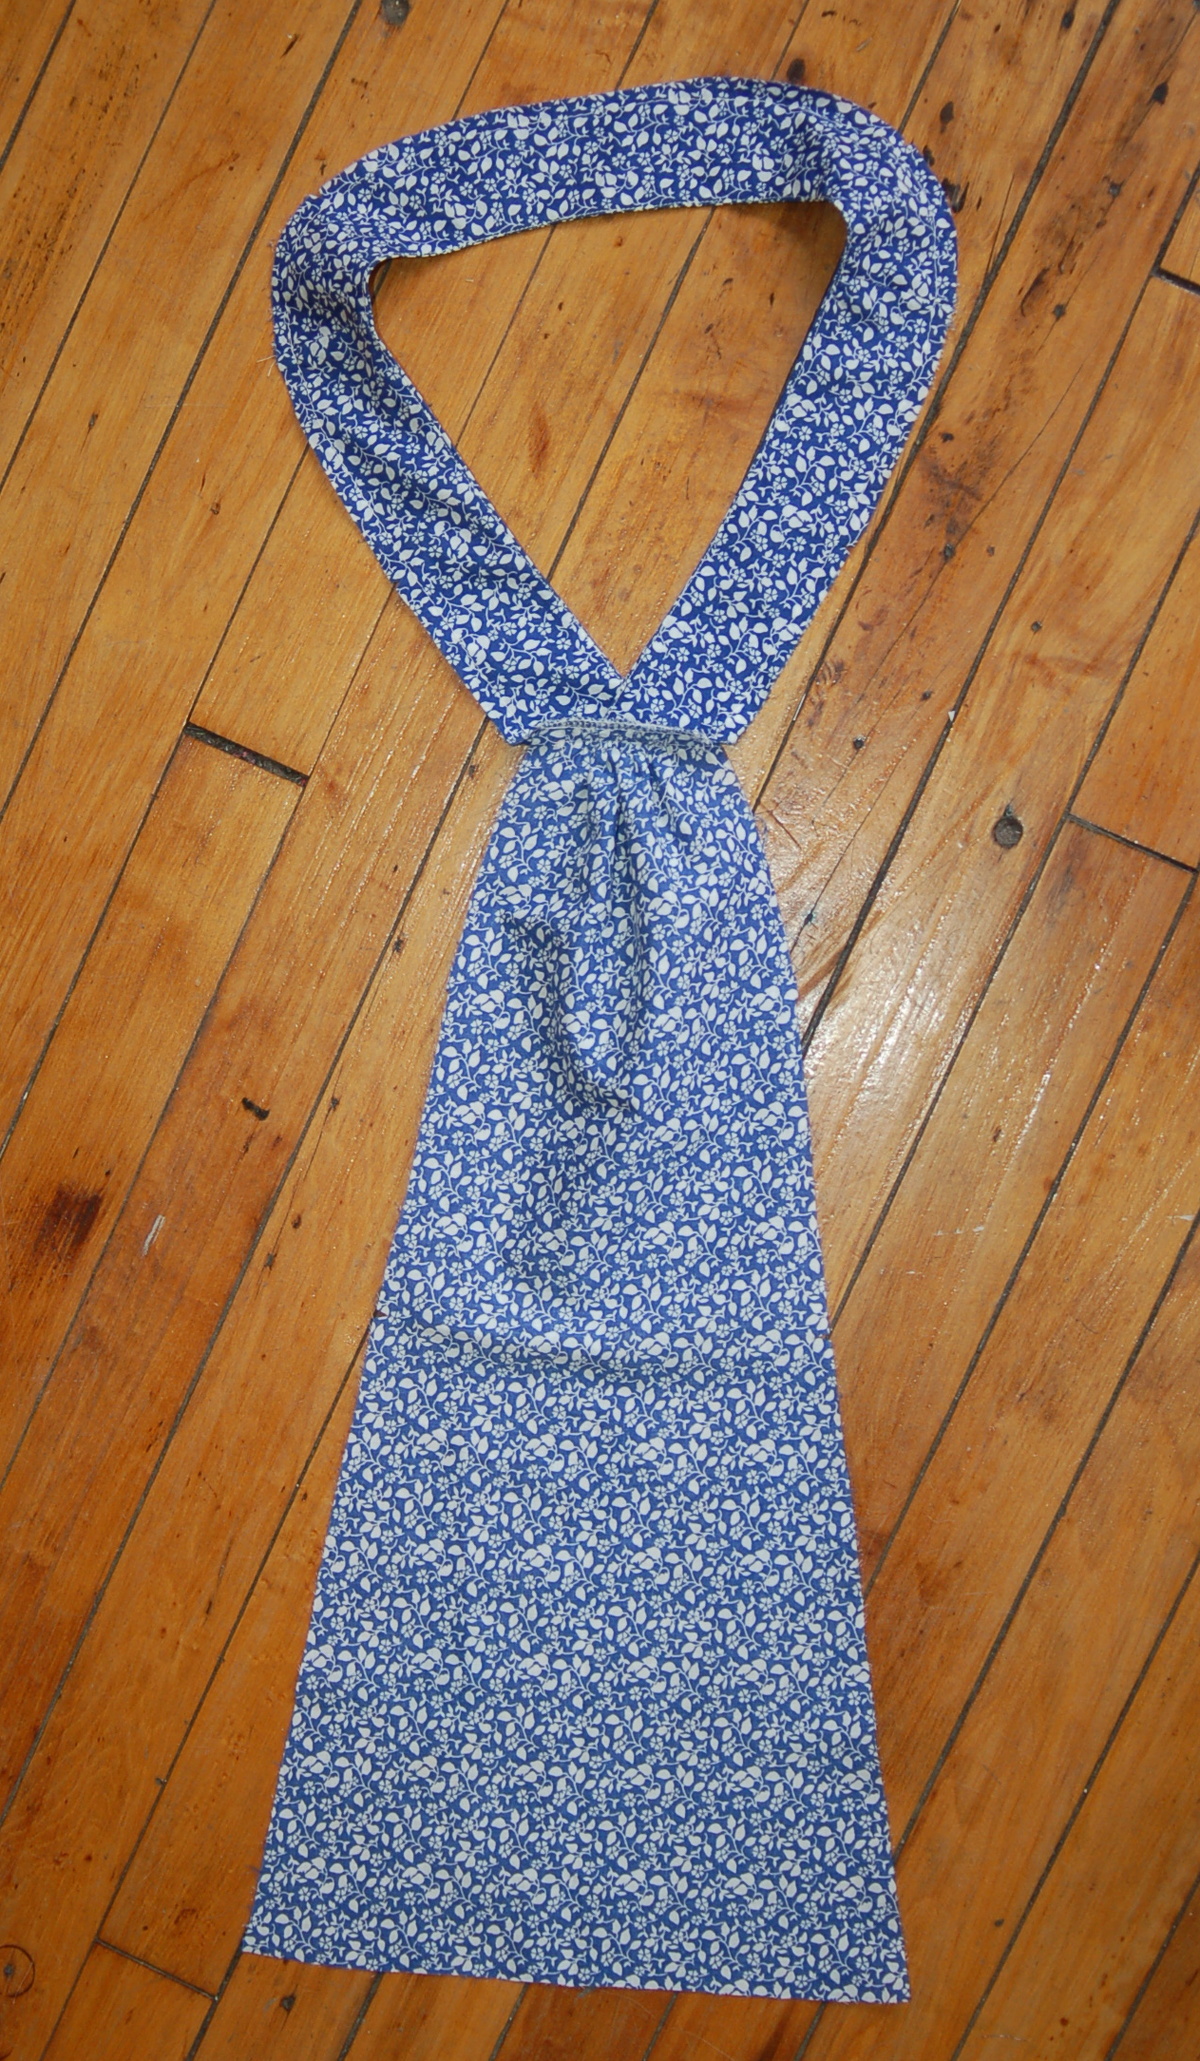
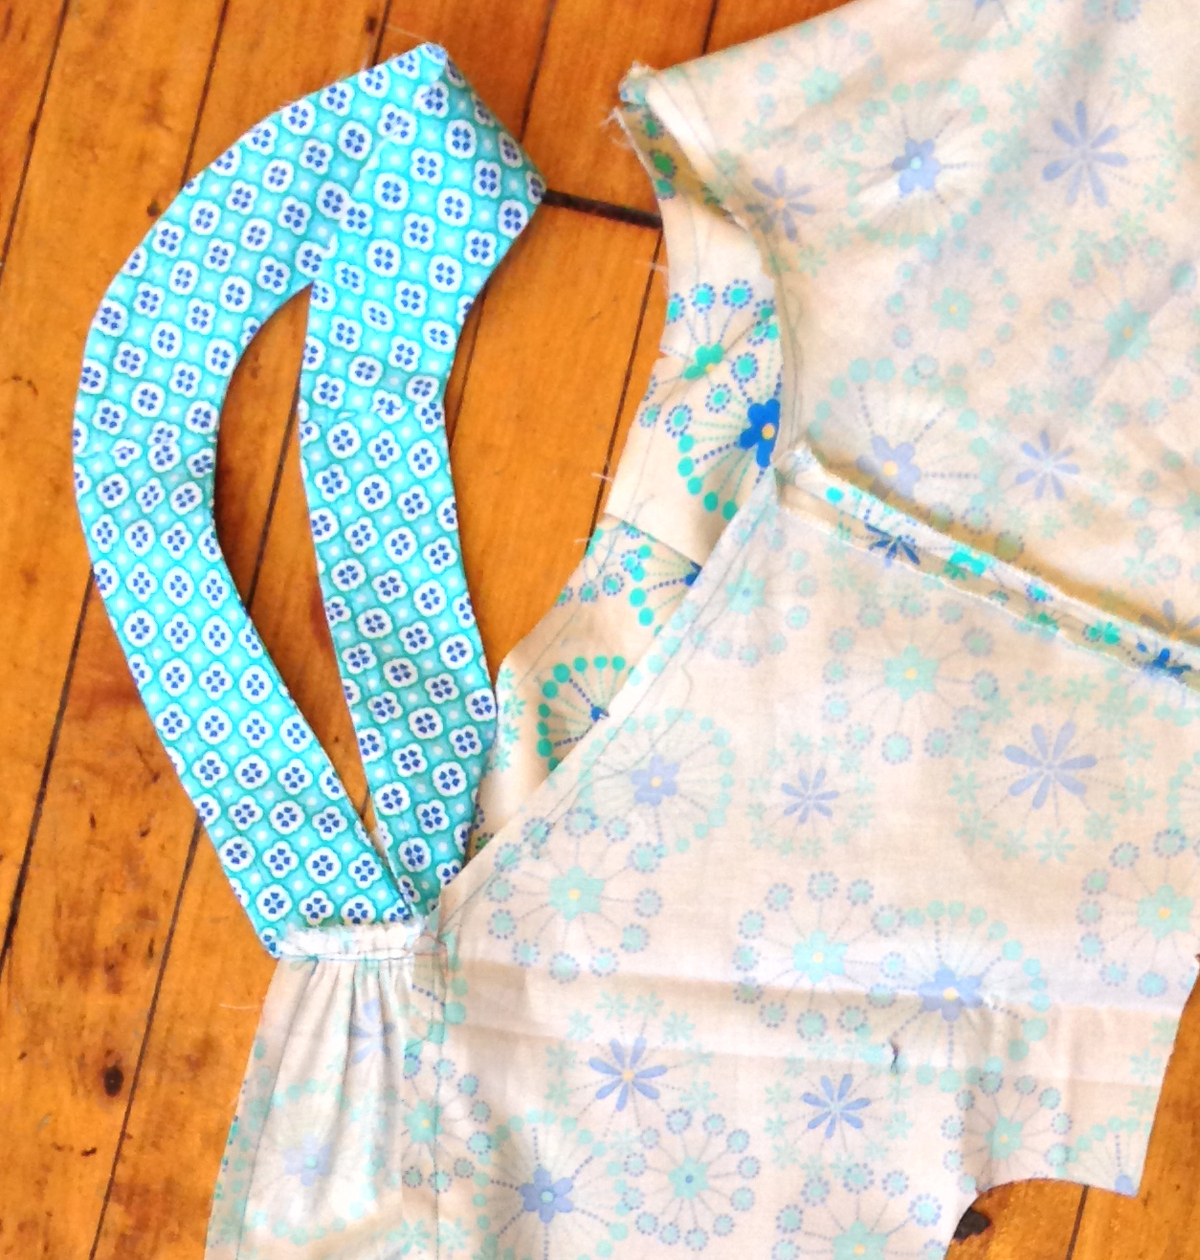
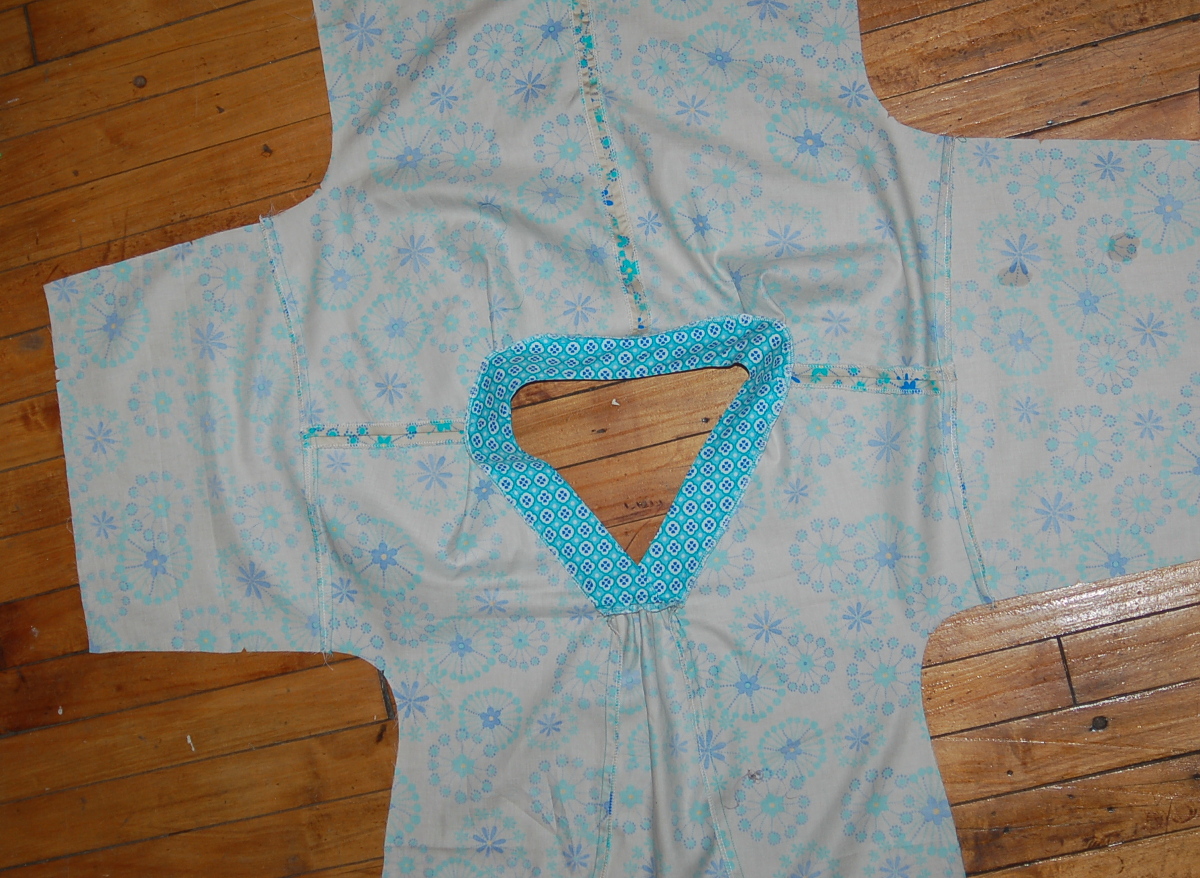
Assemble the neckband
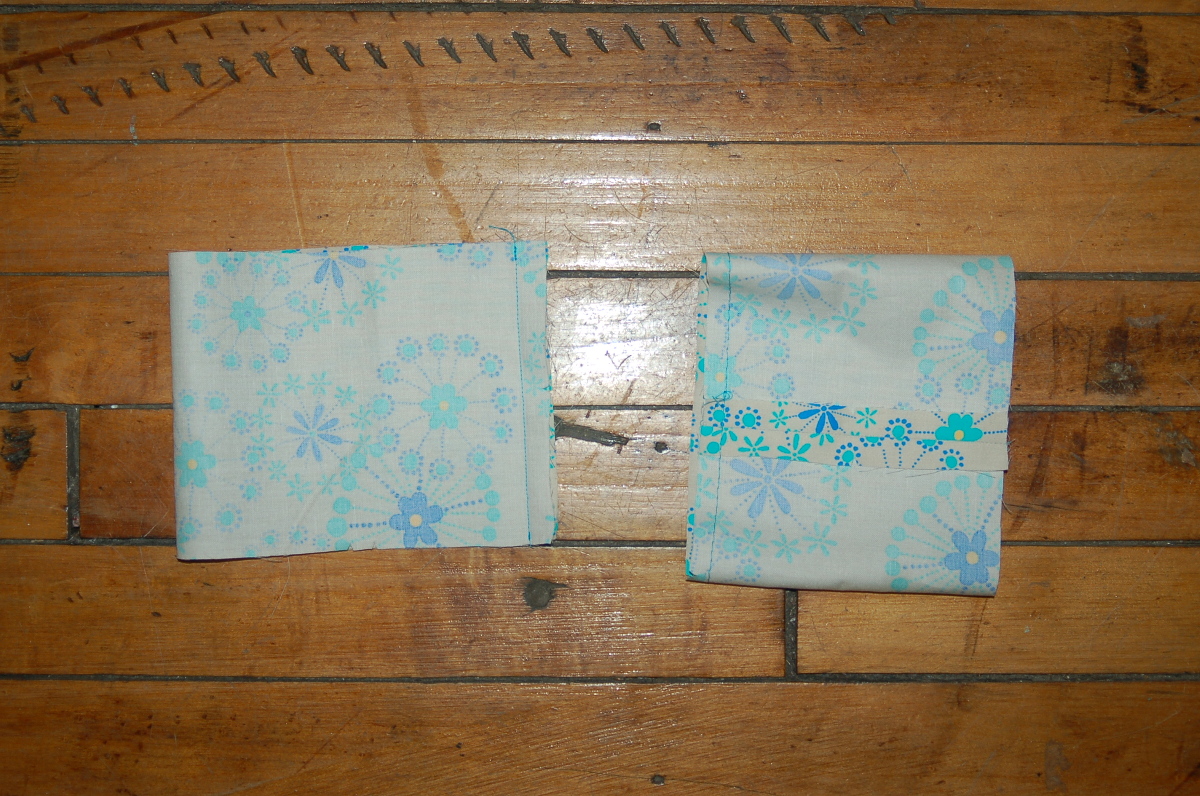
1. Pin one back-neckband piece to two of the front-neckband pieces at the shoulder seams, with right sides together and the shoulder edges aligned. Stitch the shoulders together with a 1/2” seam, matching the notches and lockstitching or backstitching at the beginning and end of each seam. Trim the seam allowances to 1/4” and press open the seams.
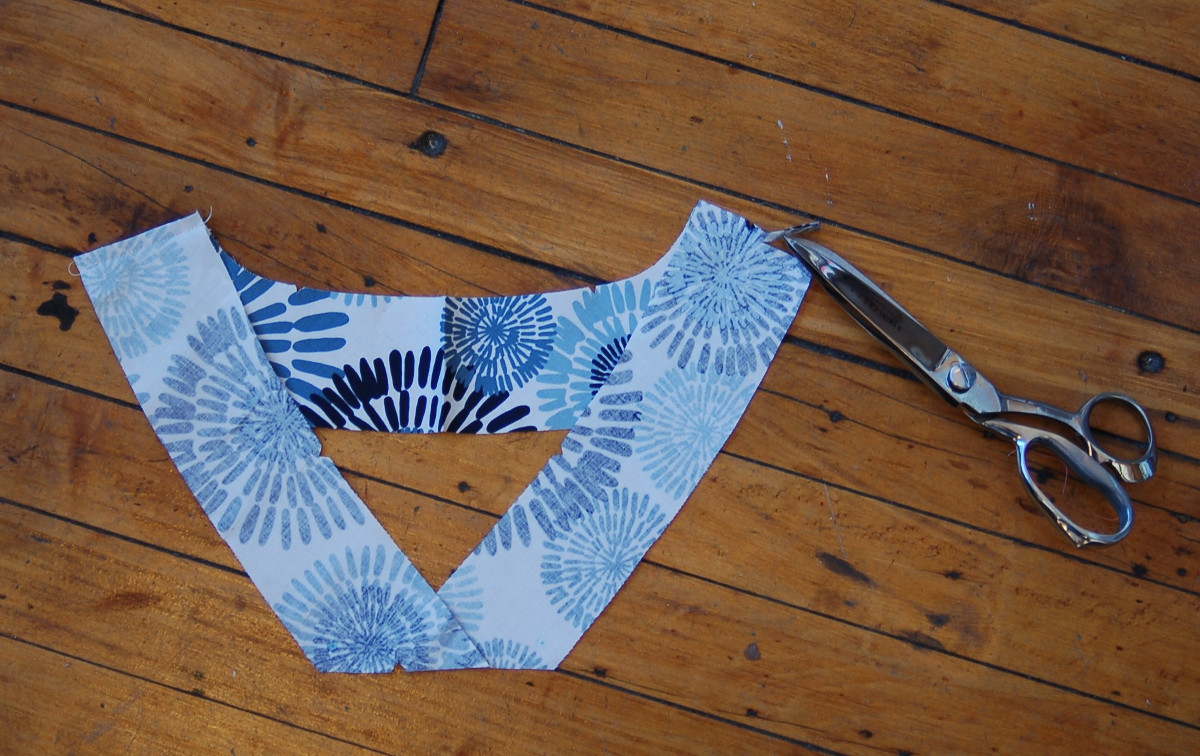
2. Repeat Step 1 to attach the other set of neckband pieces.
3. With right sides together, aligning the raw edges, and matching the notches and the shoulder seams, pin the two sets of neckband pieces at the inner curved edges and stitch them together with a 1/2” seam. Be sure to lockstitch or backstitch at the beginning and end of each seam. Trim the seam allowances of the neckband’s inner sewn seam to 1/4”.
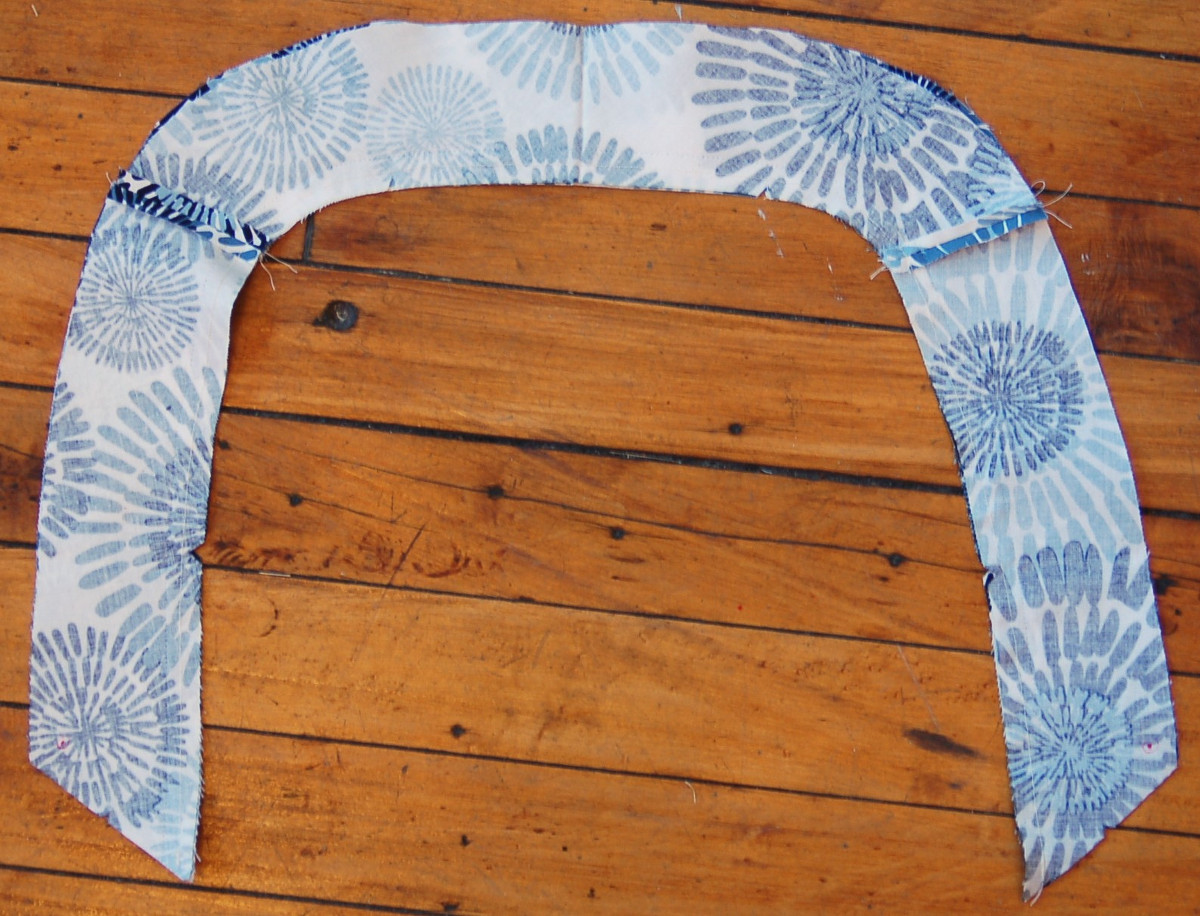
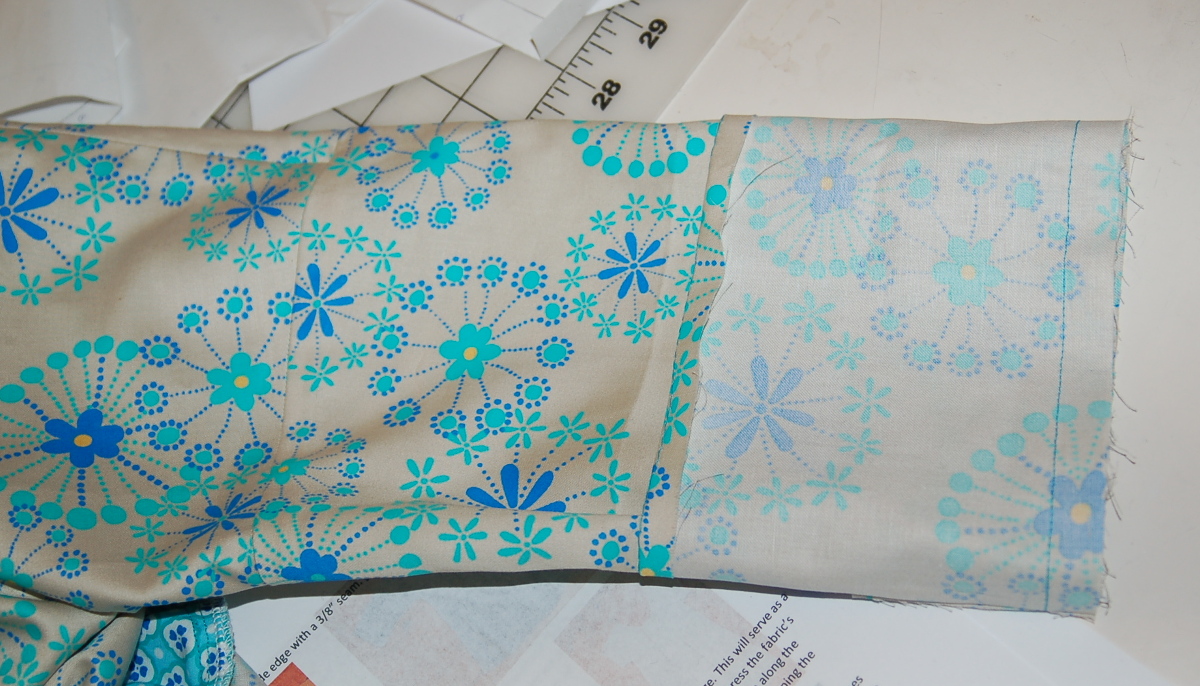
4. Press the seam allowances to one side (toward the neckband’s facing) and under stitch the facing, lockstitching or backstitching at the beginning and end of the seam. Then press the neckband flat, with wrong sides together.

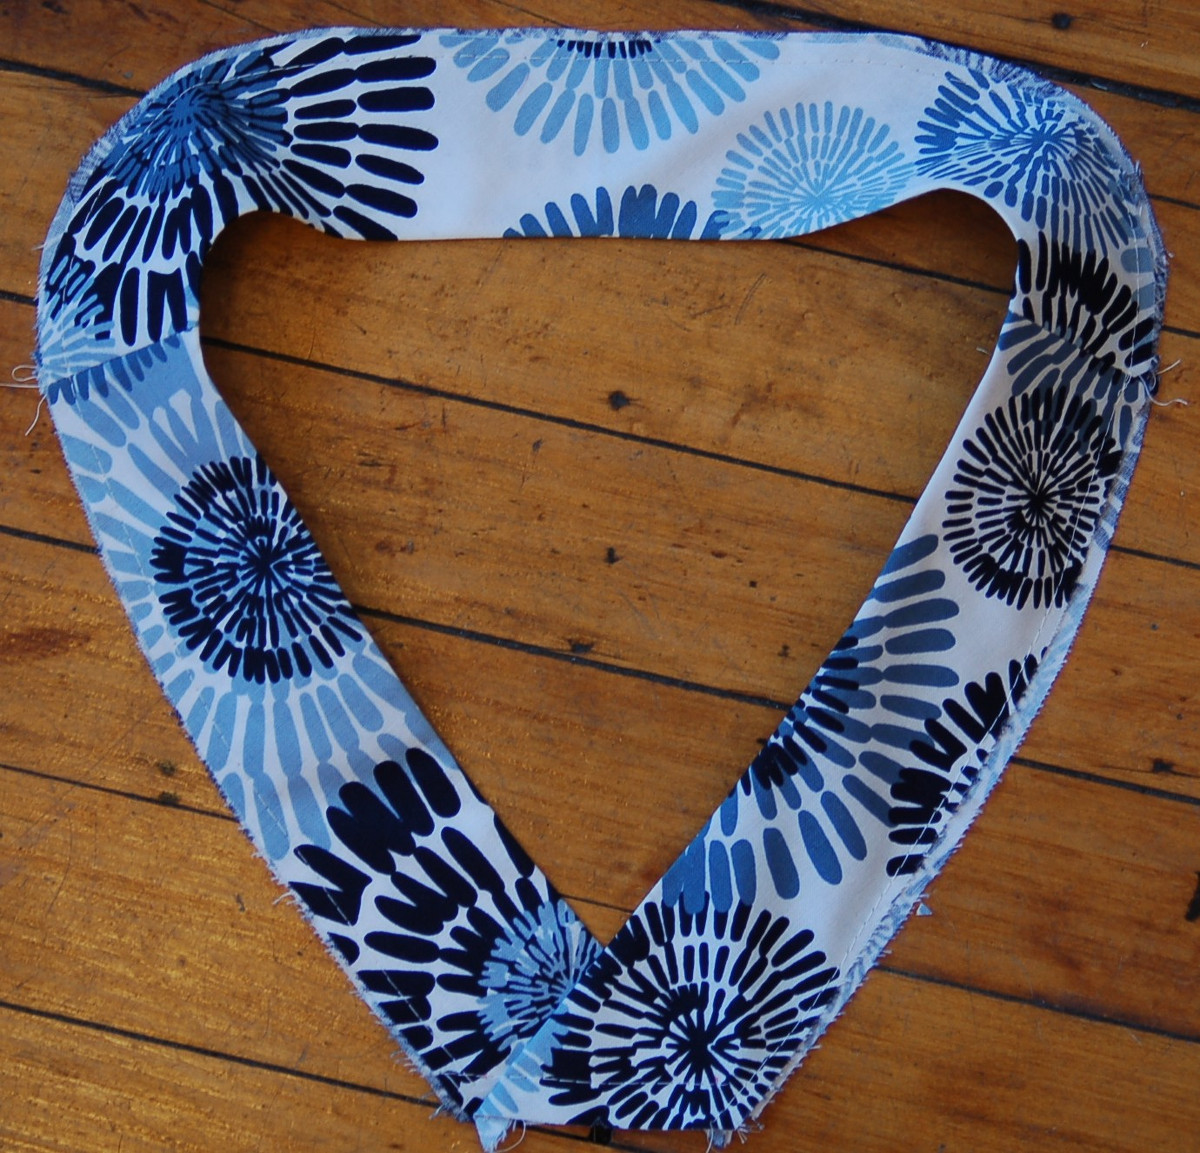
5. With the neckband still folded flat, with wrong sides together, baste the two layers together along the open outside edge and along the notched, lower front edge, stitching 1/4” from the edge. Trim the excess fabric from the longer of the two edges (the under stitching may have caused one side of the neckband to be slightly wider than the other).
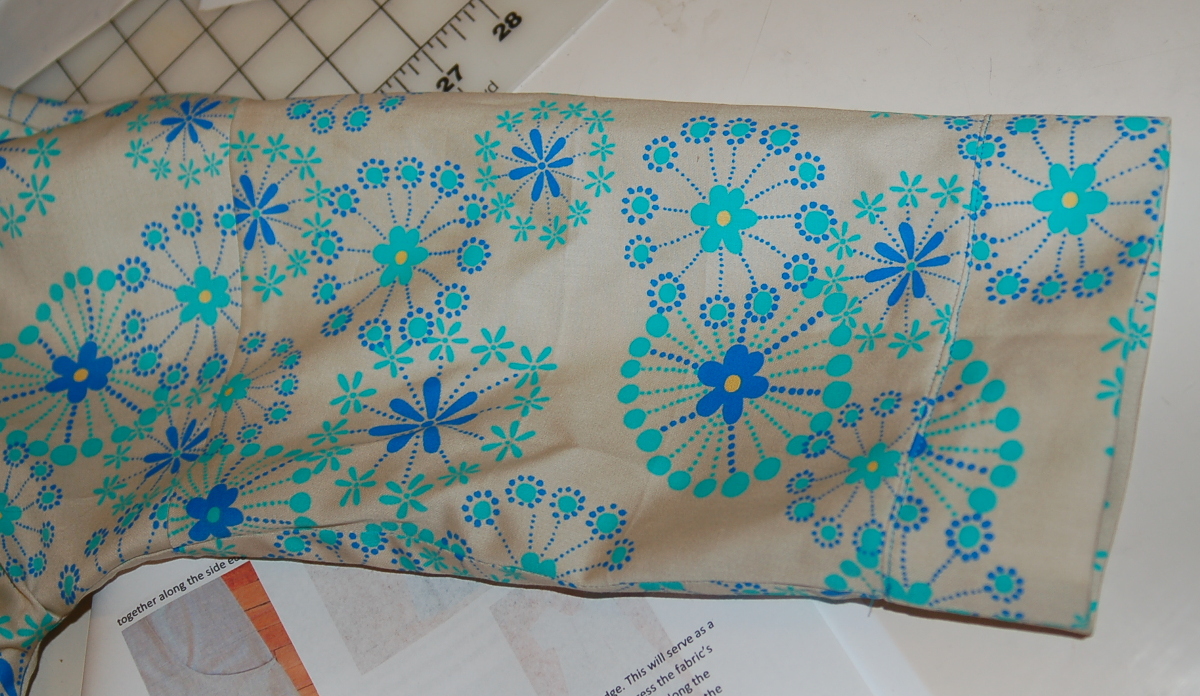
6. Overlap the two short ends of the neckband, matching the notches, and baste the edges together with a 3/8” seam.
Prepare the pockets (view A only)
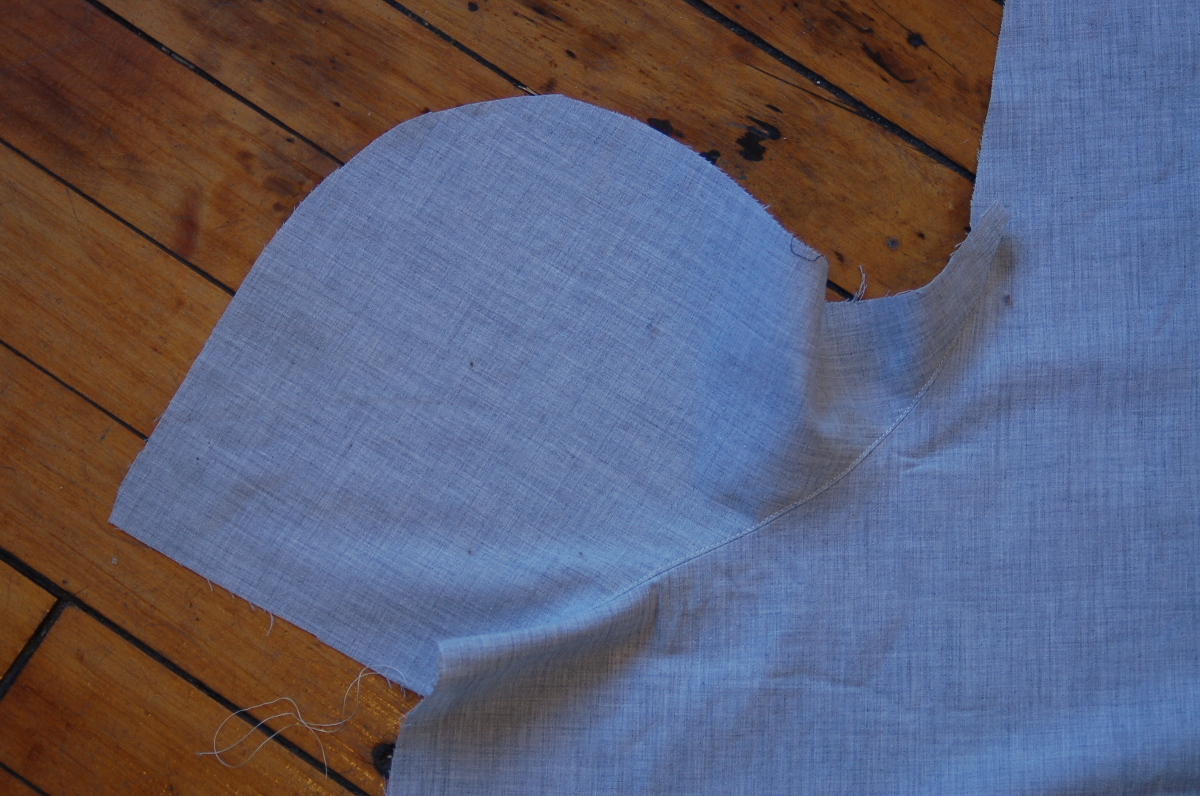
1. Pin one pocket facing to the center-front panel, with right sides together and matching the notches and dots. Stitch along each pocket facing’s top curved edge with a 1/2” seam, lockstitching or backstitching at the beginning and end of the seam, and stitching precisely to the large dots at the top of the pockets.

2. Trim the seam allowances to 1/4” and clip along the curved edge of only the center-front panel and only up to the dot.

Under stitch along the pocket curve by pressing the pocket-bag facing away from the front panel and stitching the seam allowances to the facing. Repeat to attach the other pocket bag.
Done for today! If you have any questions on any of the steps so far, please ask them in the comment section. See you tomorrow for day two when we will prepare the pieces for assembly, assemble the front dress/tunic, and attach the neckband.
Are you ready for day two of the Cappuccino Dress + Tunic sew-along? Yesterday we began with assembling the neckband and preparing the pockets. Today we will be preparing the pieces for assembly, assembling the front dress/tunic, and attaching the neckband.
We have a lot of sewing to get done today, so let’s get started!
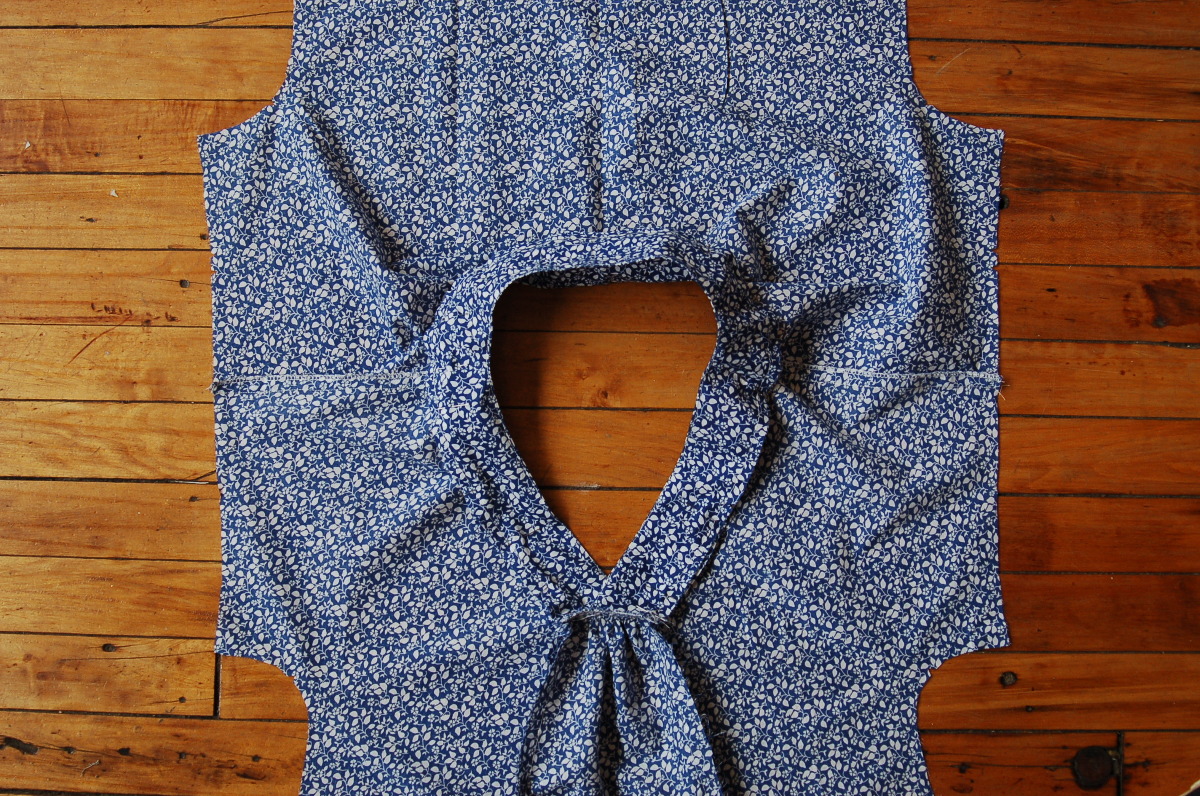
Prepare the pieces for assembly
1. Stitch two rows of gathering stitches 3/8” and 5/8” from the top edge of the dress/tunic’s center-front panel between the dots you transferred from the pattern, leaving thread tails several inches long for pulling.
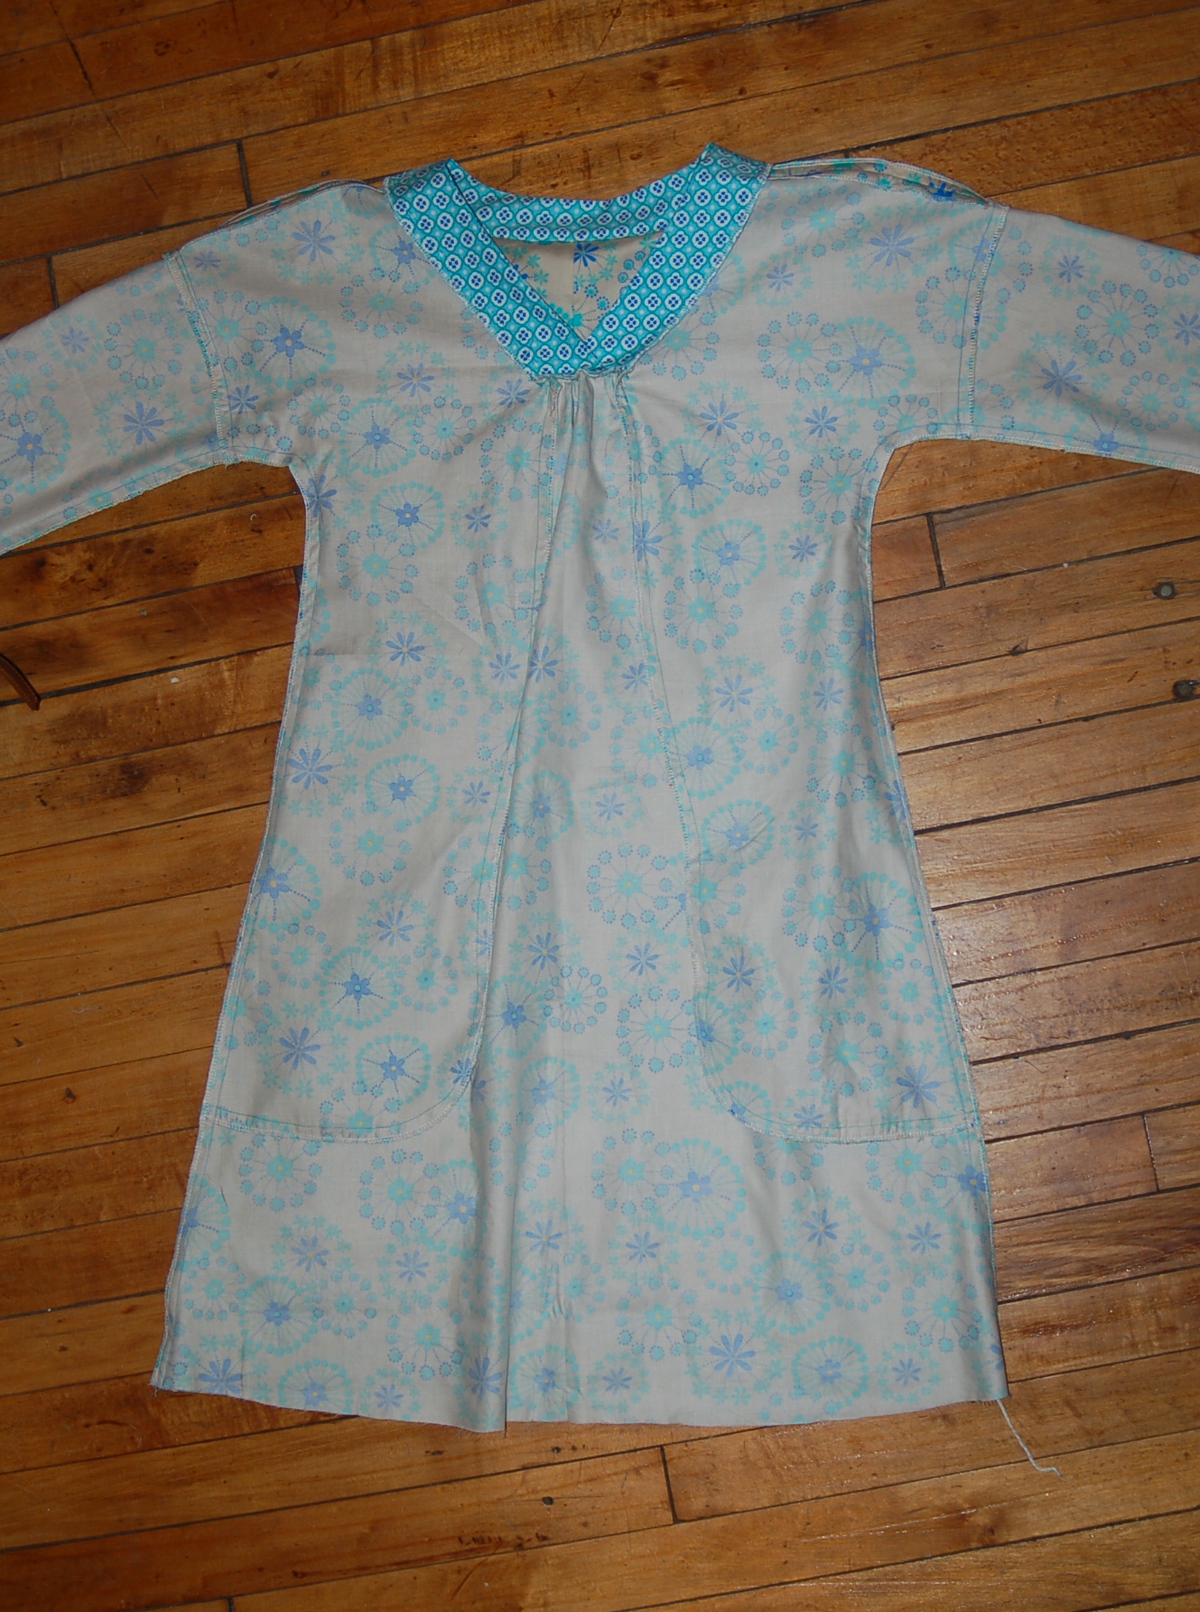
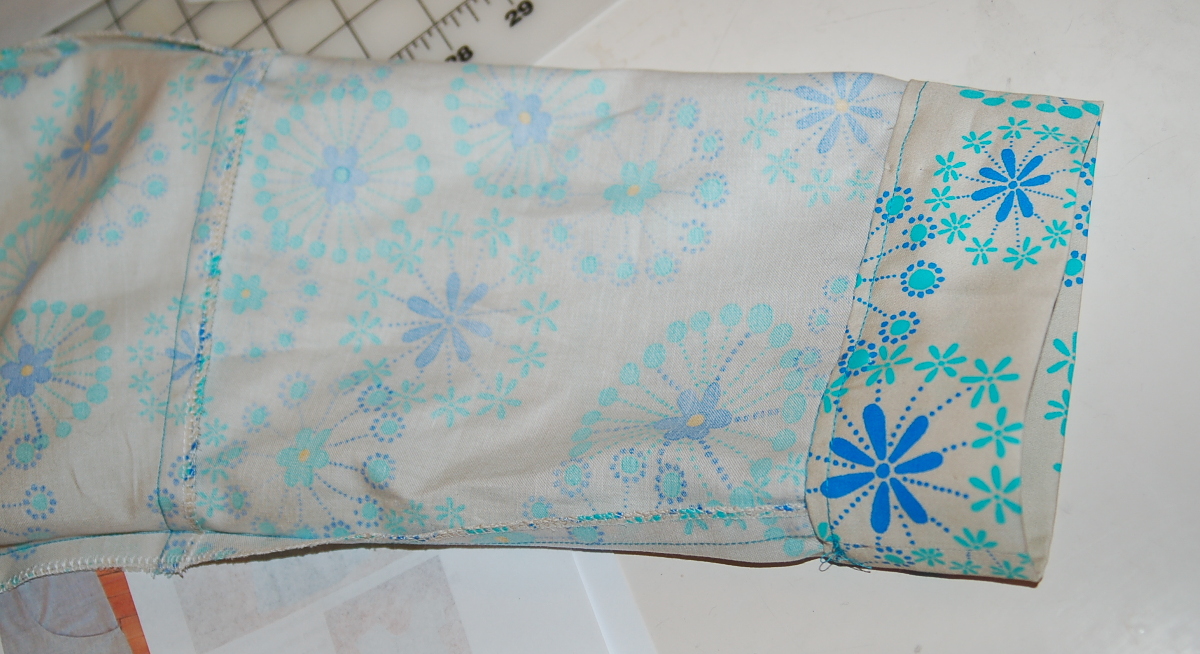
2. Pin the neckband’s lower front edge to the top edge of the dress/tunic’s center-front panel, with right sides together and matching the center notch. (Note: The right side of the neckband is the side without the understitching.) Pull up on the gathering stitches to match the width of the neckband’s lower front edge to the center-front panel’s top edge. Stitch the neckband to the dress/tunic front with a 1/2” seam, backstitching or lockstitching at both ends. Finish the seam allowances using your preferred method and press them toward the neckline temporarily.
3. With right sides of the two back dress/tunic pieces together and the edges aligned, stitch the center back seam. Then press the seam open and finish the seam allowances using your preferred method.
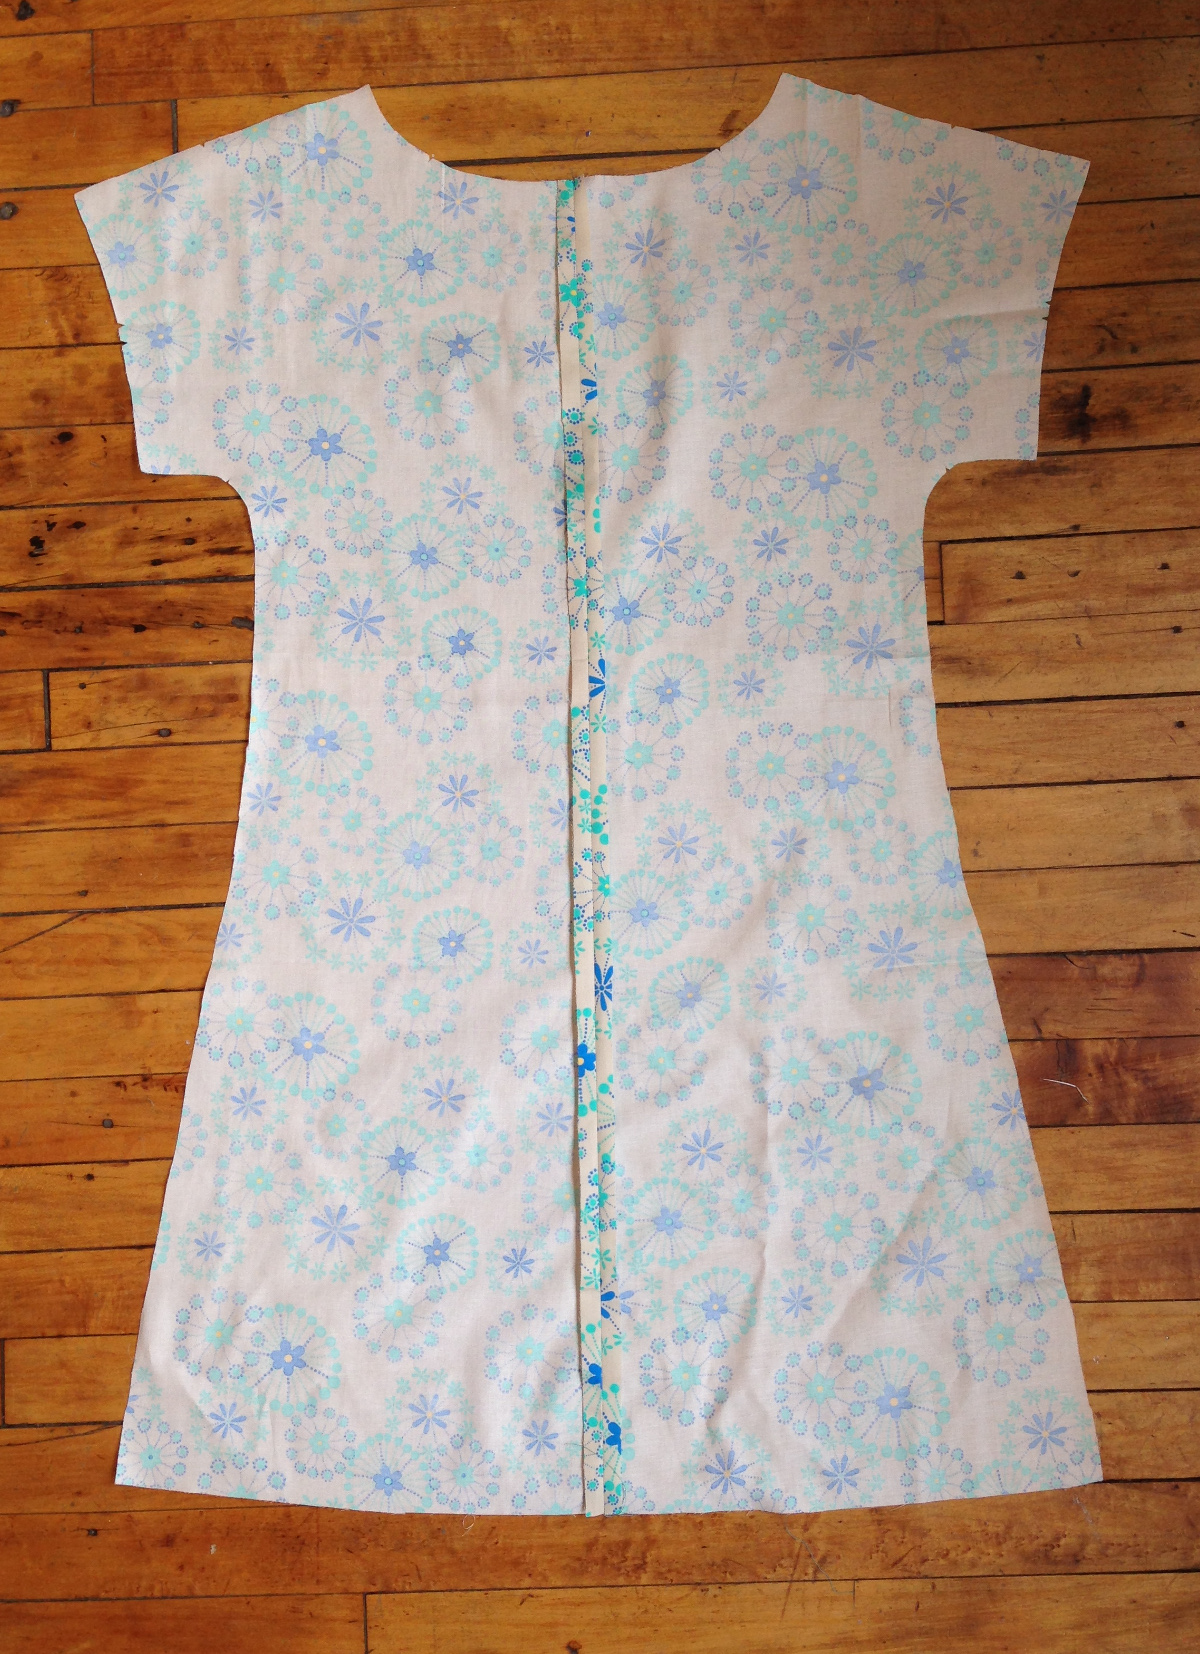
4. Pin the dress/tunic’s side-front panels to the back at the shoulders, with right sides together, the raw edges aligned, and the notches matched. Stitch the shoulders together with a 1/2” seam, lockstitching or backstitching at both ends of the seam. Press the seam allowances open and finish them using your preferred method.
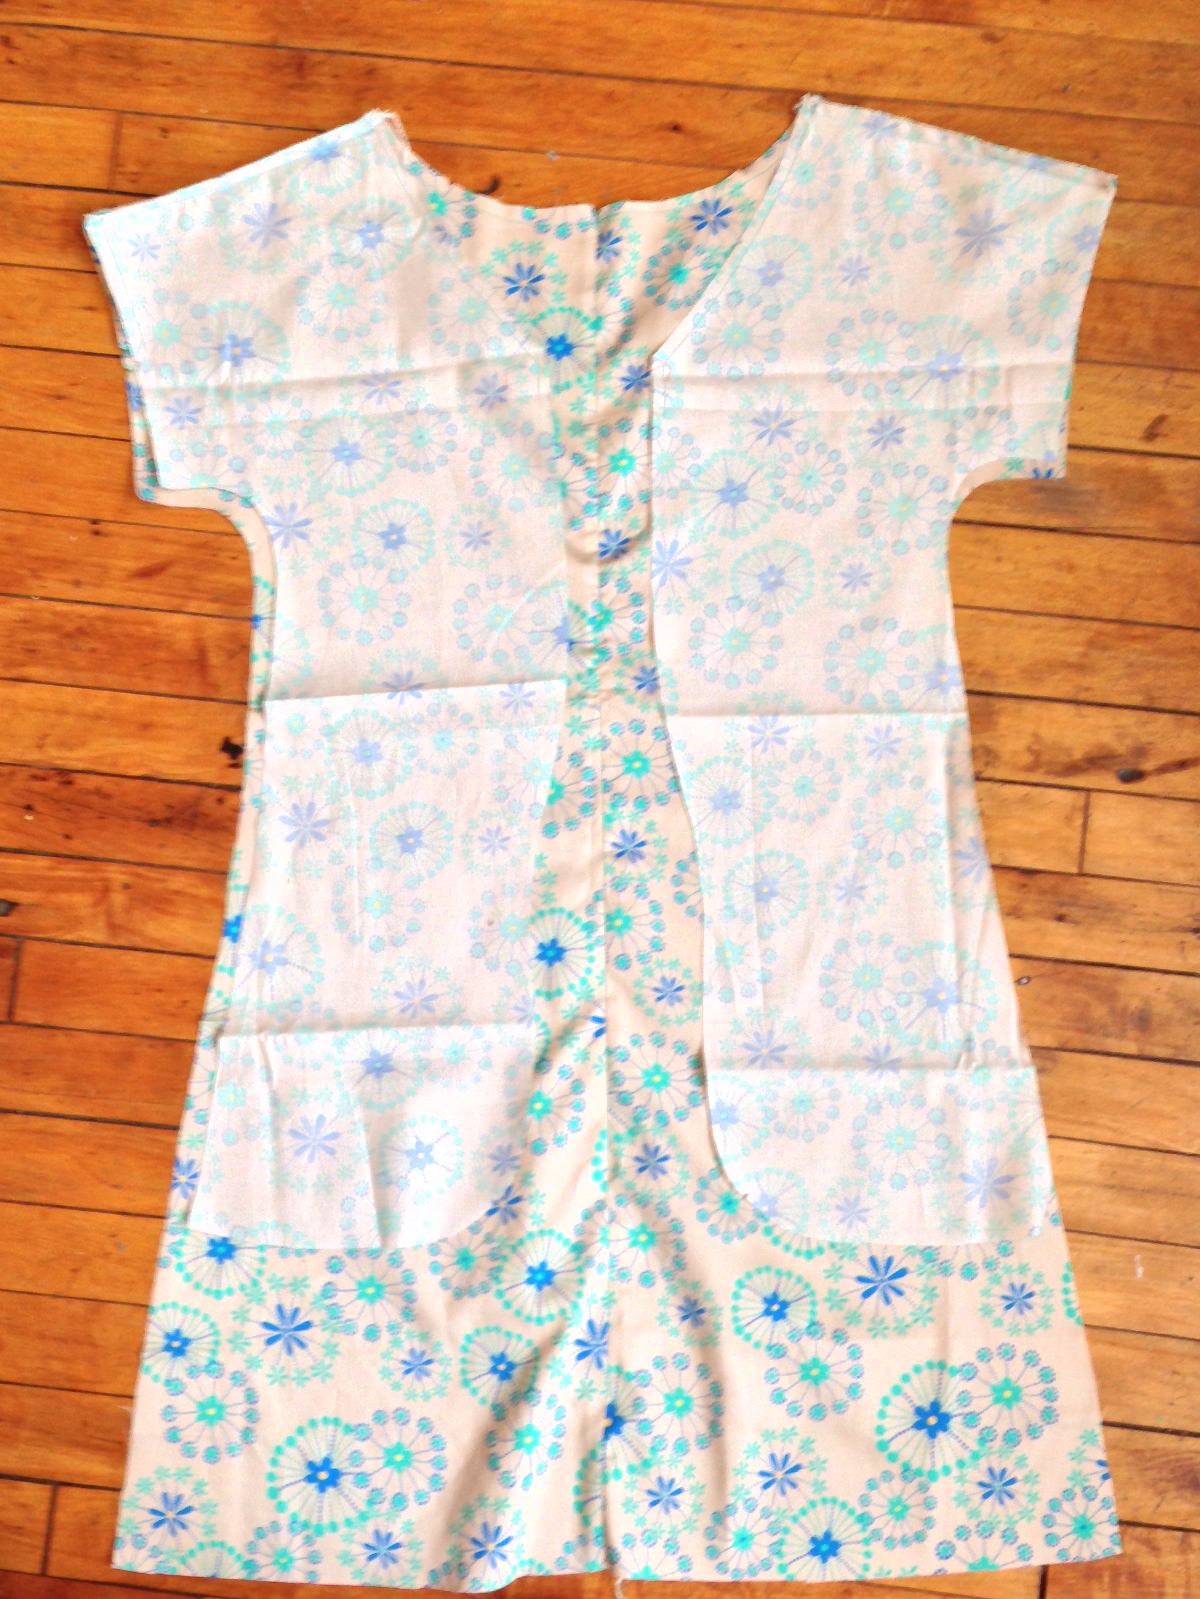
Assemble the front dress/tunic
1. For View A only, pin the front panel to one side panel and pocket facing, with right sides together and matching the notches, pocket placement dots, and V-neck dots. Stitch the side panel to the front panel and pocket facing with a 1/2” seam, stopping and lockstitching or backstitching at the center panel dots. Take care to stitch precisely through the large dot at the top of the pocket as you sew. Repeat with the opposite side of the front panel and the second side panel. Do not finish the seam allowances yet.

2. For View B, pin the tunic front panel to one side panel, with right sides together and matching the notches and V-neck dots. Stitch the side panel to the front panel with a 1/2” seam, stopping and lockstitching or backstitching at the center panel dots. Repeat with the opposite side of the front panel and the second side panel. Do not finish the seam allowances yet.

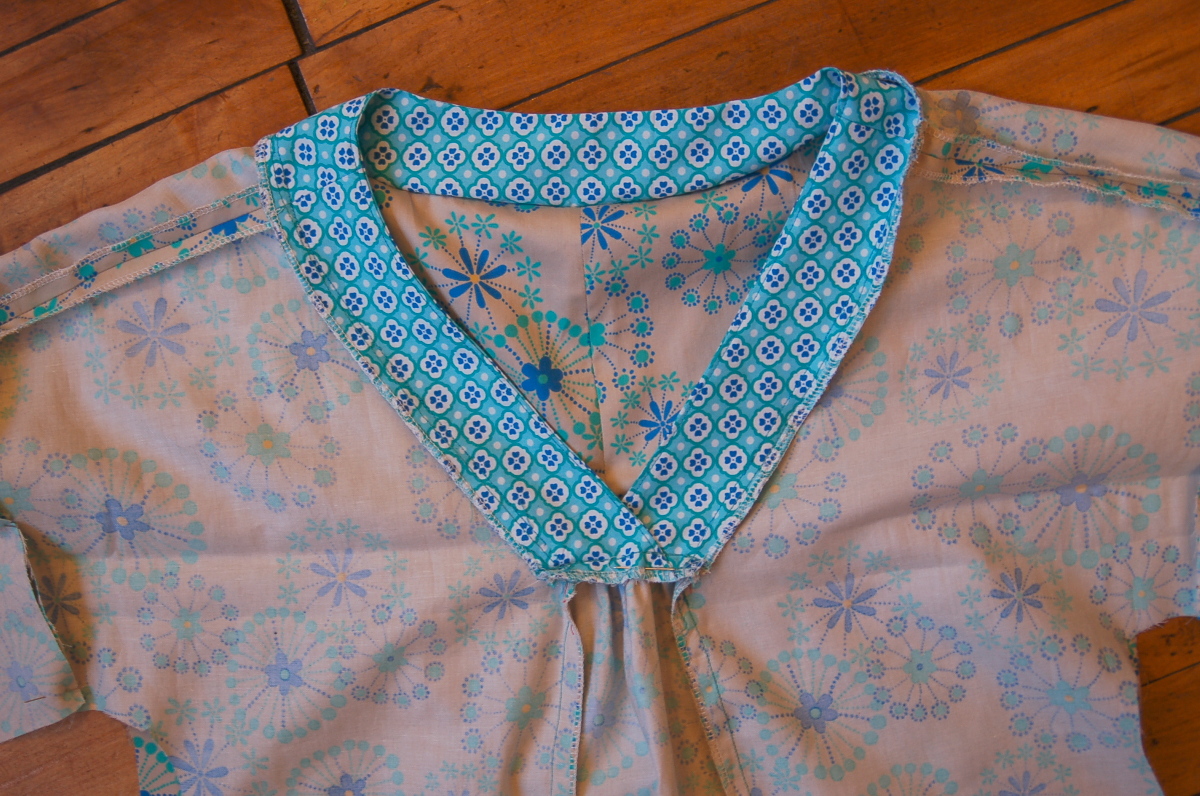
Attach the neckband
1. Carefully clip into the neckline at each top corner of the side-panel fabric only (not the dress-front fabric) without clipping through the dot or your stitching. This will help to create a crisp corner at the front of the neckband and enable the neckline to be attached more easily. Press the stitched seam allowances down, away from the neckline.
2. Pin the basted edges of the neckband to the neckline of the dress/tunic, with right sides together and matching the notches and seams. Pin the finished seam allowances at the bottom edge of the neckband out of the way for this step. Stitch the neckband to the dress with a 1/2” seam, starting and stopping and also backstitching or lockstitching precisely at the dots.
Hint: You might like to hand-baste this seam before stitching it in order to remove the pins and eliminate any possibility of shifting as you stitch.
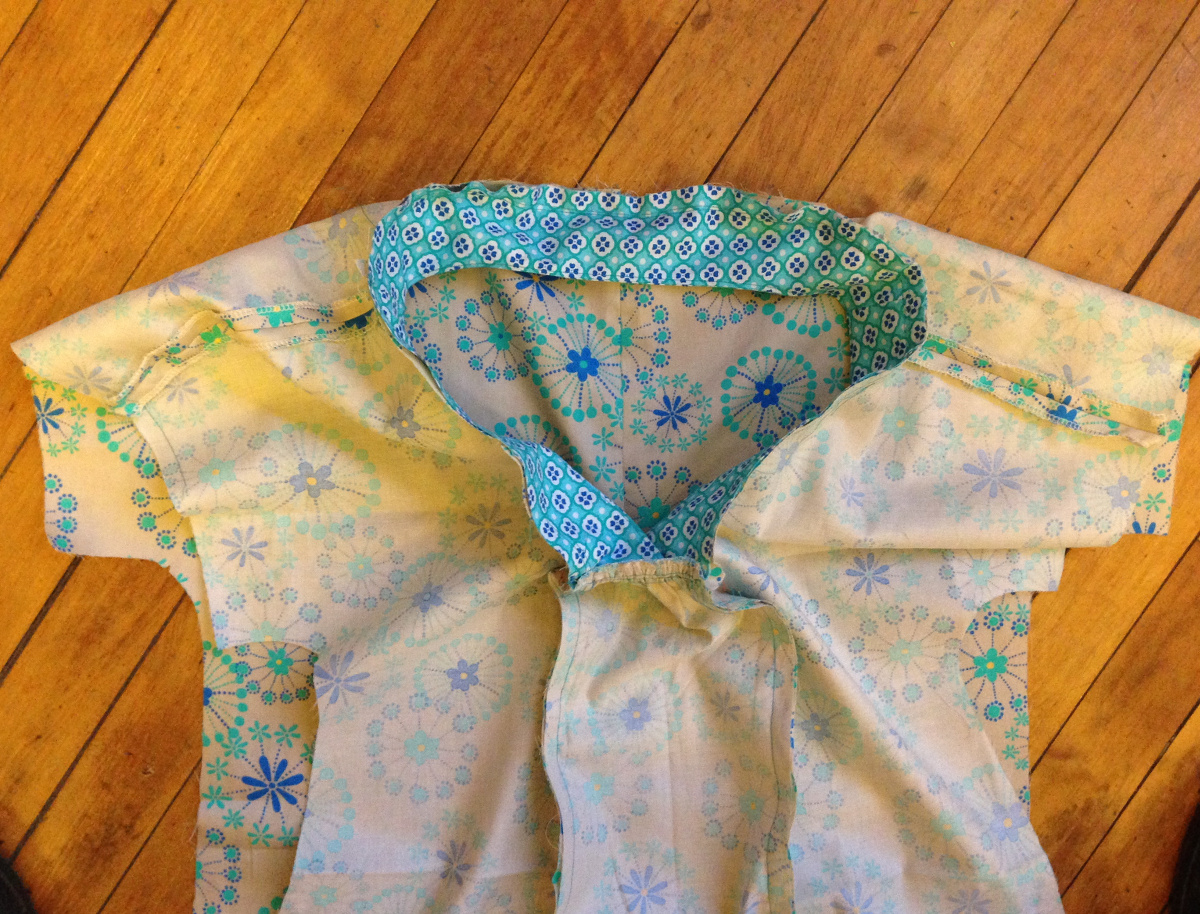
3. Finish the stitched seam allowances along the neckline and front seams using your preferred method. Finish each center-front section below the neckline separately from the neckline itself, so the seam allowances can be pressed in different directions. Then press the front seam allowances toward the center front, and press the neckline seam allowances away from the neckline, so they all lie smoothly.
4. For View A only, turn the dress right-side out, and pin the pockets into place at the side seams, matching the notches and pocket placement dots. Press the pockets flat and baste the layers together along the side edges with a 3/8” seam.
We’ll see you tomorrow for day three where we will be finishing up the dress/tunic.
We have reached the third and final day of the Cappuccino Dress + Tunic sew-along. Today we will be finishing up the dress/tunic.
It’s getting very exciting because we’re so close to the end. Off we go!
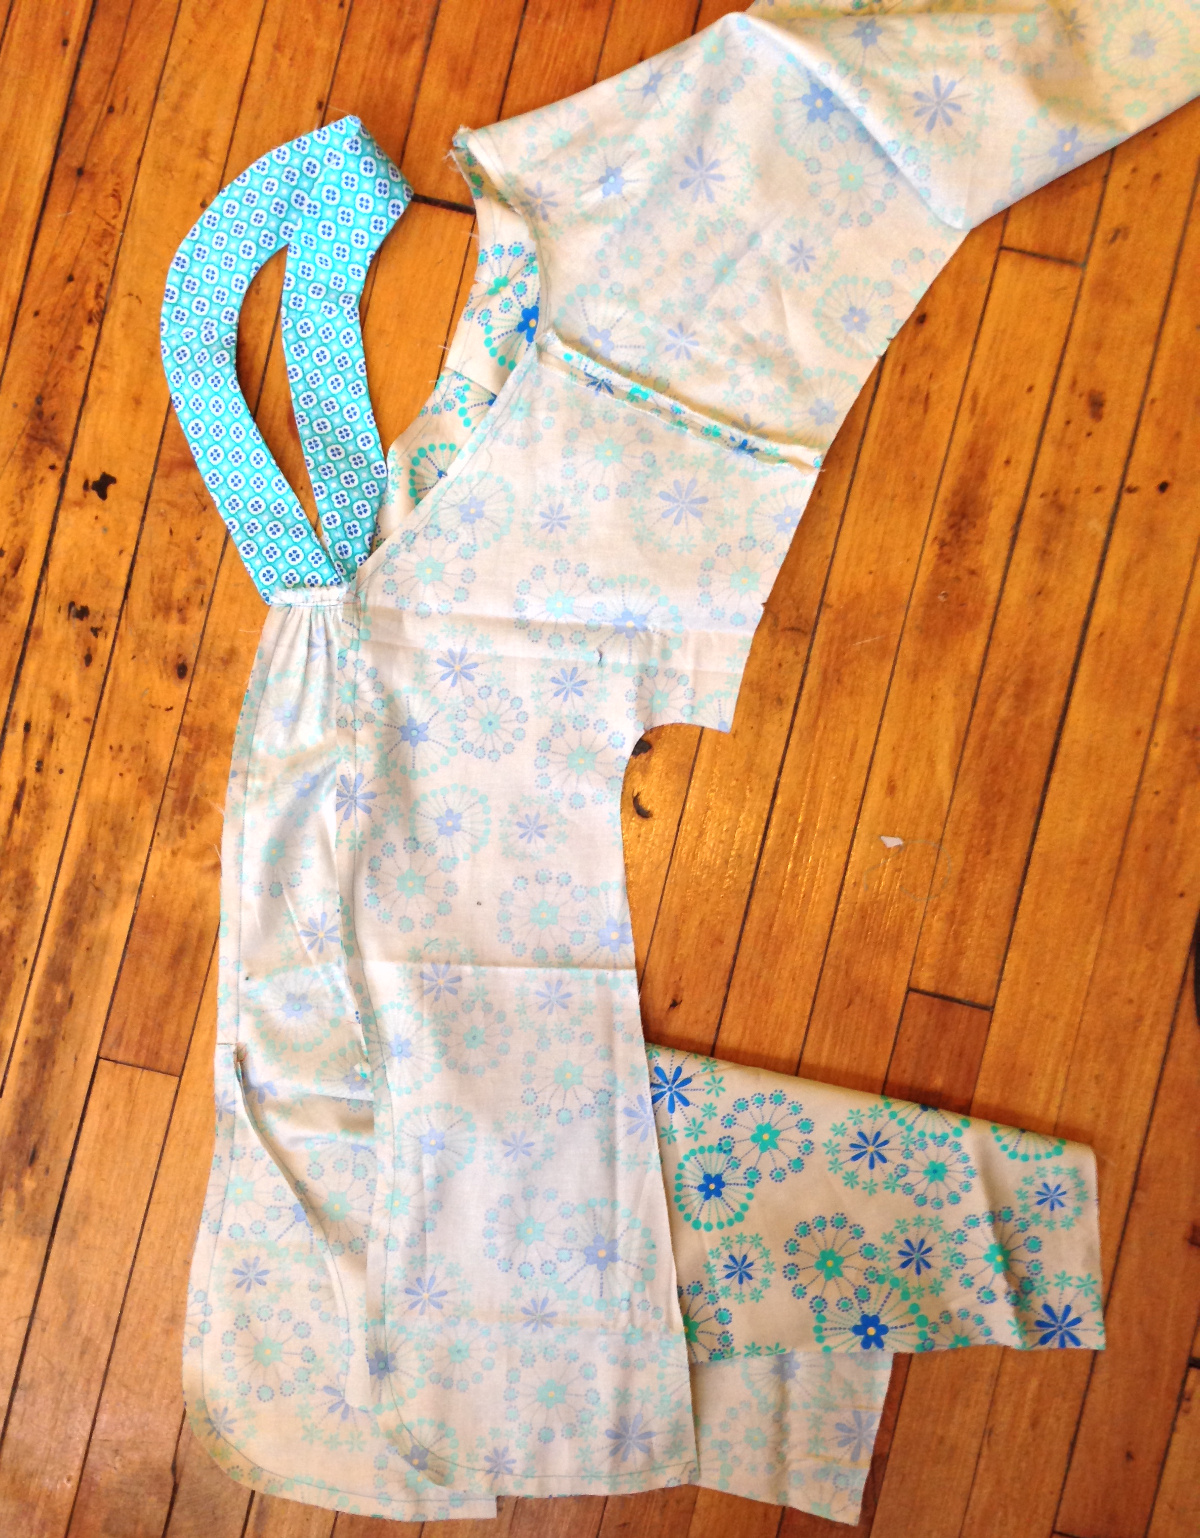
Prepare/attach the sleeve
1. For View B, sew a line of basting stitches 5/8” from the sleeve’s bottom edge, which will serve as a folding line for the sleeve hem. To prepare the sleeve for hemming, fold and press the fabric’s bottom raw edge to the basting line on the wrong side. Then fold and press again along the basting line to enclose the raw edge and create a narrow hem. Unfold the hem, keeping the creases in place for finishing the sleeve hem later.
2. For View A, pin the sleeves to the dress, with right sides together, matching the notches and edges. Stitch the sleeves with a 1/2” seam, lockstitching or backstitching at both ends. Finish the seam using your preferred method and press the seam allowances toward the sleeve.
Sew the side seams
1. Pin the dress/tunic front and back together at the side seams and underarm seams, with right sides facing and aligning the raw edges, notches, and hem edges. Unfold the sleeve hem (View B) and join each side seam and sleeve with one continuous 1/2” seam.
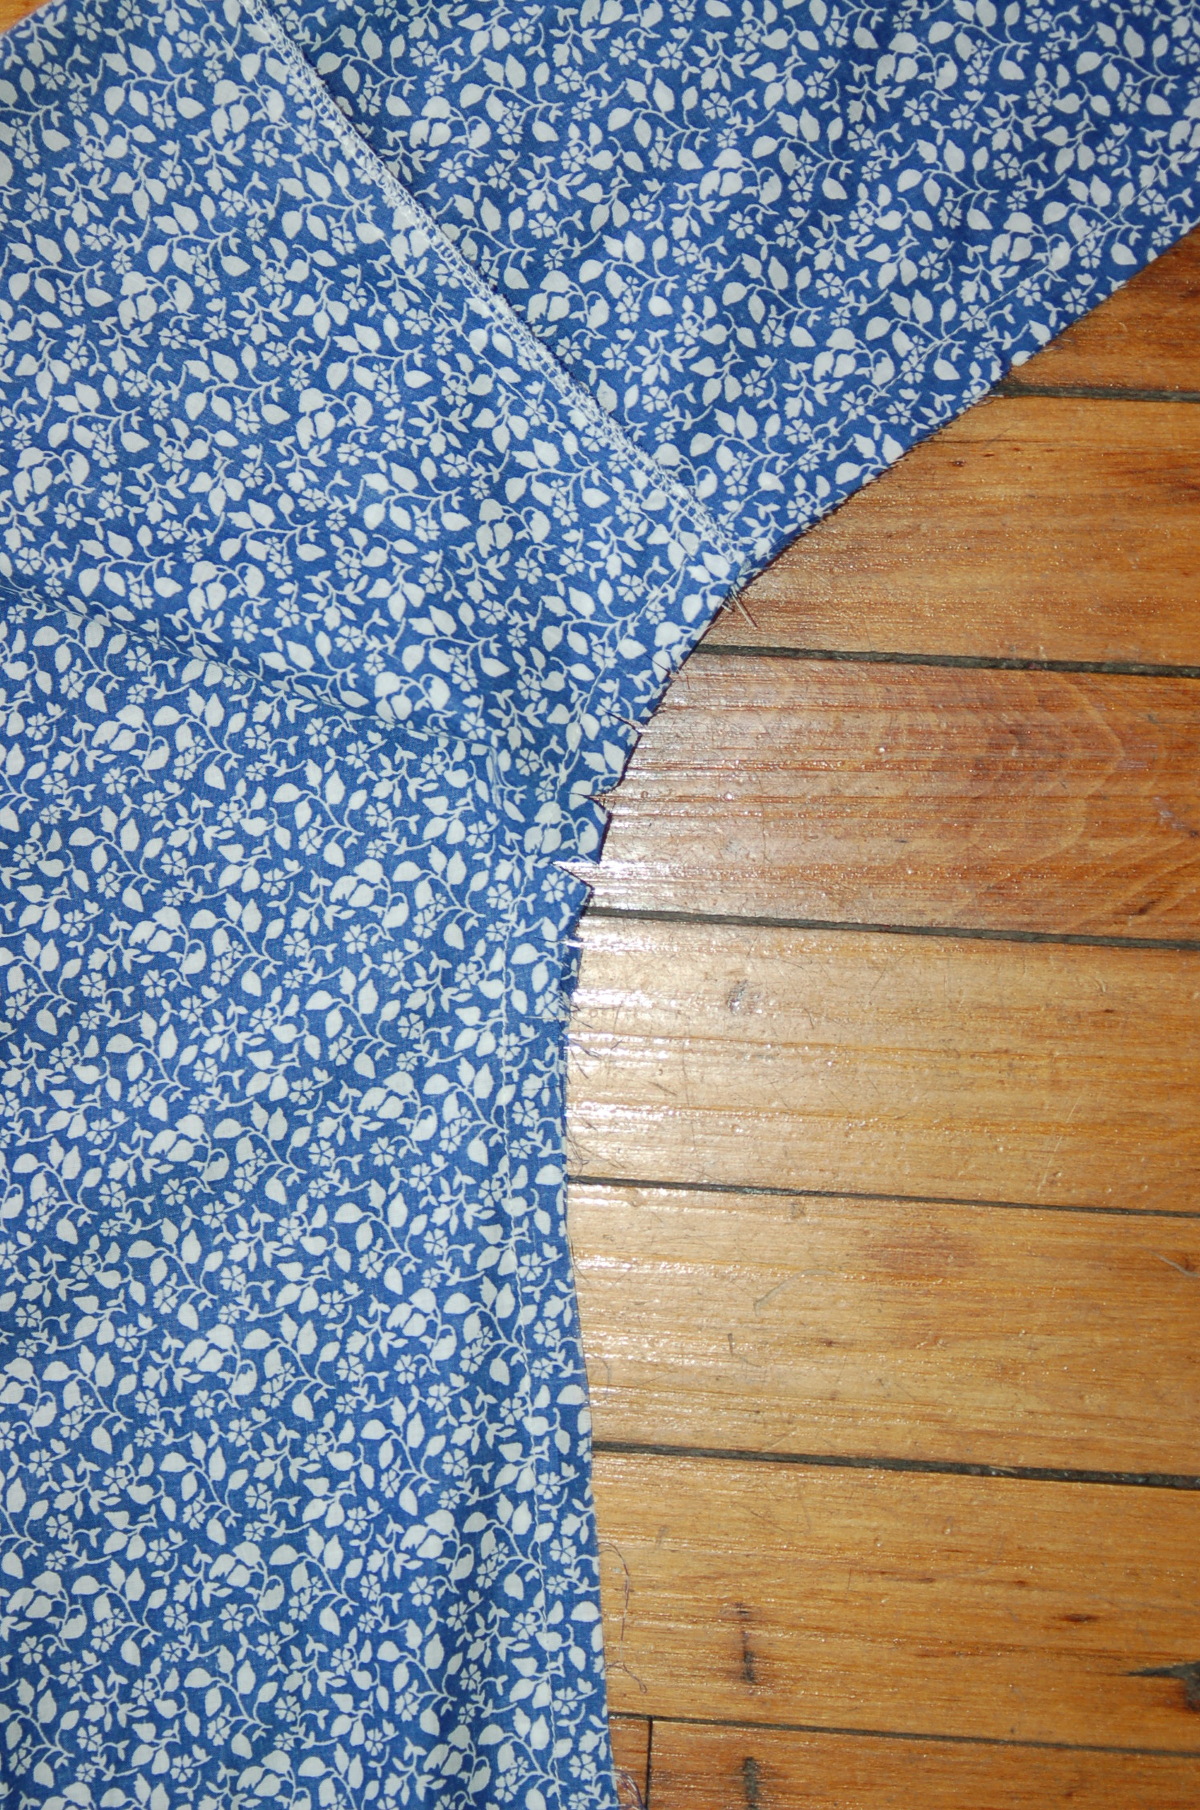
2. Clip the seam allowances only at the underarm curve on each side, taking care not to clip through the stitches.
3. Press the seam allowances open or toward the back and finish them using your preferred method.
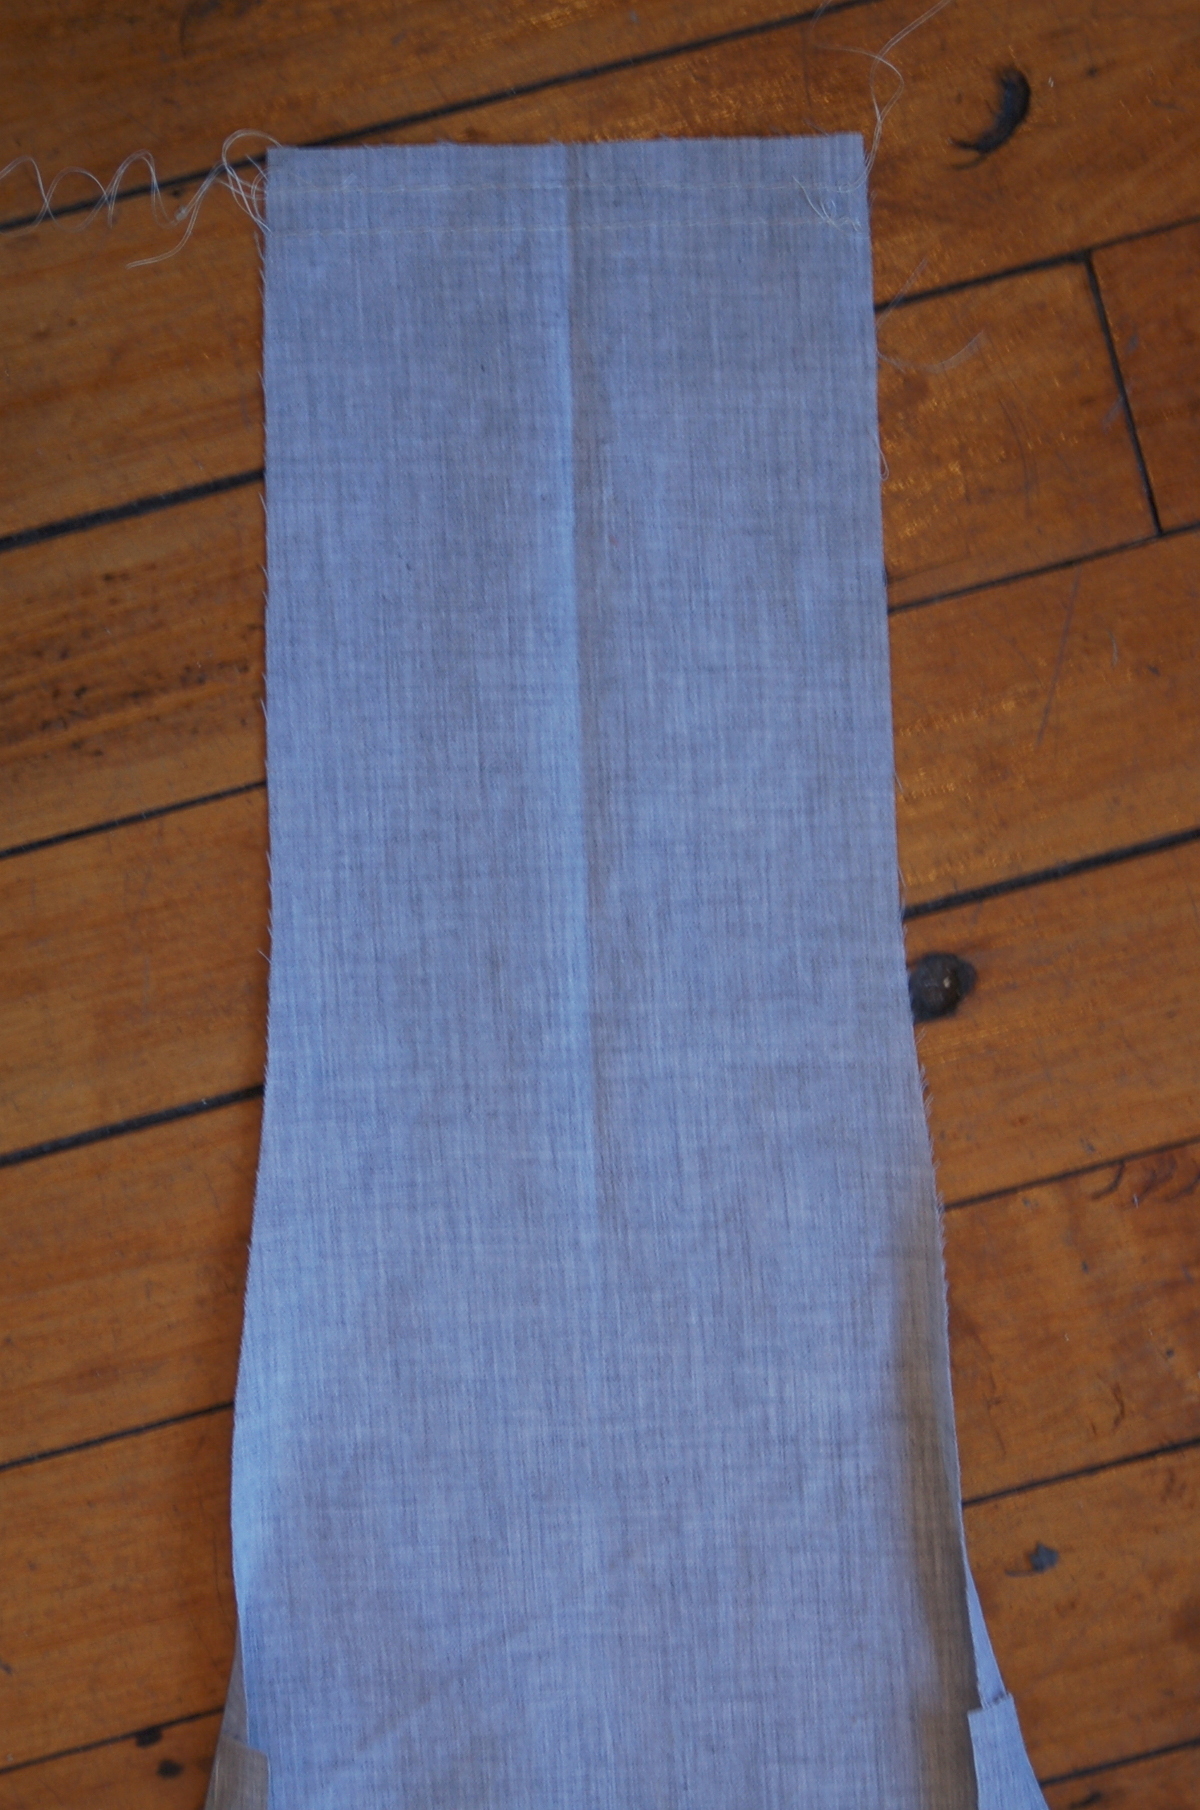
Attach the sleeve band (View A)
1. Fold each sleeve band in half lengthwise, with right sides together, and press a crease into the center. Sew a line of basting stitches 3/8” from the sleeve band’s bottom, un-notched edge. Fold and press the fabric to the wrong side along the basting line.
2. Unfold each sleeve band’s edge and pin the short ends of the sleeve band, with right sides together and matching the short edges and notches. Stitch the short edges together with a 1/2” seam, backstitching or lockstitching at both ends. Press the seam allowances open.
3. Pin the sleeve band’s long notched edges to the sleeve’s raw edge, with right sides together, matching the seams and notches. Stitch the band in place with a 1/2” seam, backstitching or lockstitching at each end of the seam. Trim the seam allowance to 1/4” and press the sleeve band and remaining seam allowances away from the sleeve. Repeat to attach the second sleeve band and sleeve.
4. Fold the band along the center crease and pin the folded edge to cover the stitching line from Step 3, pinning from the right side of the sleeve. Edgestitch the seam to finish the sleeve band, catching the folded edge in the seam.
Finish the dress/tunic
To hem the dress/tunic, sew a line of basting stitches 5/8” from the garment’s bottom raw edge, which will become the fold line for its hem. Fold and press the fabric’s bottom raw edge to the basting line on the wrong side. Then fold and press again along the basting line to enclose the raw edge and edge stitch the innermost fold to create a narrow hem.

You are done! Thank you for joining us during the sew-along. We do hope you will add photos of your completed Cappuccino dresses and tunics to the Liesl + Co Flickr group, we would love to see what you’ve created.
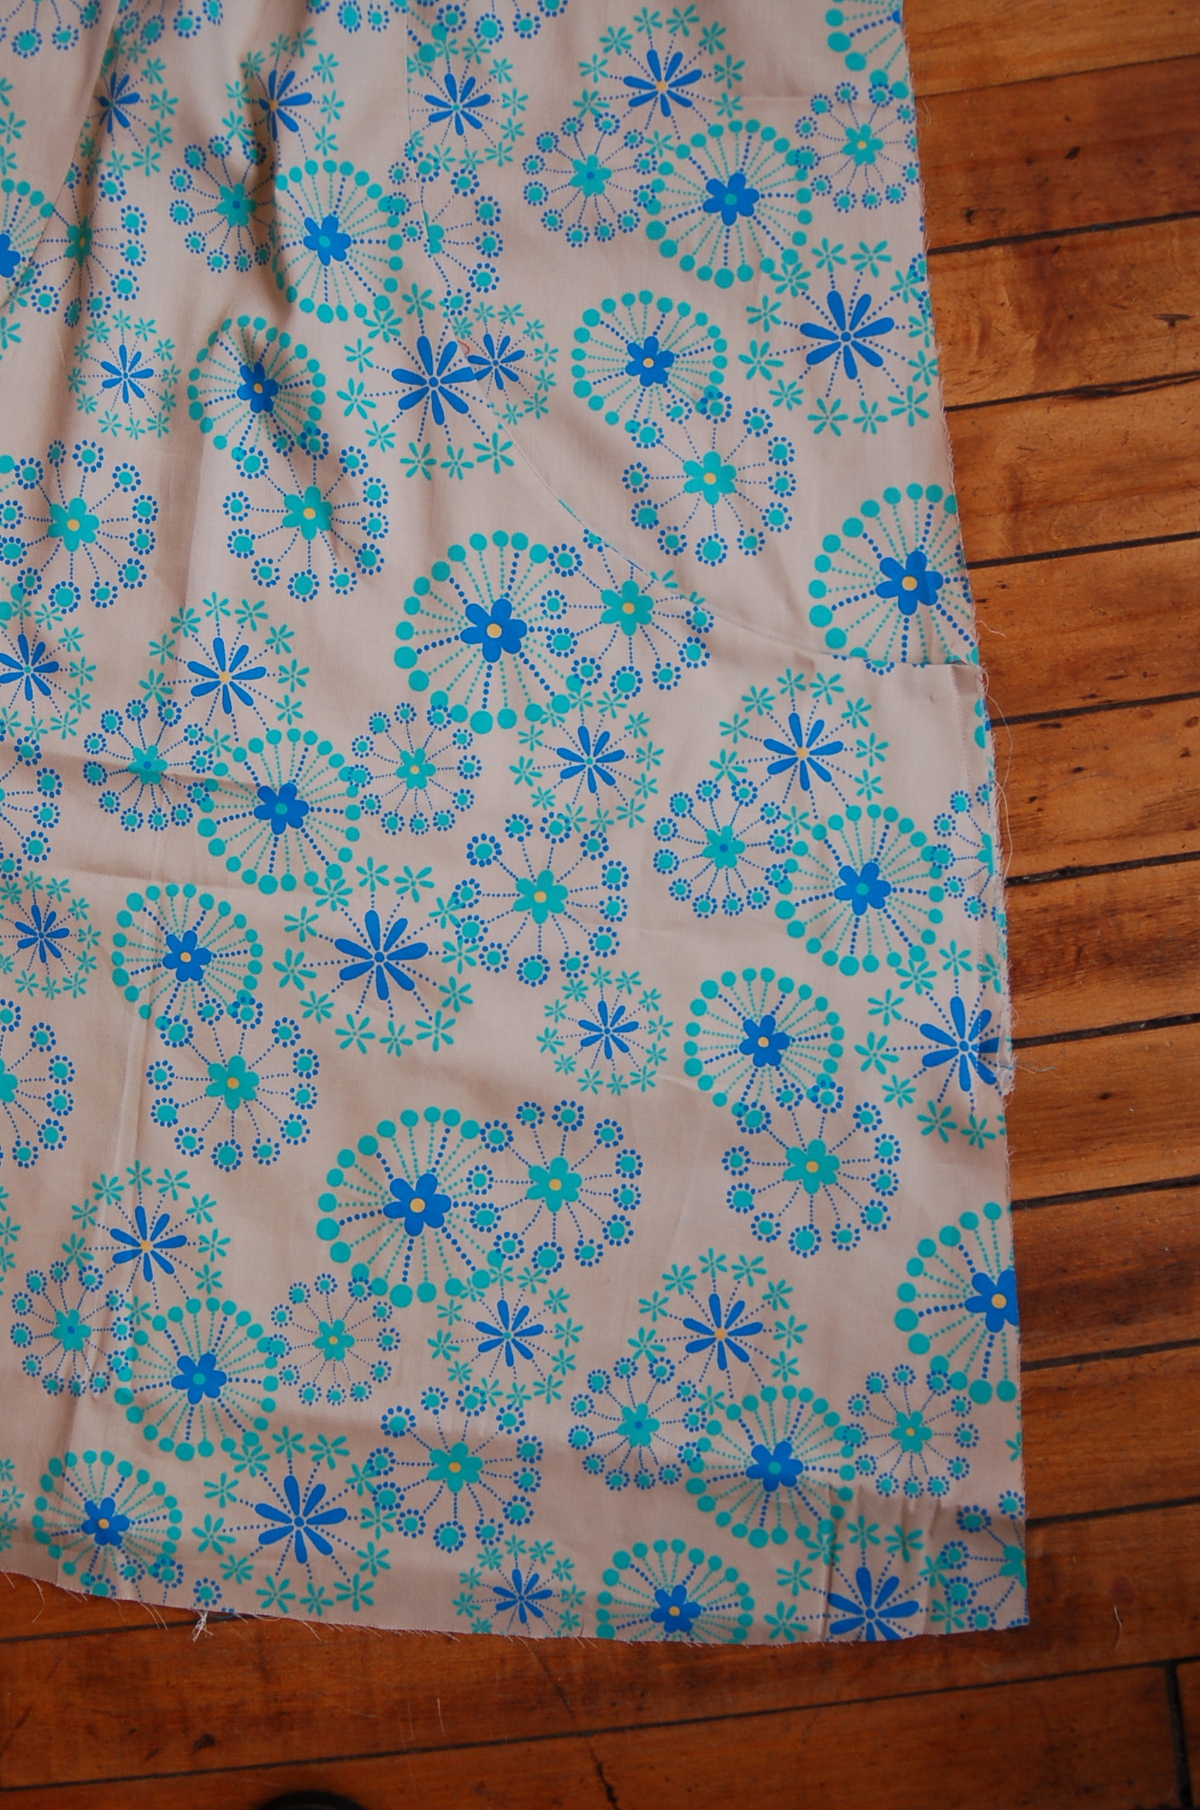
So, Day 1 and I’m already behind. Oops! But, I did spend Sat night assembling and adjusting my pattern and I spent last night cutting out. I spent a lot of time debating whether I should recut half the back in order to pattern match across the back seam and then decided to sleep on it.
I’m excited about this dress. Made even more excited by hubby coming home and, finding it laid out on the floor, commenting “is this for your dress? That’s a great pattern – probably the nicest you’ve had for Lyn clothes.” So that was a plus. On the downside, he then totally dissed my choice of contrast fabric. I think I’m going to overrule him as, if it looks awful, I do have enough fabric to remake the dress in his suggestion.
Gosh, that’s a long way to say I haven’t done any of the steps in the post yet! Am hoping to tackle that tonight. I reckon I will still have a complete dress by the end of the week (even accounting for being out tomorrow night) and as I normally take months, that is still pretty awesome in my book.
Please good morning.
Where can I get this pattern
Keep safe
Viola
It is available as a digital pattern here: https://oliverands.com/shop/digital-cappuccino-dress-tunic-sewing-pattern.html