Our friend, Brittney, is back today. Yesterday she stopped by to kick off the size 5 project with a round-up of Puppet Show Shorts. Now she is here to host a Puppet Show Shorts sew-along which she was kind enough to take the time to do. We need to sew these adorable shorts as much as possible before the children we sew for outgrow them! Great to have you here, Brittney!
We all know how great Liesl’s instructions are. They are what taught me to sew, so we will be following them to the letter. Sometimes it helps to have photographs, though, and sew-alongs are always fun. I have thrown a few tips in that I have picked up, so let’s get started.
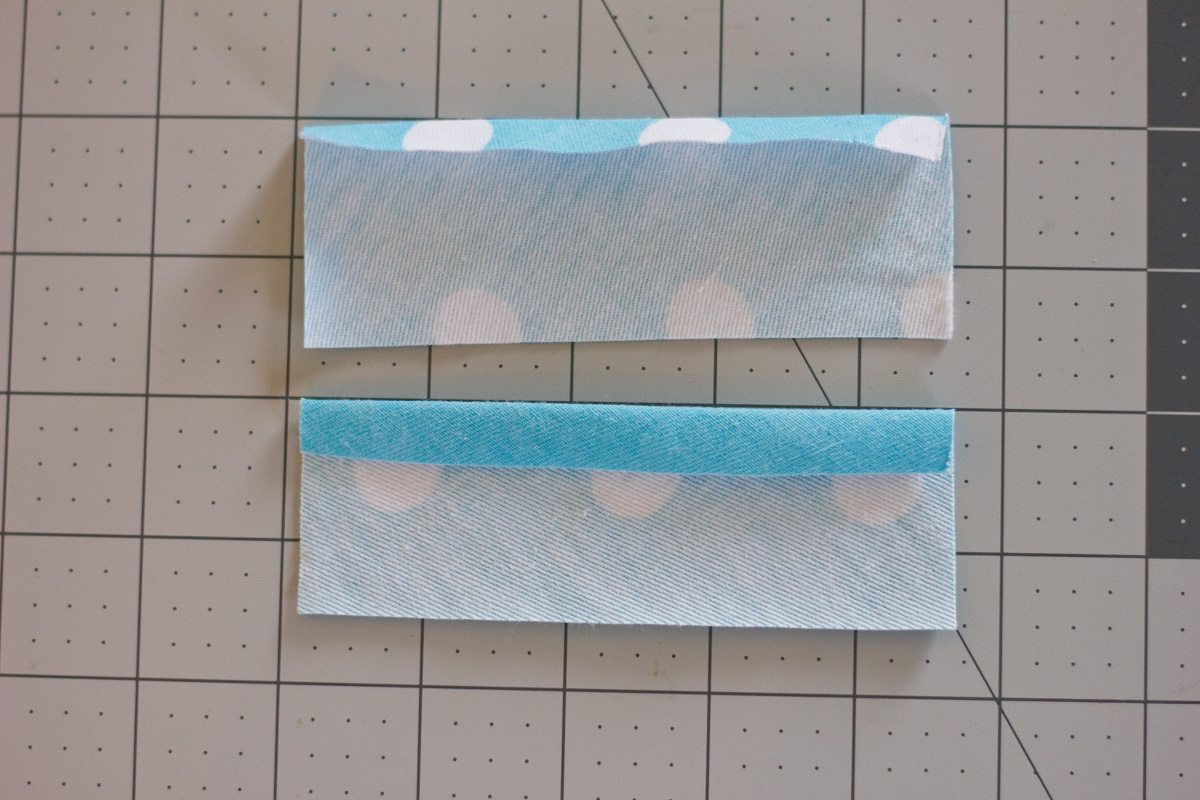
Assemble the pockets
1. Fold and press one long edge of the bias pocket binding 3/8″ to the wrong side.
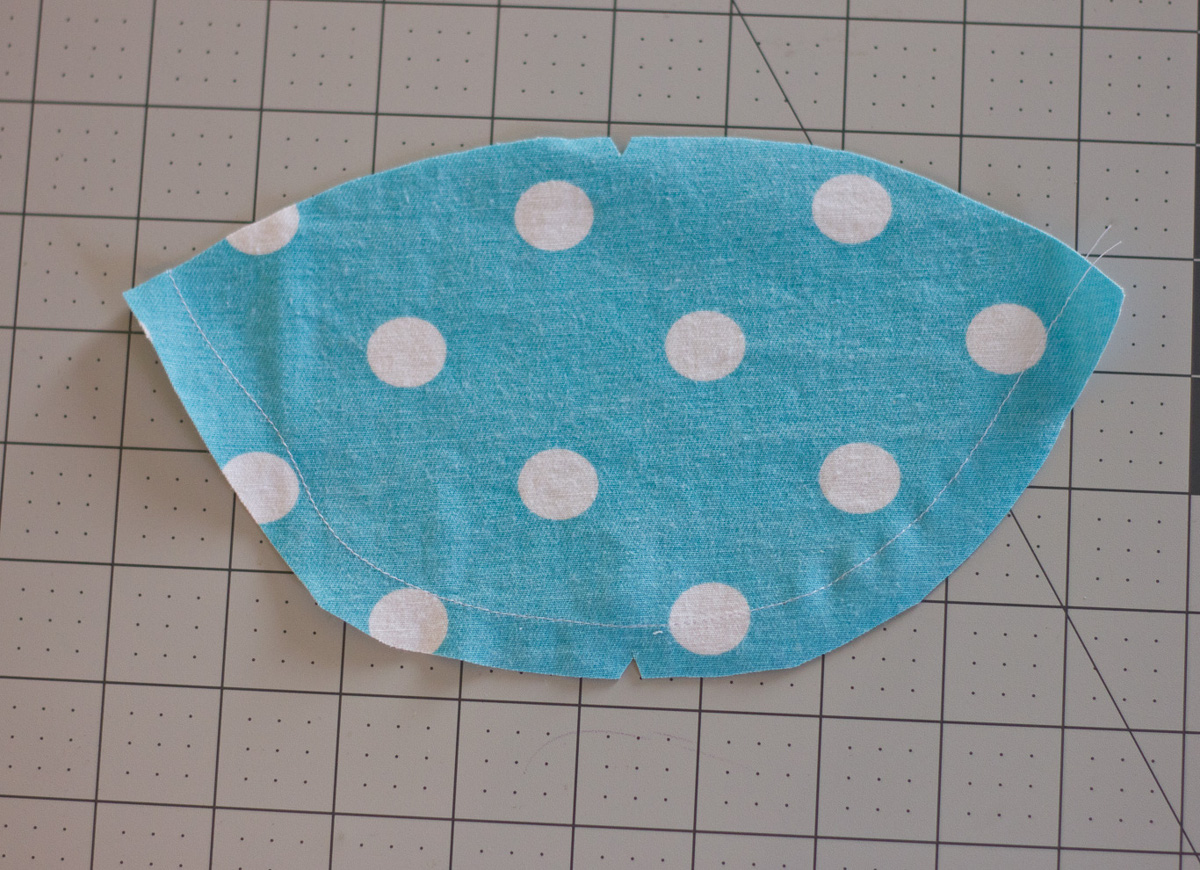
2. Baste the outside curve of the pocket 1/2″ from the raw edge. This stitching will act as a folding guide and will help maintain a smooth curve at the edge of the pocket.
3. Loosen the machine’s top tension and stitch two rows of gathering stitches at the top edge of the pockets between the two stars, one at 3/8″ from the cut edge and the other 5/8″ from the edge.
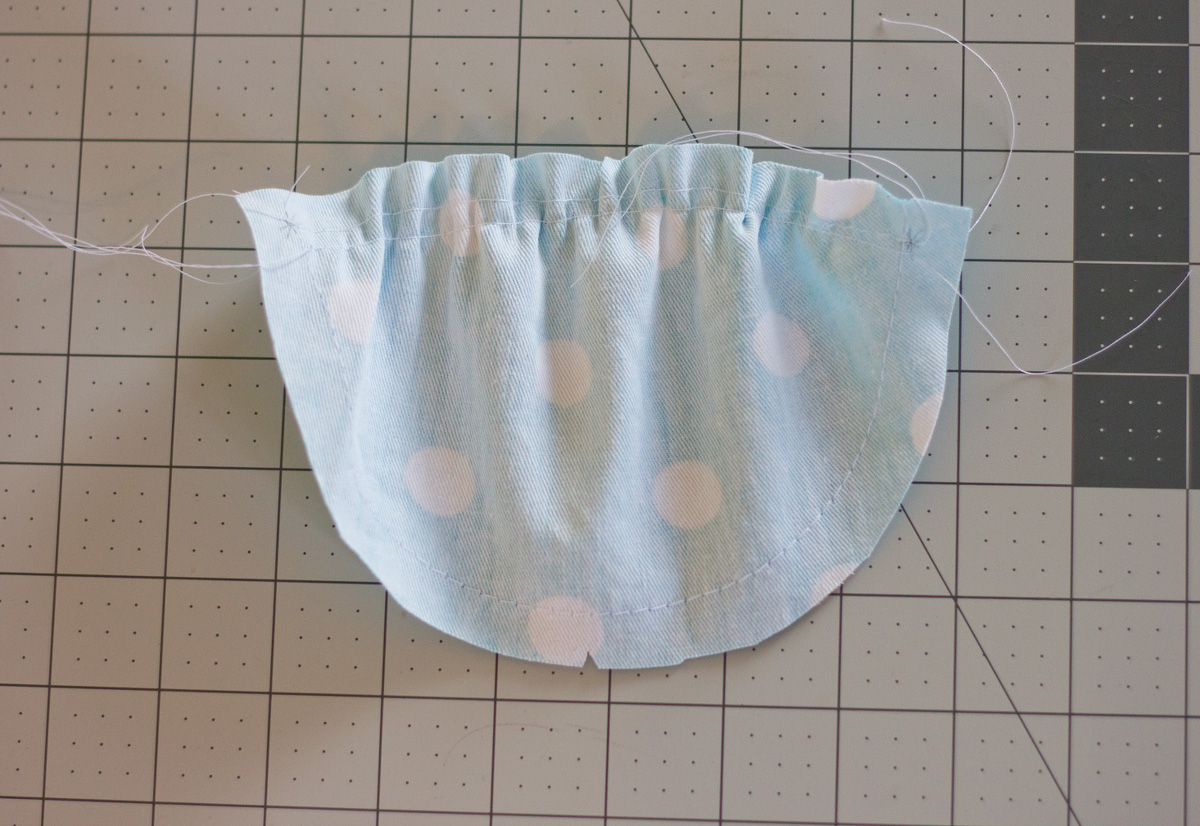
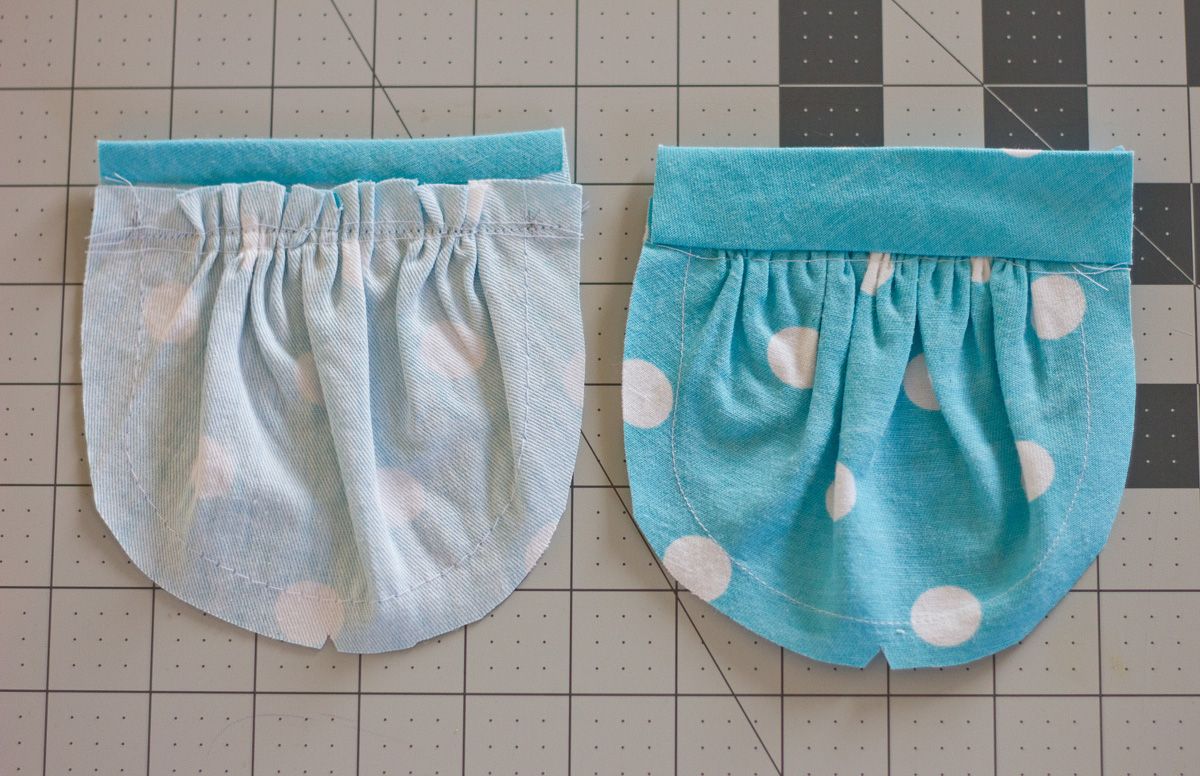
4. Pull up the bobbin threads on the gathering stitches to gather and cinch the top edge of the pocket to match the length of the pocket binding. Pin the pocket binding to the top edge of the pocket, right sides together. Adjust and pin the gathering evenly across the pocket, and stitch the binding to the top edge of the pocket with a 1/2″ seam.
5. Press the binding and seam allowances away from the pocket.
6. Fold and press the pocket’s curved outside edge along the basting stitches, taking care to maintain a smooth curve.

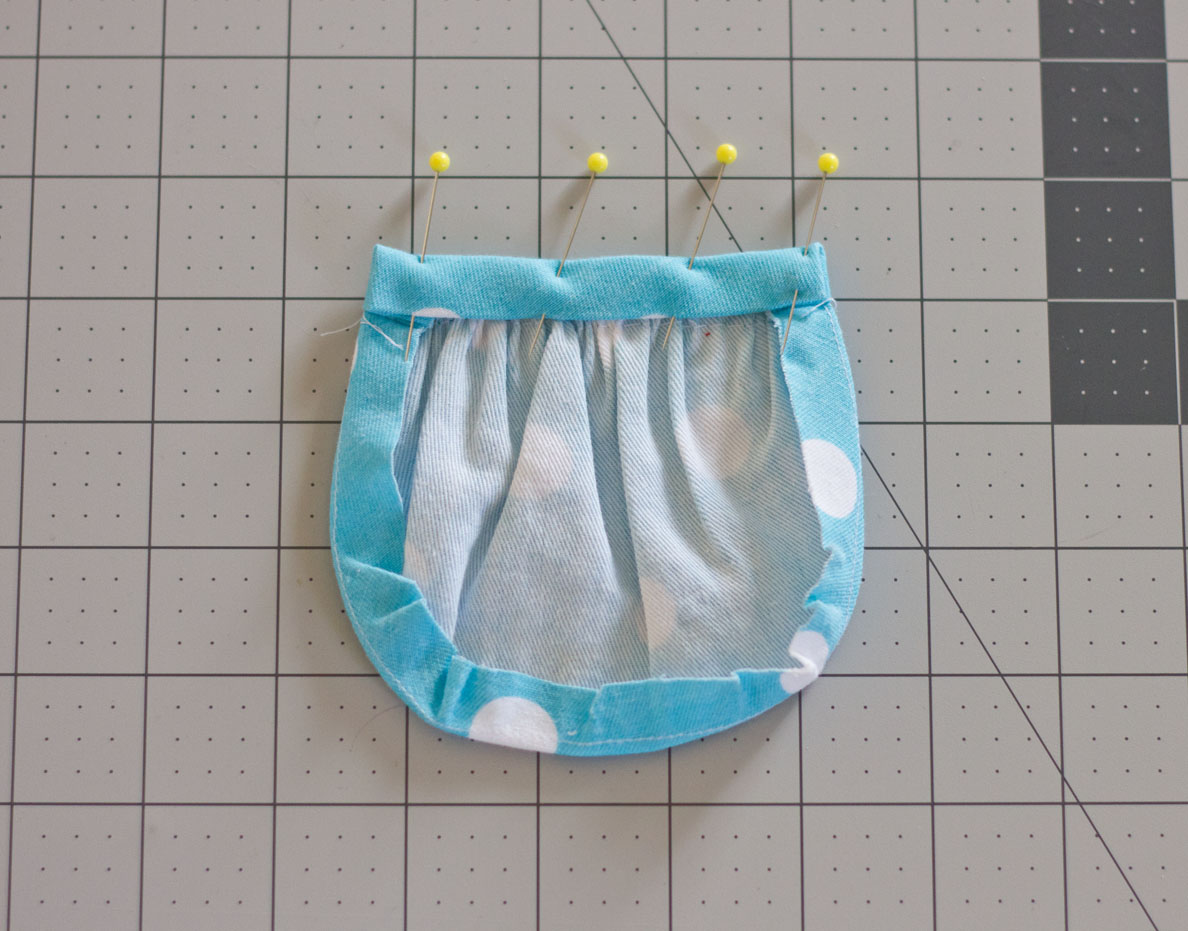
7. Fold and pin the pocket binding over the pocket’s raw edges so it covers the stitching on the wrong side.
8. From the pocket’s right side, edge stitch the binding just above the binding seam, making sure to catch the binding’s folded edge (on the wrong side of the pocket) in the stitching.
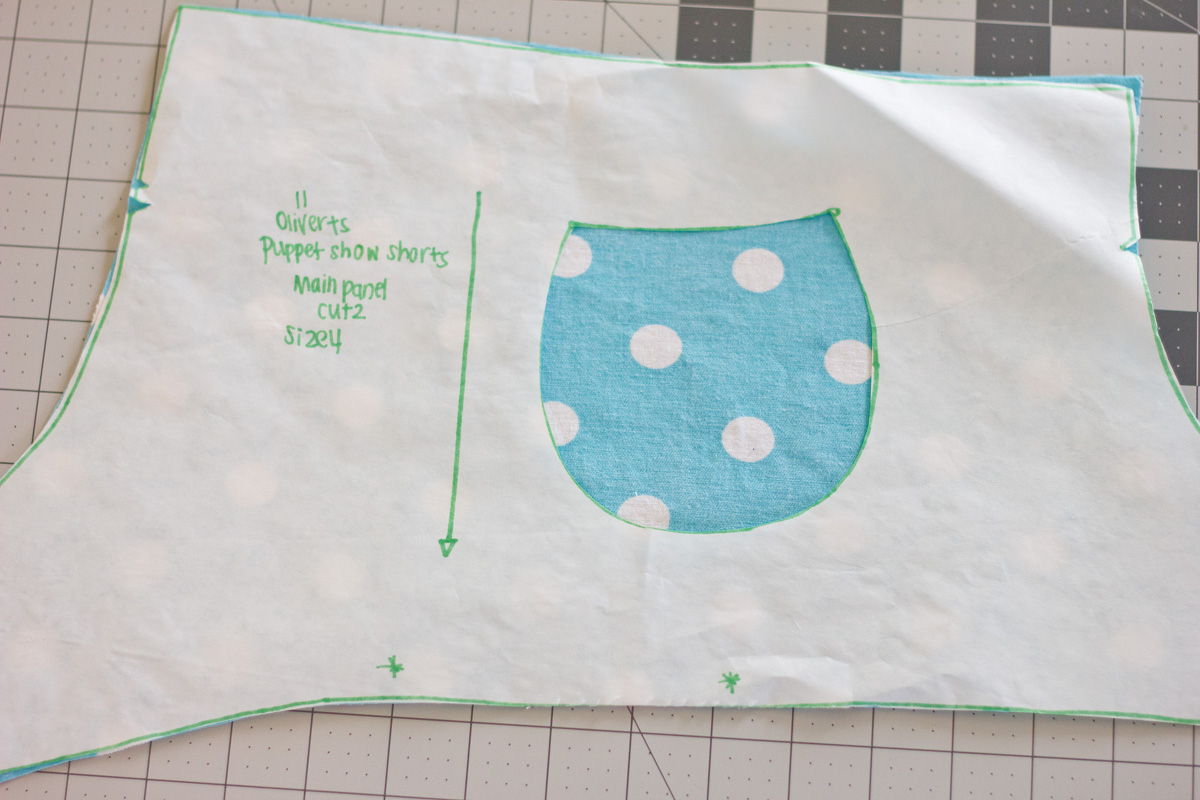
I don’t remember where I picked this trick up, but it has been a life saver when it comes to my sanity and keeping my pockets lined up and where they belong. I just cut out the pocket placement from my pattern piece and place it over my fabric, place my pocket inside the hole and pin. It has saved me so much time.
9. Pin and edgestitch the pocket to the short’s main panel. Stitch a small triangle at the top corners of the pockets to help reduce stress on the shorts fabric.
Sew the shorts
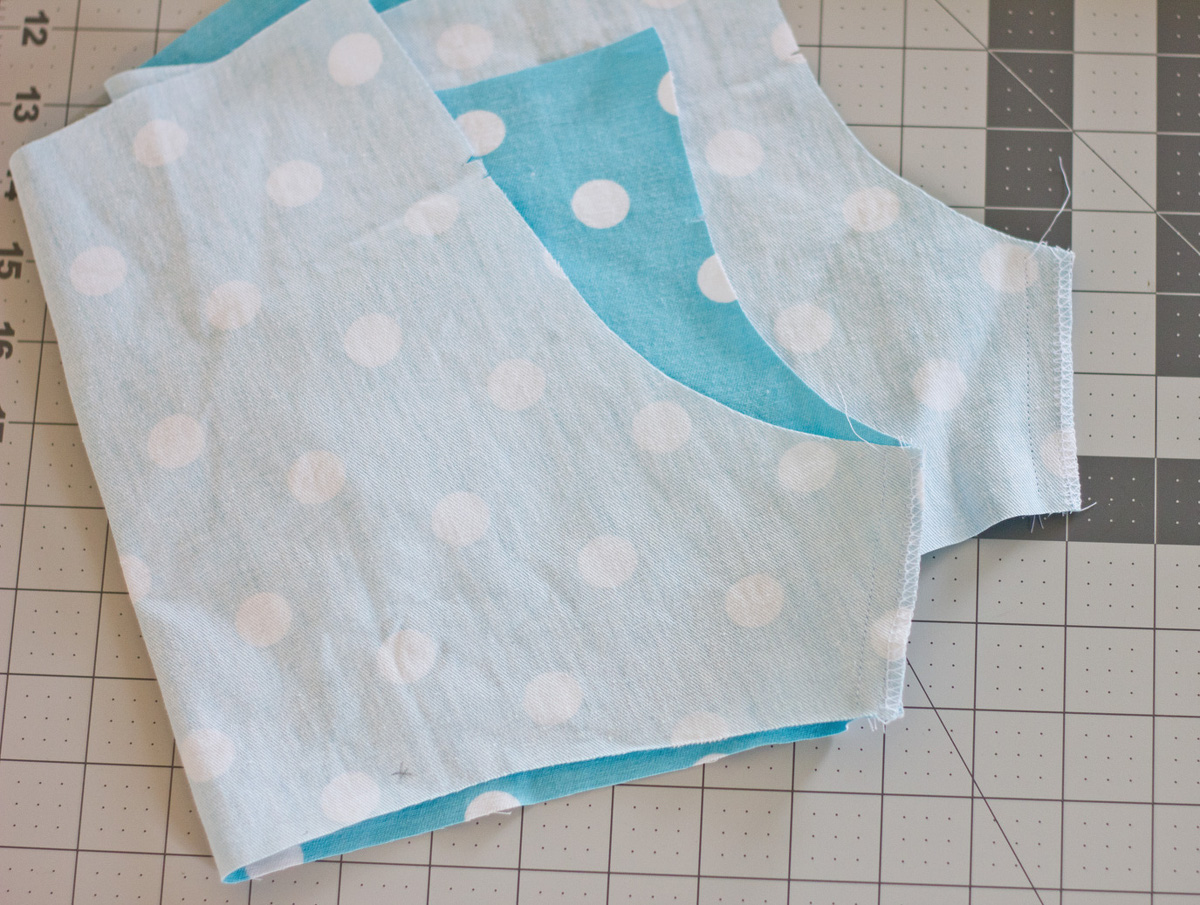
I find it helpful to finish the inseam’s seam allowances at this point.
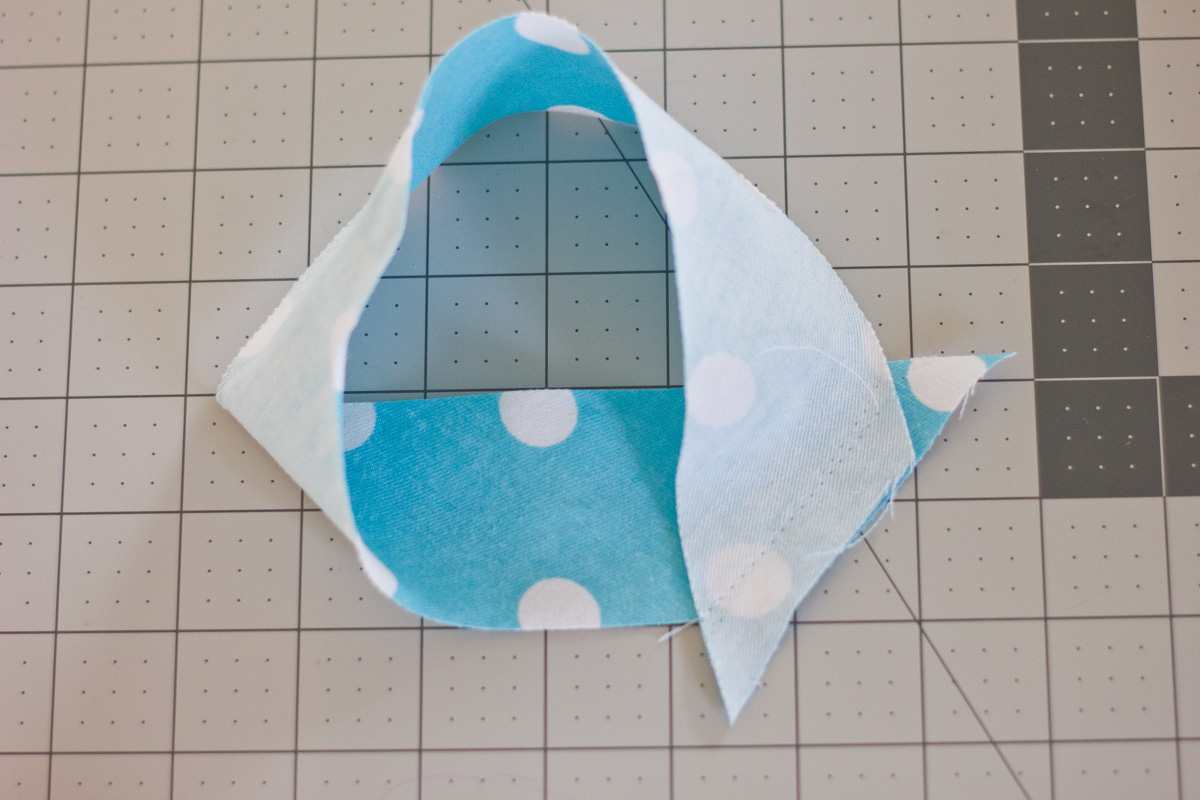
1. Fold one main panel, right sides together, and sew the inseam as shown. Repeat with the opposite main panel.
2. Turn one main panel right side out and slip it inside the other main panel which is still right side out. Match and pin the inseam and raw edges, then stitch the rise with a 1/2″ seam.
Stitch the rise a second time between the two sets of notches, just inside the first row of stitching, in the seam allowance to help reinforce the seam. Press the seam allowance and finish them using your preferred method.
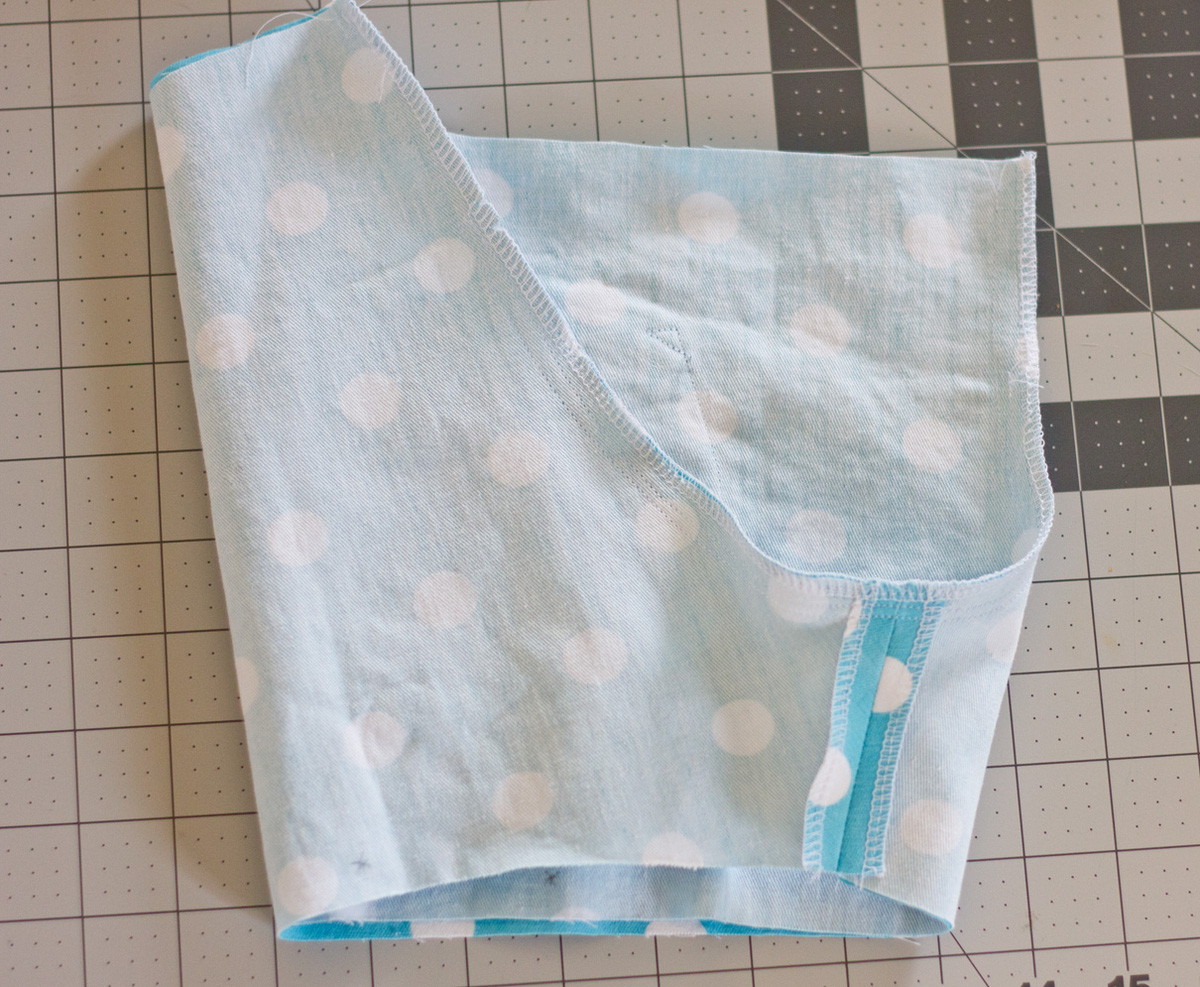
Sew the waistband casing
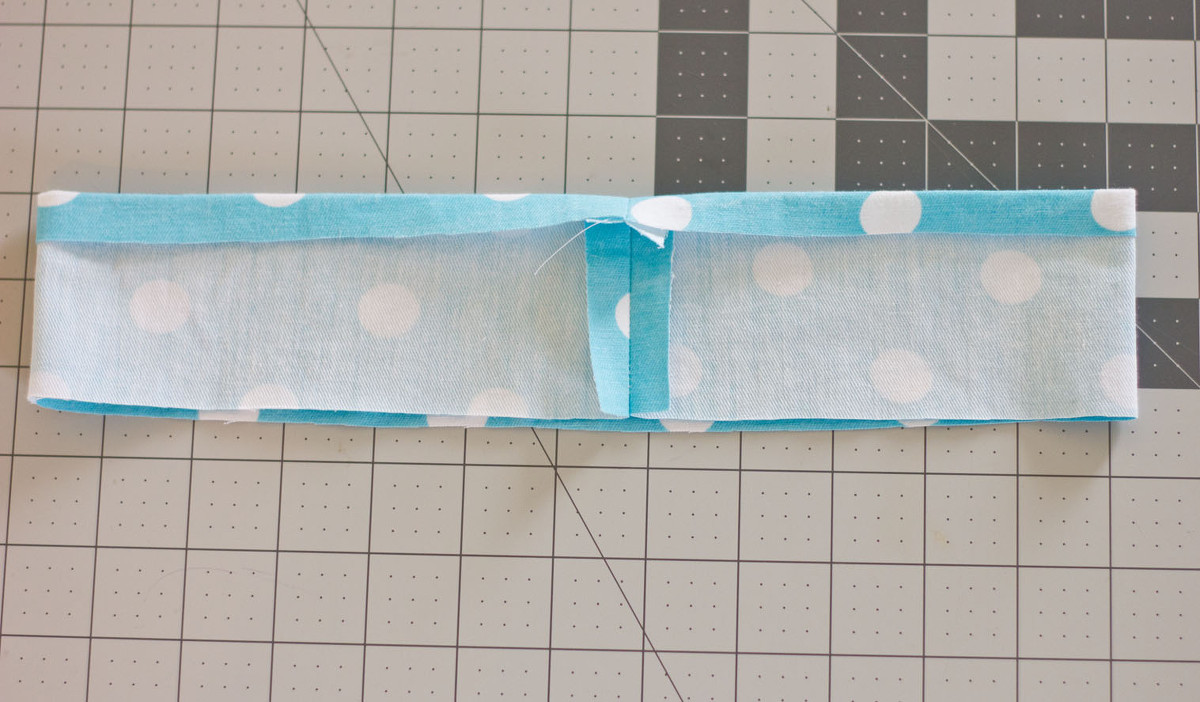
1. Sew the two short ends of the waistband together to form a loop, with right sides together. Press seam allowances open. Fold and press one long edge of the waistband 1/2″ to the wrong side.
Sometimes I like to change this step up a bit by pressing my waistband 1/2″ to the wrong side before stitching the short ends together, then press it again after it is sewn.
2. Pin and sew the unfolded edge of the waistband to the top of the shorts, with right sides together, using a 1/2″ seam.
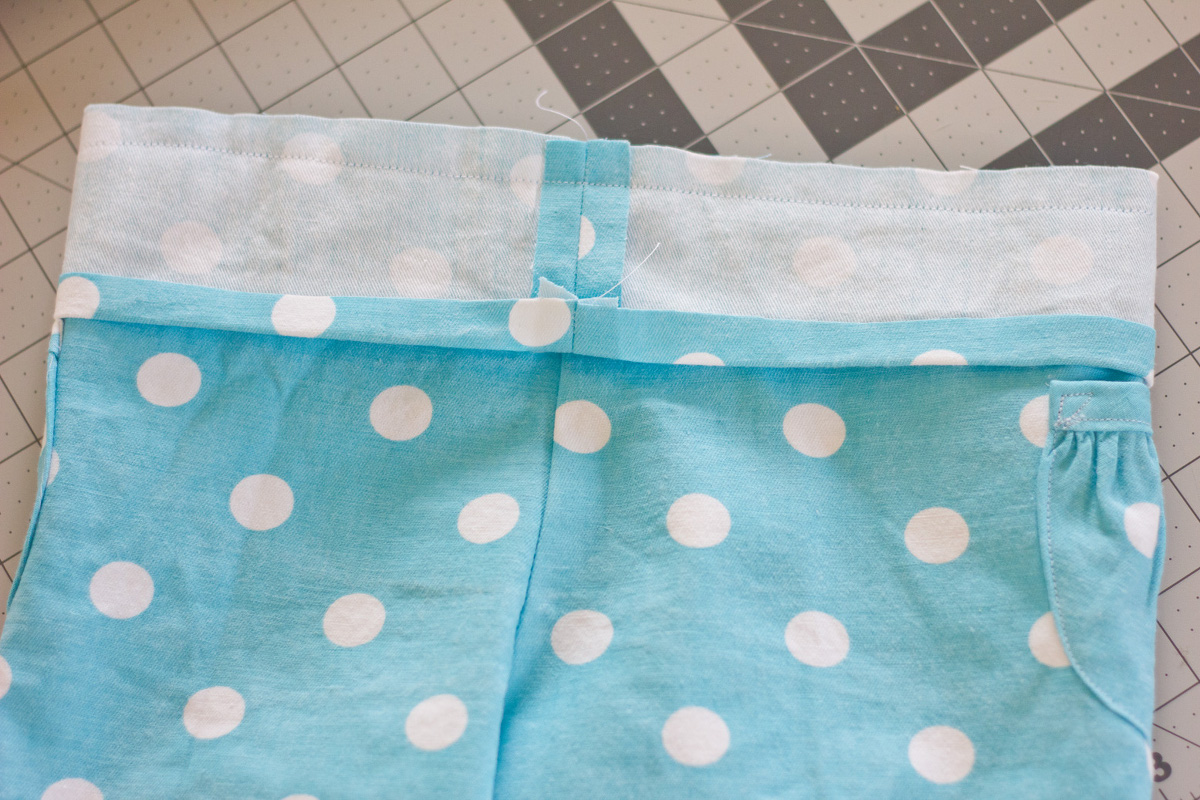
Press the seam allowances towards the waistband, and trim the seam allowances to 1/4″ to reduce bulk.
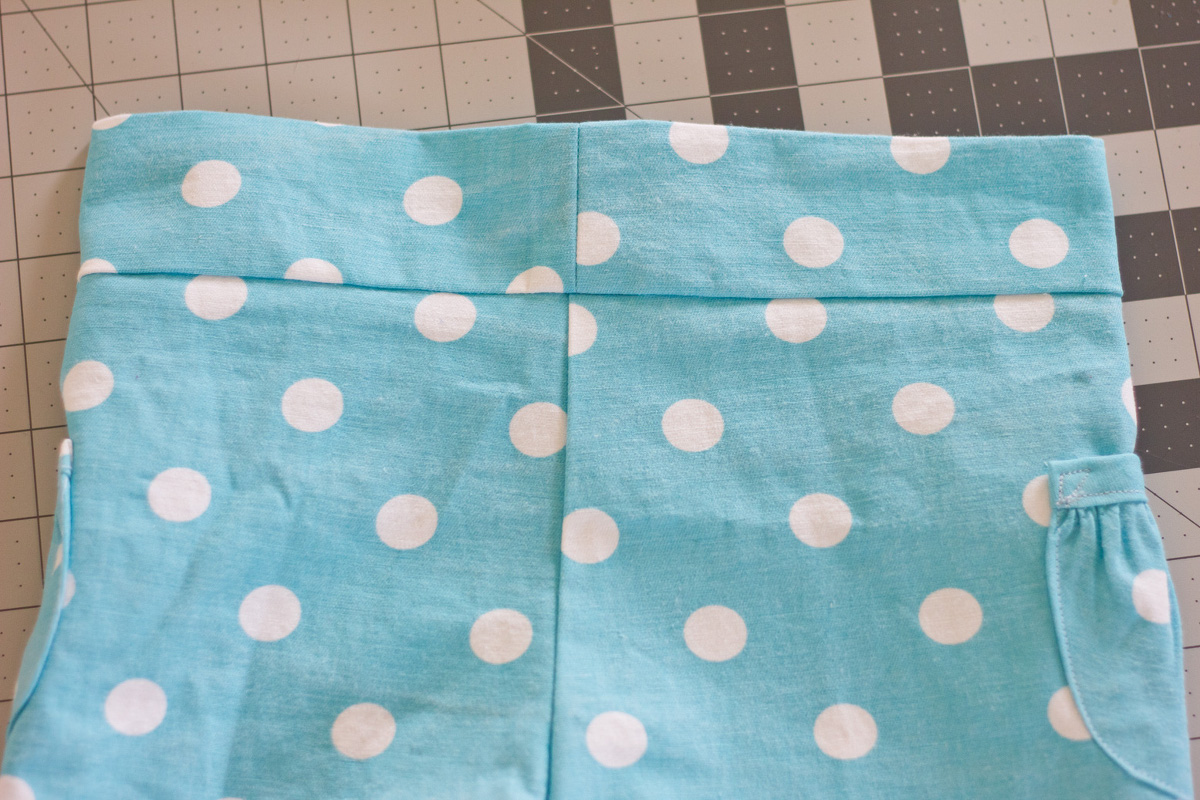
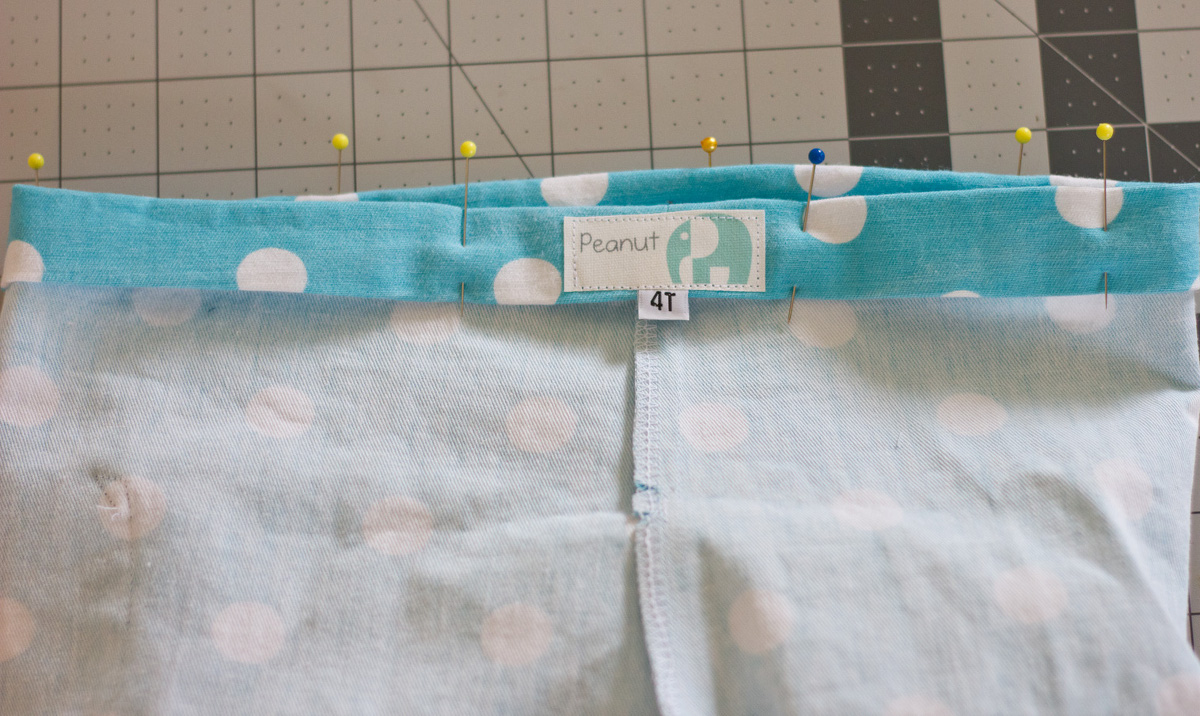
3. Fold and pin the top of the waistband inside the shorts so that the folded edge slightly overlaps the waistband seam. From the right side of the shorts, edgestitch the waistband just above the waistband seam, leaving a 2″ opening near the back or a side seam.
I like to add a label and a size tag during this step. If you don’t have either of those, you can add a little piece of folded over ribbon the the back center to help easily tell the front from the back. I find it especially helpful for kids who dress themselves and dads.
4. Edgestitch the folded top edge of the waistband to help prevent the elastic from twisting inside the casing. Then, using a bodkin or a safety pin, feed the elastic through the channel via the opening. Adjust to fit the child’s waist and sew the two ends together, being careful not to twist the elastic.

5. Edgestitch the opening in the waistband closed.
Attach the binding at the leg openings
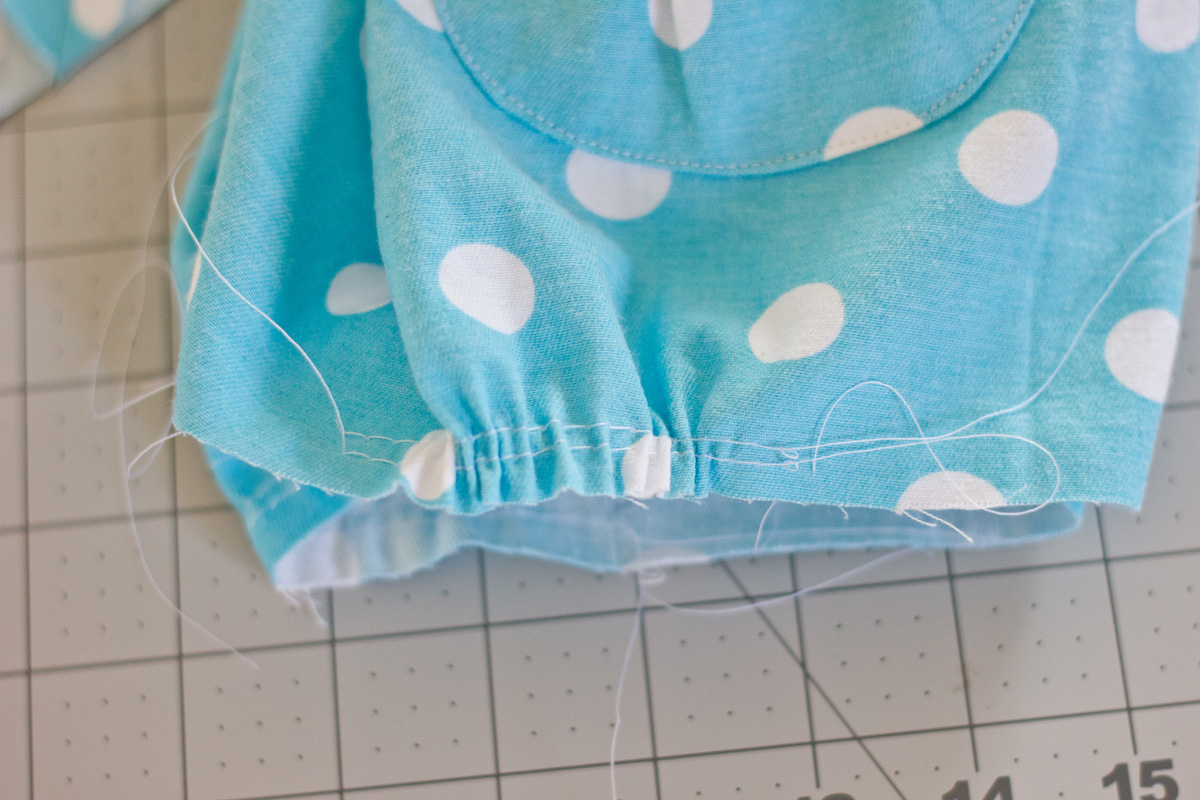
1. Loosen the machine’s top tension and stitch two rows of gathering stitches between the stars at the leg openings, one row 3/8″ from the edge and the other 5/8″ from the edge.
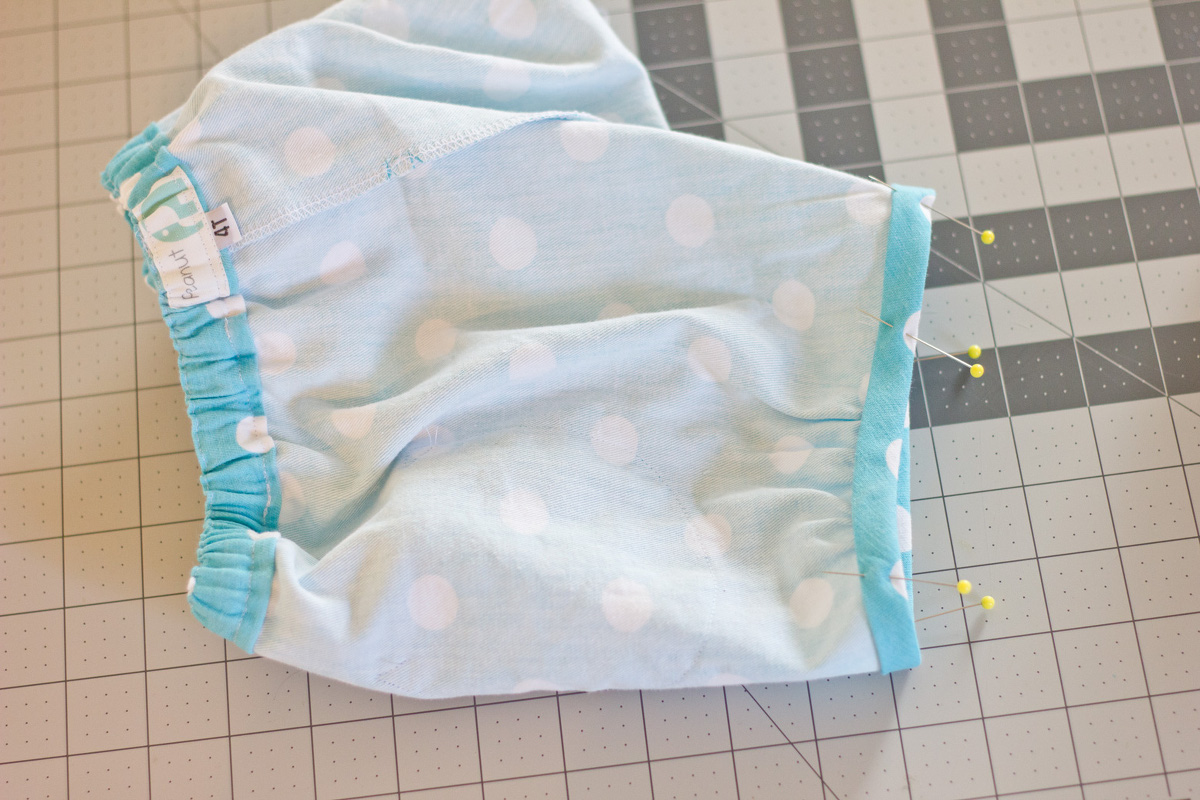
2. Stitch the two ends of the leg binding together, right sides facing, with a 1/2″ seam at the angled edge. Press the seam allowances open, then press one edge of the binding 3/8″ to the wrong side.
3. Pin the unfolded raw edge of the binding to the leg opening, right sides together. Pull up on the gathering threads at the leg opening to cinch the short to the same length as the binding.
4. Adjust the gathering to be even, pin then stitch the binding to the leg opening with a 3/8″ seam.
5. Trim the seam allowances to 1/4″ to reduce bulk, and press the seam allowances away from the shorts.
6. Fold the binding to the wrong side of the the leg opening over the seam allowances, and pin the binding so it covers the stitching line.
7. From the right side of the shorts, edgestitch the binding 1/8″ from the binding seam, making sure to catch the folded edge of the binding in the stitching.
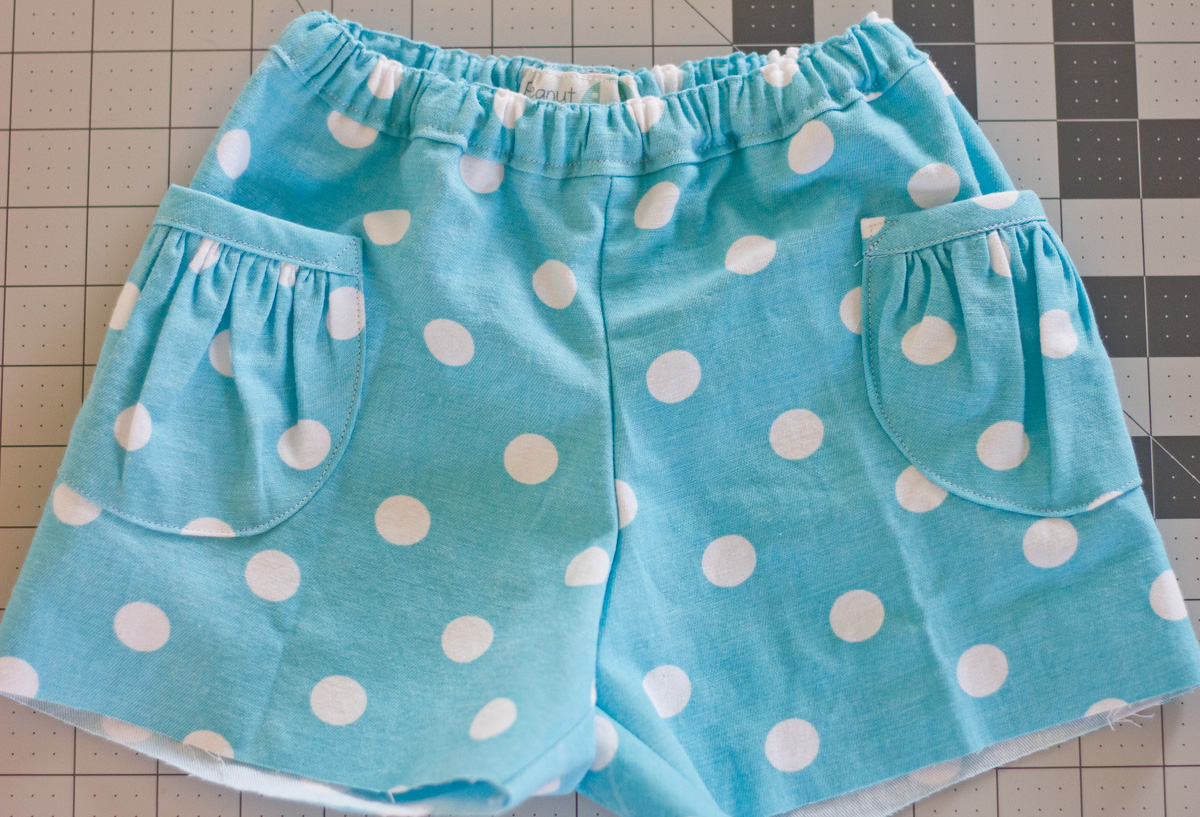
Make sure to remove any visible gathering stitches from the pockets and shorts legs.
Now put them on your model and enjoy! P.S. Good luck getting them off as they will surely become her favorite shorts in the closet.
Make sure to add your finished pictures to the flickr group so we can all ooh and aah over your adorable kiddos and fun sewing!
I remember when the Puppet Show was out of print, before the digital pattern became available. People salivated over this! It’s just such a classic set of lines and all the different versions look so good. I love this version in dots!
I love the pocket tip! I have a pair of these on my list of planned makes, this has made it very tempting for them to jump ahead on the list!
Great tip re the pocket B 🙂
I remember that too Sarvi – so many people so desperate for this pattern – but I could understand why, because these shorts are the best
I *know* this is the “size 5” project, but I do wish they’d size that first set of patterns up. My girls love these shorts. I made my bigger girl (born in 2008) has had a number of pairs (along with bubble dresses and tea party dresses) since she was a baby.
Jenny, I’m thinking about expanding the size range for the shorts. It’s time consuming and would mean developing fewer other patterns, which is why I haven’t done it yet!
I can’t wait to make a pair of these! I agree with Jenny, larger sizes would be a blessing. My girls are so tall even though they are still “young” enough for something so cute.
I think you’ve just convinced me to get the Puppet Show pattern, even if it’s just for the shorts! They’re adorable and would be a wonderful toddler wardrobe staple. And may I add my name to the list of people asking for extended sizes? 😉
I am off to cut out all the pocket placements in my patterns! Such a fab idea!
Thankyou for sharing this.
My all time favourite shorts pattern ever. I can’t tell you how sad I was when Missy grew out of it. Still, they were such a lovely sew I did make her a fair few! Lovely post Brit.
I love these shorts! I am thinking of trying them in a medium weight knit. I hope they turn out since I love sewing with knits!
I’d love in a larger size too! I teach 3rd grade and could see many of my girls wearing this style.
Question…Can you make these with knit fabric?
I have made about 10 pairs of these shorts for my 2 girls. The eldest is almost 7 and will not wear another style of shorts. It was easy enough to upsize a couple of sizes to a 7. I’d definitely buy the larger size if it ever came out though as I love the puppet show tunic too.
I think I will have to sew up a few of these before Sarah out grows the pattern.
Awesome photography, so professional.