Kids Clothes Week is going on this week and this time around they have an upcycled theme. You know, where you take old clothes and recycle them into something new. Do you have an old bridesmaid dress (or prom dress) sitting in the back of your closet that you don’t know what to do with? How about making a fancy dress out of it?
If you are a Great British Sewing Bee fan, you’ll remember for the finale of season two, the three finalists were given the challenge of transforming a wedding gown into a dress for a little girl. But they weren’t allowed to use any pattern pieces! Thankfully, I didn’t have to work with those constraints. It’s nice to be able to combine upcycling with a sewing pattern. With upcycling there’s the satisfaction of taking some free clothing from your closet or some inexpensive garments from a thrift store and making them into new clothes. And it saves time and effort to be able to use the original hems. Add a sewing pattern into the mix and it makes everything so much easier plus you can get a well fitted garment in the end.
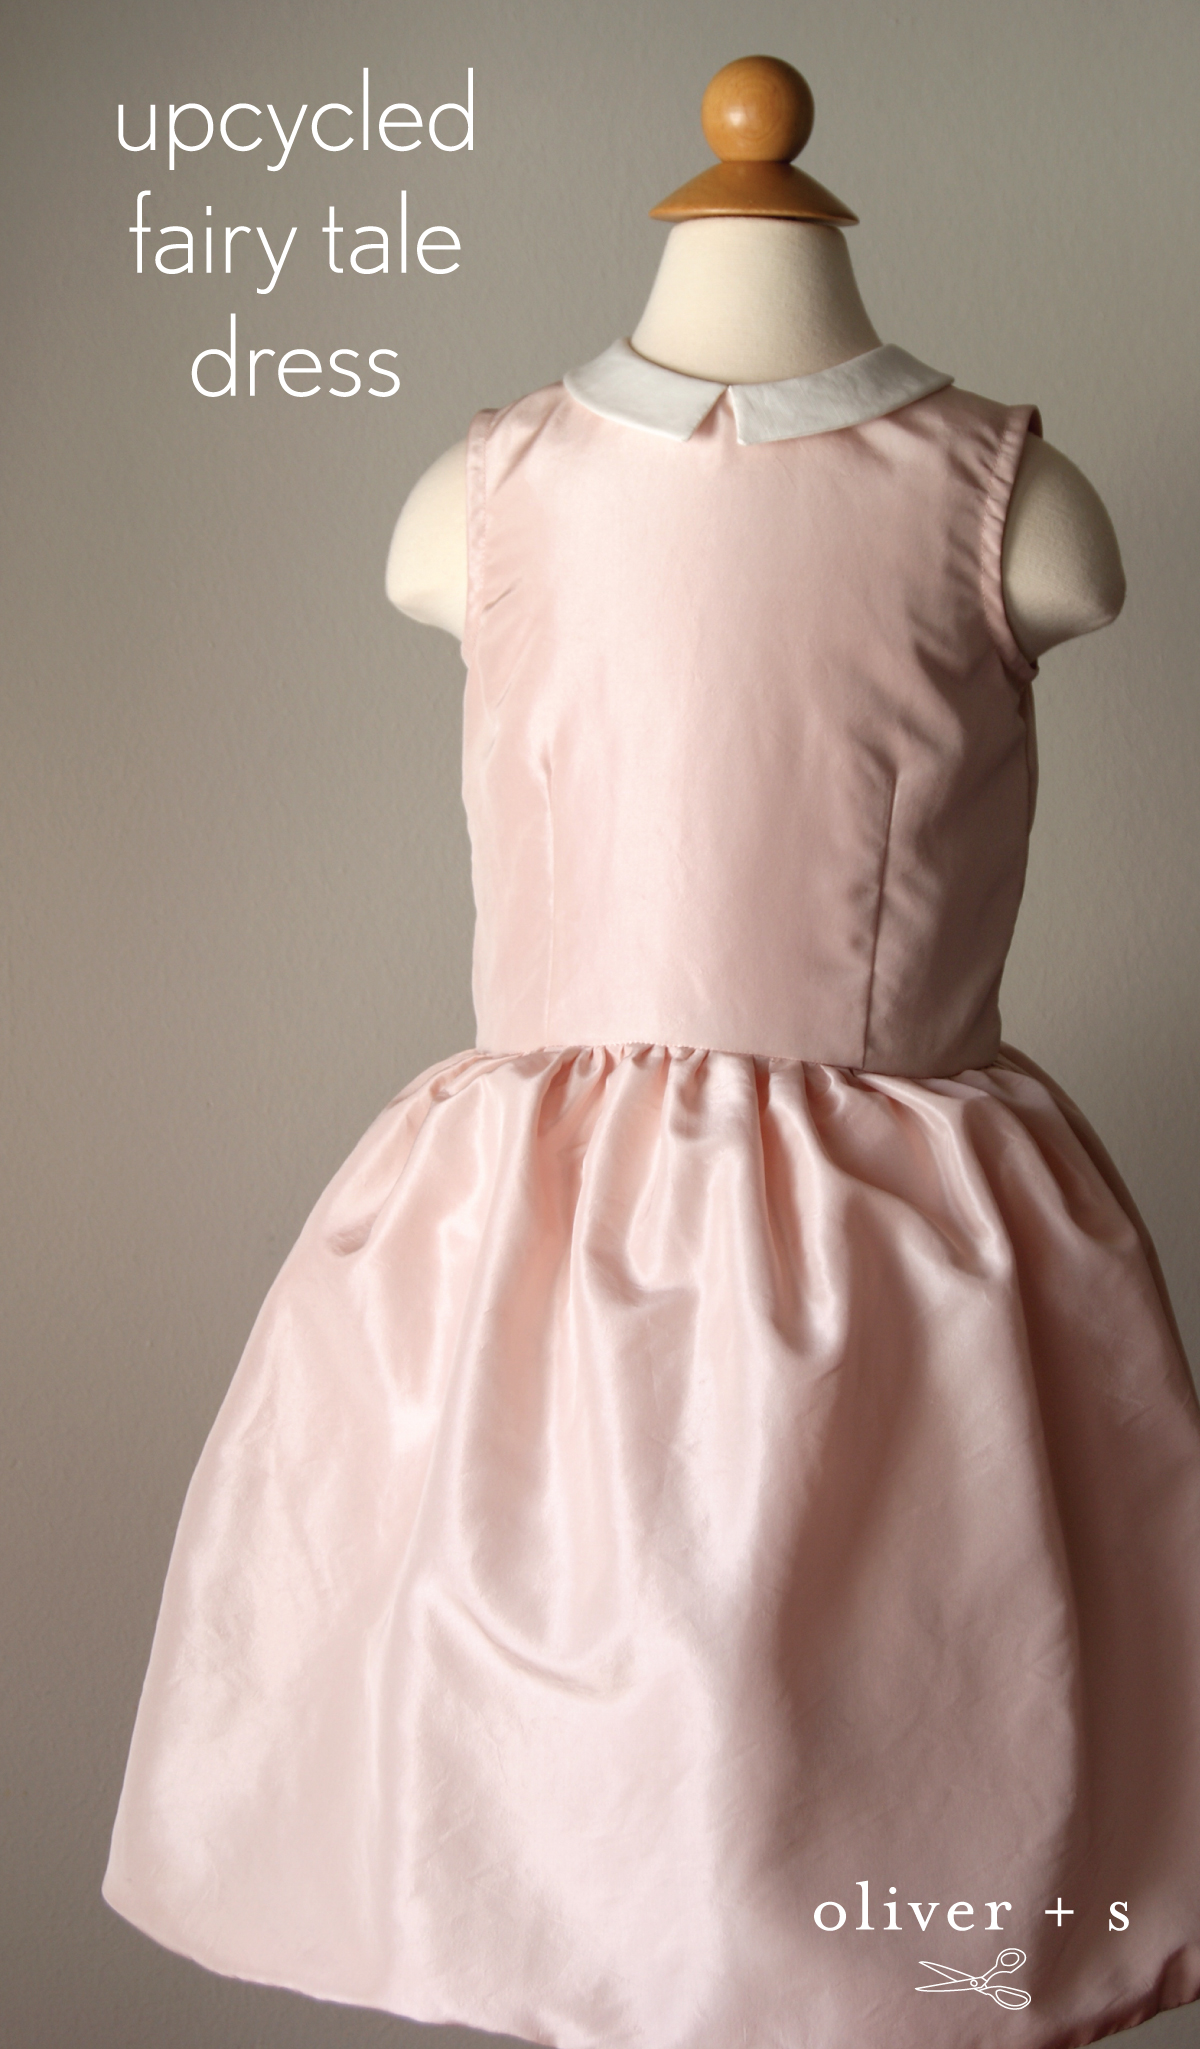
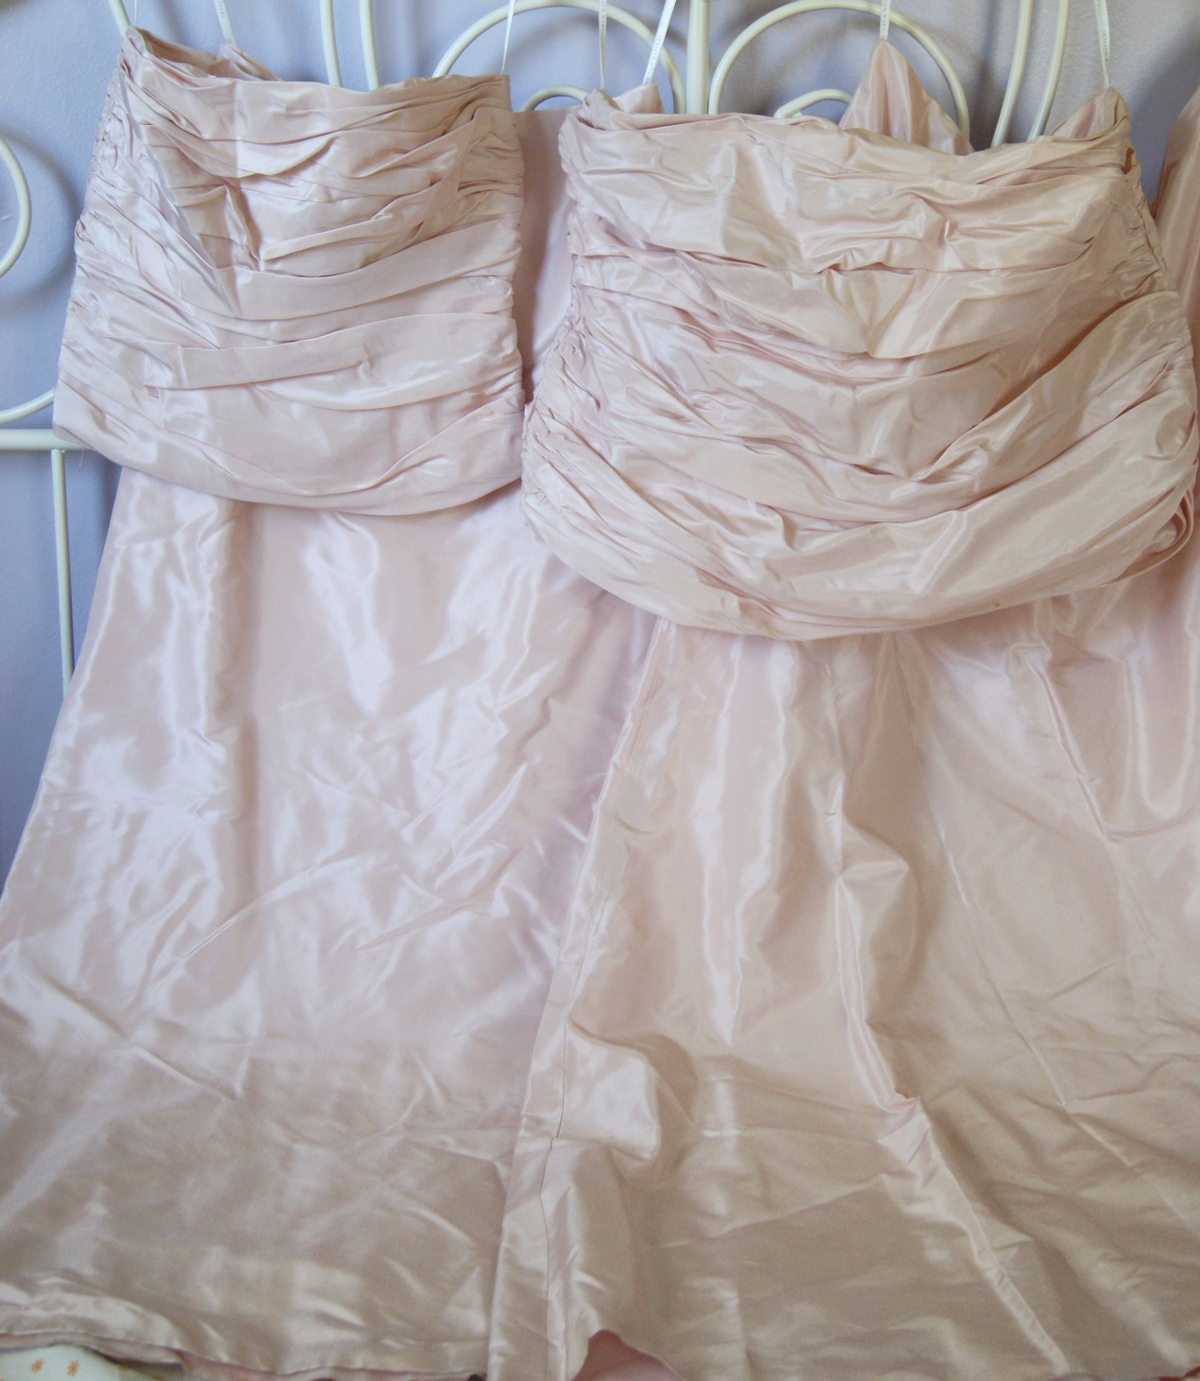
Someone graciously gave me two pale pink 100% silk bridesmaid dresses and they have been hanging in my closet for far too long. For me these dresses were meant to be refashioned into a fancy dress and what better one than the ultimate special occasion dress, the Fairy Tale Dress. Remember all of this gorgeous dresses in the Fairy Tale dress round-up?
Although every upcycle is truly unique, I still wanted to show how I made this transformation with the steps I took and share some tips and tricks.
I started this project out with some deconstruction. Mondo, a winner of Project Runway All Stars, said that he used to go to thrift stores to buy inexpensive clothing so that he could take it apart to learn how it was constructed. I highly recommend ripping apart clothing with a seam ripper; you’ll learn a valuable skill. Begin by removing the lining from the dress, fully or partially. If you plan on reusing the original zipper, use a seam ripper to remove the zipper, then remove the lining. I didn’t end up using the original zipper as it was too short, so I removed the lining with a scissors, but only at the top of the skirt because this bridesmaid skirt had the lining attached to the skirt at the bottom hem (and I wanted to keep it that way, more about that later).
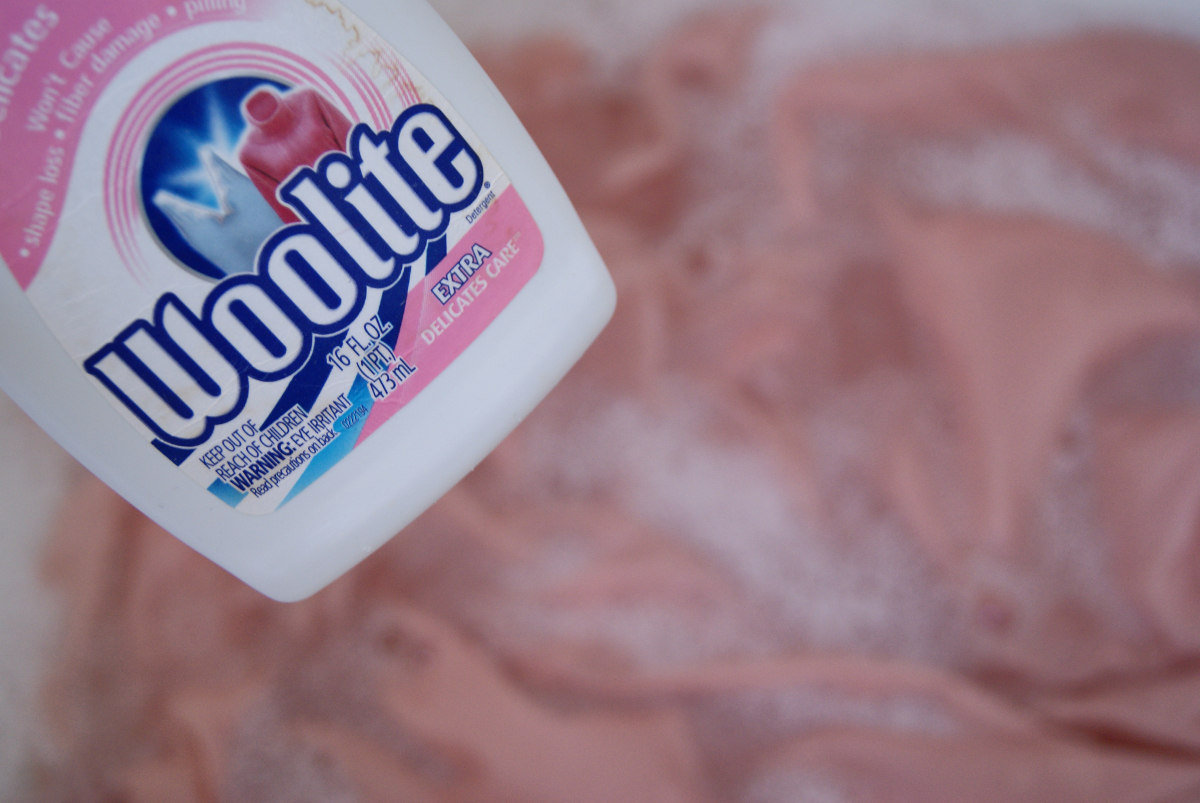
Now it is time to get the fabric clean before sewing with it. To remove the dirt and stains, hand wash the dress fabric (with delicate detergent), then allow it to air dry. Did you know that you can hand wash dry clean only items? It saves a lot of money.
For this project I ended up using only one of the long a-line skirts, a women’s size 4 skirt that was 41 inches long and 60 inches around at the hem. It turns out that’s all I needed in order to make a girl’s size 6 dress.
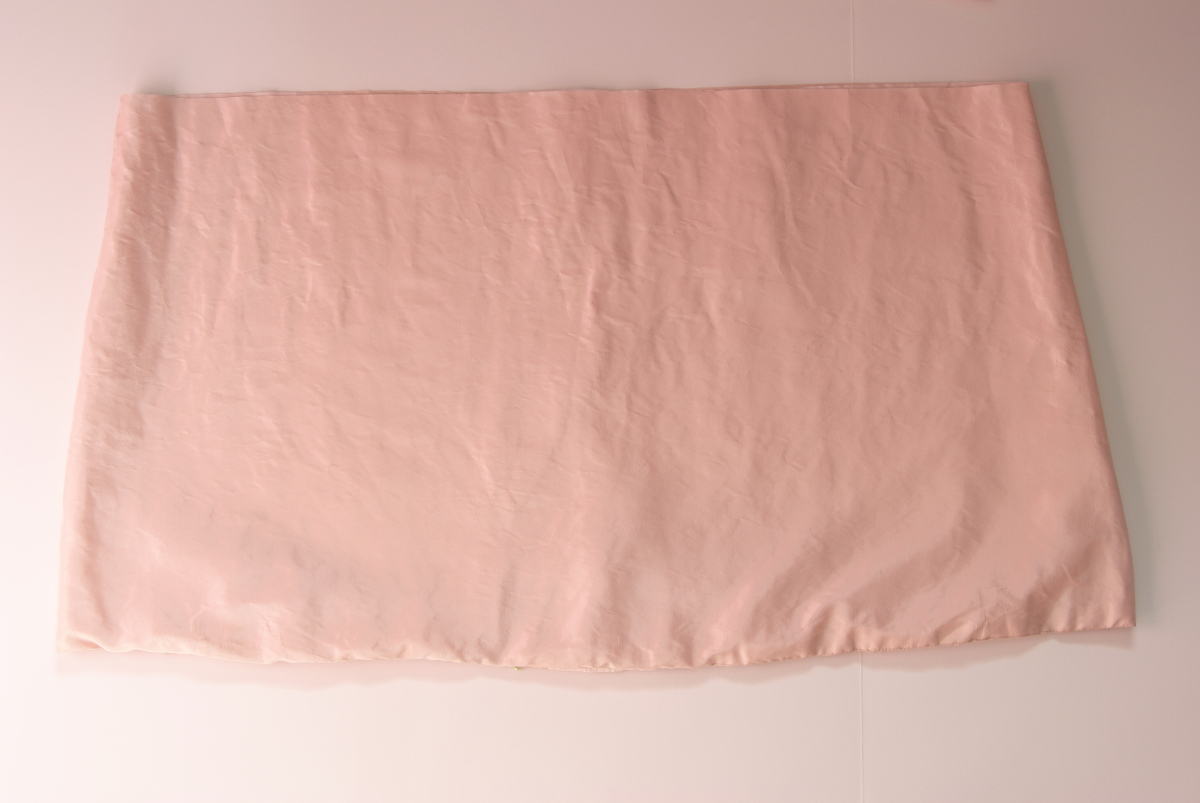
With a rotary cutter I cut off 16 inches up from the hem, this became the skirt of the Fairy Tale dress. Since the bottom of this bridesmaid dress was already hemmed, I did not need to hem the bottom of the Fairy Tale dress, thus saving time and effort. Another bonus was that the original skirt came with a lining attached at the bottom hem, so I didn’t have to line the skirt either.
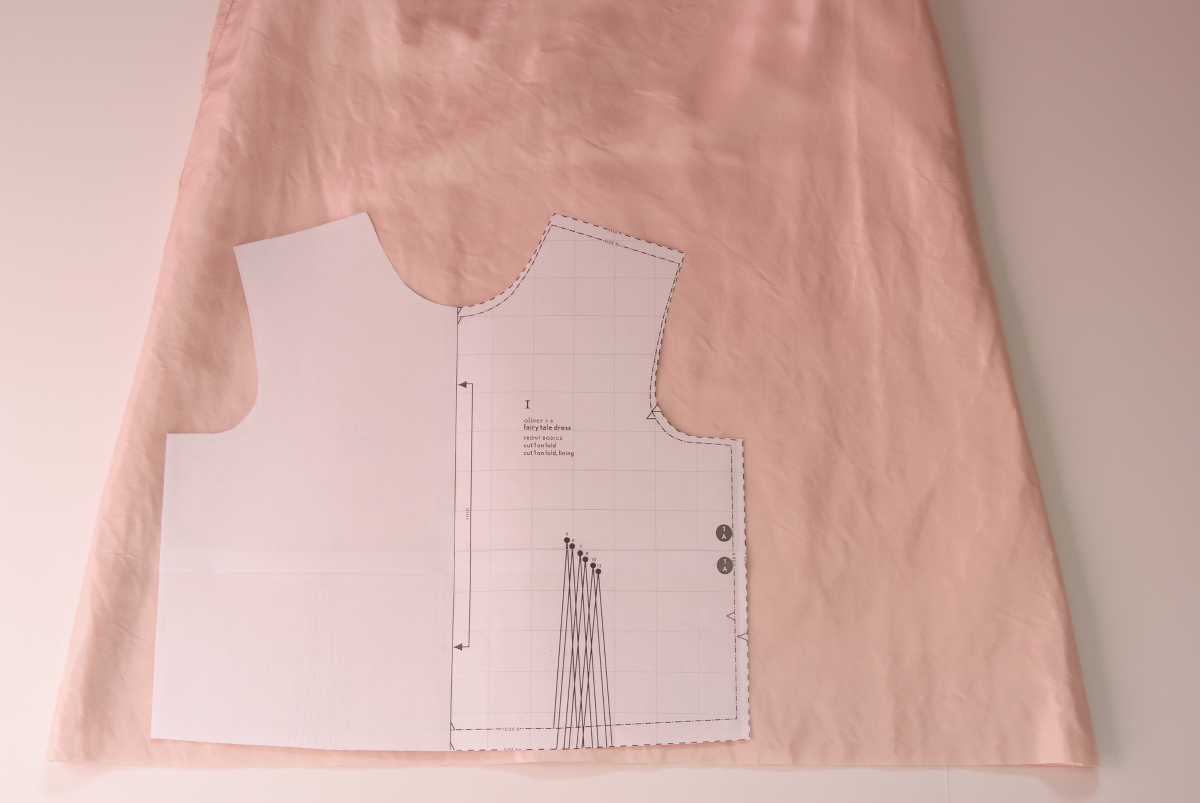
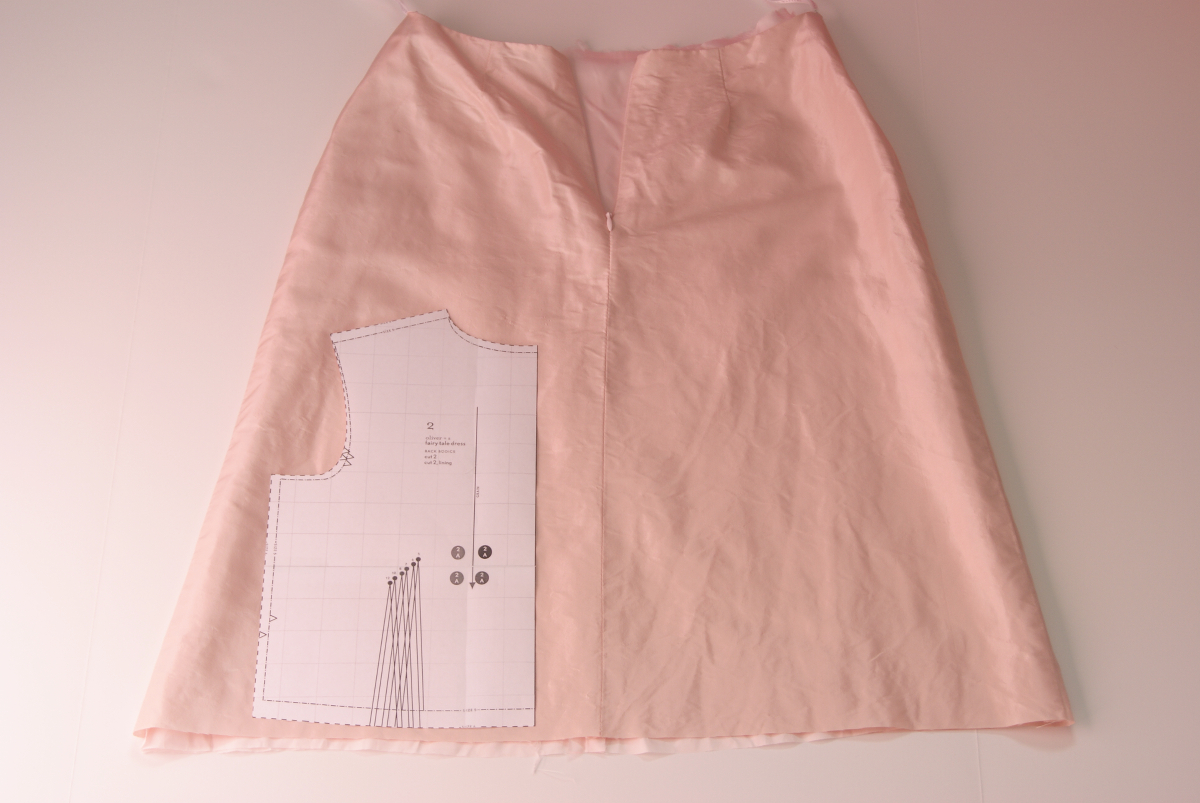
From the remaining fabric I cut out the bodice front and back pieces.
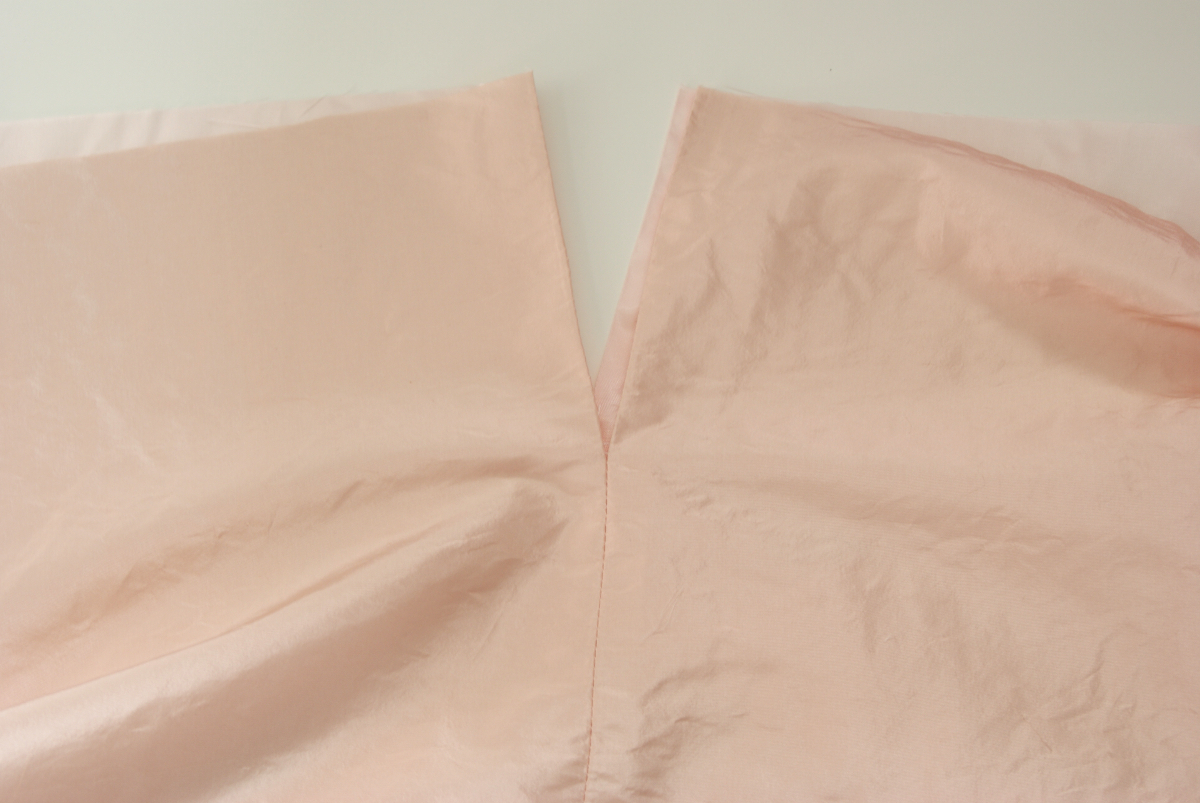
I was fortunate that the the back of the original skirt already had a center back seam so I could just open that seam up to insert the invisible zipper.
This project wasn’t completely upcycled, as I did use some store bought items to finish the dress including the lining fabric for the bodice, an invisible zipper, and the collar fabric. At this point in the project I simply followed the sewing instructions for the pattern; the only changes that were made were with sewing the skirt. When I attached the skirt, the rest of the skirt was already done (which is a major bonus to upcycling). When creating your upcycled dress, be sure to use the correct iron setting, sewing needle and thread for the type of fabric you’re working with.
I would say the main difference with the finished result compared to a non-upcycled Fairy Tale dress is the skirt. Instead of a gathered straight skirt, a slightly wider gathered a-line skirt was used, resulting in a fuller skirt than the size 6 pattern calls for.
Do you have plans to upcycle this week during Kids Clothes Week? If so, have fun taking something that’s no longer being used and making an amazing transformation.
A LOVELY PALE PINK special occasion dress sewn in girl’s size 6, a classic look with a white collar! Fantastic in 100% silk fabric and up-cycled from a 2-piece bridesmaid dress with a long skirt in size 4! Clever that you cut from the bottom of the long skirt, utilizing the bottom hem and including the lining for the “Fairy Tale Dress” (Oliver + S pattern). Your sewing talents seem evident is sewing with pure silk, Rachel. Good idea to wash the long skirt in Woolite, saving the high cost of dry cleaning. THANKS for sharing. Sarah in Minneapolis
How cute, Rachel! Apparently you can also use shampoo for colored hair to wash silk. I’ve tried it a few times and had really good results!
The dress is really darling. I hope your daughter likes it!
Gorgeous! I upcycled a sparkly prom dress into a fairy tale dress for a wedding last year. I think it’s still my daughter’s favorite dress ever!
Liesl, I love your tip, I’ll have to keep that one in mind in the future.
Nicole, I remember your pink upcycled fairy tale dress, all sparkly, I can see why it’s your daughter’s favorite.