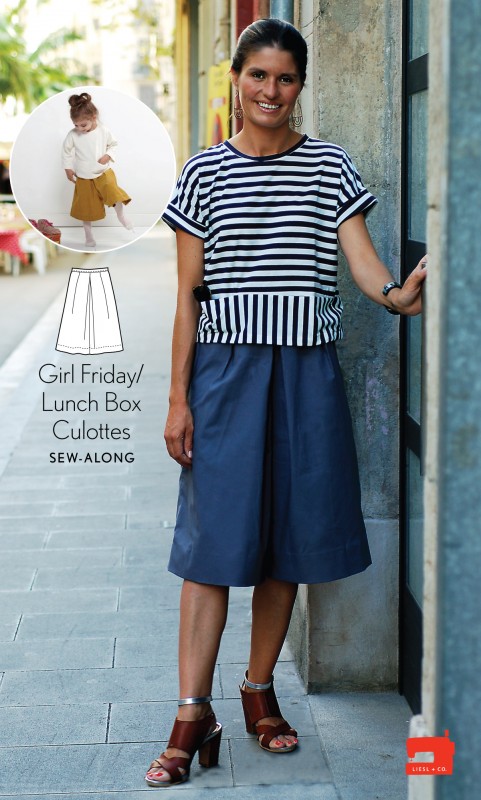
We have reached our third and final day of the Girl Friday/Lunch Box Culottes sew-along. Today we will be finishing up the culottes.
It’s getting very exciting because we’re so close to the end. Off we go!
Applying the waistband (Girl Friday Culottes method)
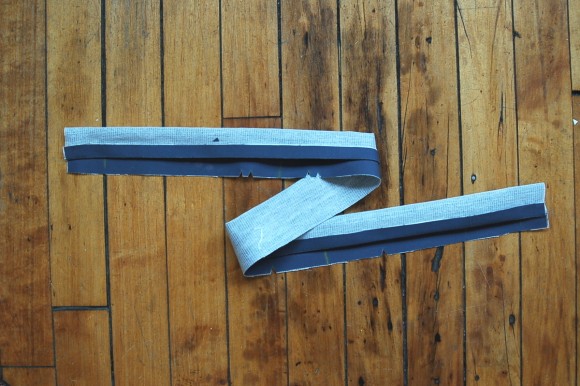
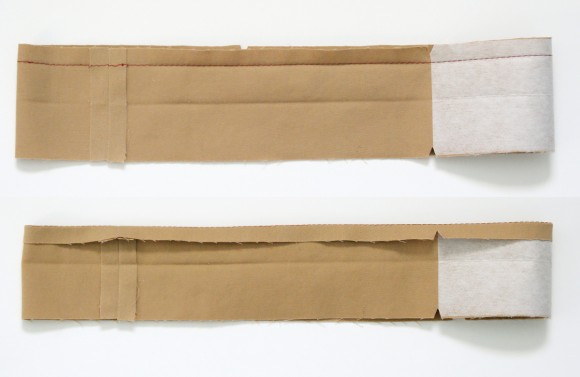
1. Sew a line of basting stitches 1/2” from the long, un-notched edge of the waistband. Fold and press the fabric to the wrong side along the basting line.
2. Fold the waistband in half with right sides together and stitch the short ends with a 1/2” seam. Trim the ends to 1/4”.
3. Turn the waistband right-side out, using a point presser or knitting needle to push the corners out. Press the waistband.
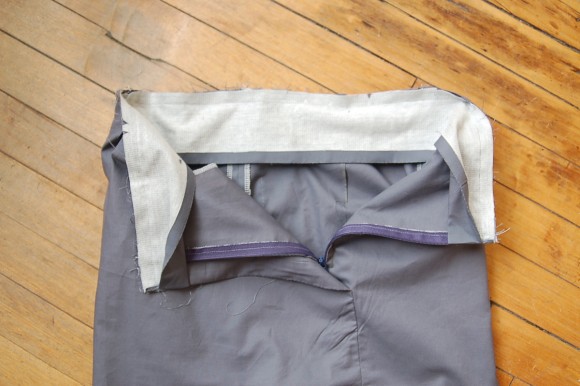
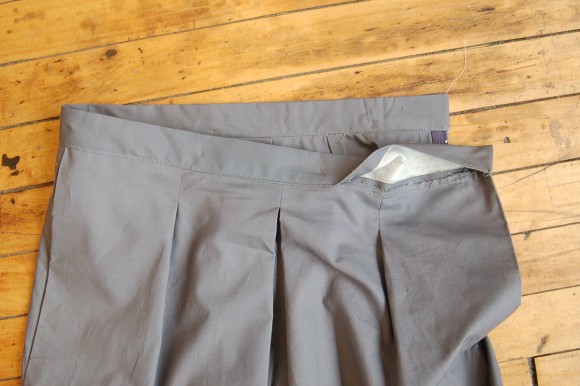
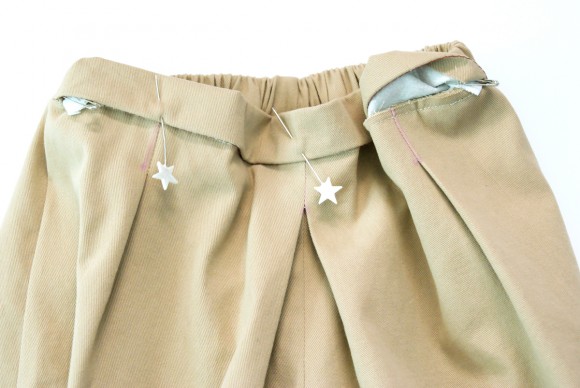
4. Pin the right side of the waistband to the wrong side of the culottes, matching the notches on the waistband to the notches and seams of the culottes. Pin the ends of the waistband to be even with the opening at the wearer’s left pocket. (Note that there is a bit of ease in the waist of the culottes, so the waistband may seem a bit shorter than the culottes waist itself. If you want to add a row of basting to help you ease the waistband you may do so.) Stitch the waistband to the culottes with 1/2” seam, backstitching or lockstitching at both ends.
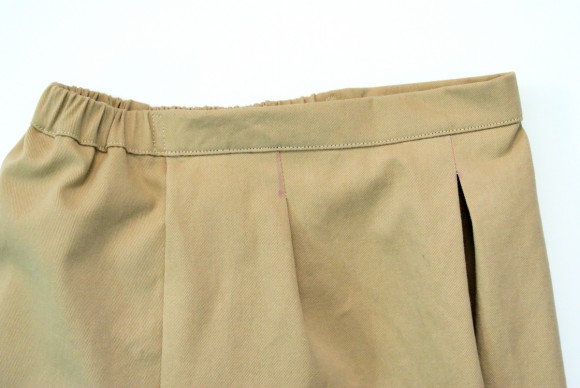
5. Trim the stitched seam allowances of the waistband to 1/4” and press the waistband and seam allowances up, away from the culottes. Fold the waistband over the seam allowances to the outside of the culottes, and pin the waistband’s folded edge so it covers the stitching. Working on the right side (the outside) of the culottes, edge stitch the waistband at the fold.
Attach the waistband (Lunch Box Culottes method)
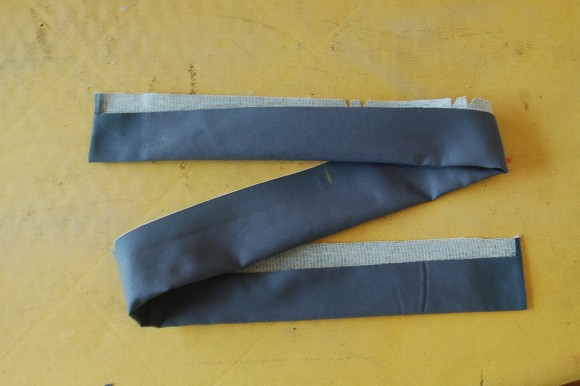
1. Fold the waistband in half lengthwise with wrong sides together and press a crease into the center. Unfold the waistband and sew a line of basting stitches 1/2” from one long edge. Fold and press the fabric to the wrong side along the basting line.
2. Unfold the pressed edge of the waistband and then, with right sides facing and the raw edges aligned, pin the waistband’s short ends together and join them with a 1/2” seam backstitching or lockstitching on both ends. Press the seam allowances open. Re-fold the previously pressed long edge.
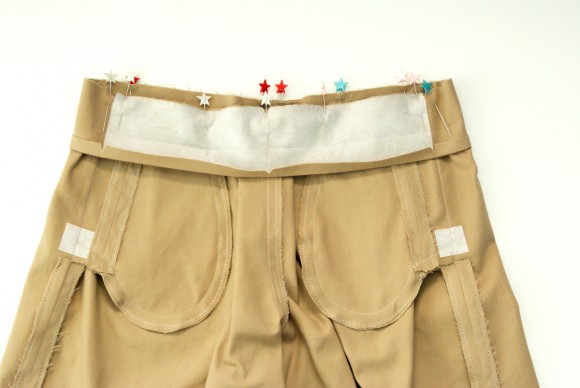
3. Pin the right side of the waistband to the wrong side of the culottes, matching the waistband’s unfolded edge to the culottes’ top raw edge. Match the waistband’s seam with the center-back seam and align the waistband’s center-front notch with the center-front seam of the culottes. Match the waistband’s side notches with the basted closures of the pockets, which are the equivalent of the side seam. Stitch the waistband to the culottes with a 1/2” seam.
4. Turn the culottes right-side out and trim the stitched seam allowances to 1/4” to reduce bulk in the finished waistband. Press the waistband and seam allowances up, away from the culottes. Then fold the waistband over the seam allowances to the right side of the culottes along the original center crease and pin the waistband’s folded edge so it covers the stitching.
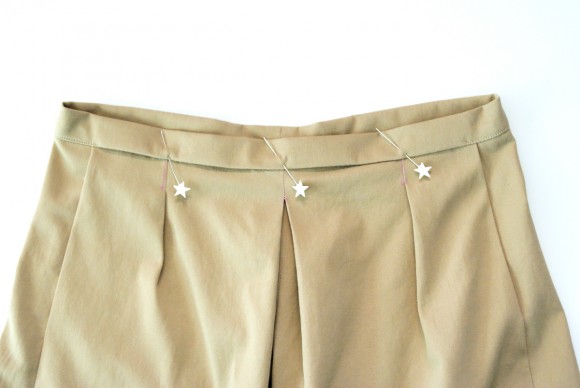
5. Working on the right side (the outside) of the culottes, edgestitch the folded edge of the back waistband to form a casing for the elastic, starting at the side seam and continuing around the back until you reach the opposite side seam, lockstitching or backstitching at both ends. Leave the front waistband open for the time being.
6. Measure the child’s waist and cut a length of elastic that’s about 1/2” shorter than half of the child’s waist measurement. Attach a safety pin or bodkin to one end of the elastic and feed the elastic through the waistband casing. Pin the ends of the elastic to the waistband at the location of the side seams and adjust the elastic to fit the child’s waist.
7. Trim any excess length from the elastic. Stitch one end of the elastic to the waistband with a rectangle, as shown. (The rectangle will help secure the elastic so it doesn’t unravel or come loose during wearing.) Continue the stitching across the front waistband, to close up the waistband, and finish by stitching the opposite end of the elastic with a second rectangle, backstitching or lockstitching at the end.
Finish the culottes
1. For the Girl Friday Culottes, stitch the buttonholes and button or attach a large hook and eye at the waistband markings to finish the waistband. For the Lunch Box Culottes, remove the basting stitches at the side seams that keep the pockets closed so the pockets can be used.
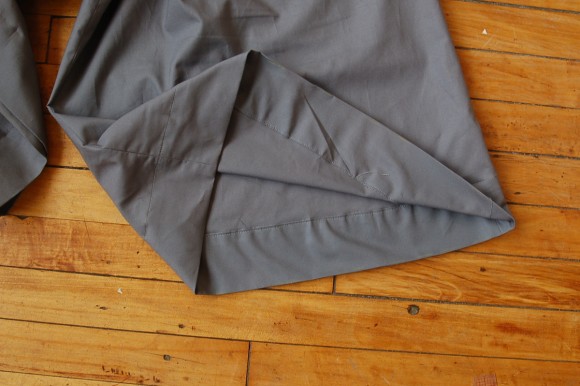
2. To hem the culottes, sew a row of basting stitches 1/2” from the bottom edge of one leg of the culottes. On the right side of the fabric, use tailor’s chalk or a water-soluble fabric-marking pen to mark a line 2 1/2” from the bottom edge. Fold and press the fabric once to the wrong side along the line of basting stitches, then fold and press the fabric again to the wrong side along the 2 1/2” line. Pull on the basting stitches to cinch up the fullness at the top of the hem. Edgestitch the innermost fold to finish the hem and press the hem again to finish it. Repeat to finish the second leg.
You are done! Thank you for joining us during the sew-along. We do hope you will add photos of your completed Girl Friday Culottes to the Liesl + Co Flickr group and Lunch Box Culottes to the Oliver + S Flickr group, we’d love to see what you’ve created.




Thanks for a beautifully presented sew along Rachel.
However it has shown me that everything I did was correct, yet I still had a significant discrepancy in the waistband/culotte length, with the waistband being too long at the notched end. (after correcting for the box pleats mishap)
I posted a photo in this thread: http://oliverands.com/community/forums/topic/finished-waist-too-small
Any ideas?