Are you ready for day 2 of the Girl Friday/Lunch Box Culottes sew-along? Yesterday we began with the darts and pleats. Today we will be attaching the pockets, inserting the zipper, stitching the side seams, and finishing the pockets.

We have a lot of sewing to get done today, so let’s get started!
Attach the pockets
1. Pin one pocket to a pocket extension on the front culottes, with right sides together and matching the notches and aligning the raw edges. Stitch the pocket to the extension with a 1/2” seam, backstitching or lockstitching at both ends. Press the pocket away from the culottes and finish the seam allowances using your preferred method.
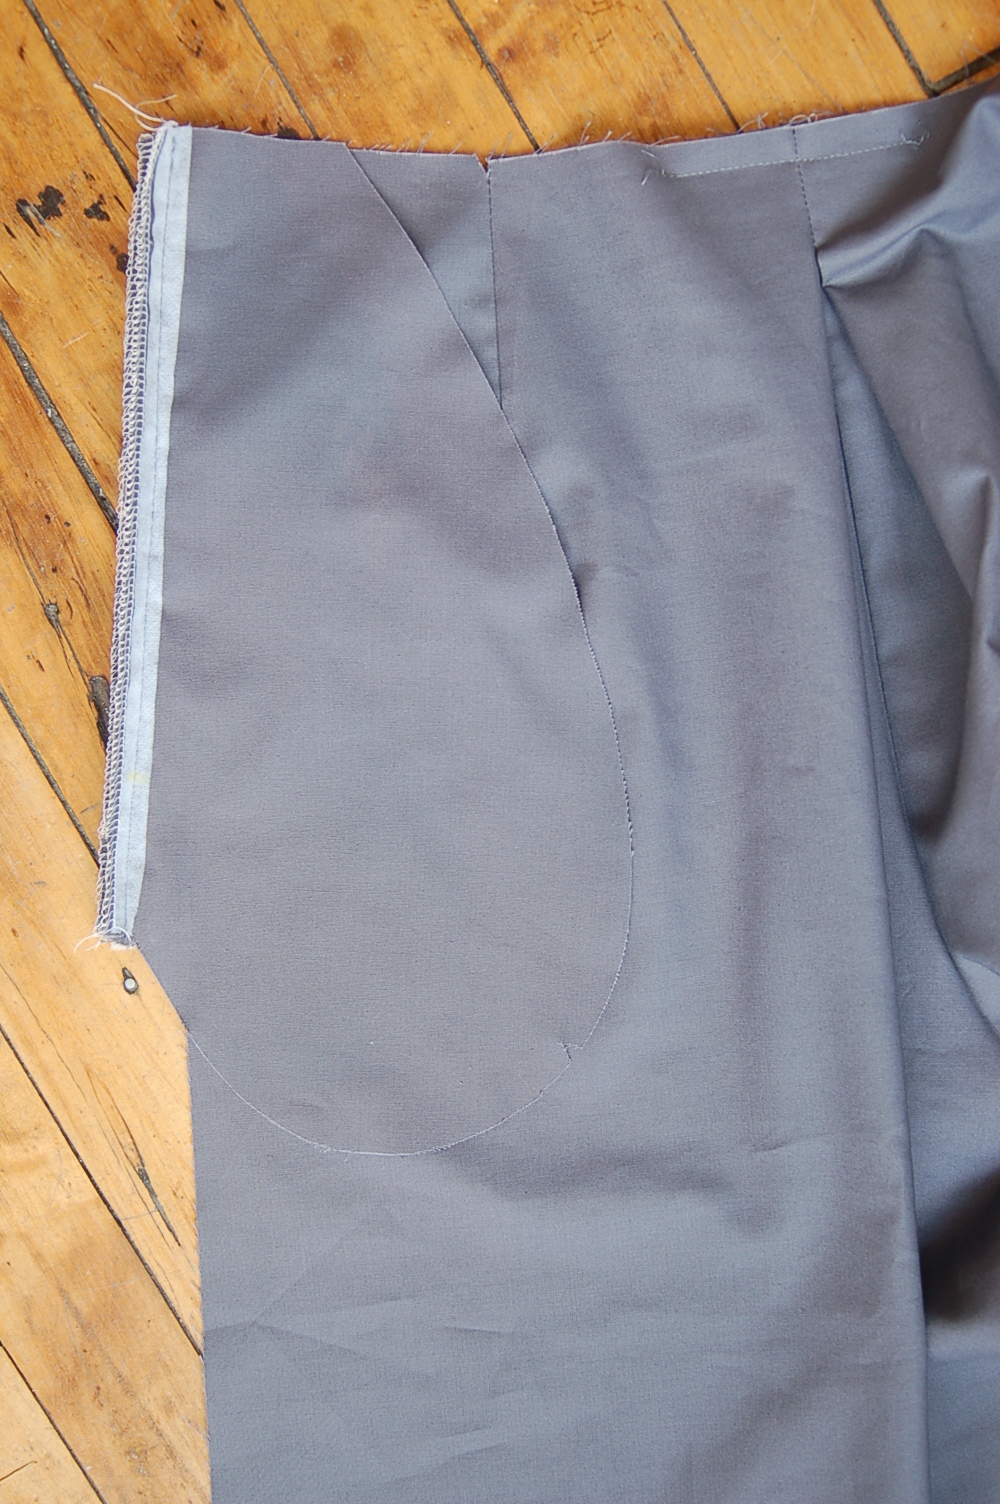
2. For the Lunch Box Culottes, repeat this process to stitch the second pocket to the other side of the front culottes and to attach the other two pockets to the back of the culottes. For the Girl Friday Culottes, repeat to stitch the second pocket to the other side of the front culottes and to attach the third pocket to the wearer’s right side of the back culottes in the same manner.

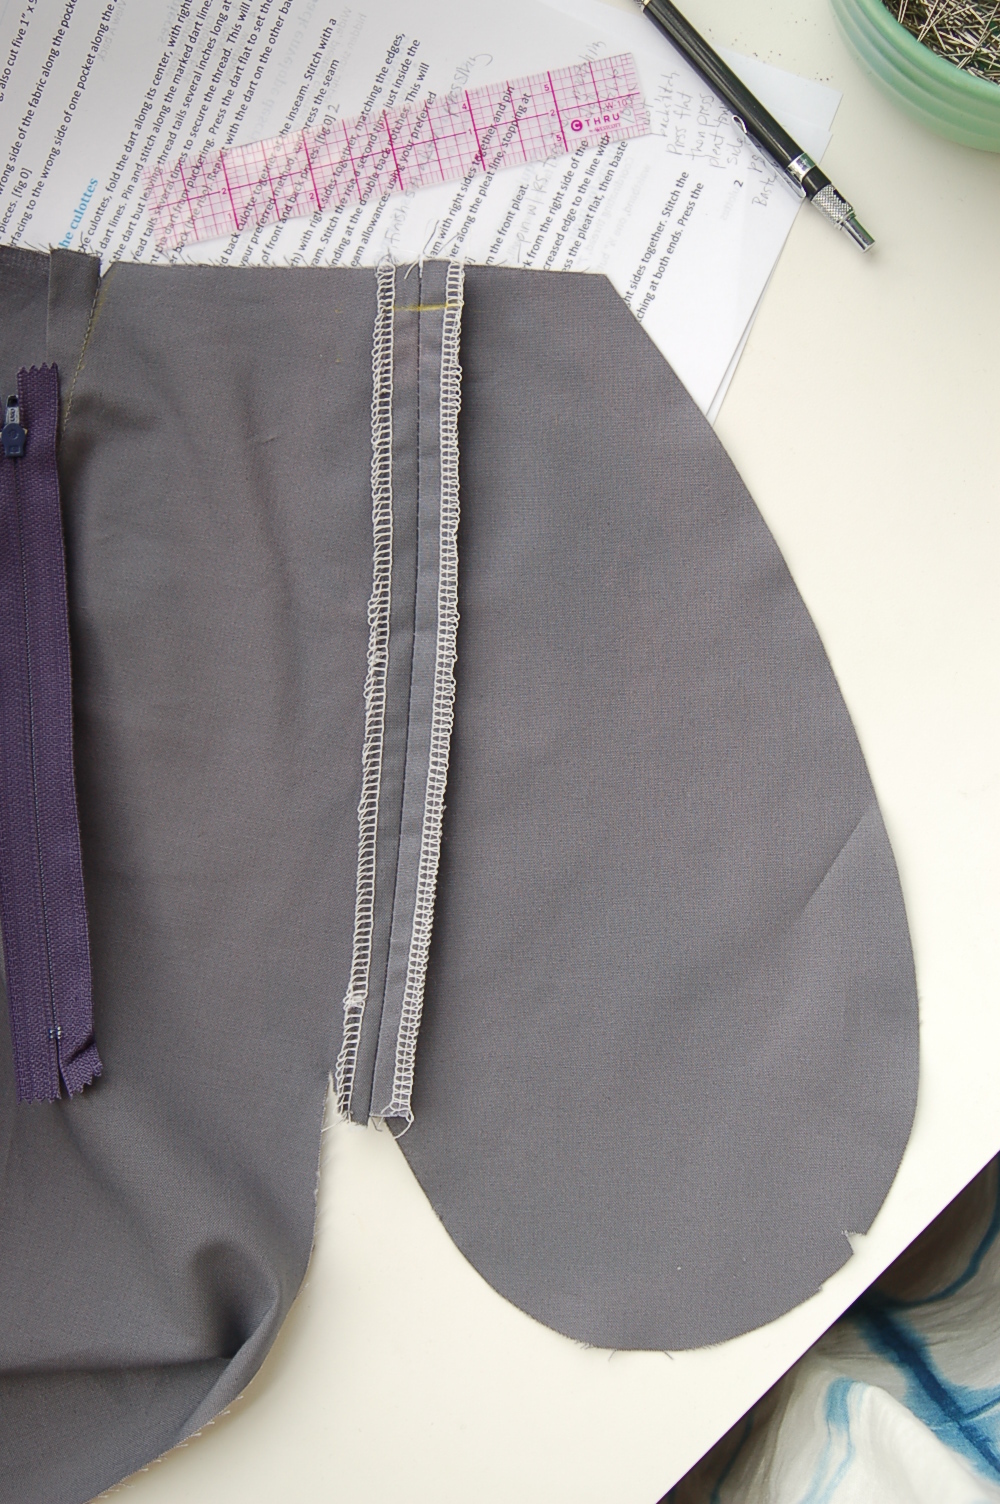
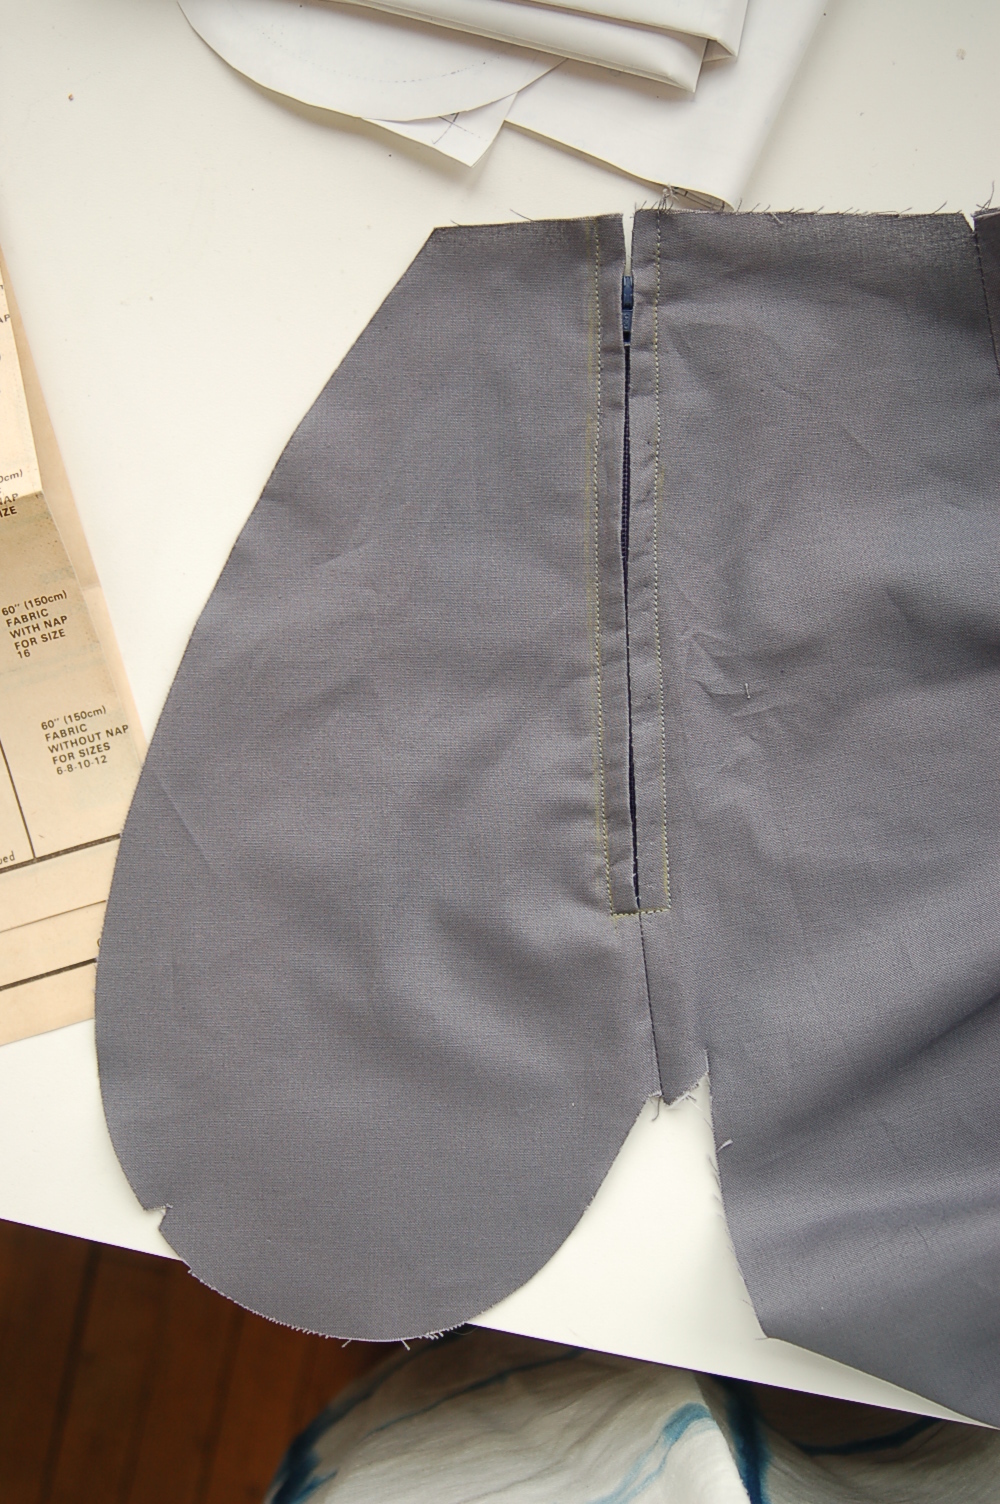
3. For the Girl Friday Culottes only, on the wearer’s left side of the back culottes, align and pin the fourth pocket piece (the one prepared with interfacing). Stitch from the bottom edge of the pocket extension to the dot on the pocket, backstitching or lockstitching at both ends. Baste the remaining portion of the pocket above the large dot to prepare it for installing the zipper. As with the other three pockets pieces, finish the seam allowances separately and press the seams open. Since you’ll be working with this section of the culottes for the next few steps, you may want to mark this pocket so you can find it easily.
Insert the zipper (for the Girl Friday Culottes only)
1. Using tailor’s chalk or a water-soluble fabric-marking pen, make a horizontal mark across the seam allowances of the wearer’s back left pocket 1/2” from the top edge of the pocket extension as shown. This mark will help with positioning the top of the zipper slider.
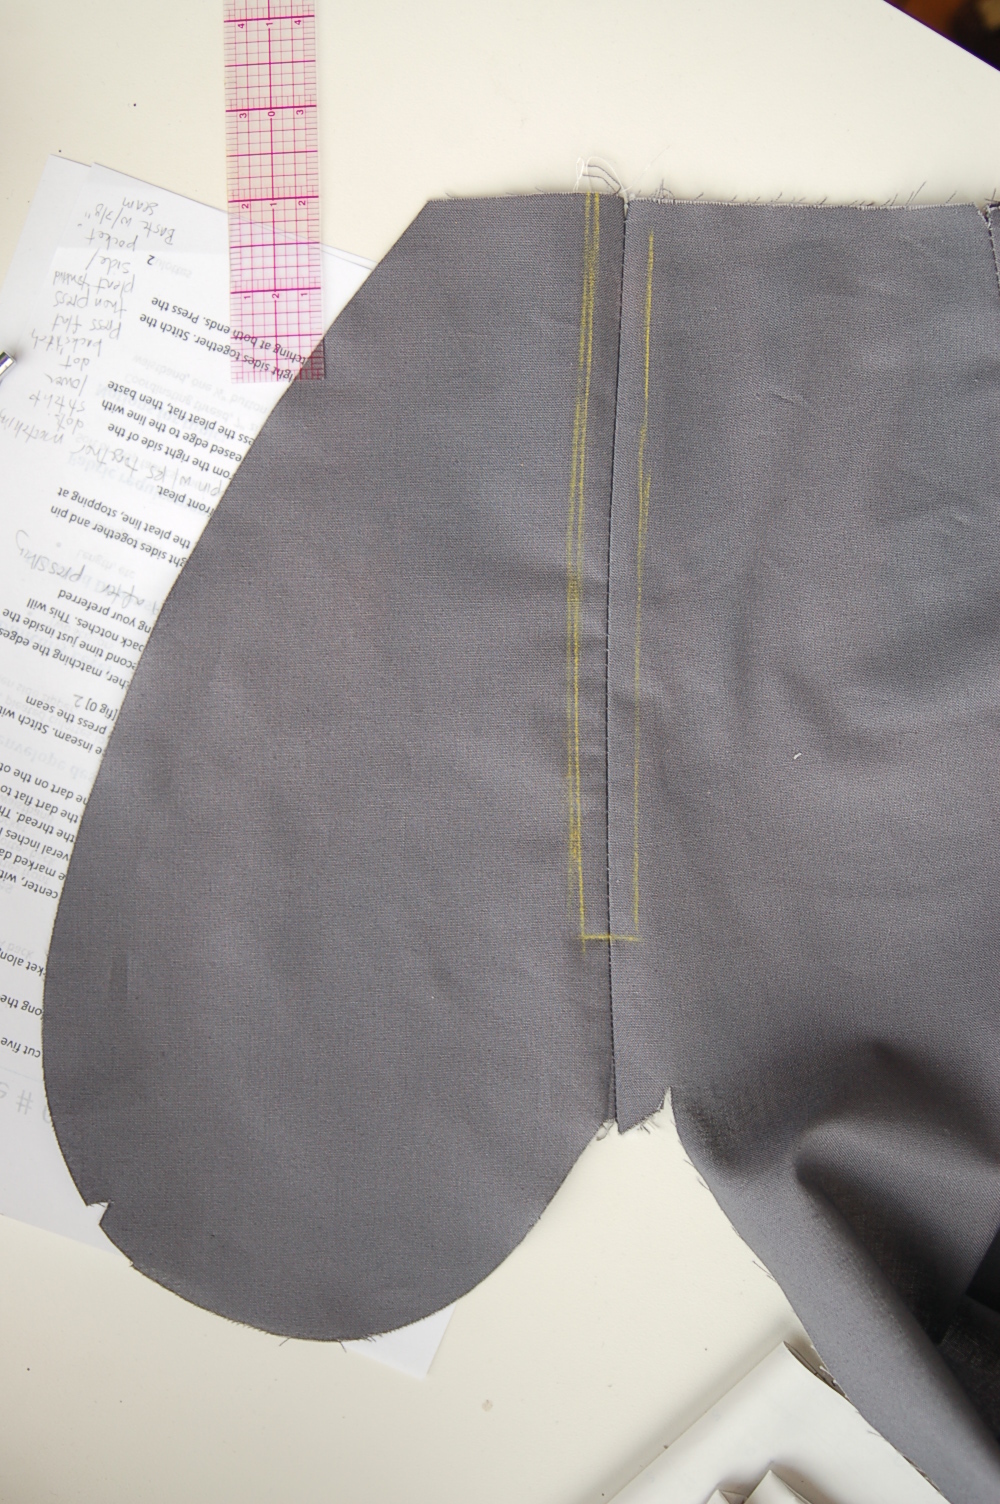
2. Turn the culottes to the right side and draw a line 1/4” on either side of the basted seam. Connect the two lines at the large dot. (Insert a pin through the dot on the wrong side of the fabric to help you locate the dot on the right side.) This will be the topstitching line for the zipper.
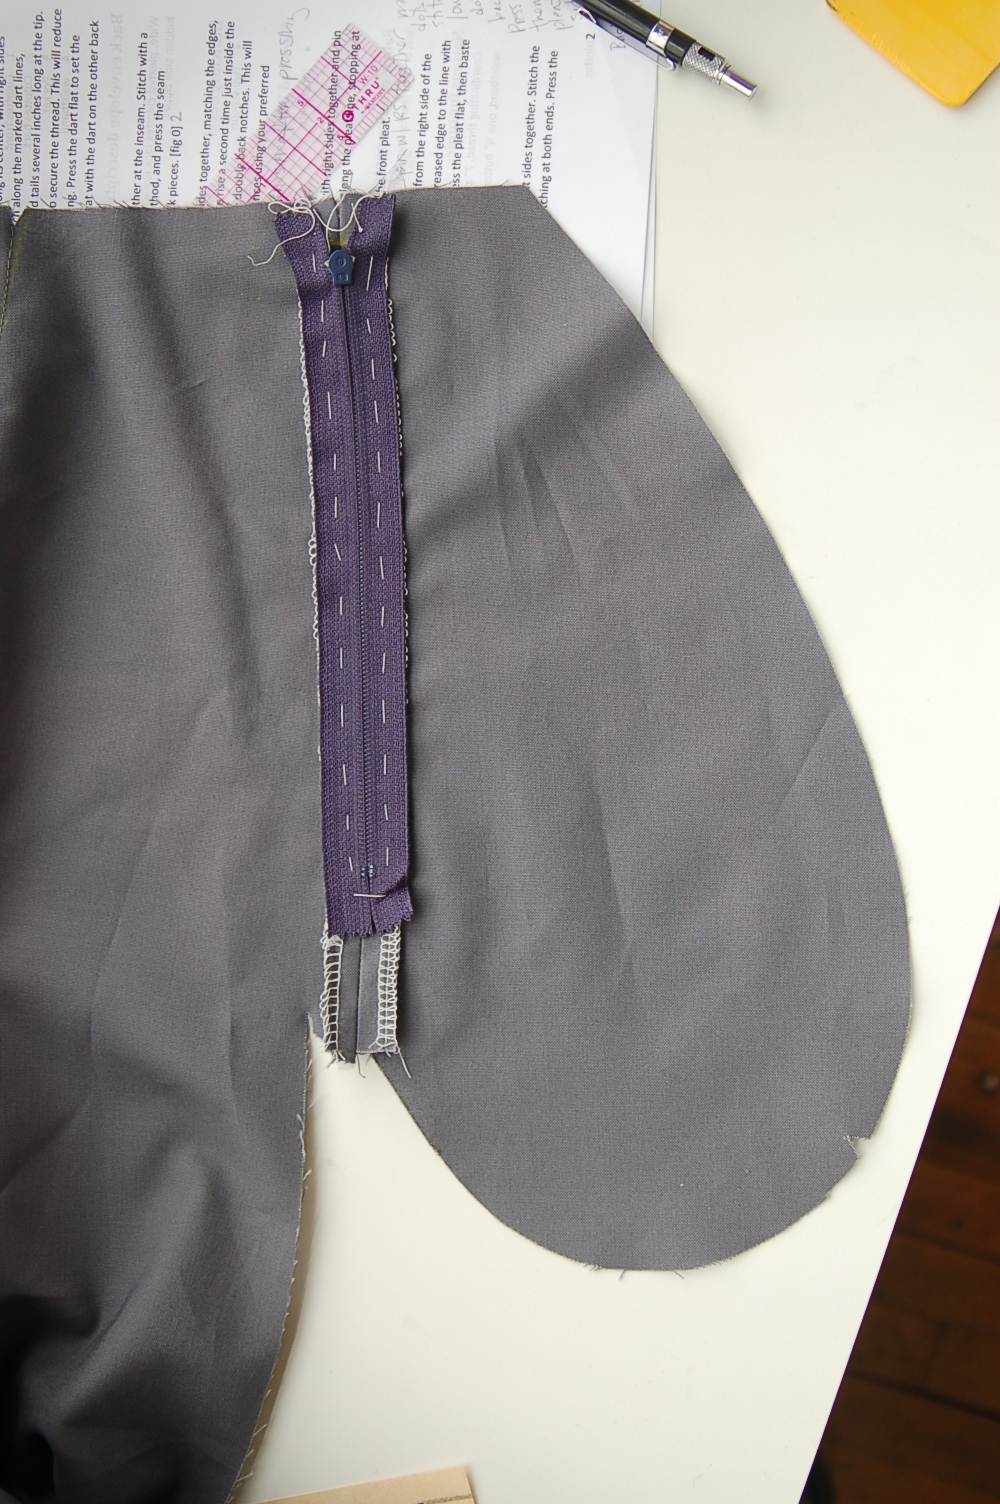
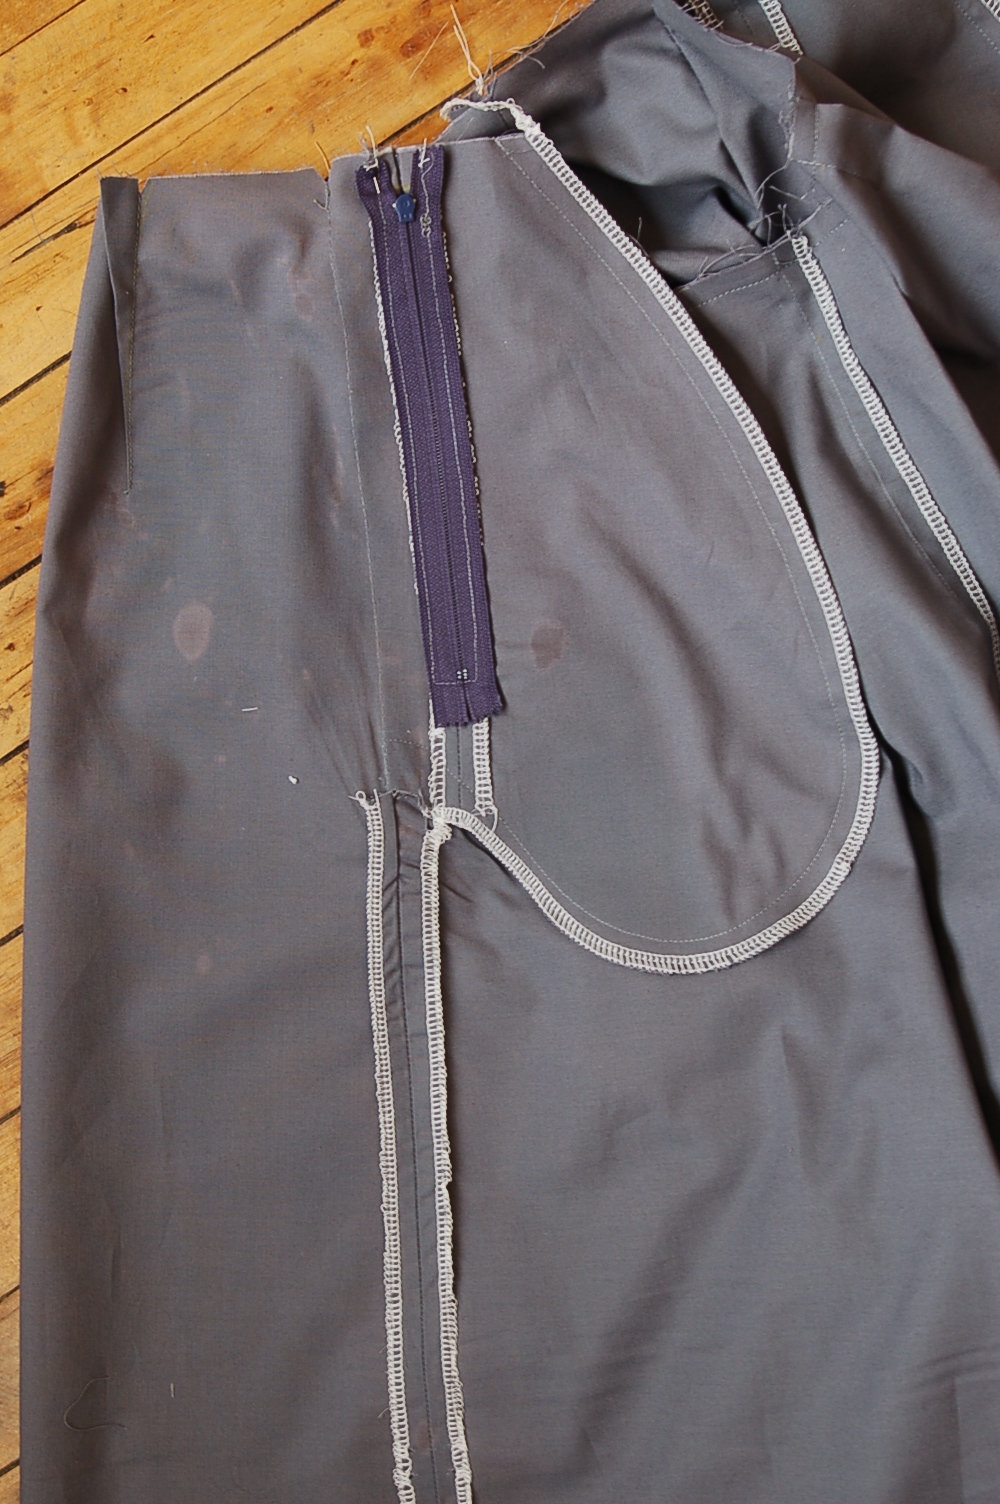
3. Turn the culottes to the wrong side again and center the closed zipper tape, face down, over the basted seam allowances. Position the top of the zipper slider (the part that moves up and down) just below the 1/2” mark that you dress. Machine-or hand-baste the zipper in place to hold it temporarily.
4. On the right side of the fabric, remove the basting stitches from the zipper seam, leaving the pocket sewn to the pocket extension just below the large dot. This will enable you to move the zipper slider out of the way as you topstitch the zipper. Using the zipper foot, stitch the zipper along the drawn 1/4” lines, pivoting at the bottom of the line to stitch across the zipper. Be careful not to stitch through the metal stopper at the bottom of the zipper, since it will break your needle. (If you need to do so, you can move the bottom stitching line a little higher in order to avoid the stopper.) Then pivot again to stitch up the 1/4” line on the other side of the zipper.
Stitch the side seams and finish the pockets
1. Pin the front and back of the culottes and the pockets together, with right sides facing and matching the notches and raw edges. Using tailor’s chalk or a water-soluble fabric-marking pen, draw a line on the front culottes to connect each waistband notch to its corresponding large dot (the dot near the pocket). Machine-baste the culottes front to the culottes back along these lines to temporarily keep the pockets together. This basting will form the temporary side seams, and it also forms a deeper pocket so the pockets and zipper (from the Girl Friday Culottes) won’t show when the culottes are worn.

2. Stitch the side seams with a 1/2” seam, pivoting at the interfaced dots to stitch around the pockets.
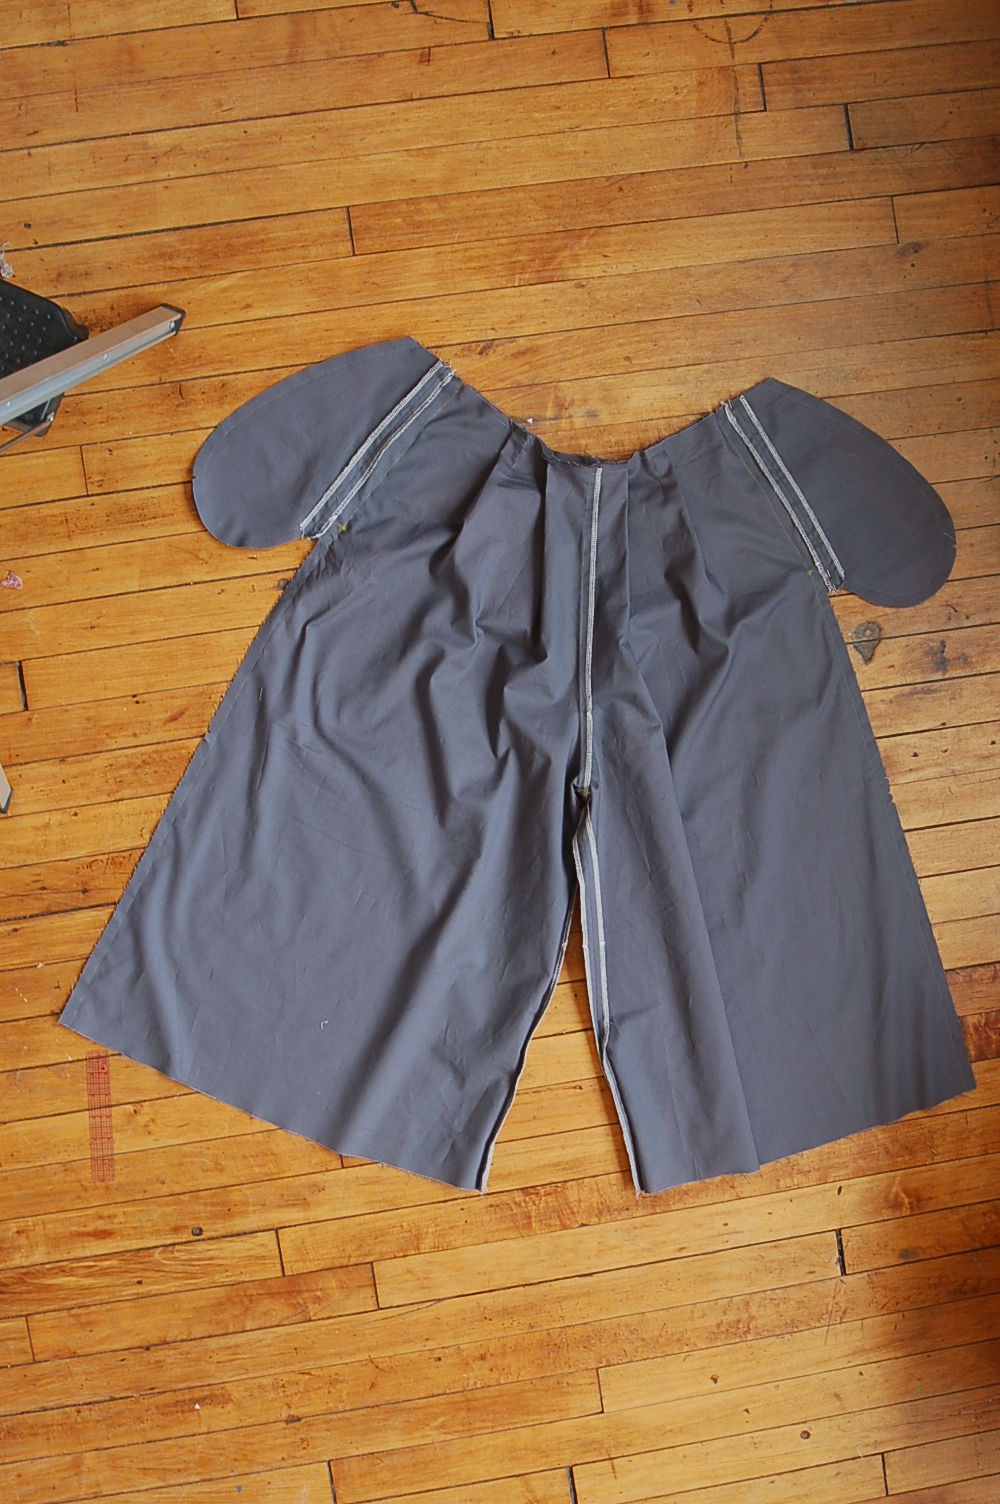
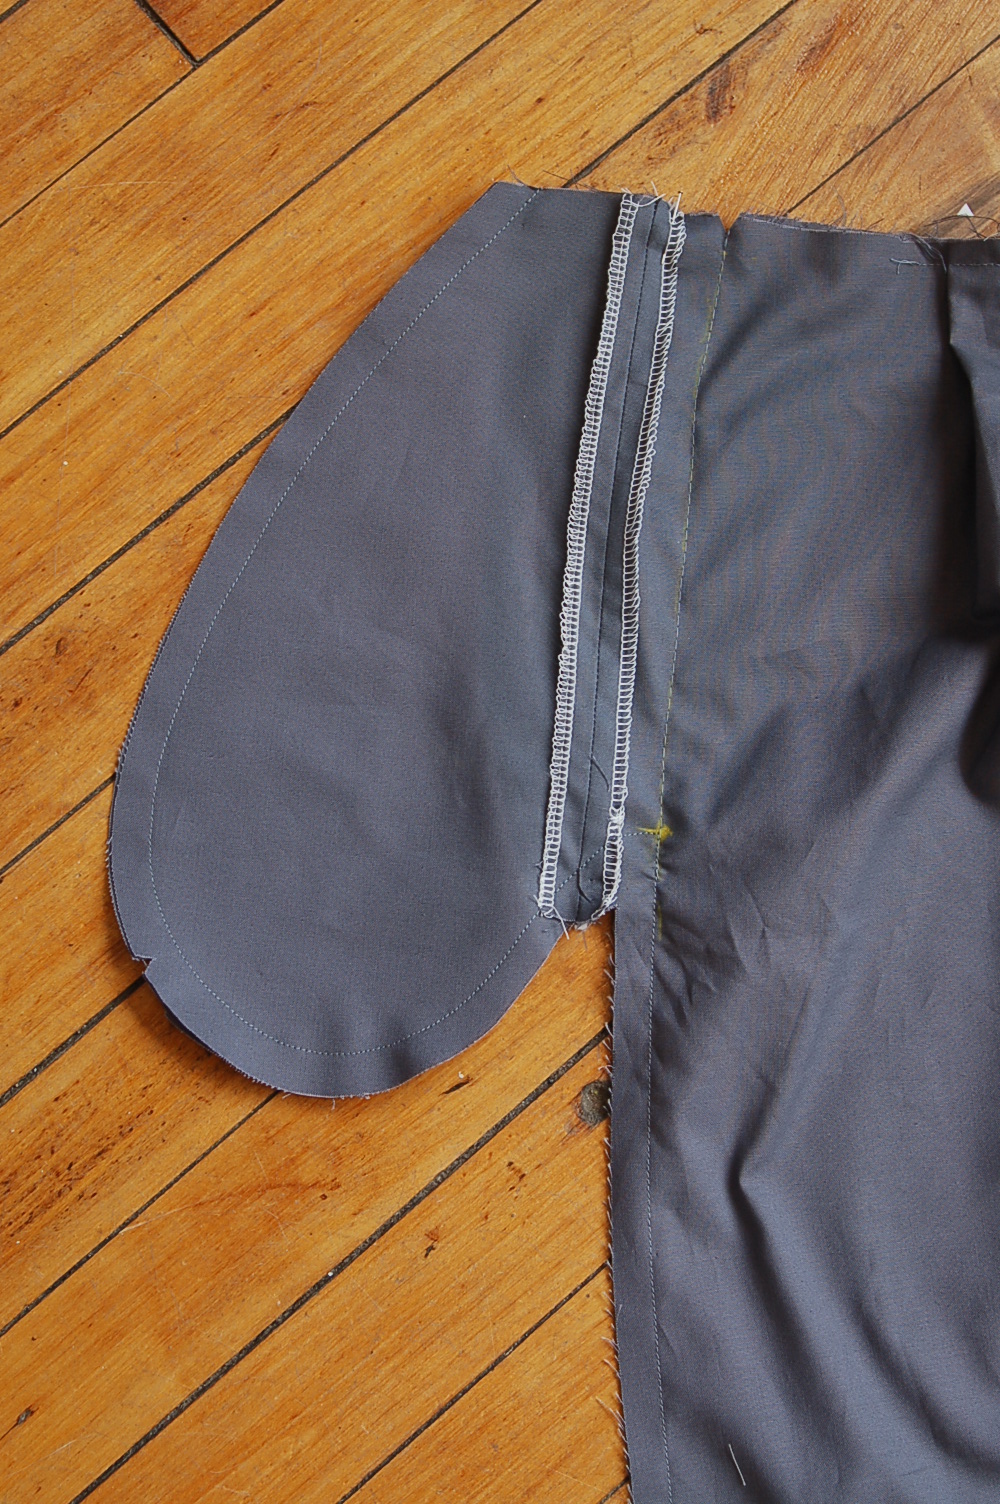
3. Clip just the seam allowances of the back culottes below the pockets (leave the front seam allowances unclipped) to allow the pocket to be pressed forward while still allowing the seam allowances to be pressed open. Press the pockets toward the front of the culottes along the basting stitches. Baste the top of the pockets to the front waist with a 3/8” seam. Remove the basting stitches from the pocket openings.
We’ll see you tomorrow for day three where we will be finishing up the culottes.
I’m having trouble viewing your blog posts via Feedly on my iPad. Frequently the top photo does not load, even when I follow the link to the website.
Kerry, we’re aware of this. It has to do with how Feedly is handling certain images. We’re hoping they’ll address this in the future.