Welcome to day three of the School Days Jacket Sew-along. Today we are delighted to have Amanda join us. She will not only be taking us through all the steps for day three, but for day four as well. Thanks so much for being here Amanda!
Hi, I’m Amanda from LilypadMontana and I’m pretty thrilled to be a contributor for this sew-along! I’ve always loved sewing for my kids, but it wasn’t until I discovered Oliver + S patterns that it became a true passion. I’m sure many of you have felt the same way; discovering such a great resource as Oliver + S to help create such lovely things for our little ones! Anyway, let’s continue with the School Days Jacket Sew-Along! Today we will be preparing and attaching the sleeves, preparing the lining and facing, and assembling the jacket, hood, and lining.
Let’s get started!
Prepare and Attach the Sleeves
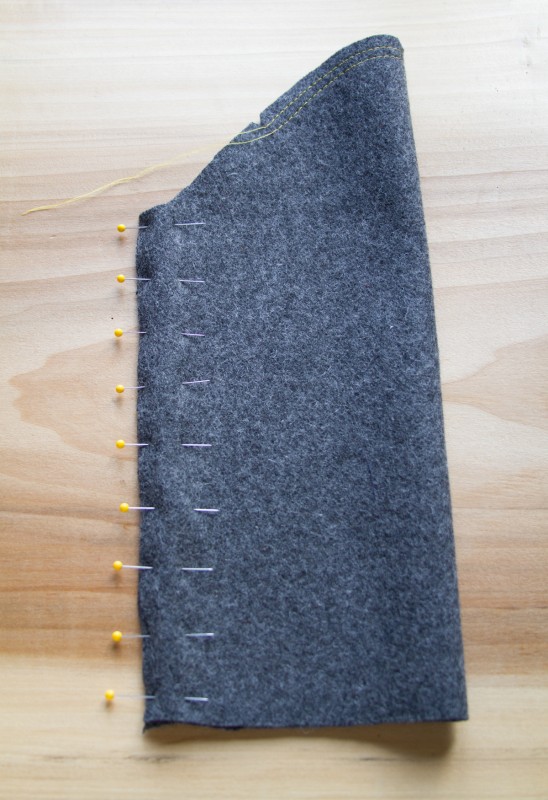
First we will be working on the sleeves. Sew the gathering stitches as directed, being sure to leave your threads long enough to pull later, and then pin and stitch the sleeve sides.
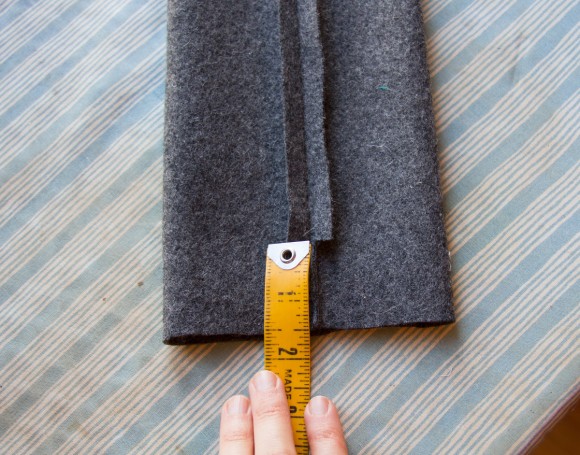
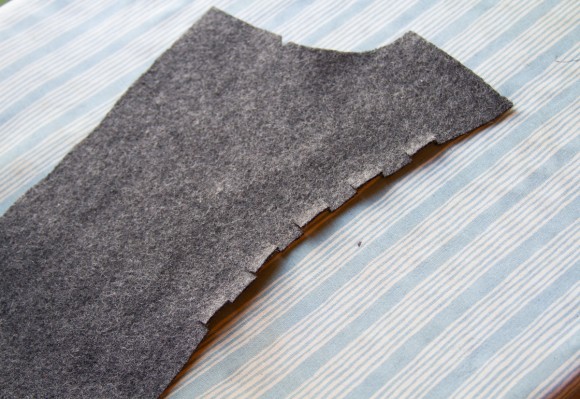
If using bulky fabric, do follow the hint provided to trim away the seam allowances to allow for easy hemming, and then hem the sleeves either by machine or by hand. I choose to use the machine since I like using the stitching line as reference for hand-sewing in the lining later.
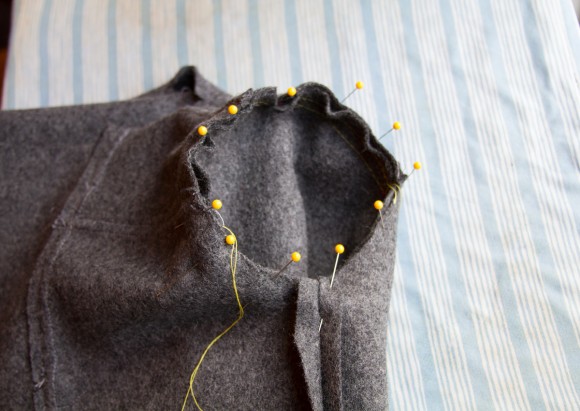
Attach the sleeves, making sure there are no puckers along the armhole once sewn in. The gathering is to ease in the sleeve, not to create a gathered puffed sleeve! If necessary you can rip out the seams where any puckers are, smooth it, and re-sew. This part can be tricky so you may want to take the advice of the directions and baste this seam first before stitching. Once the sleeve is sewn in to your satisfaction press and trim the seam allowances and repeat for the other sleeve.
Prepare the Lining and Facing
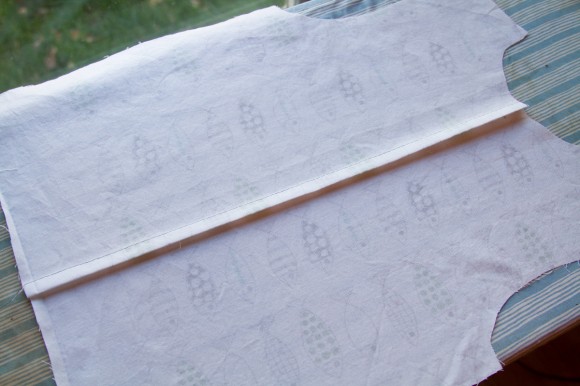
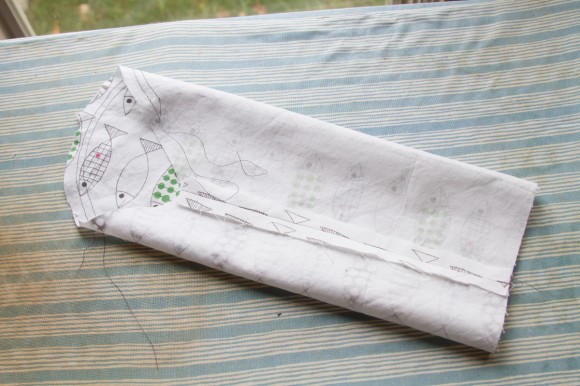
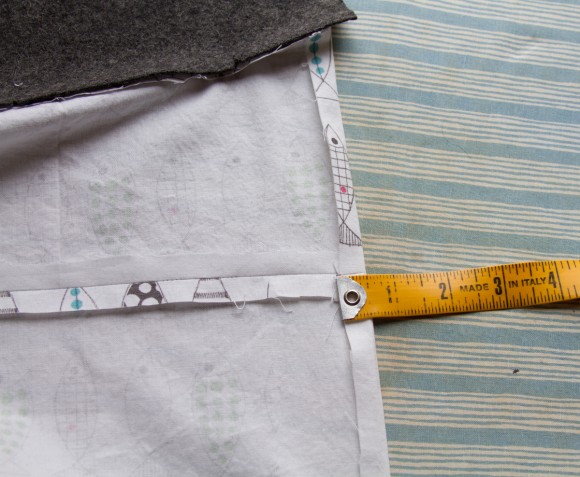
Next we will be preparing the lining and facing. If you are using Velcro now is the time to sew it on! I’m using snaps so those will be sewn on later. Finish the side edge of the facing as directed and then sew the front facing to the front lining. When sewing two opposing edges clipping into the seam allowance (but not past) will help your edges line up.
Here you can see how the opposing edges line up after clipping the edges.
Baste the pleat at the center back of the lining, and then sew the shoulder and side seams of the lining together.
Prepare and attach the lining sleeves in the same manner as the outer sleeves. The lining sleeves are 1” shorter than the pattern so be sure to trim them down before ironing up the hem.
Also iron up the lining bottom hem.
Assemble the Jacket, Hood, and Lining
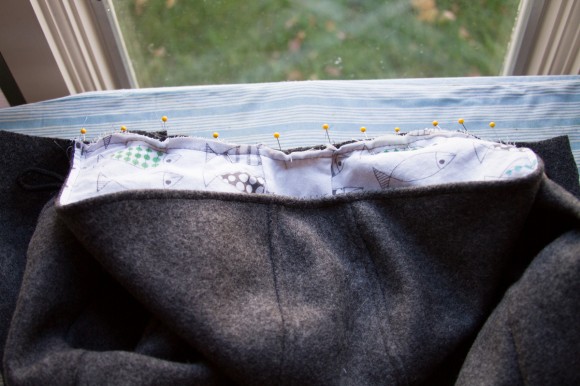
Now to assemble the jacket, hood, and lining. First baste on the hood.
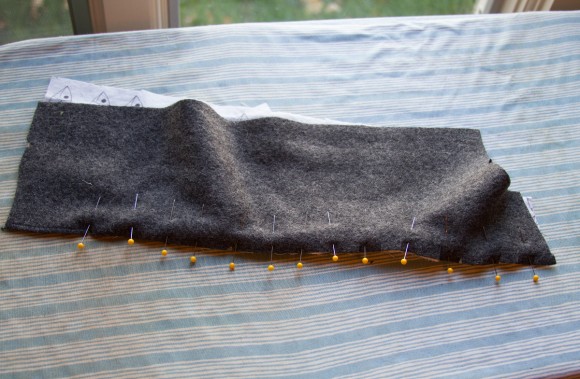
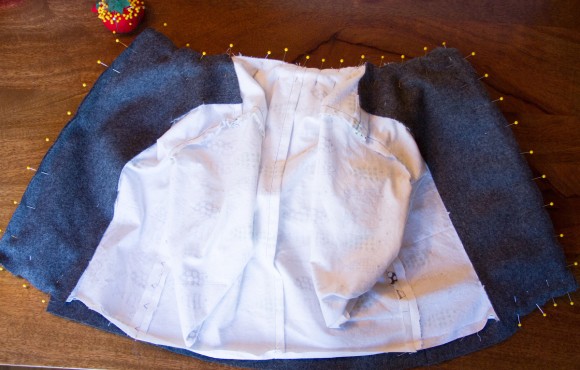
Sew the lining to the jacket with the hood sandwiched in-between. As you can see, I like to use lots of pins to make sure everything lines up nice and neat! Make sure you don’t stitch your sleeves into this hem by accident. Trim your seams and corners, turn right side out and press.
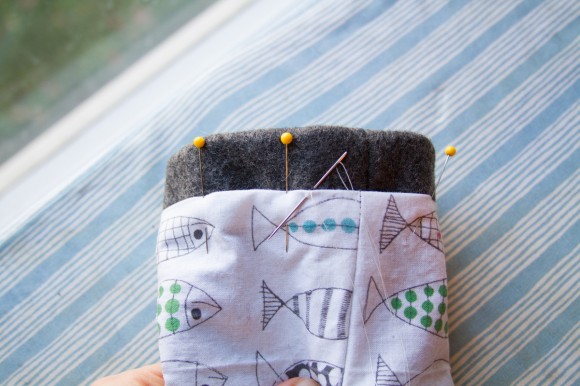
Last step for today! Sew the sleeve lining down with either a slipstitch or blindstitch. While sewing this part, I like to keep the sleeve wrong side out to more easily reach the seam. Also, if you sewed the outer sleeve hem by machine you can now line the edge of the lining up with this seam, giving you an easy reference of where to sew.
That’s all for today! Join me again tomorrow, and we will finish our jackets plus sew the optional quilted lining.
Thank you Amanda, I have some catching up to do!
And….I have caught up!
That was so helpful! Thank you! I just did this part this morning and now can hopefully finish part 4 (no vest for me) this afternoon.