We have reached our last day of the Cinema/Hide-and-Seek Dress Sew-Along. Today we will be finishing up the Cinema Dress.
It’s getting very exciting because we’re so close to the end. Off we go!
Prepare the Sleeves and Attach the Cuffs
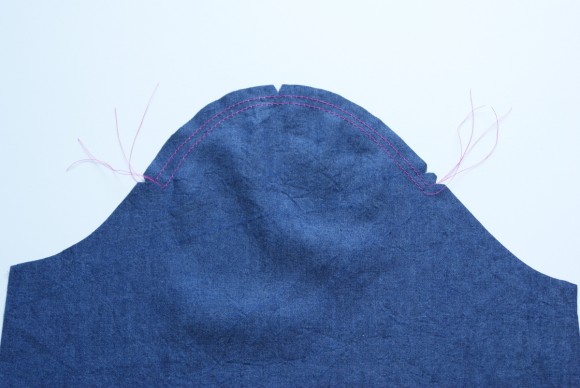
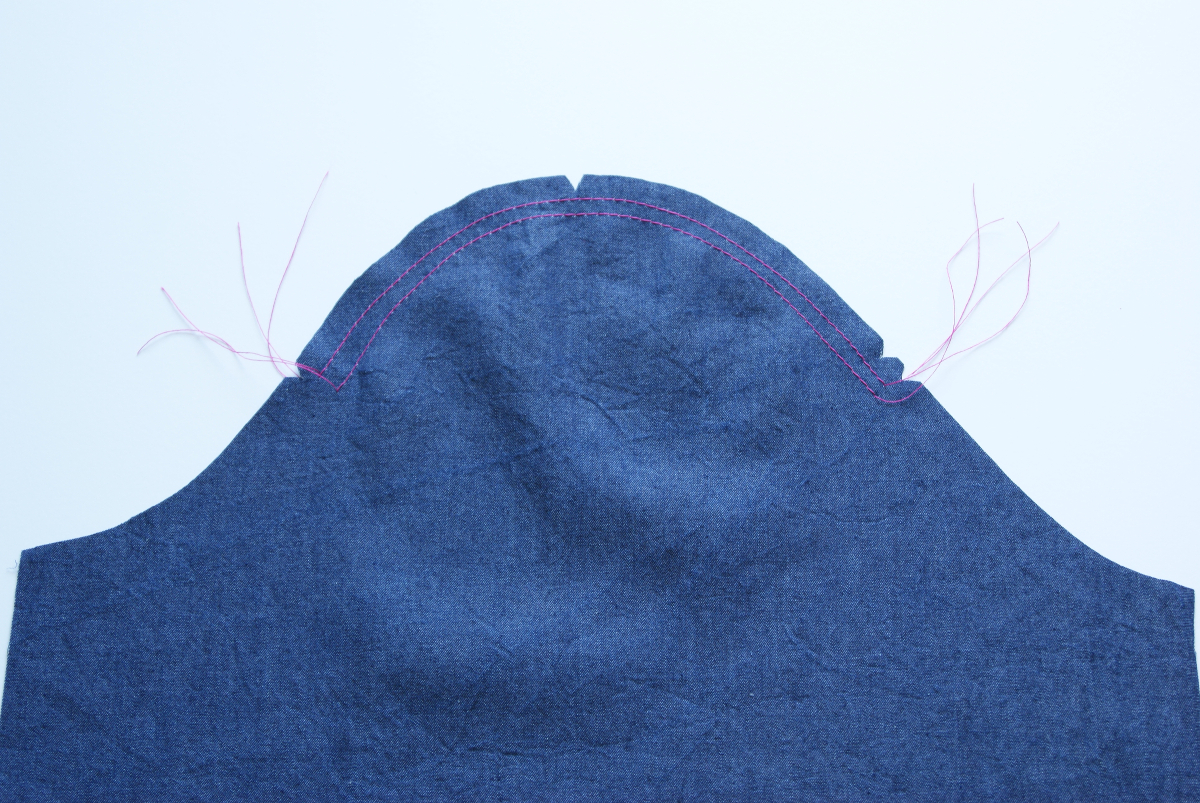
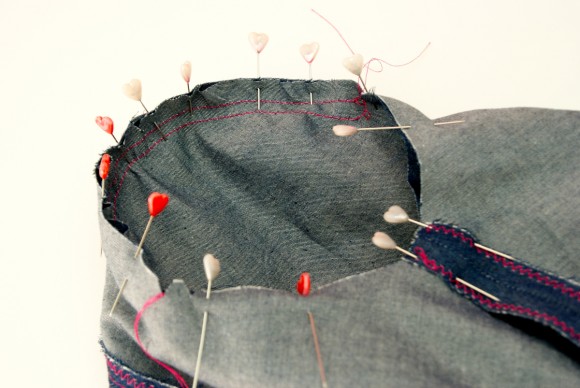
- Sew a row of gathering stitches 3/8” from the raw edge of the cap of one sleeve, starting and stopping at the sleeve cap’s side notches and leaving thread tails several inches long on both ends of the gathering stitches. Then sew a second row of gathering stitches 5/8” from the raw edge. (Note that the sleeve cap also has a center notch, which you’ll use later to help align and pin the sleeve and armhole to sew them together.)
- Fold the sleeve in half, with right sides together, and pin the side edges of the sleeve together. Stitch the sleeve with a 1/2” seam and press the seam allowances open. Finish the seam allowances using your preferred method.

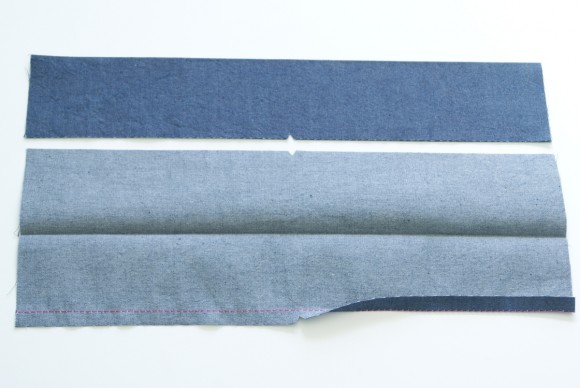
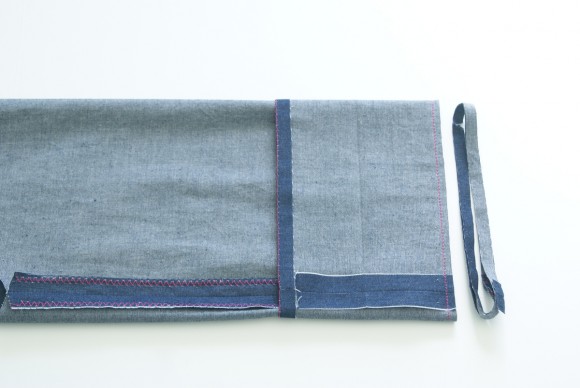
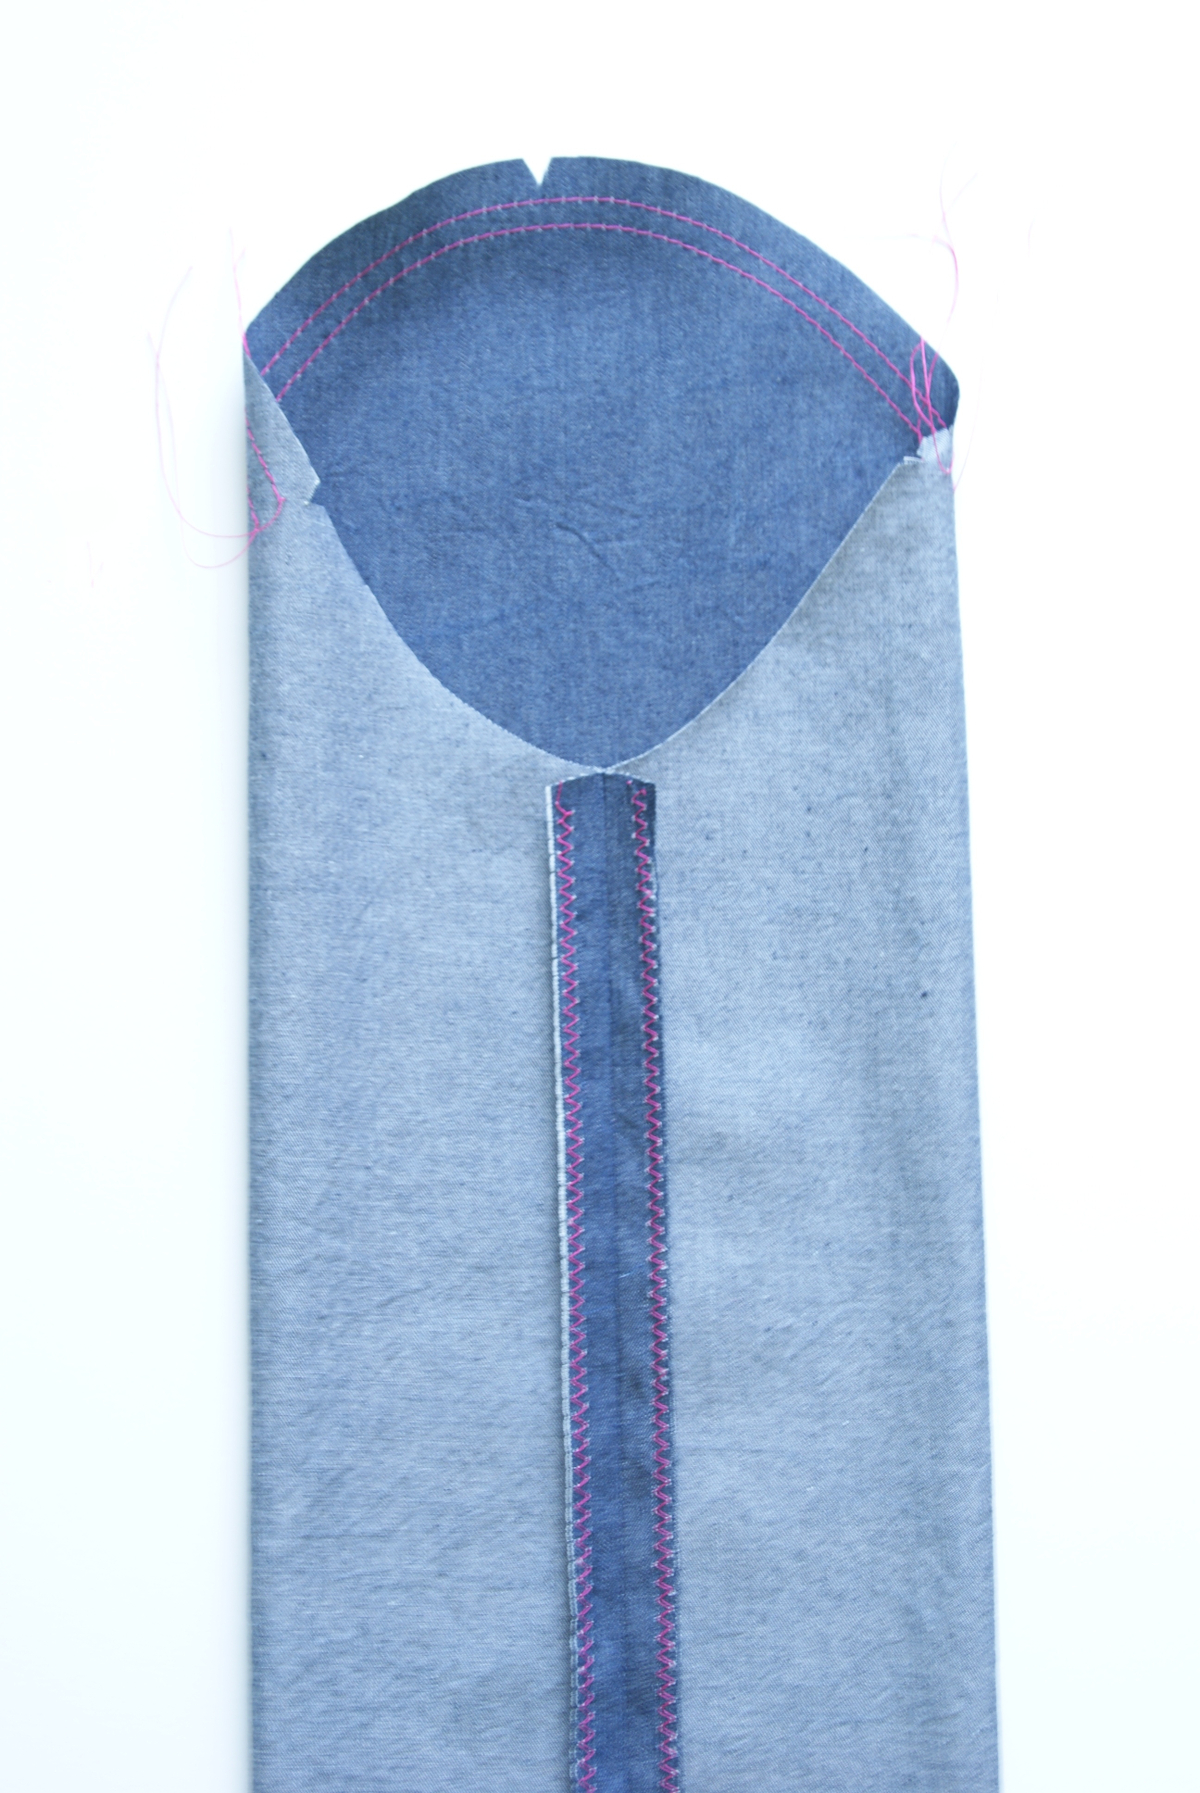
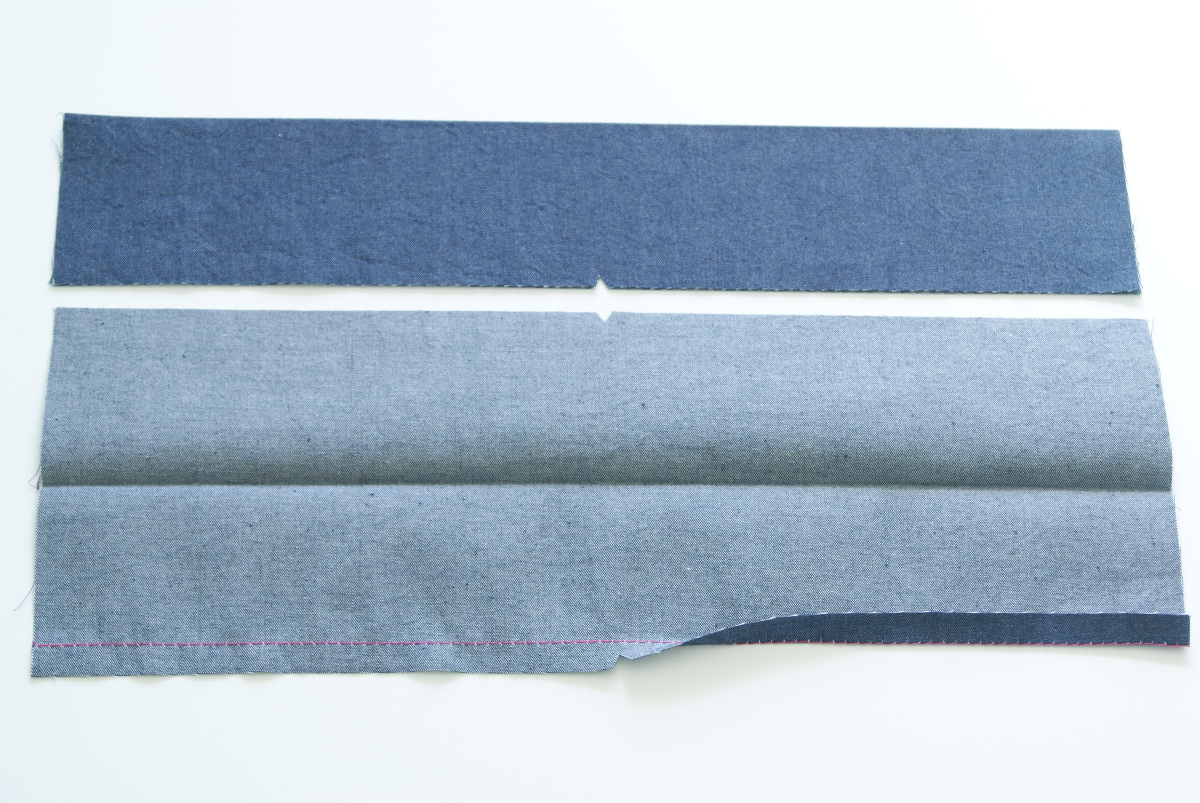
- Fold one sleeve cuff in half lengthwise, with wrong sides together, and press a crease into the center. Unfold the fabric and sew a line of basting stitches 3/8” from one long, notched edge. Fold and press the fabric to the wrong side along the basting line.
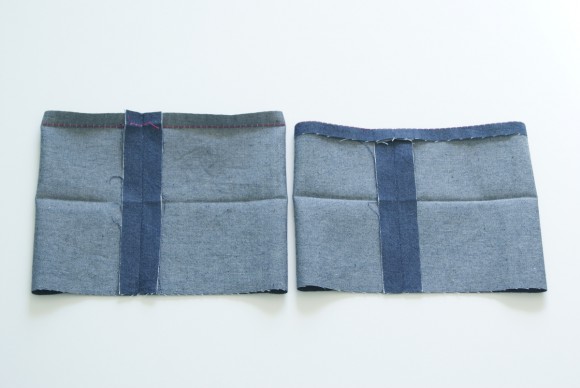
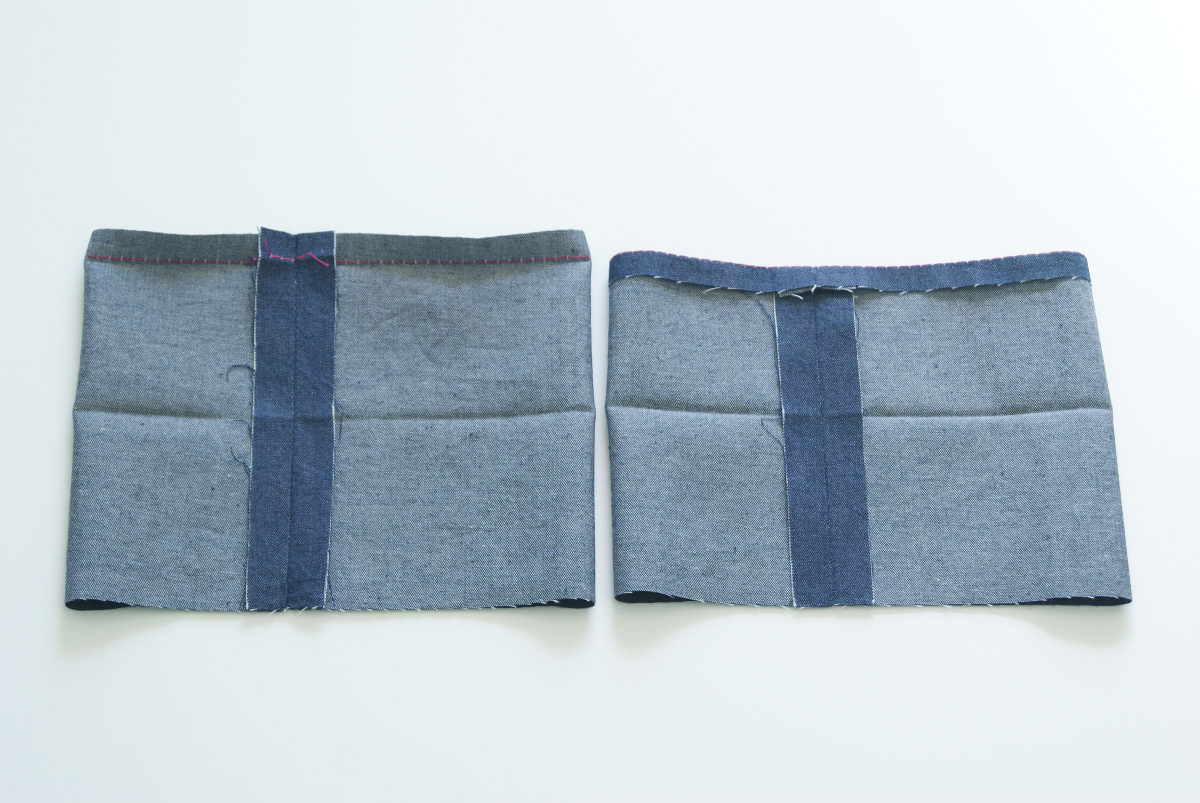
- Unfold the sleeve cuff’s edge and pin the short ends of the sleeve cuff, with right sides together. Stitch the short edges together with a 1/2” seam, backstitching or lockstitching at both ends. Press the seam allowances open and then refold the sleeve cuff’s long, pressed edge.
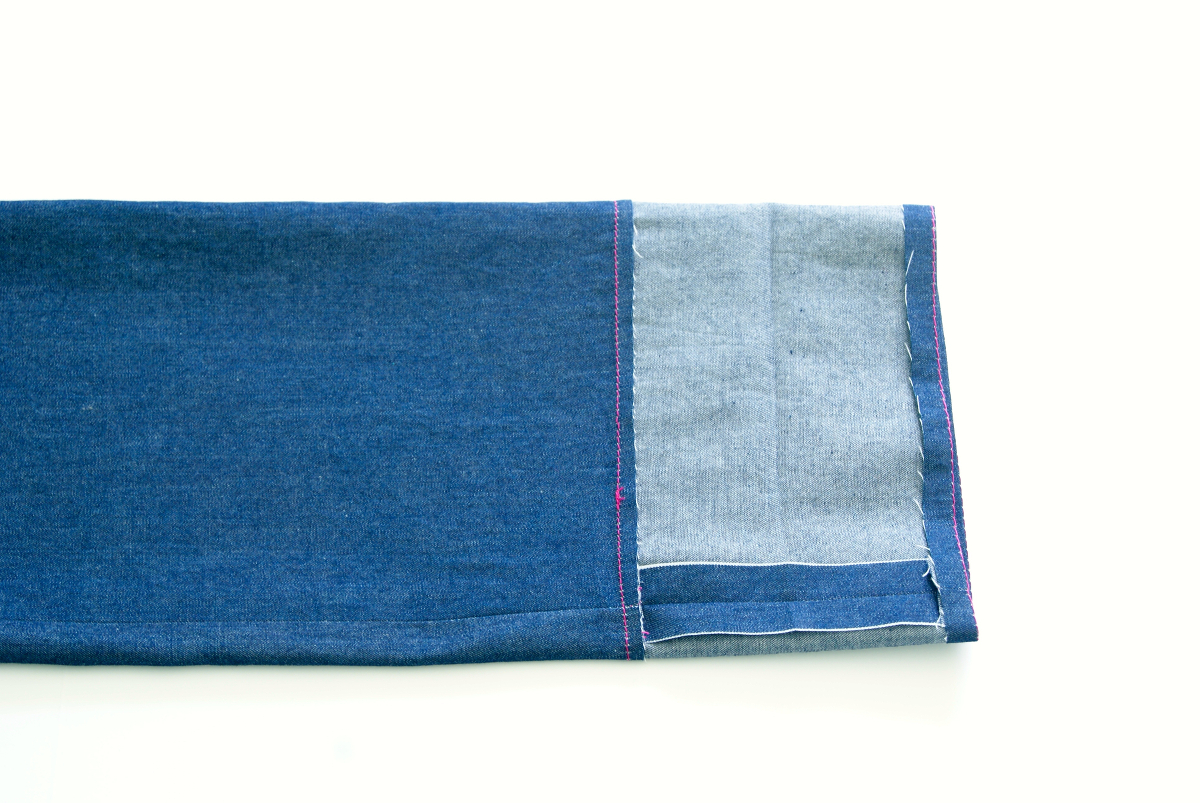
- Pin the right side of the sleeve cuff’s long notched edge to the wrong side of the sleeve’s raw edge, matching the seams and notches. Stitch the cuff in place with a 1/2” seam.
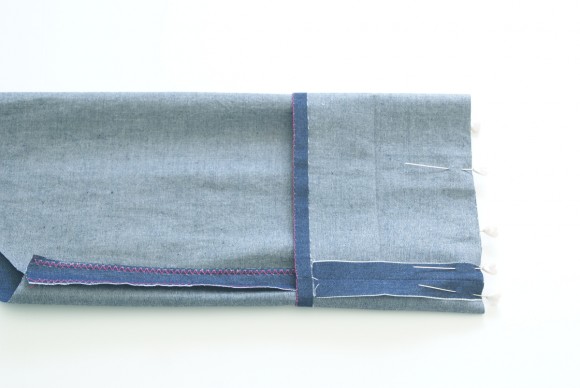

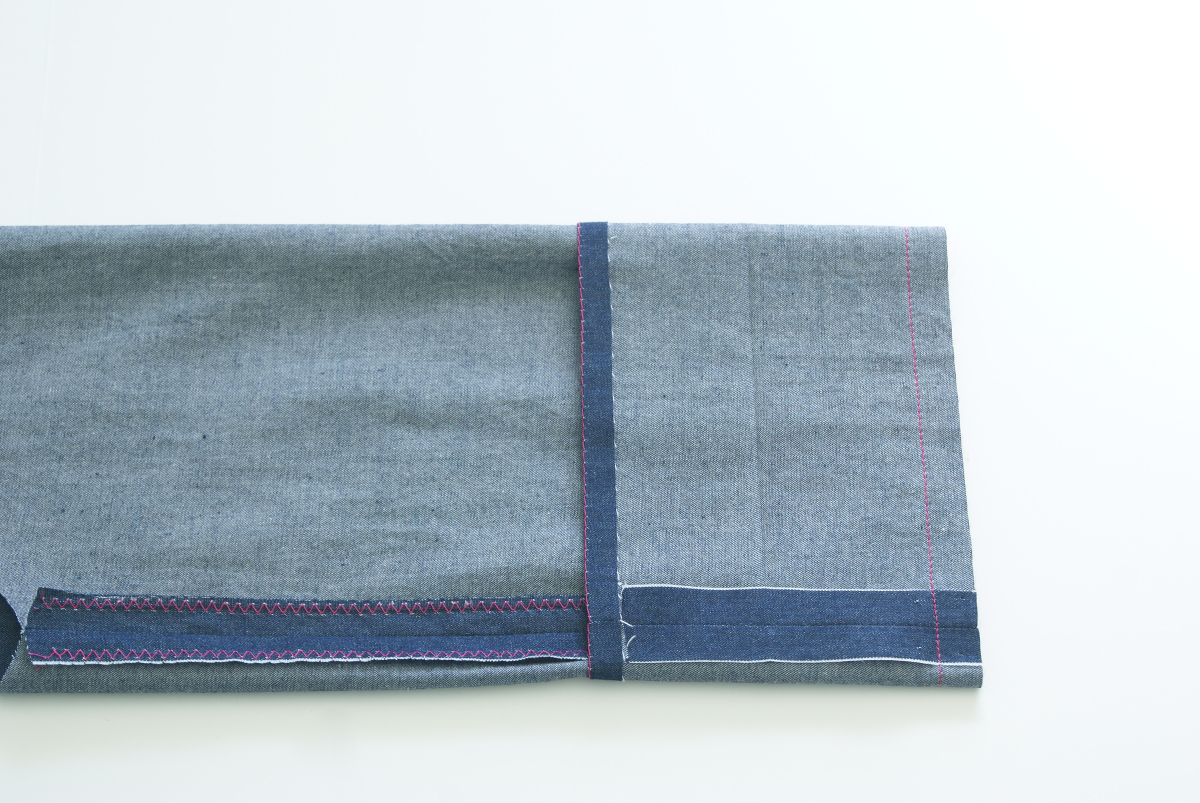
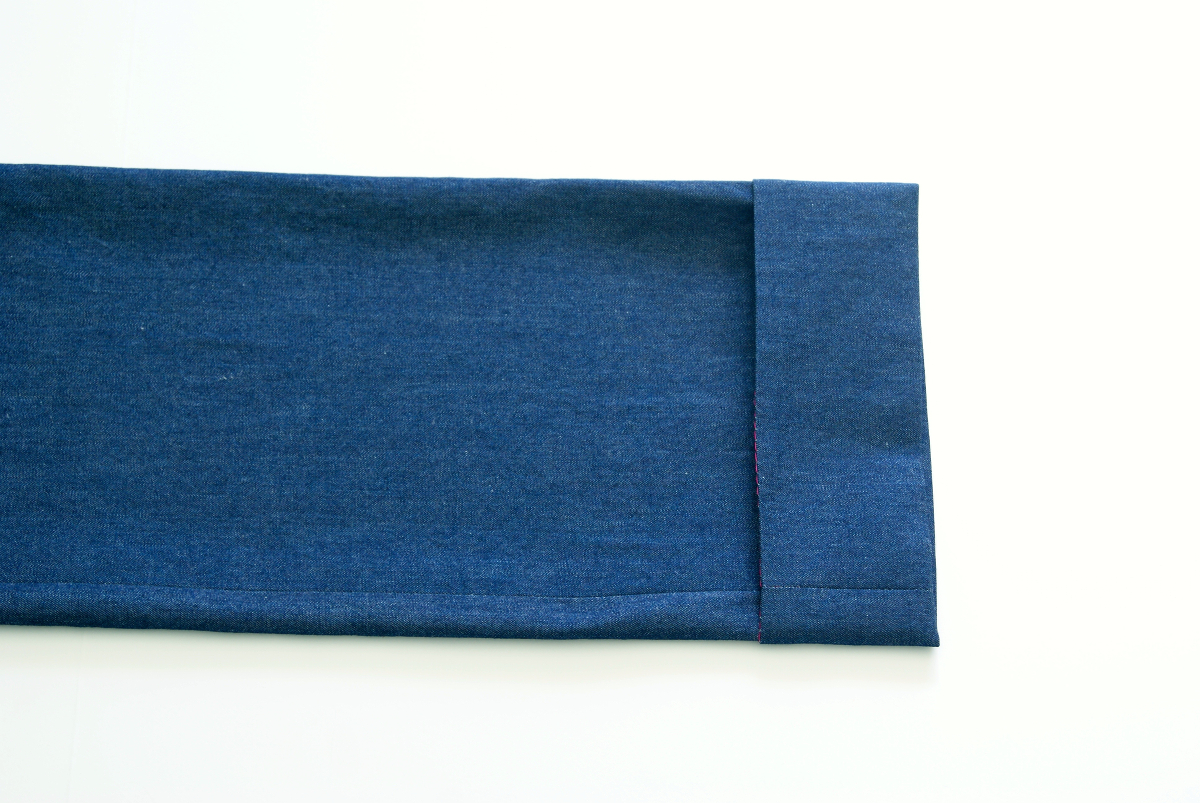
Turn the sleeve right-side out and pull the sleeve cuff away from the sleeve. Press the sleeve cuff and remaining seam allowances away from the sleeve.
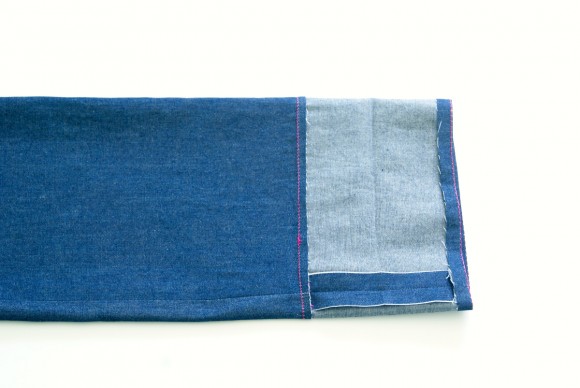
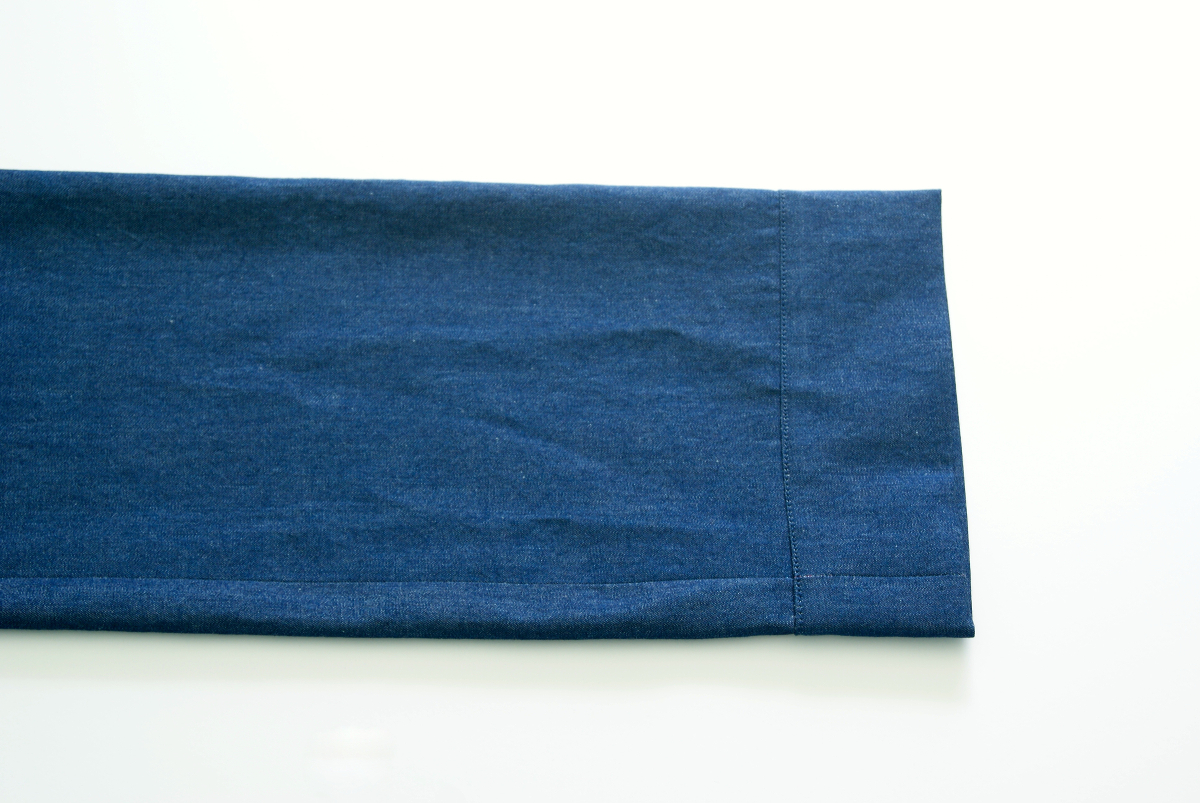
- Fold the cuff along the center crease and pin the folded edge to cover the basting line from Step 3, pinning from the right side of the sleeve. Edgestitch the seam to finish the sleeve cuff, catching the folded edge in the seam.

- Repeat steps 1-6 to prepare the second sleeve and cuff.


Sew the Side Seams and Attach the Sleeves
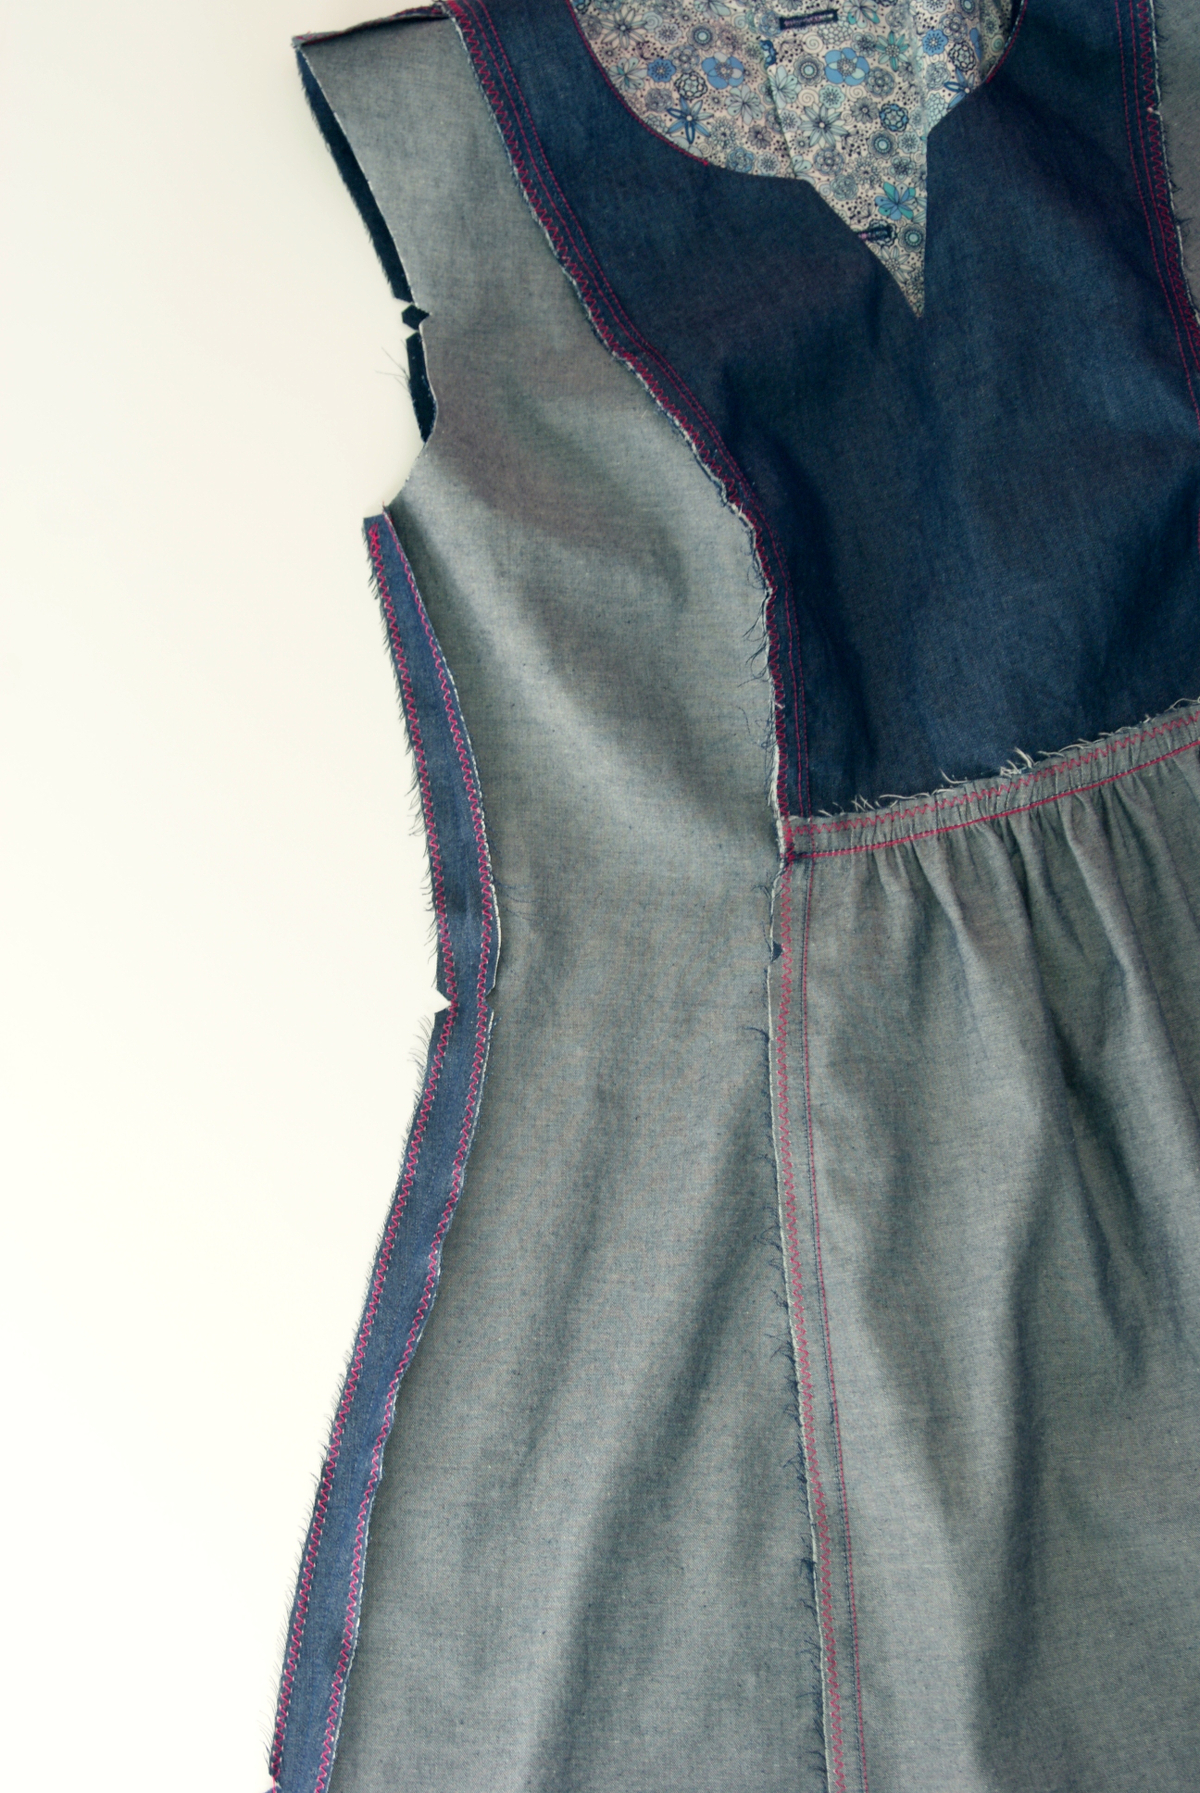
- Pin the front and back of the dress together at the sides, with right sides together, and stitch the side seams with a 1/2” seam, backstitching or lockstitching at both ends. Press the seam allowances open and finish them using your preferred method.
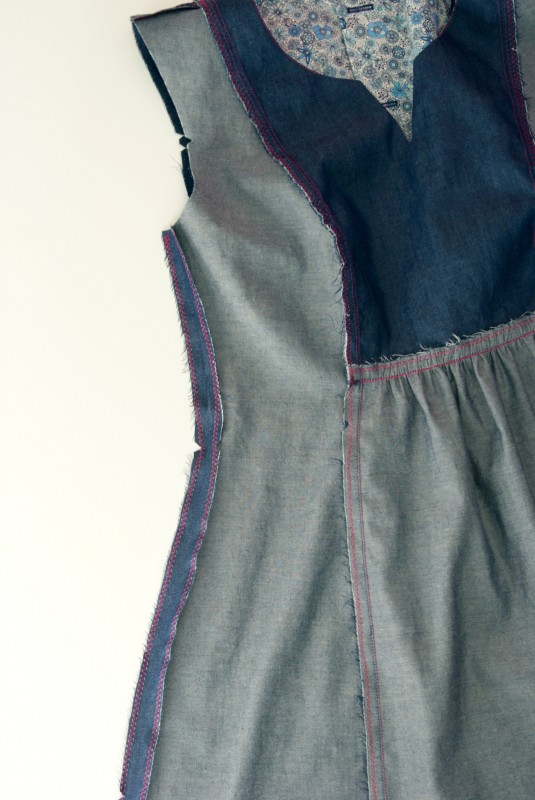
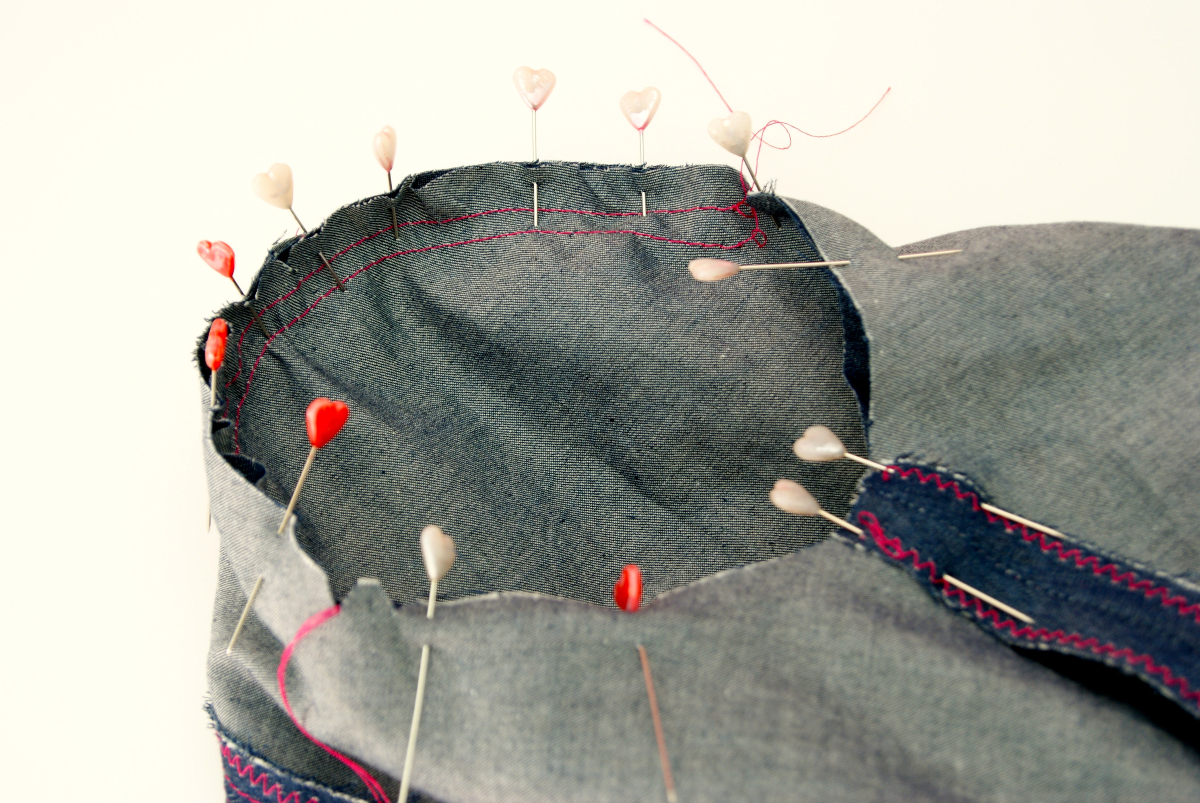
- With the dress turned wrong-side out, pin one right-side-out sleeve into the corresponding armhole. Match the notches and seam of the sleeve with the notches and seam of the armhole. Pull on the gathering thread tails to ease the small amount of excess fabric at the top (cap) of the sleeve until it matches the armhole. Smooth the fabric to eliminate any puckers and pin the sleeve into place. Stitch the sleeve to the armhole with a 1/2” seam. Finish the seam allowances together using your preferred method and press them toward the sleeve. Attach and finish the second sleeve the same way. Once the sleeves are sewn, you can remove any visible basting stitches from the sleeve caps.
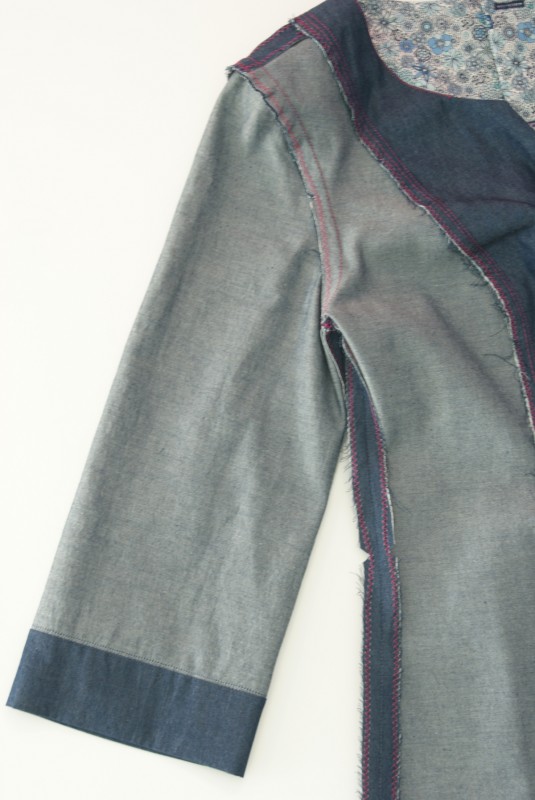
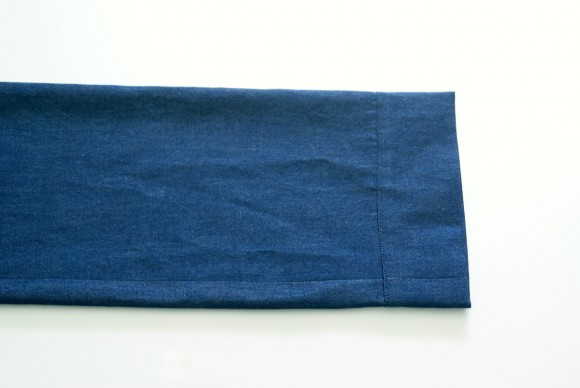
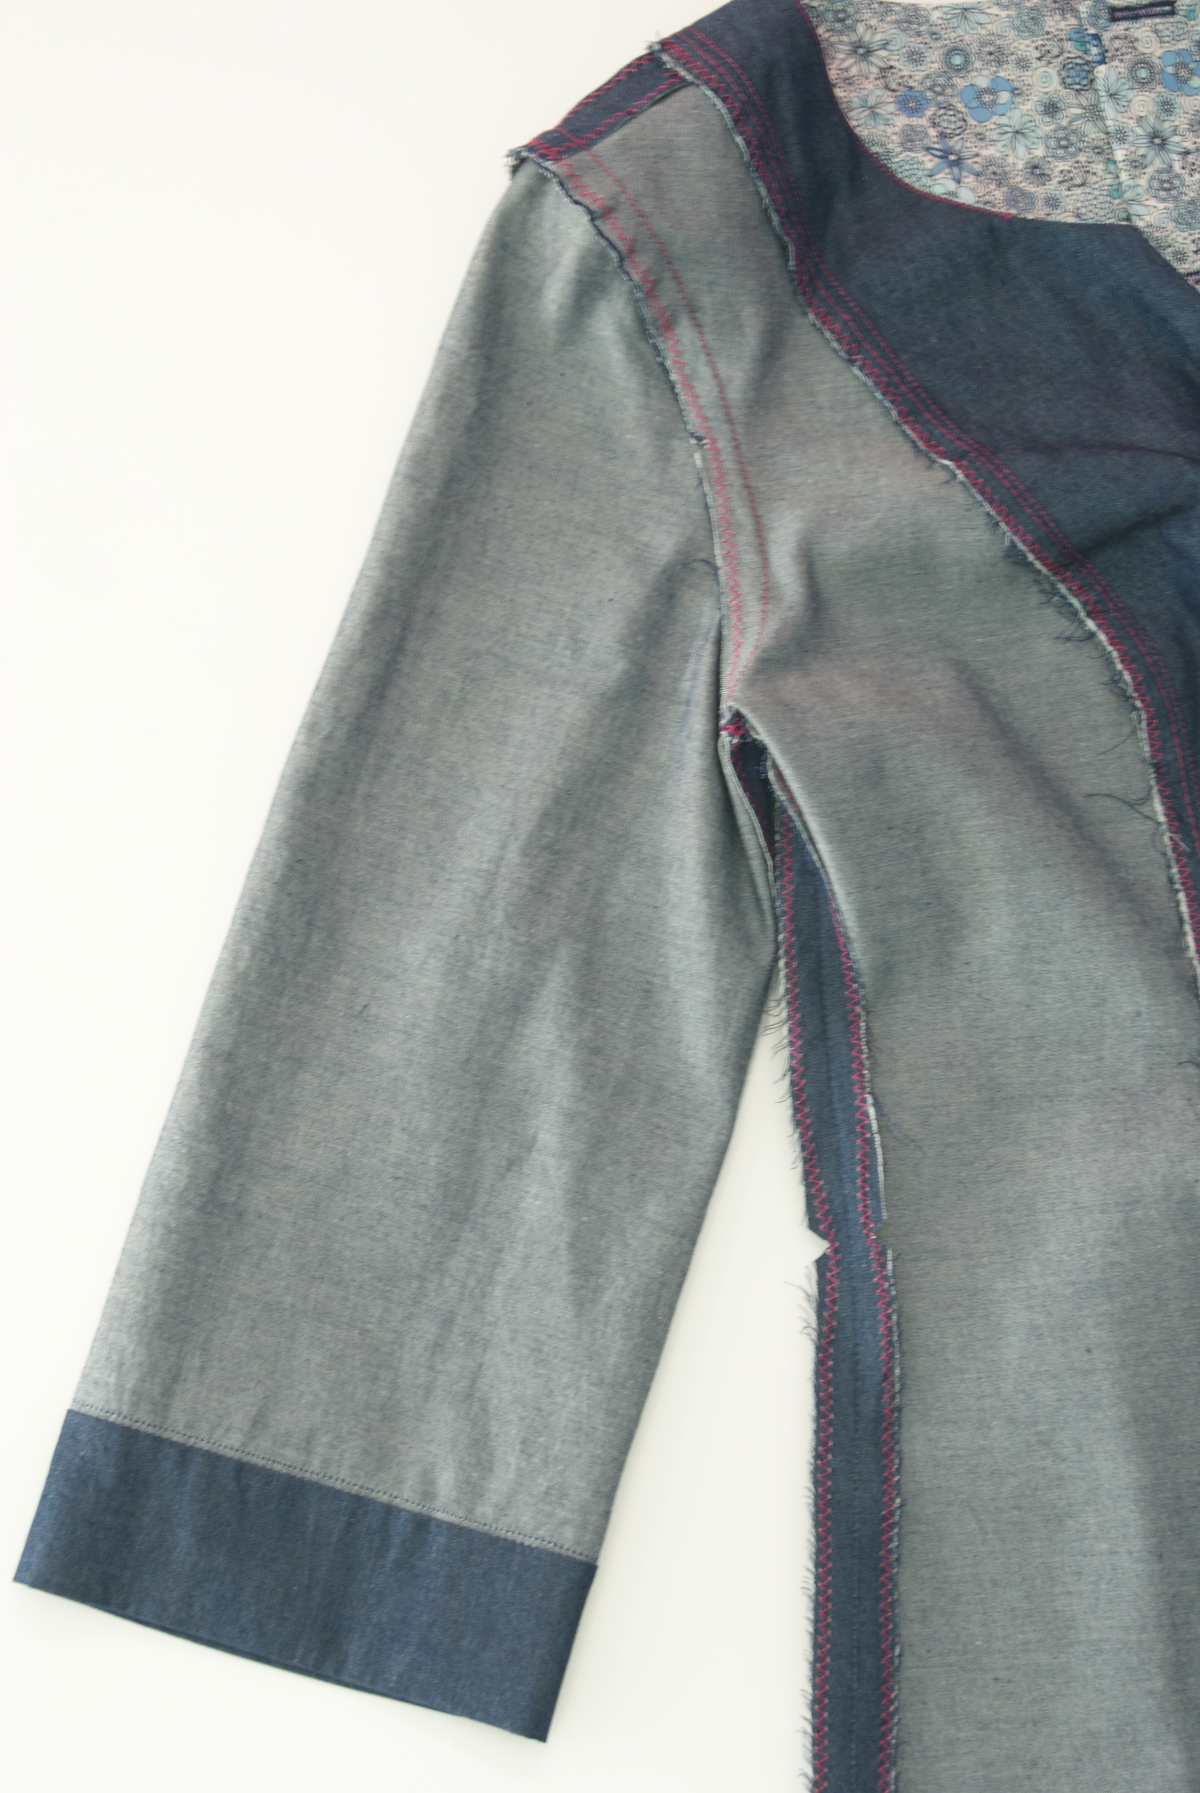
- Fold an press the cuff to the sleeve’s right side by approximately 1 1/2”. Tack the folded edge of the cuff to the sleeve at the underarm seam by hand or by machine to hold it in place. (If desired, you can also tack the cuff by hand in a few other spots to help keep it in place when the dress is worn. Try to take the stitches just inside the fold, so they aren’t visible from the outside of the dress.)
- Repeat steps 2-3 for the second sleeve.

Finish the Dress
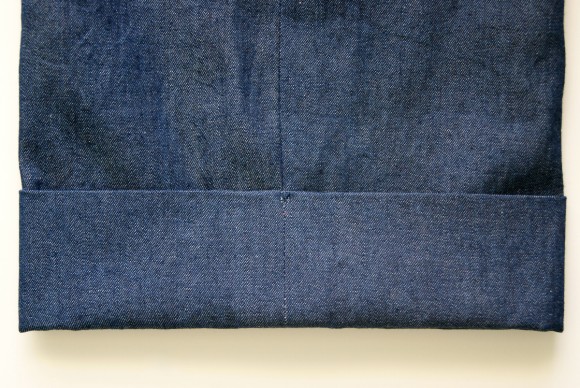
- To hem the dress, sew a line of basting stitches 1/2” from the garment’s bottom edge, which will become the first fold line for the hem. Sew a second line of basting stitches (or use tailor’s chalk to draw a line) 1 1/2” from the bottom edge.
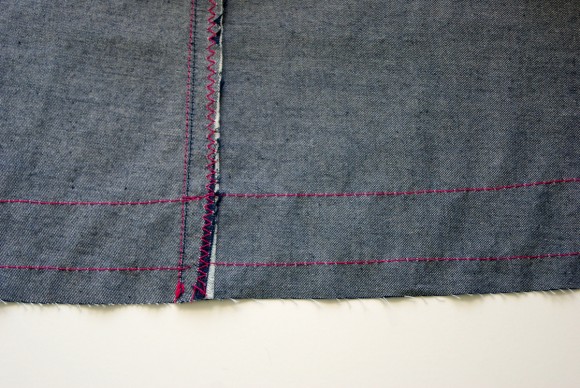
Fold and press the fabric’s bottom raw edge along the first basting line to the wrong side.
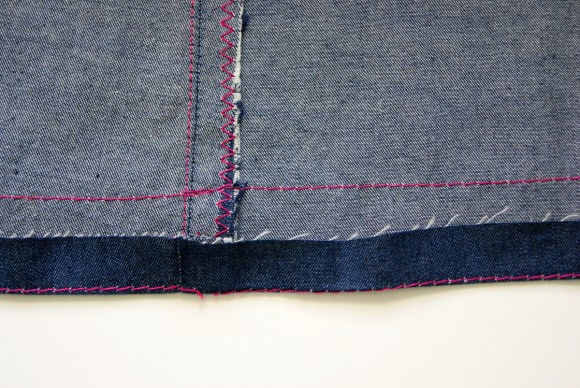
Then fold and press again at the second basting line to enclose the raw edge.
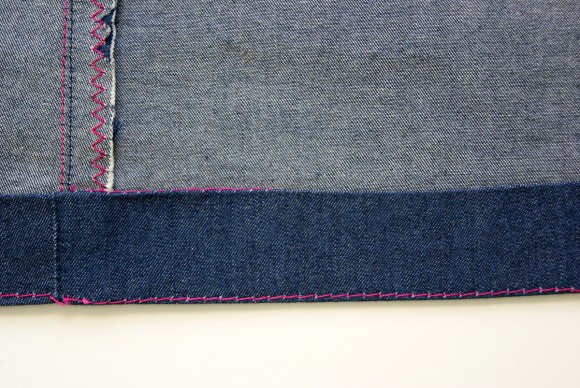
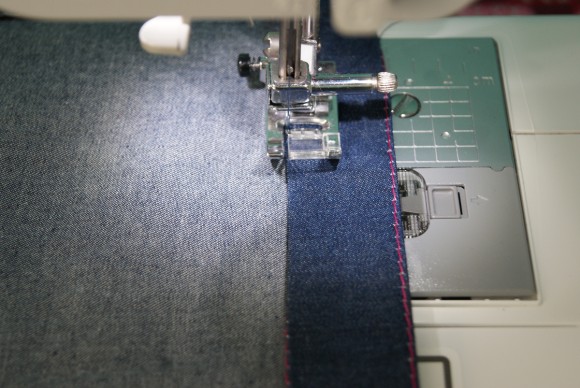
Edgestitch the hem along the second, innermost, fold to hem the dress.
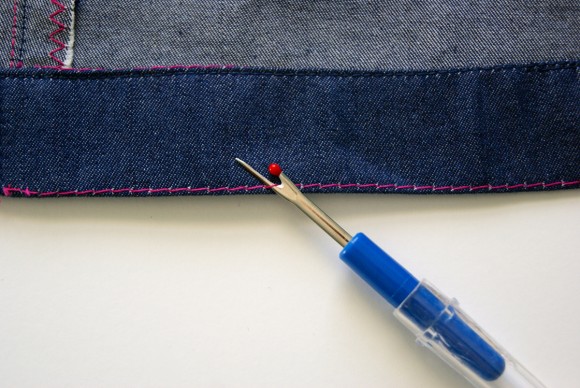
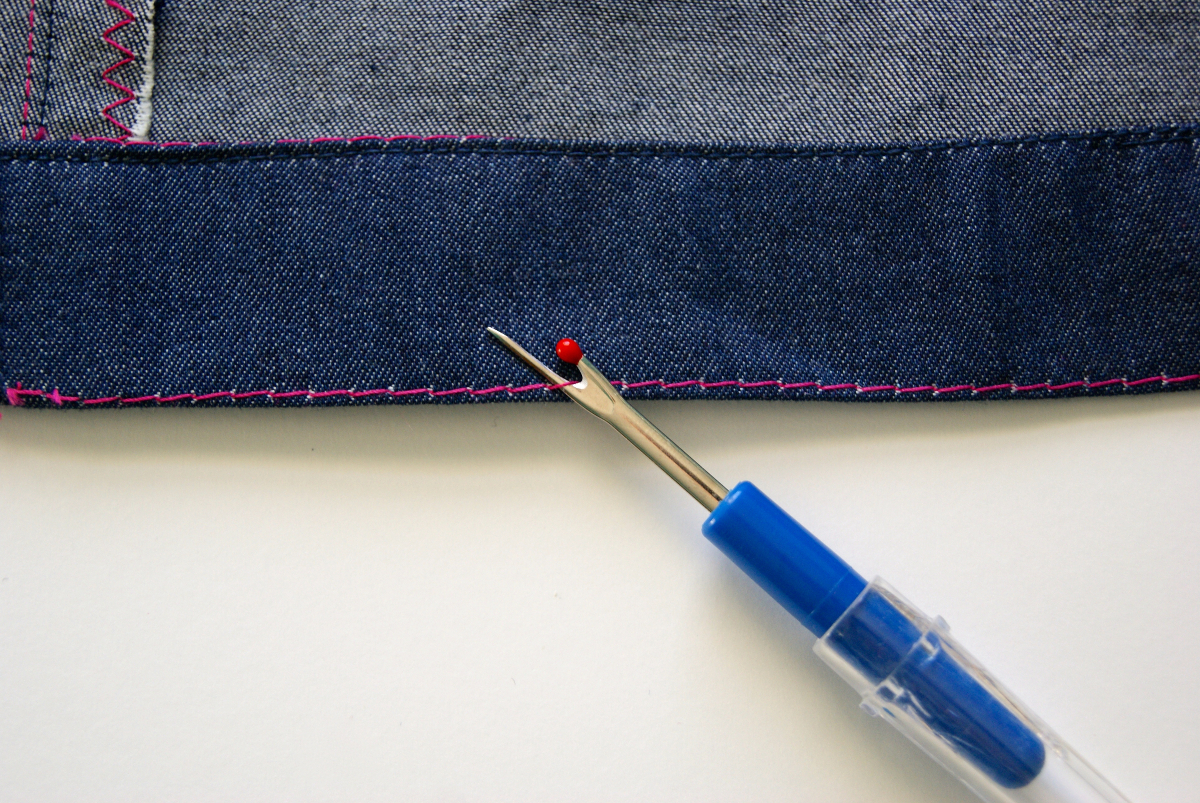
Remove basting stitches.
- Sew buttons on the wearer’s left yoke at the marked positions.
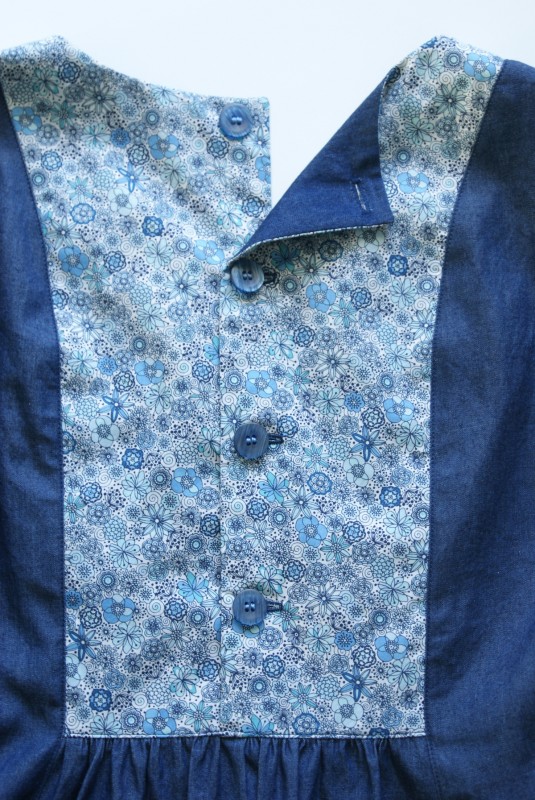


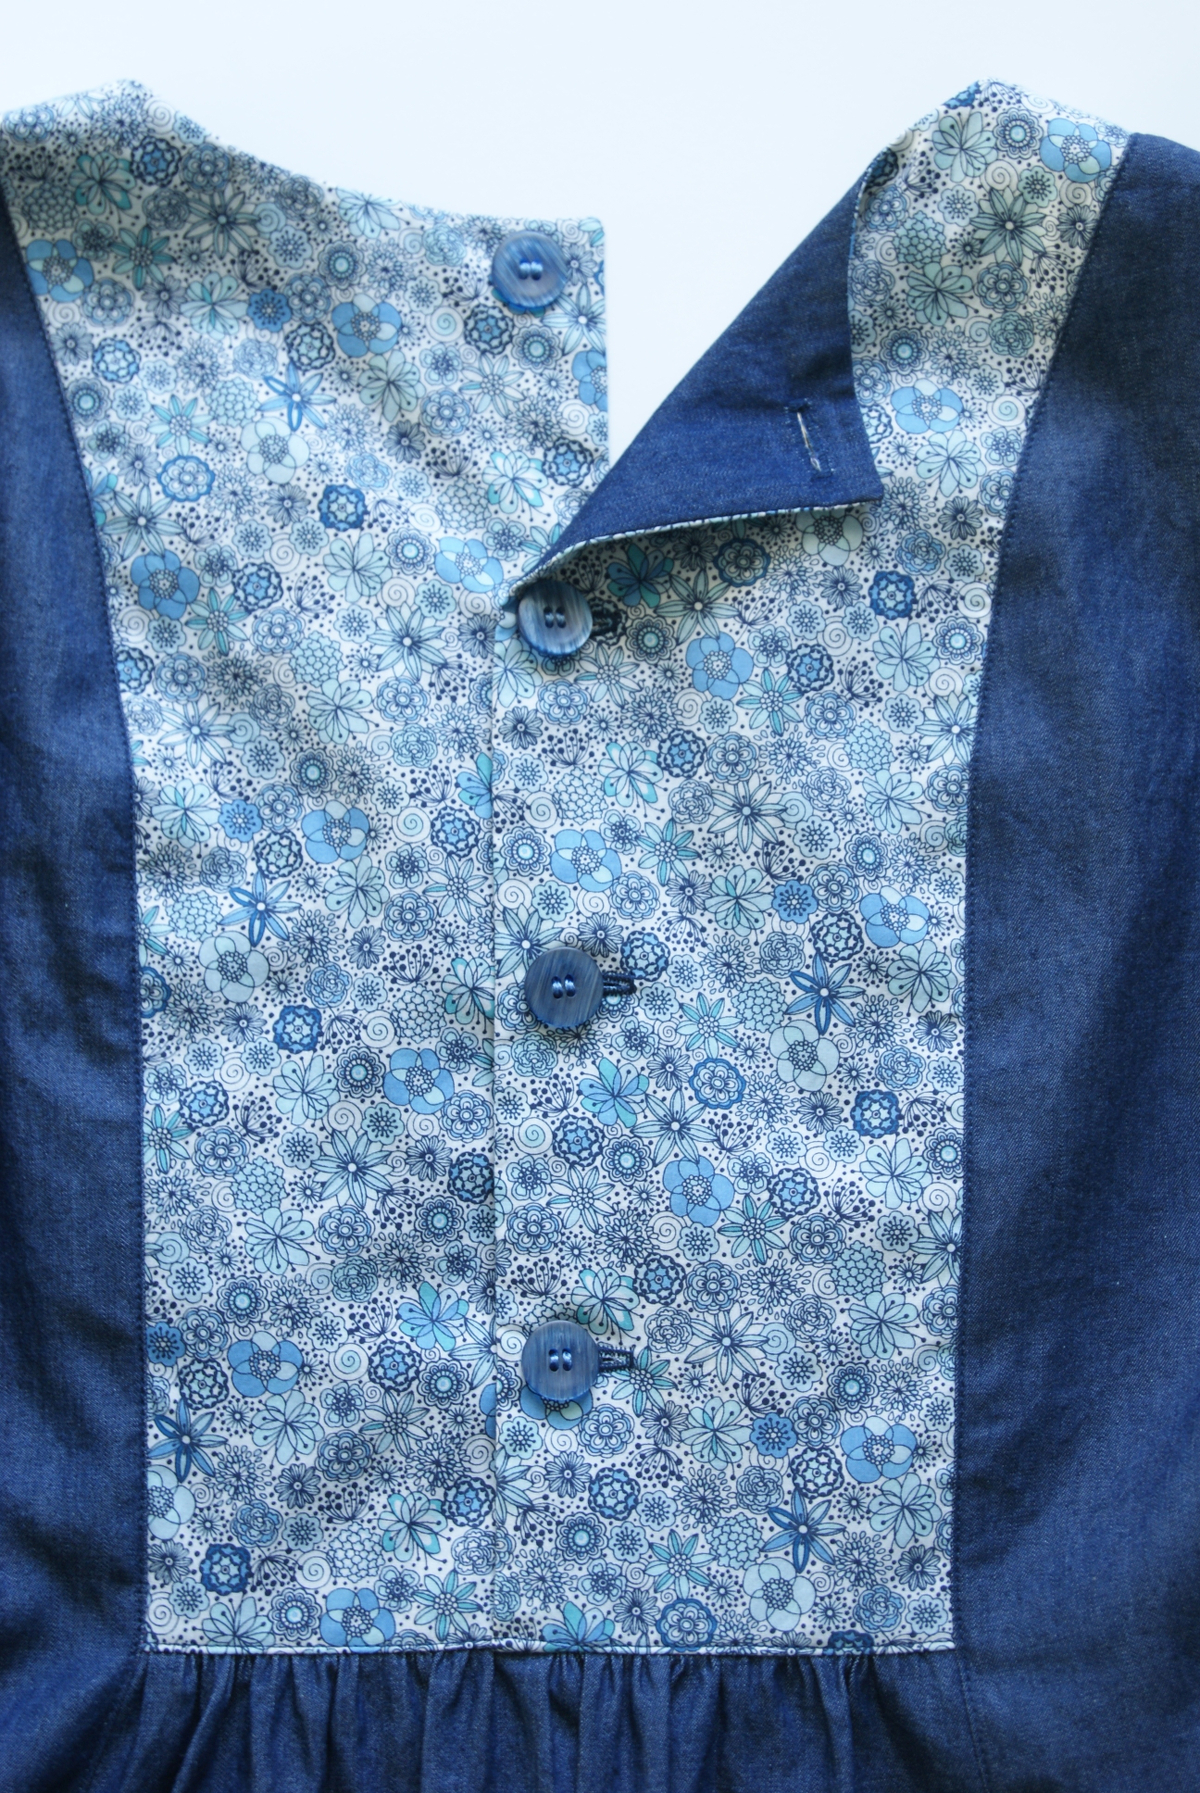
You are now done with your Cinema Dress! Please do share photos of your completed Cinema Dresses in the Liesl +Co. Patterns Flickr group, we’d love to see what you created!
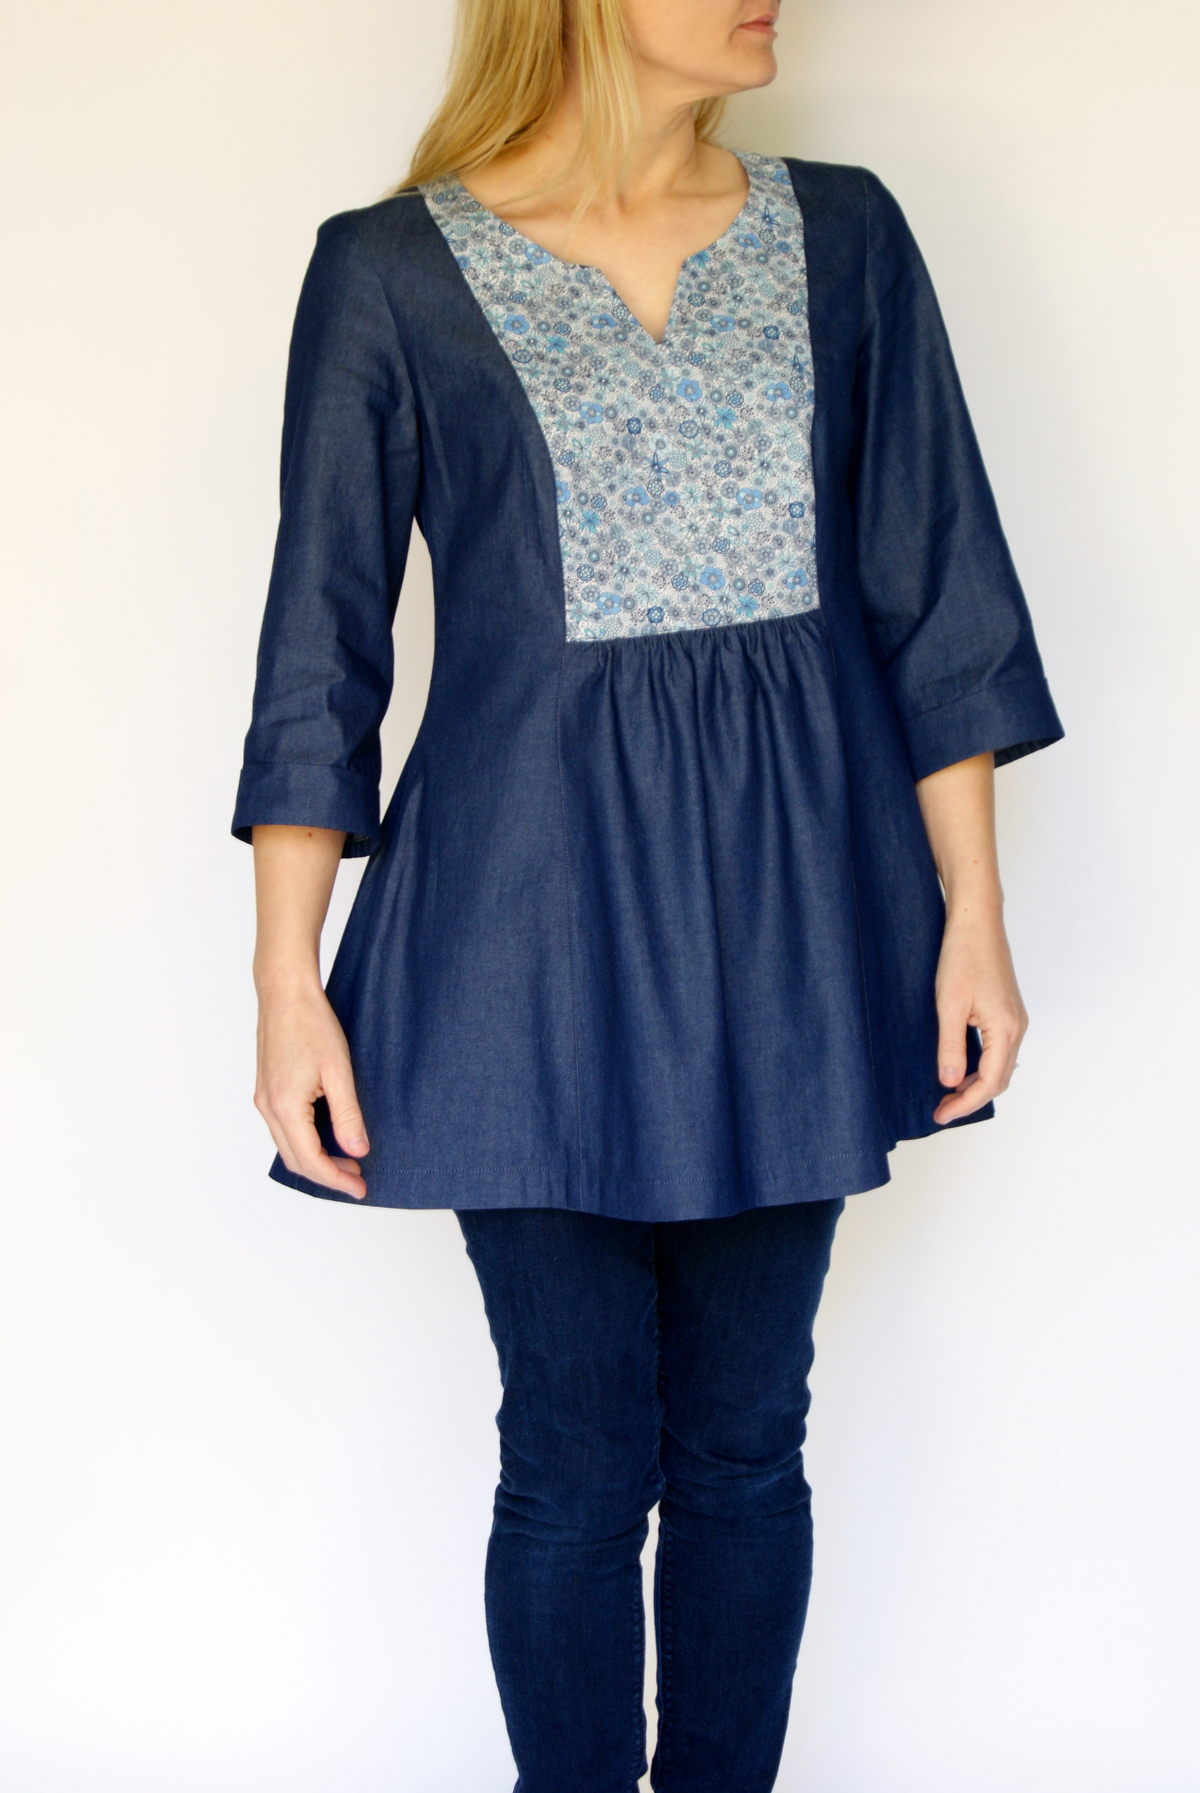
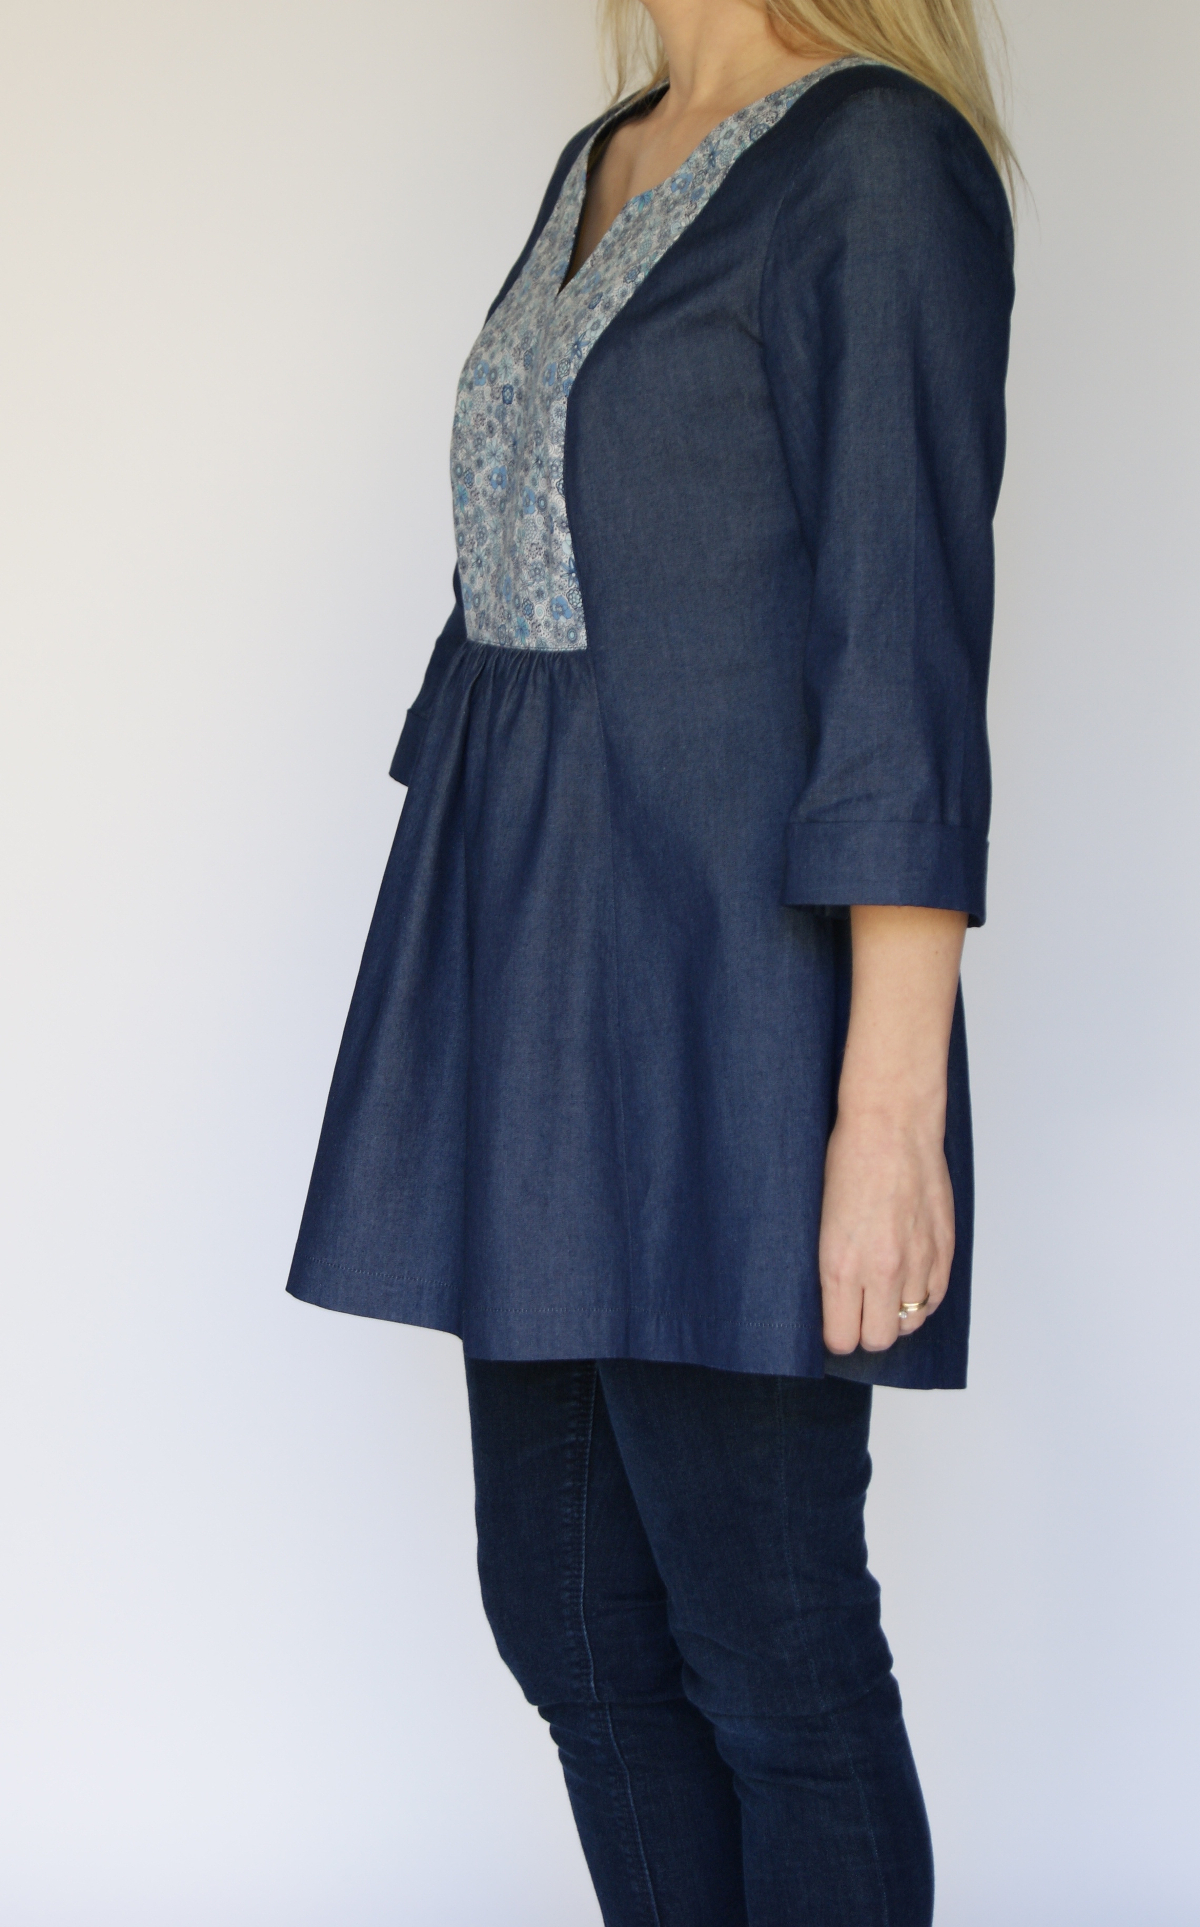
Surprise! I shortened my Cinema Dress to tunic length and eliminated the pockets.
Thanks so much for joining us this week for the sew-along. Also, the posts will be up indefinitely in case you didn’t have the opportunity to sew with us this week, but want to make your dress in the future.
Happy weekend!
Hi Liesl, Please can you advise the fabric requirements for the tunic length version, might try that first as I have altered the pattern so much 🙂
What are the fabric requirements for the tunic length top please?
This is so cute Rachel!!
AS USUAL, RACHEL, YOUR INSTRUCTIONS IN TUTORIALS are detailed with sharp photos to accompany each. I LOVE this tunic length (more versatile to coordinate with other pants and skirts) instead of the CINEMA Dress pattern by Oliver + S. Seems like ideal fabric & color with the small blue flowers fabric for the bodice. CLEVER to use red thread in this tutorial so stitching can be seen more readily. Second to the last photo is FAB!
Not sure if you will see this….I want to make this in tunic length, but am not sure about buttons up the back (as in sitting against buttons AND in terms of getting them buttoned once I’m in it. It would be easy to cut the back on a fold. Do you think if I put an invisible zipper in the side seam up to about 1-2″ below the armscye that it would be possible to get into the garment? THANKS!
Sarah
PS…I’ve been sewing garments, quilts and art quilts for 50 years, so I’m up to the technical bits