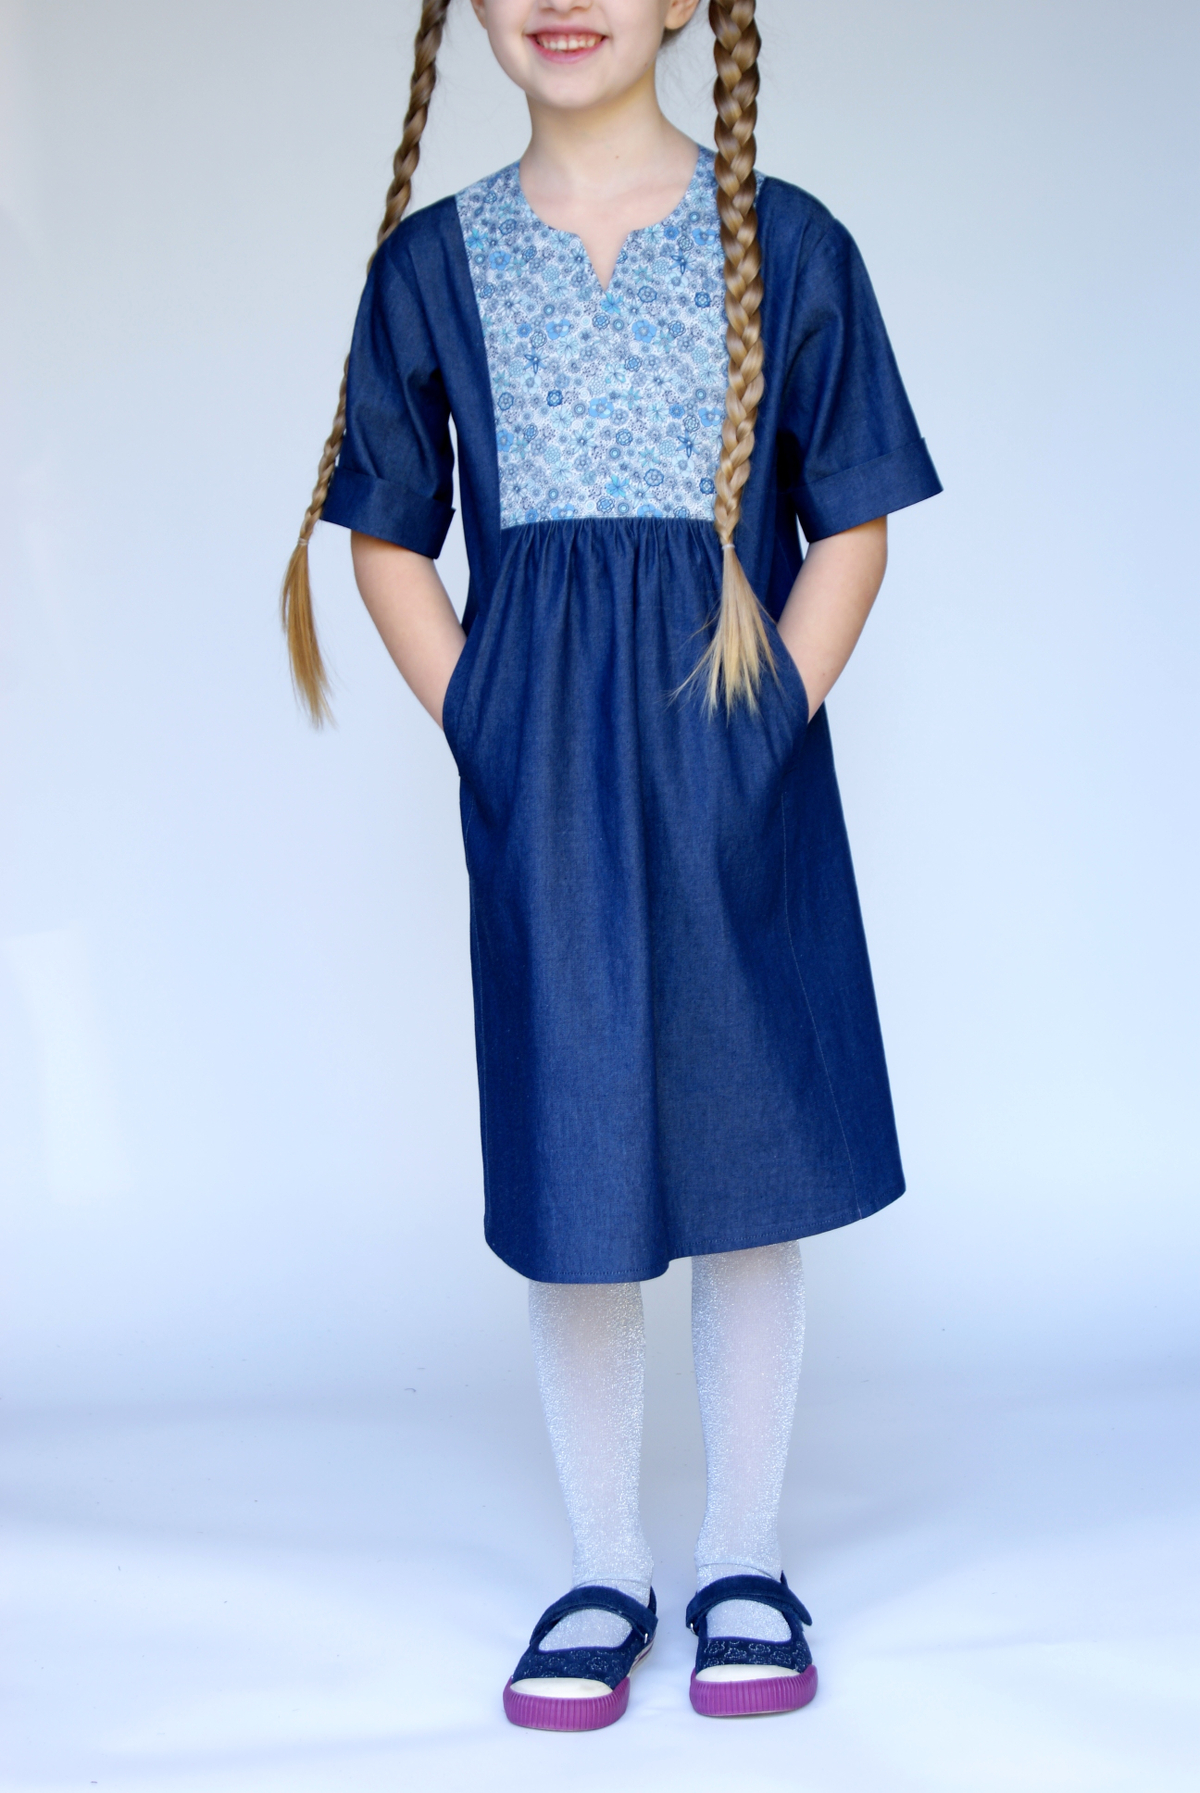
Welcome to day four of the Cinema/Hide-and-Seek Dress Sew-Along where we will be finishing up the Hide-and-Seek Dress.
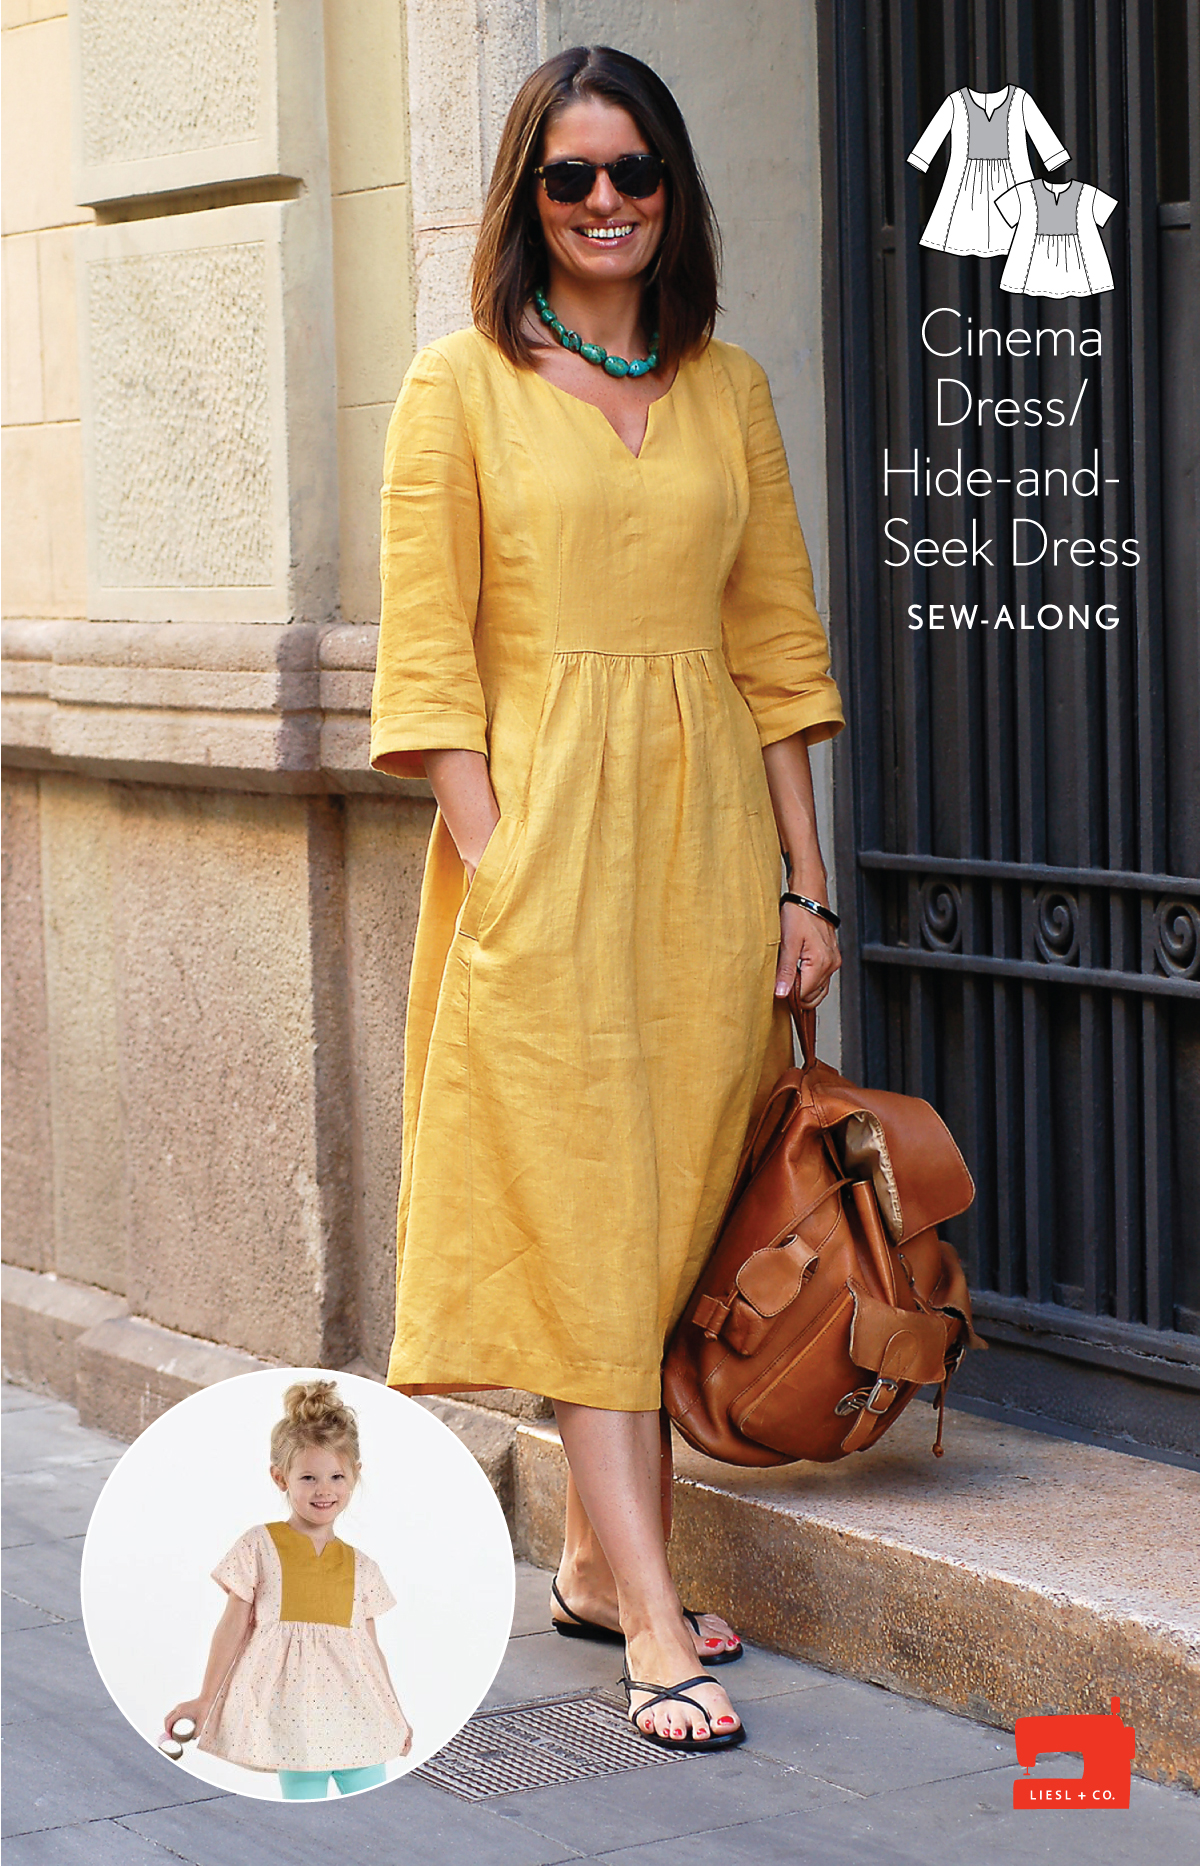
Attaching the sleeves and finishing the dress is done a little differently for each of the two dresses. So today we will cover only the Hide-and-Seek Dress method. Come back tomorrow for the Cinema Dress method.
Prepare the Sleeves
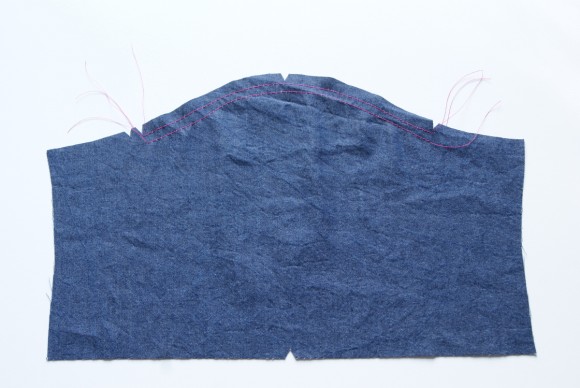
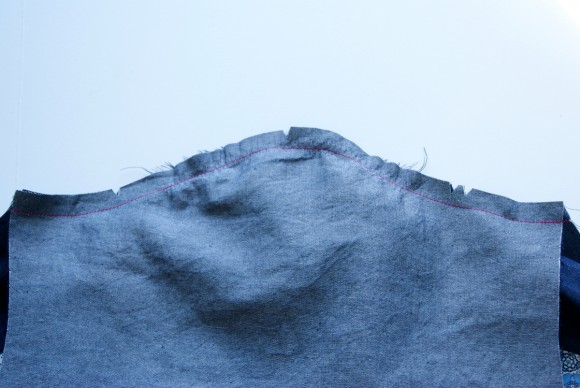
- Sew a row of gathering stitches 3/8” from the raw edge of one sleeve, starting and stopping at the sleeve cap’s side notches and leaving thread tails several inches long on both ends of the gathering stitches. Then sew a second row of gathering stitches 5/8” from the row edge. (Note that the sleeve cap also has a center notch, which you’ll use later to help align and pin the sleeve and armhole to sew them together.) Repeat to prepare the second sleeve.

Attach the Sleeves and Sew the Side Seam
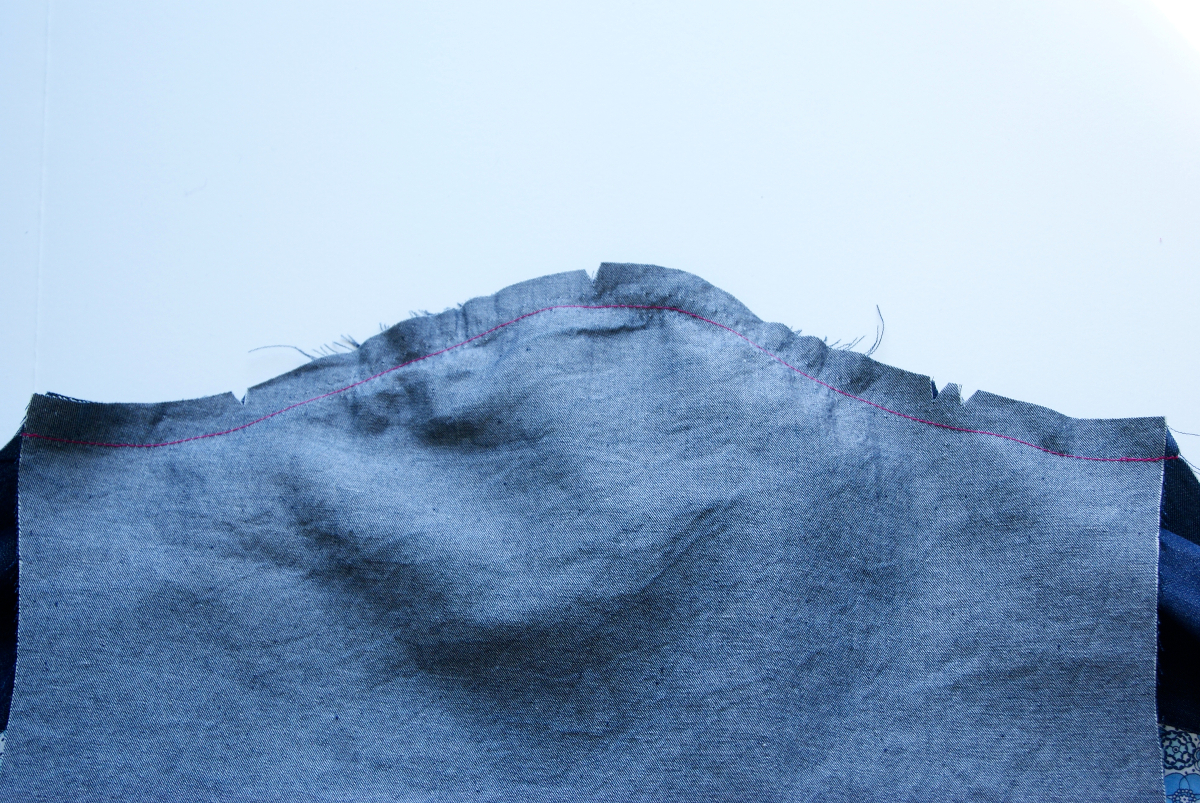
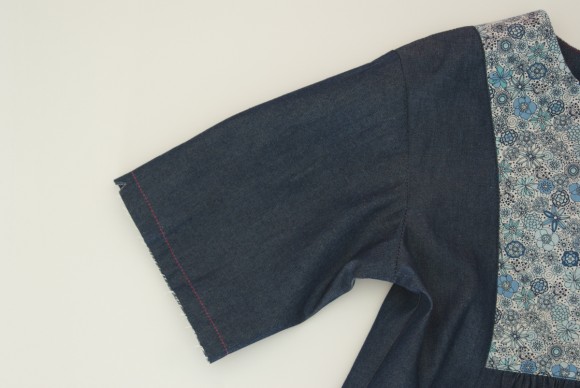
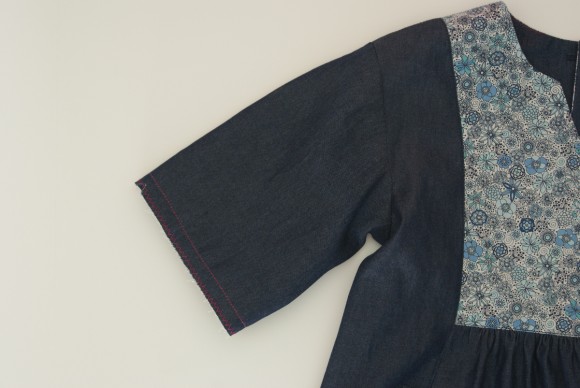
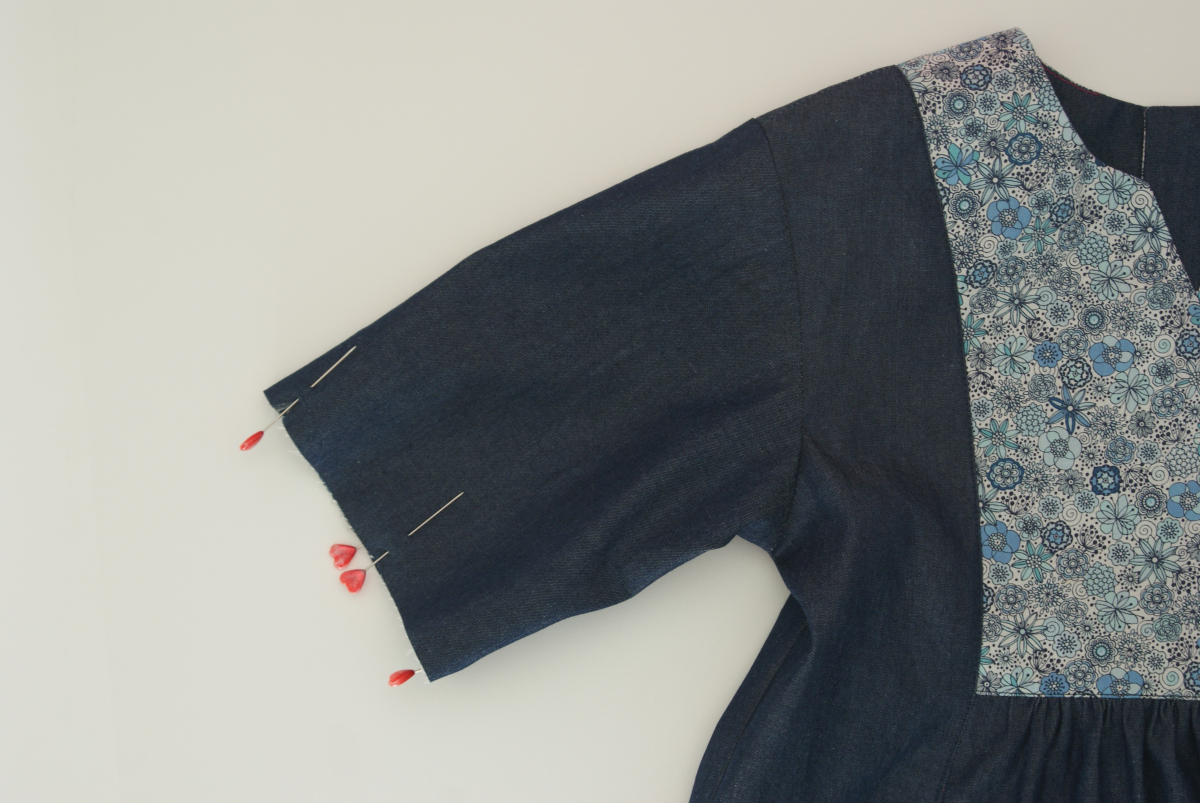
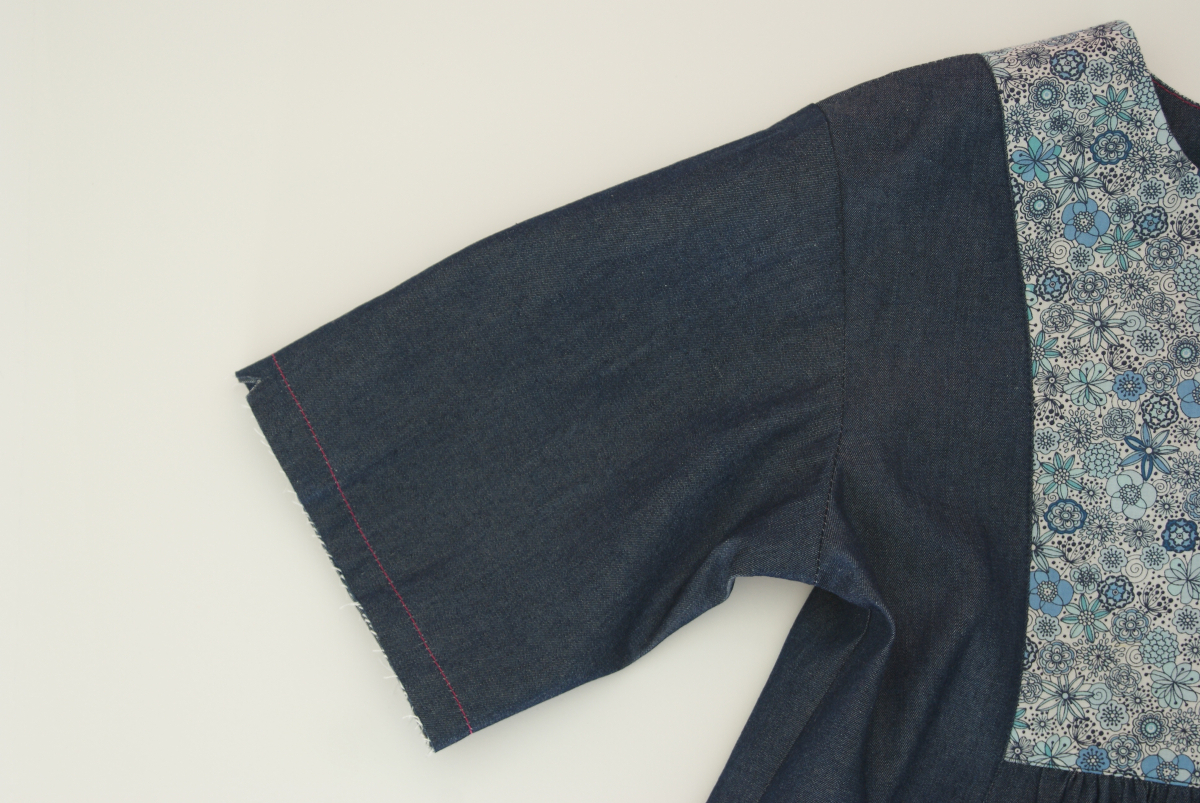
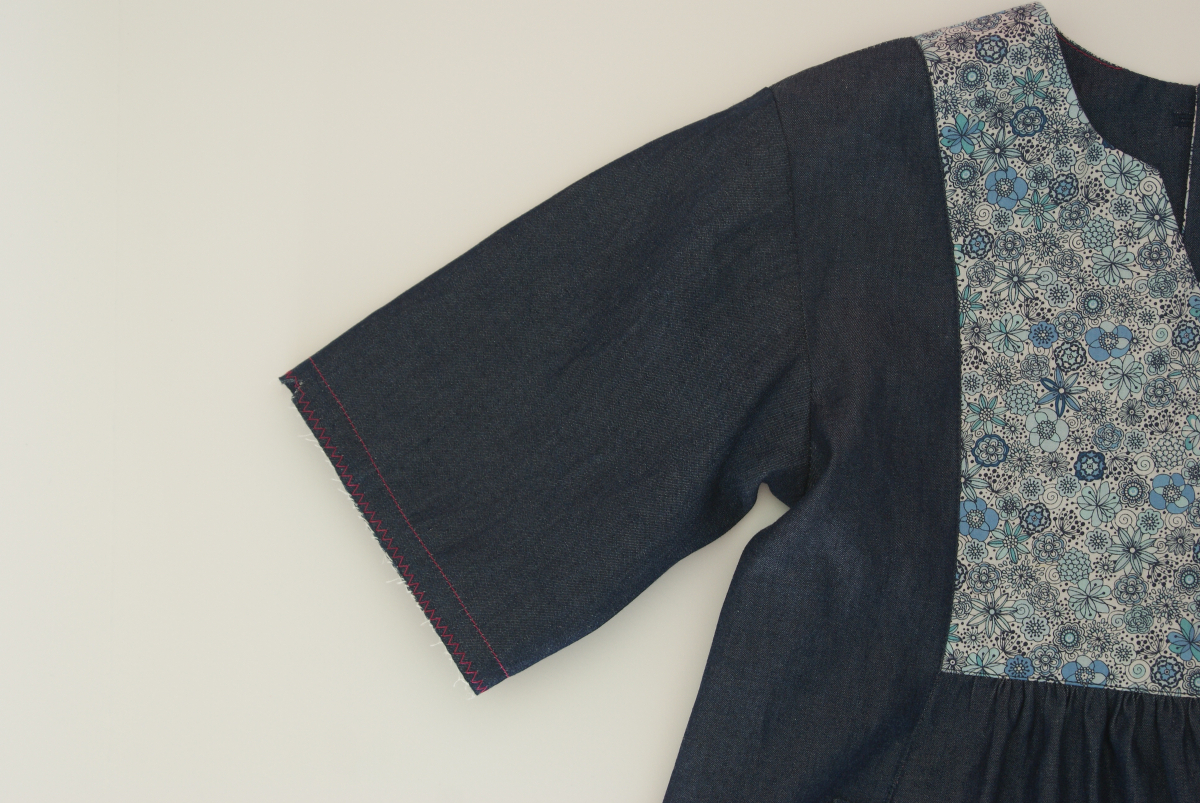
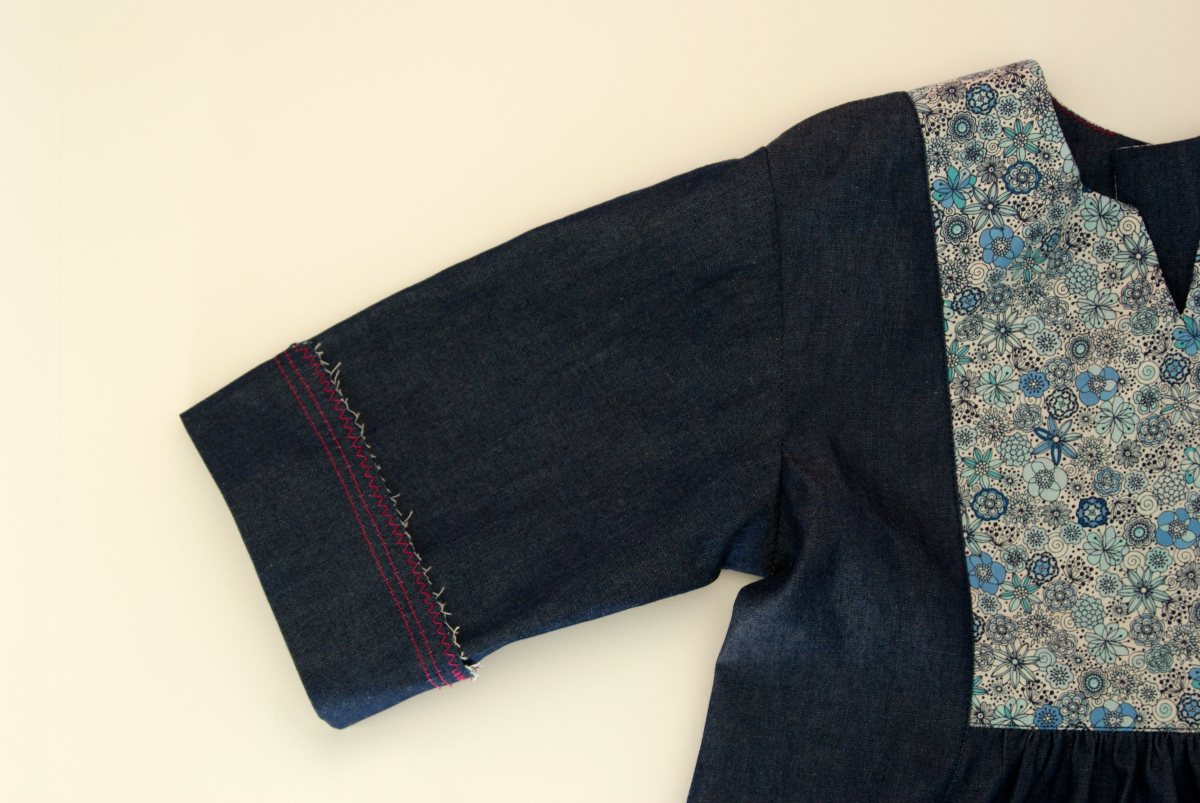
- Align and pin the sleeve’s raw edge to the raw edge of the dress’s armhole, with right sides together and matching the sleeve’s and armhole’s notches. Pull on the tails of the gathering threads to make the sleeve fit the armhole, adjust the ease evenly across the top of the sleeve, and then finish pinning the sleeve’s cap. (With most fabrics you’ll find that very little easing needs to be done.) Stitch the sleeve to the armhole with a 1/2” seam, backstitching or lockstitching at both ends. Finish the seam allowances together using your preferred method and press them toward the sleeve. Attach and finish the second sleeve the same way. Once the sleeves are sewn, you can remove any visible basting stitches from the sleeve caps.

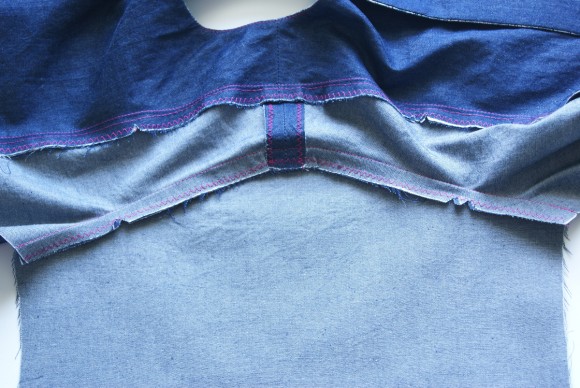
- Position the dress front and back together, with right side facing and the edges aligned, and pin the side seams, matching the underarm seam, the notches, and the hem edges. Join the side seam and sleeve with one continuous 1/2” seam. Press the seam allowances open and finish them using your preferred method. Repeat to sew and finish the opposite side seam.


Finish the Sleeves
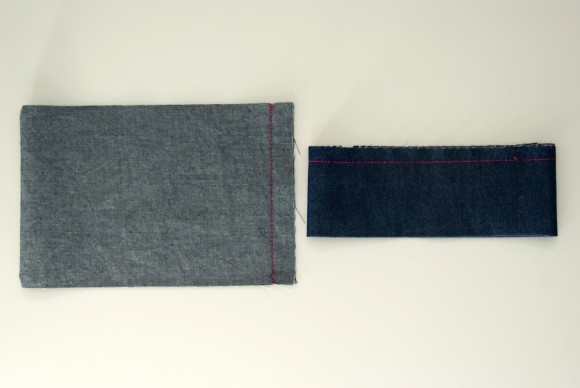
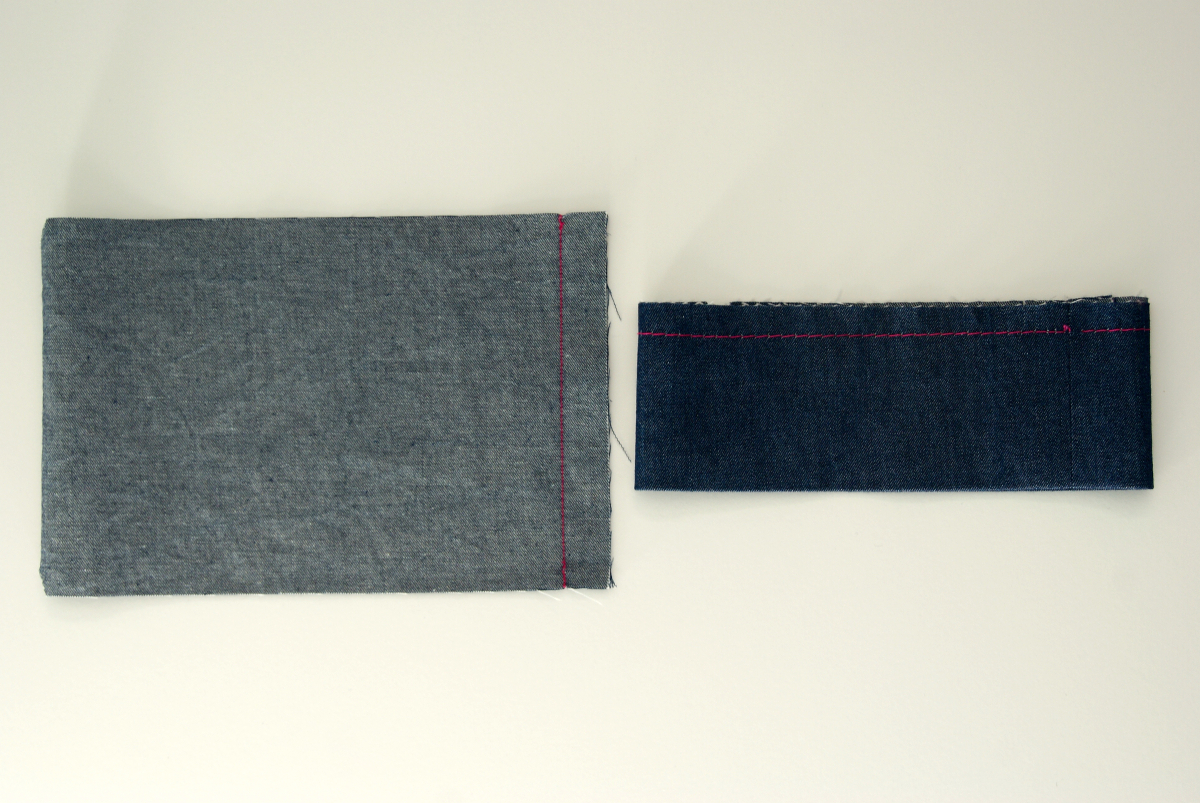
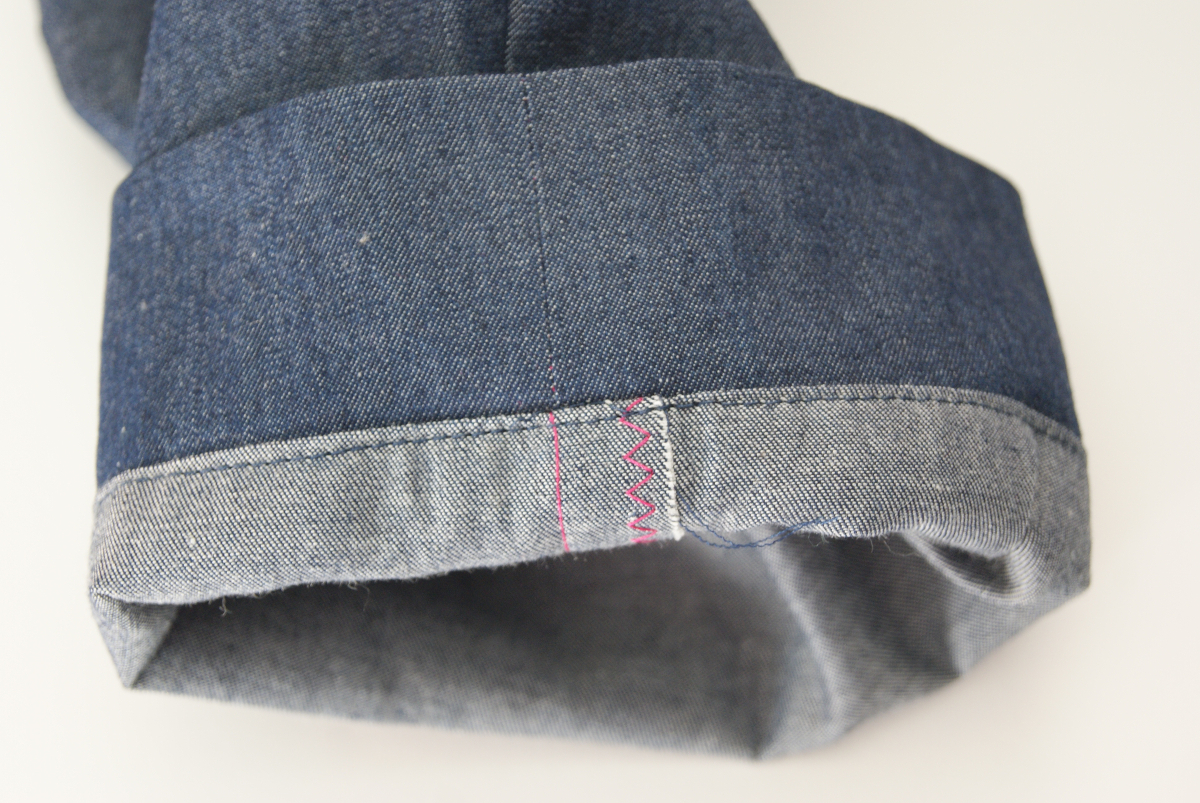
- Fold the cuff in half, with right sides together, and pin the short ends. Stitch along the raw edges with a 1/2” seam to make a tube, then press the seam allowance open. Open the tube and fold it in half lengthwise, with wrong sides together. Baste the raw edges of the cuff together 3/8” from the edges.
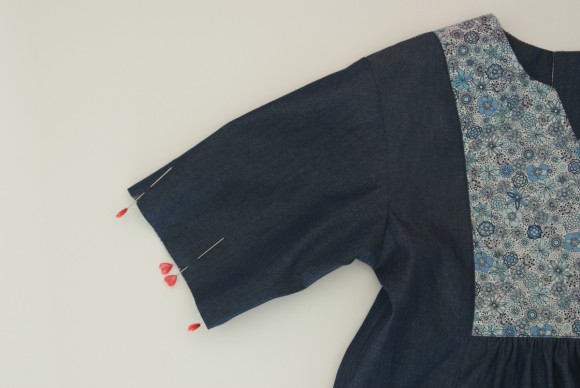
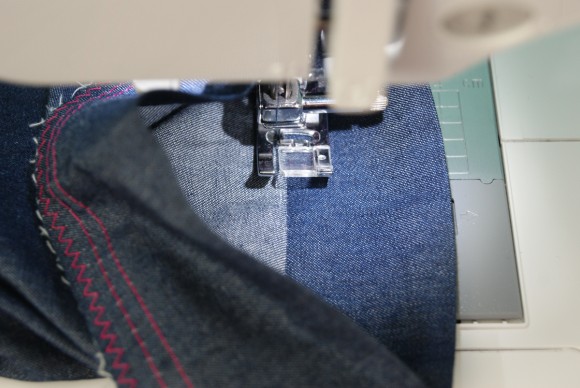
- Turn the dress right-side out and slip the cuff inside the sleeve, with the raw edges aligned and matching the side seams and notches. Pin the cuff to the sleeve’s wrong side along the hem’s raw edges and attach the cuff with a 1/2” seam.
- Finish the seam allowances together using your preferred method.
Pull the cuff away from the sleeve and press the seam allowance from the wrong side of the sleeve.
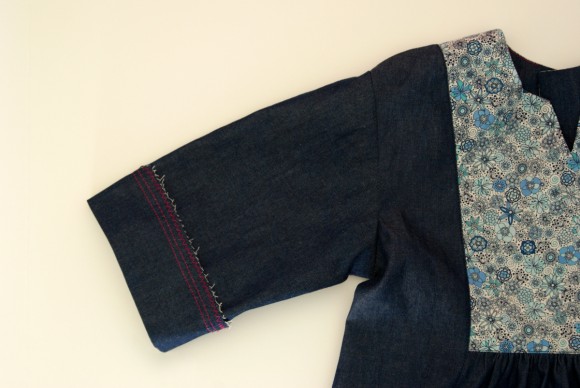
Understitch the seam allowance from the wrong side of the sleeve. Fold and press the cuff to the sleeve’s right side.
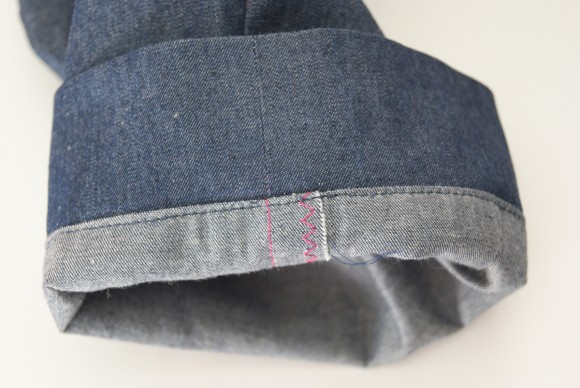
- Tack the folded edge of the cuff to the sleeve at the underarm seam by hand or machine to hold it in place.

- Repeat steps 1-4 for the second cuff.

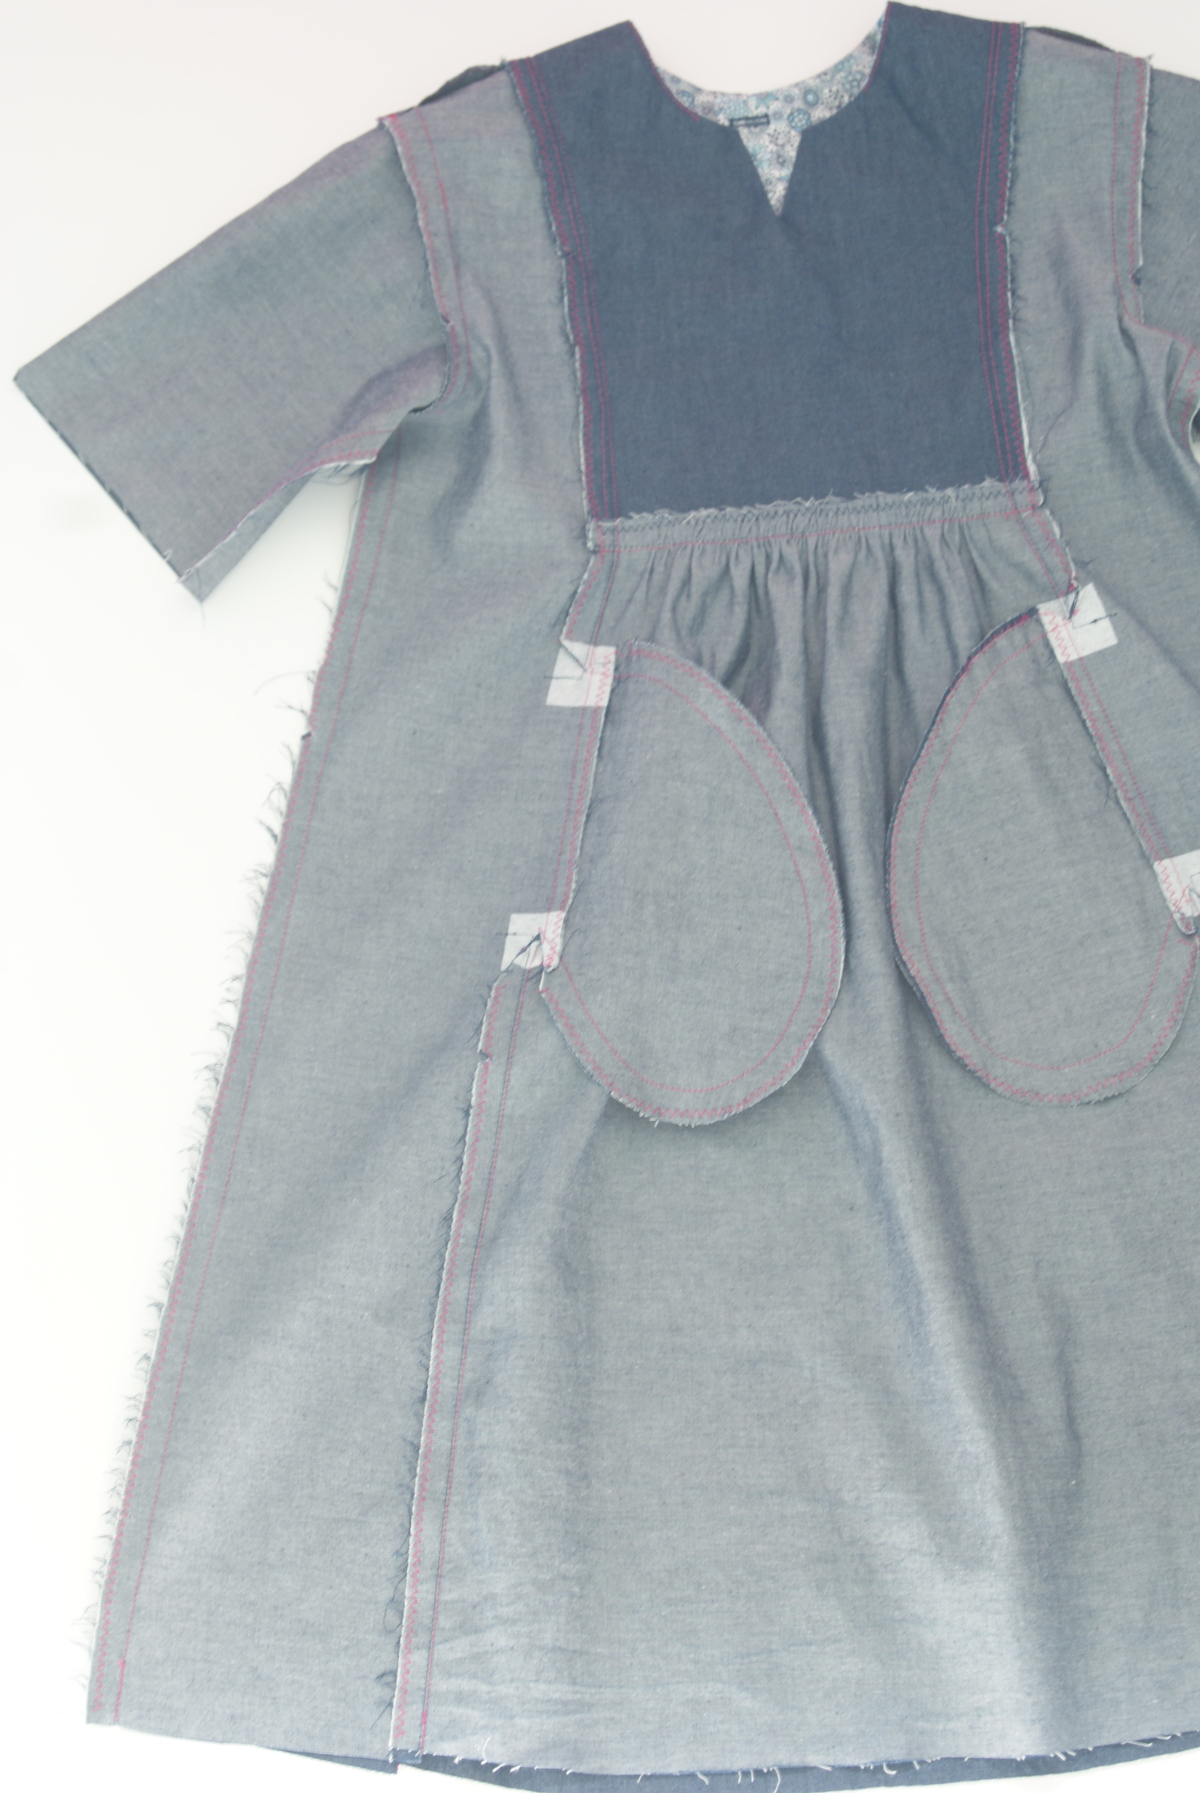
Finish the Dress
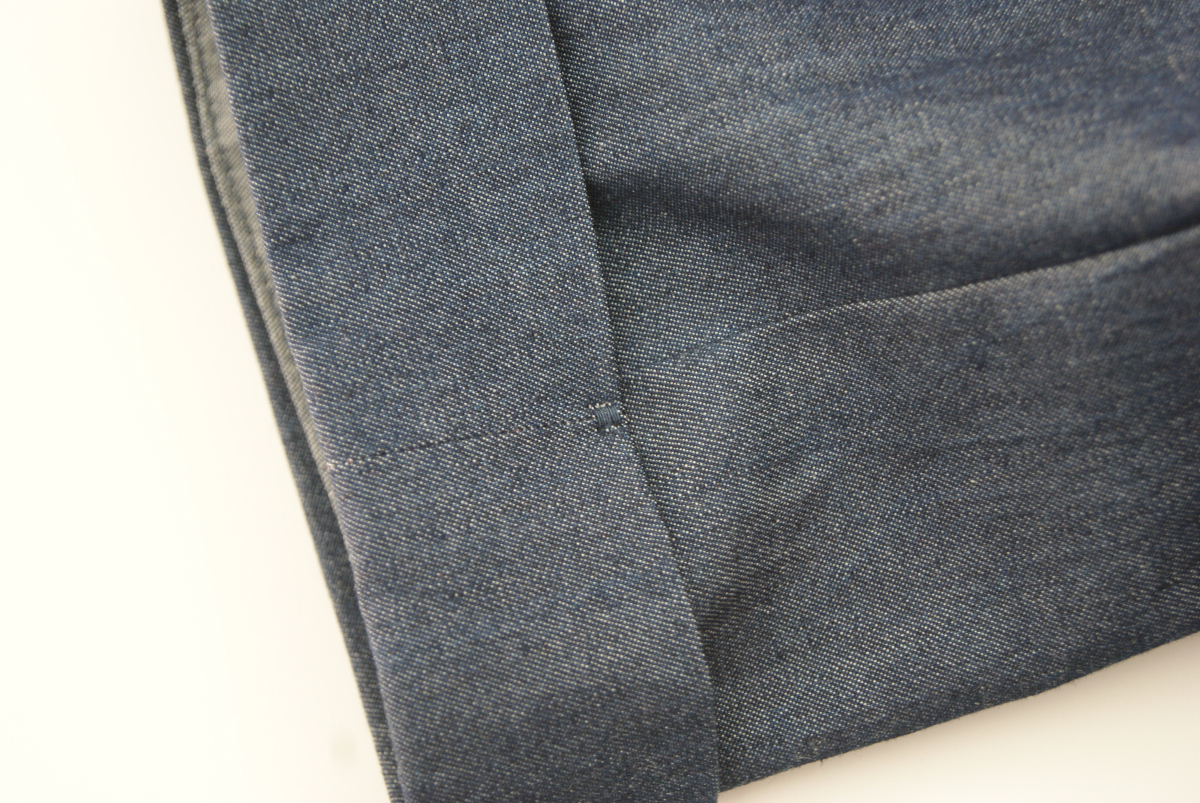
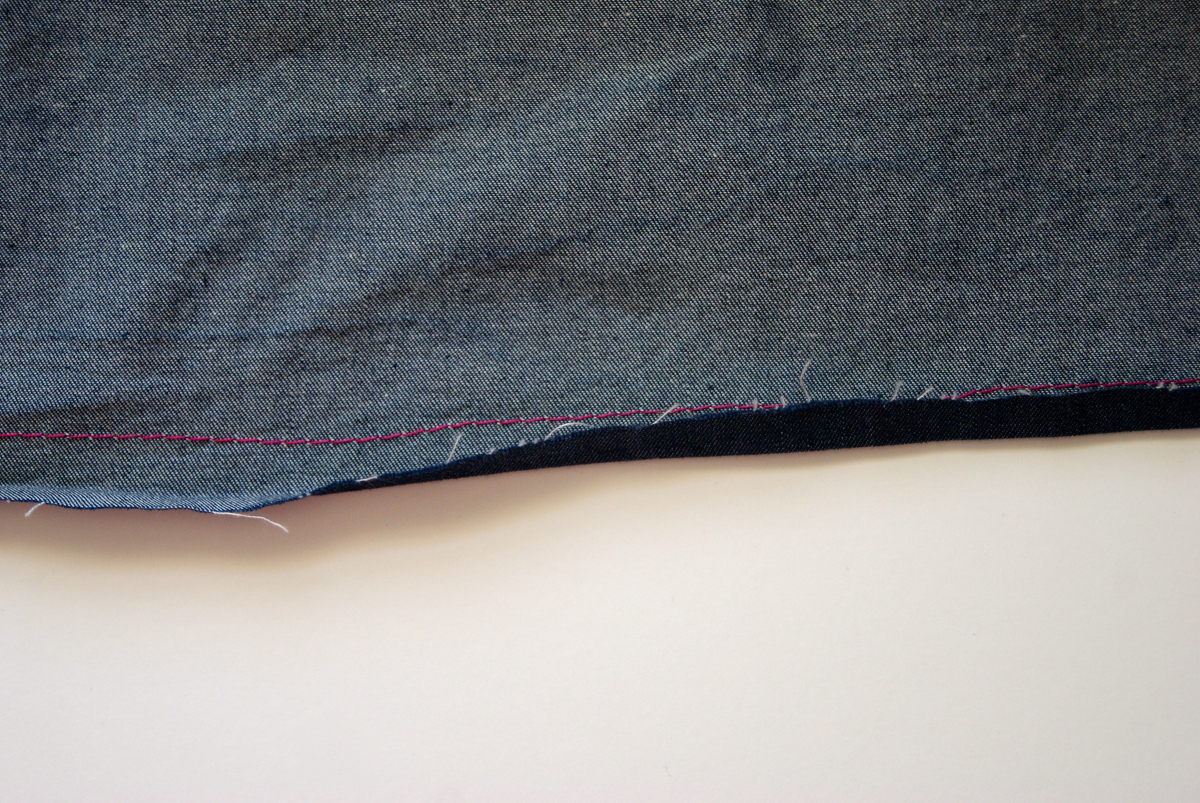
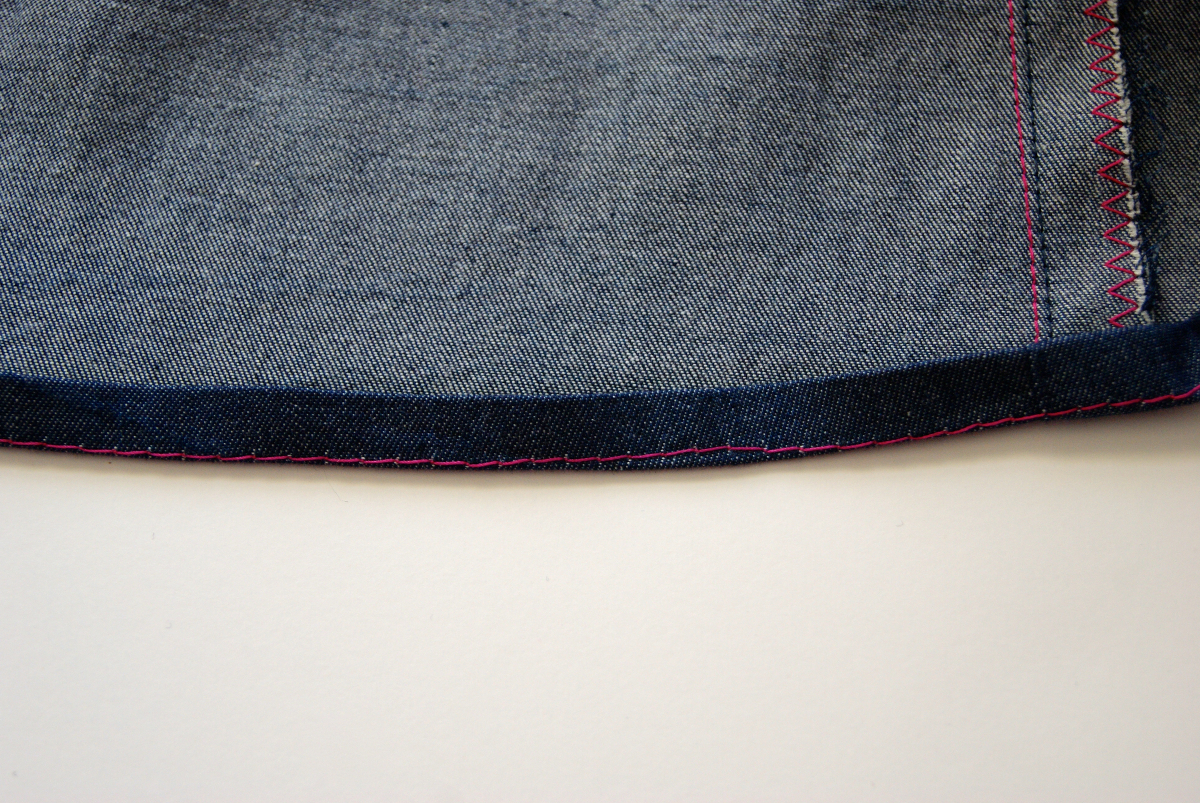
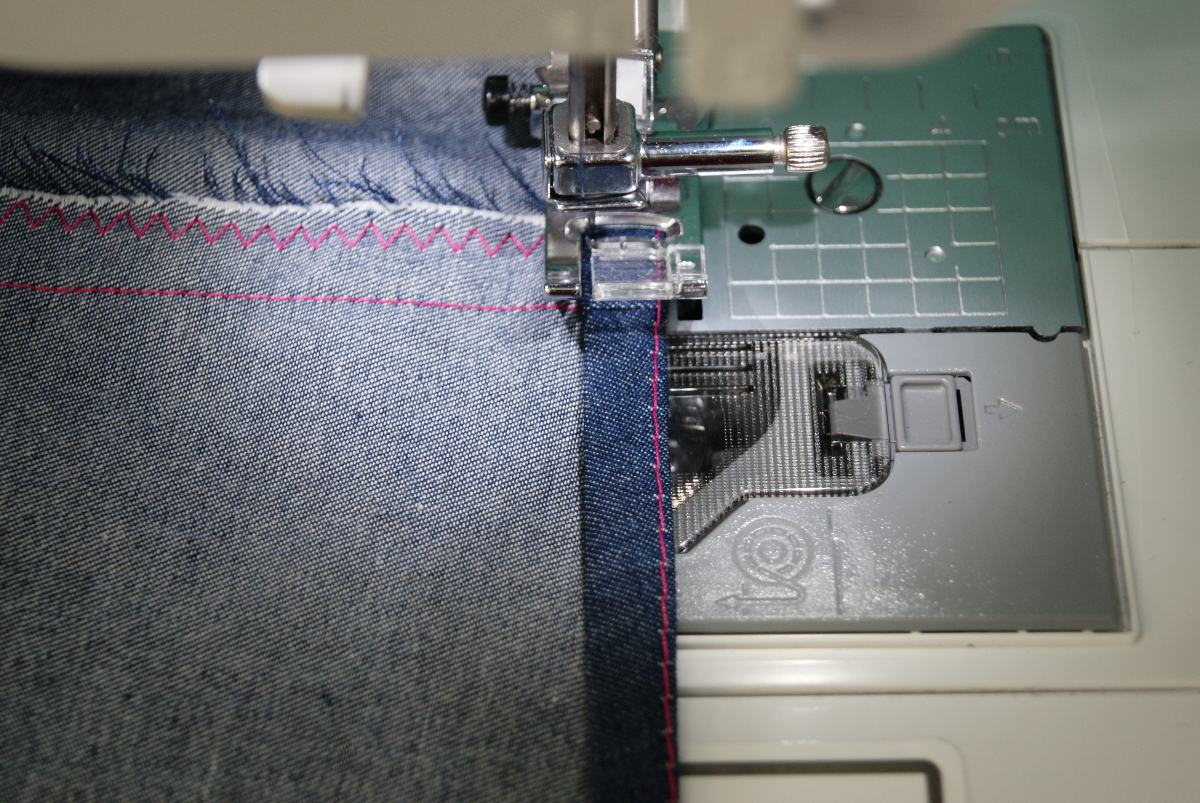
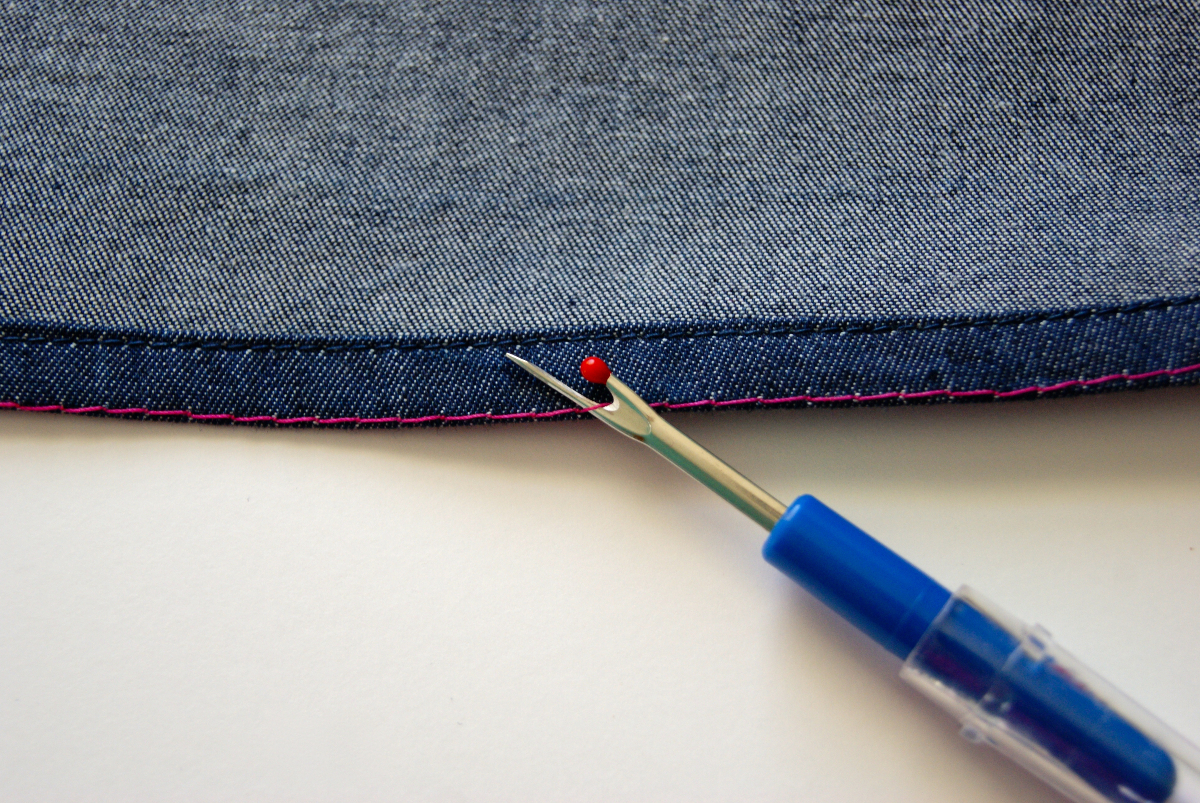
- To hem the dress, sew a line of basting stitches 5/8” from the garment’s bottom edge, which will become the fold line for the hem.
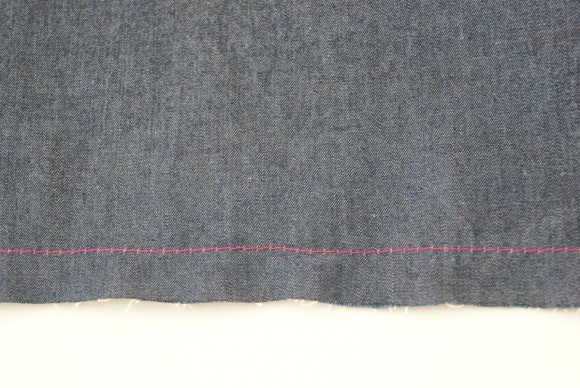
Fold and press the fabric’s bottom raw edge to the basting line on the wrong side.
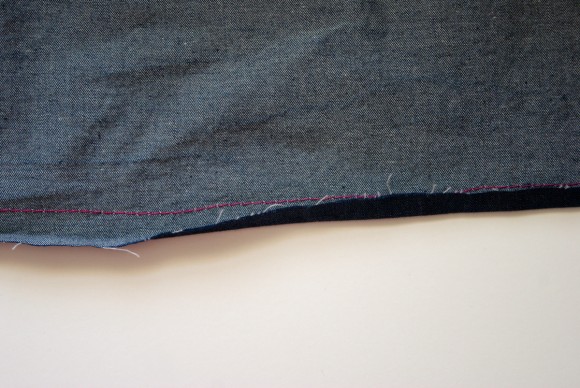
Then fold and press again along the basting line to enclose the raw edge and create a narrow hem.
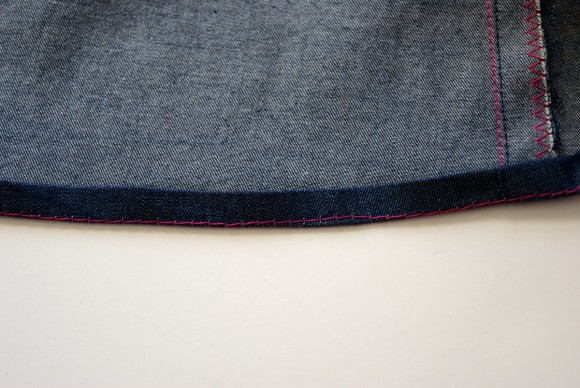

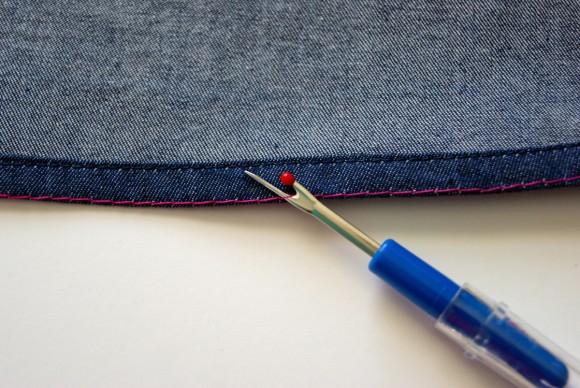
Remove basting stitches.
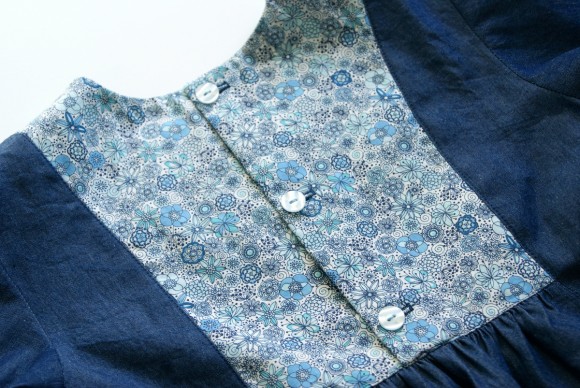
- Sew buttons on the wearer’s left yoke at the marked positions.


If you were sewing a Hide-and-Seek Dress for this sew-along, you are now finished and have made a girl very happy! Please do share photos of your completed Hide-and-Seek Dresses to the Oliver + S Patterns Flickr group, we’d love to see what you created!

We’ll see you tomorrow for day five where we will be finishing up the Cinema Dress.
I’ve made one of each (Cinema and H&S) in the past and noticed that the sleeve insertion is different from one to the other. Out of curiosity (& not knowing a thing about the science/art of pattern creation), why is this so? Does one method offer more mobility than the other? I always enjoy learning more so I was interested to find out :-).
Ah, that’s probably worth a post in itself! With the kids clothes, I try to make the sleeves easy to insert flat (before the side seam is sewn) because the armholes can get so tiny in the small sizes. It’s especially tricky for new sewists to sew the sleeves, so I try to make it as easy as possible.
When you get to women’s sizes, the sleeves generally have a little more cap (not always, but sometimes), and it’s easiest and looks best to set these sleeves in the round so you can really focus the ease in the sleeve cap and get it looking just right. For some women’s sleeves that aren’t very fitted I still write them to be set in before the side seam is sewn, but the more cap, the more important it is to set the sleeve in once the side seam is sewn.
Did that make sense?
LOVE the denim dress with pretty little blue flowers print for the yoke in front & back. FAB sewing for a really practical Hide-and-Seek Dress pattern. Detailed & NUMBERED instructions with clear photos are “SPOT ON!” THANKS FOR THE THOROUGHNESS. Sarah in Minneapolis
Liesl,
Thanks for your reply! And yes it does make sense :-). I’m sitting here setting the sleeves on my Cinema dress as I read your reply, so now I’m looking at them in a new light and with a lot more appreciation for the work that goes into pattern design.