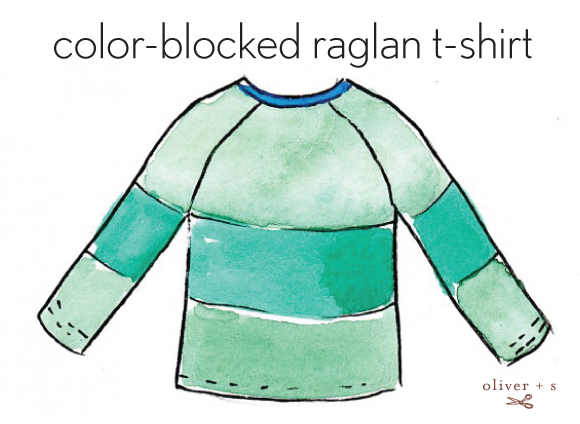
Happy Monday! And happy raglan inspiration week! I’m in the middle of designing a fabric collection, so there hasn’t been much time for sewing. But how about a painting instead? I thought we’d start off with a color-blocked striped raglan shirt.
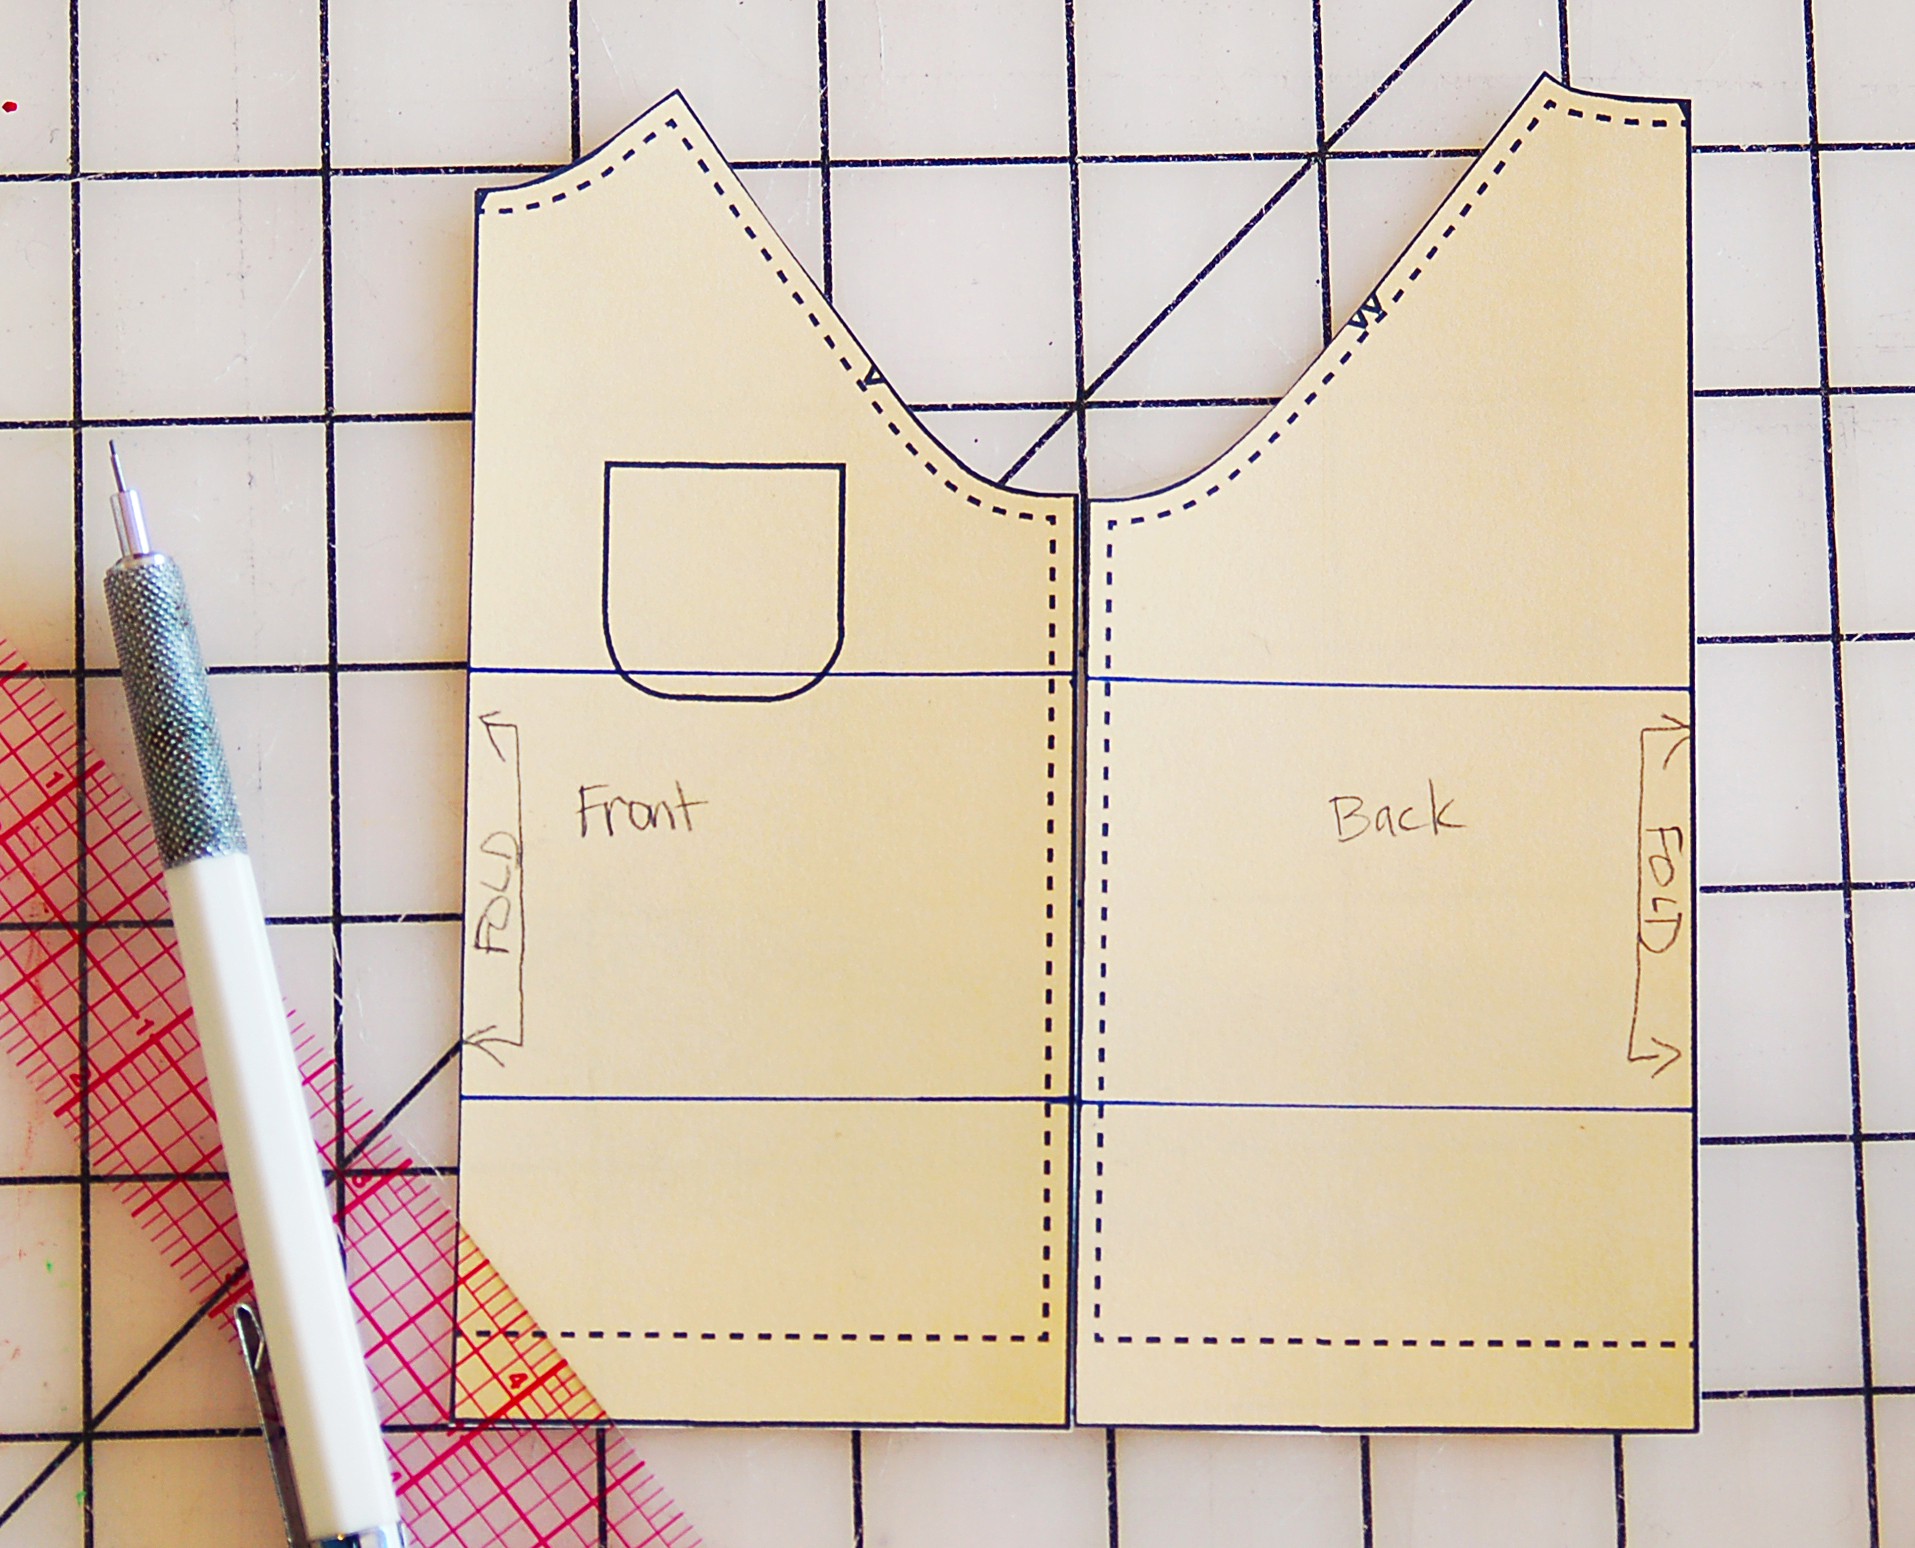
We talked about color blocking a while ago, and this idea is a great example and an easy way to start customizing a pattern like the raglan T-shirt pattern. And it’s so easy to do! For this style, you’ll start by deciding where you want the stripe to be located on the body of the shirt. If you line up the front and back pattern pieces at the side seams, it will help you to make sure the stripes match all the way around the T-shirt. Here’s how you do it.
I’m using my mini-patterns again to demonstrate. Like this:
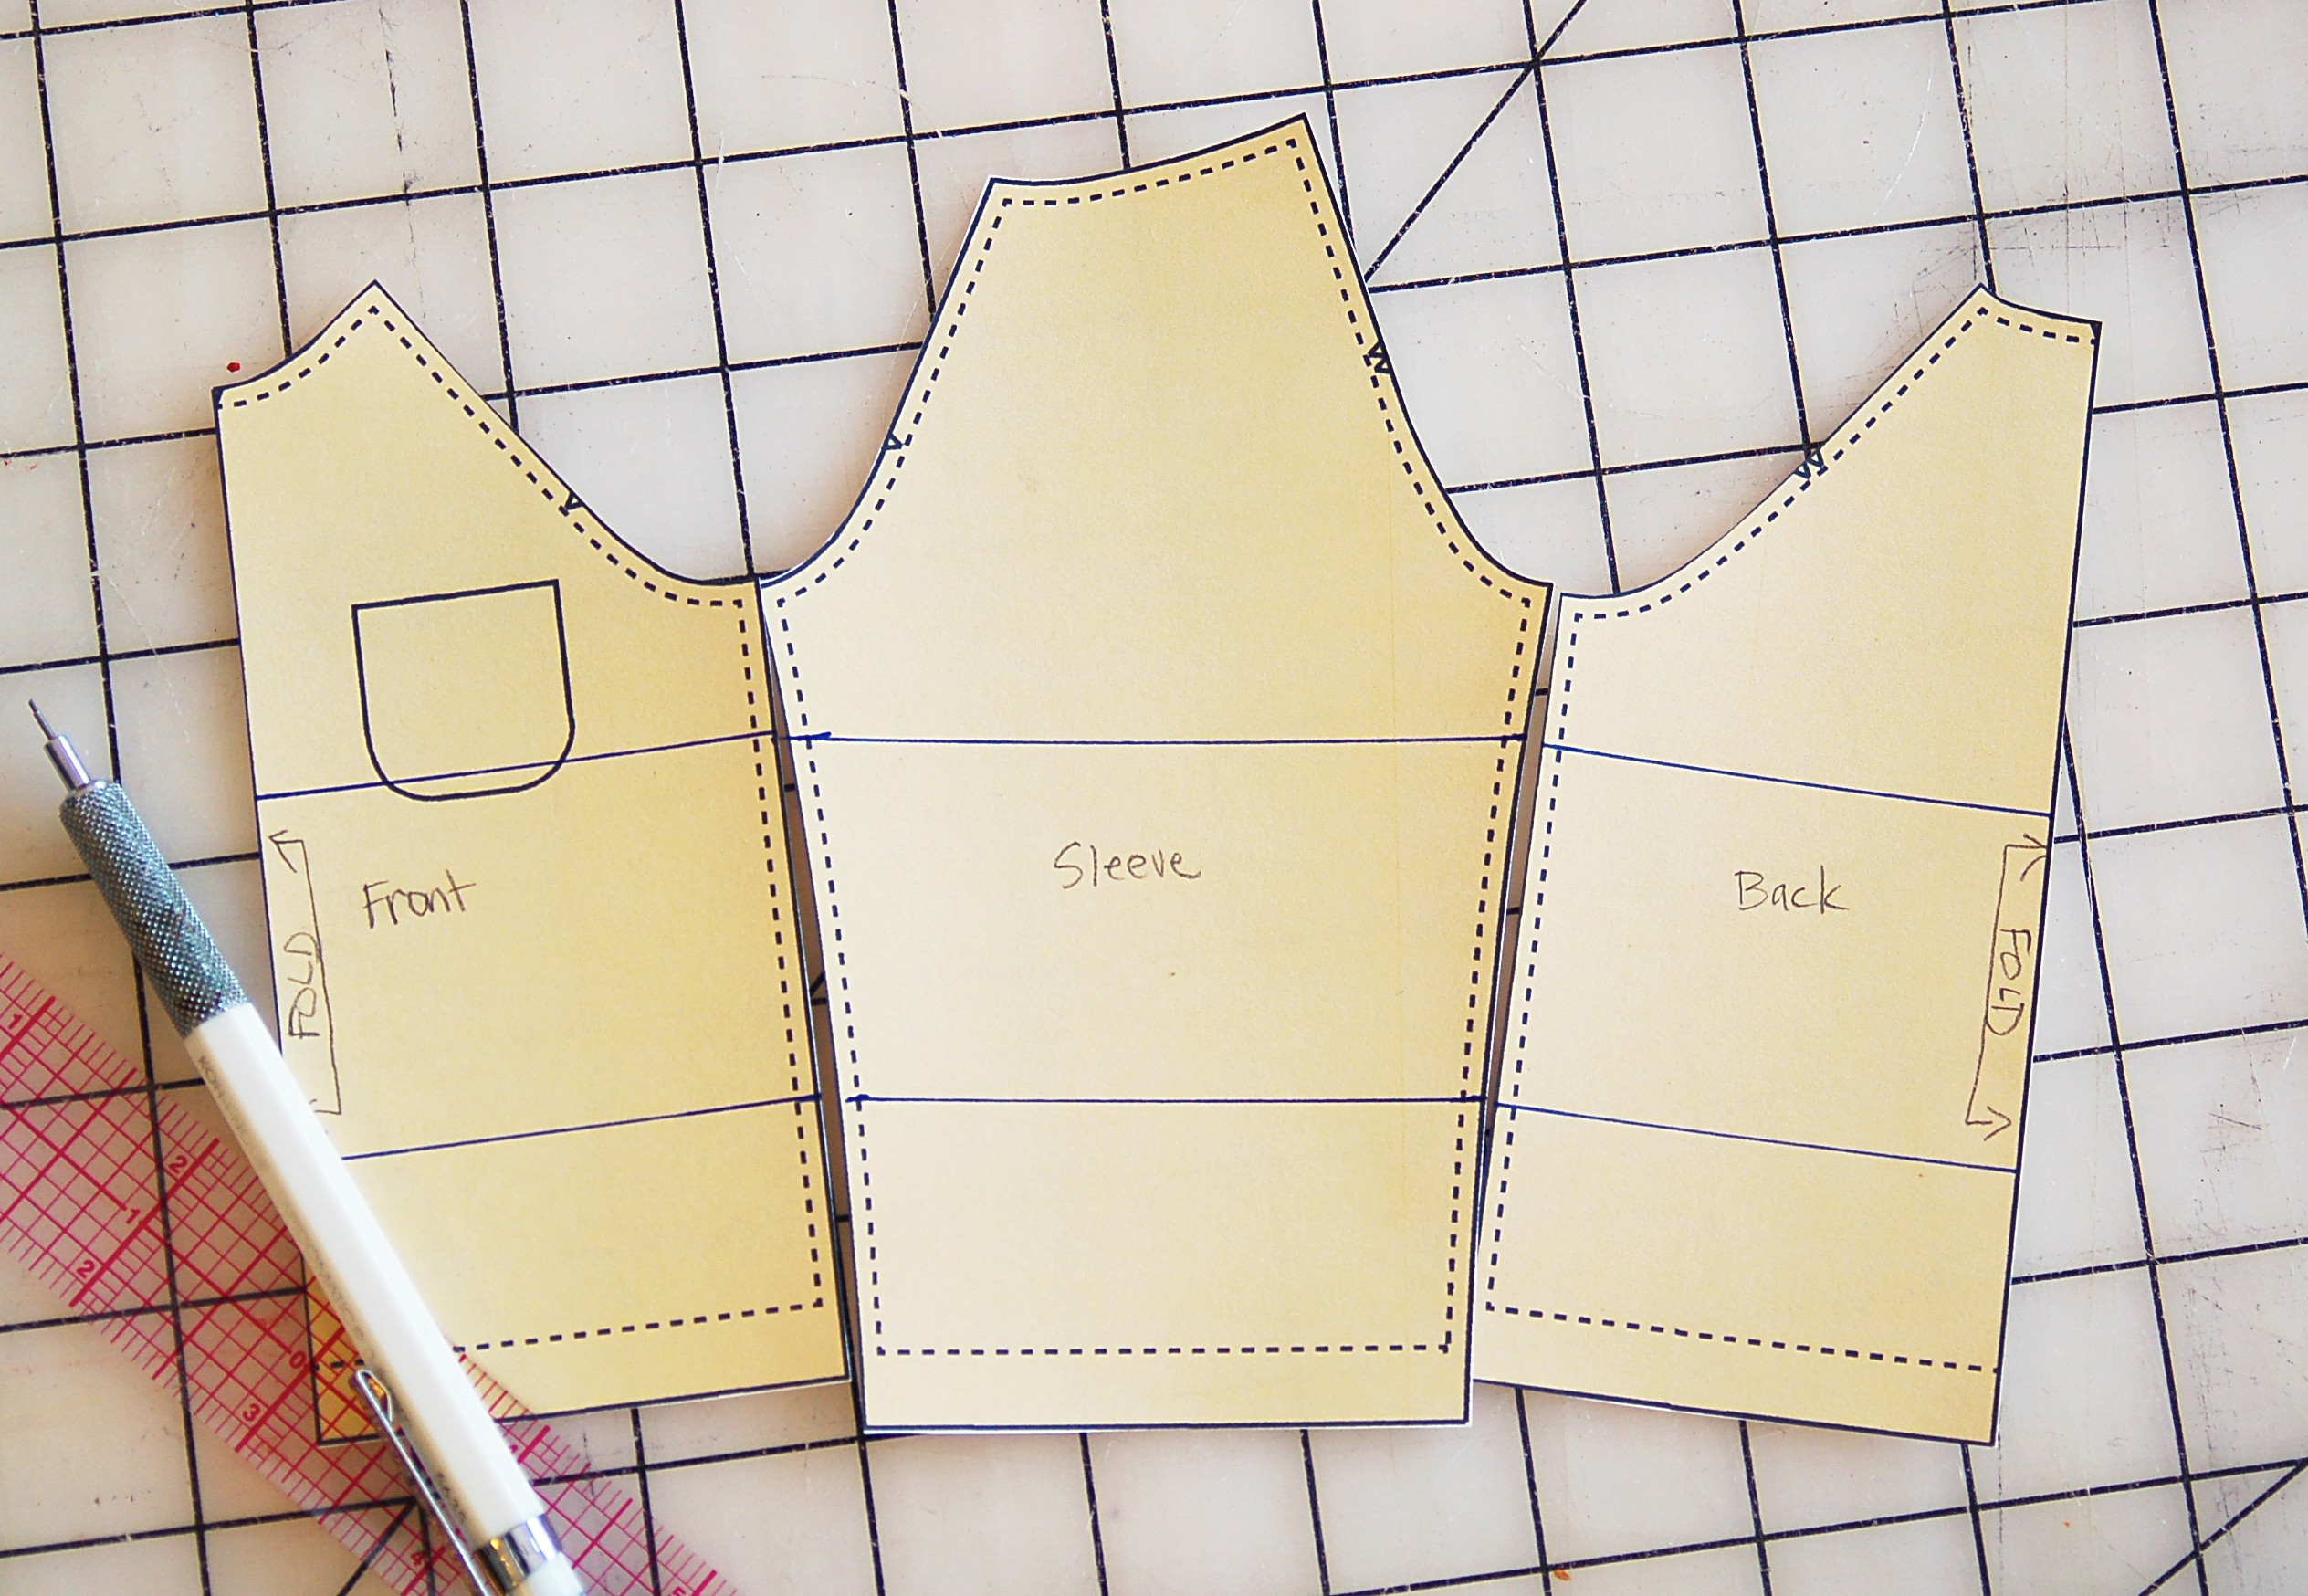
To color block the sleeve so it matches, you’ll just line up the front sleeve to the front T-shirt at the underarm to mark the position of the stripe. Repeat with the back of the sleeve and the back pattern piece, then draw a line connecting the two marks to create a continuous stripe around the T-shirt. (If you want to match stripes above the underarm at the chest and neck, line up the sleeve pattern piece and the front/back pattern pieces along the raglan seam to mark the stripe placement.)
That’s not so difficult, right? To make the actual pattern pieces you’ll cut along the lines and add seam allowances to each cut edge, as I explained in the full post on color blocking. Then, as also detailed in the post, you’ll stitch the pieces along the cut edges to re-assemble the front, back, and sleeve before assembling the T-shirt in the normal fashion.
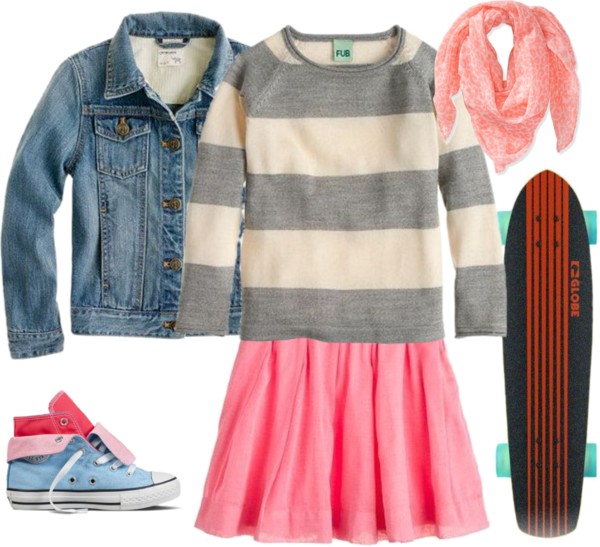
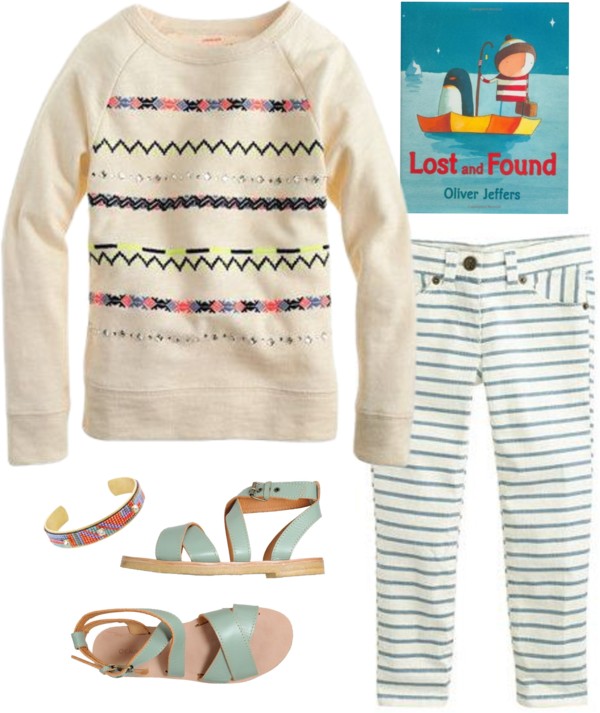
And how about some styling ideas for striped raglans? Not all of these examples are actual color-blocked raglans, so you’ll have to use your imagination a bit. But you get the idea, right?

And here’s one more idea for a striped raglan. What about stitching ribbons onto the fabric before assembling the T-shirt instead of color blocking with seams? I think this would be really cute! (The shirt below is embroidered, which would also be cute, but I kind of love the idea of stitching ribbons down instead.)
I hope you’ll try one of these ideas and post it to the Flickr group! I’ll do a raglan round-up later this month, and I’ll try to feature as many of your photos as I can.
Love the styles ideas! What a great way to promote your pattern!
Love the look but always hesitated – what would be a good way to finish the seams for this look? I’m thinking about comfort (on the inside). Would it help to have bigger seam allowance or smaller (or would it not make a difference? Would it help to top stitch (or similar treatment) so that the seam allowance across the body stays flat? Should the seam allowance lie towards the top of the tee or towards the bottom?
Sorry if these are very basic points – I’m a complete newbie. Grateful for your guidance!
Leona, one of the great things about knits is that they’re soft and comfortable so the seams aren’t scratchy. And because the fabric is so soft and doesn’t ravel, you don’t have to finish the seams if you don’t want to. I’ve done different things with seams and knits depending on how I feel: I’ve left them unfinished and simply pressed them to one side, I’ve serged them and pressed them to one side, and I’ve pressed and topstitched (I like the stretch stitch on my machine because it looks like a regular straight stitch to the naked eye). The only thing to take into account with topstitching is the possibility of stretching the seam while you’re sewing, which can make a wavy seam. You can do a couple of things to avoid this problem: fuse a narrow strip of really light interfacing to the seamline before you stitch it or I sometimes hand baste the seam before stitching by machine because the basting prevents the fabric from stretching as you sew (a long basting stitching is fine–you just want the thread in there to hold the fabric and prevent the stretch). I’d suggest practicing with some scraps to be sure you’re happy with each method, but I think you’ll find that it’s not as challenging as you might think. Knits are really fun to sew!
Great question, Leona, and thank you to Liesl for the helpful response. A great idea to use up some remnants from the stash!