When we first released the Woodland Stroll Cape pattern earlier this year, I talked about how this pattern was inspired by a vintage cape I found. We refined the shape and worked out some really great tricks to help you assemble it, and I think the pattern turned out beautifully. It’s a very quick style to sew, with just a few seams. The lining makes it even faster to make since there aren’t any visible seam allowances to be finished, and it looks just as nice on the inside as the outside.
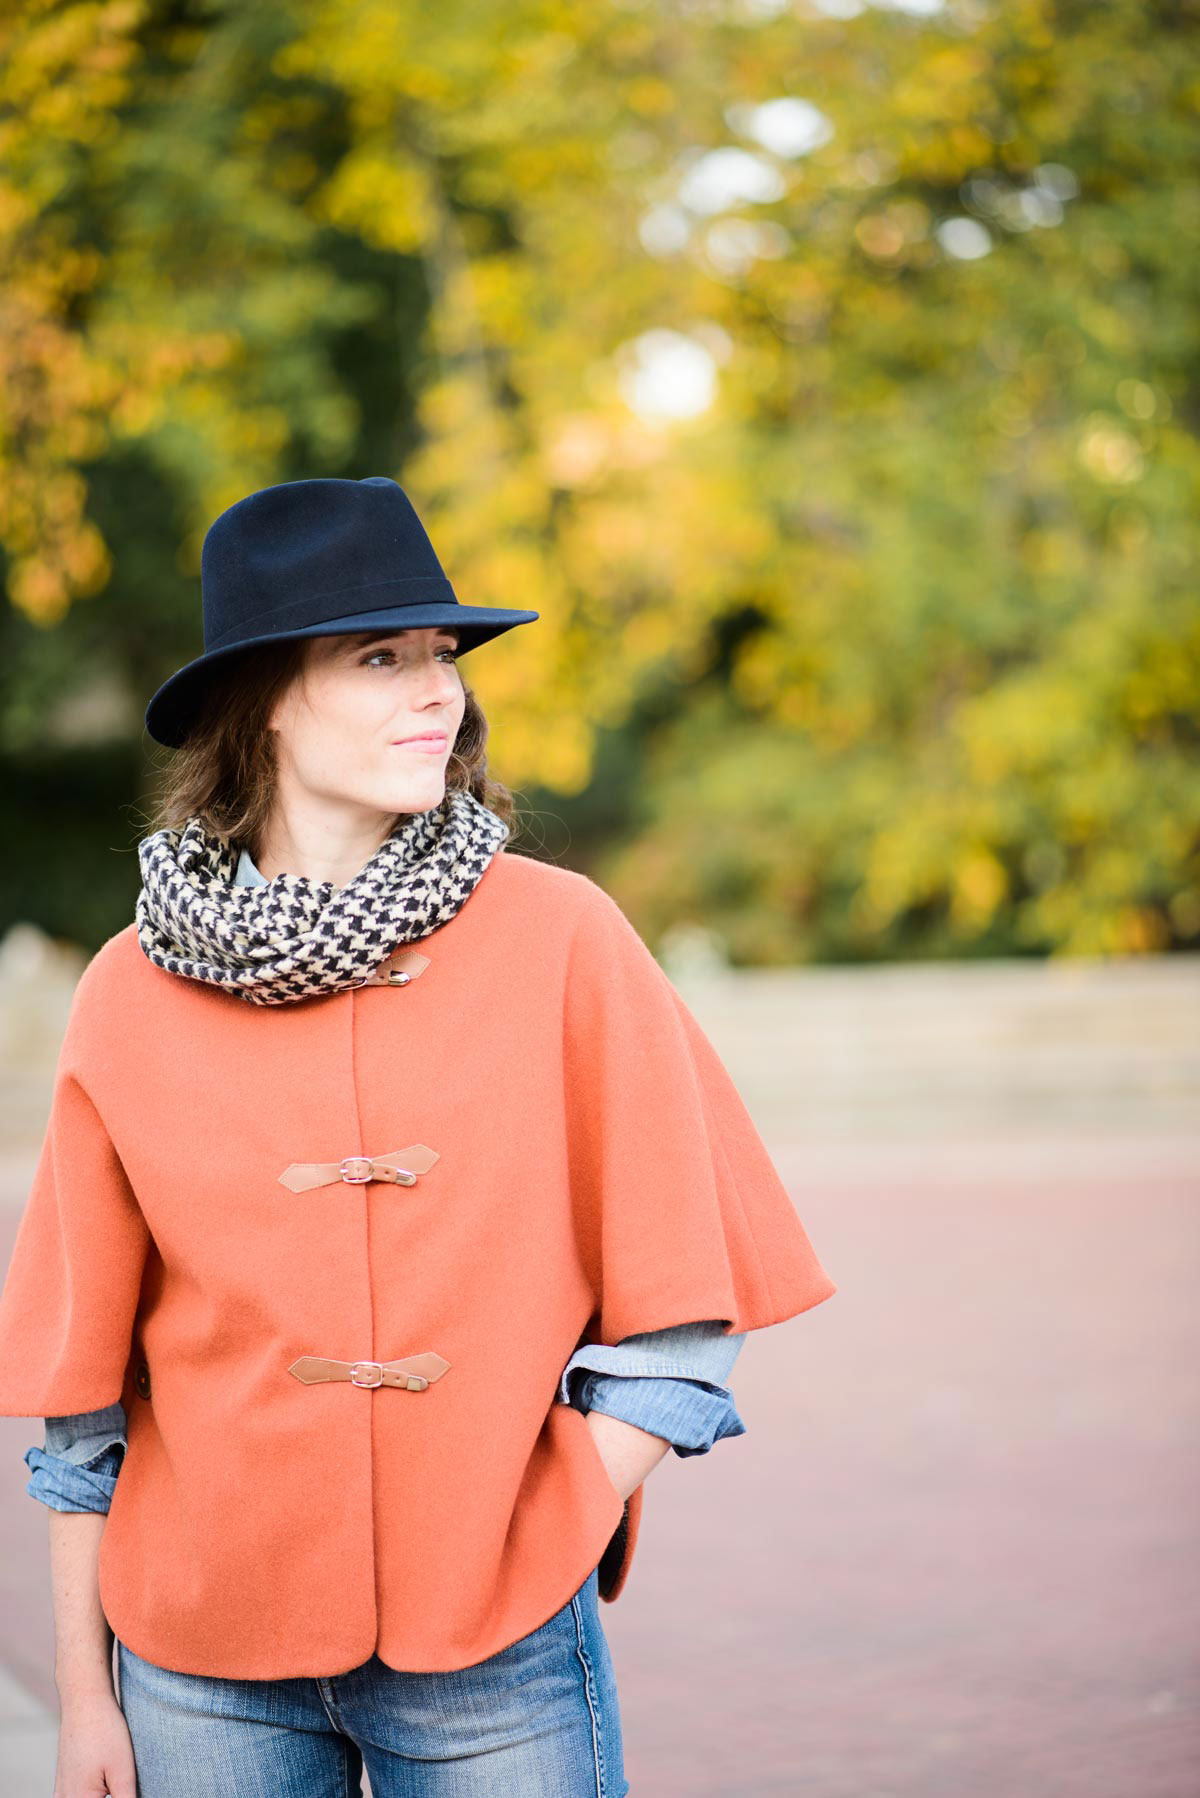
But really, I love this pattern because it’s such a cute style. Like I mentioned the other day, it’s sort of a cross between a jacket and a cape, so it doesn’t have that really dramatic flair that we usually associate with capes. No superhero vibe or diva drama happening here. Just a gentle, refined shape that can be layered over sweaters as the temperature drops. And I’m seeing a lot of capes in New York this fall, so it’s definitely a look that’s being embraced by a lot of women.
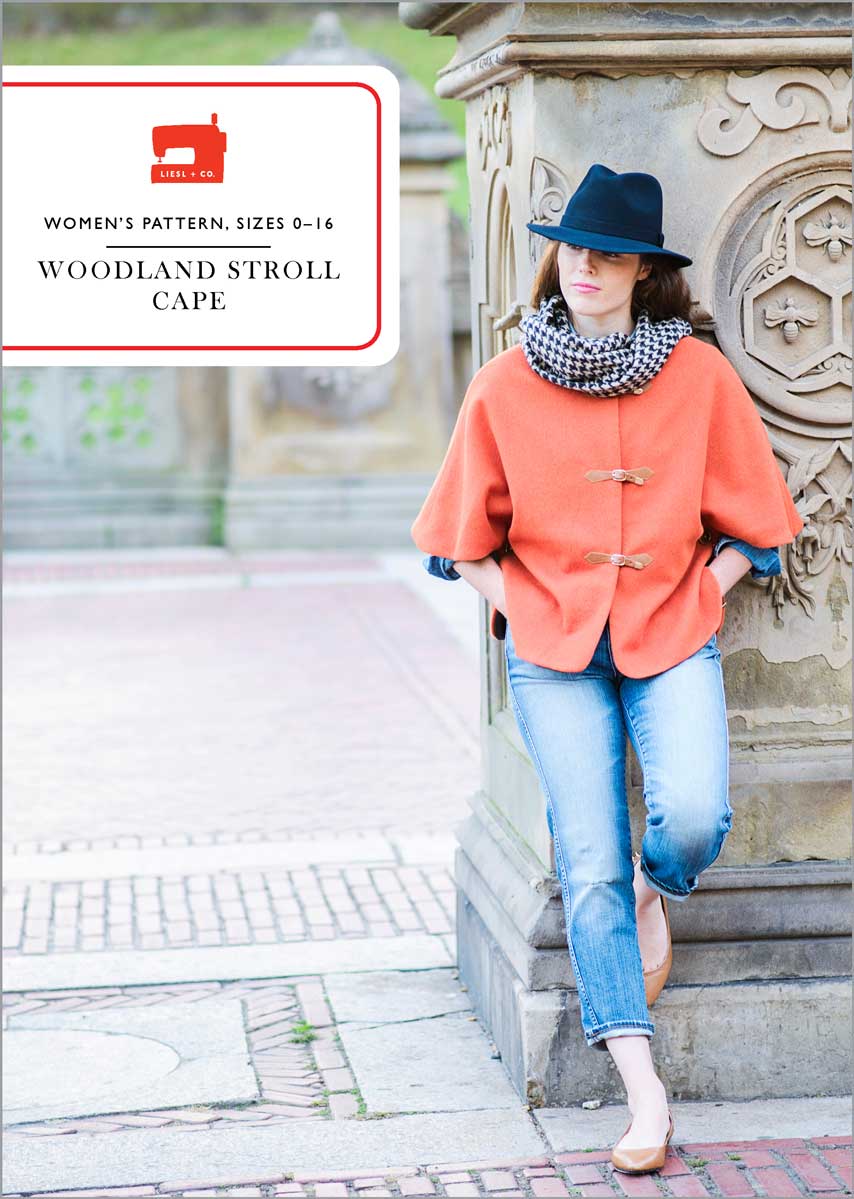
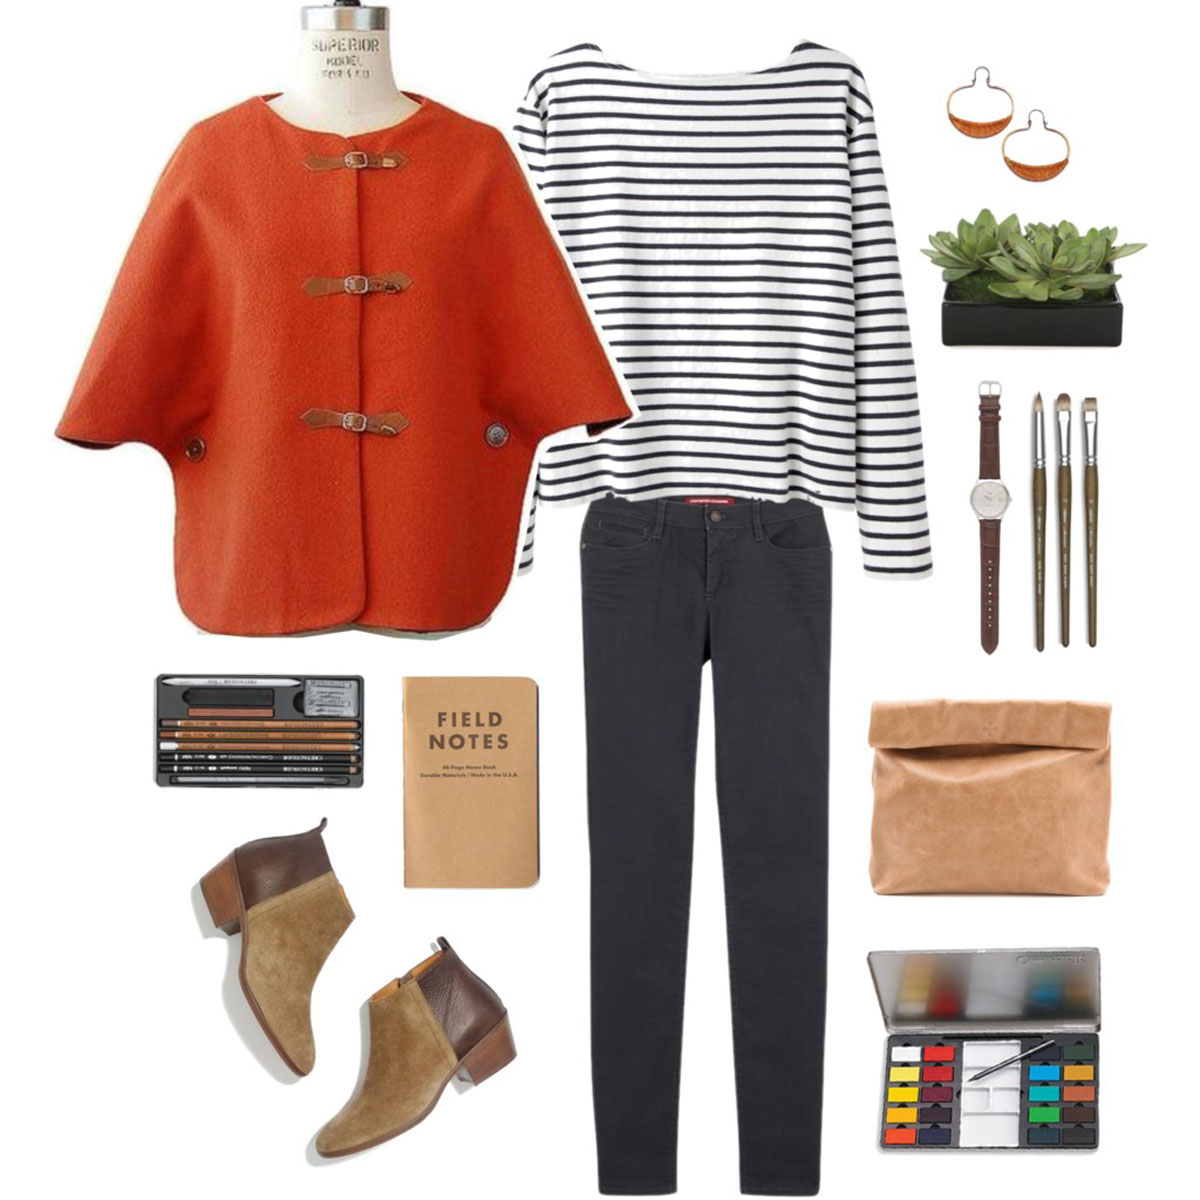
I also like that this pattern doesn’t use a lot of fabric, so you might even consider splurging a bit on a gorgeous wool (cashmere?) that you really love and not feel guilty about the price. If you’re not very fond of sewing buttonholes, you might also try using leather buckle closures like the ones we used on this orange cape. (We found these at Pacific Trimming. M&J Trimming has some nice ones as well.)


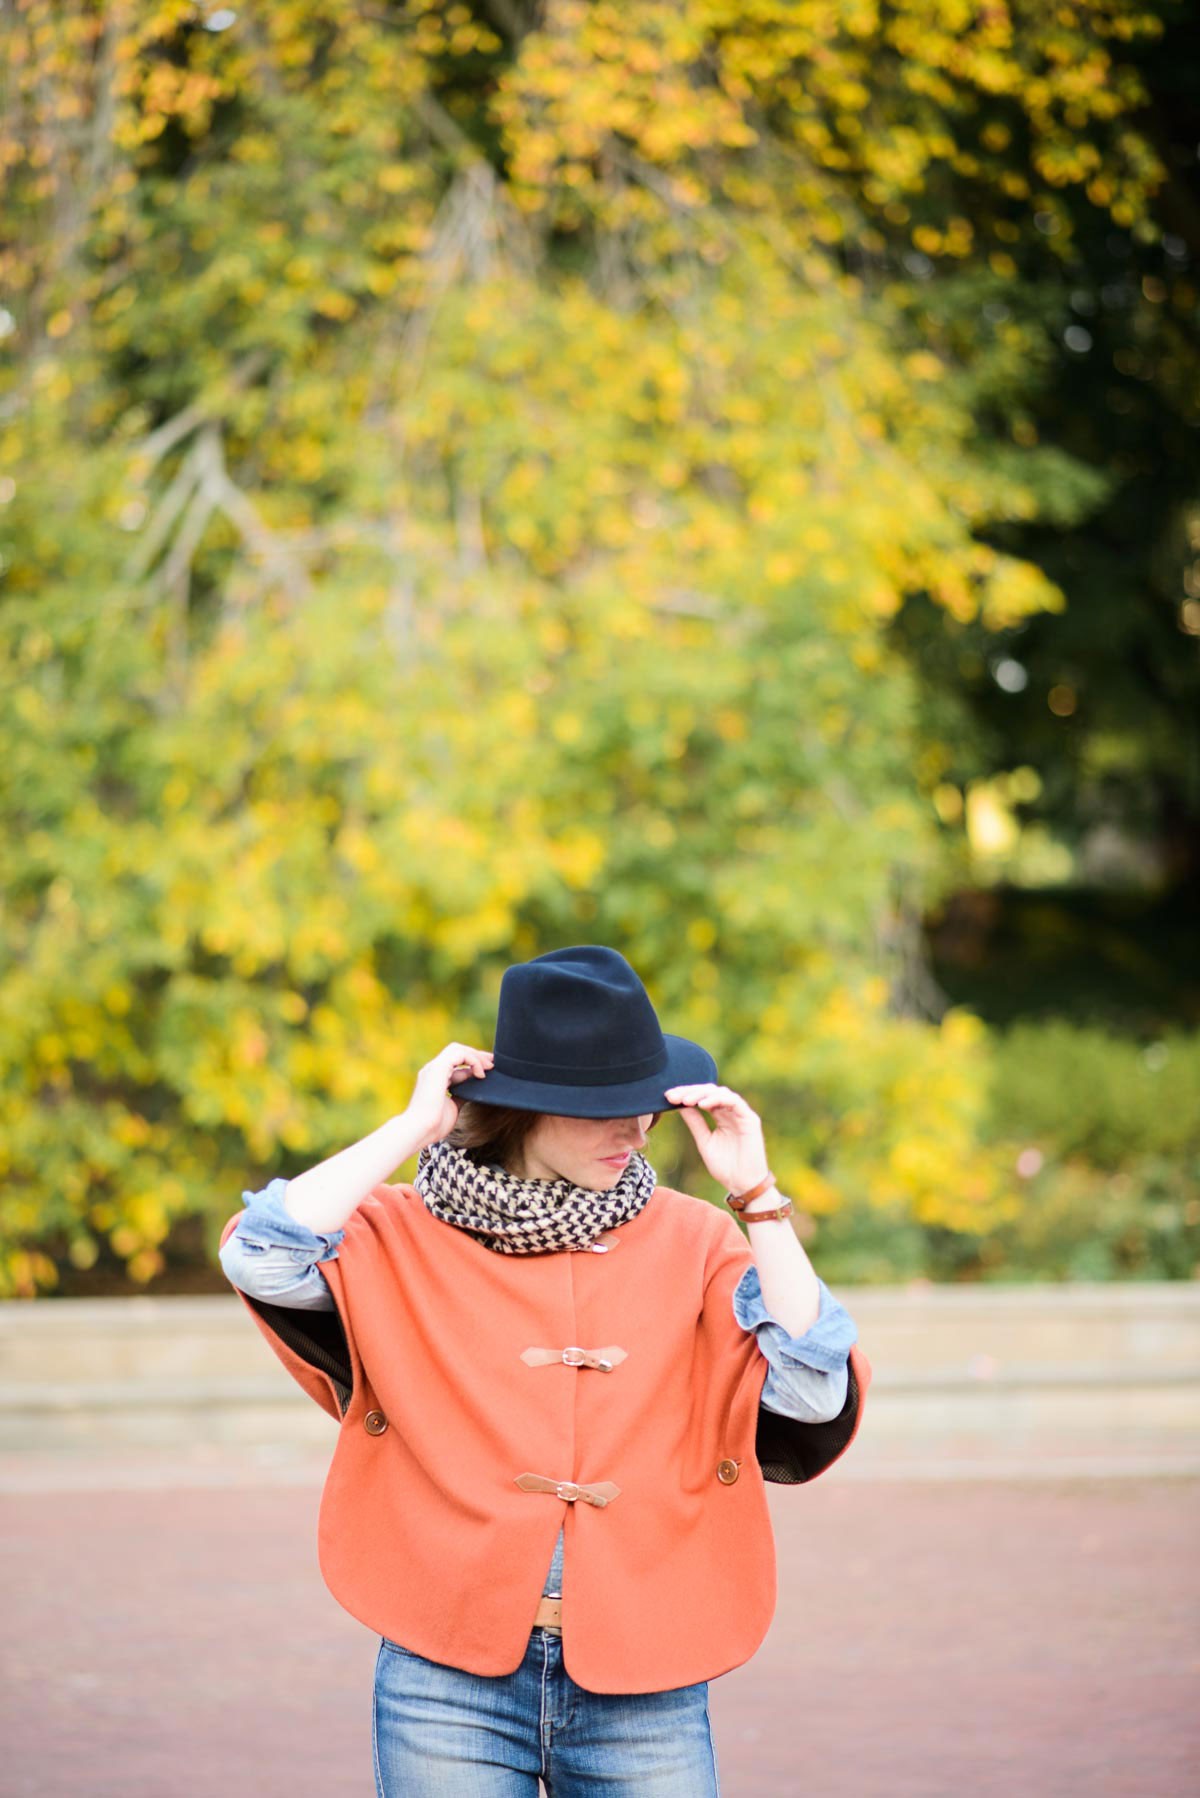
(Maya, our model for this pattern, is a modern dancer. I love this shot, which also shows that you really can move your arms when you wear cape!)

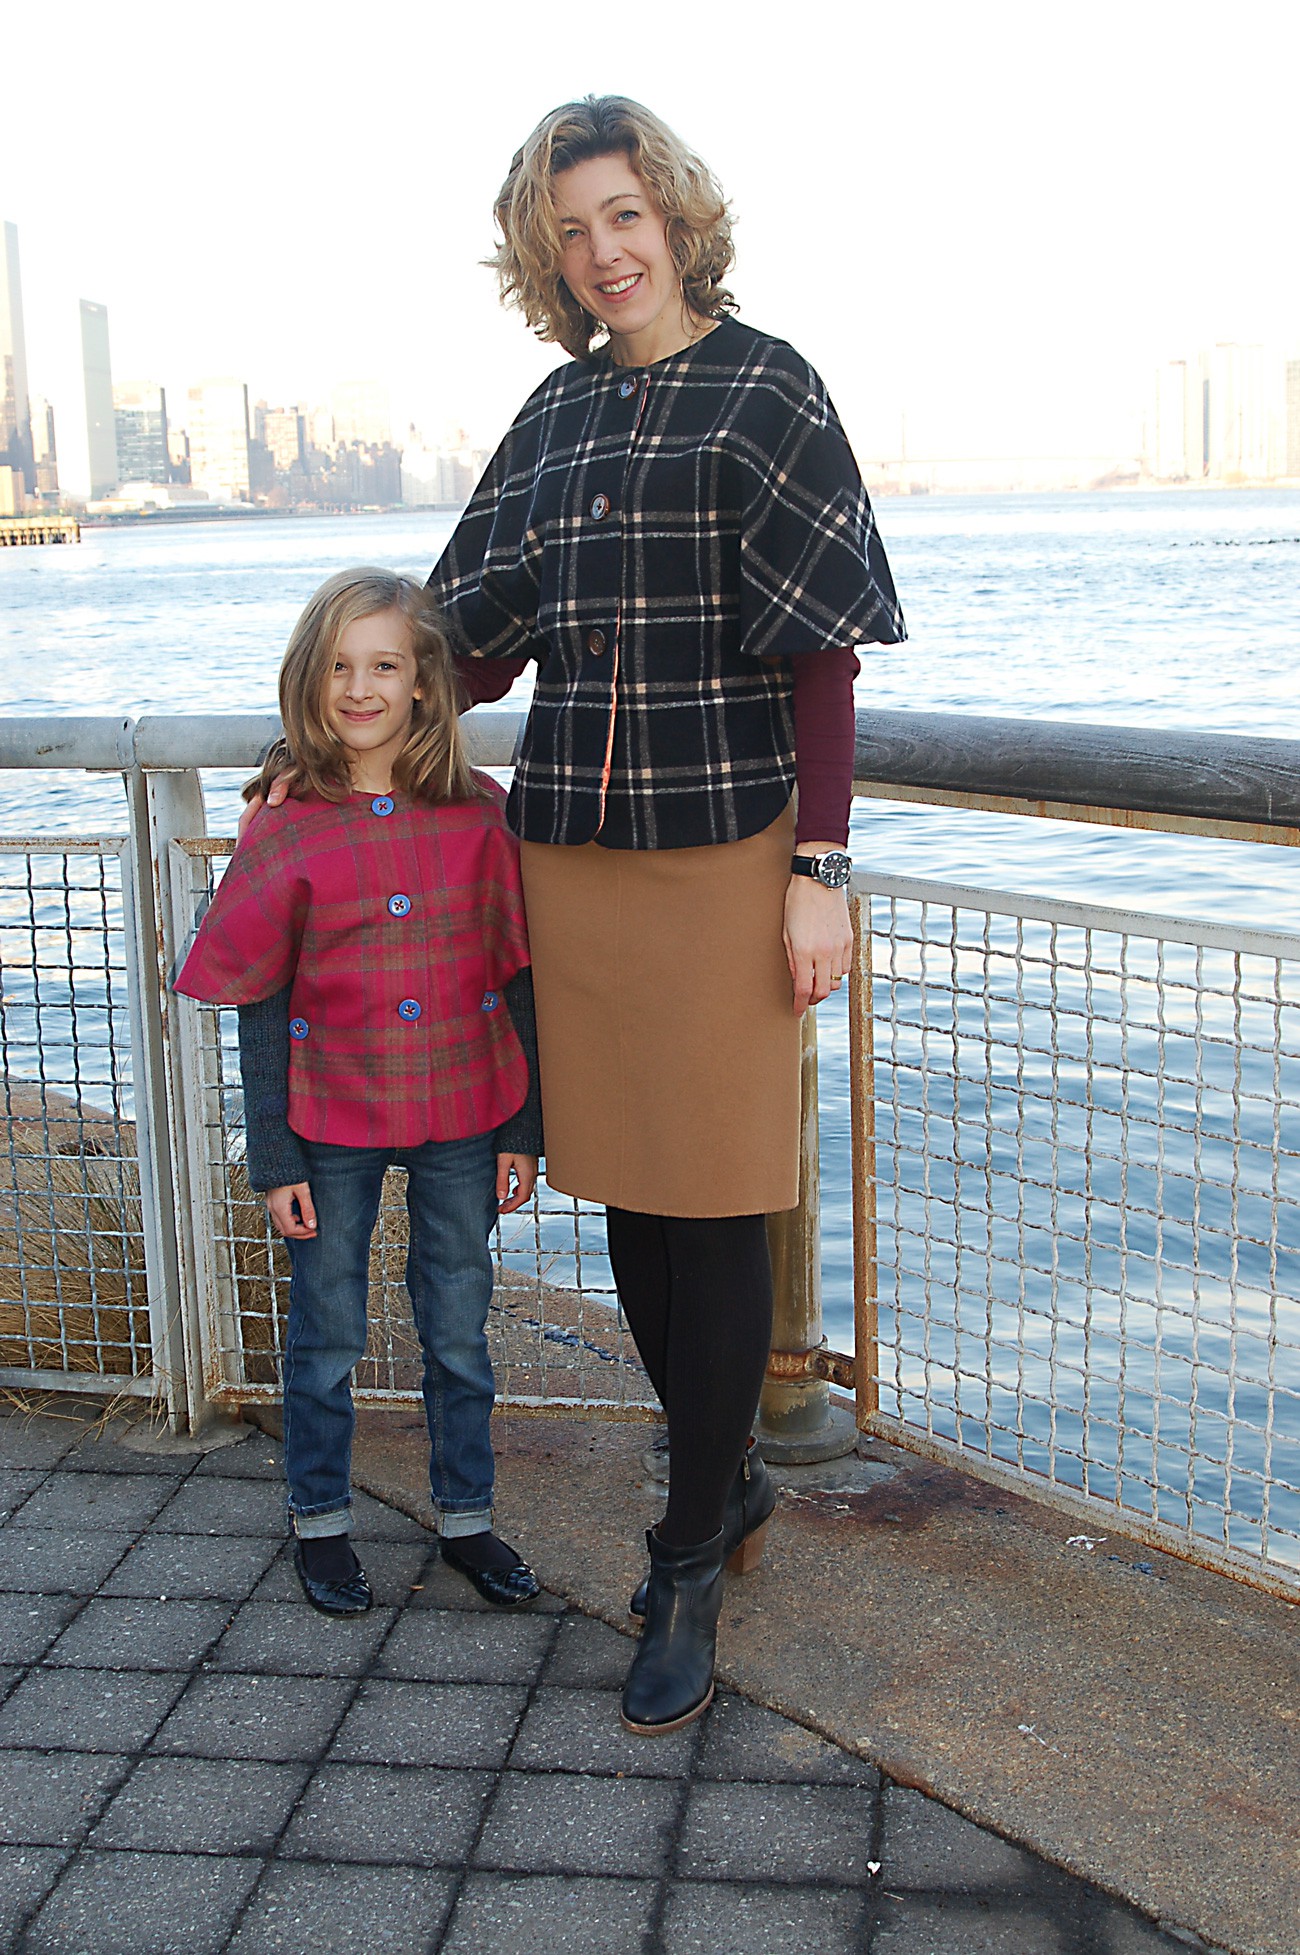
What else? Oh, it also looks great in plaid!


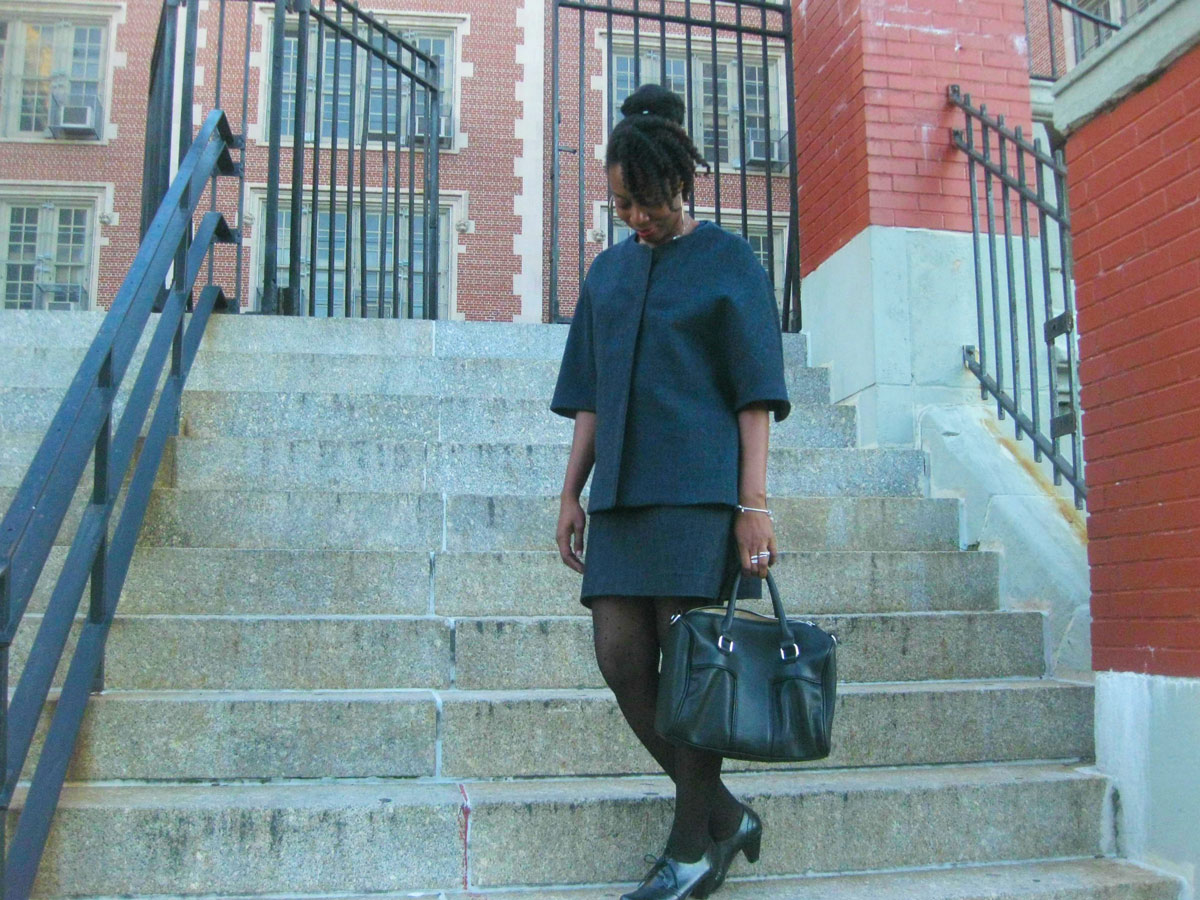
And of course you can style it all sorts of ways. I dress it down with jeans but also wear it with pencil skirts, so it’s versatile. This is a photo from back when we first released the pattern.

Wanett of Sown Brooklyn made herself a chic version of the cape a few weeks ago. She made a few changes here and there and gave the pattern a slightly different look. Check her post for details and additional photos.
Ready for the Polyvore thing? Just two today. See? I’m really showing discipline and restraint here. (While completely disregarding the fact that I’ve already shown you dozens of photos….)
Botanical Gardens:
Weekend in Paris:

Oh, and the kid-sized equivalent of this cape pattern is the Forest Path Cape, if you’re feeling inclined to do a mother-daughter matchy thing like this. (S loves it when we match.)
You can purchase, download, and print your copy of the Woodland Stroll Cape pattern in the Oliver + S shop now.
I just bought the pattern this week – I’m going to try it in a dark green tweed, lined with something bright (maybe pick out one of the tweed accents) – I can’t wait and will be trying some of your other ladies’ patterns too
I would really like a plaid version but I have some boucle wool so I will make one in that first. Really love the look of this pattern.
Sarah, dark green will be beautiful!
And Nicki, boucle will be great, too!
I hope you’ll both show us when it’s finished.
I LOVE this! Its so adorable! We are heading into hot summer here in Australia…but come autumn next year…I WILL be making one of these!
Jessica
I just finished this cape, and I love it! It was really easy and quick to sew. I followed the directions precisely, and I recommend to all that you take the time to do the gathering stitches that she recommends for the curves before turning. I choose a cranberry polyester satin lining with the cape cut from a coat-weight animal print of gray, black, and brown. I used 3 toggles down the center front and two plain buttons under the arms. There are no directions on sewing the toggles, so I decided to sew them on before attaching the lining. I didn’t want the stitching from the toggles to show on the lining. To do this, I carefully marked the seam allowance, then placed the toggles along the same designated area as the buttons, but further out. Since my toggles needed more room, I fused a wider piece of interfacing to the interior of the coat to ensure they would be sewn onto the interfacing. My coat fabric was thick and has a little texture so I marked everything with tailor tacks. The only problem I had was that somehow my lining was cut too small at the neck, probably because my fabric shifted slightly, but I didn’t realize why the two pieces didn’t match until after I was finished. When I went to attach the collar facing, it was the correct size, but the lining was too short in the curve. Again, I didn’t realize it was the lining, I thought it was the collar facing, so I cut the collar facing. Arg-wrong thing to do-note to self-do not do this next time. What I ended up doing to get the cape back to match the lining was to ease in the cape back at the neck to the collar facing. Thankfully, that worked like a charm, and after a few good shots of hot steam from the iron as well as understitching, no one is the wiser and it lays flat! It was off by no more than 3/4 of an inch; I didn’t measure it, and anymore than that I would have probably recut those pieces. I highly recommend this pattern. The cape is so very comfortable and chic. I will be making another lighter weight one for spring. Thank you, Liesl!