
Pinking is defined as a zigzag cut from a saw/scallop-toothed edge blade using pinking shears or a hand crank pinker. A good pair of Pinking Shears or a hand crank pinker that mounts to a tabletop are handy tools for any sewing room. To keep your pinking shears cutting sharp and even, use them for fabric and fabric only. However, some hand crank pinkers allow you more freedom to use interchangeably on fabric, paper, leather, etc. because of the design of the blade or disk.
Regardless of the tool you choose, it is invaluable to be able to pink a seam or fabric edge quickly.


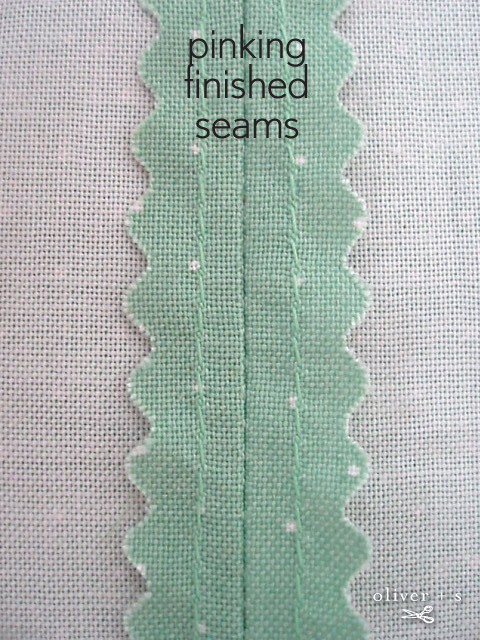
If the fabric unravels easily, then an extra step of straight-stitching just below the pinked edge will add greater stability to the seam allowance and prevent further unraveling as discussed in the straight stitch seam finish.


Sometimes I will pink all raw fabric edges immediately following a fabric purchase. This prevents excessive unraveling or fraying of the fabric when I am pre-washing and shrinking it to prepare for pattern cut-out. Granted, these are extra steps to your sewing project, but the finished result will preserve the garment seam for longer lasting wear.
If you enjoyed this blog post, why not sign up for our newsletter? It’s free, and you can opt to have new blog posts sent to you by email too!