

Hi, I’m Lyndsey! With the end of summer in the Northern Hemisphere, I’m beginning to make my fall sewing plans. I am a visual planner and like to mock up inspiration boards as I plan my projects. Today, I will share how you can create your own digital inspiration boards using free online tools.
Select the pattern
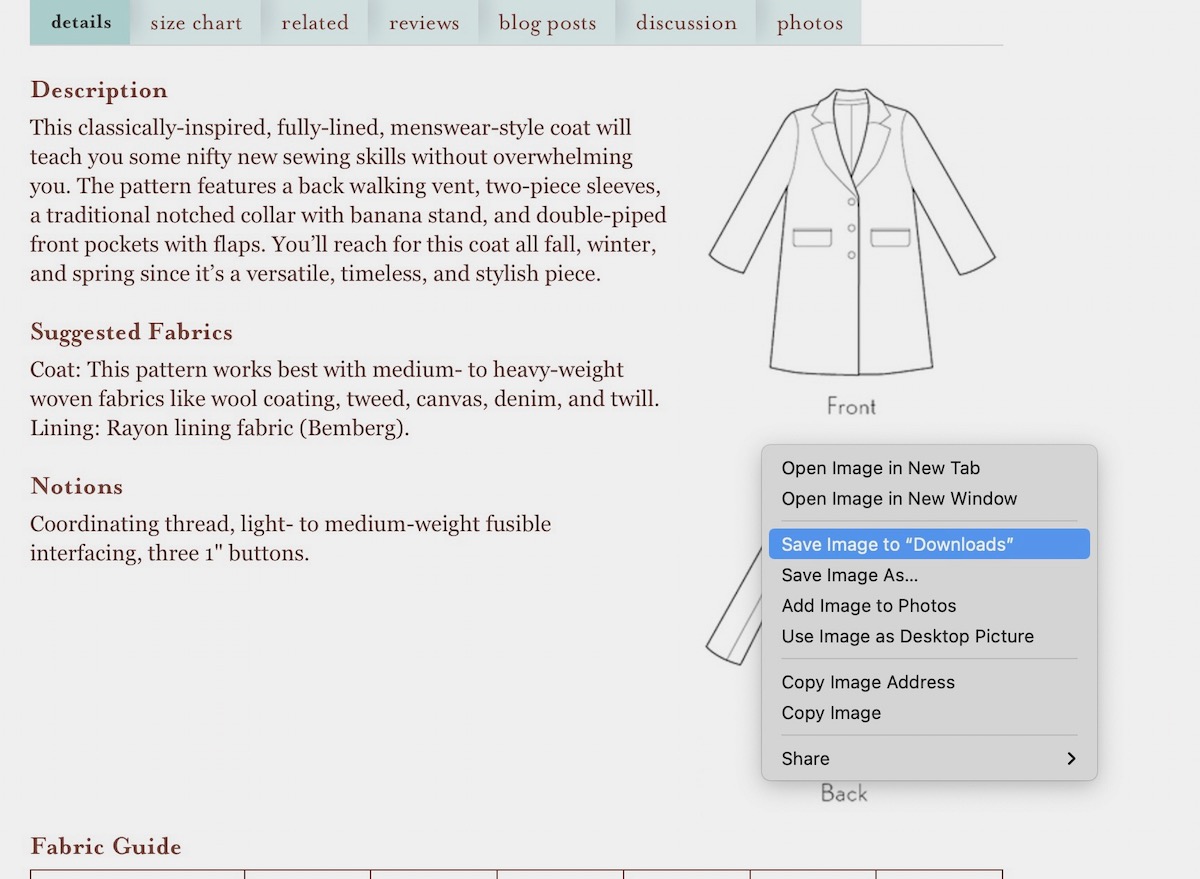
I usually start my planning process by selecting the patterns I want to sew. Pattern line drawings are the most important piece of this process, and most pattern designers include digital images of line drawings on the web. For example, for the Chaval Coat, I can save the line drawing to my computer by right-clicking the image.
Select the fabric
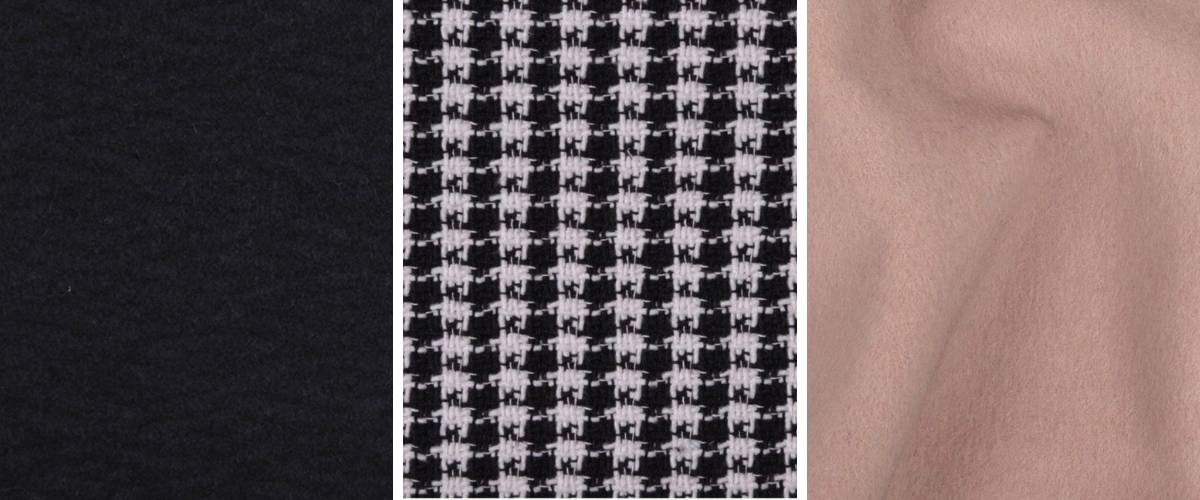
The fun part about this type of inspiration board is showcasing different fabrics and color combinations. For this example, I grabbed three fabric swatch images of coating fabric from the web. In the past, I’ve used pictures I have taken of fabric I already have in my stash. You can also use a color block in the software options I will discuss below.
Prepare the line drawing
To showcase the fabric and line drawing together, you need to remove the background of parts of the image and save the file as a PNG. For this example, I’m going to use a free online image editor (OIE) https://www.online-image-editor.com.
- Go to OIE and upload the line drawing.
- On the advanced tab, select “Transparency.”
- Double-click on a section within the line drawing. The section will be removed, leaving a transparent space.
- Continue to remove each section within the line drawing. However, do not remove the space around the line drawing.
- Select Save.
- Select “Save Image Local.” The image will be automatically saved as a PNG.


Create Your Inspiration Board
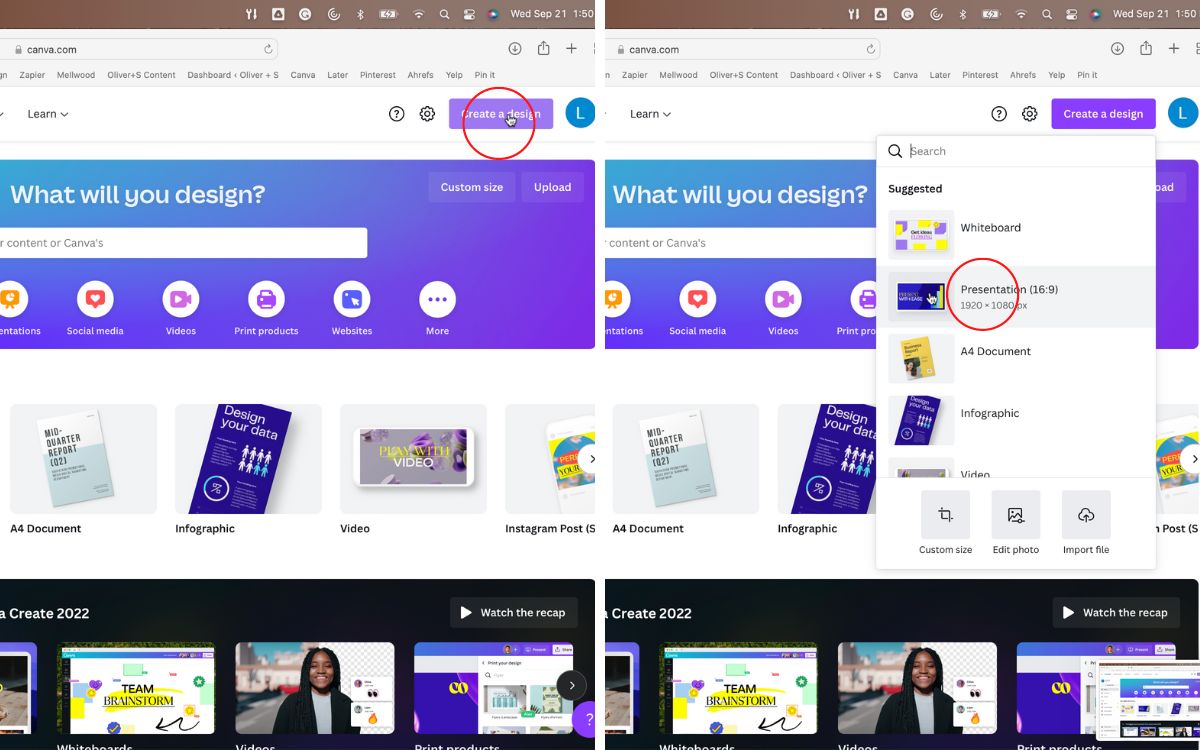
Now that your line drawings have been converted to a PNG and you have your fabric swatch images, you can create your inspiration board. There are multiple software programs that you can use. PowerPoint, Keynote, and Google Slides will all work and use the same basic steps. In this example, I will use the free version of Canva.
Start by choosing “Create a design” and click “Presentation.”
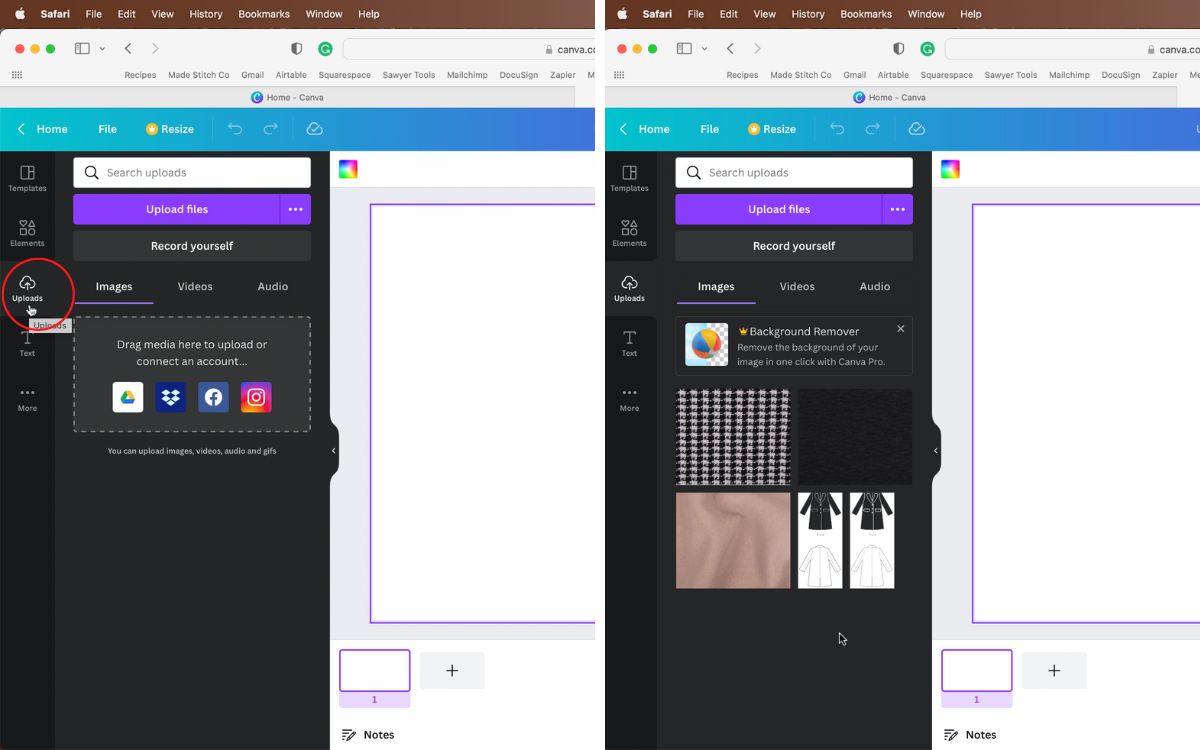
Next, click “Uploads” and drag your PNG line drawing and fabric swatch images to the uploads box.
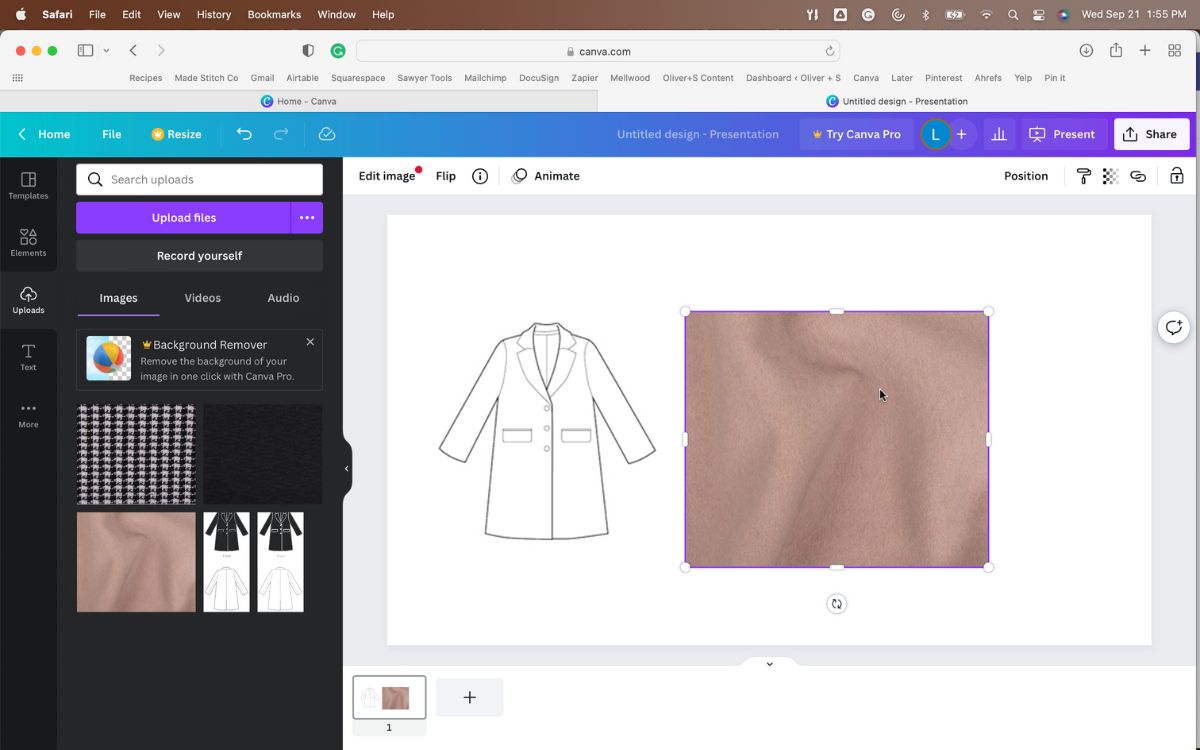
Third, click on your PNG line drawing and one of your fabric swatches to load them into the presentation.
Then drag the fabric swatch on top of the PNG line drawing. Next, right-click the fabric swatch and choose “Send Backward.” With the fabric swatch behind the line drawing, you can now see the fabric image through the areas we made transparent in the online image editor.
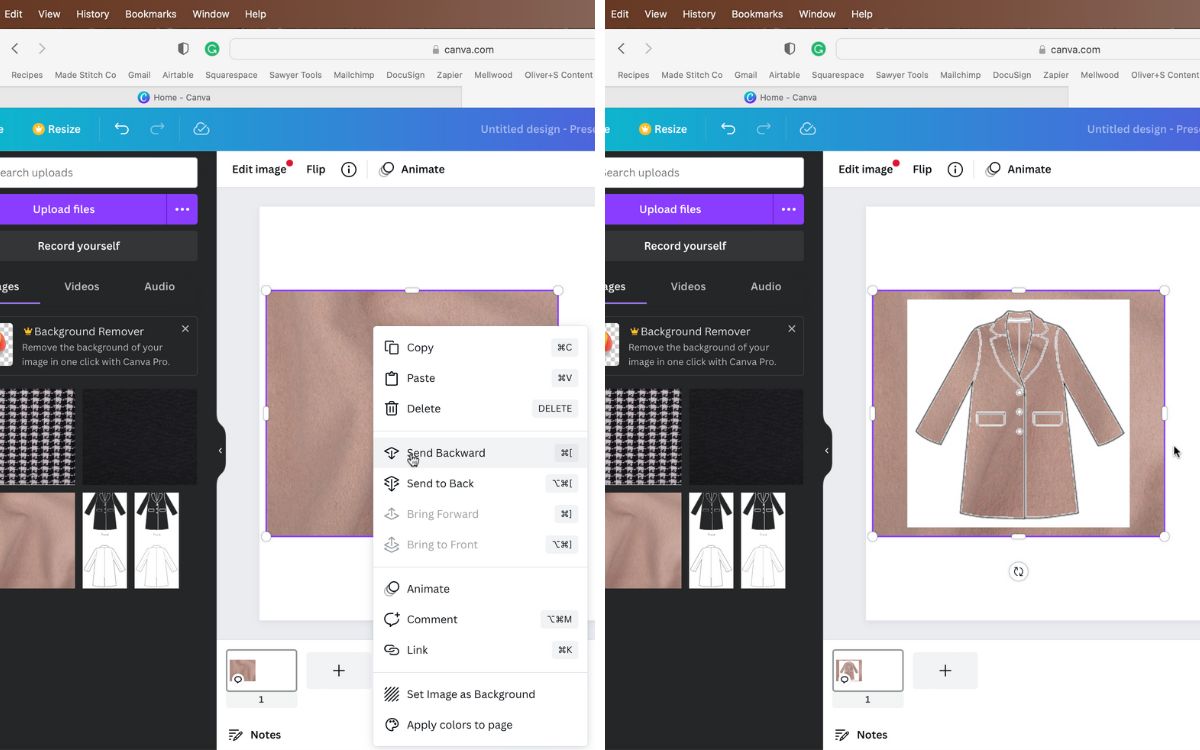
Finally, crop the fabric swatch image, so it doesn’t poke out from behind the line drawing. Then, you can copy and paste the line drawing and try out your other fabric swatches!
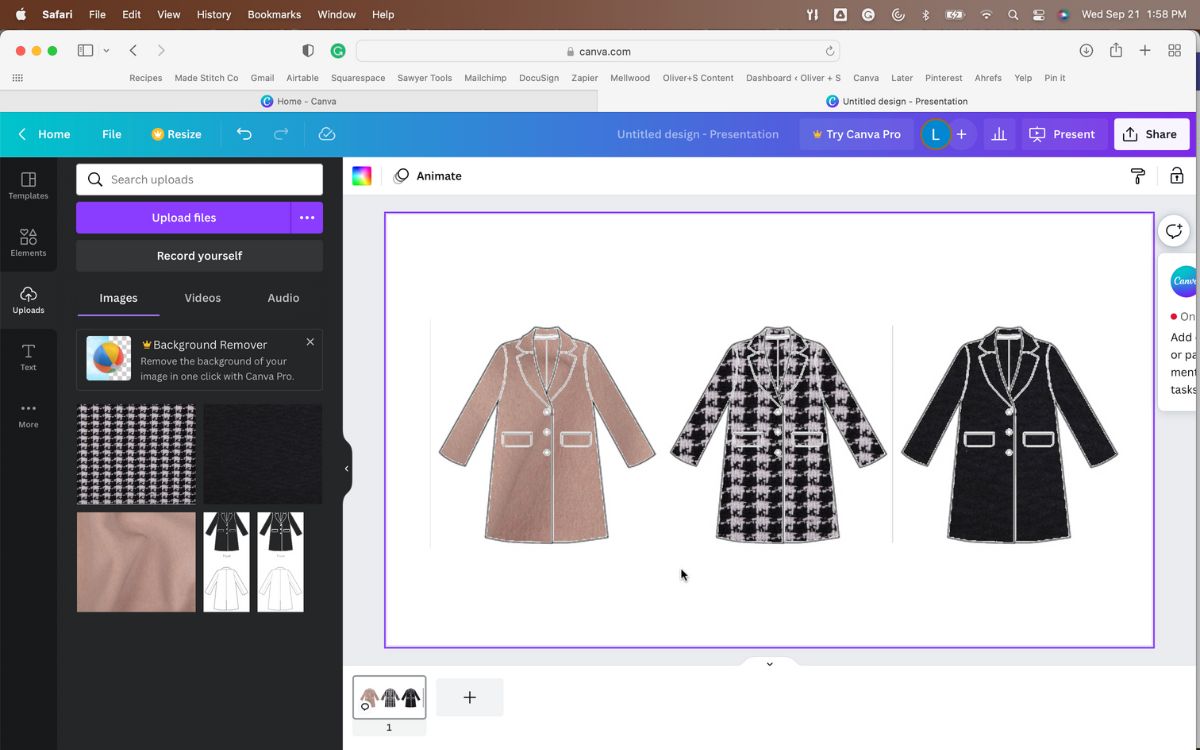
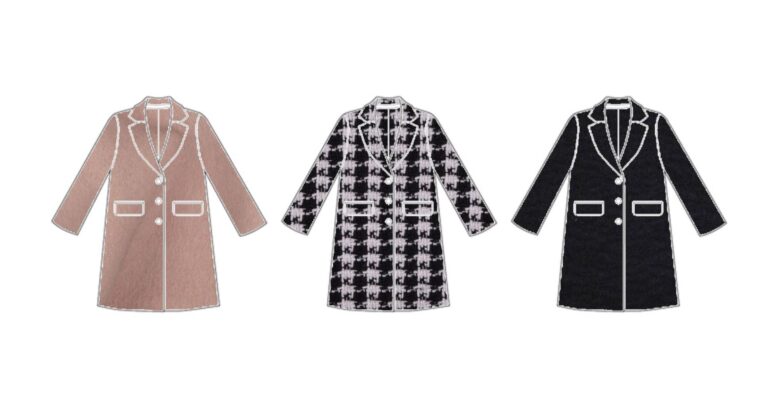
Final board
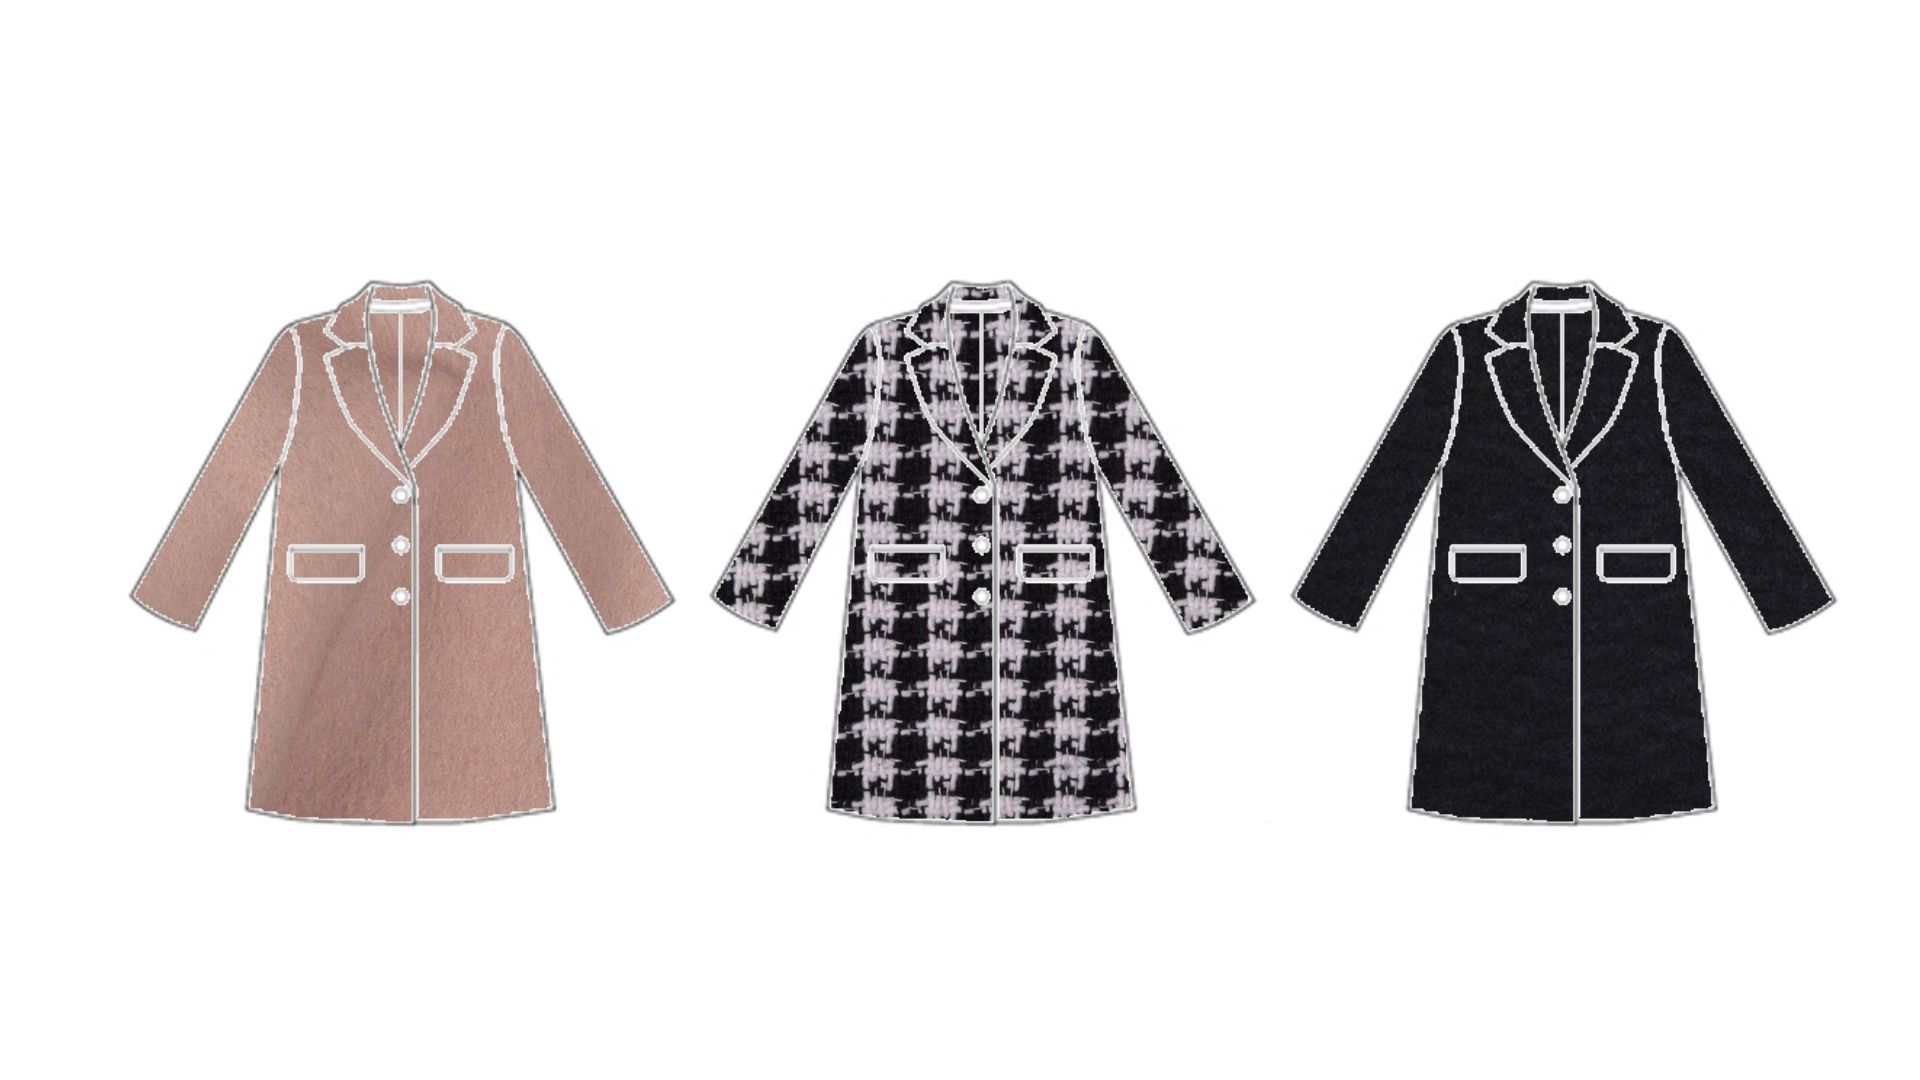
I find this to be a handy tool for planning my sewing projects. The goal isn’t to create a perfect image. For example, in the middle picture, using the houndstooth fabric swatch, the scale of the actual fabric will be much smaller. However, I’m just trying to get a sense of what the garment would look like if it were sewn with that type of fabric.
As I created my summer capsule sewing plan earlier this year, I started with four patterns I wanted to sew, but I had about twenty different fabrics in mind. This process helped me “try out” the fabrics to see how the pieces would look together. Now I’m working on my fall capsule sewing plan. I’d love to see your own inspiration boards!