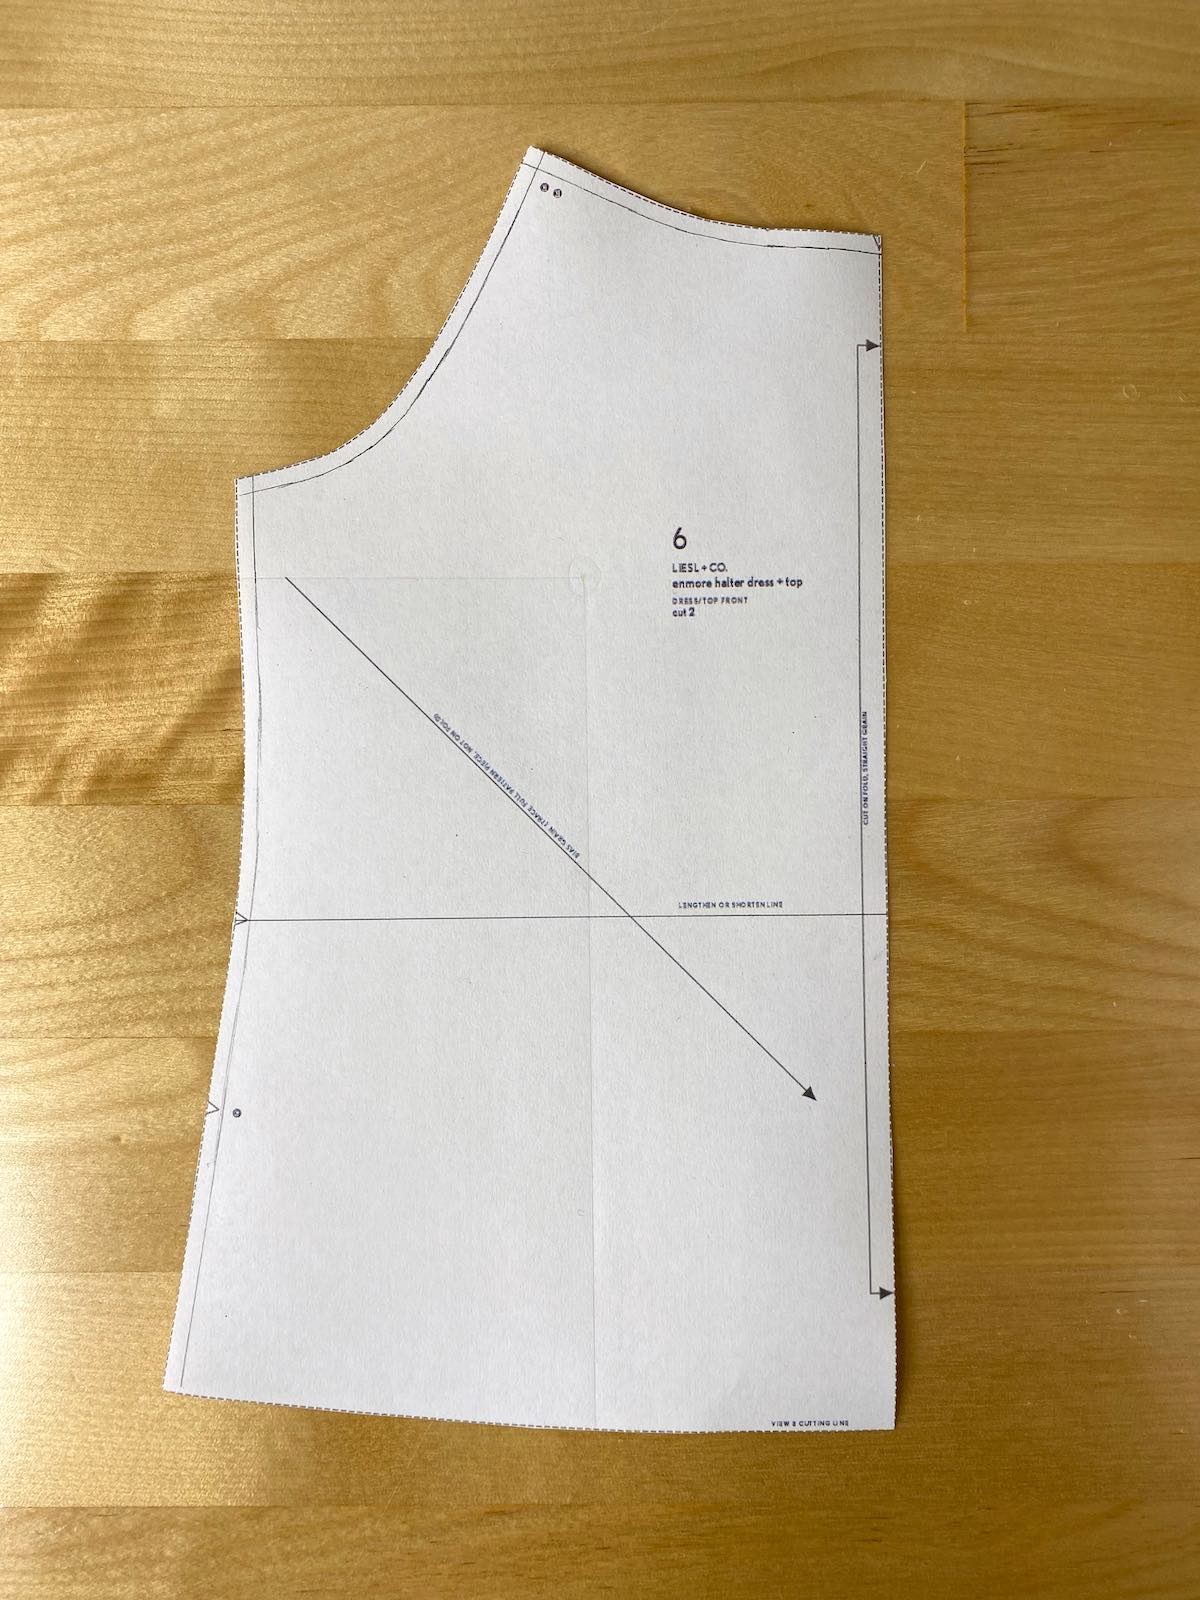
The Enmore Halter Dress + Top pattern includes three cup sizes, but sometimes you may still need to make a full bust adjustment (FBA). To maintain the design lines of the pattern, you will need to move the dart after completing the full bust adjustment. Lyndsey is here today to demonstrate how she adjusted her Enmore muslin.
Since the Enmore is a halter, I used my full bust measurement (41″) to select pattern size 14. My upper bust measurement is 37″, meaning I needed the D-cup shelf bra piece. After fitting the shelf bra, I still needed an additional 3/4″ FBA. I adjusted the pattern piece using the regular slash and spread technique (see the example of an FBA on the Cinema Dress).
Now that the shelf bra fits correctly, I knew I would need to make the same adjustment to the dress/top front. However, the front pattern piece does not have a dart, and I didn’t want to add a dart as a result of the FBA. To solve this challenge, I performed the FBA and used dart manipulation to control the fullness in another location.
Steps for a Full Bust Adjustment
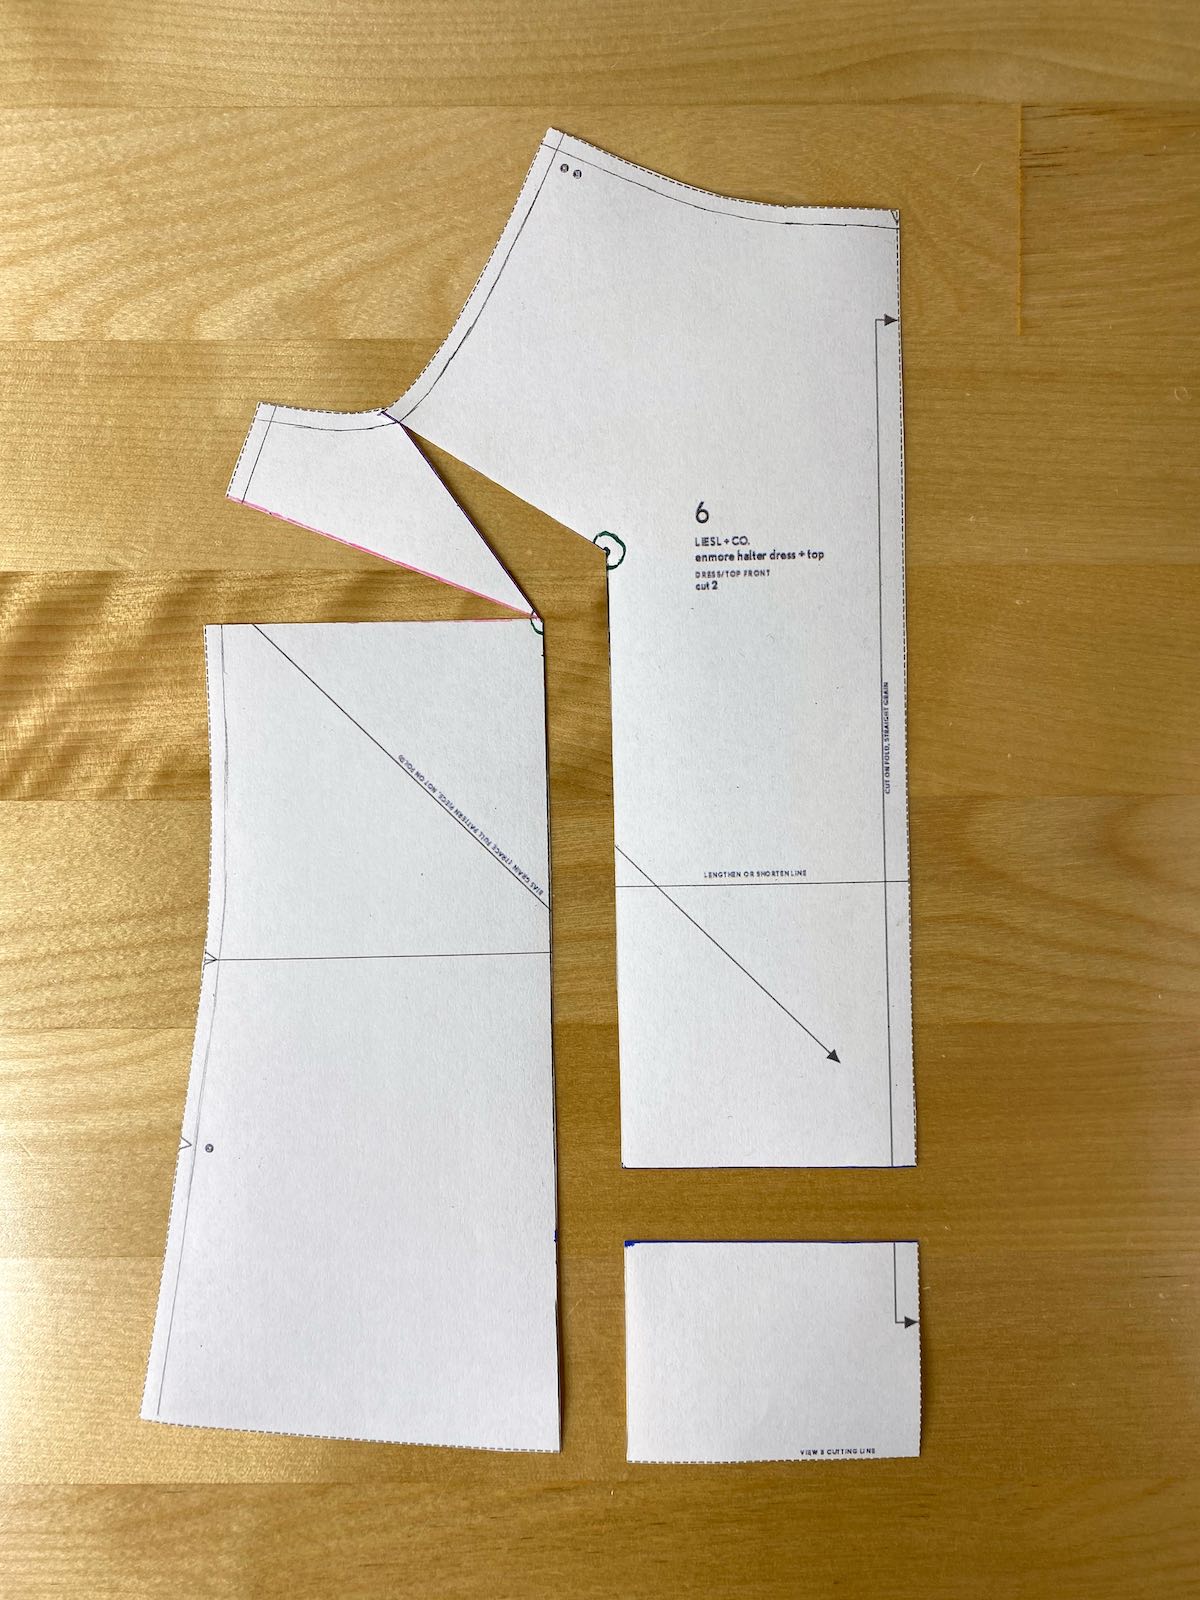
First, add 1/2″ seam allowances to the neck, armscye, and side seam (the photos for this example are not to scale).
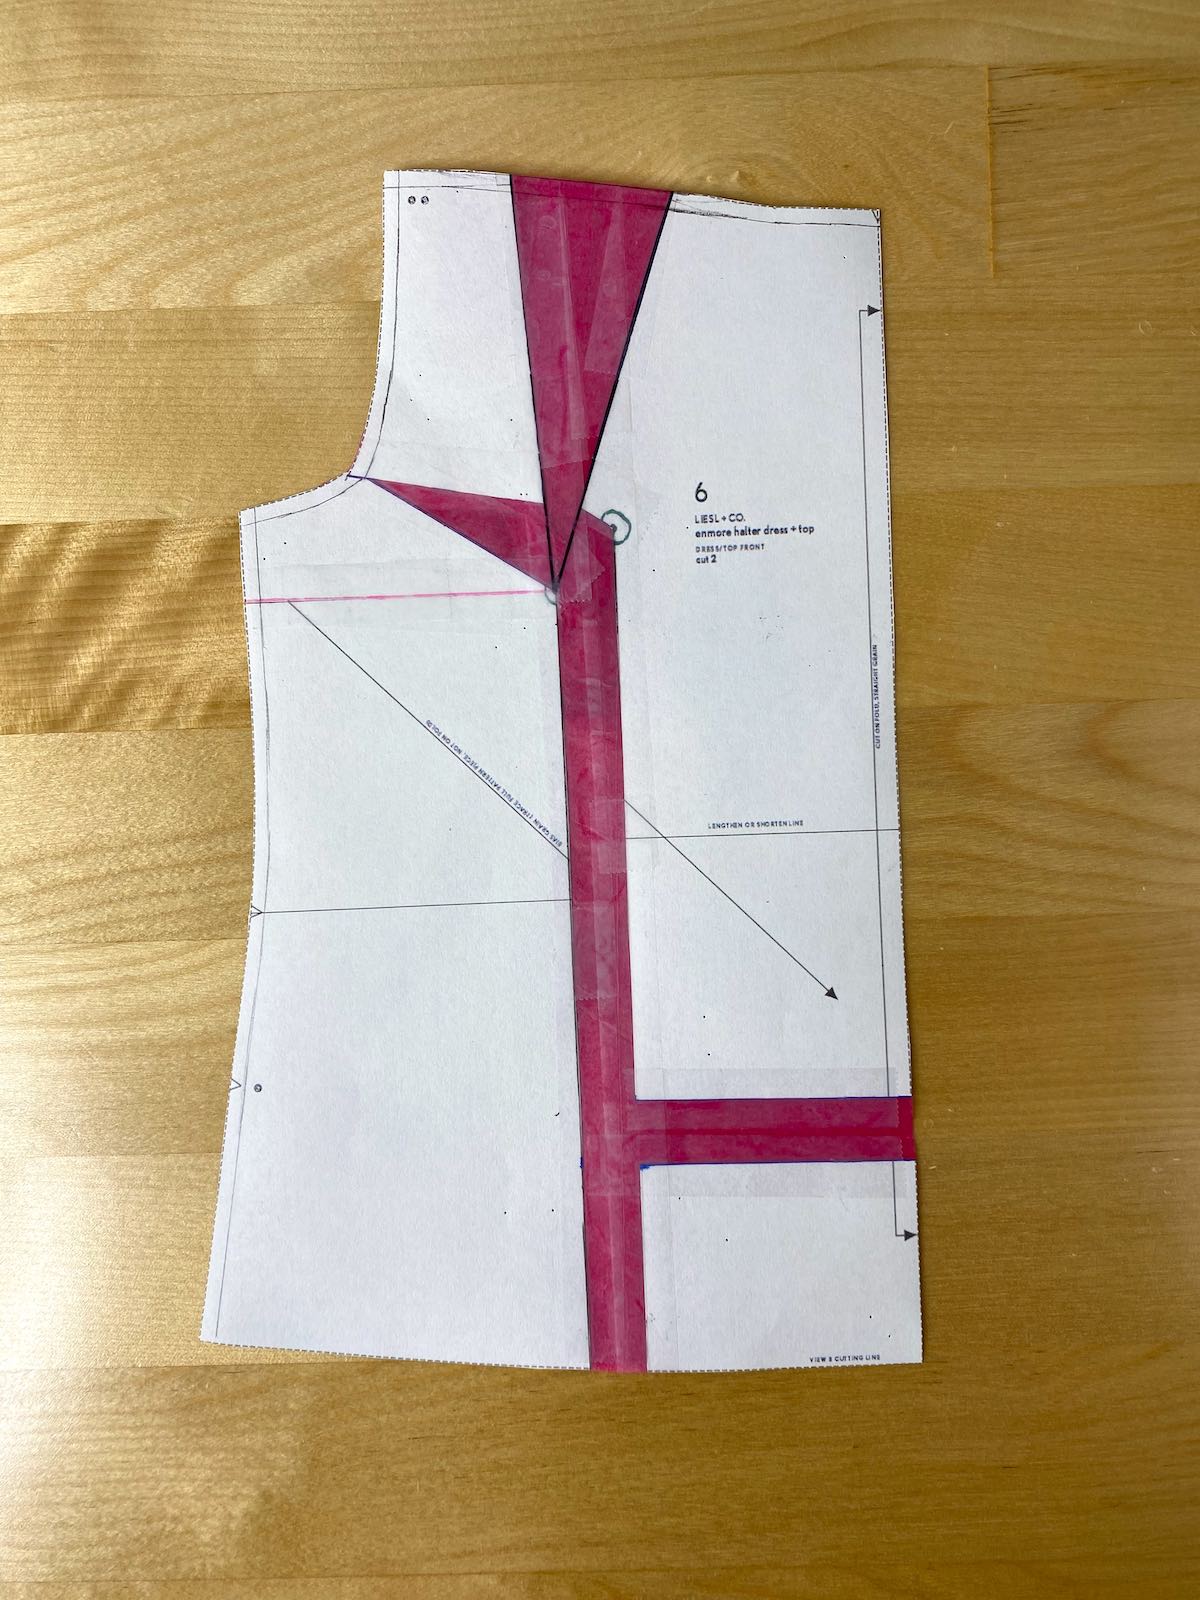
Next, we will add four guidelines for the FBA. Create a mark at the bust apex, marked as the green dot in this photo. I was able to locate my apex from fitting the shelf bra. Once the apex is marked, draw a horizontal line 1 from the apex to the side seam (pink line). Draw line 2 parallel to the center front from the apex to the bottom hem (black). Draw line 3 from the apex to the armscye, about 1/3 up from the side seam (purple line). Finally, draw line 4 from line 2 to the center front (blue line) in the bottom right corner.

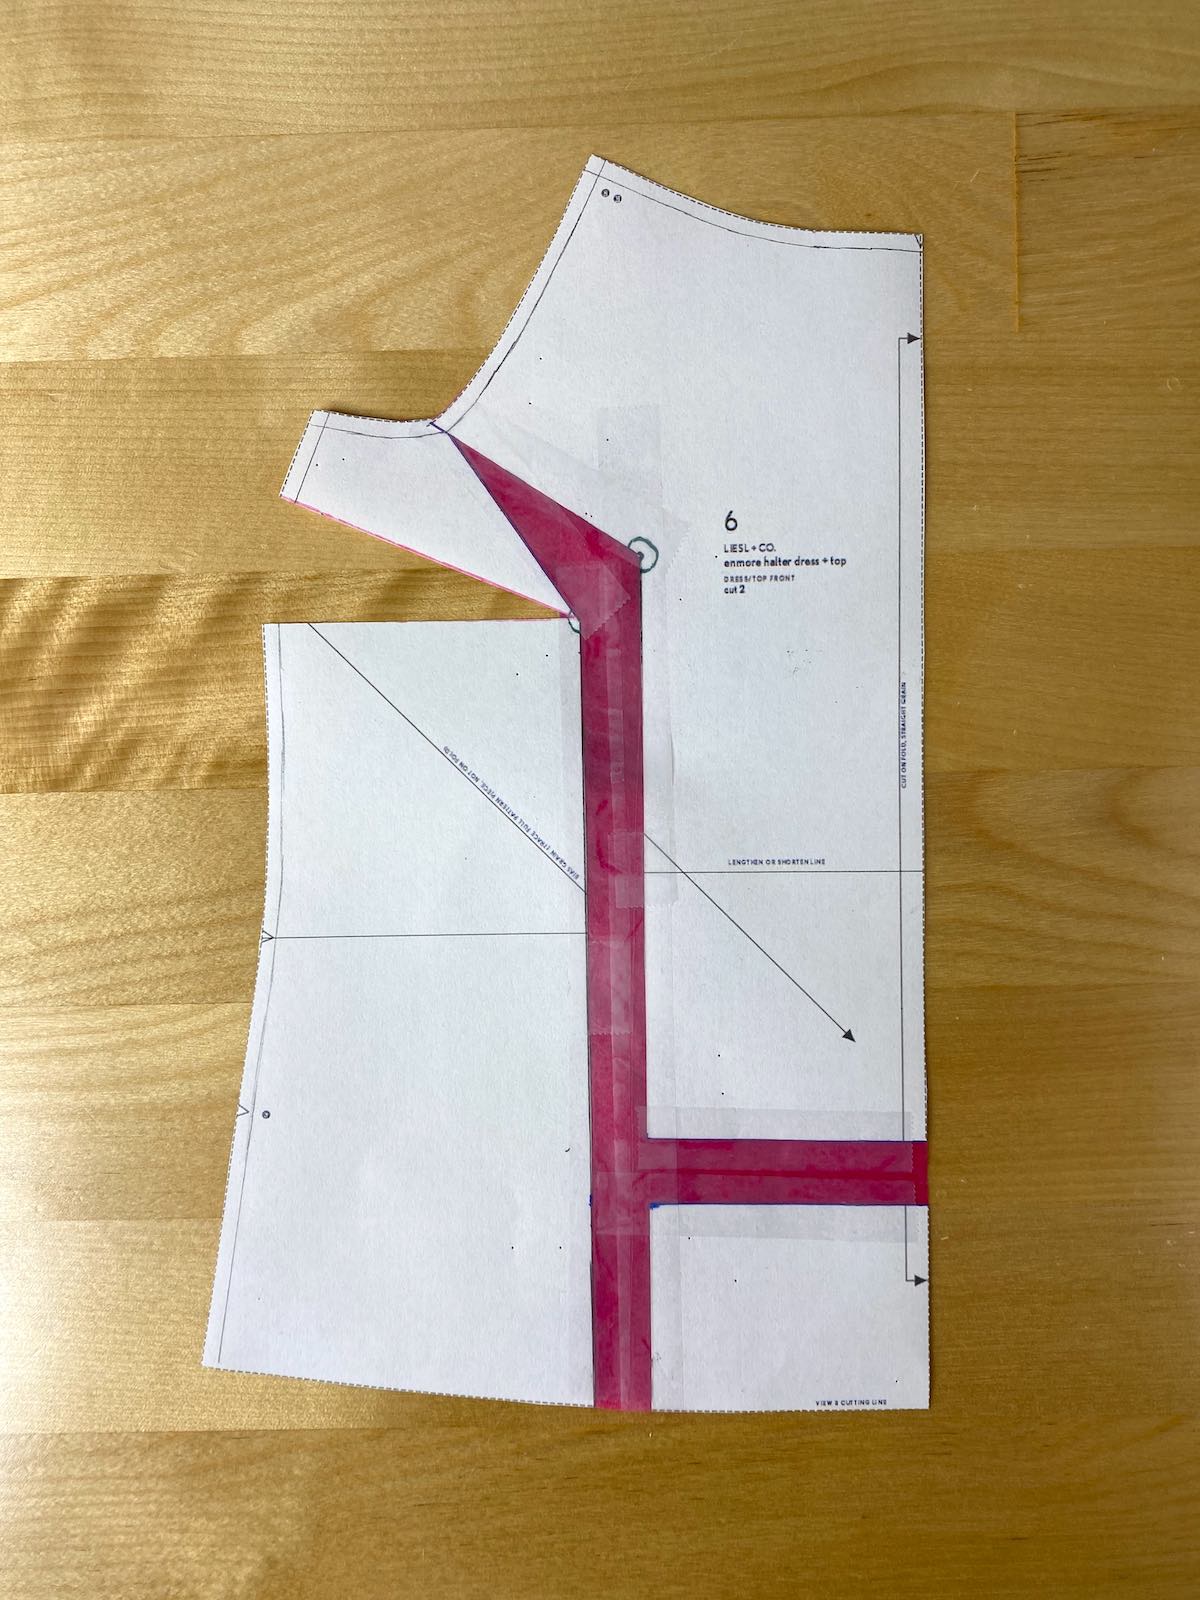
Now we will cut along the guidelines. First, cut up line 2 (black line), through the apex, and up line 3 (purple line) but DO NOT cut through the seam allowance. You’ll create a hinge to allow the pieces to move apart. Next, cut along line 1 (pink line) from the side seam to the apex, but DO NOT cut through the apex point, leaving a hinge to keep the pieces connected. Finally, cut along line 4 (blue line) and move the piece so that the bottom hem is even with the hem on the left side of the pattern piece. Spread the pieces apart the required width; for my adjustment, I needed to add 3/4″.
Next, place paper under the pattern pieces and tape to secure the new shape. In a standard FBA, you would tape under all open areas. However, we will leave the side dart free since we will perform dart manipulation.
Dart Manipulation
Darts take in ease and provide shape to a garment. Dart manipulation is the process of taking the existing darts in a sewing pattern and manipulating them around the pattern to achieve a different look. When you manipulate a dart, the amount of ease being controlled does not change.
First, draw a new line from the bust point to the location of the new dart. In this example, I am rotating the dart to the neckline.
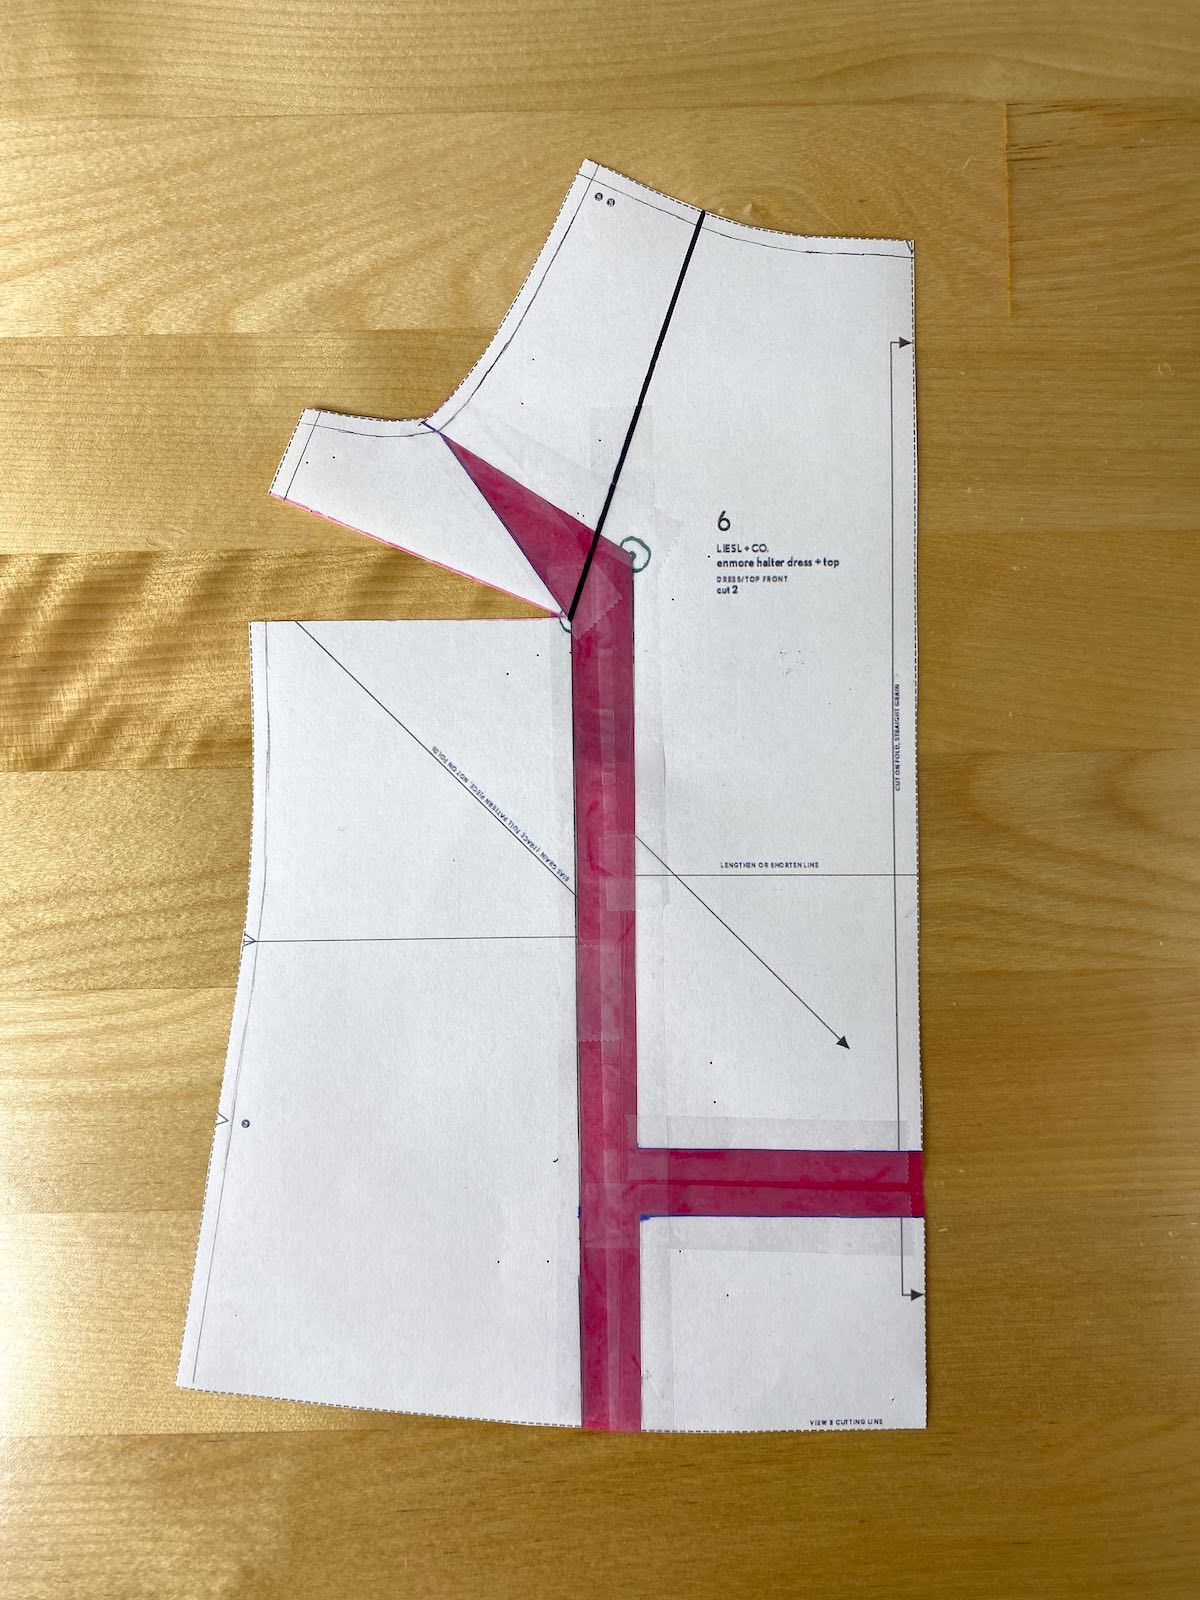
Next, cut along the line from the neckline to the bust point, but DO NOT cut through the bust point. Close the side seam dart and tape it shut. The side seam is now back to the original shape!
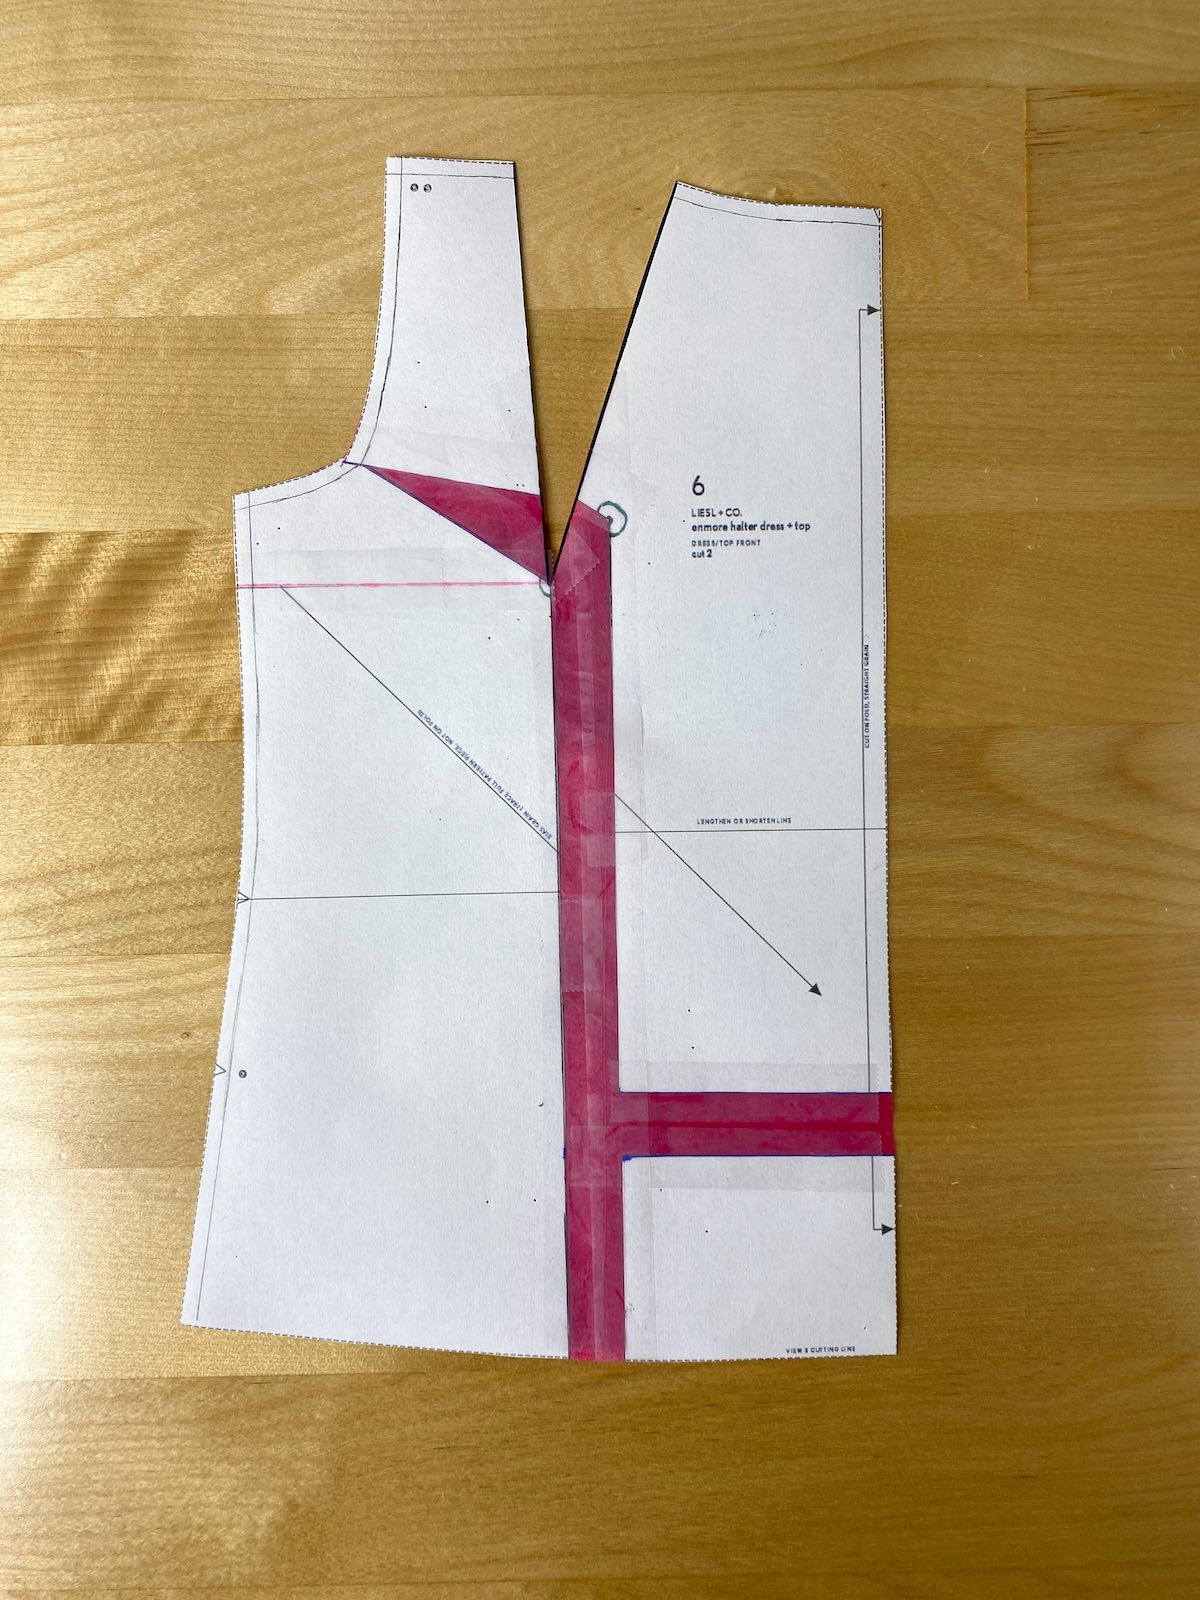
Finally, place paper under the open area and tape the pattern to secure the shape.
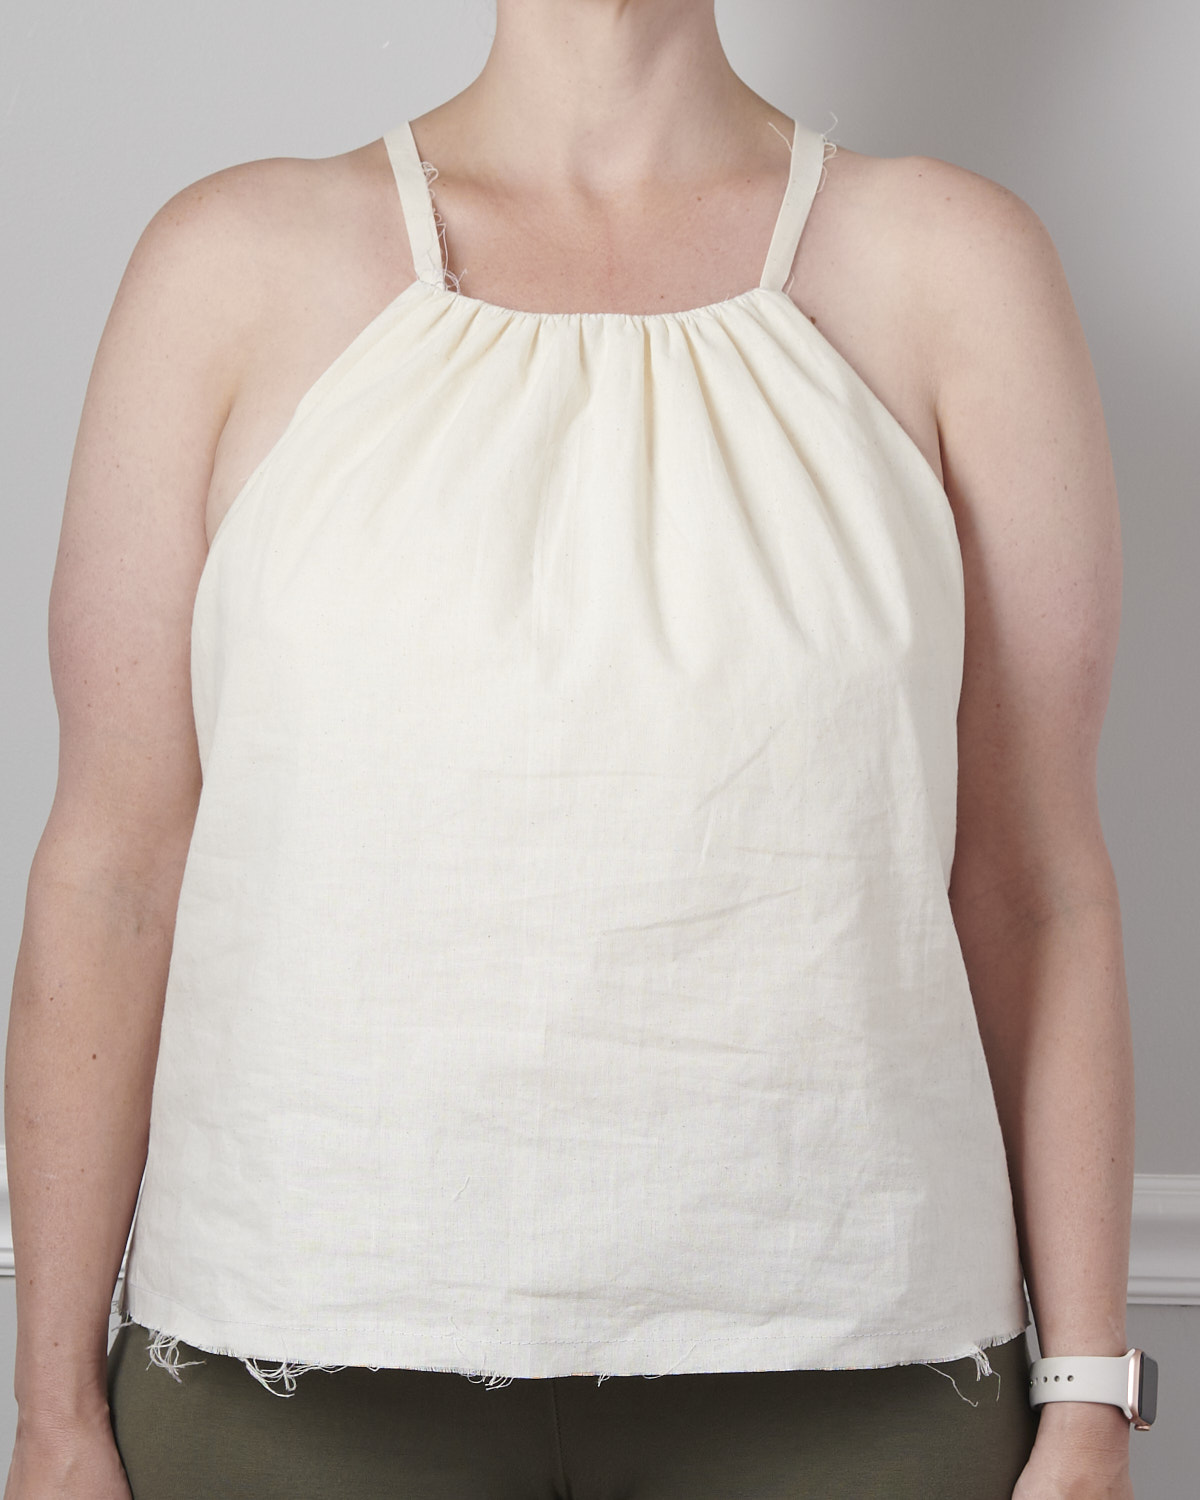
The neckline would be the location of the new dart. However, I didn’t want a dart on the front of my dress! The neckline is already gathered so I will ease the additional fullness into the neckline gathering instead of sewing a dart. This will provide the extra width and shaping I need for my full bust.
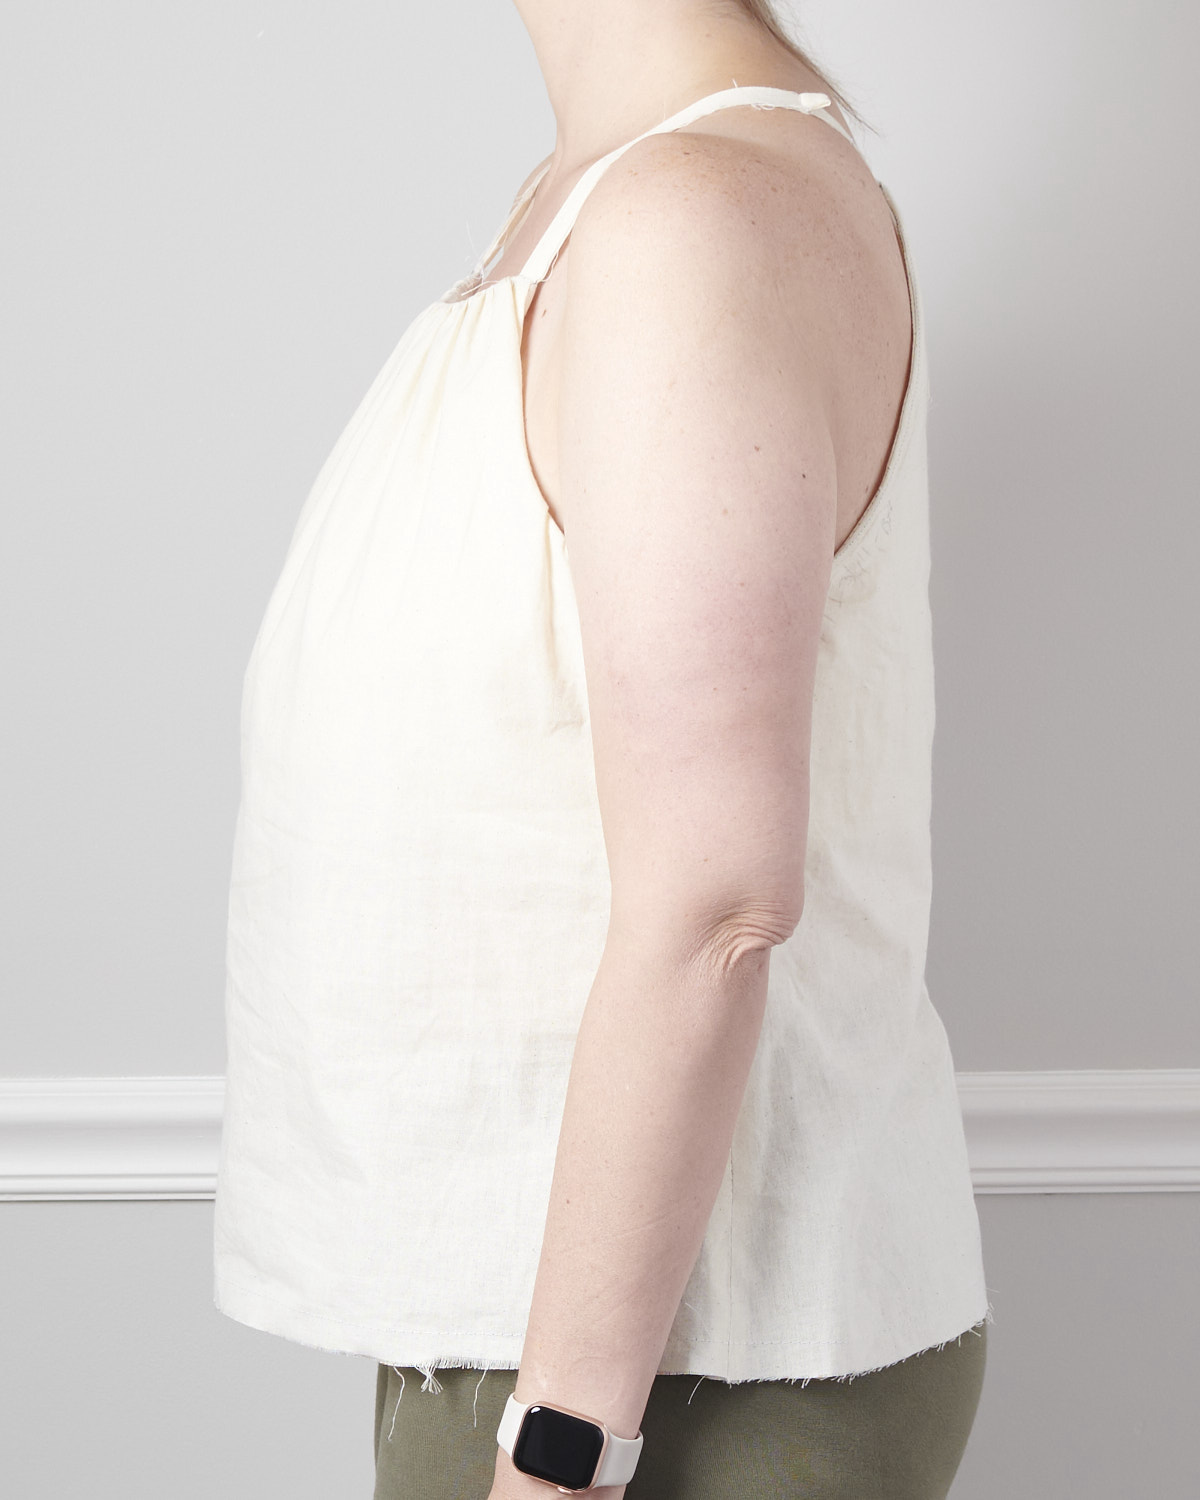
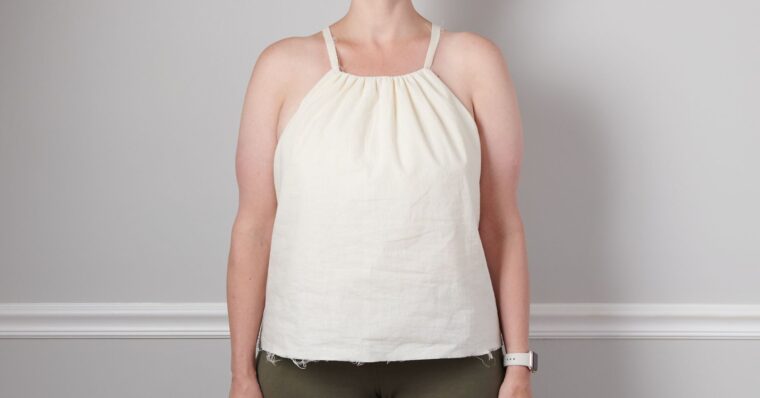
Final fit
You can see in the muslin pictures below that the FBA is a success. There are no draglines or tightness across the full bust. The hem is level and parallel to the ground in front and the back.