

Are you a fan of French seams? They’re a terrific finishing technique that make the inside of the garment look just as nice as the outside. Plus, they’re easy to do and don’t require any special equipment or stitches. If you’re not familiar with French seams, you can find a tutorial for them right here.
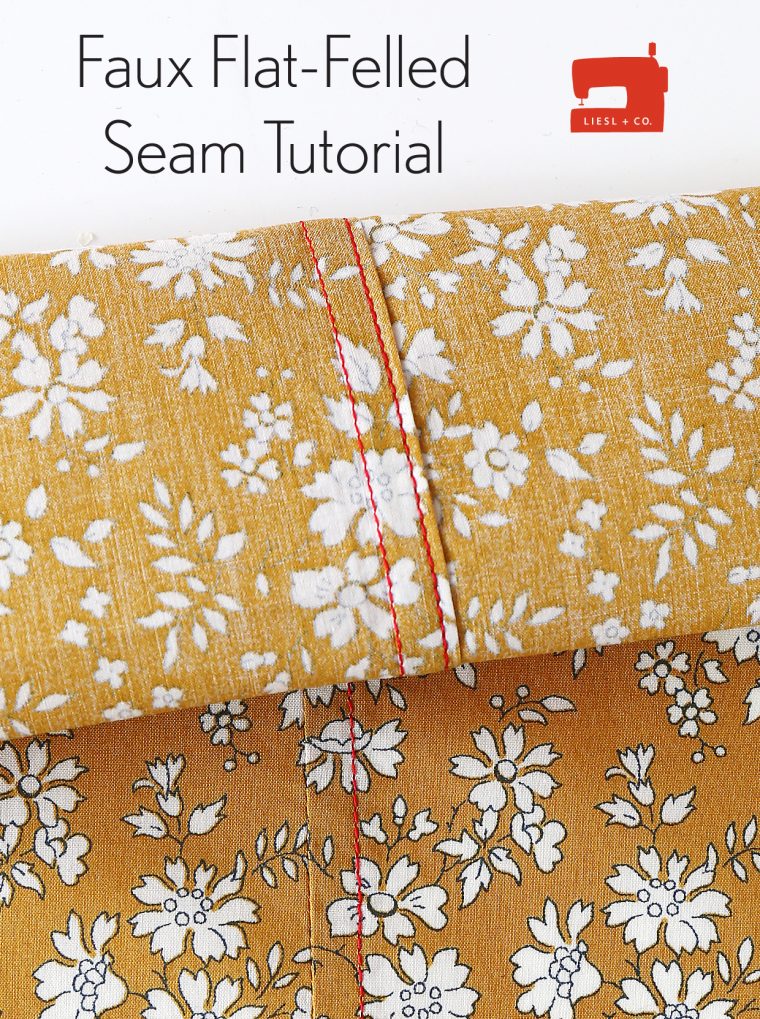
Here’s another technique that you might like. I call it a faux flat-felled seam, although technically it’s just the back side of a flat-felled seam. It’s especially useful on shirts, where you’ll see it used frequently because it finishes the seam neatly and keeps it lying flat once it’s finished. It’s just as easy to do as a French seam, and it’s a wonderful way to finish the seam seams on our Liesl + Co Classic Shirt sewing pattern. Here’s how you do it.

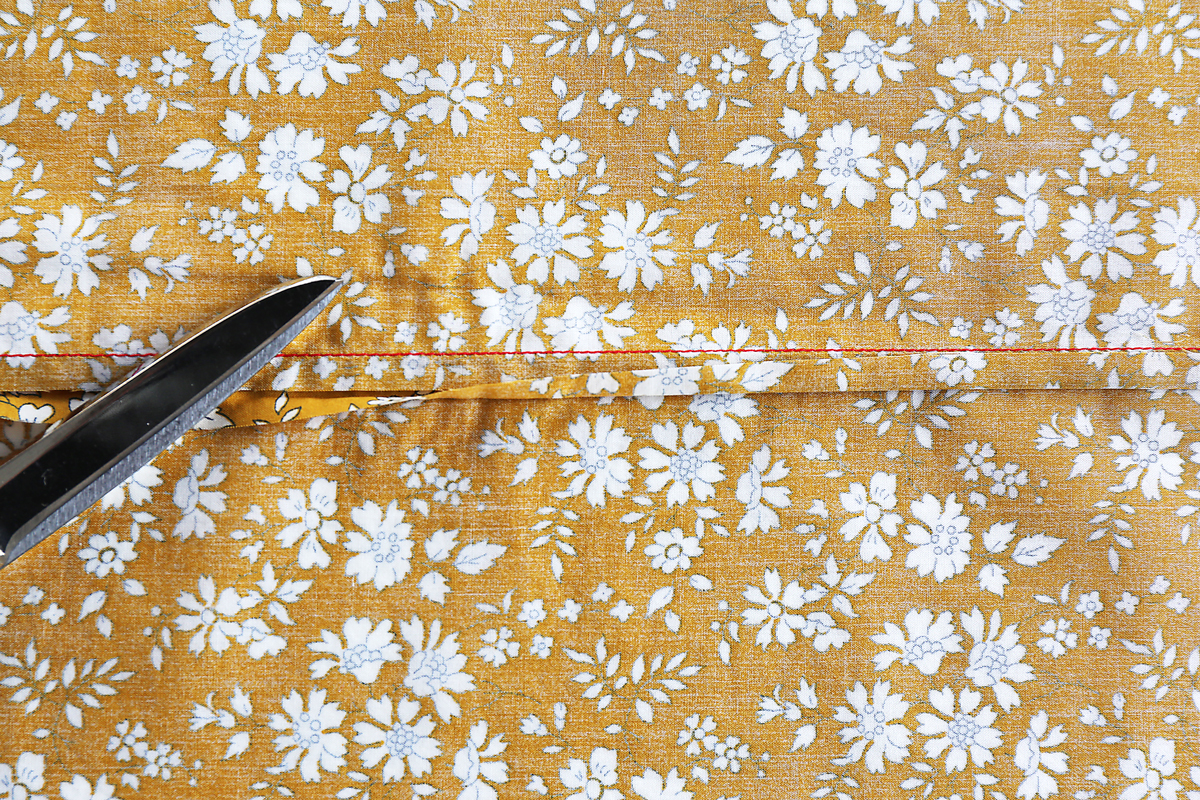
1. Sew your seam the way you normally would, with right sides together and the normal 1/2″ seam allowance. Once you’ve stitched the seam, trim only the back seam allowance to half or slightly less than half of the original seam allowance. You can do this by eye, using the remaining front seam allowance as a trimming guide. Don’t worry about cutting perfectly straight as long as you’re trimming half, or a little more than half, of the seam allowance.

2. Press the seam allowances open to help open the entire seam evenly. This prevents any creases or folds in the finished side seam. Then press both seam allowances toward the front of the shirt so the shorter seam allowance is on top.
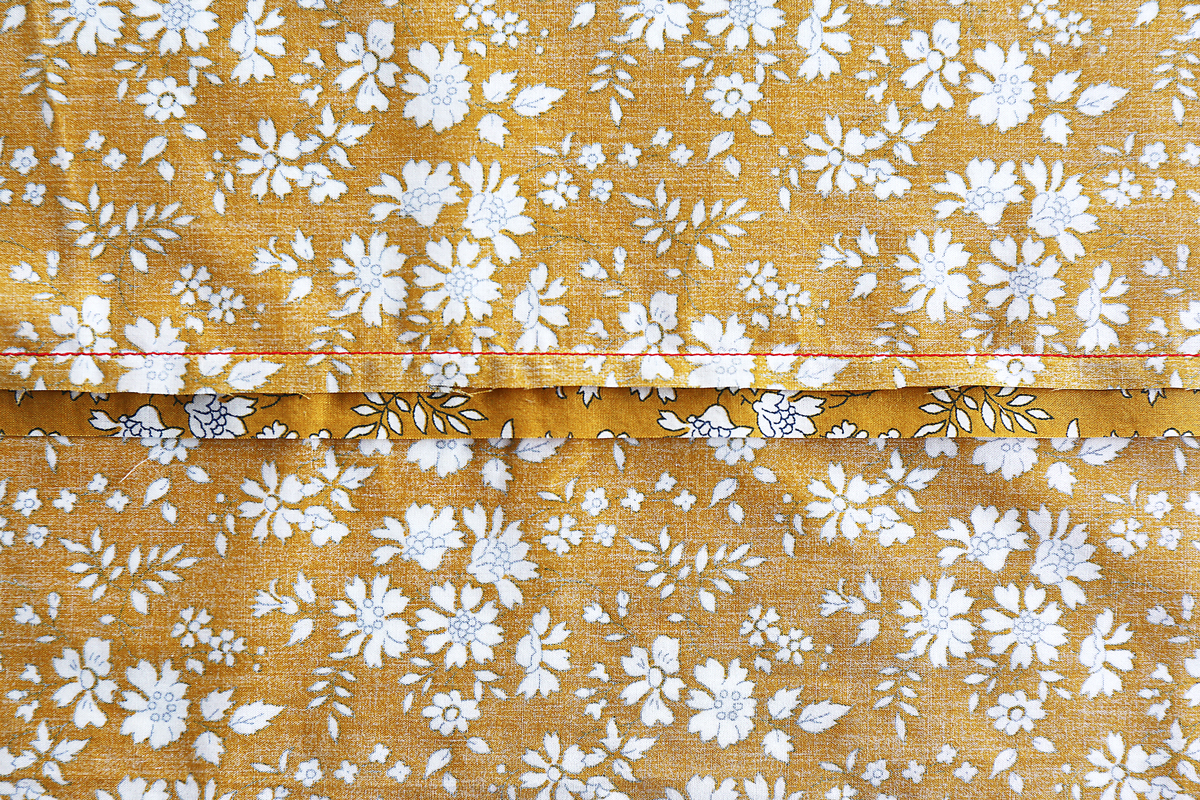
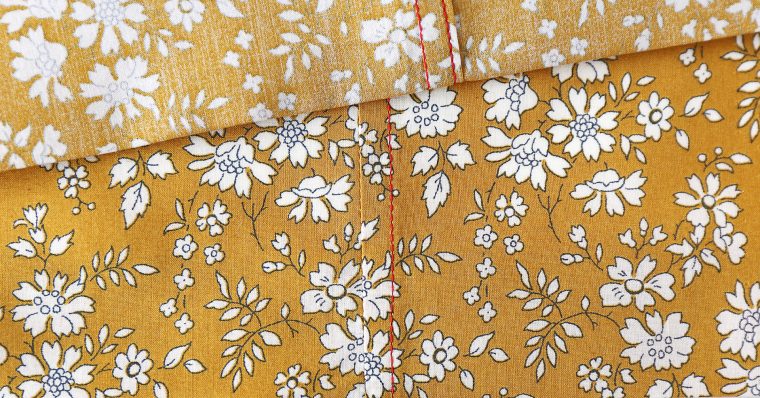
3. Press the bottom seam allowance over and around the top seam allowance so it meets the seam line. Use lots of steam in your iron for this step since it helps the crease stay in place.
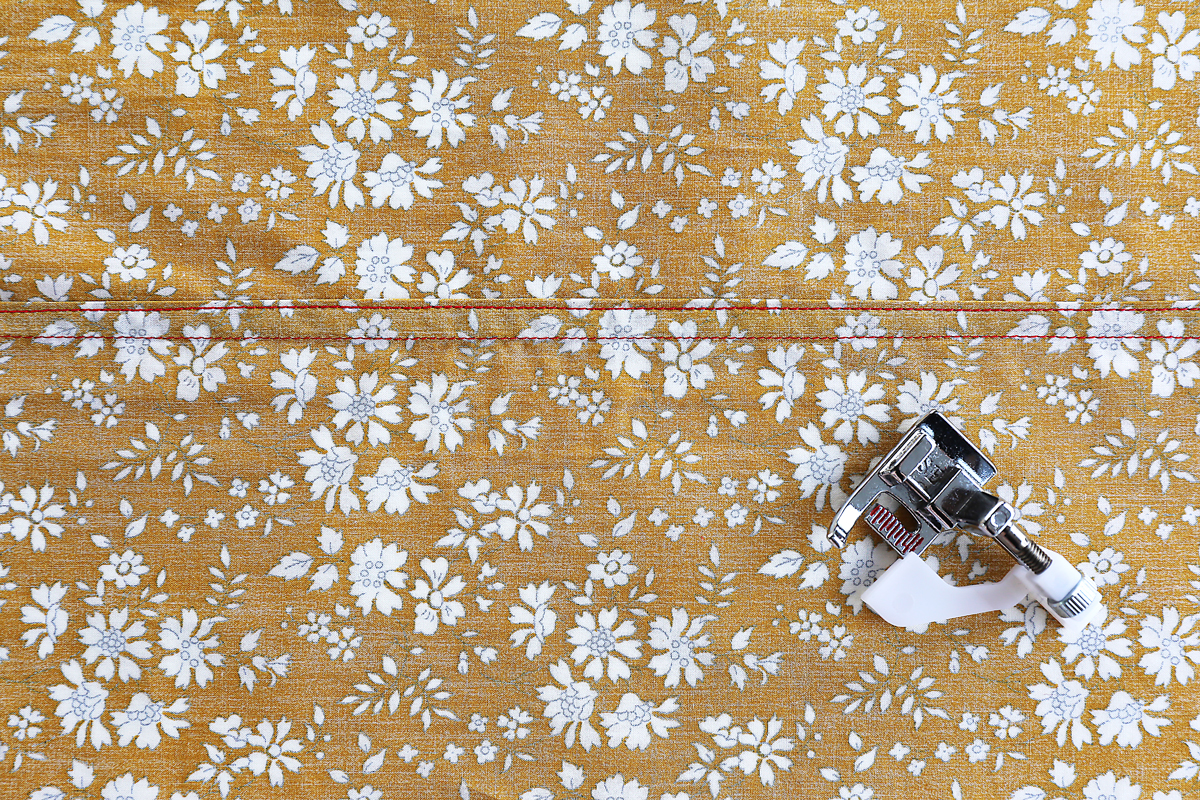
4. Gently flip the pressed seam allowances over to the other side of the seam line and press them again. The wider seam allowance that was on the bottom is now on the top and wraps around the shorter trimmed seam allowance, completely covering it. Topstitch the folded edge of the seam allowance to finish it. If you have an edgestitching foot this step will be even easier.
Once finished, on the inside of the shirt you’ll see two rows of seams, but on the outside you’ll see only one seam.

That’s all there is to it! You’ll get great-looking shirts if you use this technique. If you want, you can can even use it on the armholes of the Classic Shirt to give them a neat finish. I’m sure you’ll think of other places to use it, too!