Next month the Oliver + S blog will turn nine years old. During the past nine years we have been putting a lot of care and attention into creating inspiring and accessible sewing resources. Here is an example for you today as we are focusing on seams.
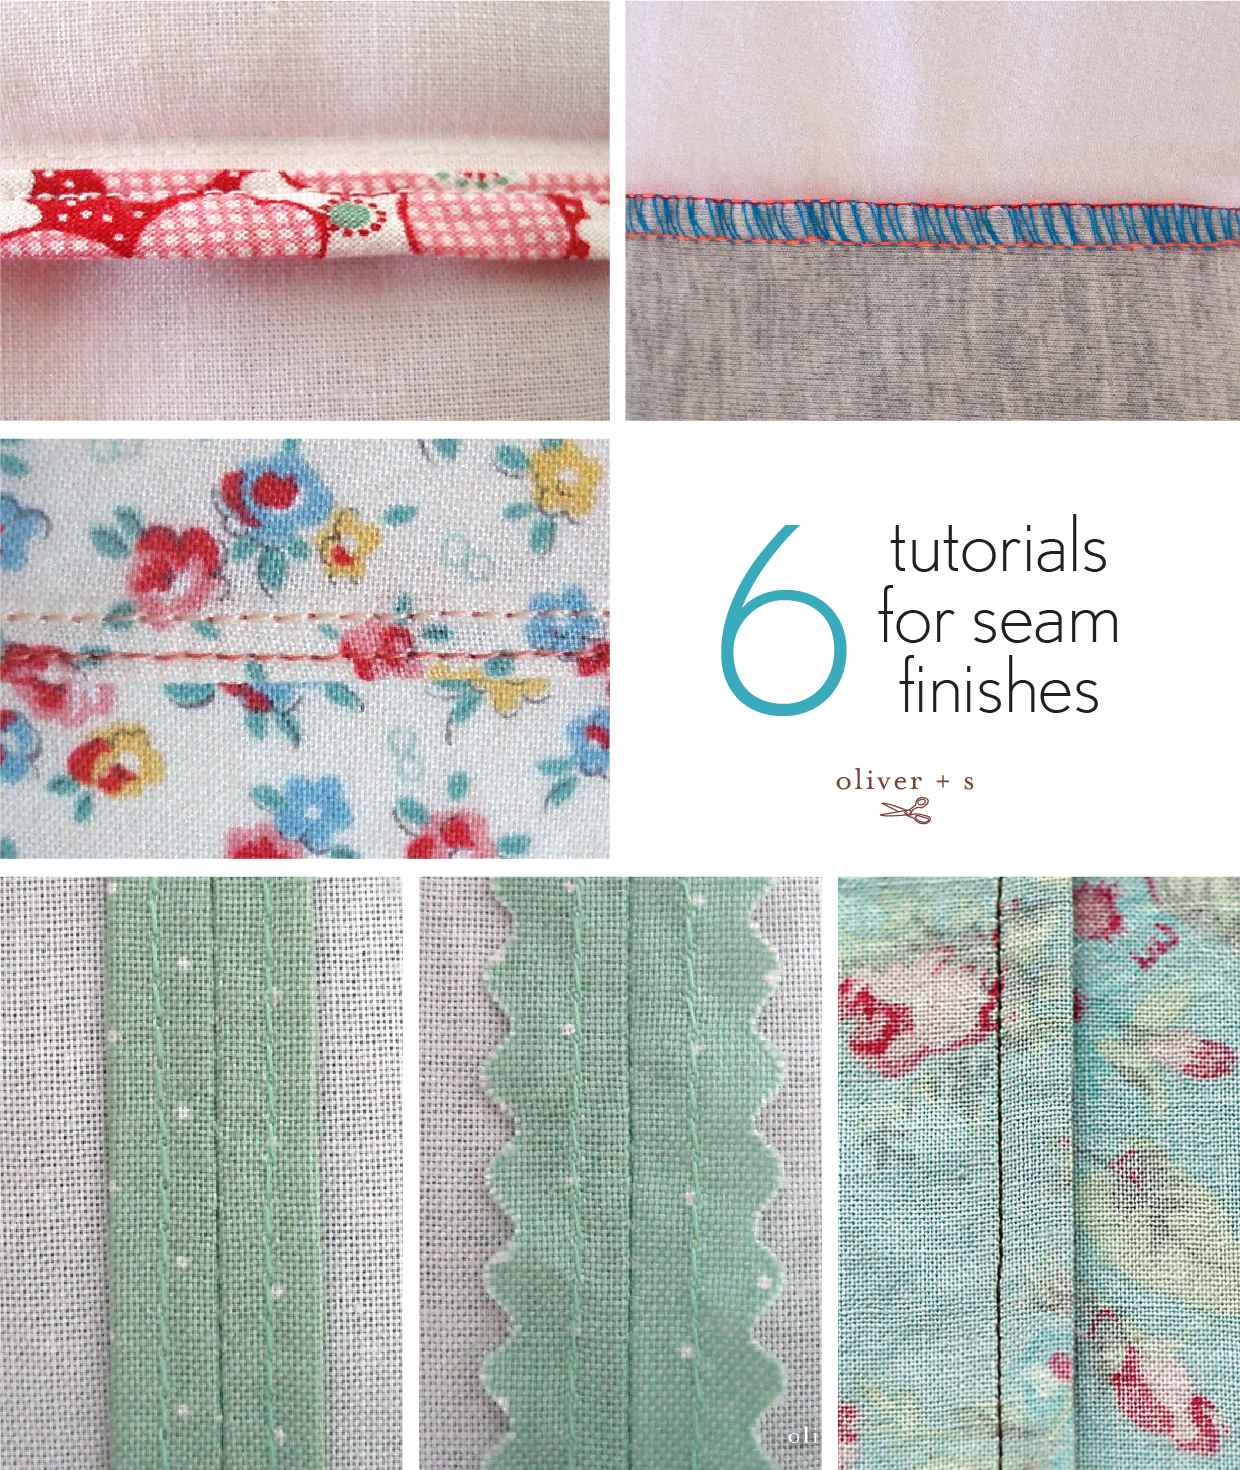
For every sewing project you do, you take one seam at a time. So let me introduce you to several you might be interested in using. These are really important steps that you don’t want to skip especially when sewing children’s clothing because children’s clothes need be washed so frequently.
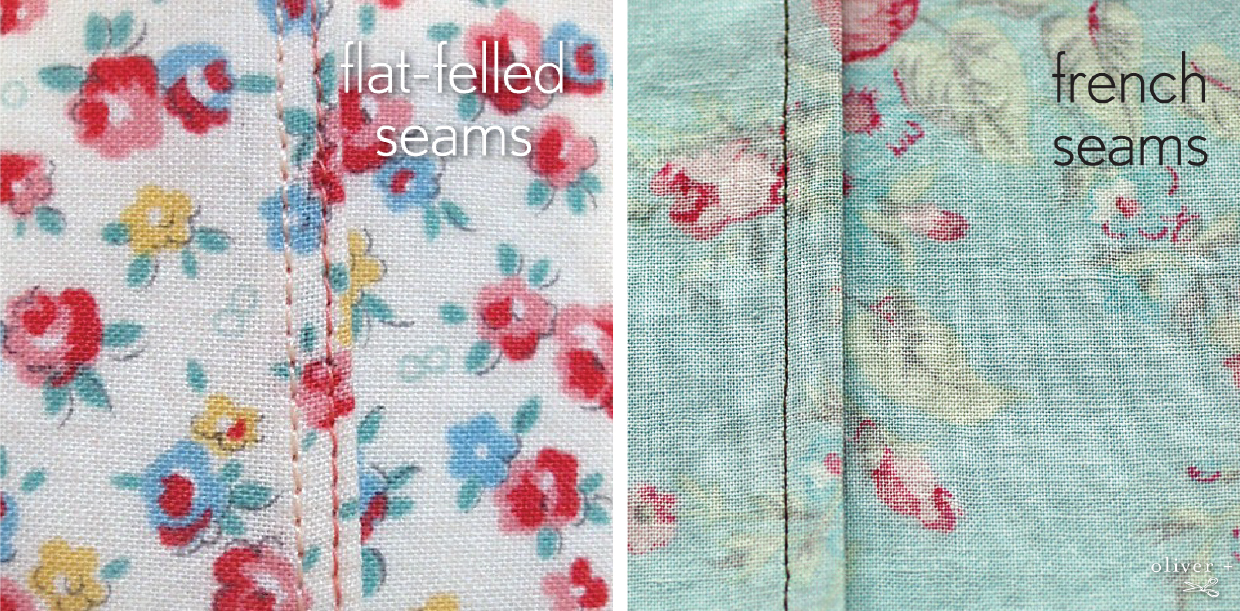
This has been one of the most frequently visited posts on the blog. It’s such a popular post, you must take a look and try a flat-felled seam yourself.
2) French Seams
Clothes need to last after they are washed again and again. French seams take a little extra time but have the added advantage of being super strong and looking very professional on the inside.
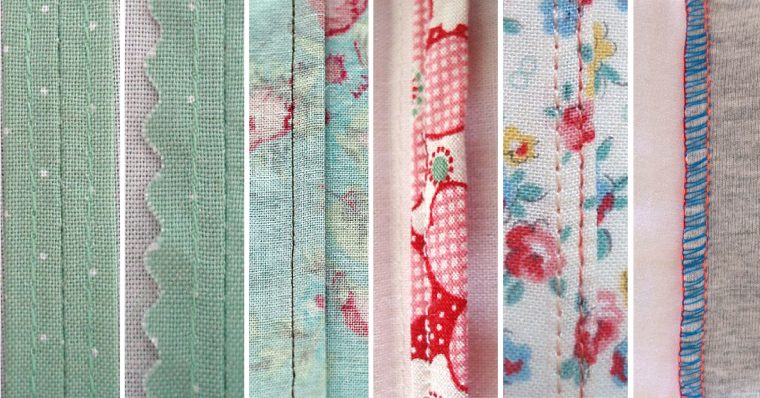
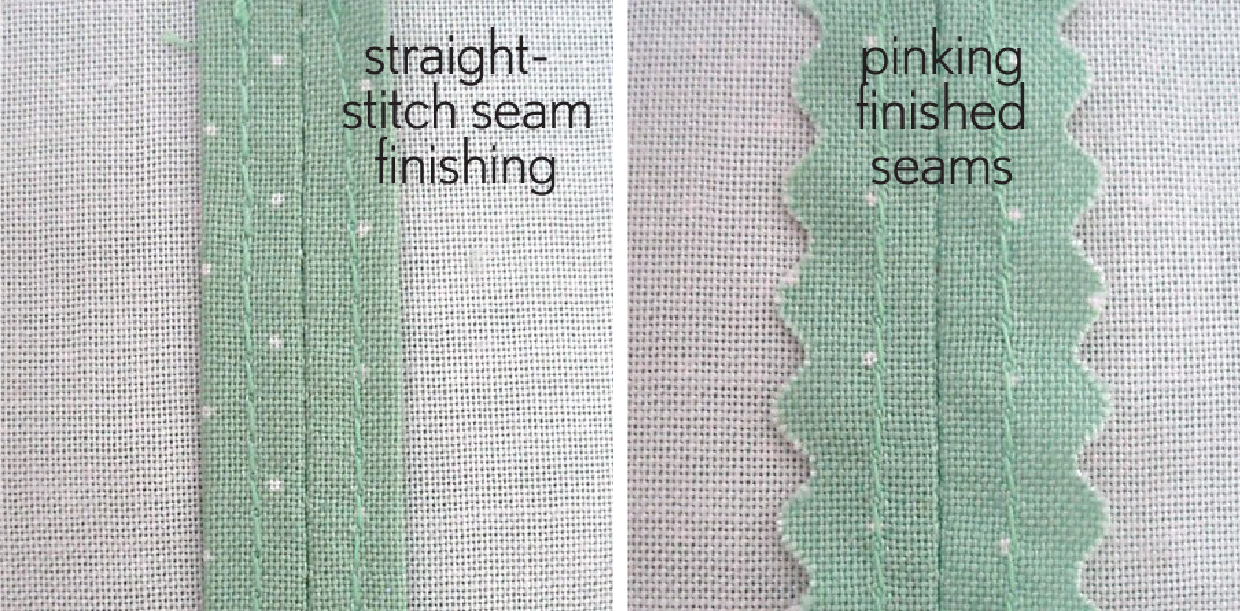
3) Straight-Stitch Seam Finishing
After washing the clothes multiple times you might start to notice fraying seams so by folding down and stitching the seam, it will make them stronger.
Another way to finish your seams is by pinking.
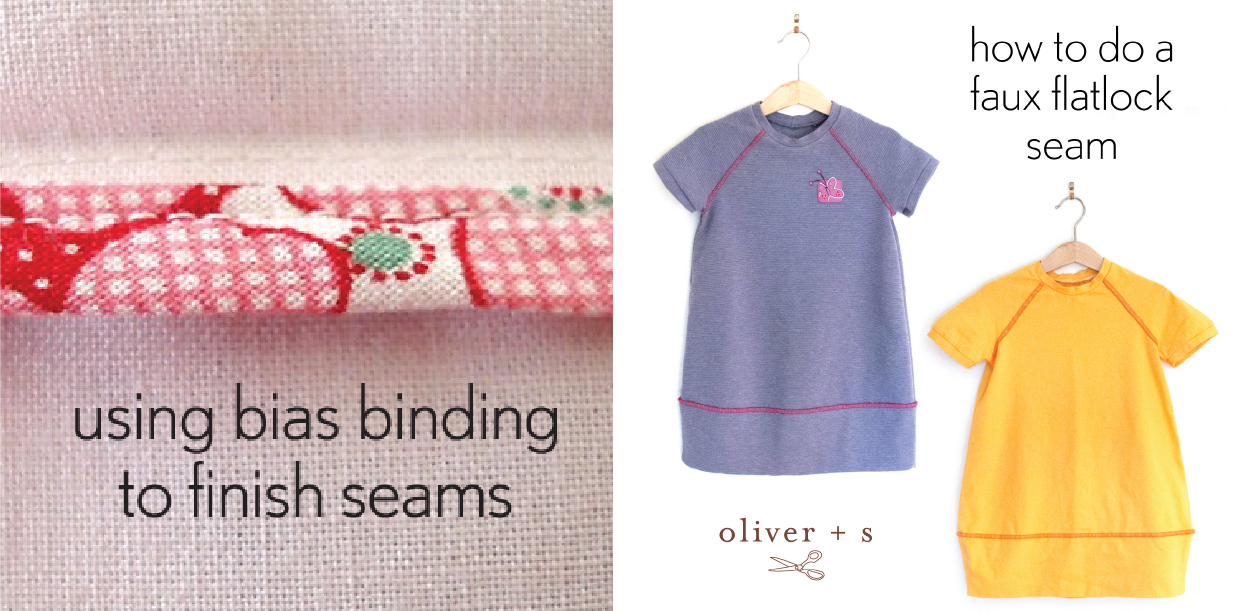
I don’t know about you, but I love sewing with bias tape. This one is ideal for the bias tape lovers out there.
6) How To Do a Faux Flatlock Seam
When working with knit fabrics consider doing a faux flat lock seam. We show you how with step by step photos.