
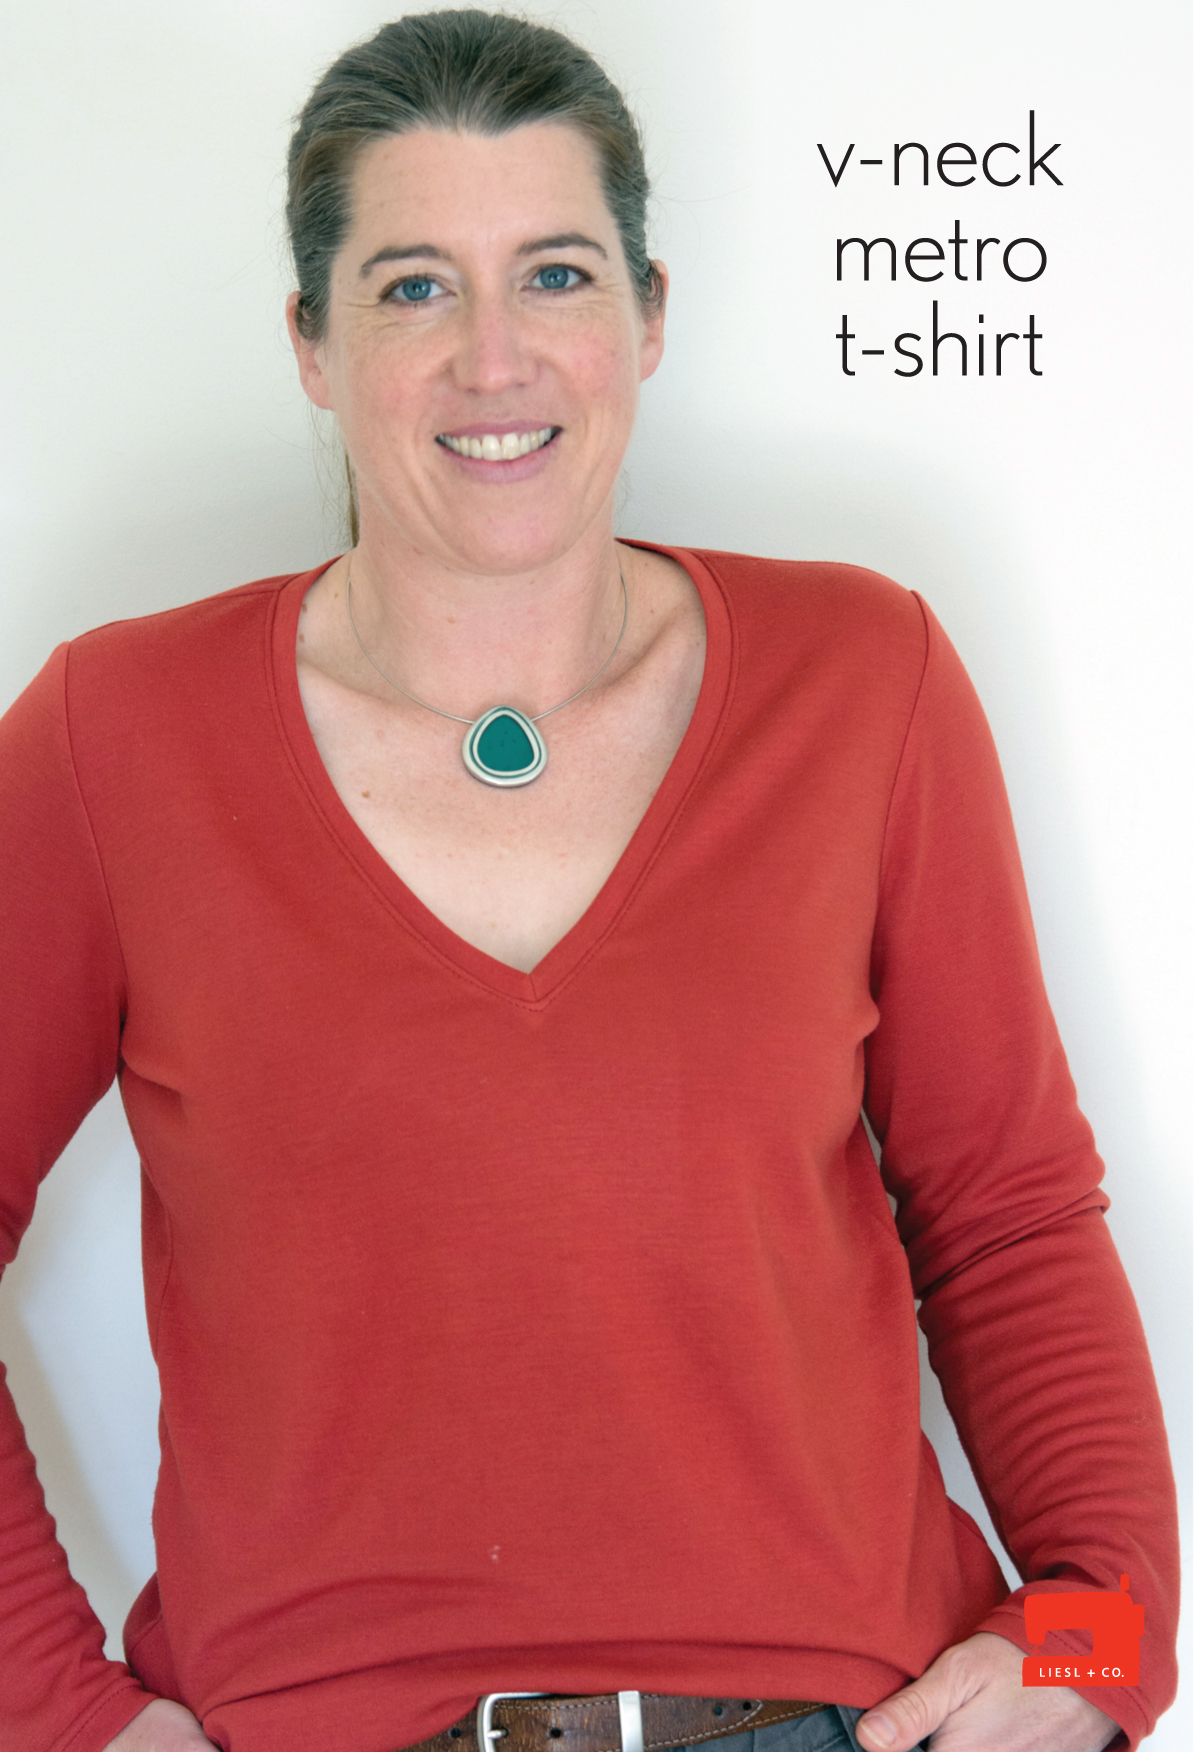
Shelley has been tinkering with our sewing patterns again. She’s got a tutorial for us today on how to modify the Metro T-shirt into a V-neck Tee. It’s something to get you thinking outside of the pattern envelope. Now I’ll hand it over to Shelley.
A little while ago, on the forum the call went out for a V-neck version of the Metro T-shirt. There was a bit of discussion about how it could be done, and I thought I’d set out to find a way that could work. I figured it would be a bit like a sleeve placket which Liesl taught me how to do with the Music Class pattern. So I dived straight in with a test run for my son, followed by one for me, and now another for my daughter in suitably bright colours for a photographed tutorial.
Firstly, you need to decide how deep you want the V-neck to be. As a rule of thumb, unless you want to flash a lot of cleavage, I wouldn’t go below the bottom of the armscye. The neckband will add 1/4” to 3/8” above your lowest point depending on whether you’re making on for yourself, or for your bloke.
You could redraw the neckline, but I took the easy way and just folded the traced pattern piece and pinned it to the fabric.
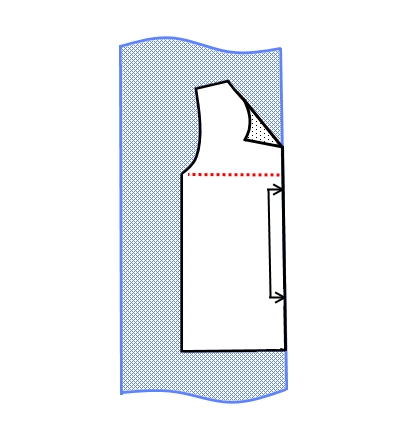
For a deep V like the one I’m wearing in the picture above you can fold all the way down to the red, dotted line. For a more conservative V, or for a men’s T-shirt you might only fold down to about 1” below the original neckline.
You’ll need to get the tape measure out now and do just a little bit of math. Measure the original front half neckline, and then measure the new straight front half neckline. Calculate the difference.
Now you need to add roughly 66% – 100% of this number to the neckband pattern piece before cutting it on the fold. For my T-shirt I added the full 100% extra length as I was using a thick, stable knit with limited stretch. For the photographed version in this tutorial I used good quality ribbing with lots of stretch and so only added about 66%. If you’re unsure, err on the side of longer, as we’ll lose a bit of stretch in the way we attach the neckband.
Next we’re going to create the chevron in the neckband. No matter what angle your V has ended up being, this method should work to give a nice even neckband, and you’ll probably be happy to know you won’t need a protractor or a slide rule!
Fold the neckband in half lengthwise with the right sides together. Now tuck it under the T-shirt with the 1/4” seam allowance overlapping.
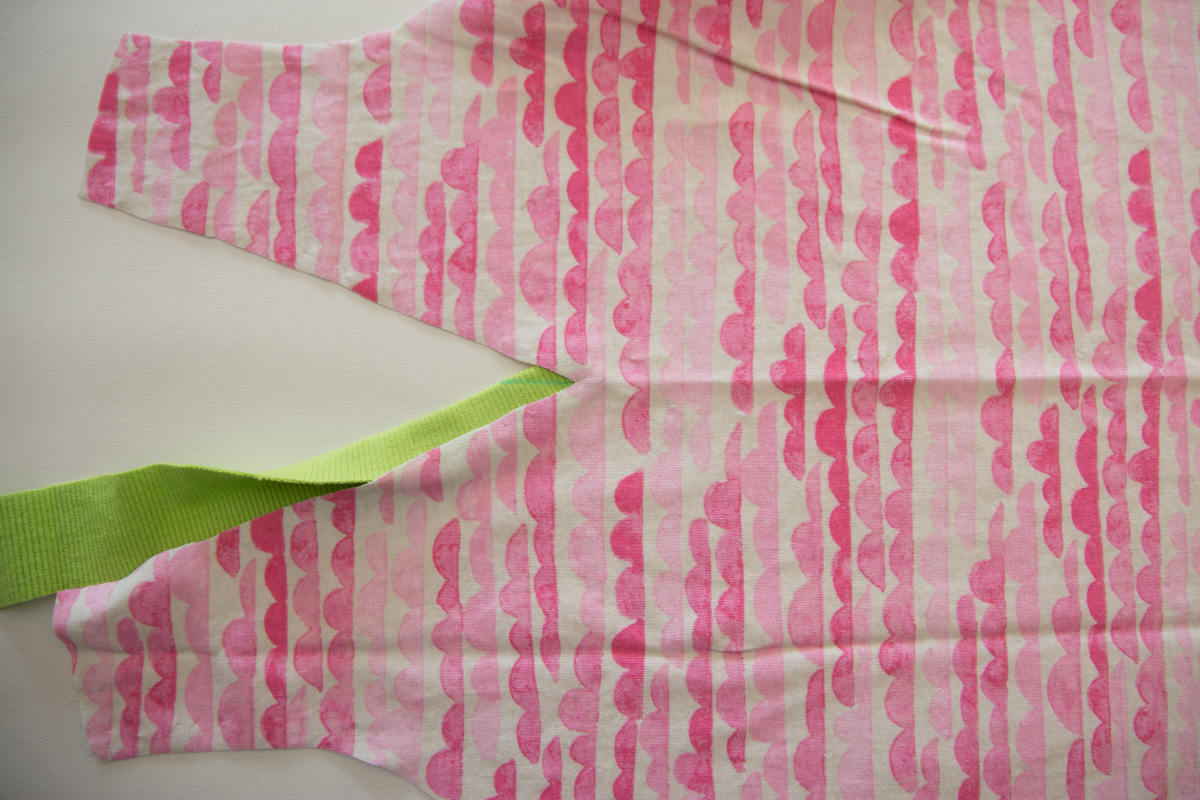
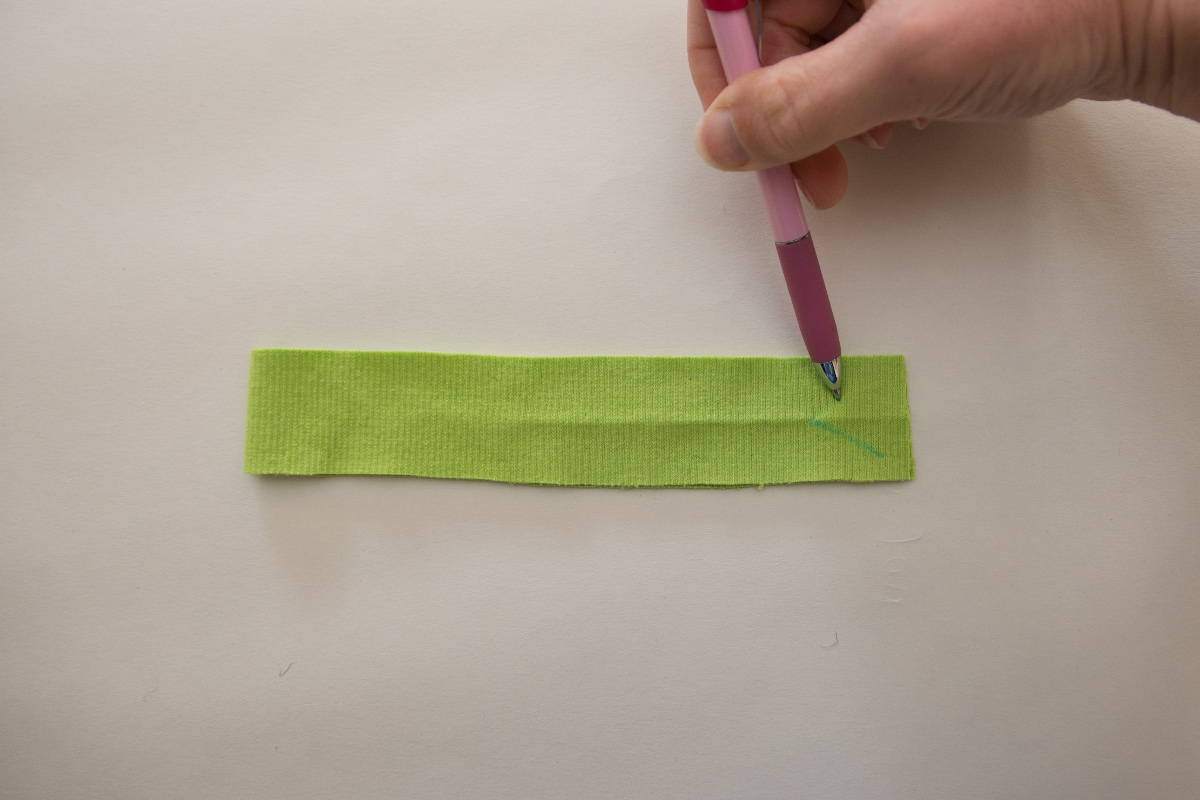
With a fabric marker, or pencil, draw a vertical line from the bottom of the V up to the folded edge of the neckband. This line should be continuous with the vertical grainline down the centre of the T-shirt.
Here it is as a diagram, as in the photo it’s harder to see where the neckband is laying.
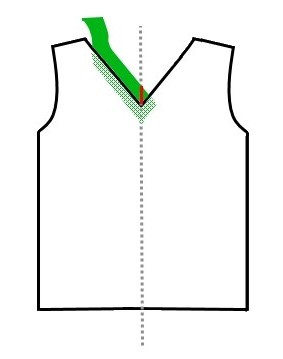
Now open out the neckband and mark the other side of the neckband with an identical line.
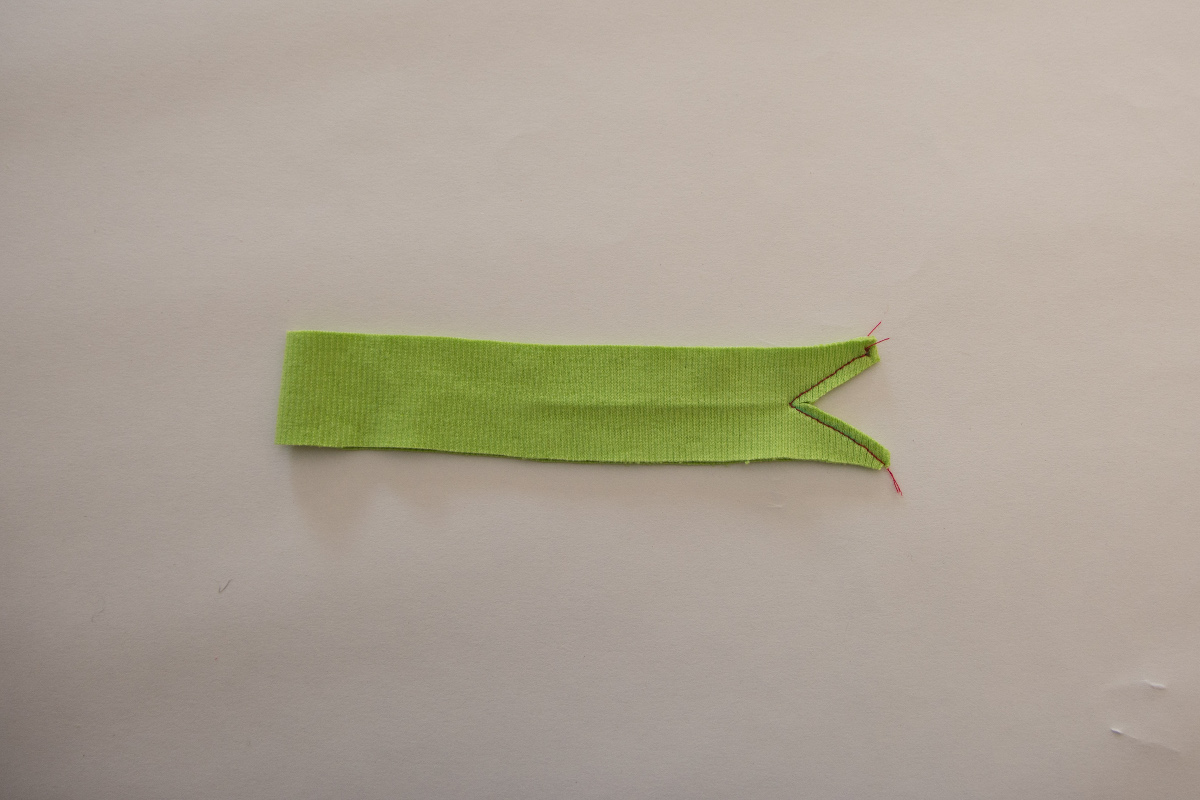
With the two short ends of the neckband together, and right sides facing, stitch along this chevron. Trim the excess from the centre of the V and clip at the apex close to your stitching.
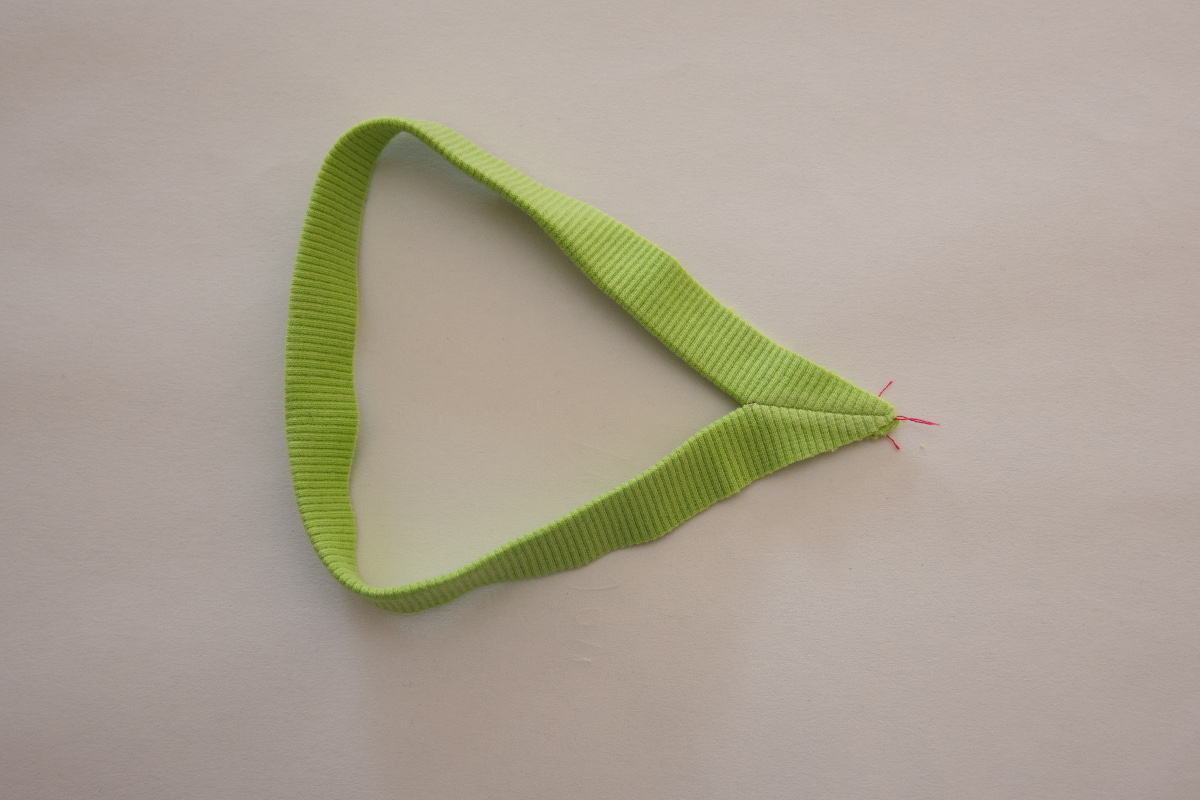
Press the seam allowances of the neckband open on each side.

Then fold the neckband with wrong sides together and press to finish the neckband.
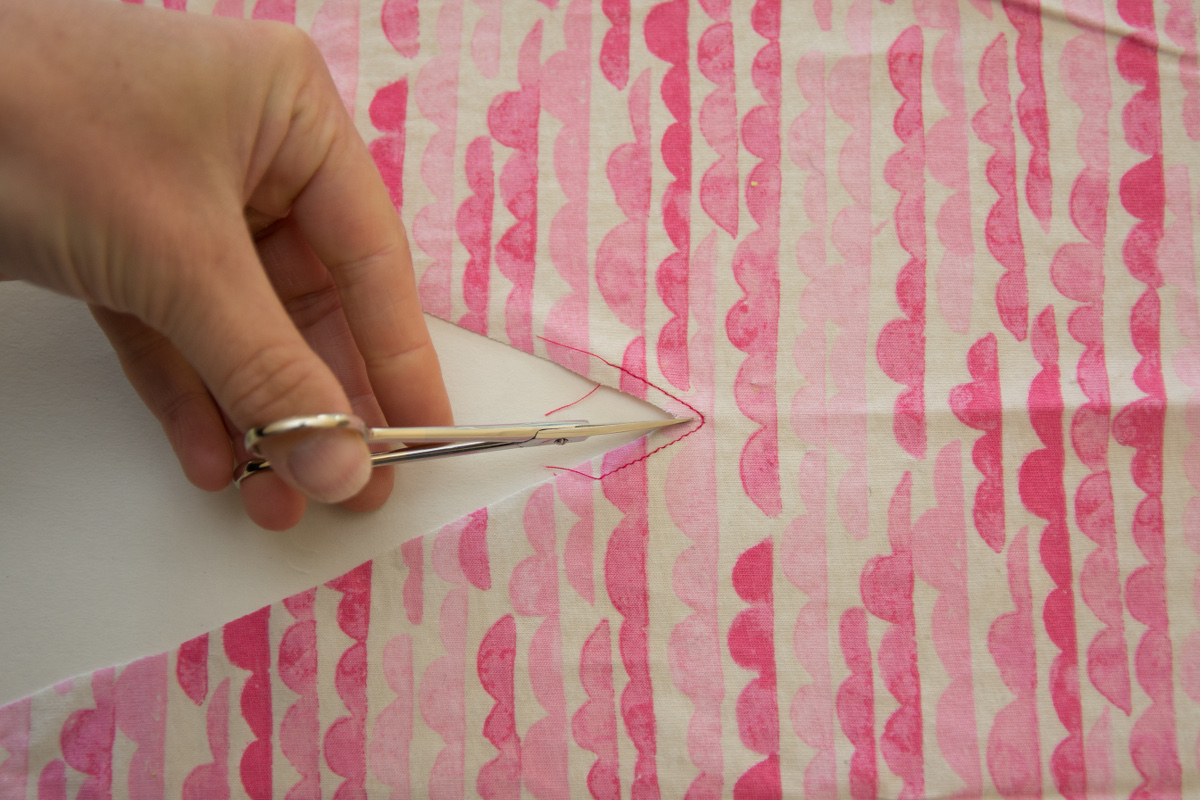
To prepare the neckline, staystitch just inside the 1/4” seam allowance. Start about 1” above the apex of the V, pivot at the apex, and then stitch the same distance up the other side. At the apex of the V, clip the seam allowance close to your stitching.
Now we have two completely opposite angles that need to come together. If you’ve sewn a sleeve placket such as the Music Class or Sketchbook, or a front placket such as the Parachute Polo then you’ll be familiar with sewing a V shape to a straight line. We’re just going a bit further and sewing a V shape to an upside down V shape!
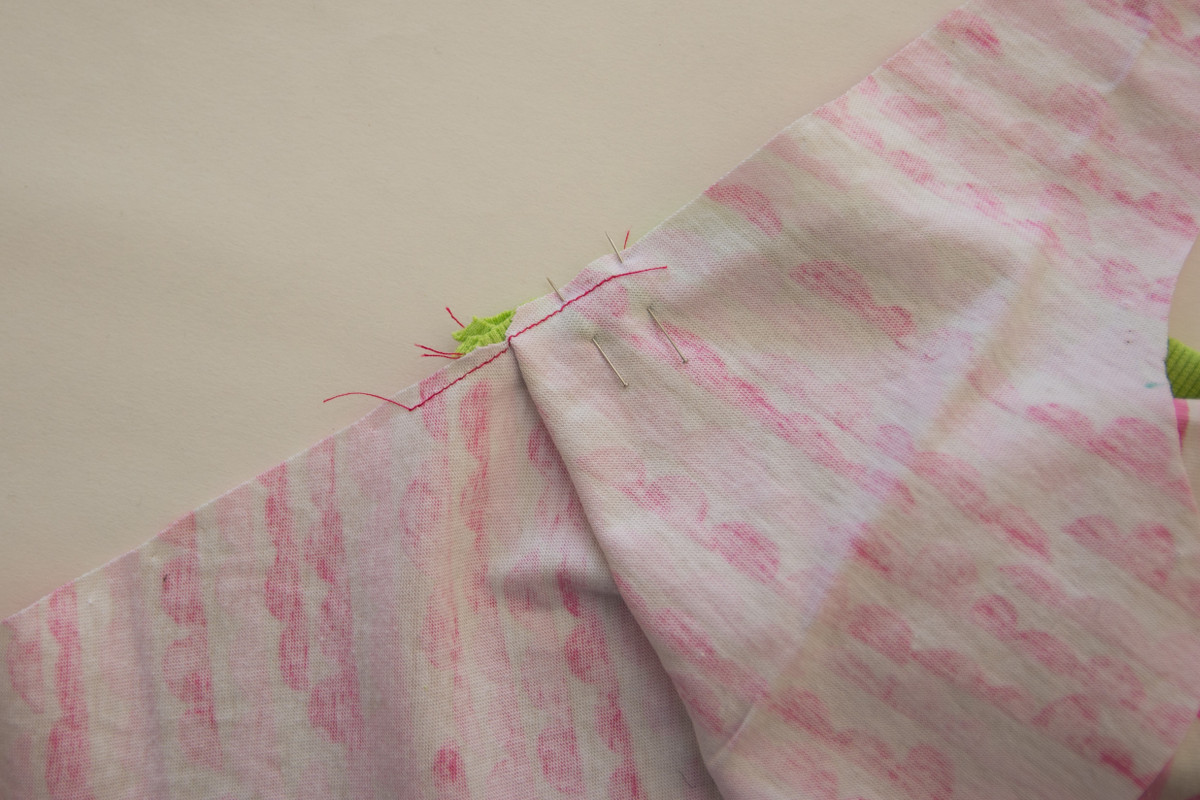
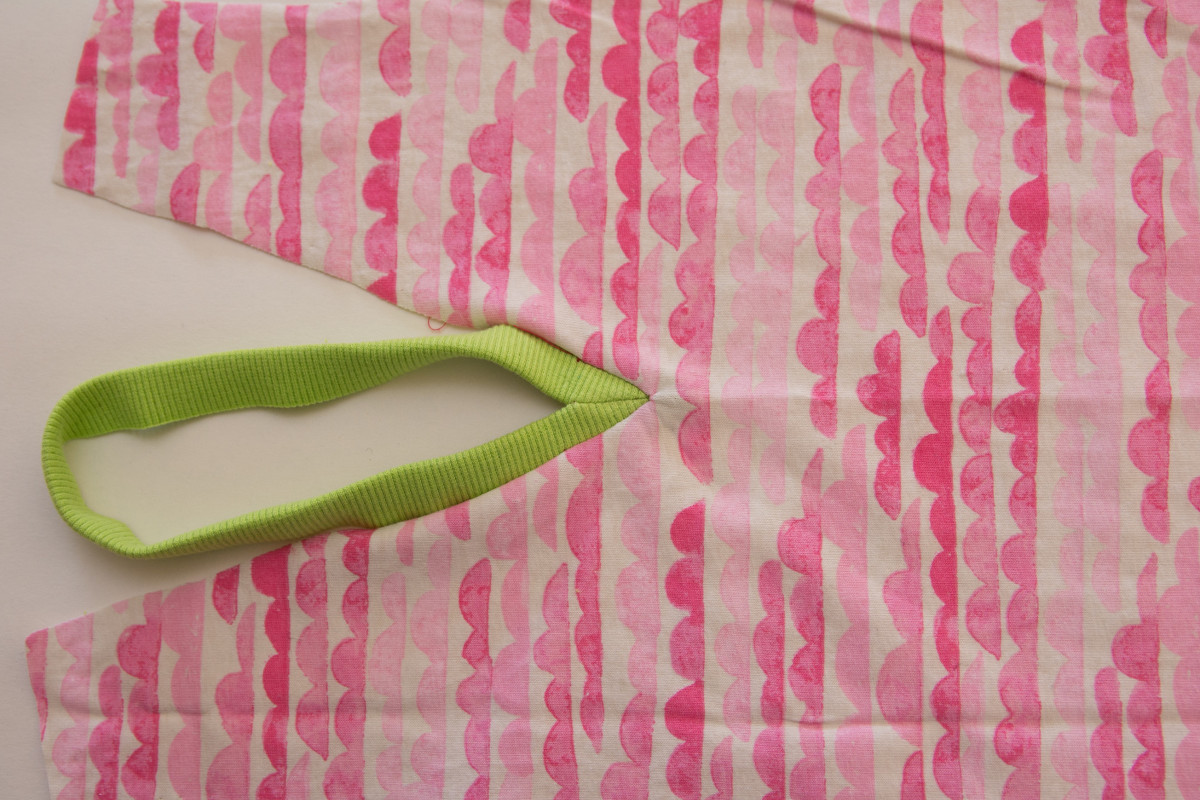
Start by placing the neckband on the t-shirt with right sides facing and the point of the neckband meeting the apex of the T-shirt V.
Place a pin along the seam of the neckband, pinning it to the T-shirt, and ensuring that it’s aligned with the centre vertical line of the T-shirt.

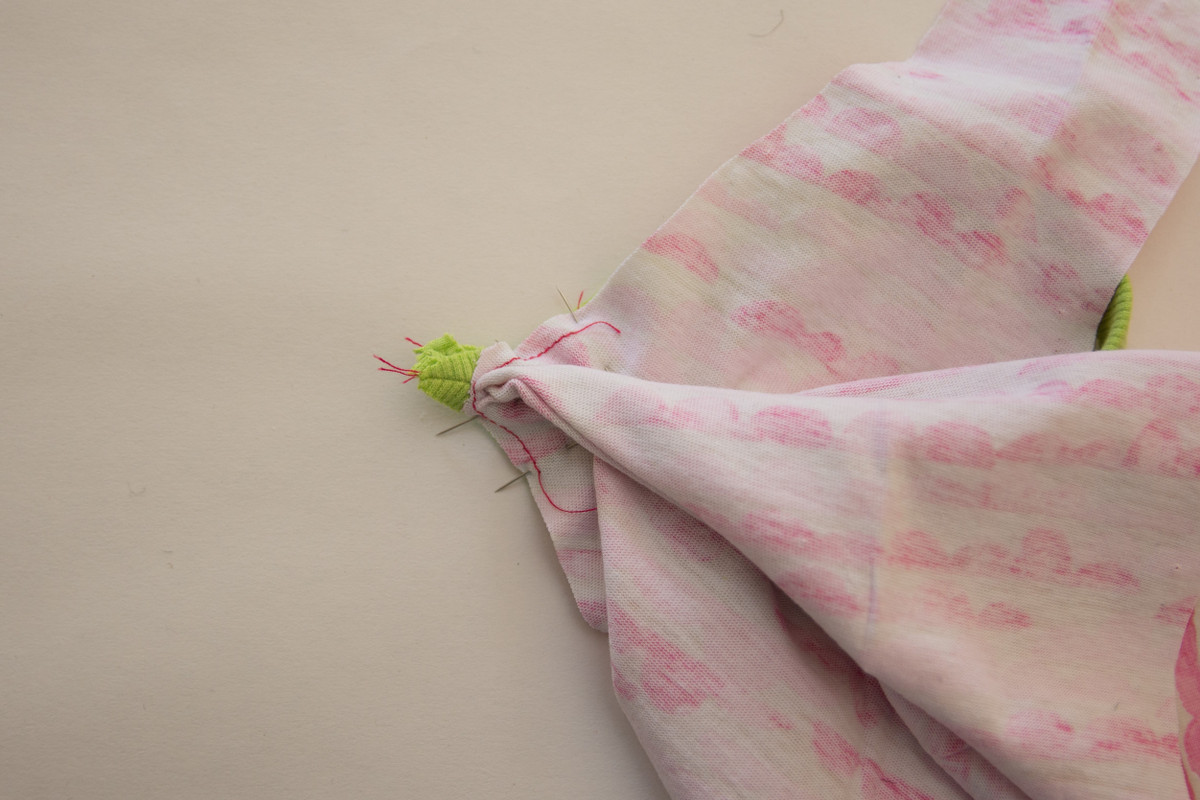
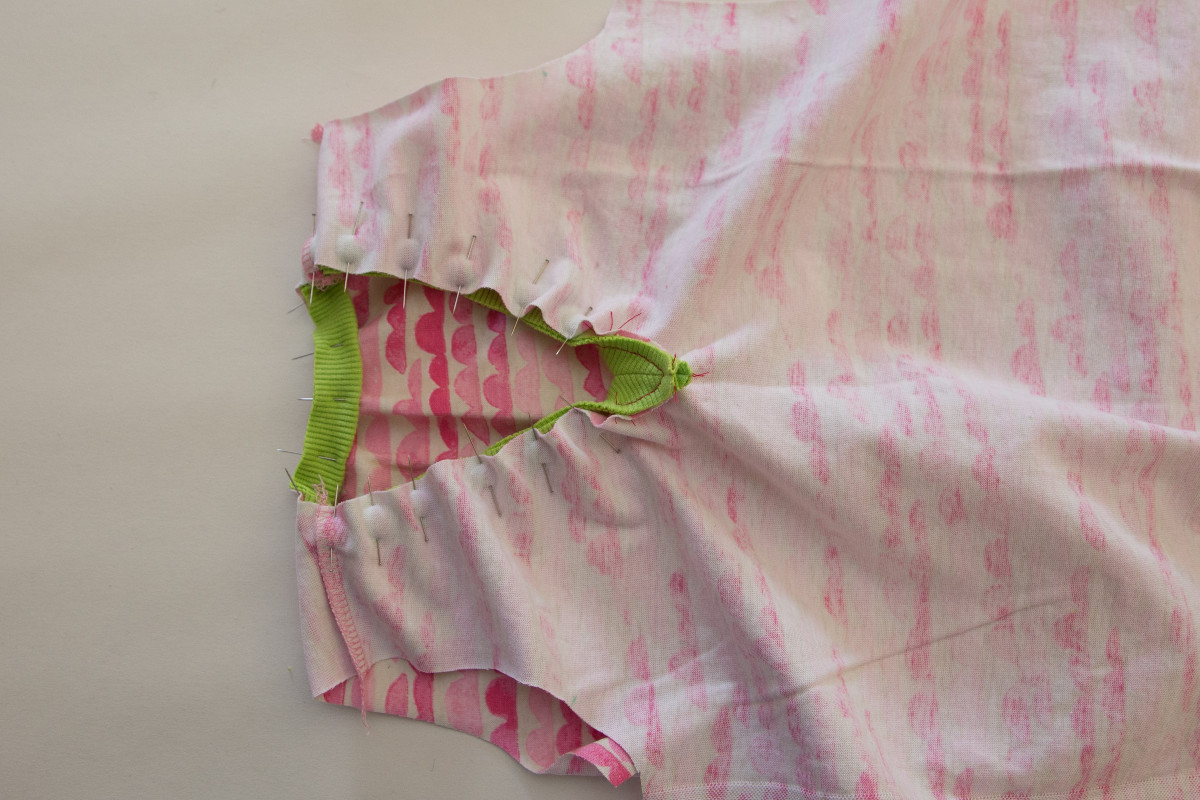
Now turn it over and take one side of the T-shirt neck and draw it back to meet the raw edge of the neckband. Pin it in place for an inch or two.
Then do the same with the other side of the T-shirt neckline.
It’s all starting to look a bit lumpy and daunting but knit fabric can be very obliging so don’t panic. Now we’re going to start stitching about 1” from the apex and stitch on the ¼” seam line, just to the left of our staystitching.
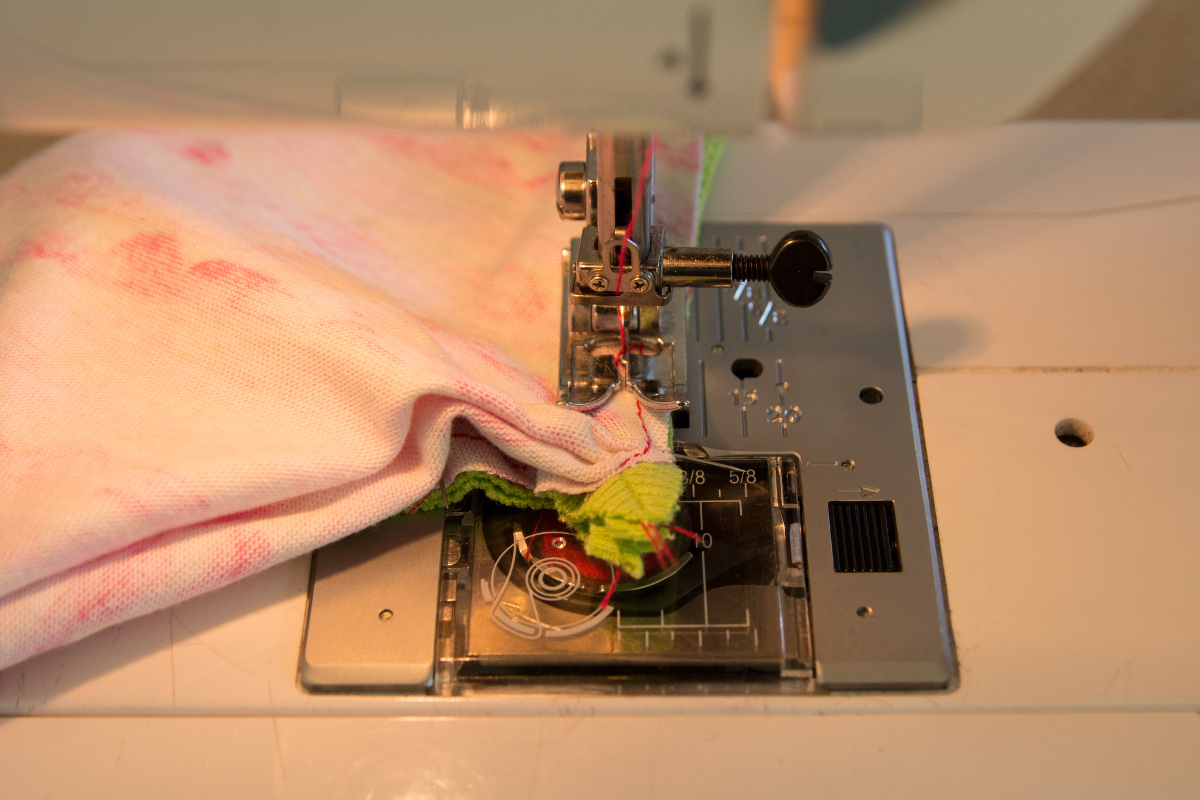
At the apex, leave the needle lowered in the fabric and lift the presser foot. Turn the fabric so that you’re facing up the other side of the V and move any pleats of fabric out of the way. Stitch up the other side of the V by the same 1” distance.

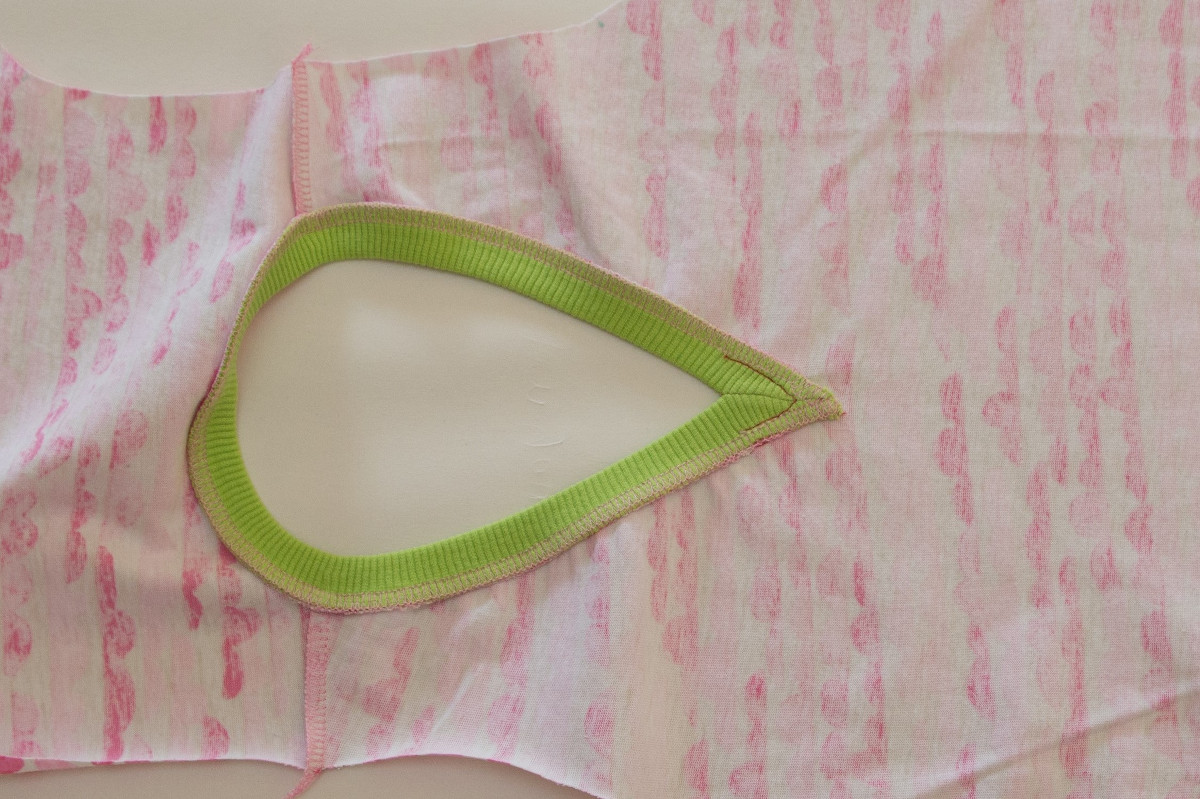
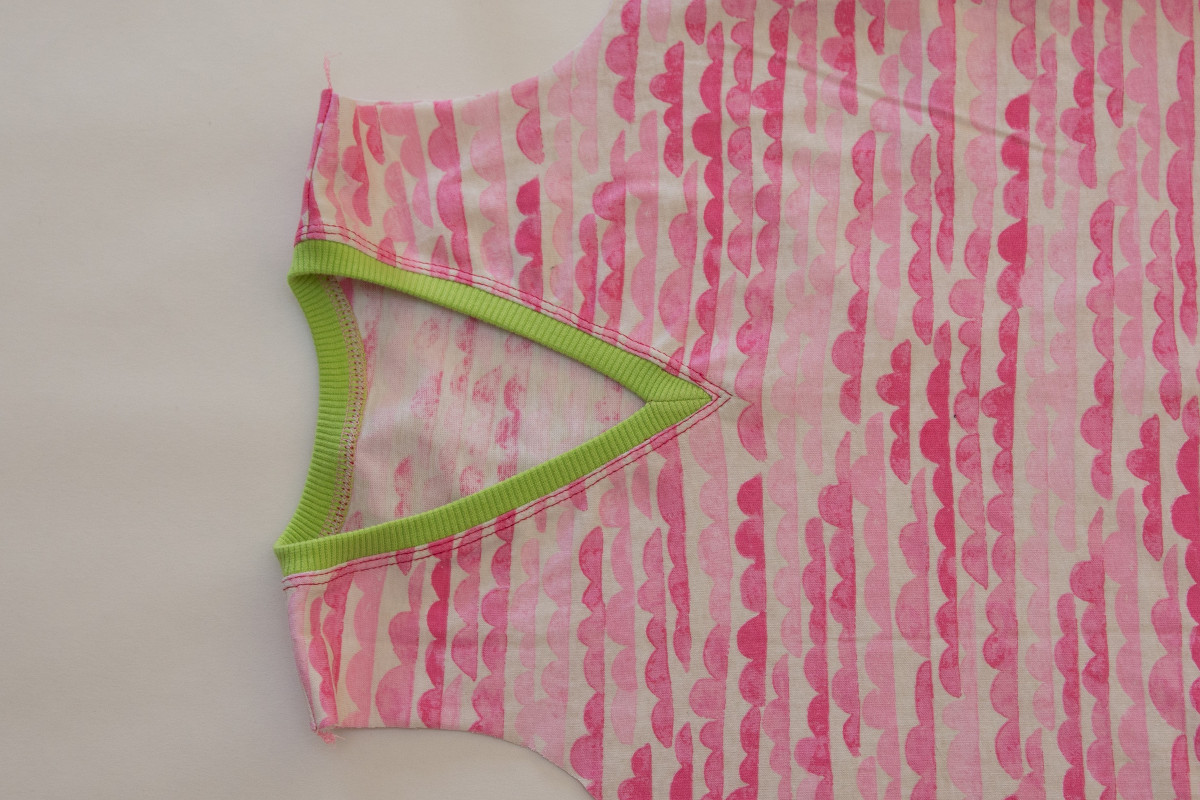
Here is the stitched V from the wrong side…
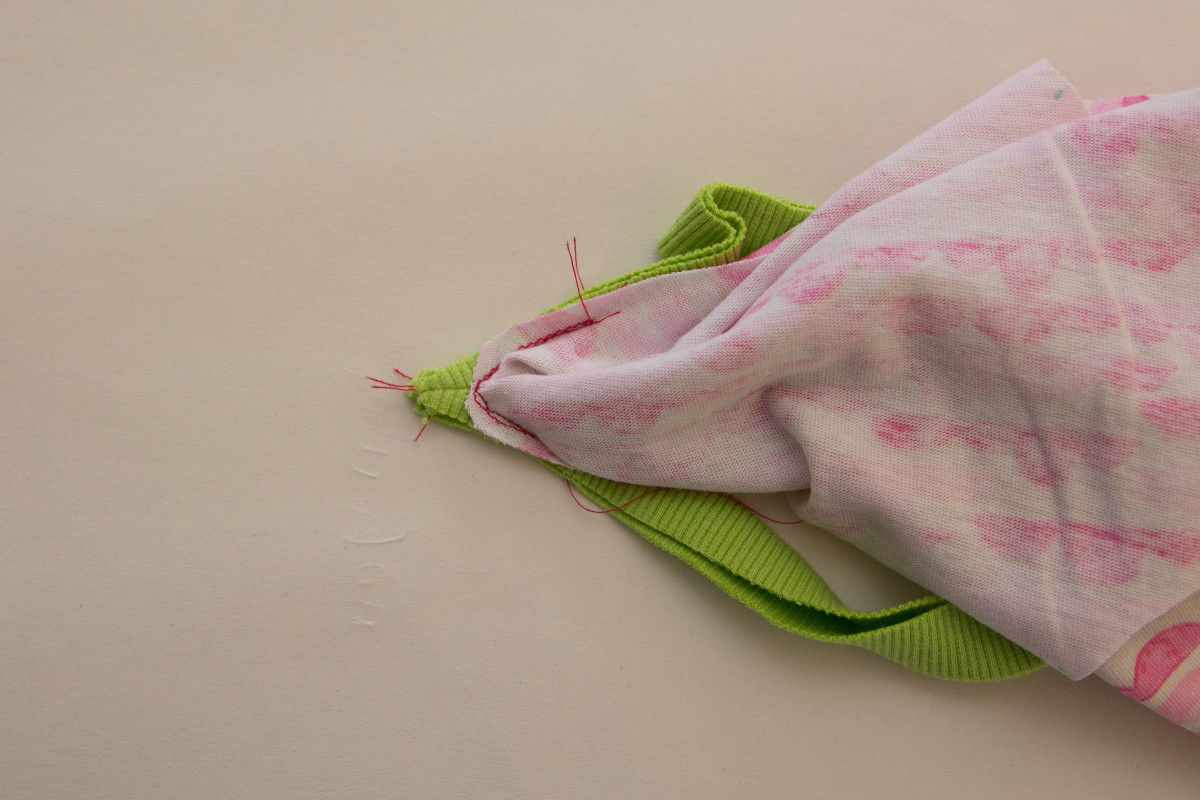
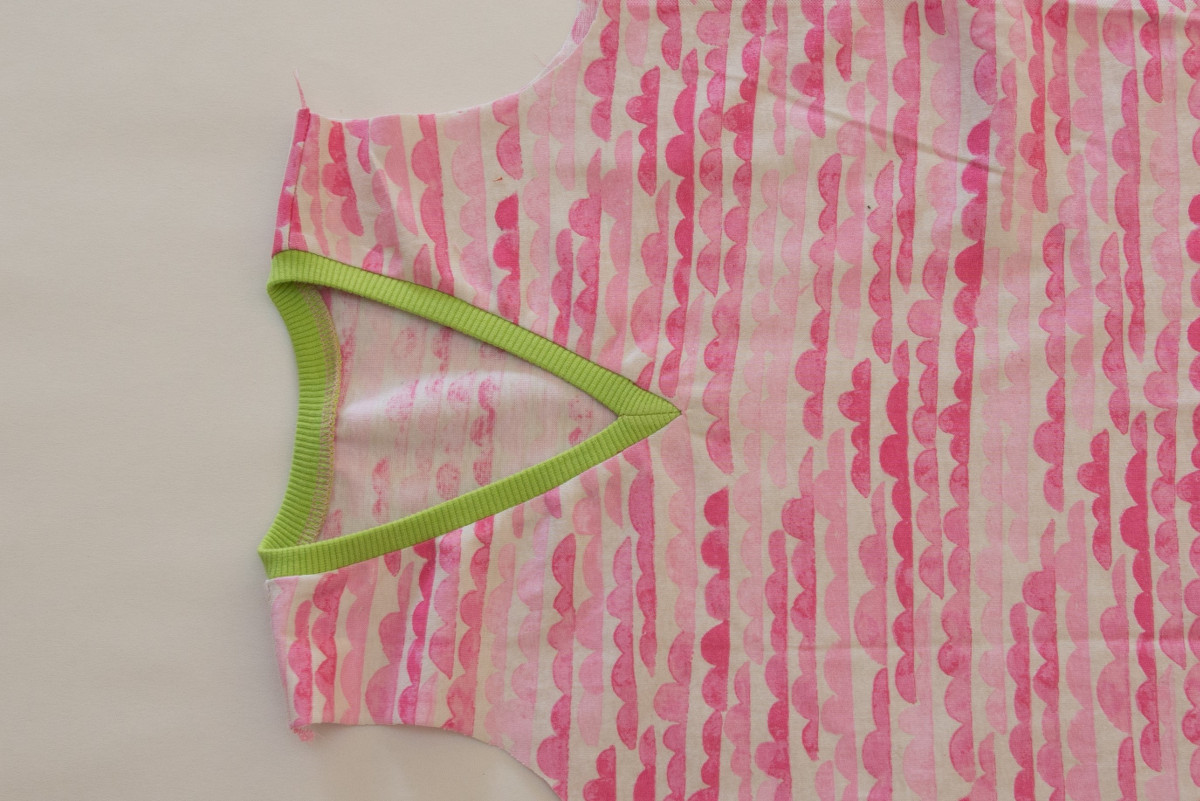
… and now turn it over and make sure you’re happy with it from the right side.
Once you’re happy with how the neckband is sitting then it’s time to stabilise and sew the shoulder seams. At this point you’ll need to change your sewing machine settings to a stretch or zig zag stitch, or sew the seams with an overlocker.
Starting at the centre back neck, pin the neckband to the neckline with the raw edges aligned and right sides together. Stretch the neckband to fit the neckline and use plenty of pins to keep it even.
To finish attaching the neckband, using an overlocker or stretch stitch on the sewing machine, start at the tip of the neckband. Stitch on top of, or as close as possible to the earlier straight stitching. Continue around the neckline and down the other side to finish at the apex again.

With the final stitching right next to the previous straight stitching you should avoid any unsightly puckers. Admire your work.
Then turn it over and press well.
If you want to topstitch the neckband to keep the seam allowances in place (or tack down any wonky bits in the neckline) then you might first check how loose a fit over the head it is. My T-shirt has a very big neck hole, so I used a straight, single stitch to topstitch the neckline. I had no concerns about losing any stretch.
For the kids versions I used a twin needle. That requires starting a bit below the apex of the V and continuing around the neckline and ending by overlapping the starting stitches. Then you unpick a few stitches so that the inner line of stitches and the outer line of stitches each form their own V shape.
Finish the T-shirt as per the instructions!
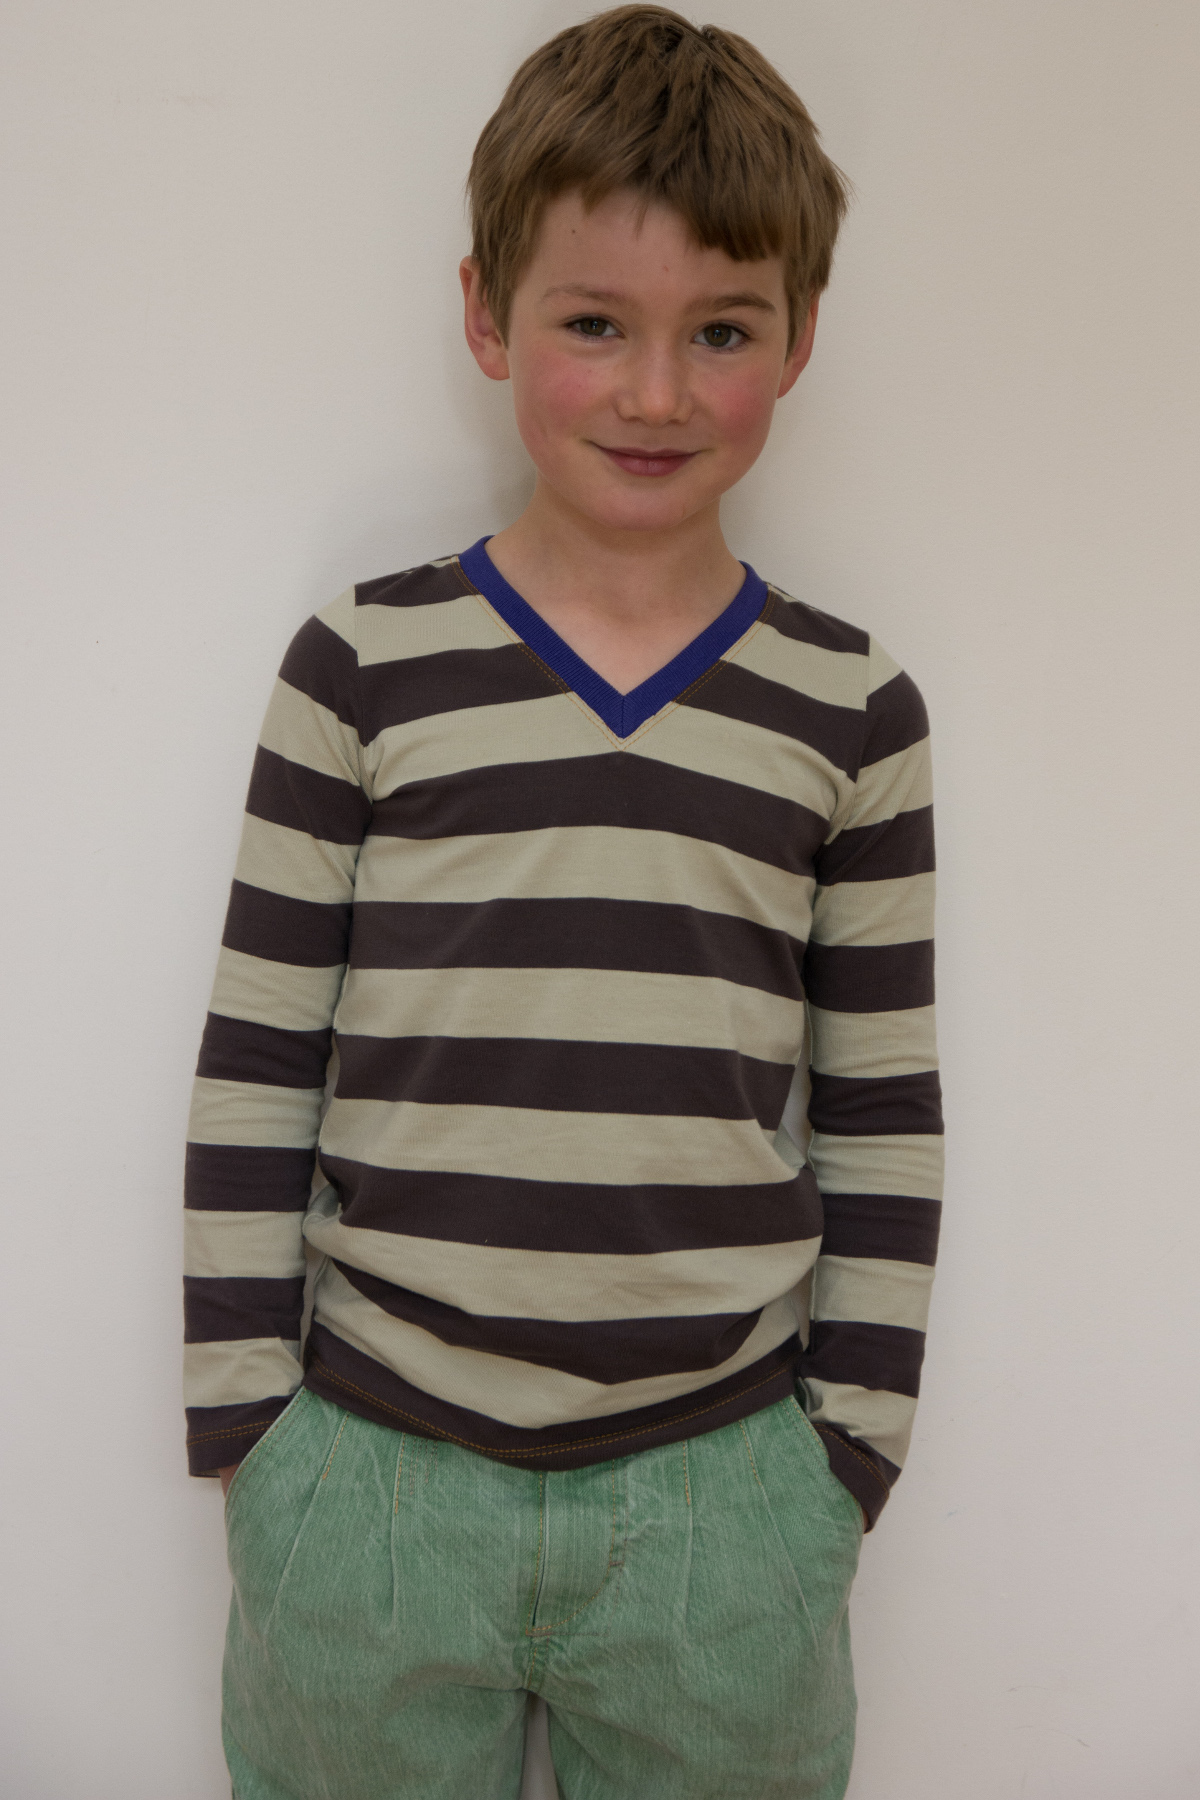
So how did my three V-neck experiments work out? Well, my son’s School Bus version was the first and was surprisingly quite successful. You know I wish I’d placed the apex of the V right on a stripe, but that’s the sort of thing I only think of afterwards!
I’m very happy with my Metro Tee version. I don’t usually wear V-necks and I knew I didn’t want it too high. I judged it by measuring the height above the armpit on my most daring low neck top and not going below that point!
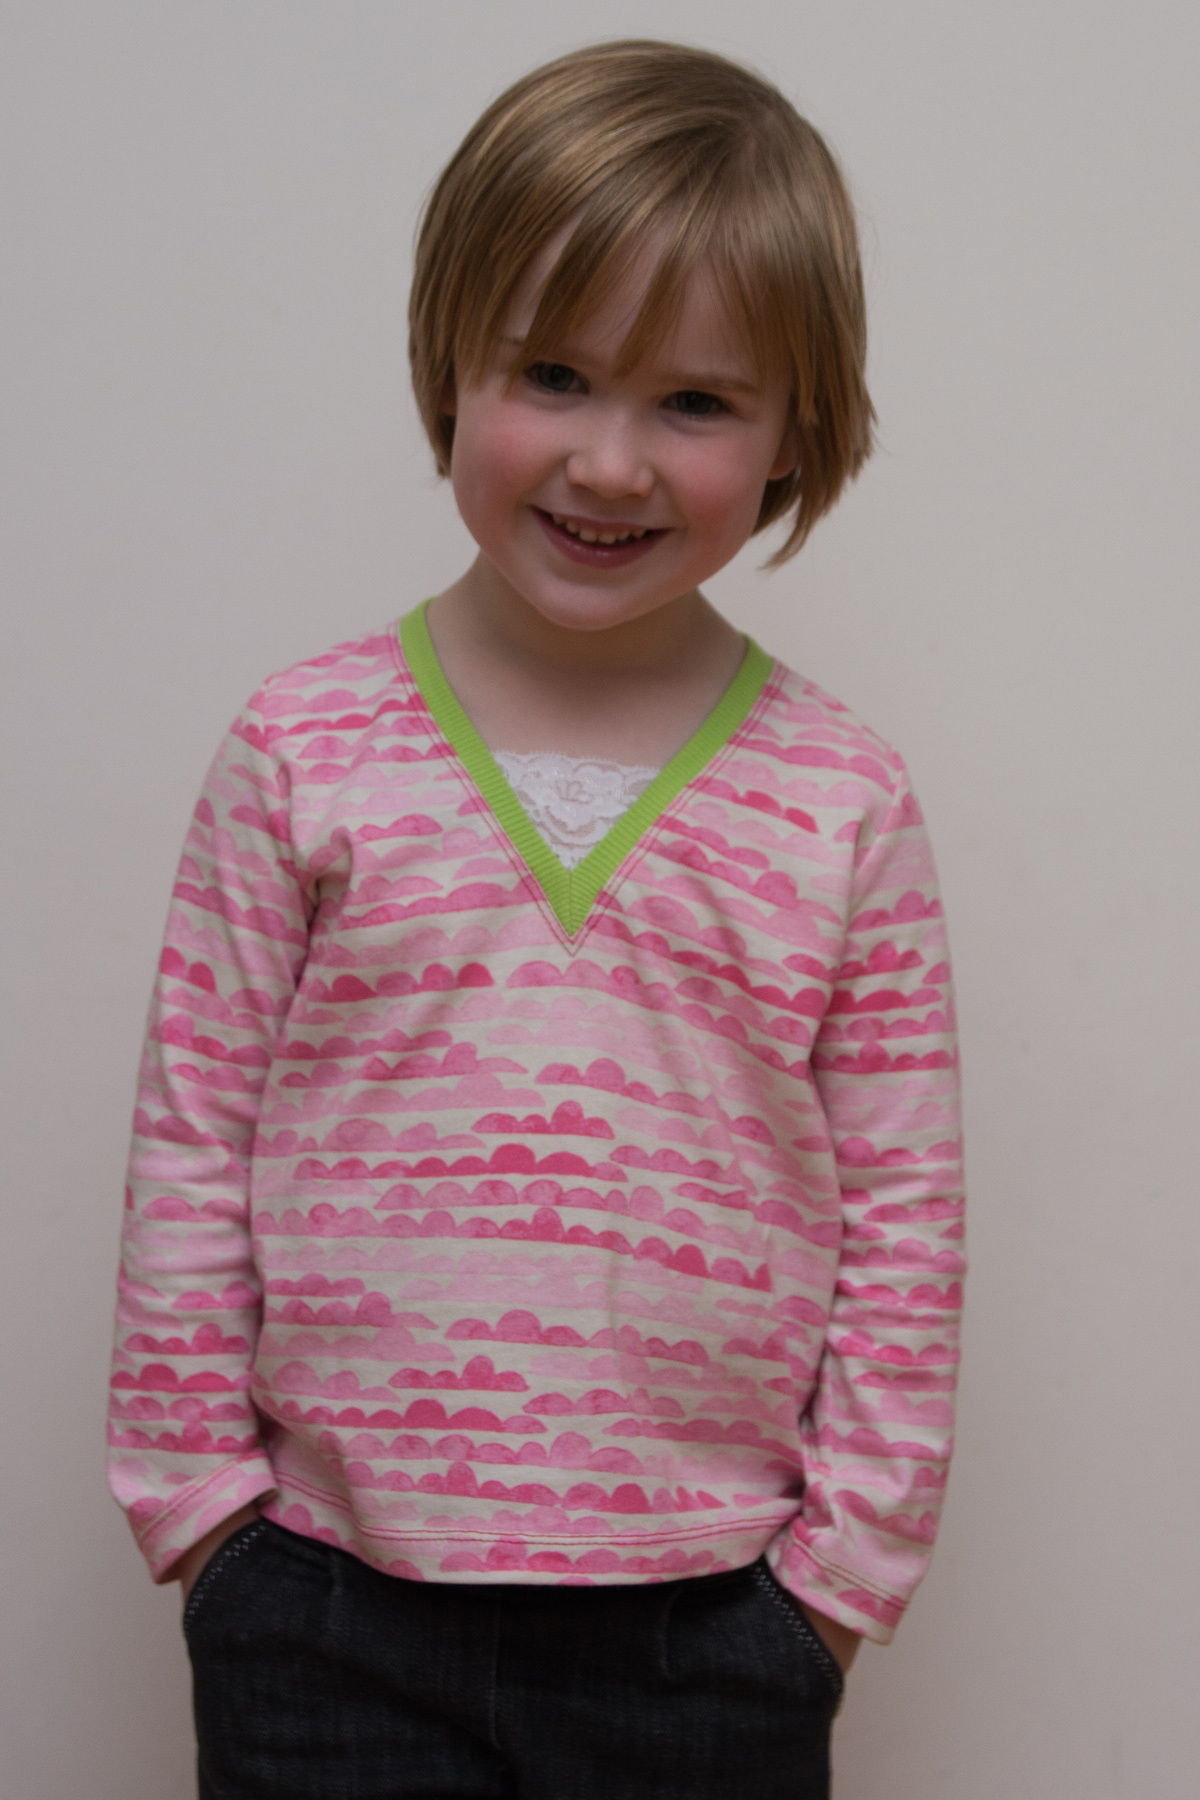
My daughter’s one turned out to be a bit too low, which I should have foreseen as it was cut to about 1/4” below my own self-imposed red line. Still, it was saved by a little piece of stretch lace, which I now think is a lovely feature!
Three T-shirts made and I’ve got almost all the family decked out in School Bus and Metro Tee V-necks! Thanks to the forum members who posed the question as I might not have tackled it otherwise. It takes a bit more work than a regular round neck but is such a nice way to change up a pattern. I hope you’ll give it a try and post your pictures in the Liesl + Co. and Oliver + S Flickr groups.

At our house, we love Vs!