
Cotton + Steel fabrics have made a splash in the sewing world since their debut in 2013. With their modern, bold prints, the thoughtfulness about different fabric types and print coordination, and their collaborative design effort, they’re a fun group to watch and their fabrics are wonderful to sew with.
I was so excited to be asked to be a part of the tour to promote Cotton + Steel’s foray into fashion fabric: the Frock collection of rayon prints! In fact, the fabric inspired me so much, I put together a tutorial to make a completely reversible Roller Skate Dress for you today.
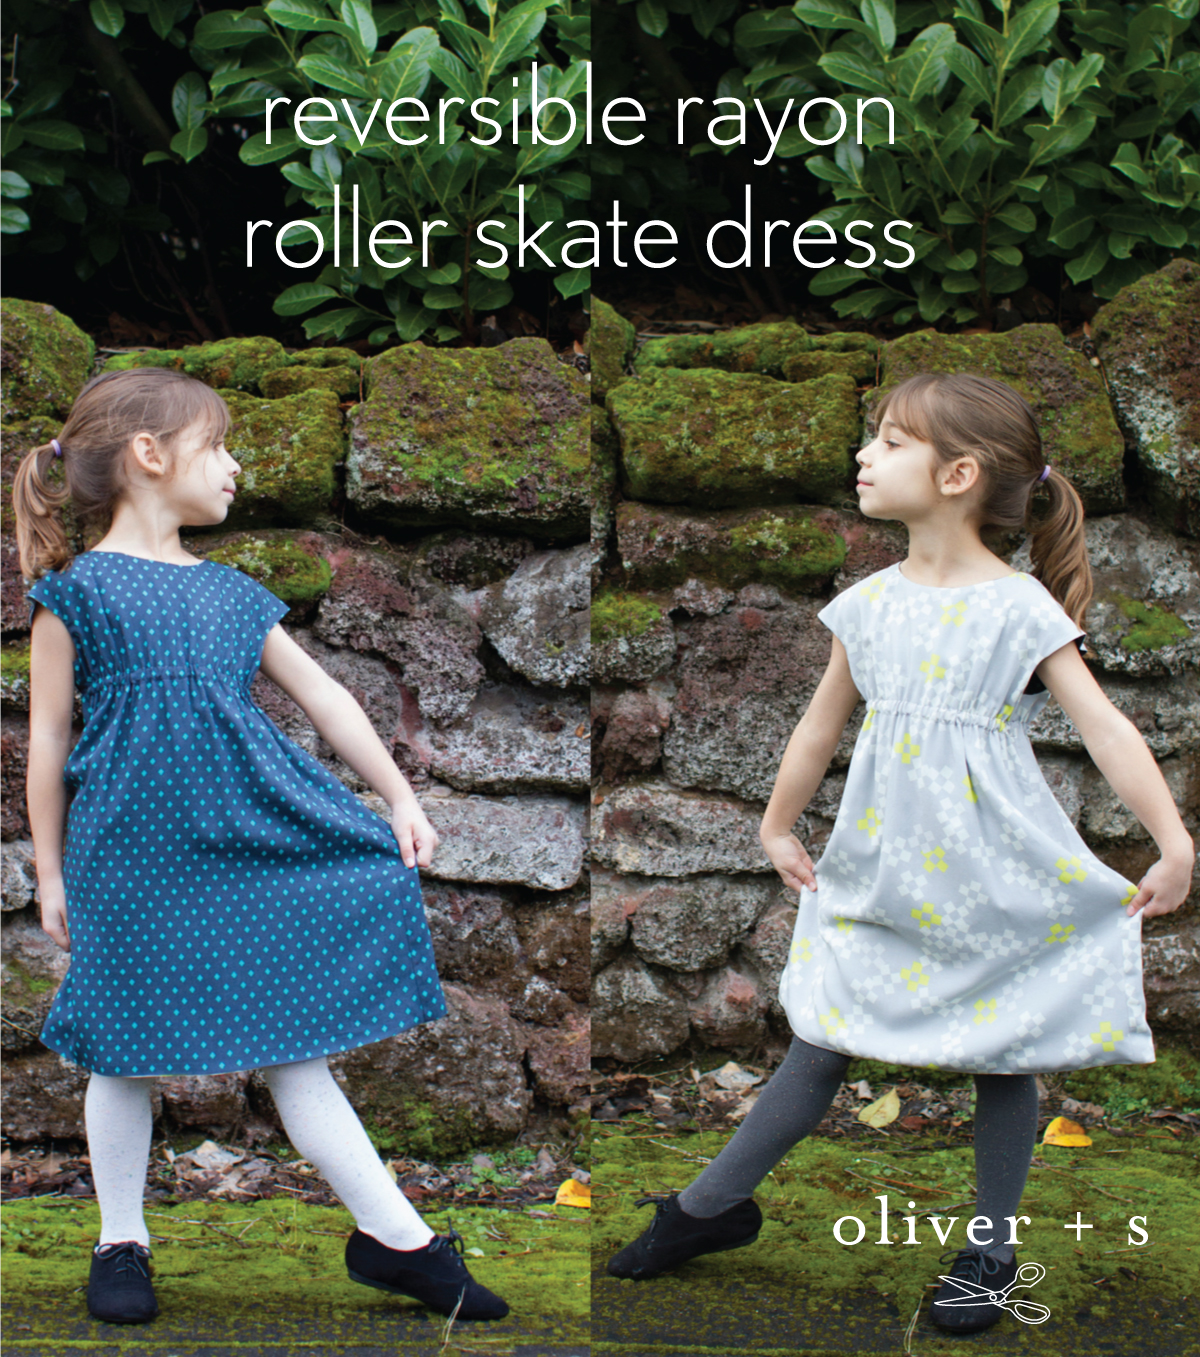
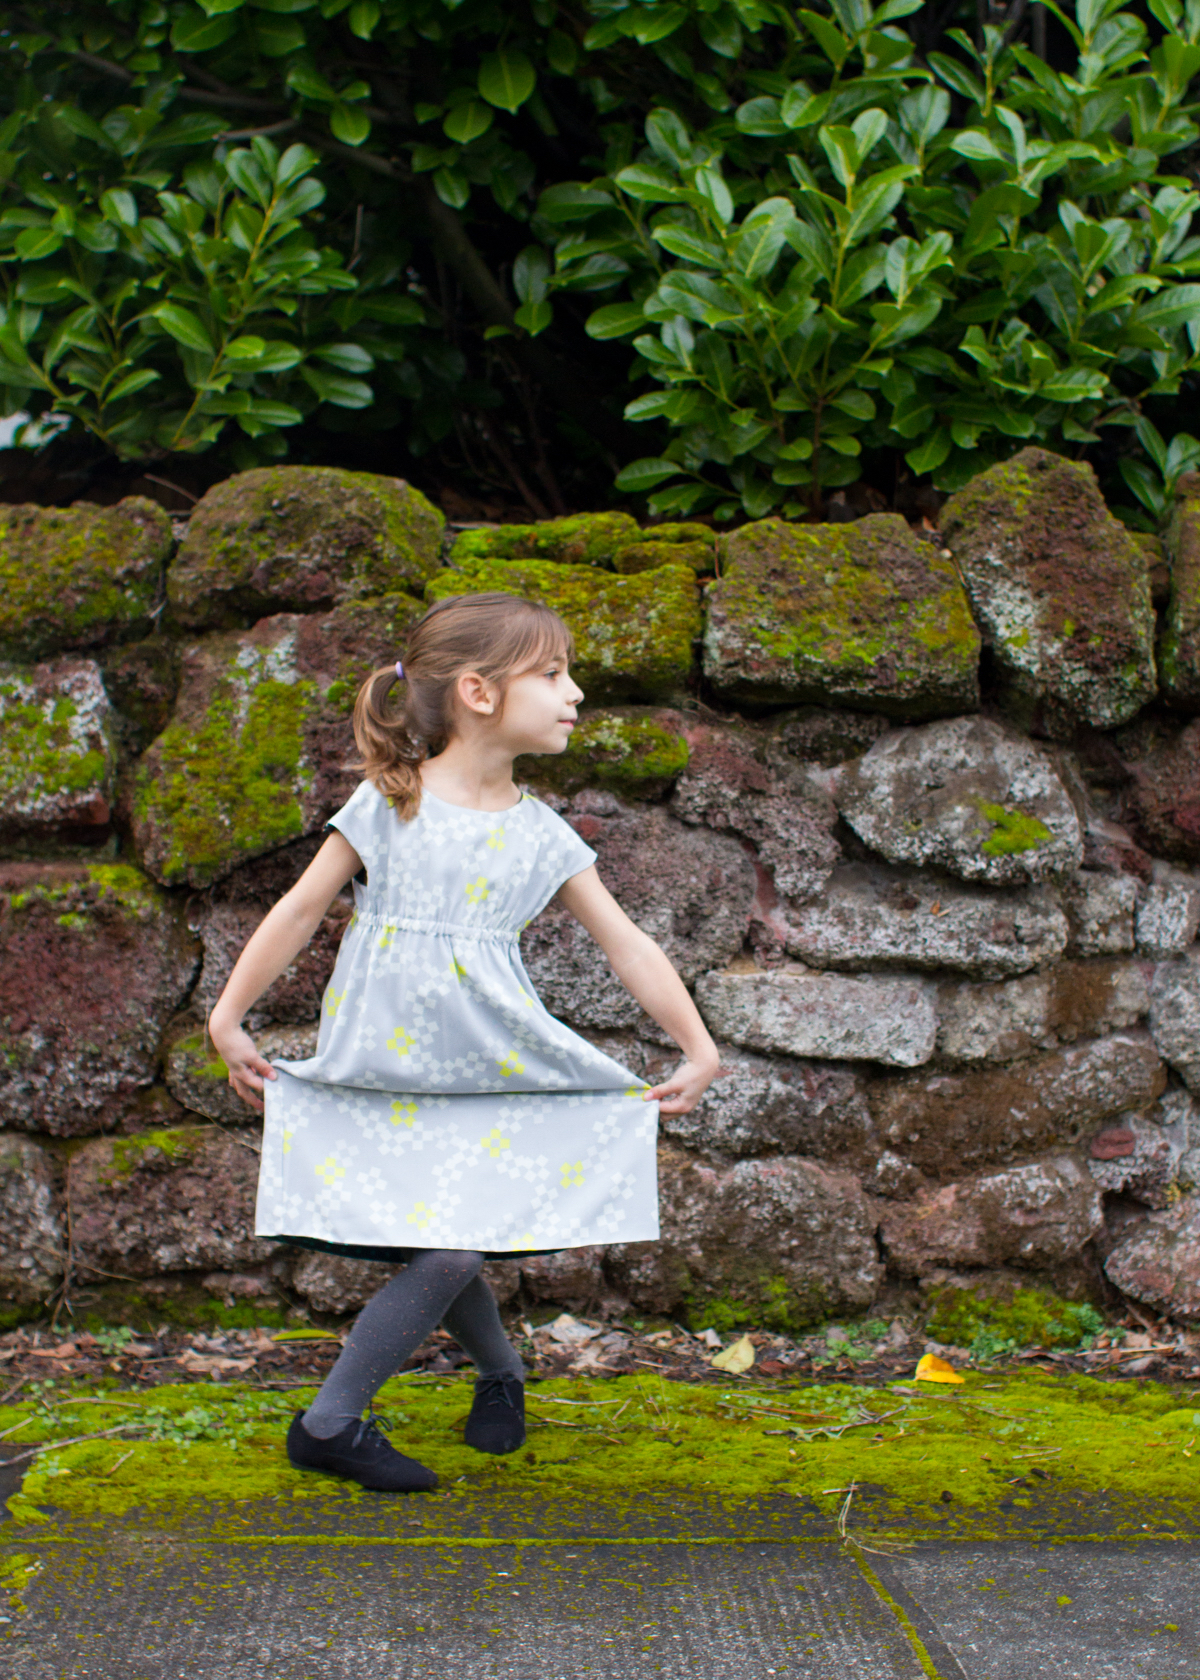
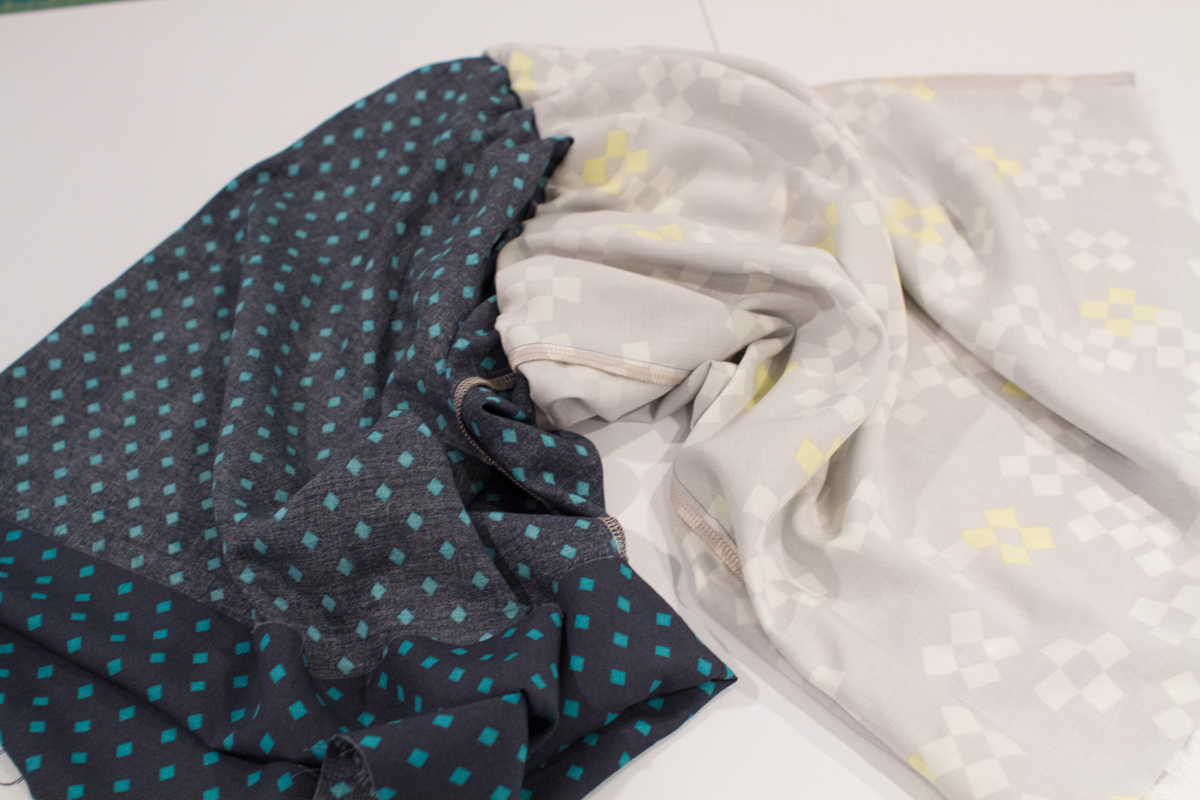
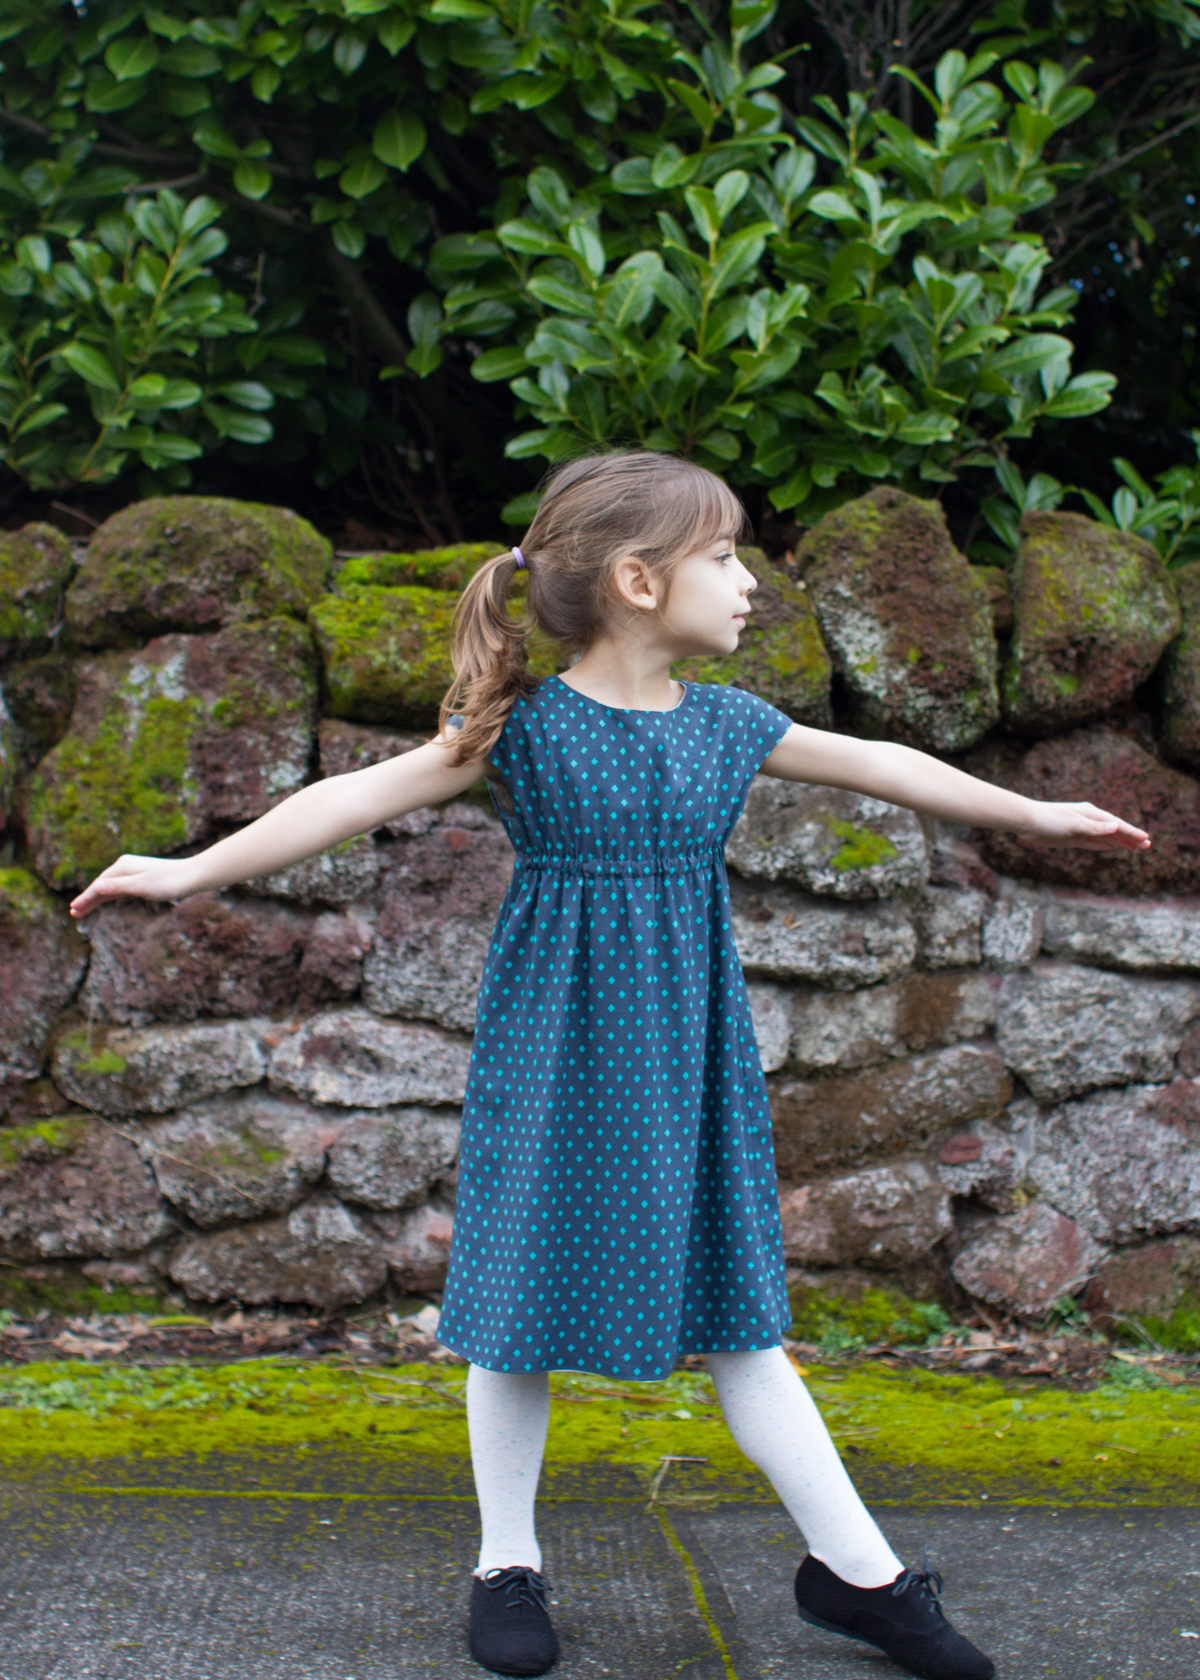
I chose two coordinating prints, Gemstone Teal by Sarah Watts, and Pixel Print Neon by Melody Miller. To me the gemstone fabric gives the dress a more vintage vibe, and the pixel print is more modern. I love that this one dress has two completely different looks!

The rayon itself is so soft, so drapey and the colors are beautiful. It was my first time sewing with rayon and it was a little slippery and shifty to work with, but still fun to sew and far easier to handle than, say, silk. I machine pre-washed it on cold and dried it on low in my dryer, because for a kid’s garment I didn’t want to have to rely on dry cleaning, so it needed to be pre-shrunk.
I decided to make the dress reversible, and not in a “fold the hems under and topstitch” way. I wanted a nice and clean blind hem. It worked!

The hem ends up longer than the pattern, but only a tiny bit. The pattern’s hem is 5/8″ and this method will give you a 1/2″ hem. You could always sew the hem at 5/8″ if you want. It doesn’t matter, construction-wise. Let’s get started!
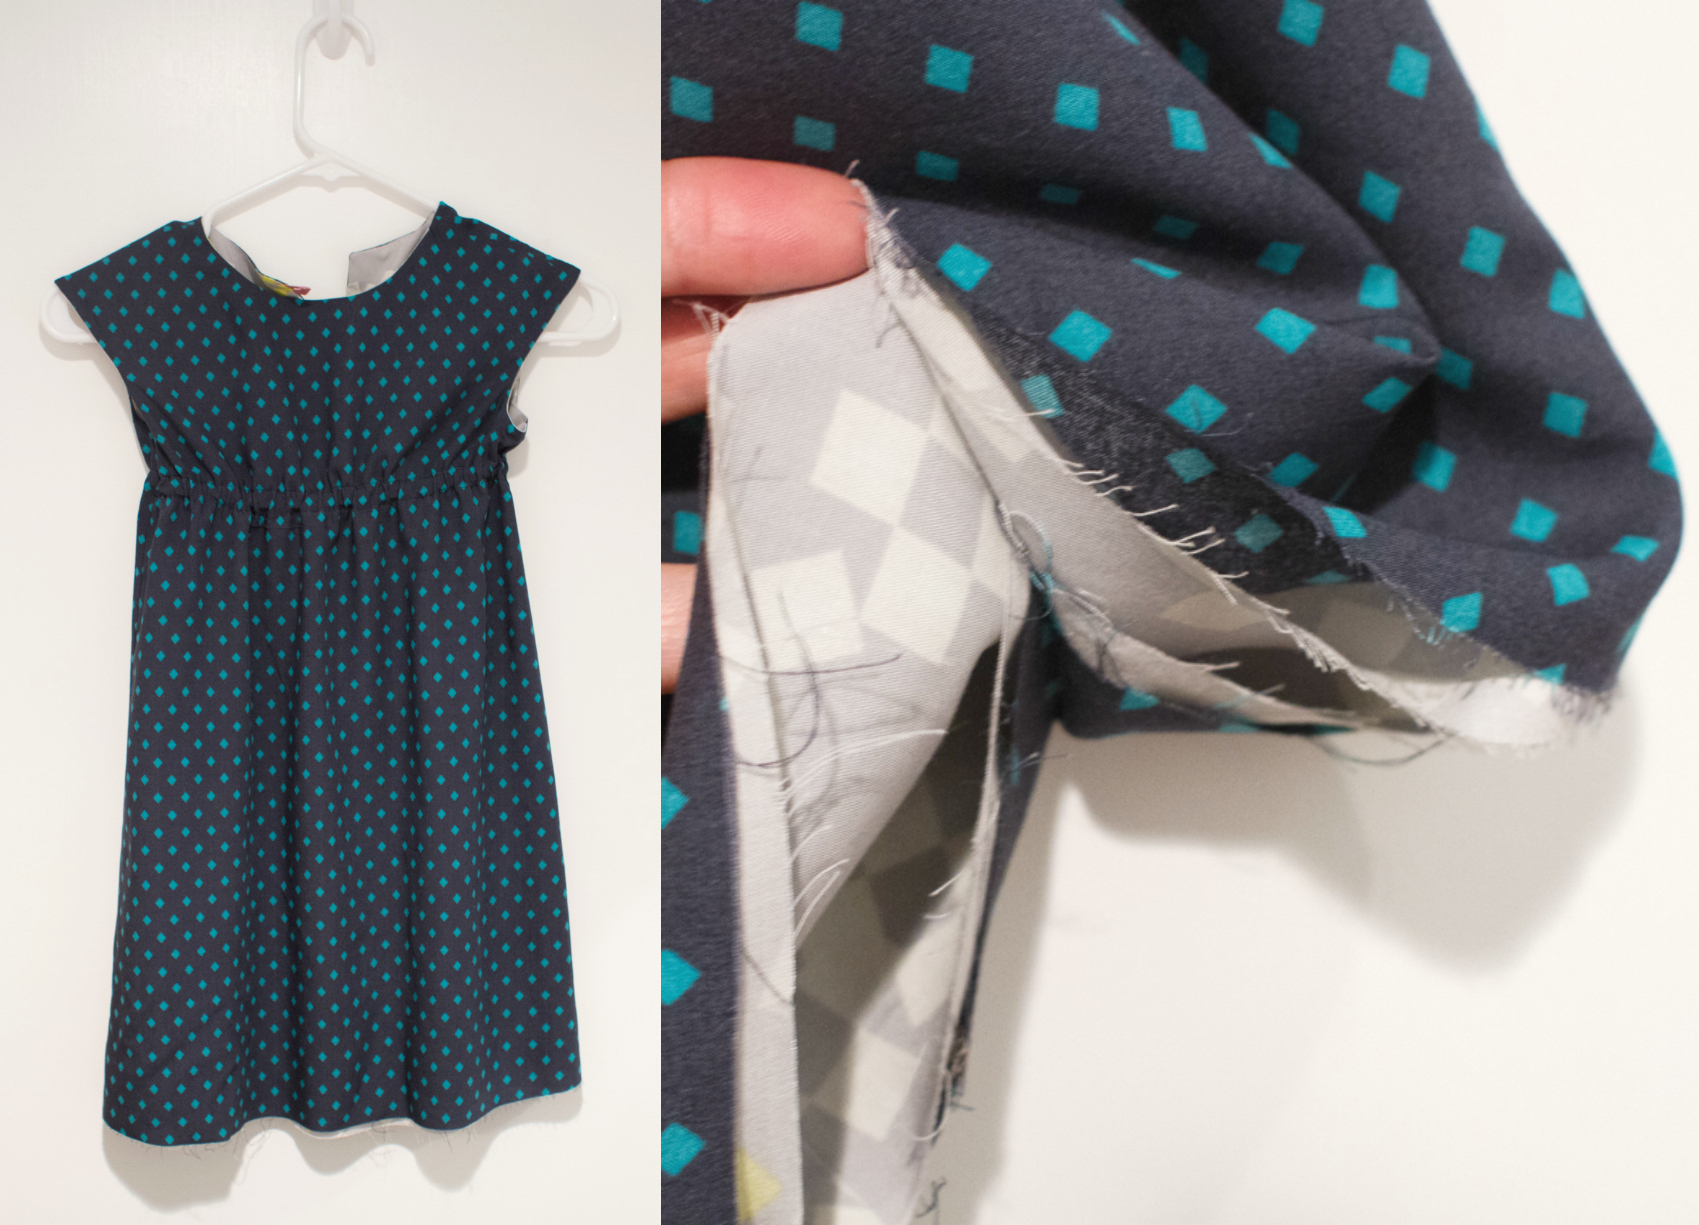
First, sew the entire dress as instructed, but do not trim your lining – both sides need to be exactly the same length.
Be sure to sew your elastic channel, add the elastic, do everything except the hem! Okay I didn’t do the button until last. But otherwise, the only thing you should still have to do to finish the dress is the hem.
Find and mark the center front of both skirts with tailor’s chalk/disappearing marker.
Separate the dress layers so the whole thing is inside out.

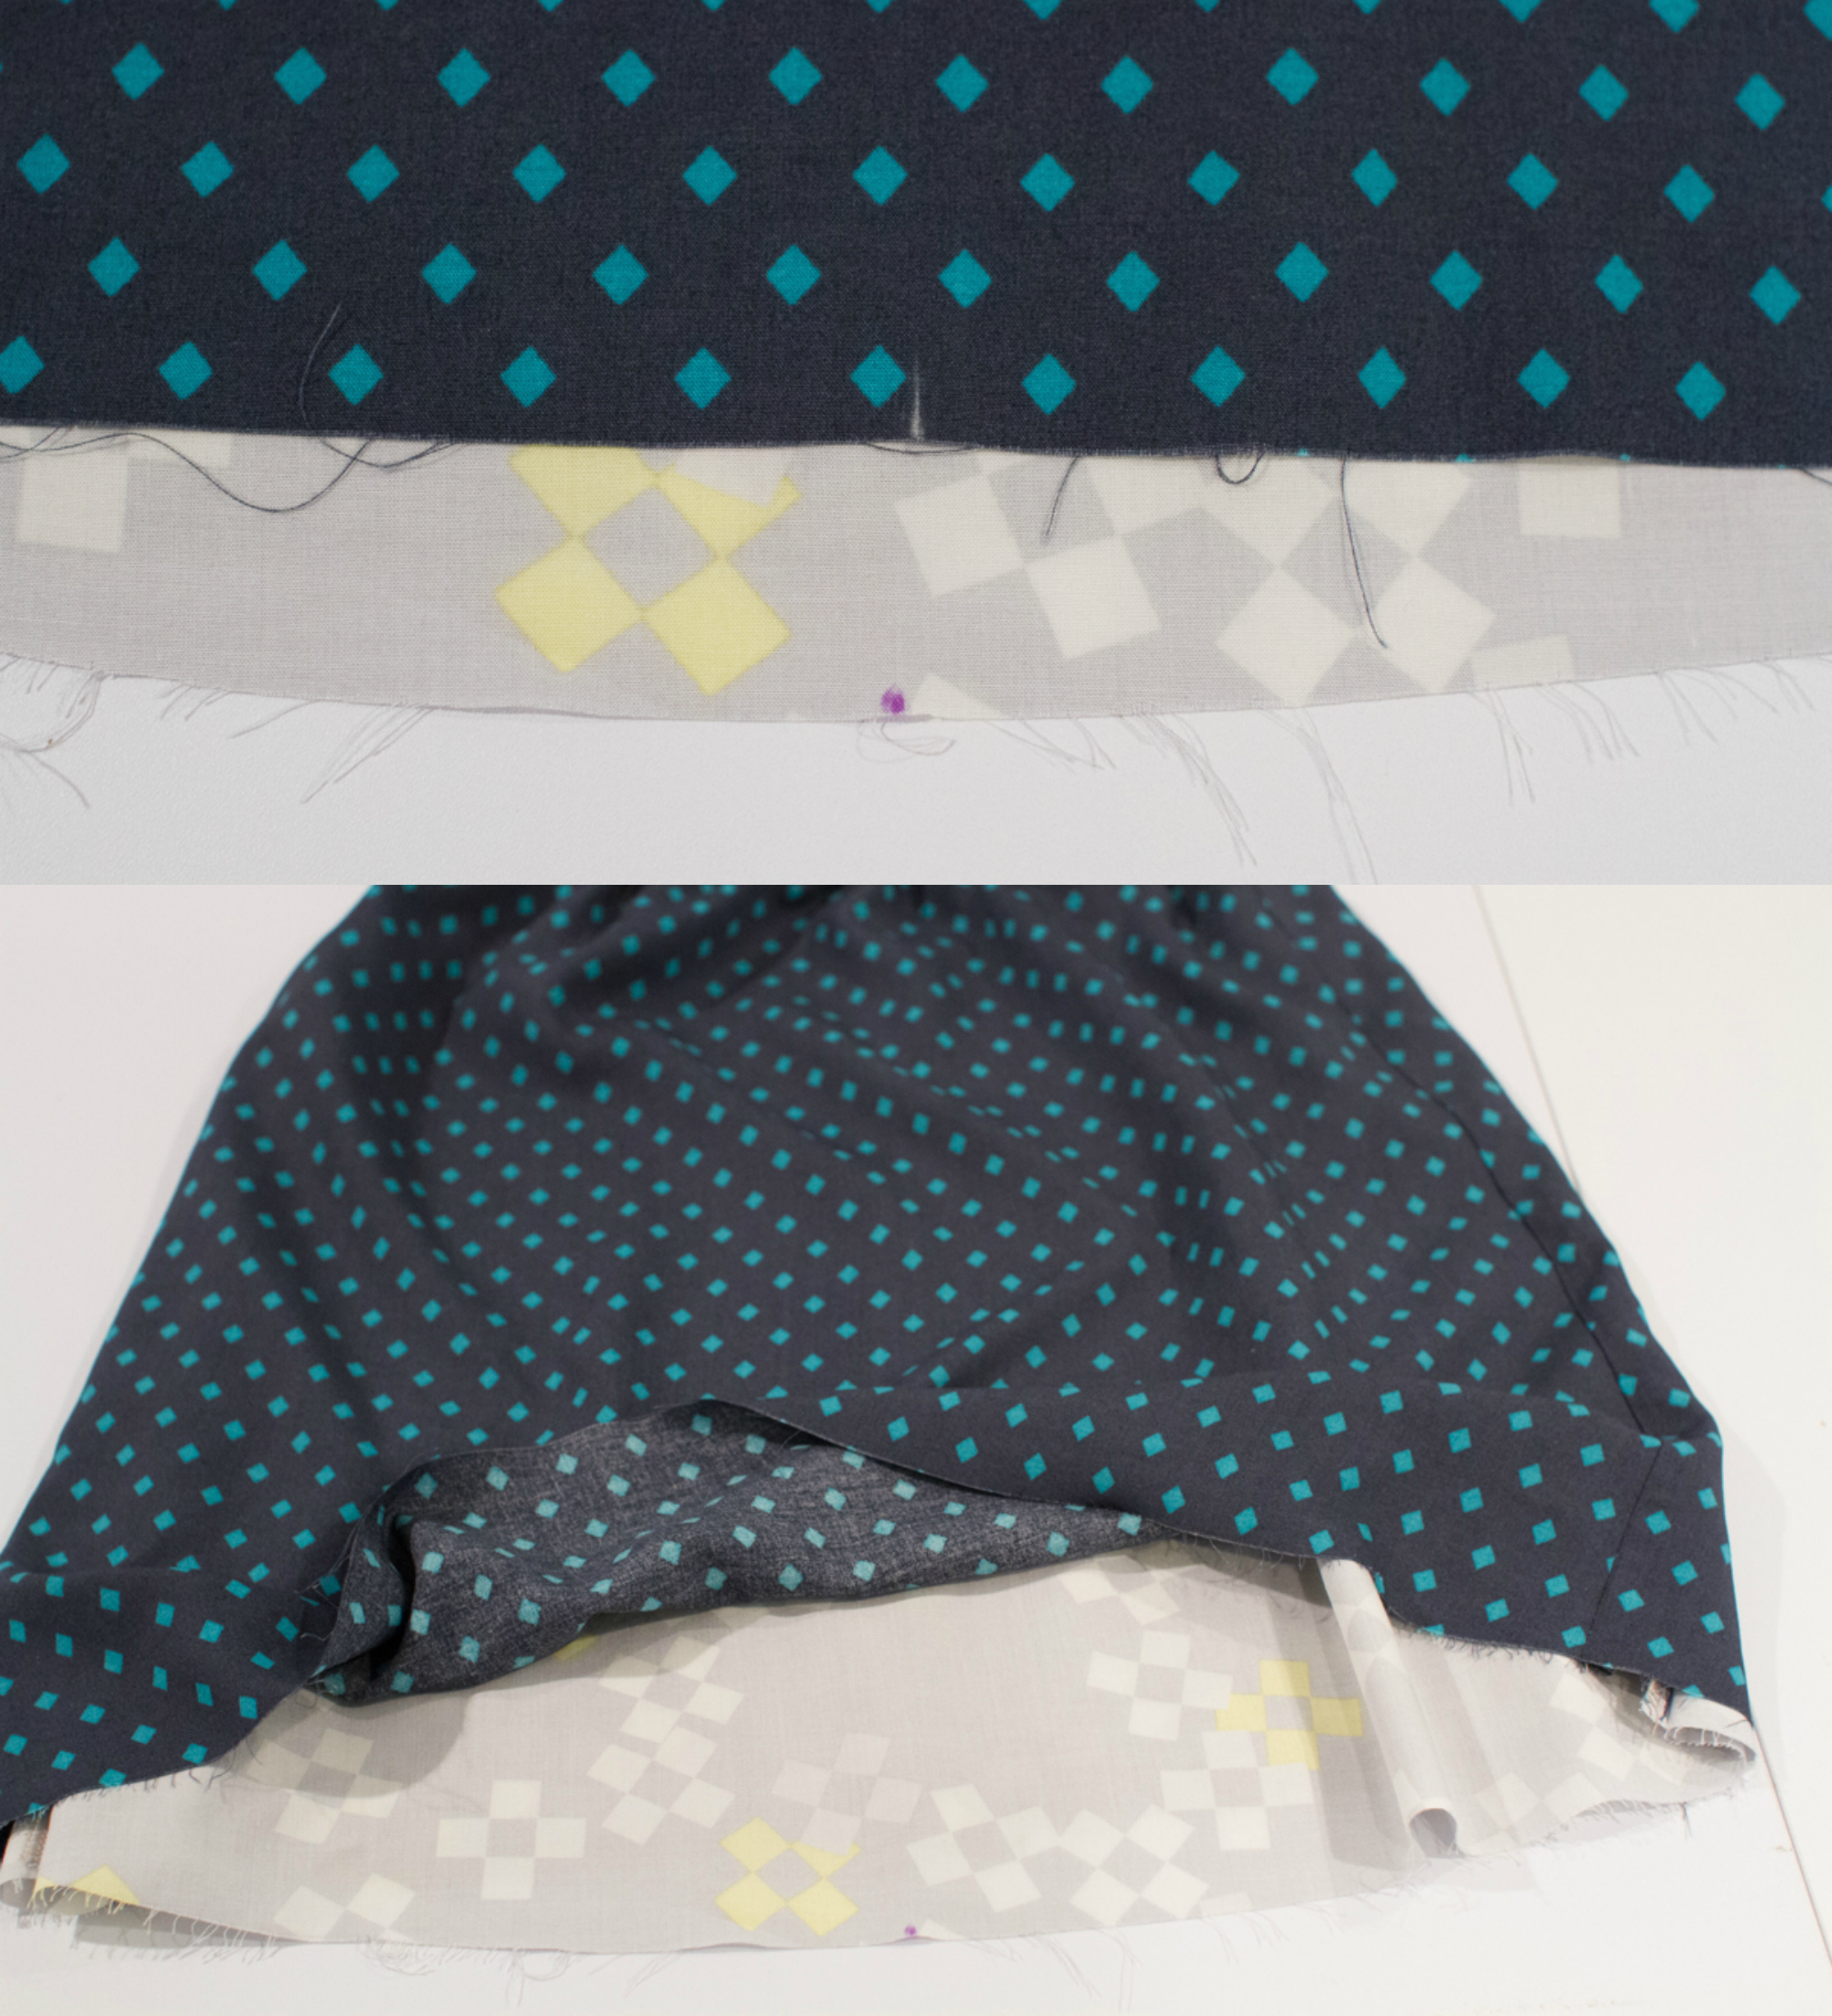
Now the part that’s slightly tricky to explain. Fold one skirt layer up so the right side is showing (similar to how you machine-sew sleeves on a bagged jacket lining). Then lift the other skirt up and around, bringing the right sides together at your center marks, and pin. Make sure the dress isn’t twisted and you’re matching front to front.
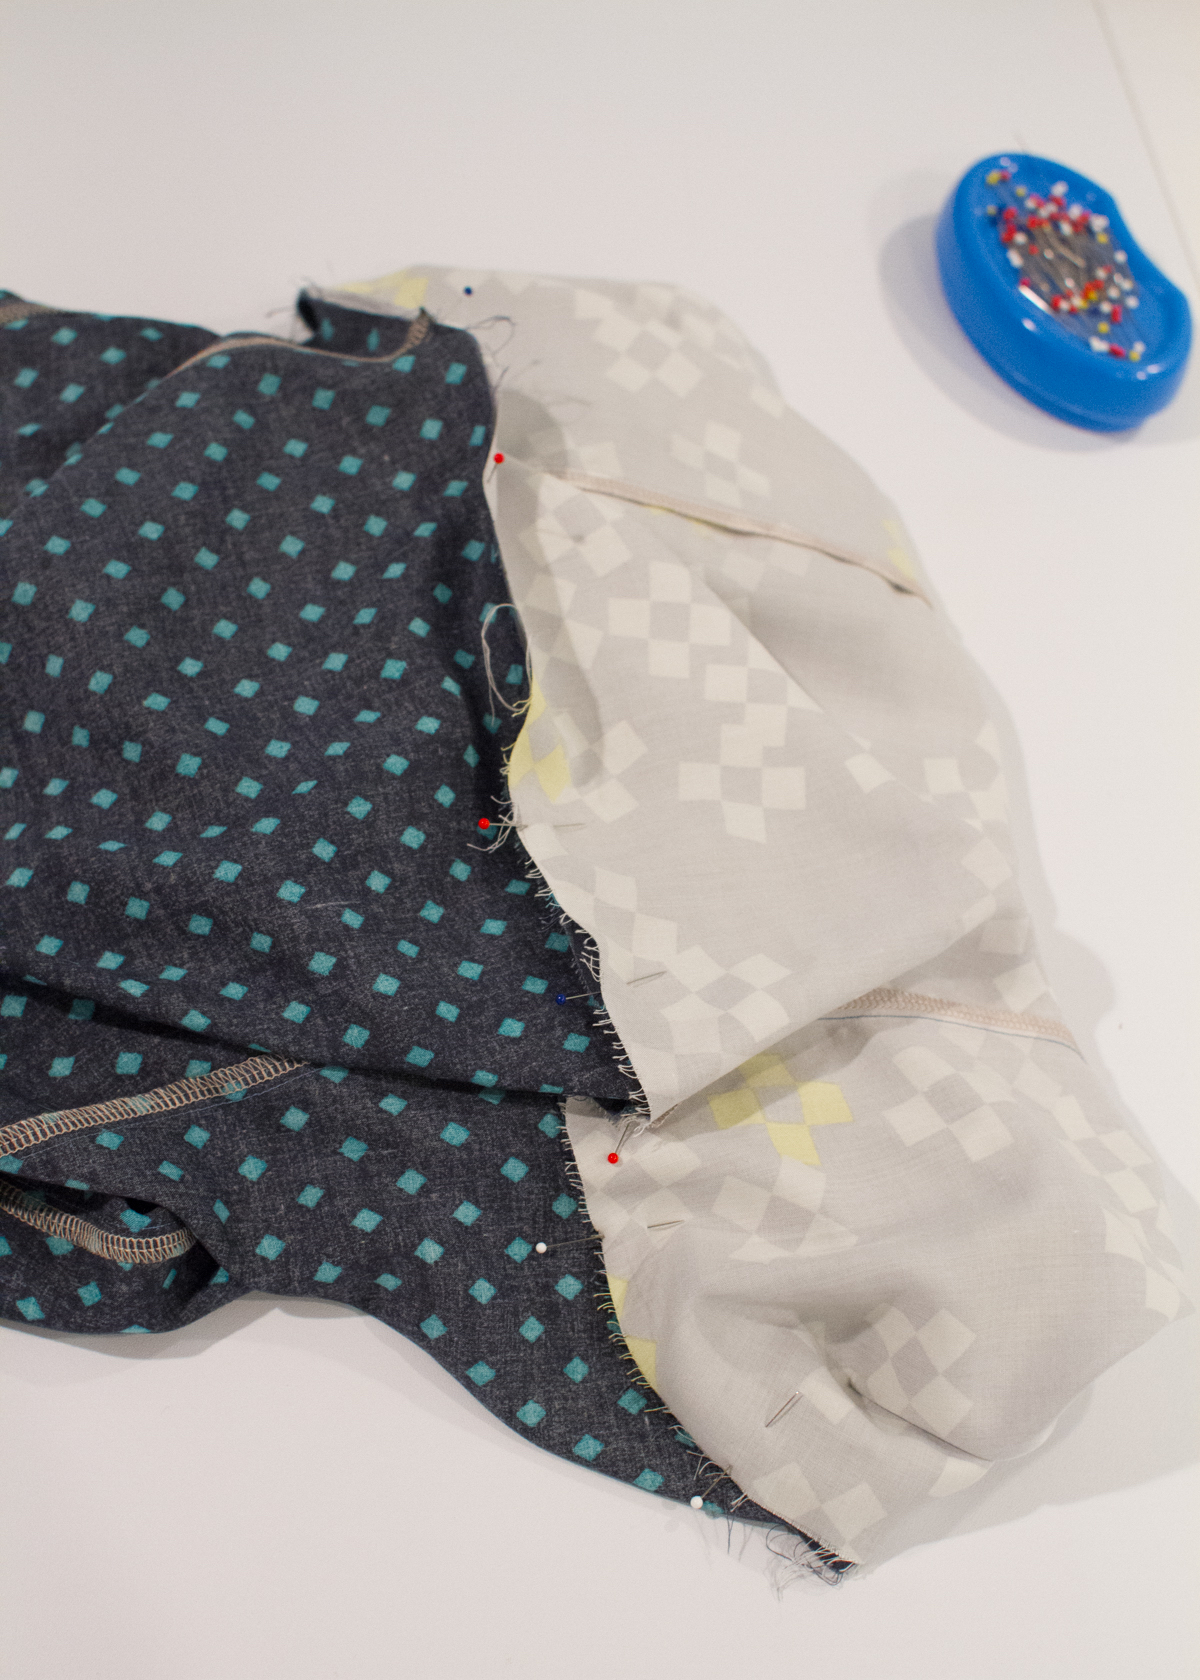
Continue pinning right sides together, matching side and back seams. You’ll end up with a funny donut shape but it’ll work! Sew the hem, backstitching at each end, and leave a 3-4″ gap for turning.
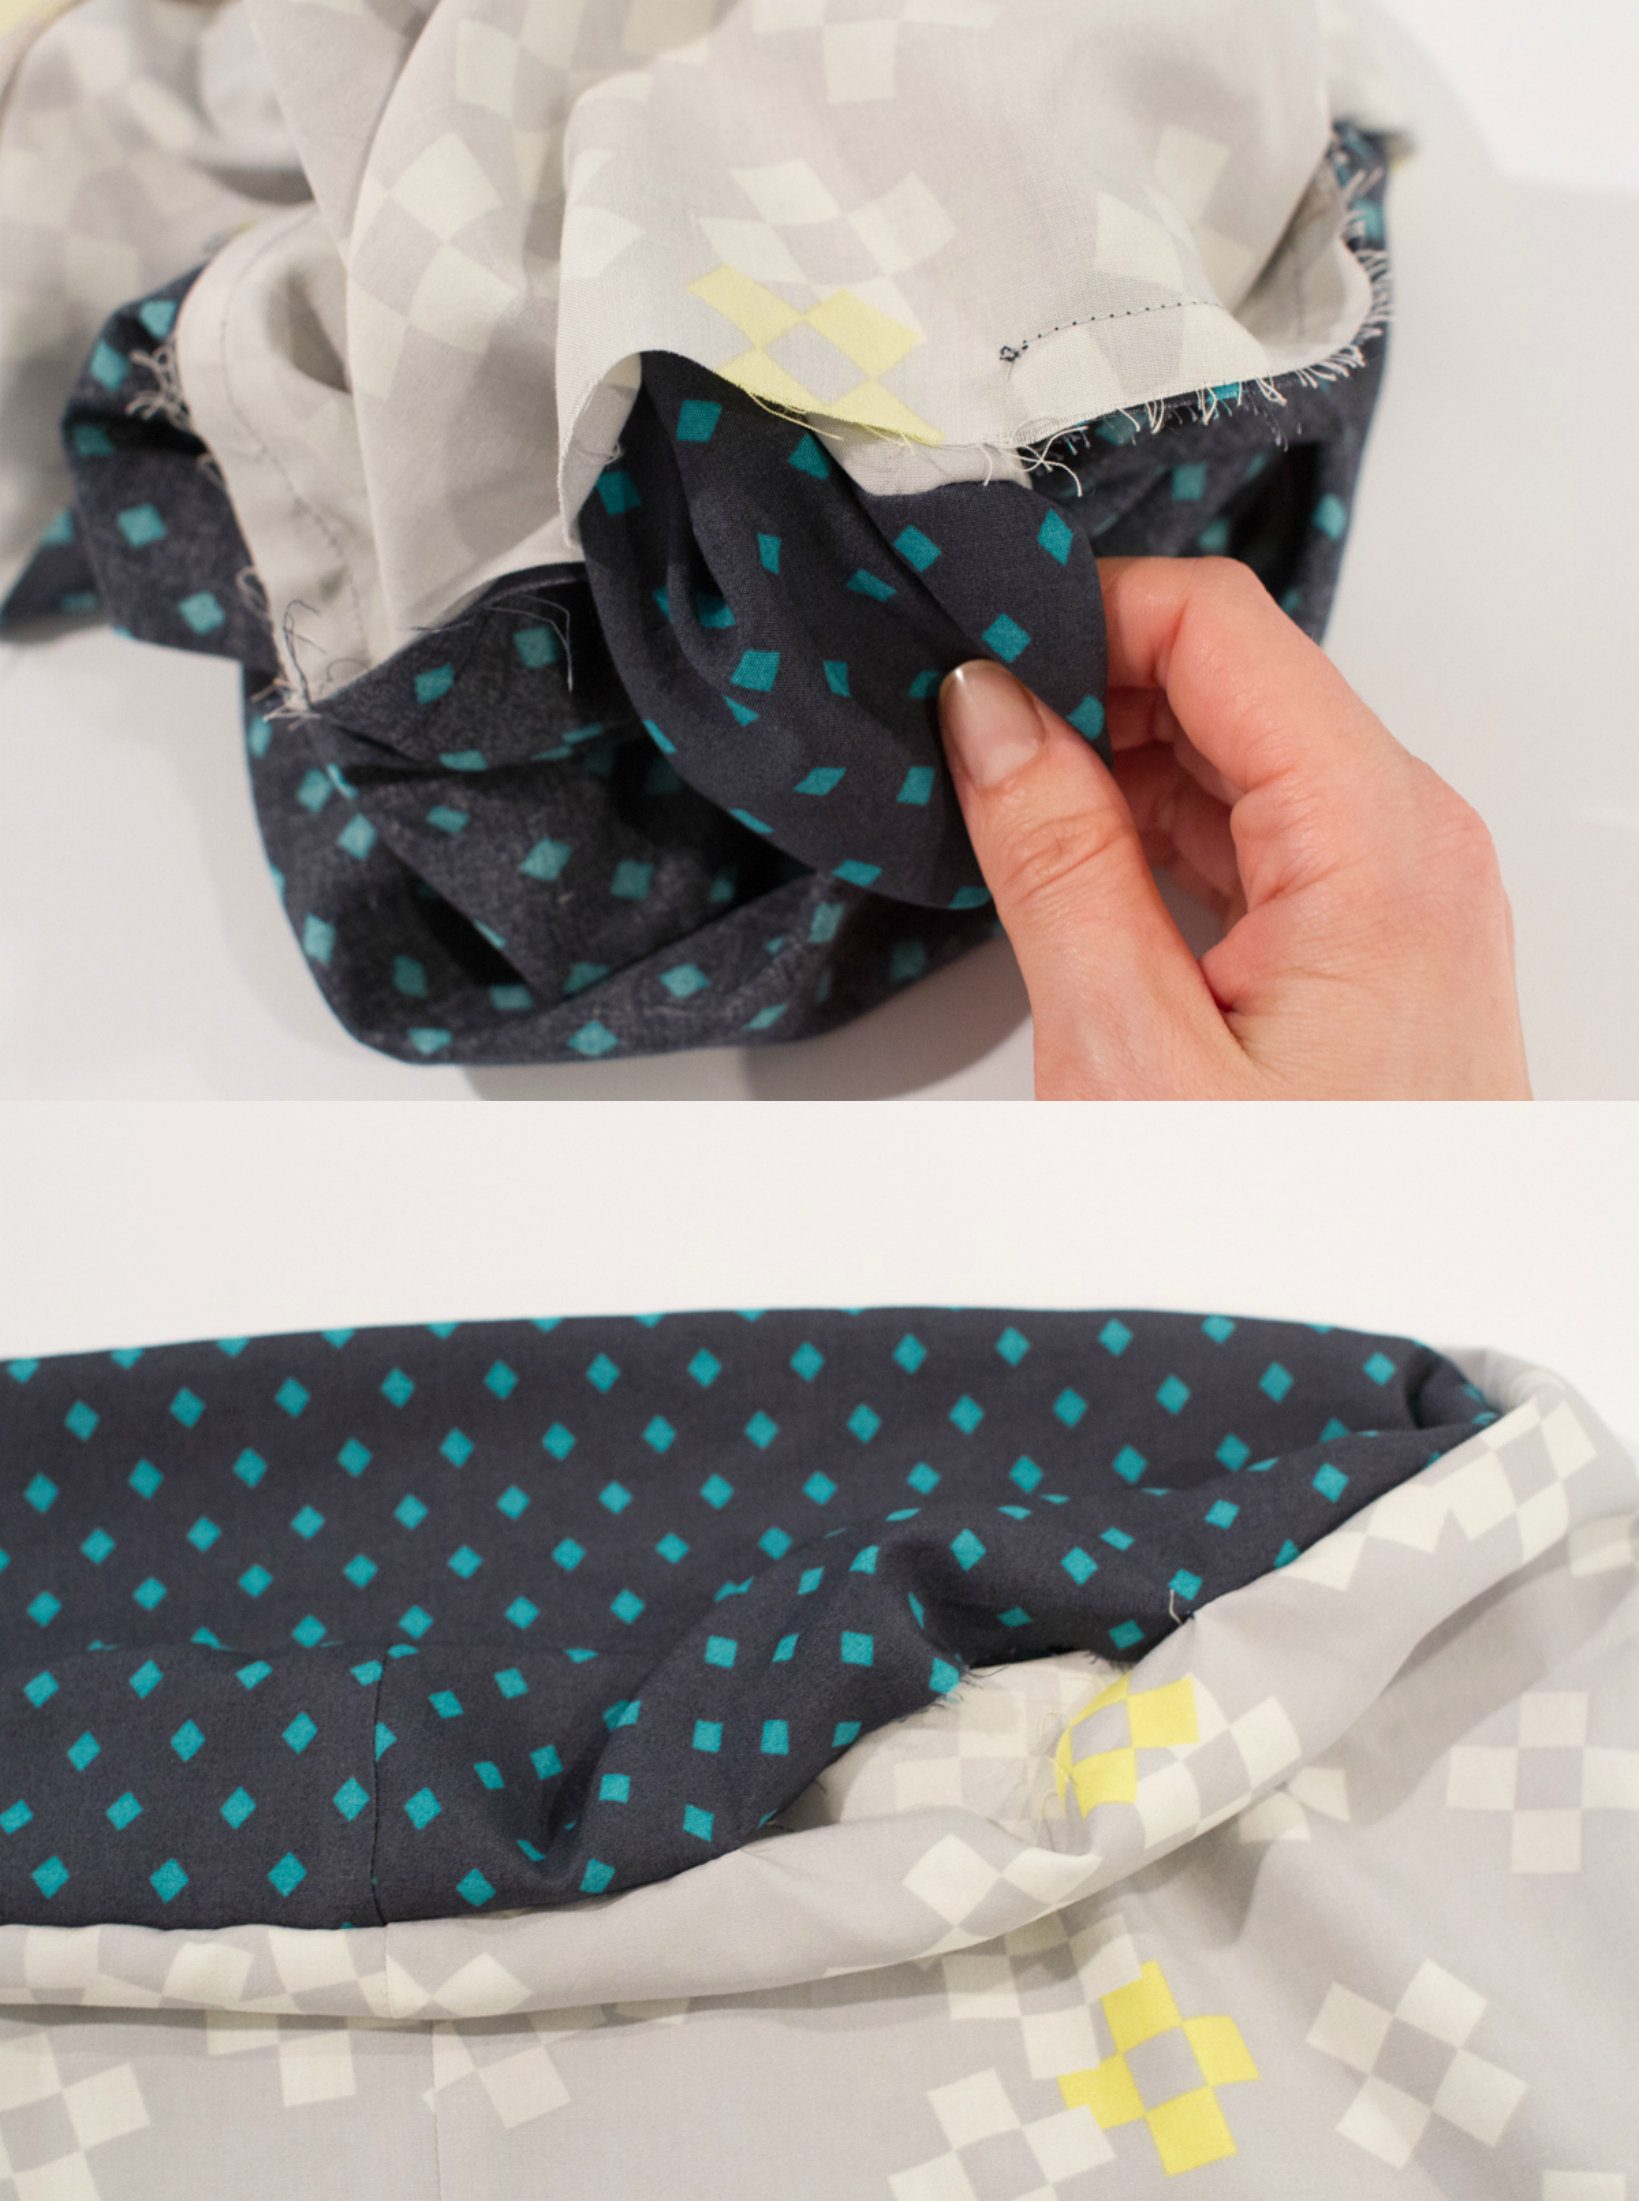
Gently pull the dress through the gap you left in the hem. Finger press, then carefully press your hem (rayon takes ironing well, by the way – just remember set your heat on low test it on an edge first).
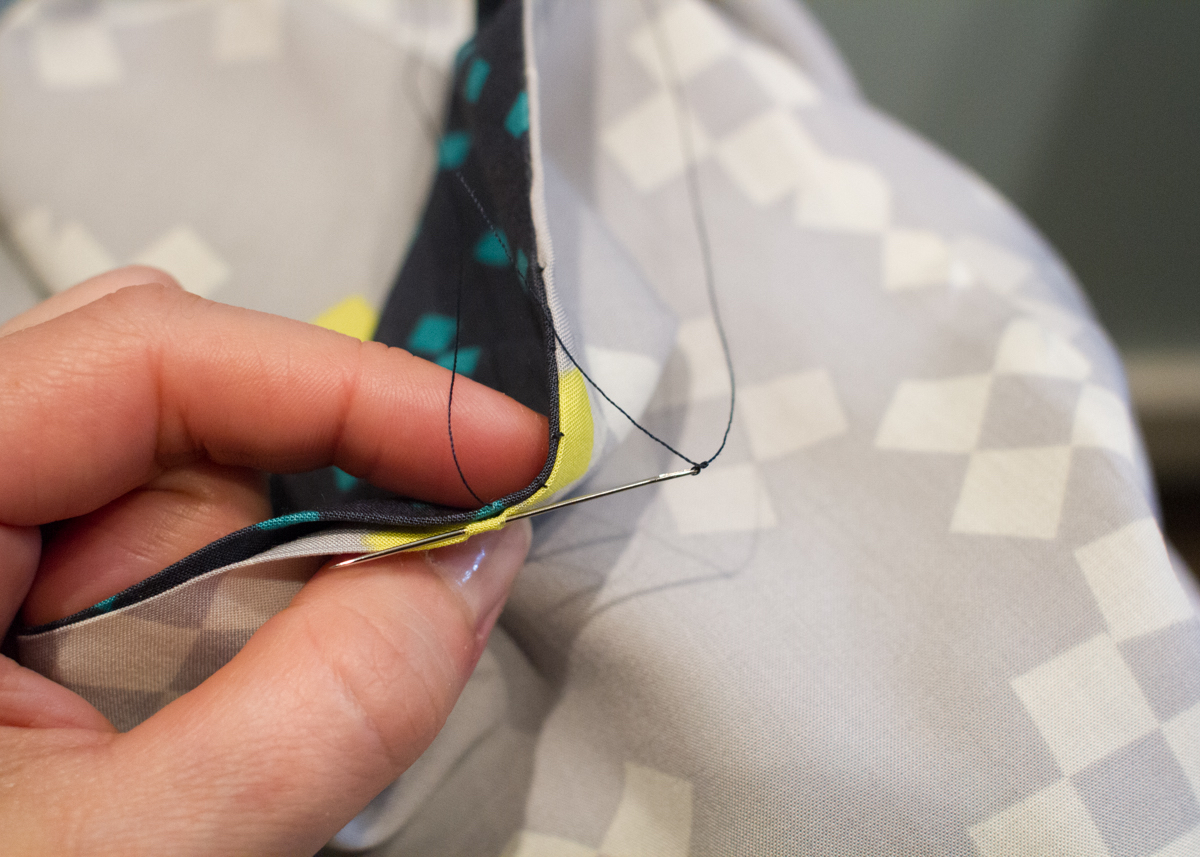
Slip stitch or ladder stitch the opening closed by hand. There are great videos on YouTube if you need a refresher on how to do this invisible stitch.
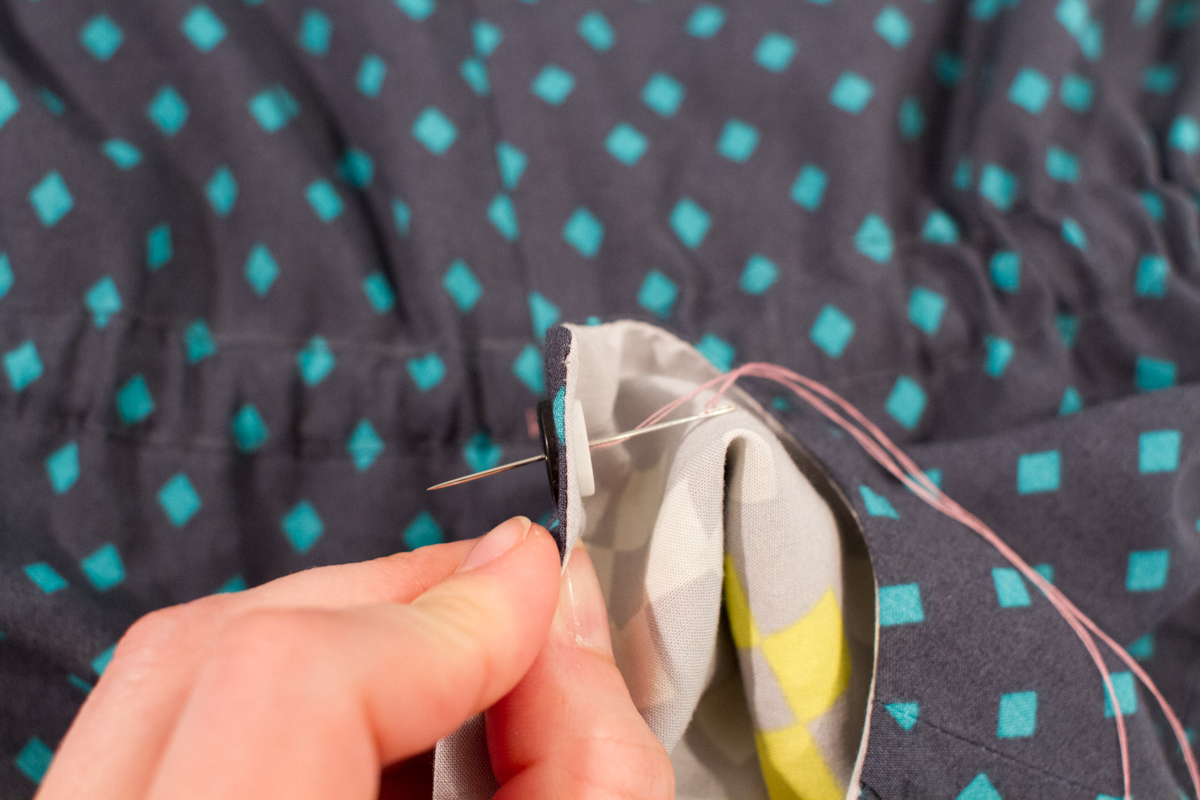
Sew your buttons on (I sewed mine a little too tight; you can put toothpicks under your buttons so they have a little slack if you need to). I chose similarly sized buttons that both had two holes so it made it really easy to sew them simultaneously.
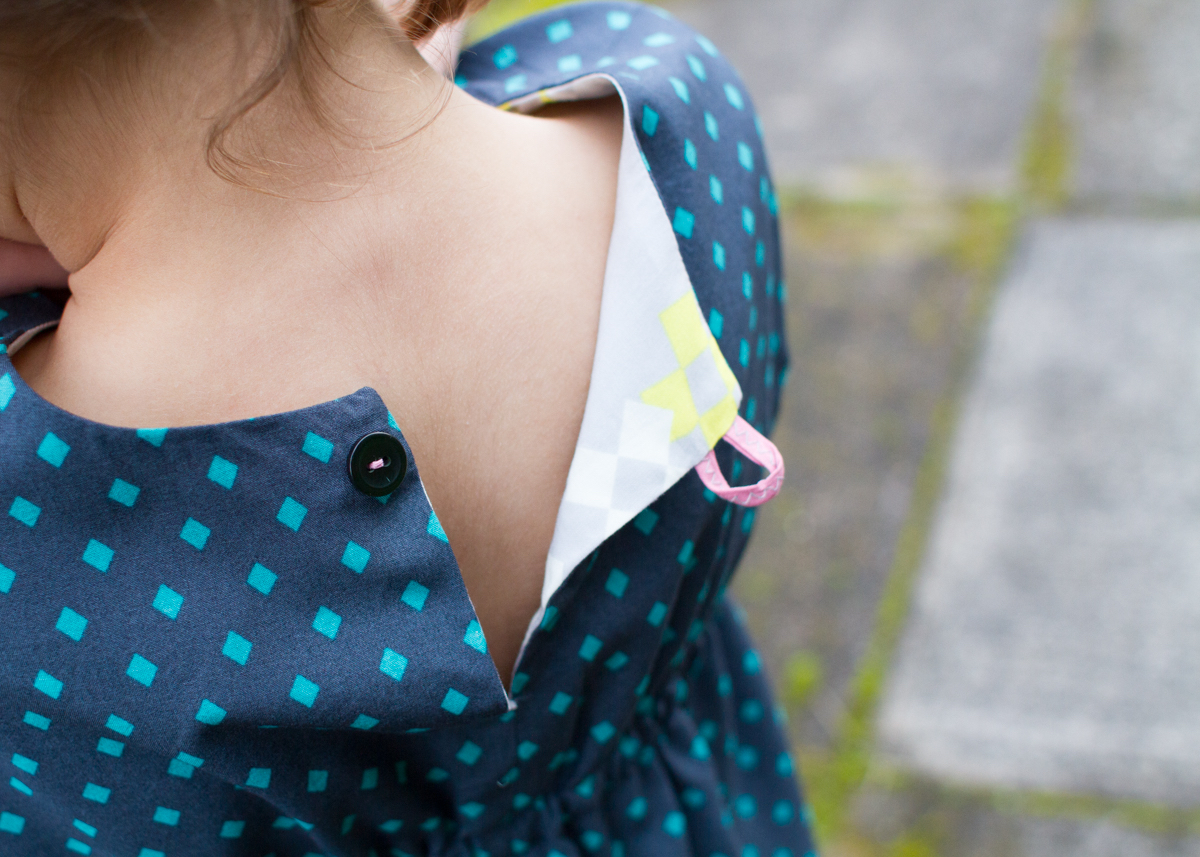
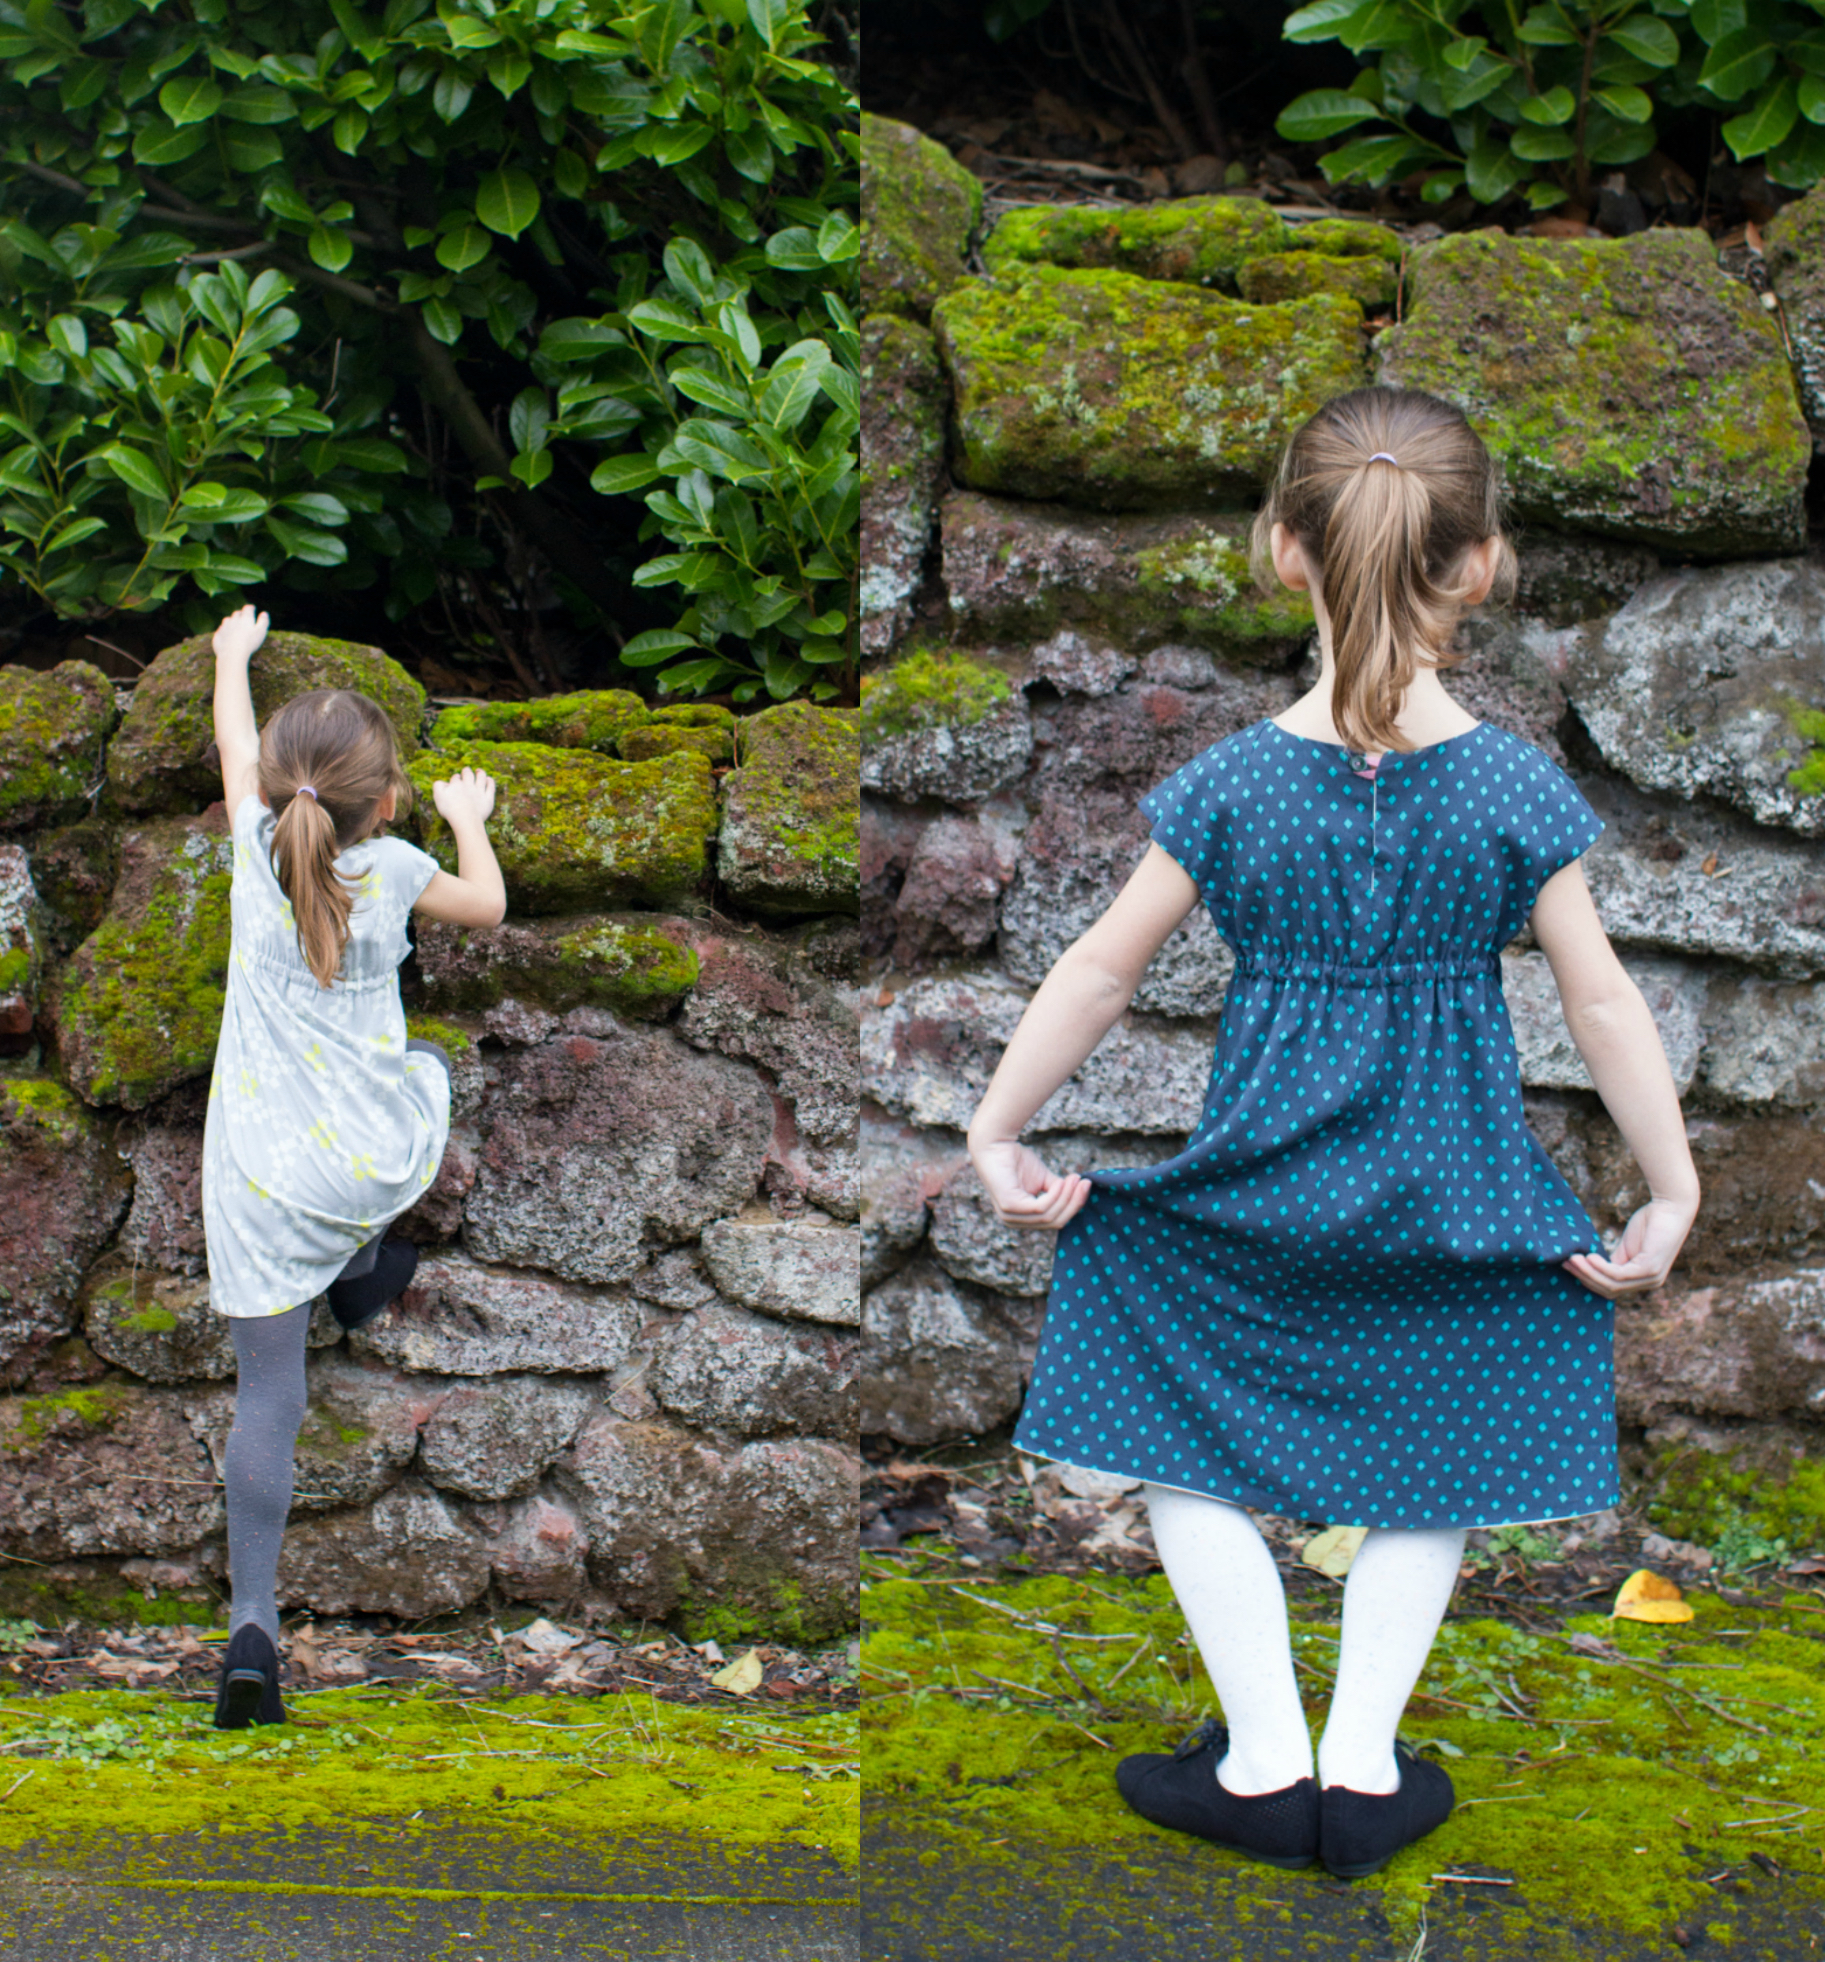
And you’re done! Two light and springy Roller Skate Dresses in one!
If you use this tutorial to make a Reversible Roller Skate Dress, be sure to add it to the Oliver + S flickr group. Please let us know if you have any questions, and thanks for having us along on the tour, Cotton + Steel!
Here are the other Frock tour stops in case you missed them:
- January 28 Jaime – Fancy Tiger Crafts
- January 29 Deborah – Whipstitch
- January 30 Amber- Fancy Tiger Crafts
- January 31 Rochelle – Lucky Lucille
- February 2 Christine Haynes Christine Haynes
- February 3 Devon Iott – Miss Make
- February 4 Jemellia Hilfiger – JemJam
- February 5 Anna Graham – Noodlehead
- February 7 Rae Hoekstra – Made by Rae