
The art of Shibori, in which fabric is bound, clamped or stitched before dyeing, is known as tie-dye for grown ups. You can never really control the process, so effects are often unpredictable and each piece of Shibori is a work of art.
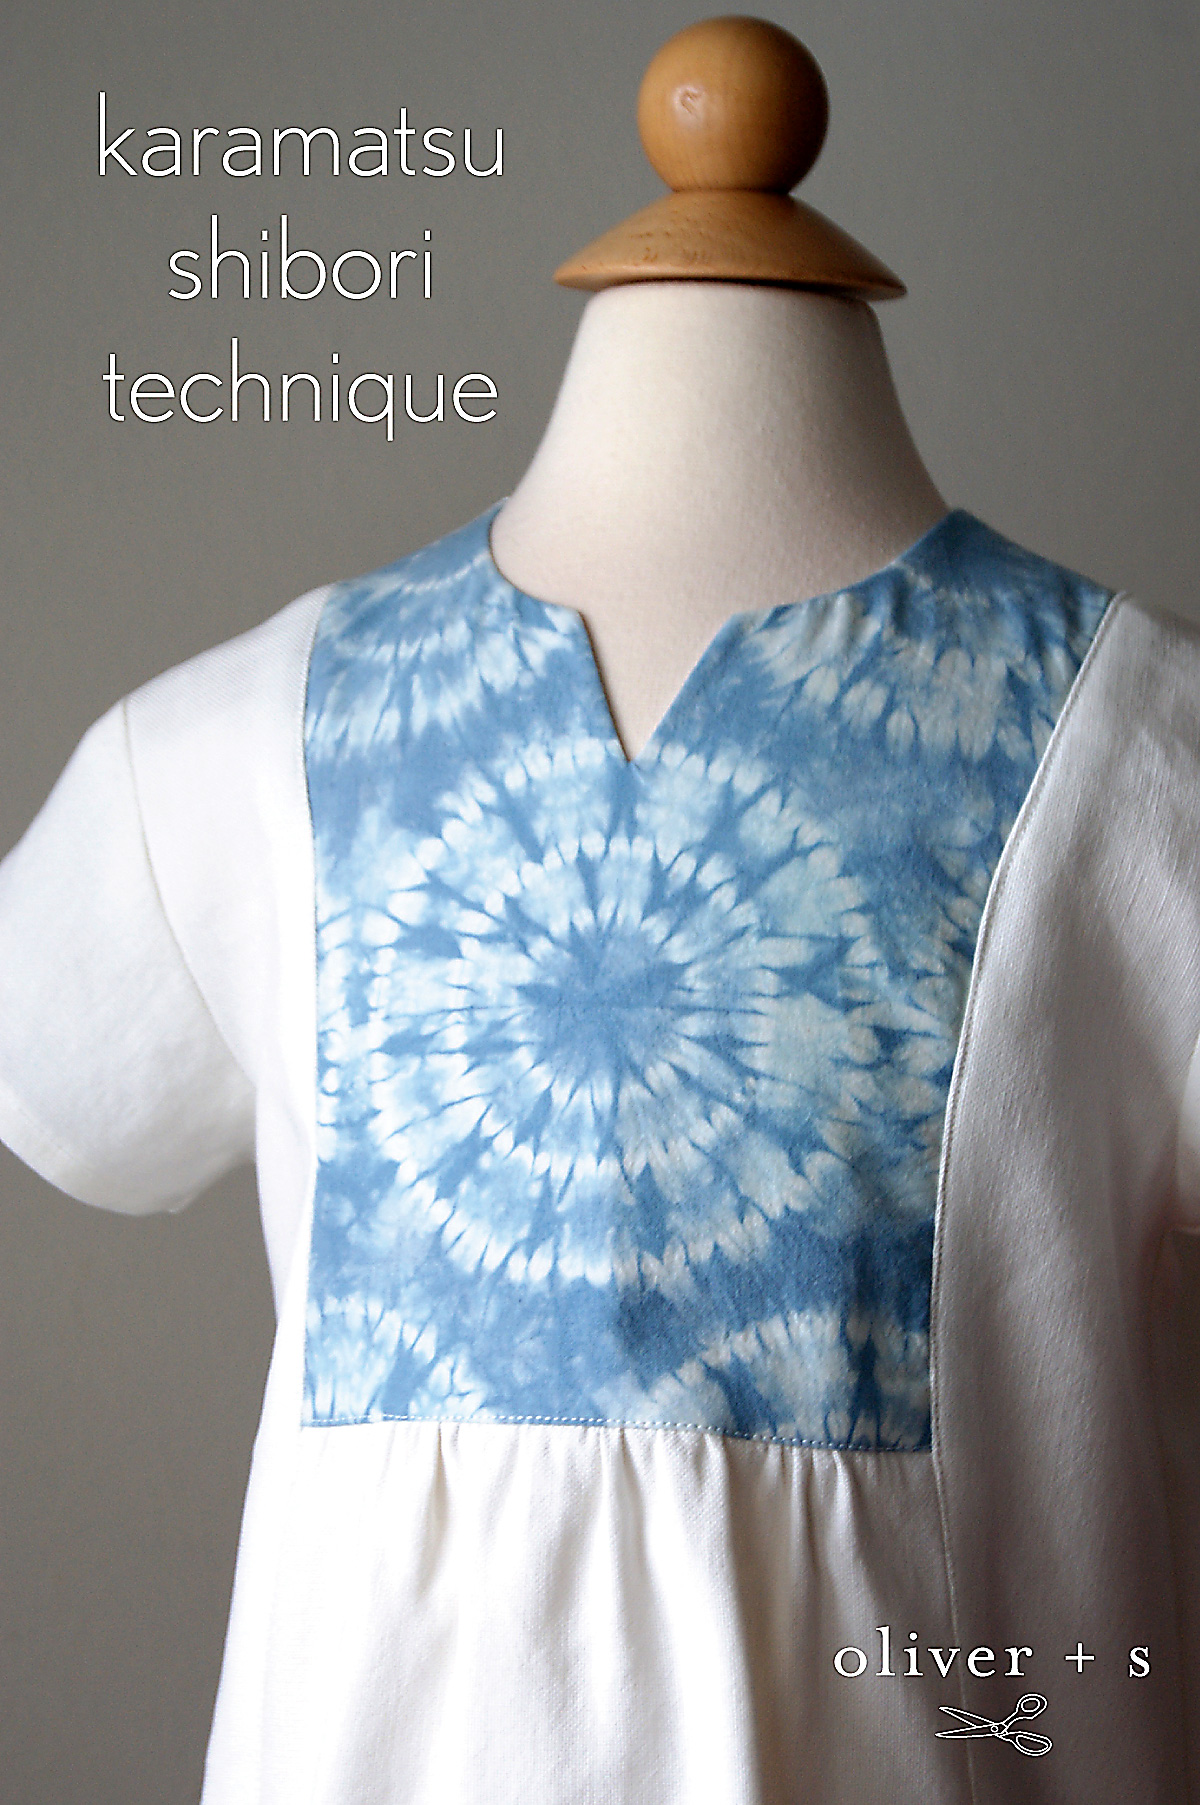
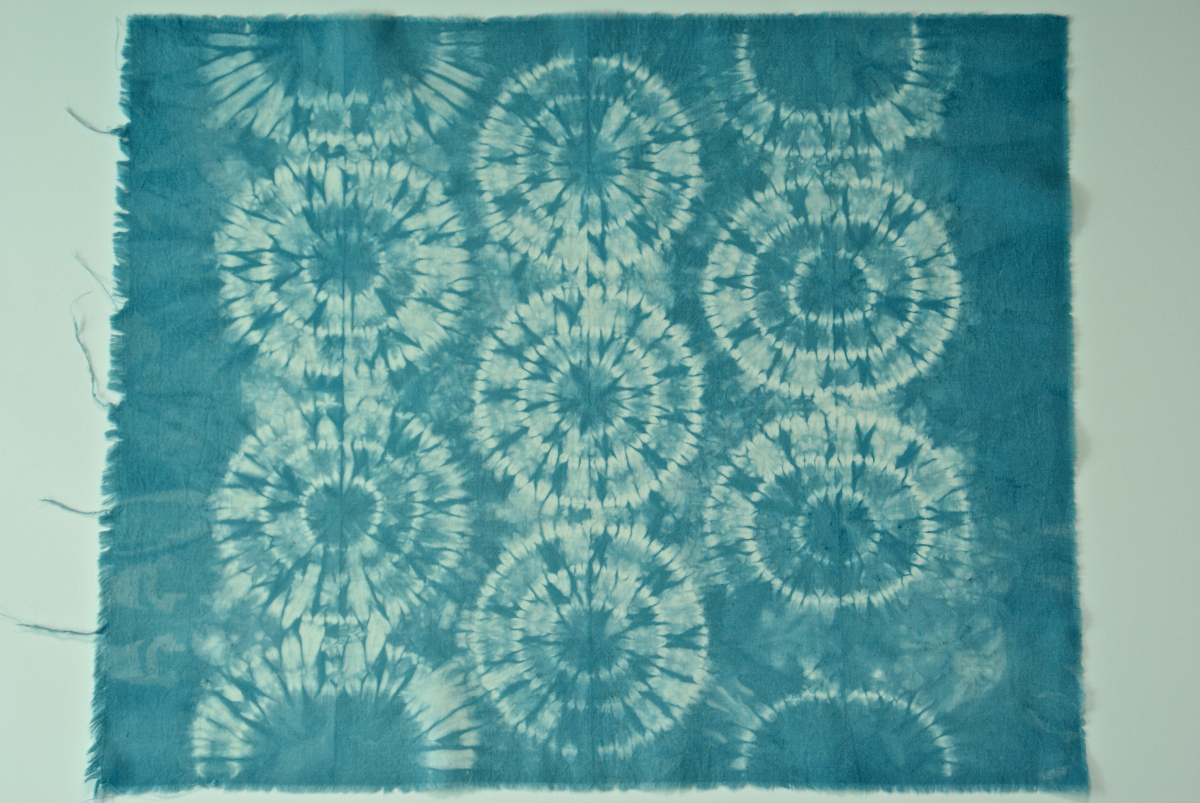
One surprisingly easy shibori technique is called karamatsu, or Japanese larch, which creates circles with branching patterns radiating from the center. I just recently tried karamatsu for the first time and was so pleased with the results that I placed my oeuvre d’art on the front yoke of a Hide-and-Seek Tunic. I’m excited to share with you how I created this unique textile.
First what you will need is some 100% cotton fabric, pre-washed. I used muslin which measured approximately 16 inches by 20 inches. By the way, you’ll probably want to use at least a square foot of fabric if you’re planning on using it for the front yoke from the Hide-and-Seek pattern. It would be better for the fabric piece to be too big than too small. It would be such a pity to go through all of this time-consuming work and then have the fabric piece be too small!
Since a natural dye (indigo) will be used, you will need to set the fabric with a mordant. This prepares the fabric to open up the fibers to receive the dye. For one pound of fiber, add 4 ounces of alum and 1 tablespoon of cream of tartar to a large pot of water over heat. My understanding is that this recipe is not an exact science. Wet the fabrics with water before putting them in the mordant, simmer them for about 30 minutes.
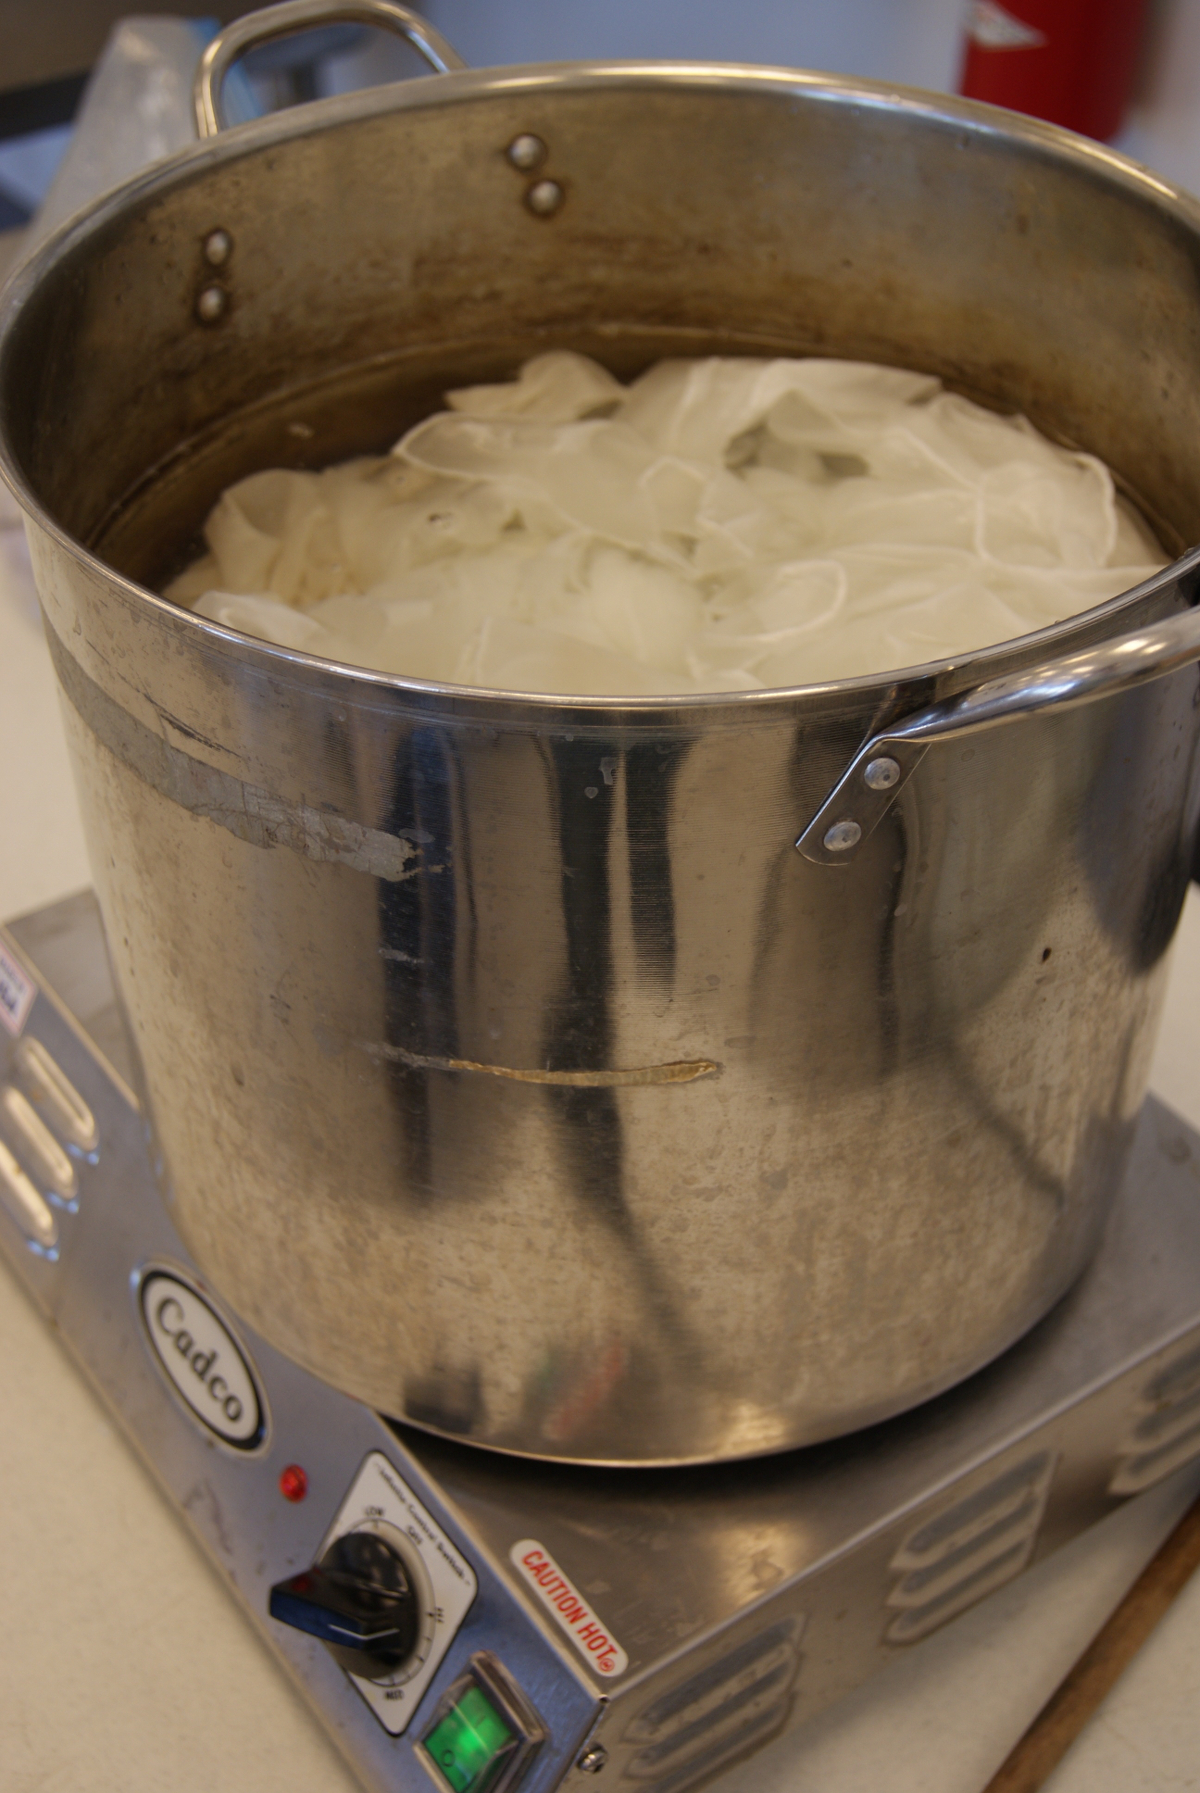
Remove the fabric from the mordant and dry it, it needs to be dry in order to do the next steps. Also iron it.
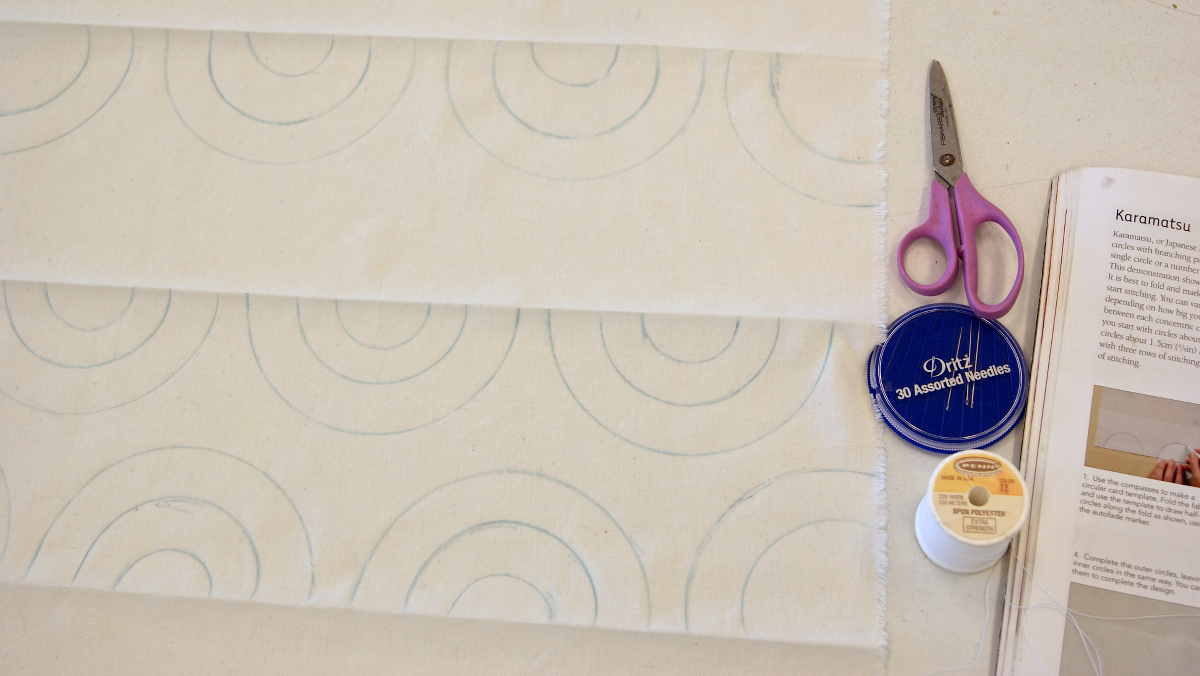
Basically what you’ll be doing is sewing half circles along a folded edge using a running stitch. I decided to do three rows of half circles, staggering them. I divided my fabric into four equal sections by ironing three creases. Using a fabric pencil, draw three half circles, large, medium, and small all along the folded fabric edge. To get my half circle shapes, I traced the outside and inside of a roll of masking tape for the large and medium ones. And for the small half circle I traced a spool of thread.
Thread up a needle with long, doubled strong (polyester) thread and knot the end. Using a small running stitch, first stitch the outer half circles (the large ones) through both layers of fabric.
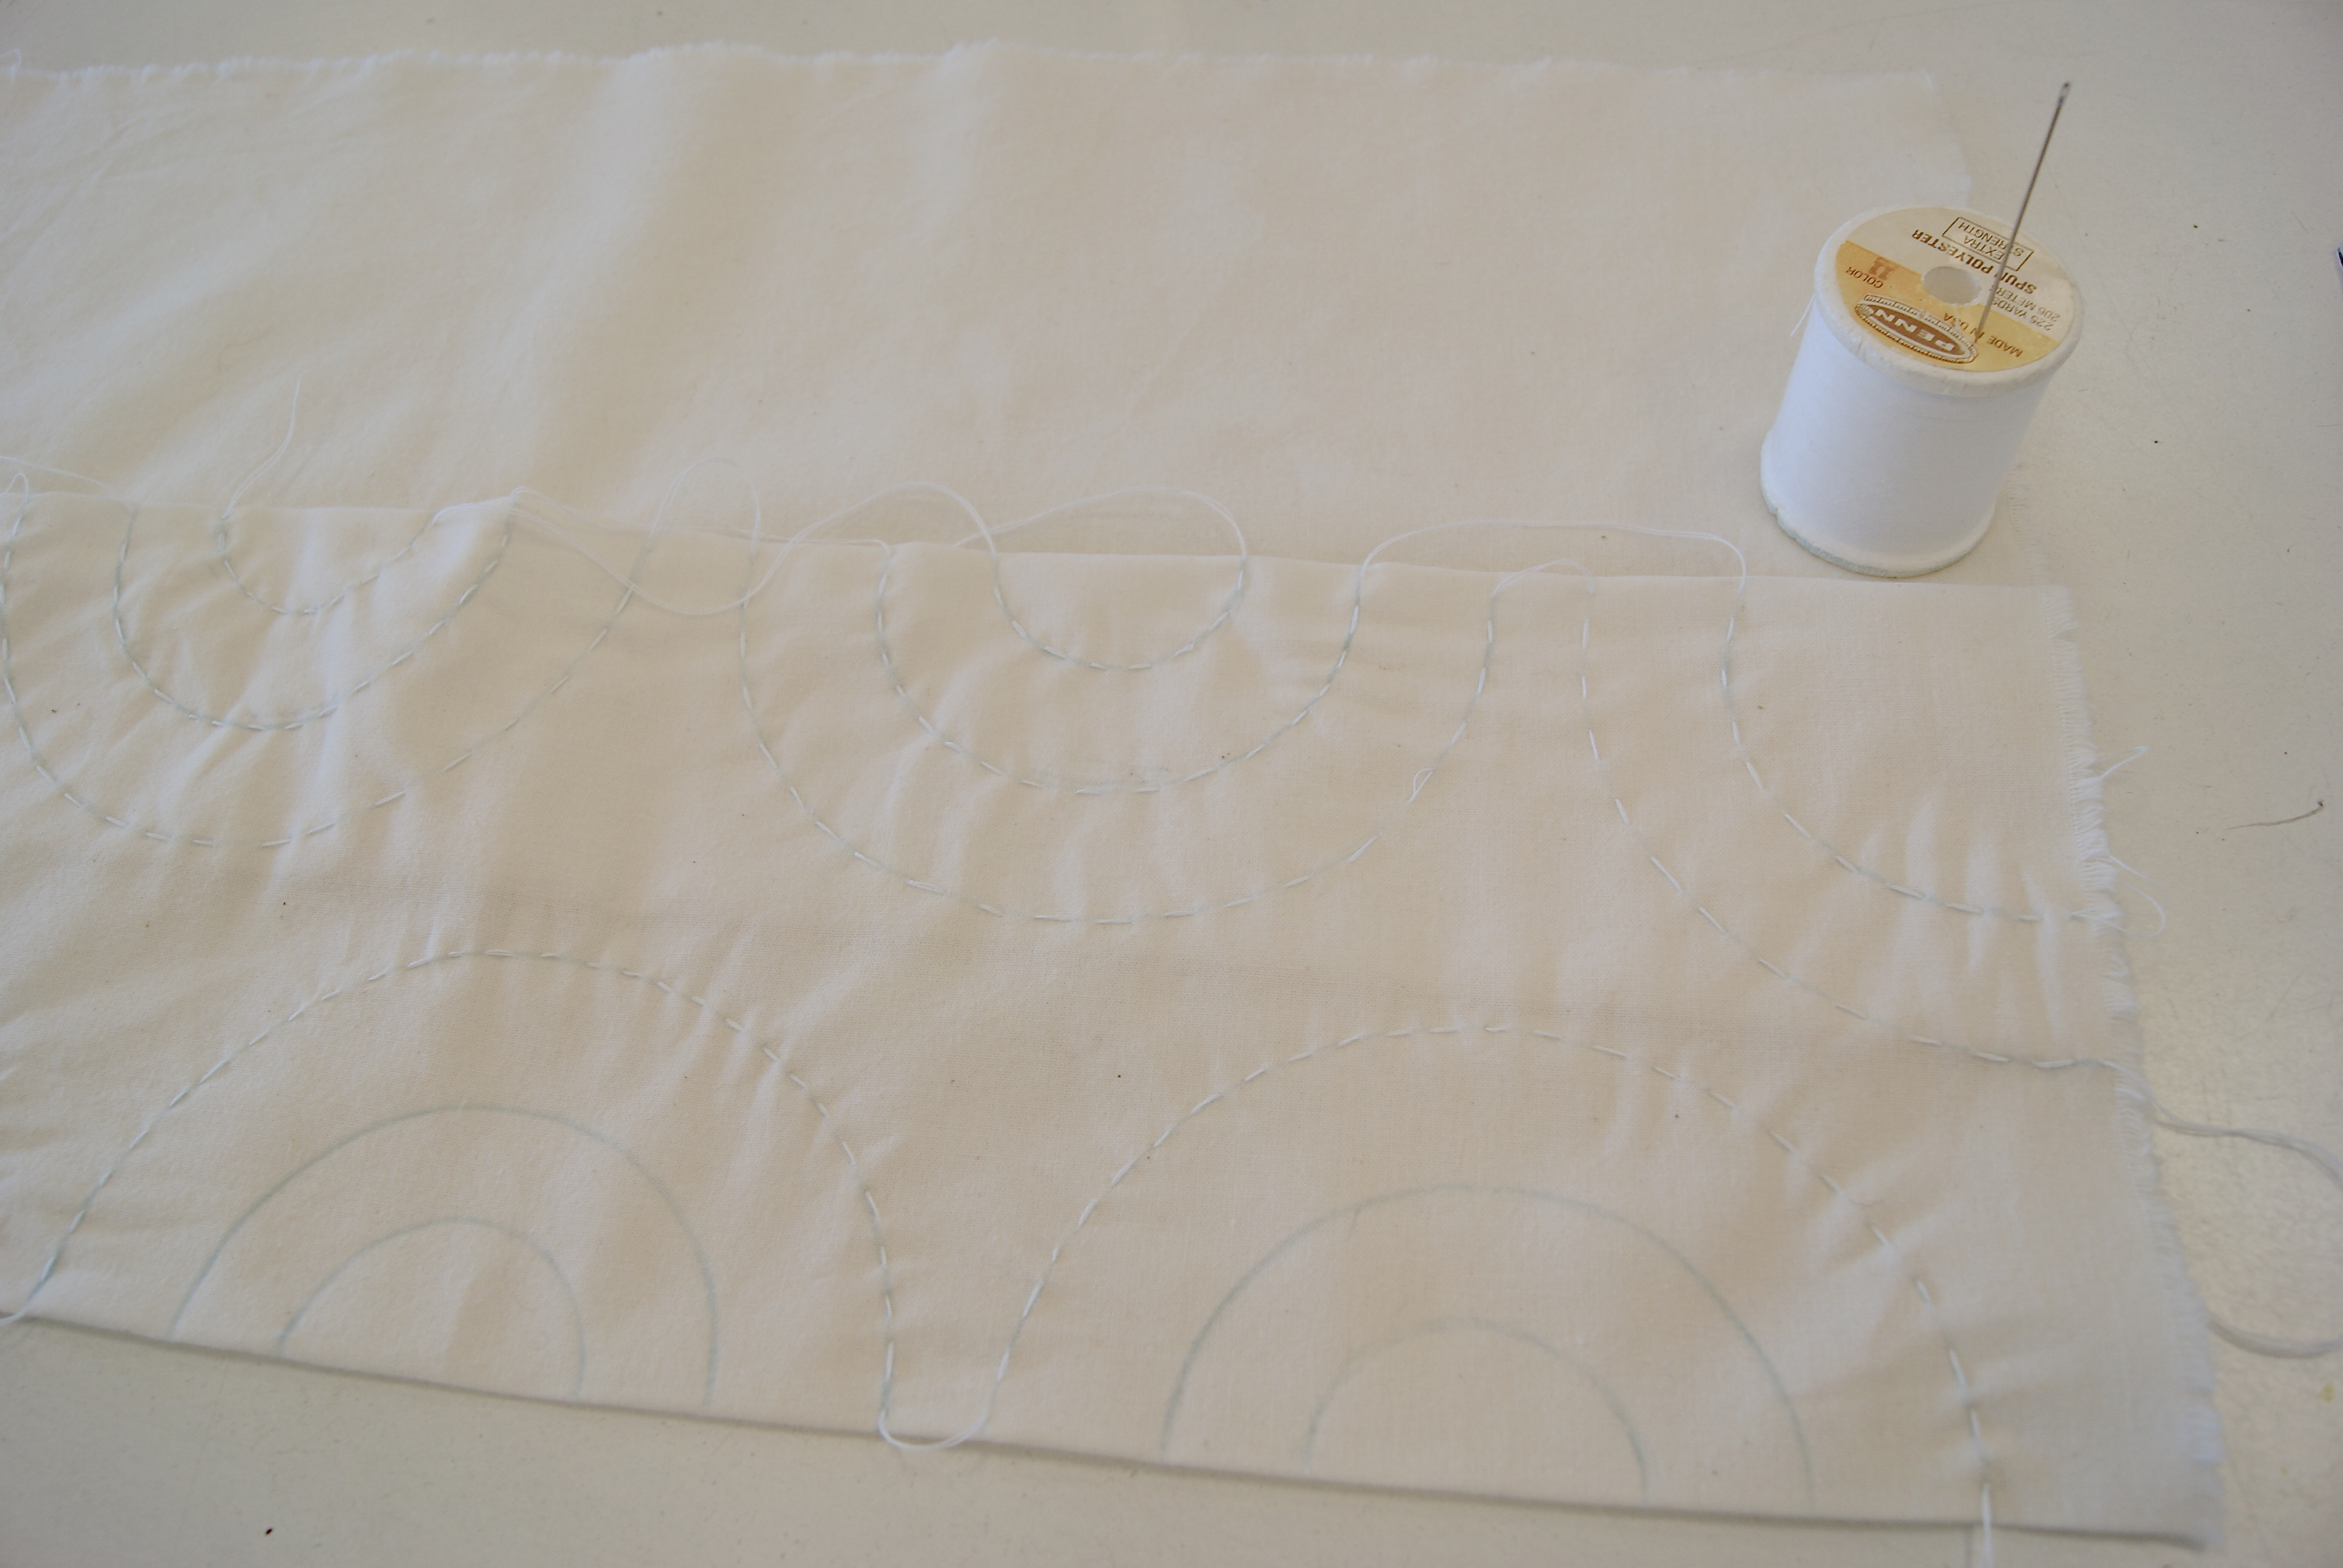
Continue by completing the inner circles in the same way. With a total of nine rows of half circles, it took me about an hour to do all of the hand stitching.
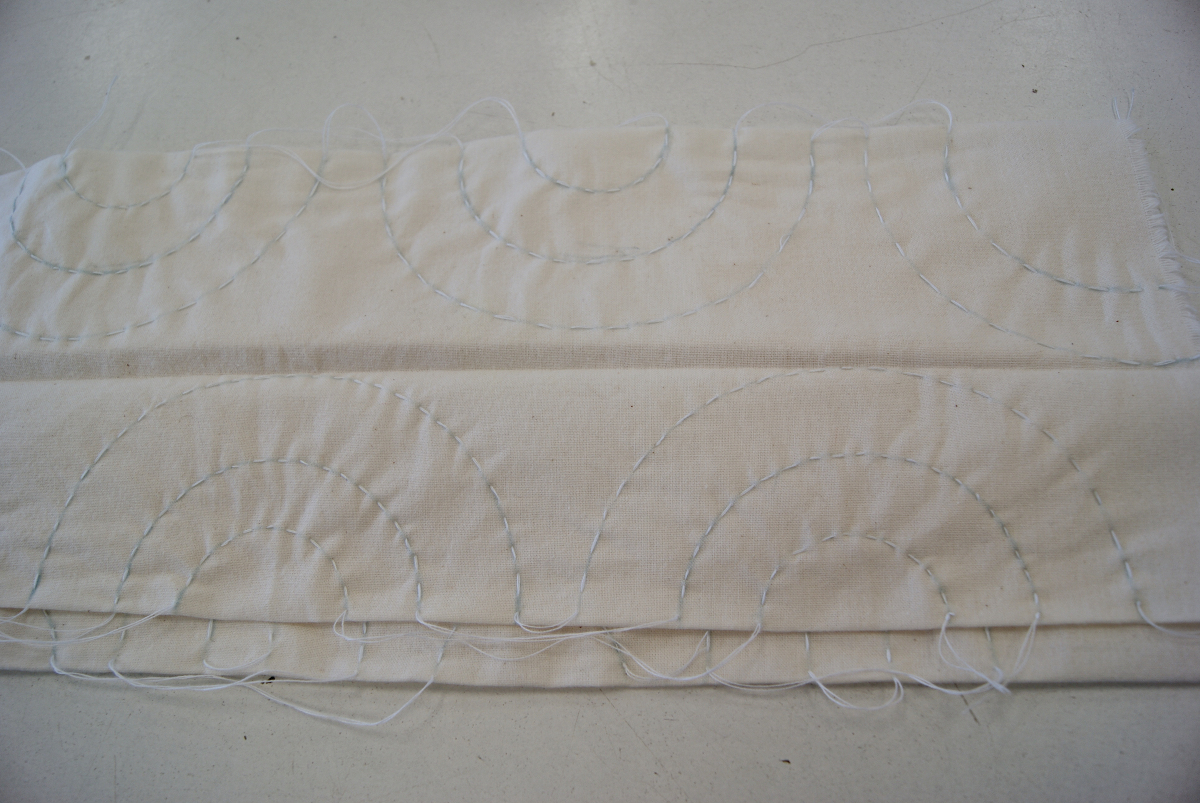
Gather the fabric by pulling on the three rows of thread all at the same time. Tie knots at the ends of the gathered sections and cut off the excess thread.

Wet your gathered fabric piece with water before placing it into the indigo dye. Let it soak in the dye.
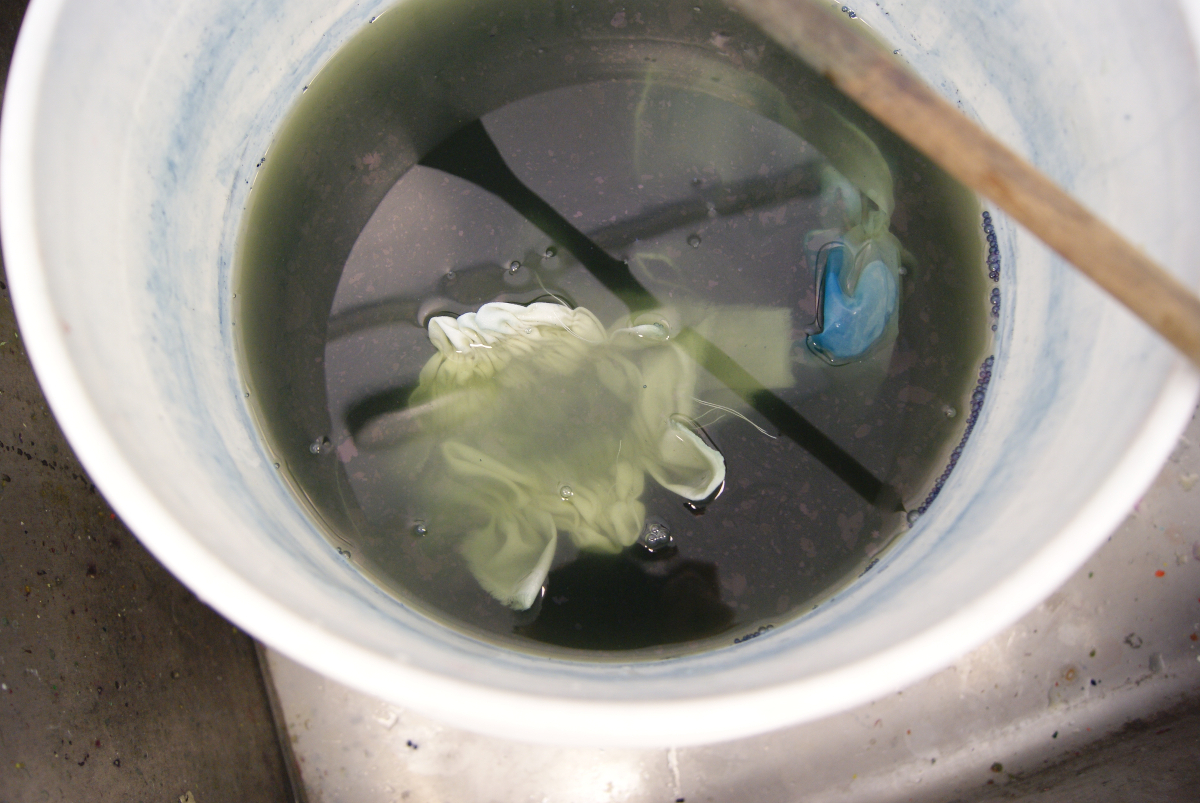
This part of the process is like a science project. What’s so amazing with indigo dye is that when you first take it out, it is green. Then it changes to blue. It’s so fun to watch the transformation. Let it sit for awhile, then rinse it.

Now the suspense is finally over because after you cut the threads and remove them, you can unfold the fabric and meet your new creation. It’s always a surprise to see how it turns out.
I grabbed the Hide-and-Seek pattern because we all know and love it for the fact that the yoke does such a lovely job of showcasing a special fabric. I placed the front yoke pattern piece over my favorite part of the fabric and sewed up a tunic using white linen.

This was such a fun project. If you haven’t tried karamatsu yet, I encourage you to! I found following the steps in this “Shibori Designs & Techniques” book by Mandy Southan to be very helpful.

Do you want to see more shibori? Discover more by clicking on these links below: