
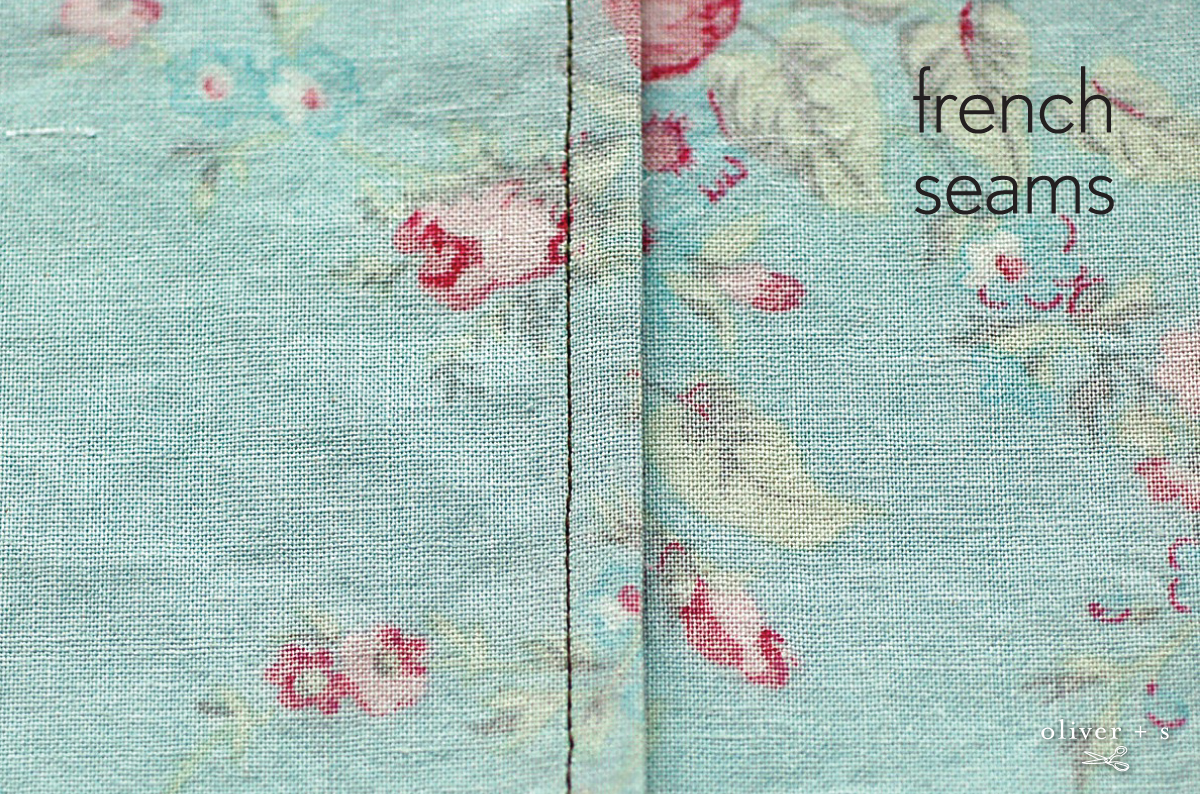
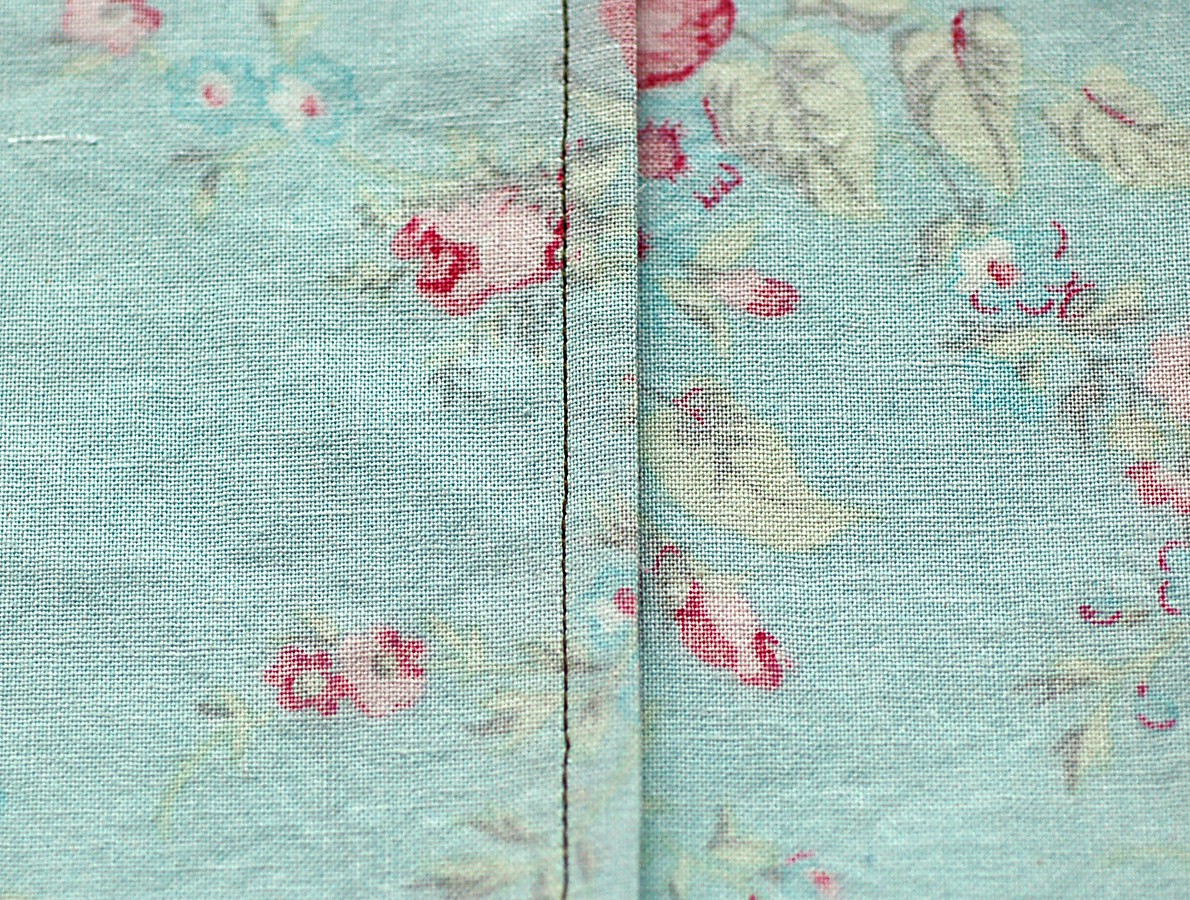
French seams give the wrong side of a garment a clean, finished appearance. This is an especially useful finish for very lightweight or sheer fabrics where a zigzagged or serged seam allowance might be visible. But it can also help to stabilize a fabric, like linen, that is prone to fraying or to seam slippage. French seams are usually not appropriate for heavy fabrics because the multiple layers are too bulky.
French seams are easiest and most appropriate to use along straight edges. They aren’t generally appropriate for curved seams like an armhole, since curves will cause the fabric to pucker when finished. However, with a gentle curve like the side underarm portion of the Ice Cream Dress (shown below), I’ll show you a tip that will help you to stitch a French seam without puckering.

A French seam is made by stitching the seam twice—first stitching with the fabric’s wrong sides together, and then stitching a second time with the fabric folded over the seam allowances so the right sides are together. This second row of stitches encases the seam allowances inside the seam. You’ll find full instructions below. Note that these measurements are appropriate for a 1/2″ seam allowance. You’ll need to adjust the measurements if your pattern calls for seam allowances of a different size.
1. Pin the edges to be sewn, with wrong sides together, and stitch them with a 1/4″ seam, backstitching at the beginning and end of the seam to secure the stitches.

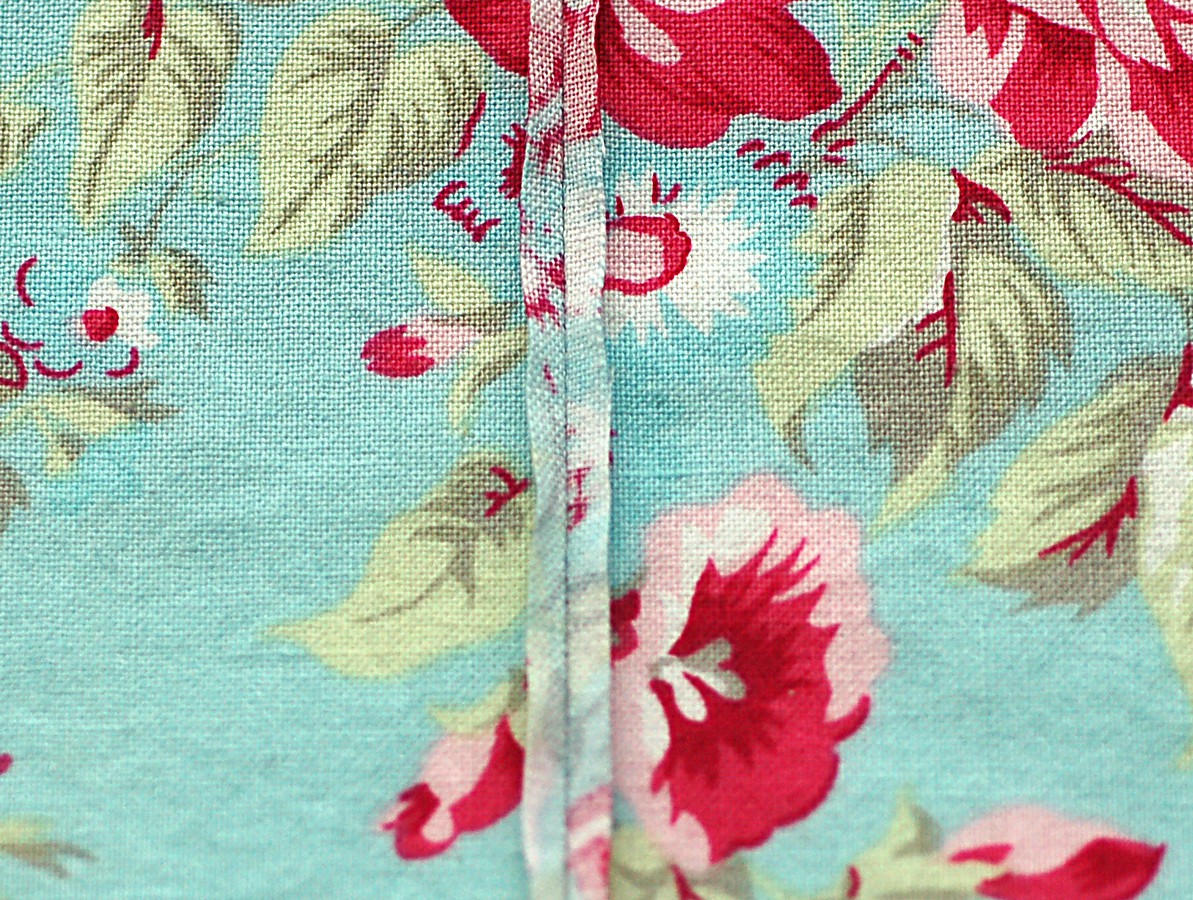
2. Press the seam allowances open and trim them to 1/8″.

Then fold the fabric over the seam allowances, so the right sides are facing and the seam allowances are sandwiched between the two layers. Press the fabric at the fold (the first seam) to flatten it and get a nice crease, and then pin the two layers together near the fold.
HINT: If you’re sewing a slightly curved seam, you can prepare the fabric by straightening and stretching the first seam at the curve as you press it. By stretching the seam slightly, it won’t pucker and tug when the seam is finished.

3. Stitch the pinned seam again, this time 1/4″ from the folded and pinned edge. This second seam neatly encases the seam allowances’ raw edges. Press the seam flat first, and then press them to one side.

Fairly simple to do, right?