

Friends,
I found the most interesting fabric at my favorite online fabric store. Wool bonded to neoprene, dead-stock originally from Lanvin. (Sold out already: sorry!)
Weird, right? Also, what can you do with it? Well, this:


I have no idea what Lanvin did with it, but the fabric was perfect for our Yanaka Jacket, just as I had hoped! This fabric has so much body and structure, it paired perfectly with the Yanaka pattern, which is unlined and with relatively few seams. But with the black neoprene inside, this fabric really needed a lining. I know linings intimidate many of you, but I promise that this technique is EASY. Here’s how I did it:
I cut all the regular pieces for the jacket. And I constructed the outer jacket exactly as written in the instructions. I also constructed the facing as written in the instructions.
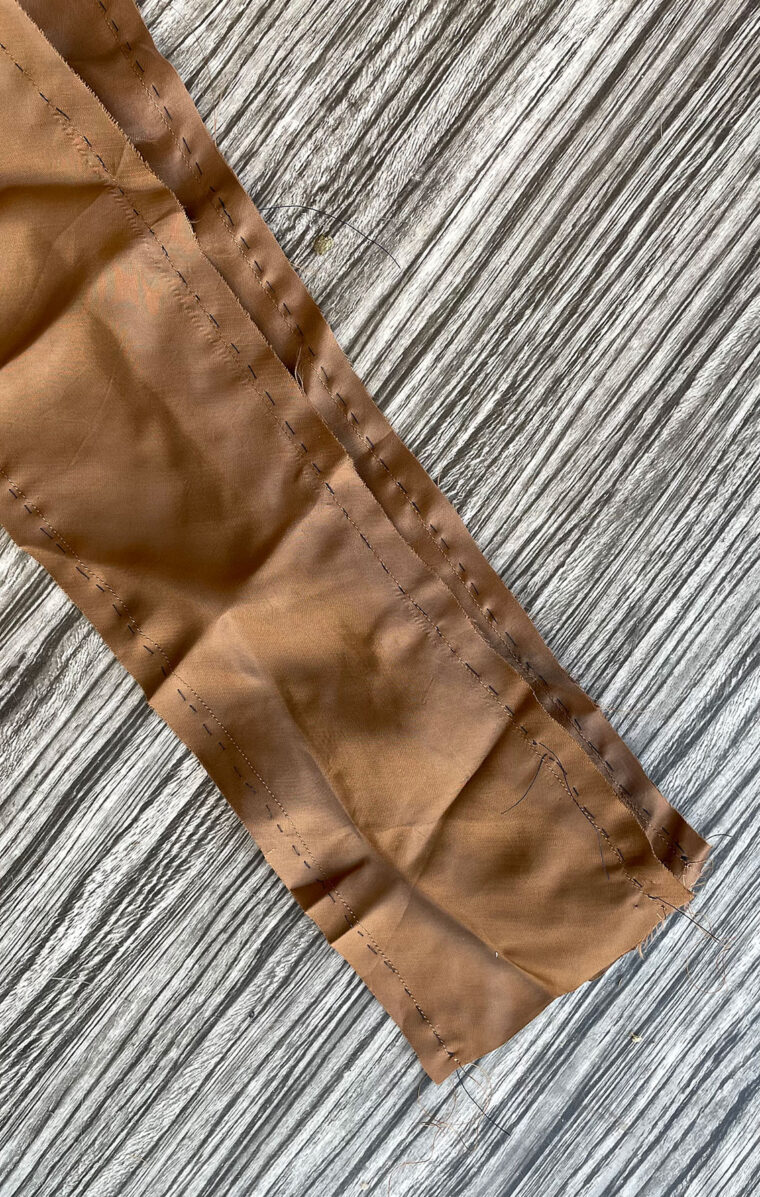
But before I attach the facing to the jacket I cut a second outer jacket, this time from the lining fabric. And I constructed the lining exactly as the outer jacket, but I left a 5″ opening at one side seam. Once the lining and the facing were both assembled, I hand basted the facing to the lining along the outside edges, and I hand basted the inner edge of the facing to the lining before edgestitching the facing to the lining. Lining fabric is slippery, and I’ve found that the small amount of extra time it takes me to hand baste saves so much ripping out hassle. (I recomment that you find and learn to use a thimble, if you haven’t already, and it will make your life so much easier. I promise you. I don’t even think twice before hand basting anymore.)

Basically, I followed this technique I’ve told you about before.
Once your facing is attached to the lining, follow the regular instructions to attach the facing to the jacket, sewing all the way around the outer edge of the jacket. Then turn the jacket right-side out through that opening in the lining, and do your finishing. I prefer to hand sew the sleeves and the sleeve lining, but if you wanted to “bag out” the sleeves I’m sure you could do that as well.
It’s really that simple.
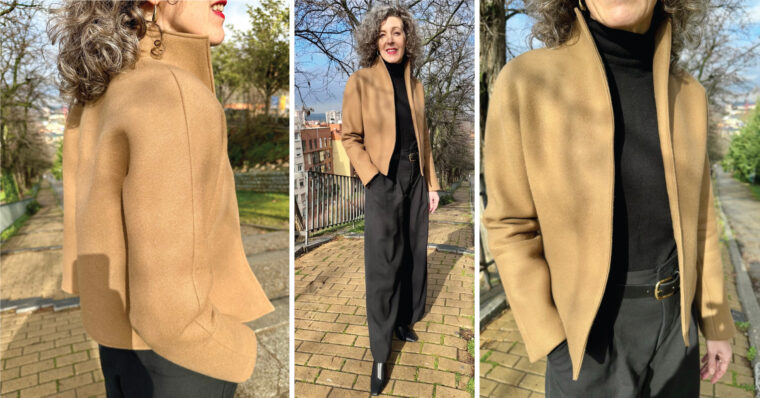
I love that this jacket is both classic and modern. The camel wool is timeless and classic, but the structure of the fabric and the cut and lines of the Yanaka Jacket keep it very modern. I’m wearing this jacket with everything, as you’ll see when I post more outfit photos. It’s warm but not heavy, so it can also serve as a lightweight coat for those not-too-cold days.
Here are a few additional tips:
- Lining fabrics are slippery, and the sleeves are cut on bias, so I found that it worked best to baste the sleeve seams before machine sewing them, just to keep everything matching up.
- I think if I did it again I would baste the hem facing 1/2″ lower than the lining at the hem, starting about halfway across the center front and all the way across the back, just to give a little more ease to the lining, the way a traditional lining often has. My fabric was so bulky, the turn of cloth already gives some ease, but I wouldn’t mind a little more for this style.
- For the facings, I peeled off the neoprene to reduce bulk, and I fused a lightweight interfacing to the back of the facing pieces to give them more structure since just the wool alone didn’t have much body.
- I trimmed a lot of the neoprene out of the seam allowances to reduce bulk.
- I cut and fused narrow (3/8″) strips of Mistyfuse to the seam allowances of the jacket to keep the seam allowances open and to emphasize the seam lines and keep them crisp. I could have topstitched the seam allowances instead, but I wanted minimal stitching on this style to emphasize the sharpness of the lines. The Mistyfuse acts like glue to keep the seam allowances nailed down invisibly.

One additional thought: I don’t honestly know what will happen to the neoprene over time: it may gradually decompose, since it’s basically a foam. But given the amount of wear I’m getting out of the jacket already, I think it will have lived a long and useful life by then.
This was successful project, and so fun that I’ve already made a second lined jacket, which I’ll show you next time!
If you want to try this yourself, you can pick up a copy of our very popular Yanaka Jacket sewing pattern in paper or in digital format. It’s a fun and unusual jacket pattern, and very easy to sew, and versatile to wear!