

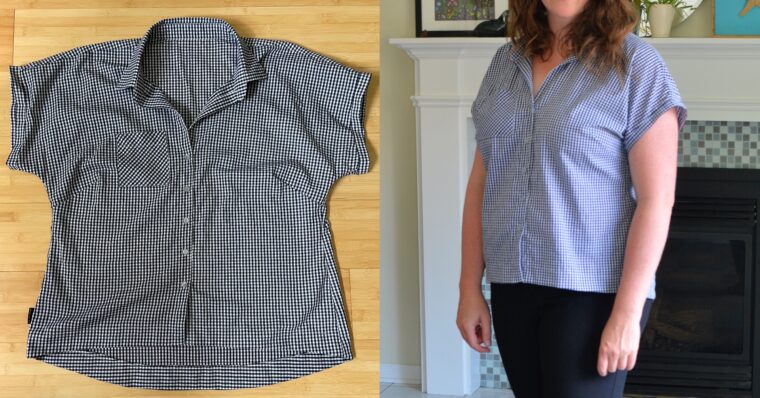
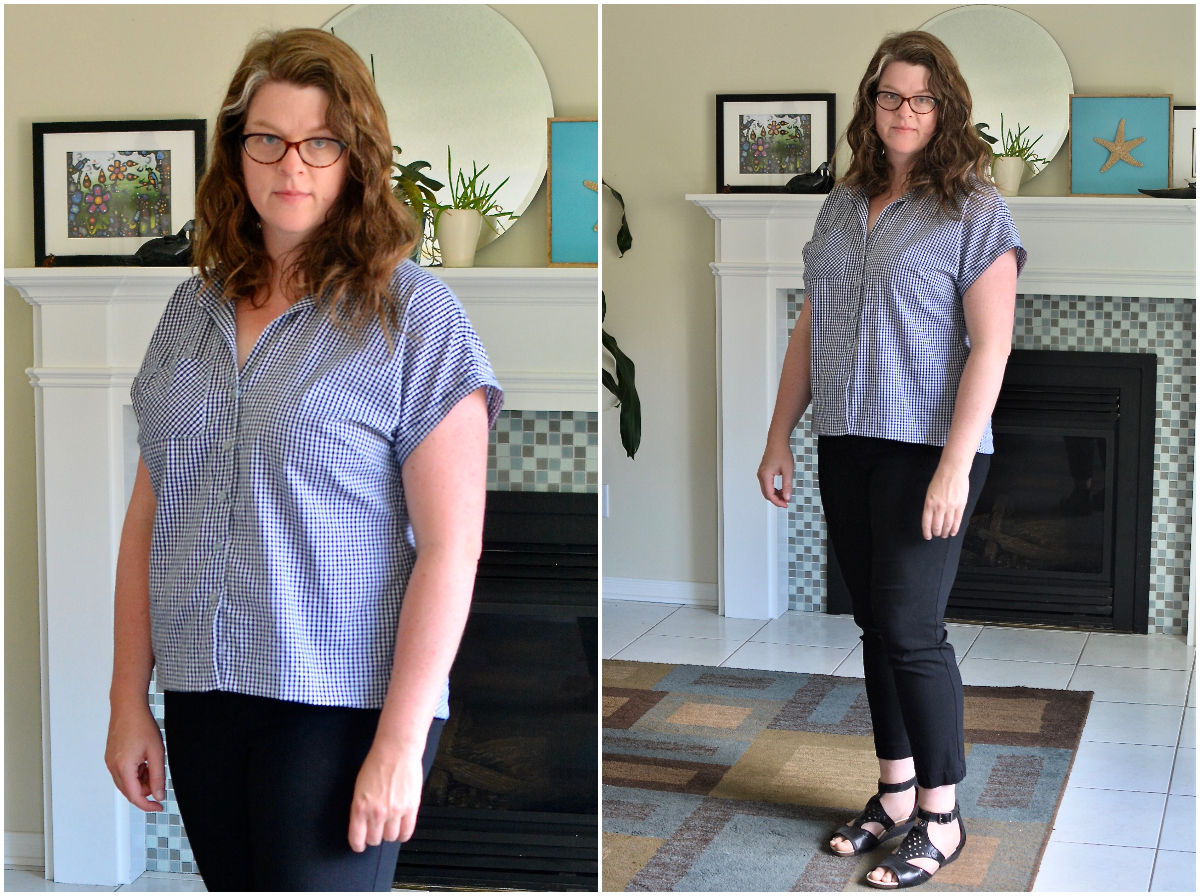
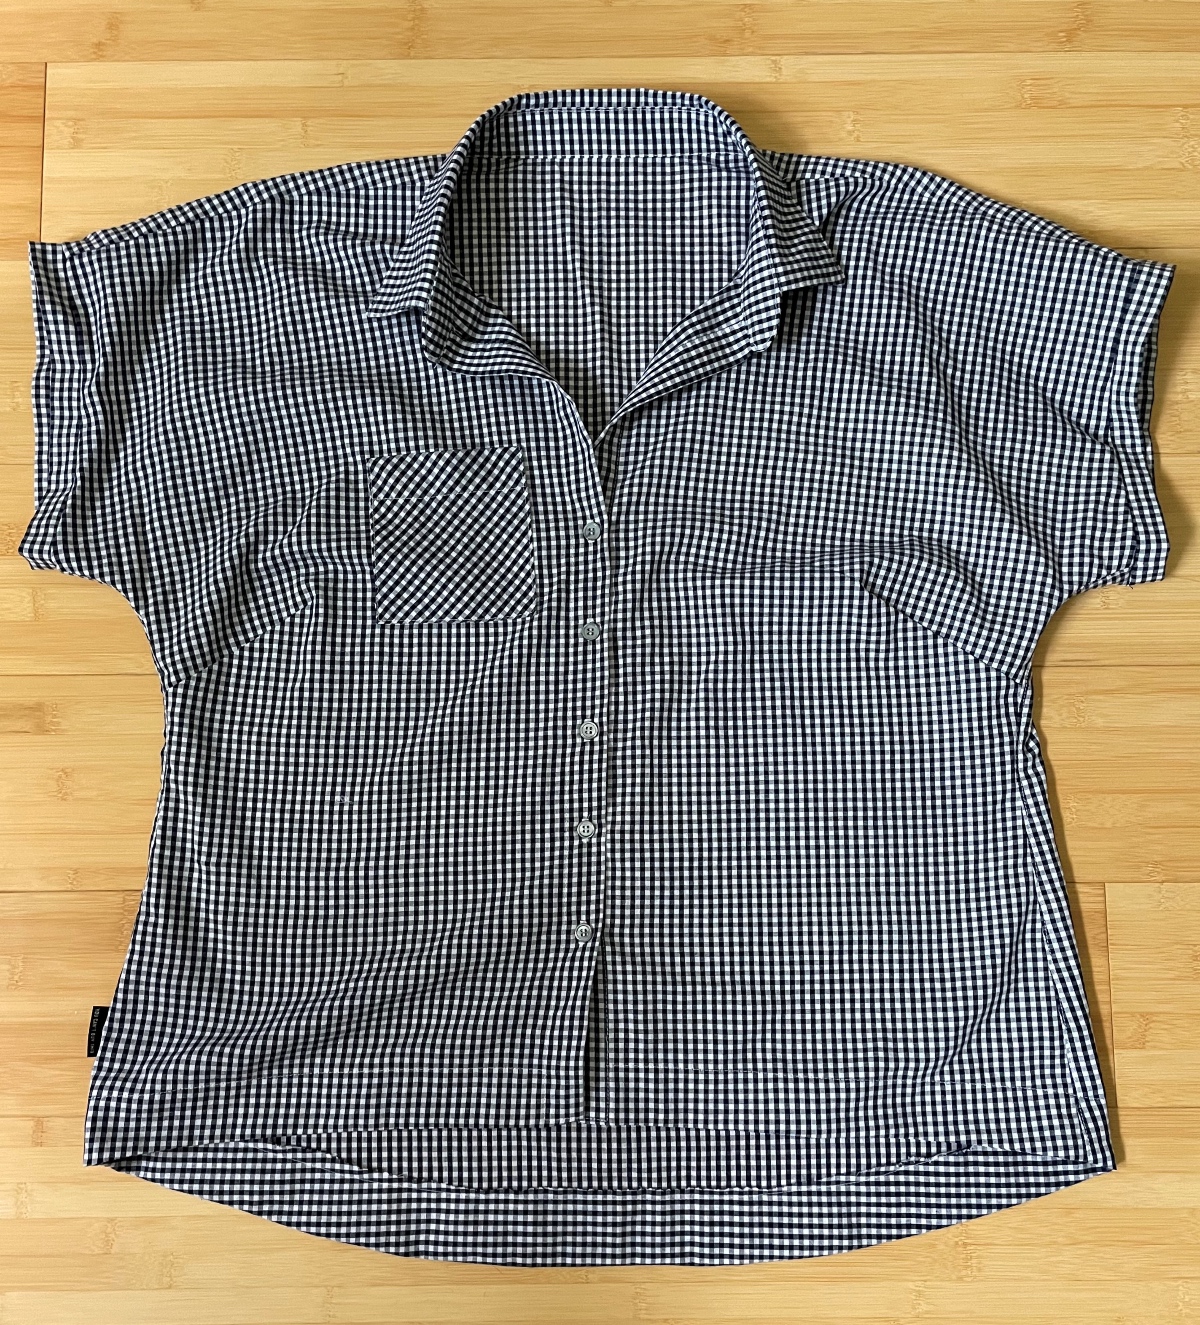
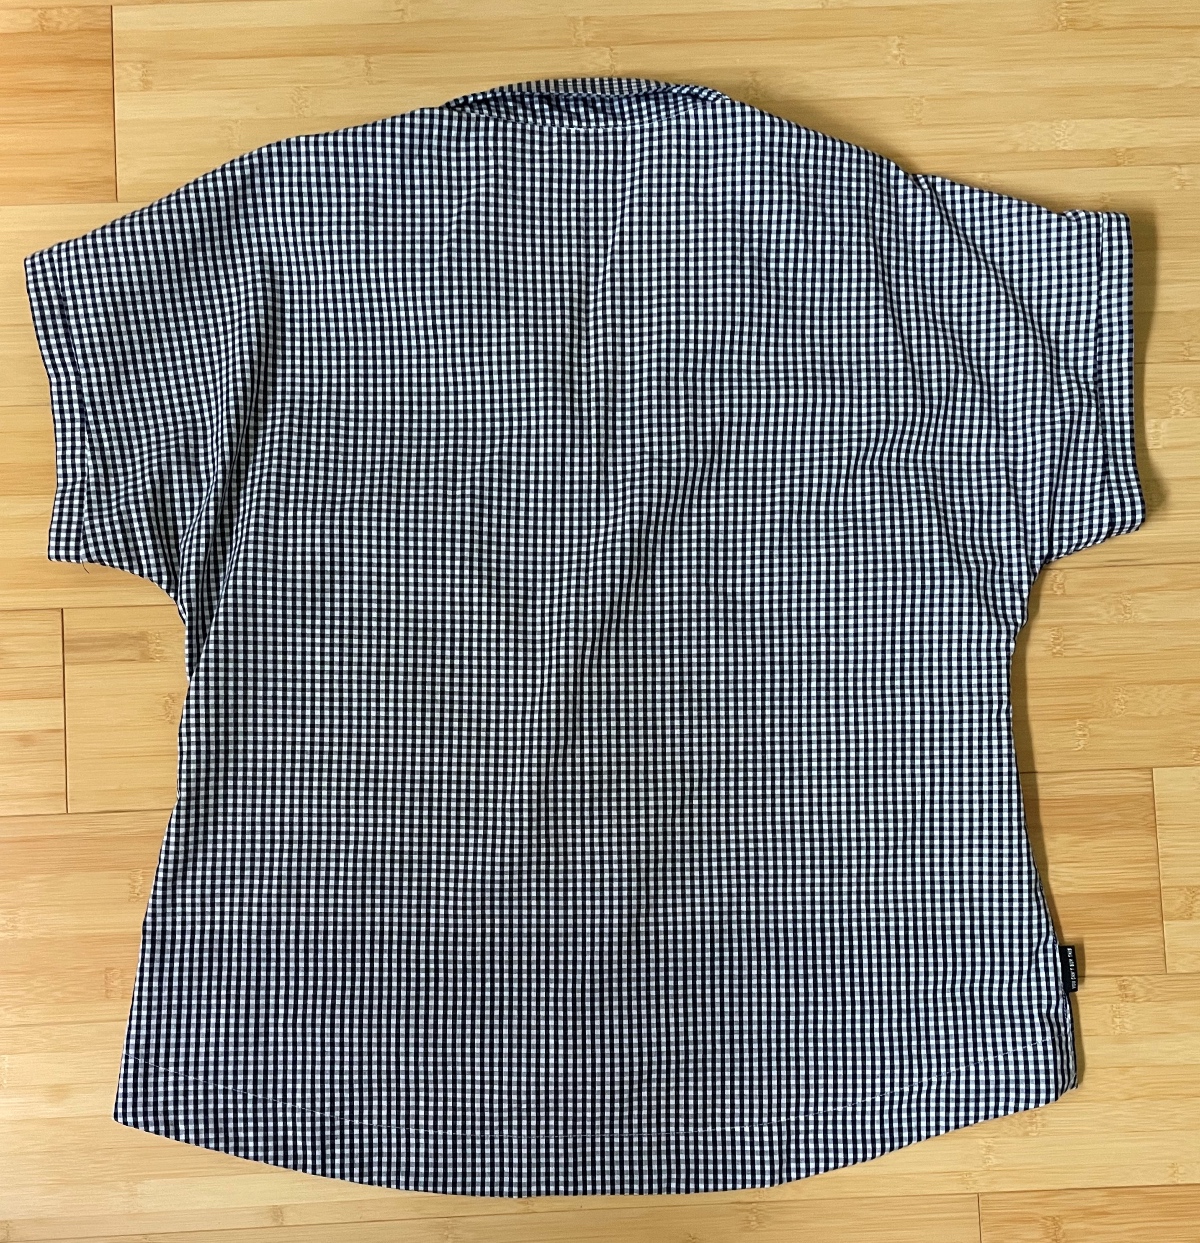
I was lucky enough to have a chance to test the Verdun Woven T-Shirt before it came out and I wear my tester version all the time! It’s dressier than a knit t-shirt but just as comfortable. I especially love the shape and finish of the hem. The curve is unique and the hem facings give it a really nice finish.
Immediately after making my first version, I couldn’t stop thinking about making a version with buttons and a collar. I’ve made several Classic Shirts now and thought the collar and placket would be perfect with the Verdun. Here is a very brief tutorial on how I did it.
Pattern piece list
Pattern pieces you will need from the Classic Shirt (or another collared shirt that you like):
- Shirt Front
- Yoke
- Collar
- Collar Facing
- Collar Band
Pattern pieces you will need from the Verdun Woven T-Shirt:
- Shirt Front
- Shirt Back
- Hem Facing Front
- Hem Facing Back
Preparing the pattern and cutting the pieces
The only pattern piece that you will not end up altering is the Hem Facing Back. For the other pattern pieces, here are the changes you will need to make:
Lay the Verdun Shirt Front over the Classic Shirt Front, matching up the corner of the top inside shoulder. Redraw the neckline to match the Classic Shirt neckline (see the area shaded in blue in the photo).
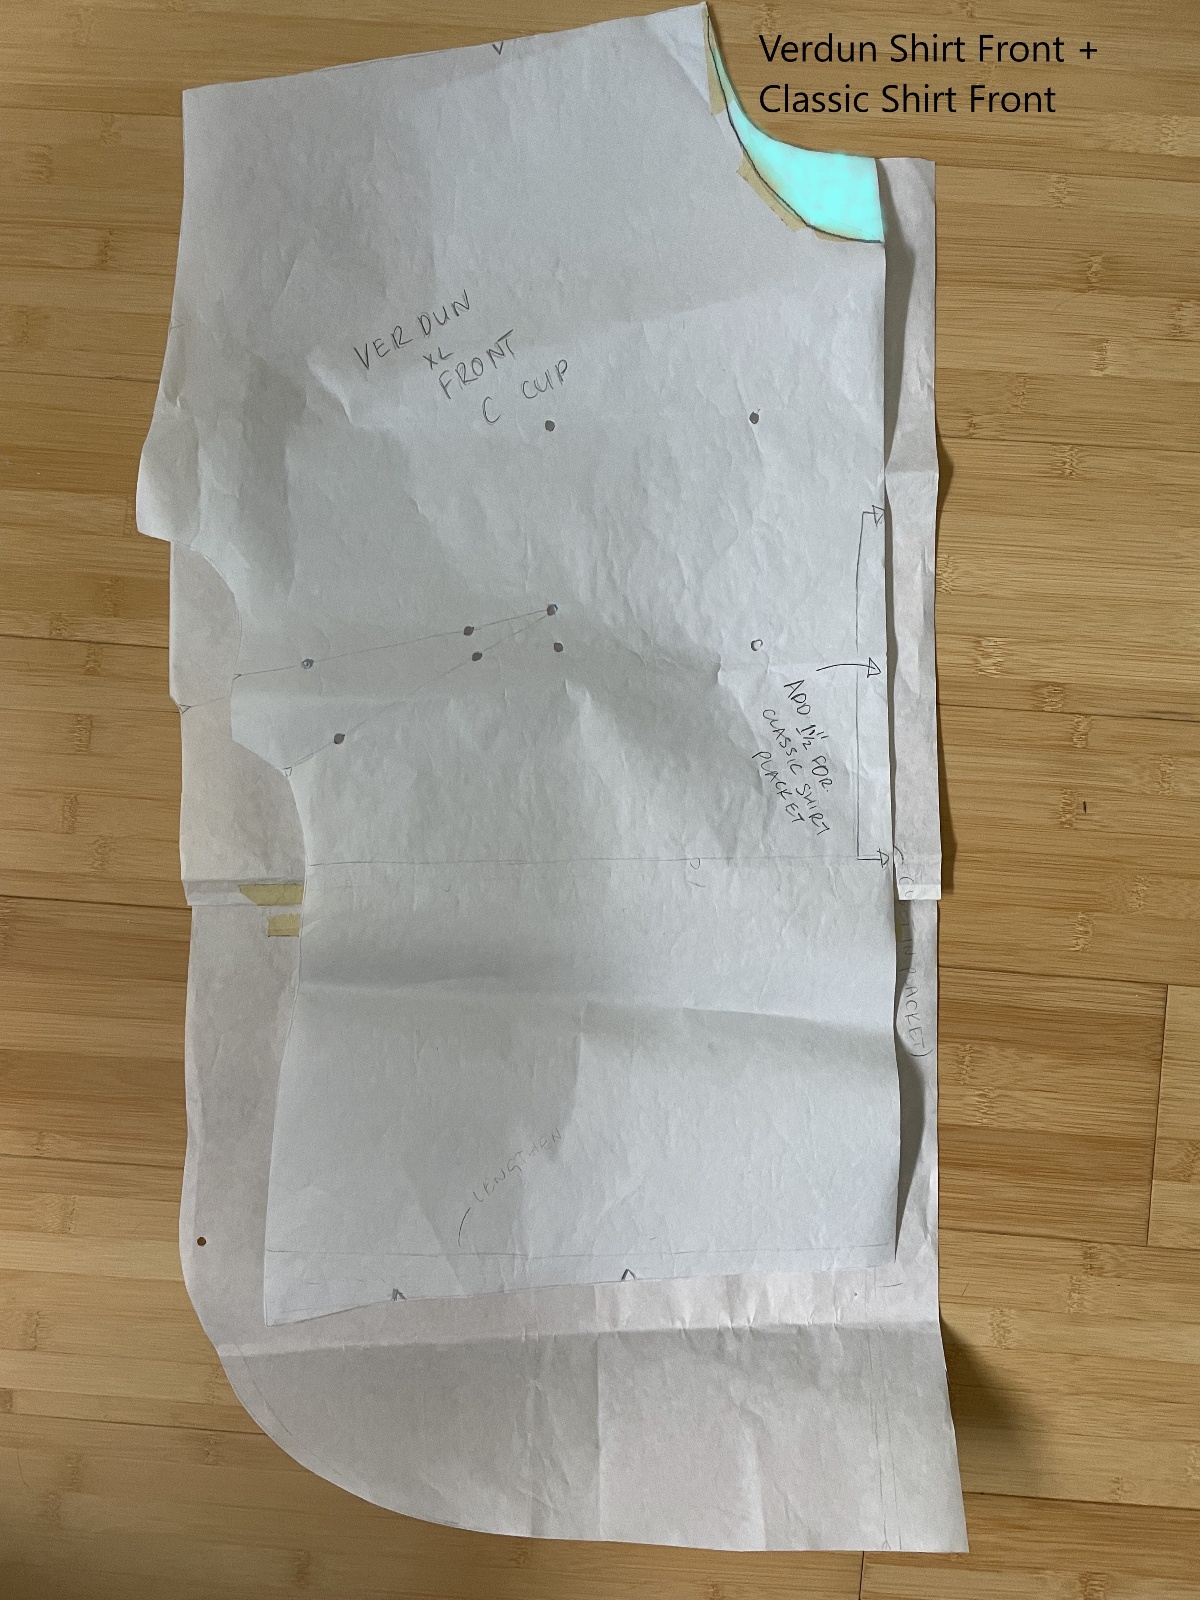
Add 1 1/2″ in width to the center front of your new pattern piece for the button placket (not pictured). Don’t forget to cut the shirt front in two mirrored pieces instead of one piece on the fold.
Lay the Verdun Shirt Back over the Classic Shirt Yoke, again matching up the top inside shoulder. Redraw the neckline to match the Classic Shirt neckline (see the area shaded in blue in the photo).
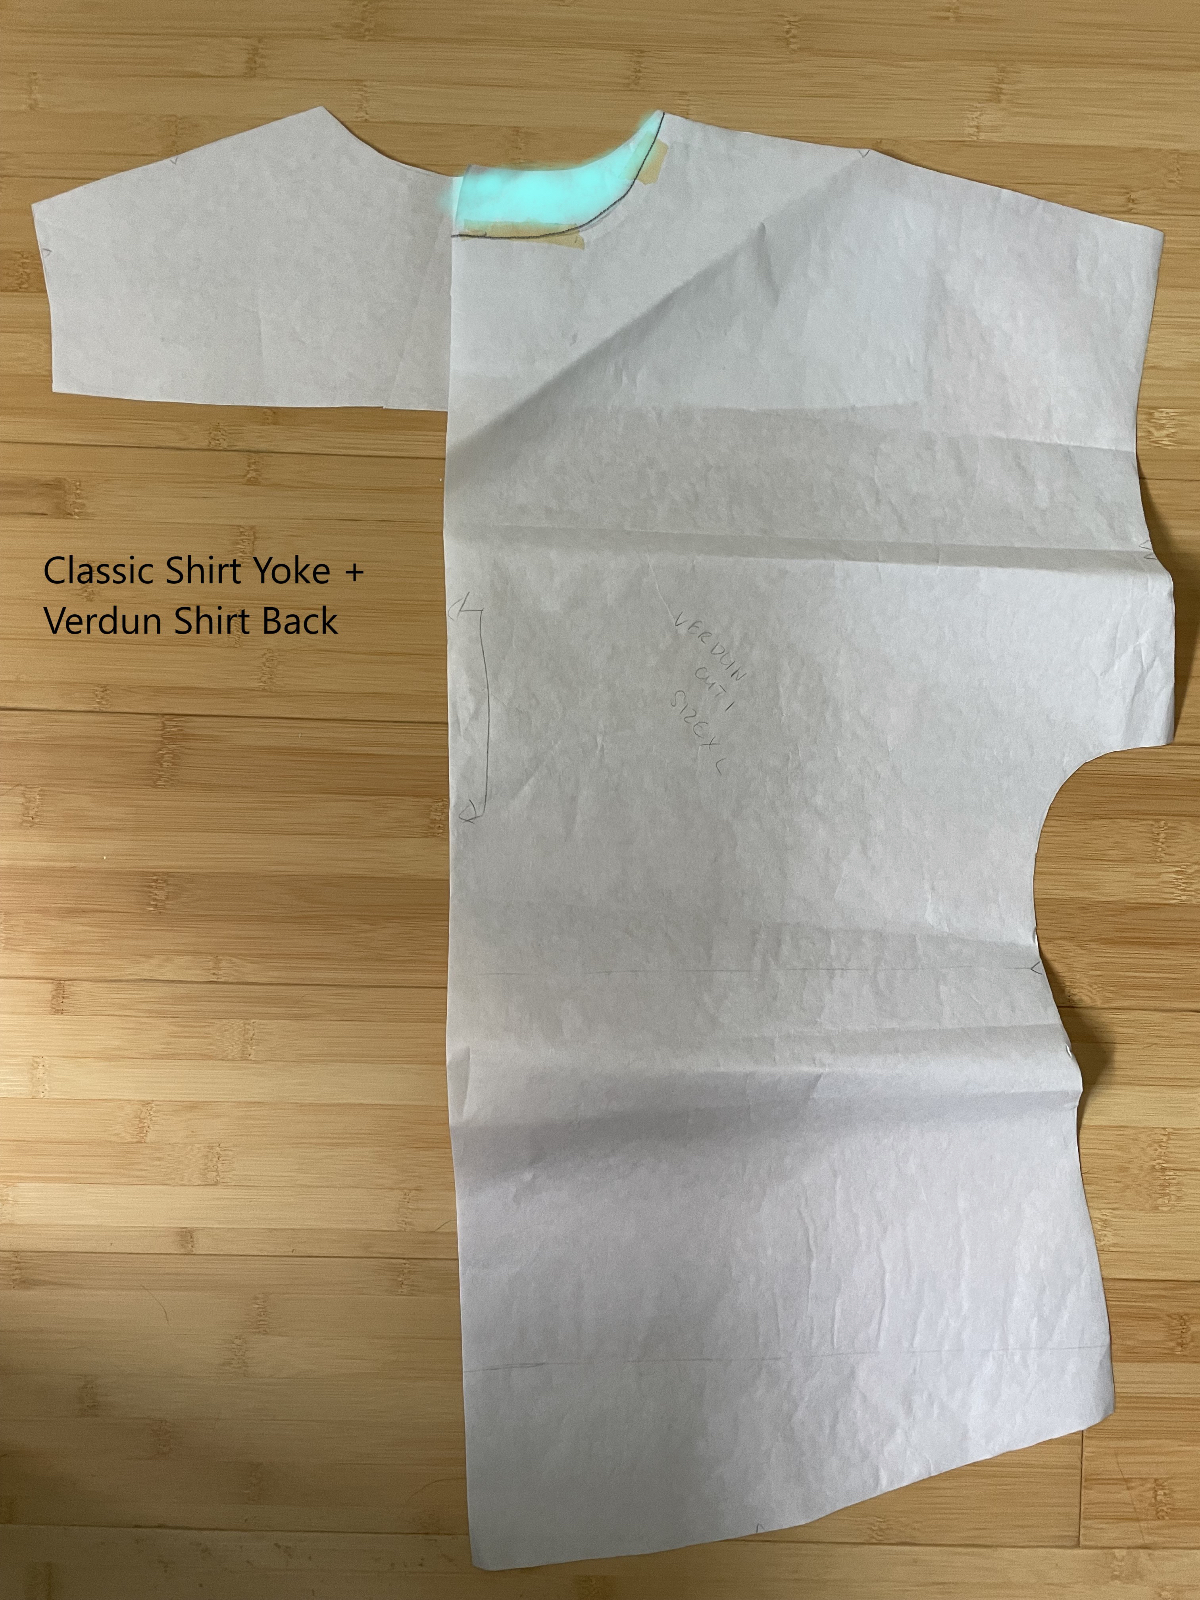
Measure the difference in length between your new neckline and the neckline of your original classic shirt pattern. You will add that difference to your collar pattern pieces (again, see the area shaded in blue in the photo).

You will also need to add 1 1/2″ to the front of your Front Hem Facing (as shown in blue in the above photo) and, instead of cutting it on the fold, you will cut two mirror image pieces.
Sewing instructions
Now you’re ready to sew! Start with the Verdun instructions: staystitching the neckline, sewing the darts, and adding the pockets if you’d like. Then jump ahead to sew on the front hem facing. This will allow for a clean finish when you sew the placket.
Next, turn to the instructions for the Classic Shirt, following them to make the continuous cut-on placket, turning the front hem facing to the inside of the garment so that it will be enclosed in the placket.
Then sew the shoulders (you can consult the Verdun instructions if you need help with this step) before following the Classic Shirt instructions to make and attach the collar band, prepare the collar, and attach the collar to the collar band. Then stitch the back hem facing to the hem.
When you stitch up the side seams, leave the hem facings unfolded and sew them together with the side seams. Fold the entire hem facing to the inside of the shirt and stitch as outlined in the Verdun instructions. Then finish your sleeves. For this version, I added a 1″ cuff to finish my sleeves rather than just hemming them.
And you’re done! Enjoy your new shirt!