

We are so proud of Asmita, who overcame her trepidation to sew a beautifully fitting pair of classic trousers from the Hollywood Trousers pattern. Settle in to read about her fitting and muslining process, and prepare to be inspired!
When I applied to be a member of the Advisors Circle, I knew that one of the things that I really wanted to focus on this year was getting the right fit. I have long admired the Hollywood Trousers pattern that Liesl brought out a couple of years ago. So, at the end of last year I volunteered to sew one for myself for a blog post, even though I knew that it was a three-star pattern and that I was only at the beginning of my own sewing journey.
If I am honest, I will tell you that I almost gave up. As the date came closer, the whole thing, from buying the right fabric to getting through the instructions, felt too daunting. But I am glad I persisted, and today I have trousers to show you.
I decided to do a post with the notes of my journey. I hope this will help other beginners like me tackle a complex pattern which ultimately yielded incredible rewards.
Measurements, sizing and adjustments
Having never even sewn a fly zipper, and given my general dread of zippers, I knew right away that I knew I needed to make a muslin or two. Liesl has a general post on making muslins, as well as a specific one for these trousers. I did not find this post until after I made the muslin. By that time, I had made my first muslin including the pocket piece and the fly zipper.
My waist is 30”, my hips are 39”, and I am 5’4”. Based on the finished measurements, I cut a straight size 8, although I spent a lot of time thinking about whether I should cut a 10 at waist. But I have a tendency to make large toiles and so I decided to stick to an 8 for both measurements. Based on my measurements, I also reduced the front and back rise by 1/2” and reduced the pant length by 1 1/2.”
The muslin stage
You can see the result of these changes in the muslin photos. I think it is clear that I totally messed up the zipper, although at this point I could not figure out why. The pants also felt too snug around the waist, but I was still convinced that moving up a size was not going to give me the fit I wanted.
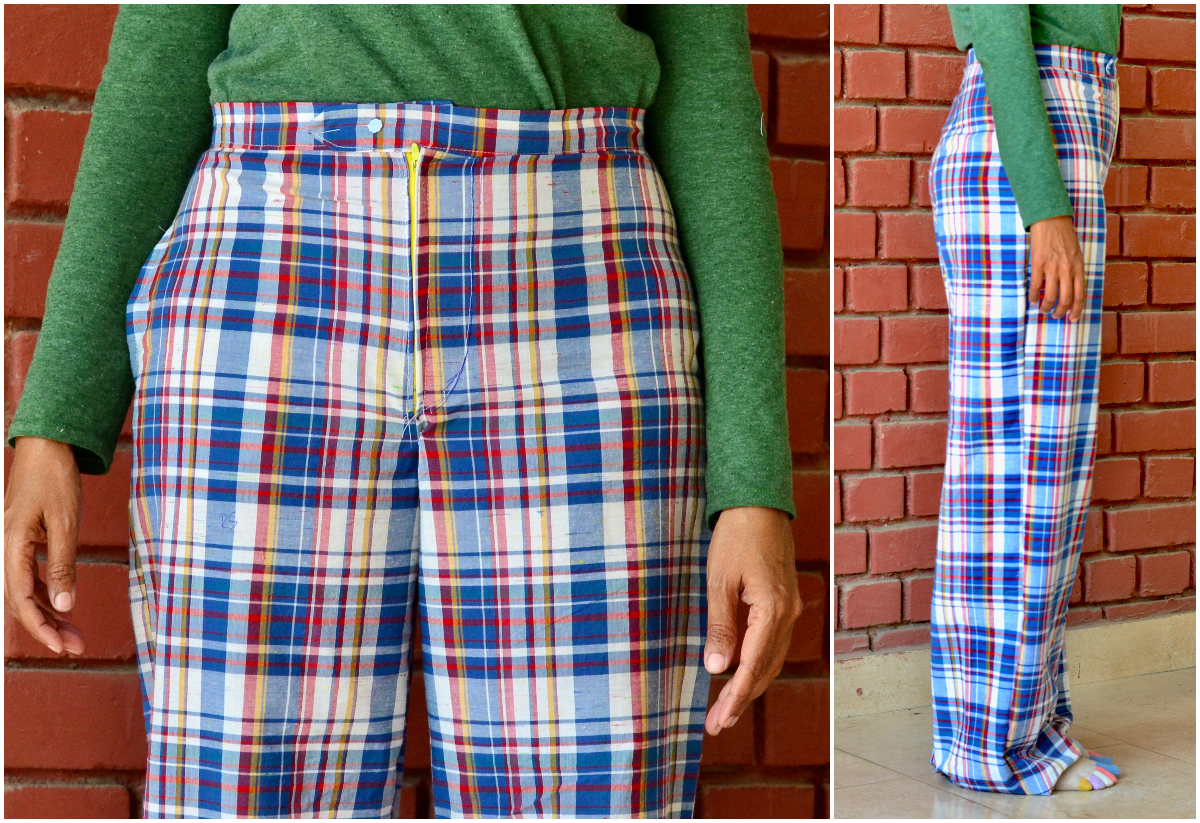
Though a muslin does not require pockets or the waist band, I was glad that I made these, because the construction became clearer to me. I also learned exactly where the pant was going to sit. Another issue was that the pants billowed out too much below my hip line. So I narrowed the entire inseam by 1/2″. I also narrowed the outseam 1/2″ from the hem, tapering back to zero at the hip notch. I ended up undoing most of this adjustment in my final version, though.
Muslin 2 was very short shorts in which I figured out the zip problem. I finally got it! The clue for me was to pay careful attention to the diagrams, especially items 8 and 9 under “Sew a zipper fly.”
I also decided to deal with the snug waist problem by making the following changes to my final trousers:
1. Reducing the width of the back dart by bringing in each foot by 1/8”.
2. Reducing the outseam seam allowance to 3/8″ from the waist to the hip notch. (This also required adjustment while sewing the pockets, so I was glad I had sewn the pockets on the muslin.)
3. Reducing the seam allowance on the back rise just by a smidge (i.e. not even by 1/8″ but just under).
You can see these changes to the pattern in the photo below.
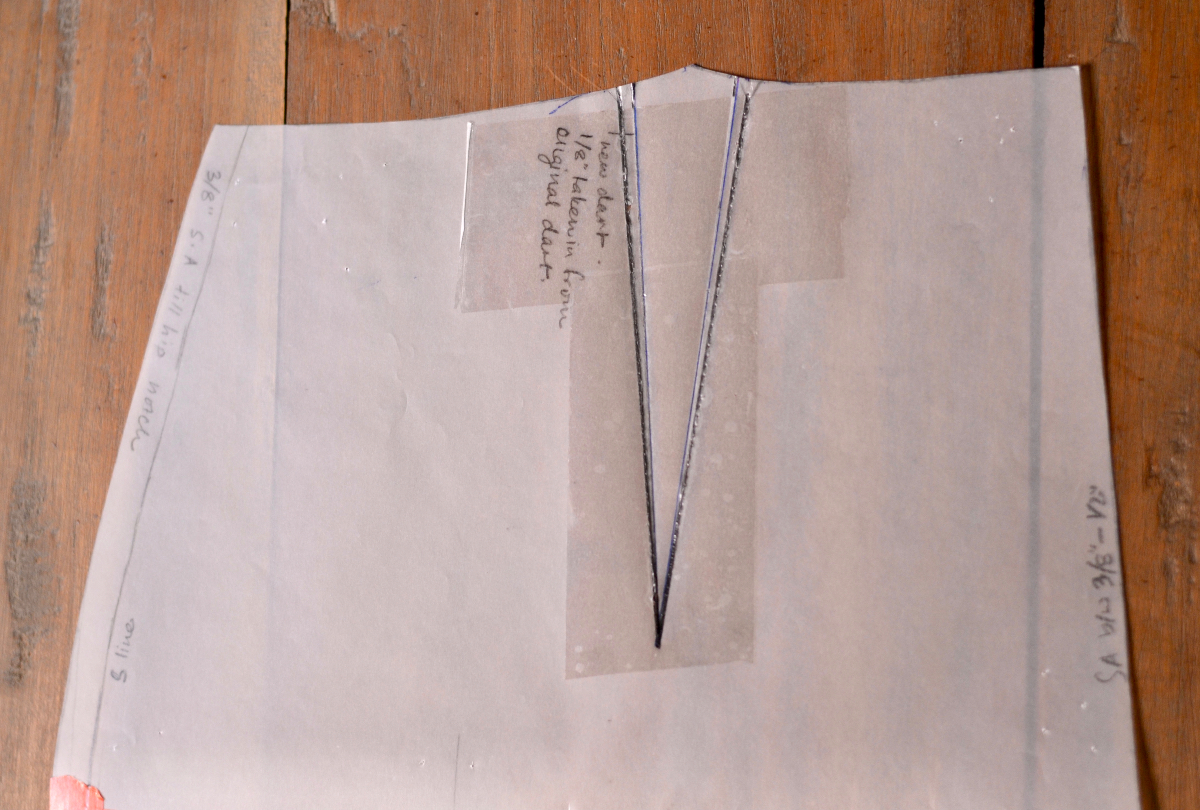
All this gave me about 1” extra waist circumference, so I increased the length of the waistband correspondingly. I did not transfer this changes to my pattern pieces, though, and that turned out to be a good thing.
Final version
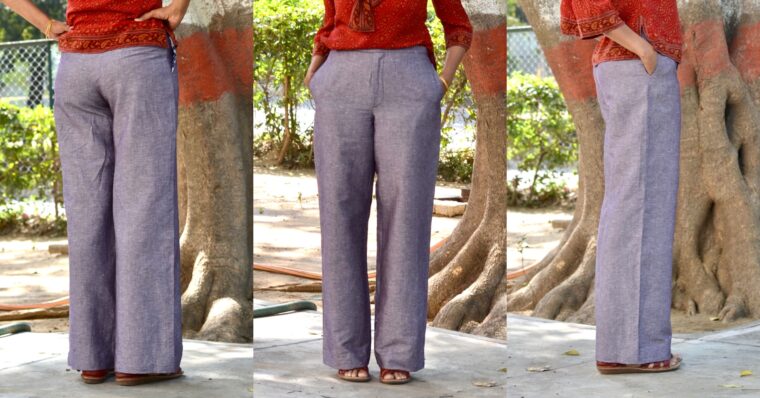
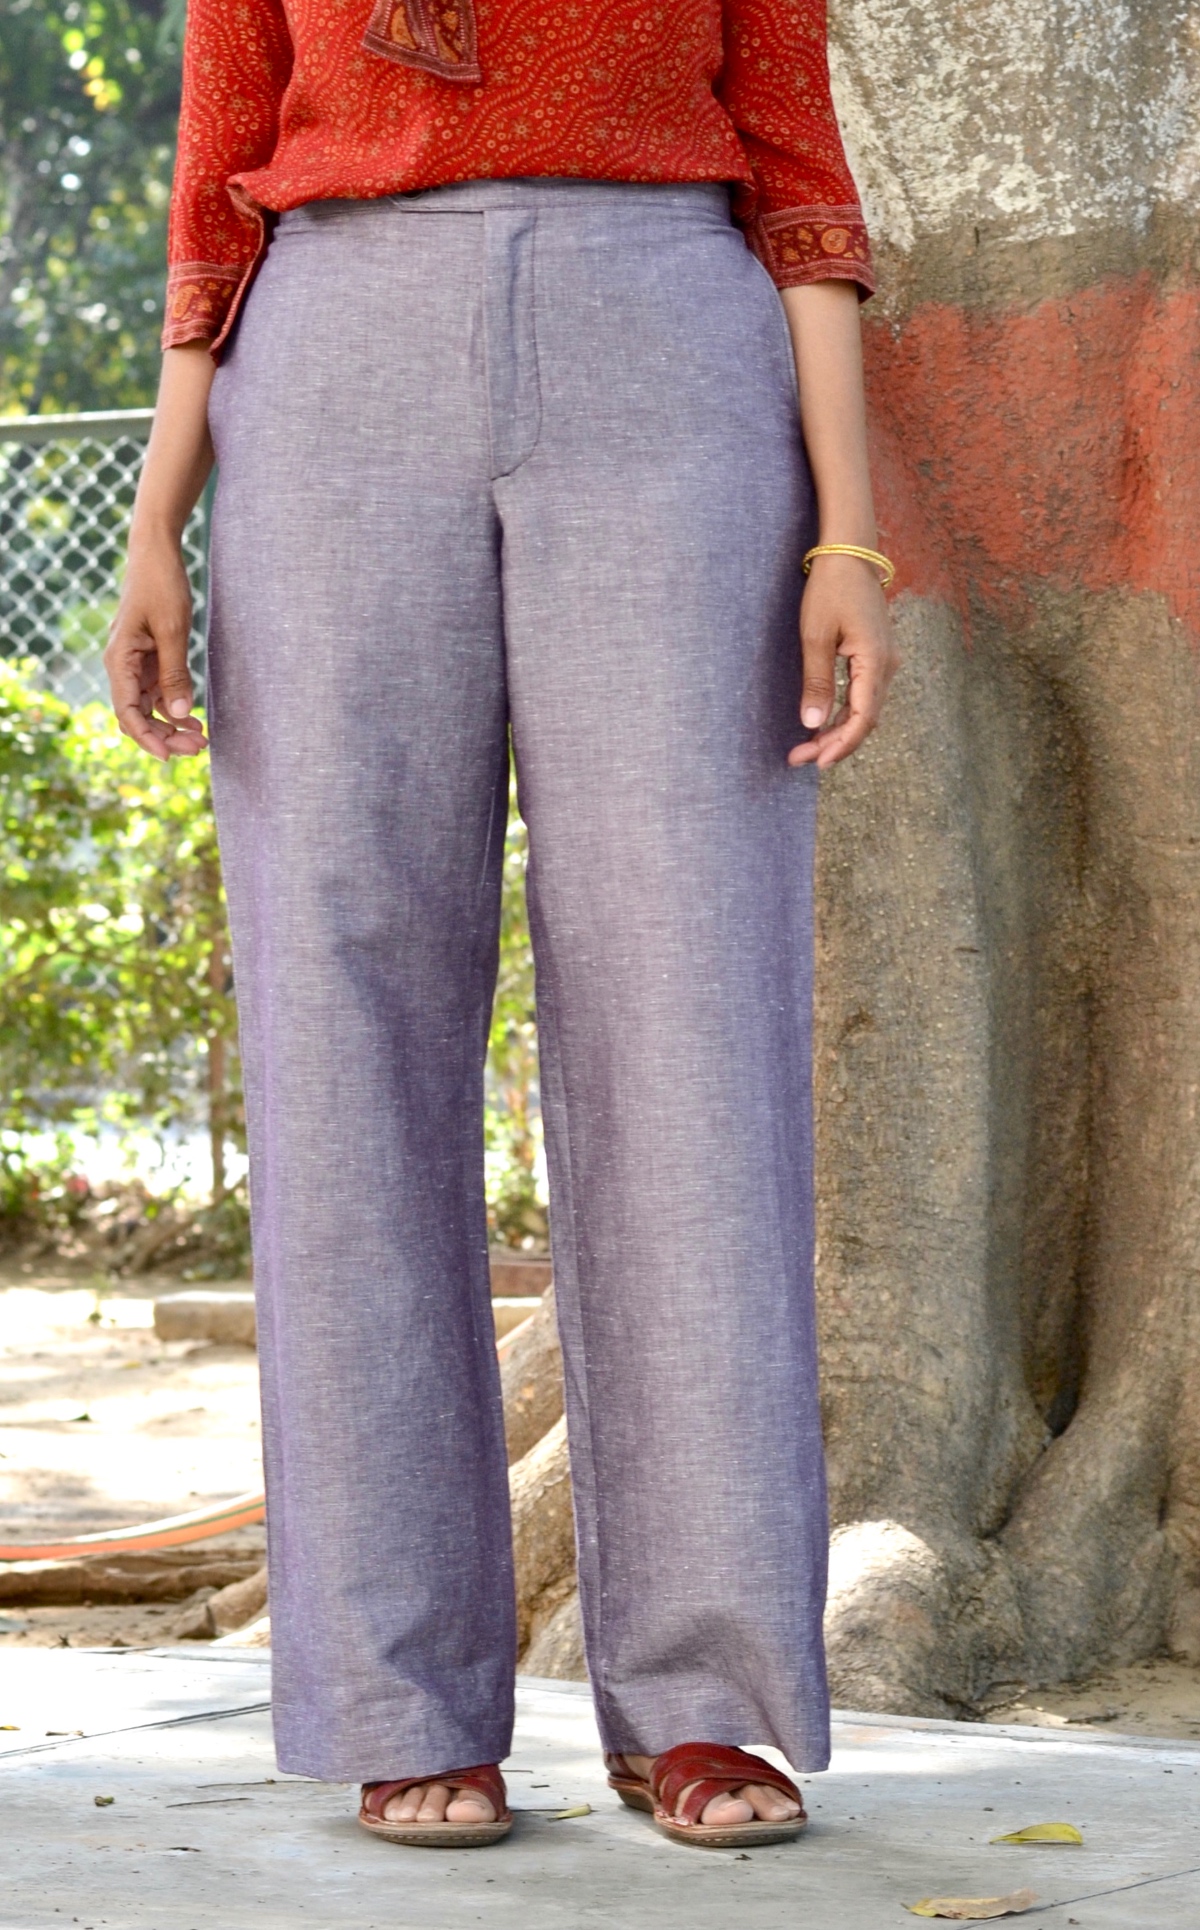
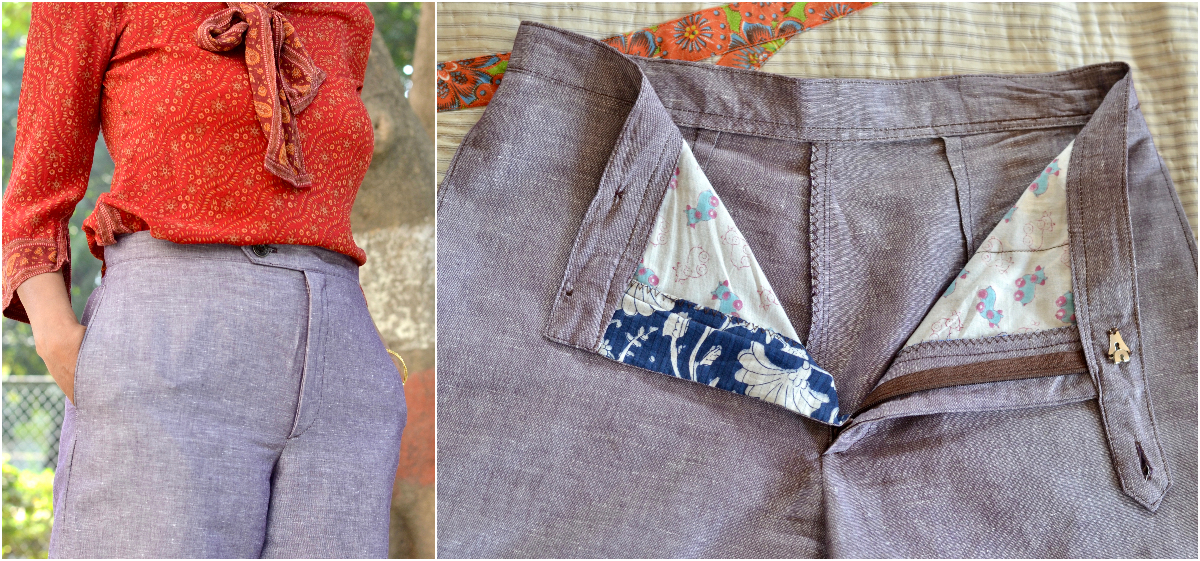
Armed with all these changes, and feeling a little bit more confident, I was ready to cut into my fabric. And ta-da! Here are my pants! The final version is in size 8, with the above alterations to increase the waist circumference, and a 2” hem. Here I am wearing them with my favorite ready-to-wear silk blouse.
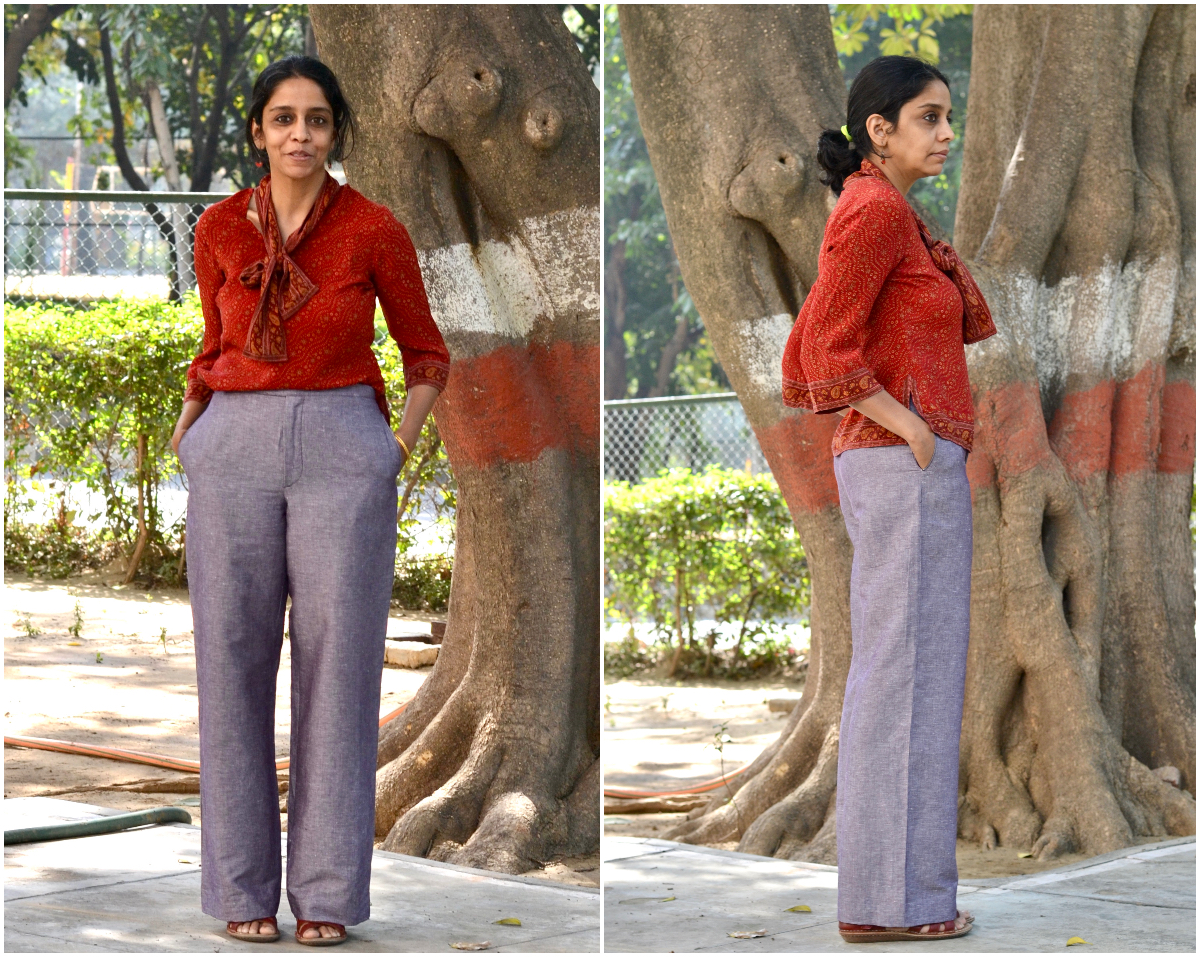
I am particularly happy with how the zipper worked out in the final version. All the techniques that I have learned in this bit of sewing definitely represent the high point of the learning curve.
A short word on the fabric: The cloth I have used here is cotton linen mix from H.P. Singh (from Nehru place, Delhi). Truth be told, having never made pants, I was obsessing a little over the fabric suggestions on the back of the envelope. A very knowledgeable saleswoman gently steered me in the direction of fabrics that would work better in the Delhi heat.
I was initially hesitant because this fabric seemed way lighter than the suggested fabric choices, but after sewing these trousers, I realize that she was right. Not only are they just the right weight for the long summer to come, but I also found that, in this fabric, I didn’t need to take out the width from the legs as I had done in my muslin.
The pants worn here have a 3/8” outseam seam allowance above the hip notch. Below the hip notch, I tapered it in to a 5/8” allowance. Similarly, for the inseam I started from the hem with the given 1/2” allowance and sewed a 5/8″ allowance at the crotch.
Finding the right color in the zipper was yet another struggle. I learned in the course of this journey that 9” pant zippers come basically only in two colors and will need to be dyed to the correct shade.

And with that, I come to the end of the trouser sewing saga for now. I feel like I have learned something entirely new, and so if there is anyone else out there like me sitting on the fence, I hope this offers some encouragement. The Oliver + S blog has a whole range of helpful posts offering some valuable handholding, and there is also a trouser sew-along for novices like me.
As for me, this is not the last pair of Hollywood Trousers I will sew. This is just the beginning. I still have a few minor issues that I can’t figure out (the waistband at the back stands out but only sometimes, and I might still try the size 10 waist to figure out how it fits), but for now I am really happy with the outcome. Thank you Liesl for this absolutely fabulous pattern and the very best instructions.