

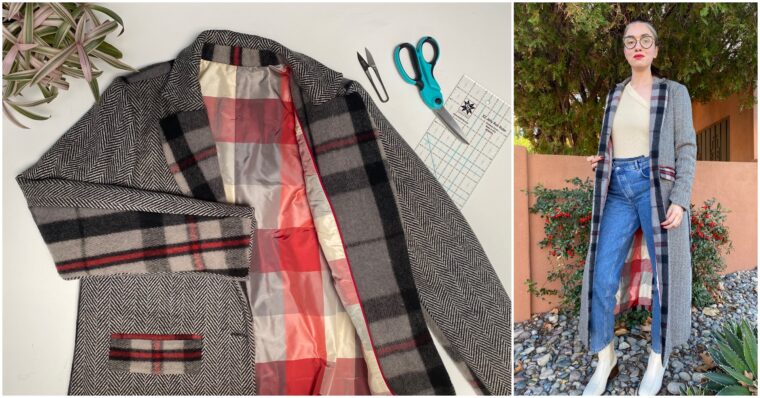
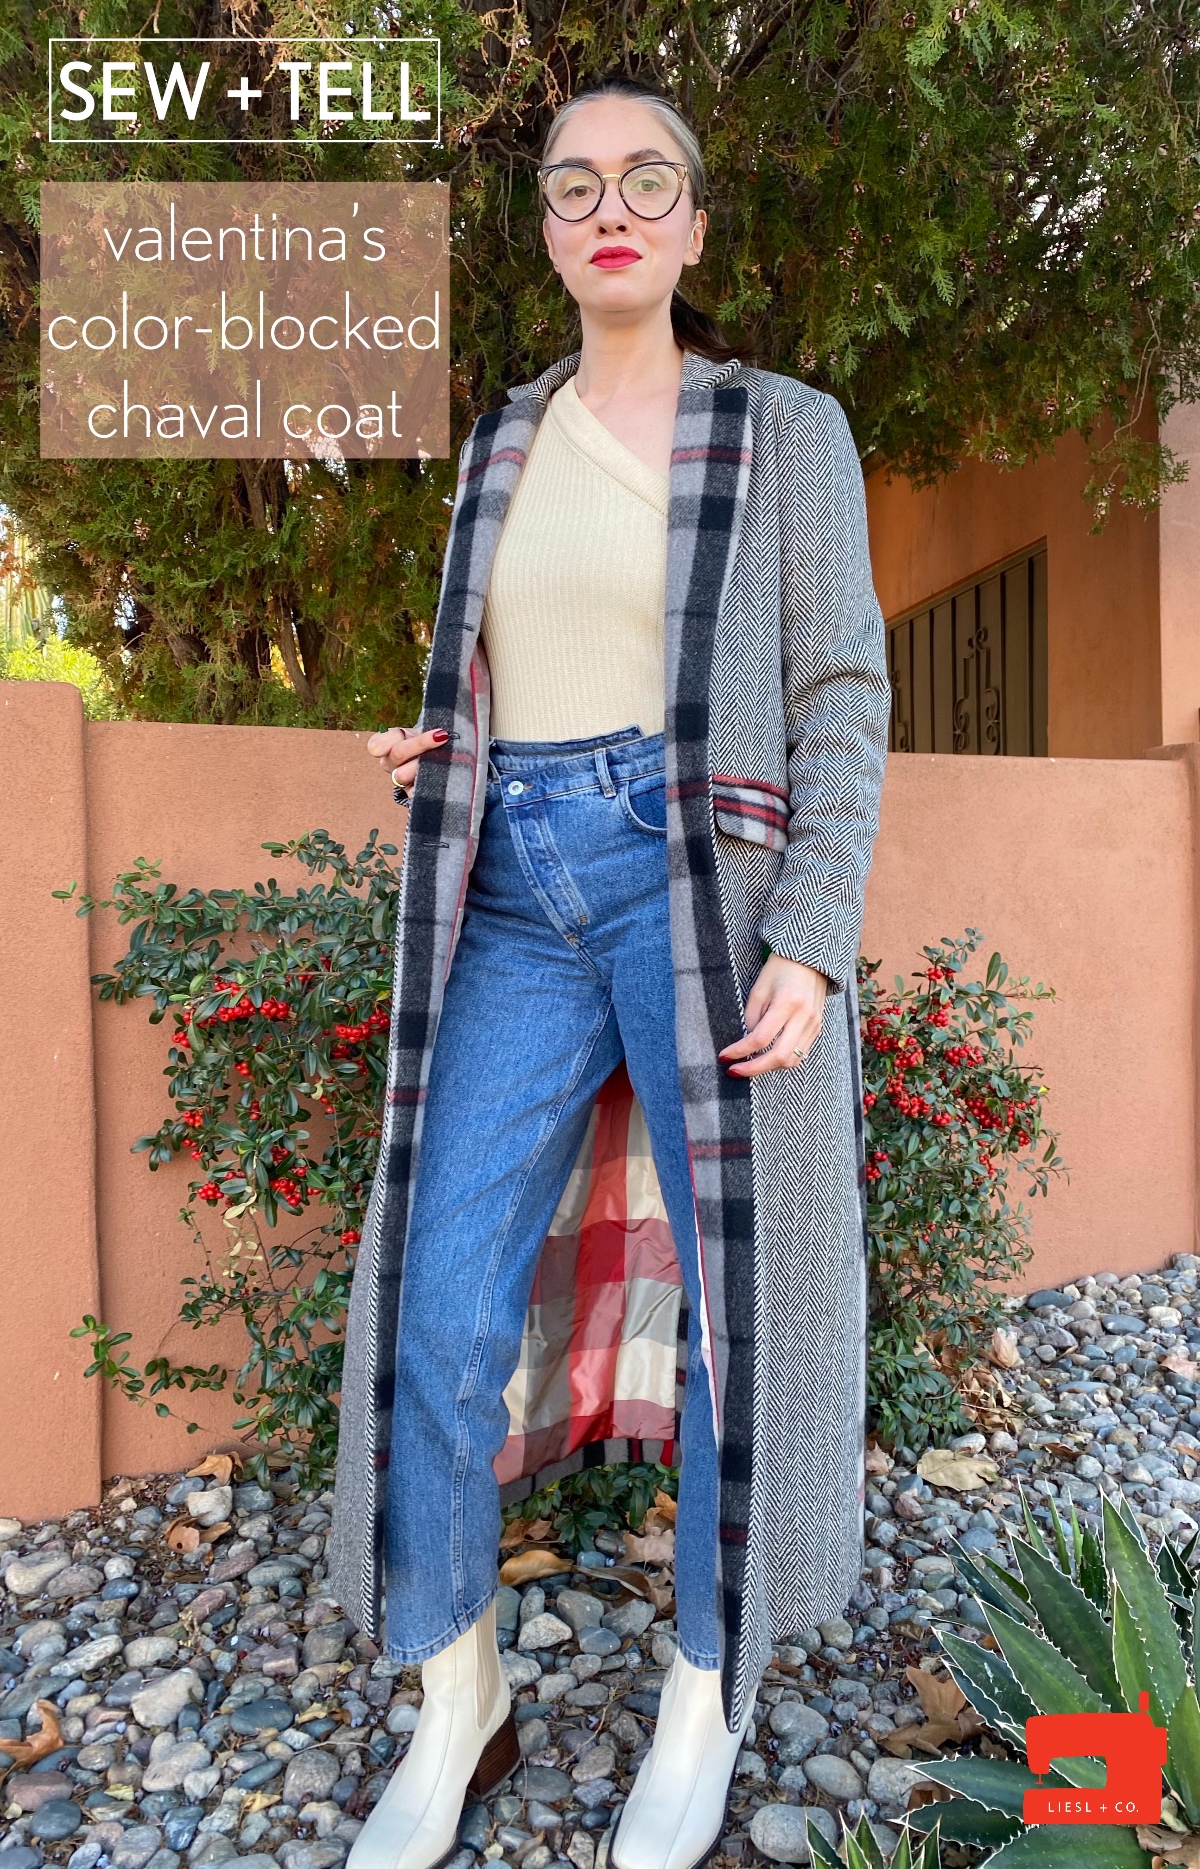
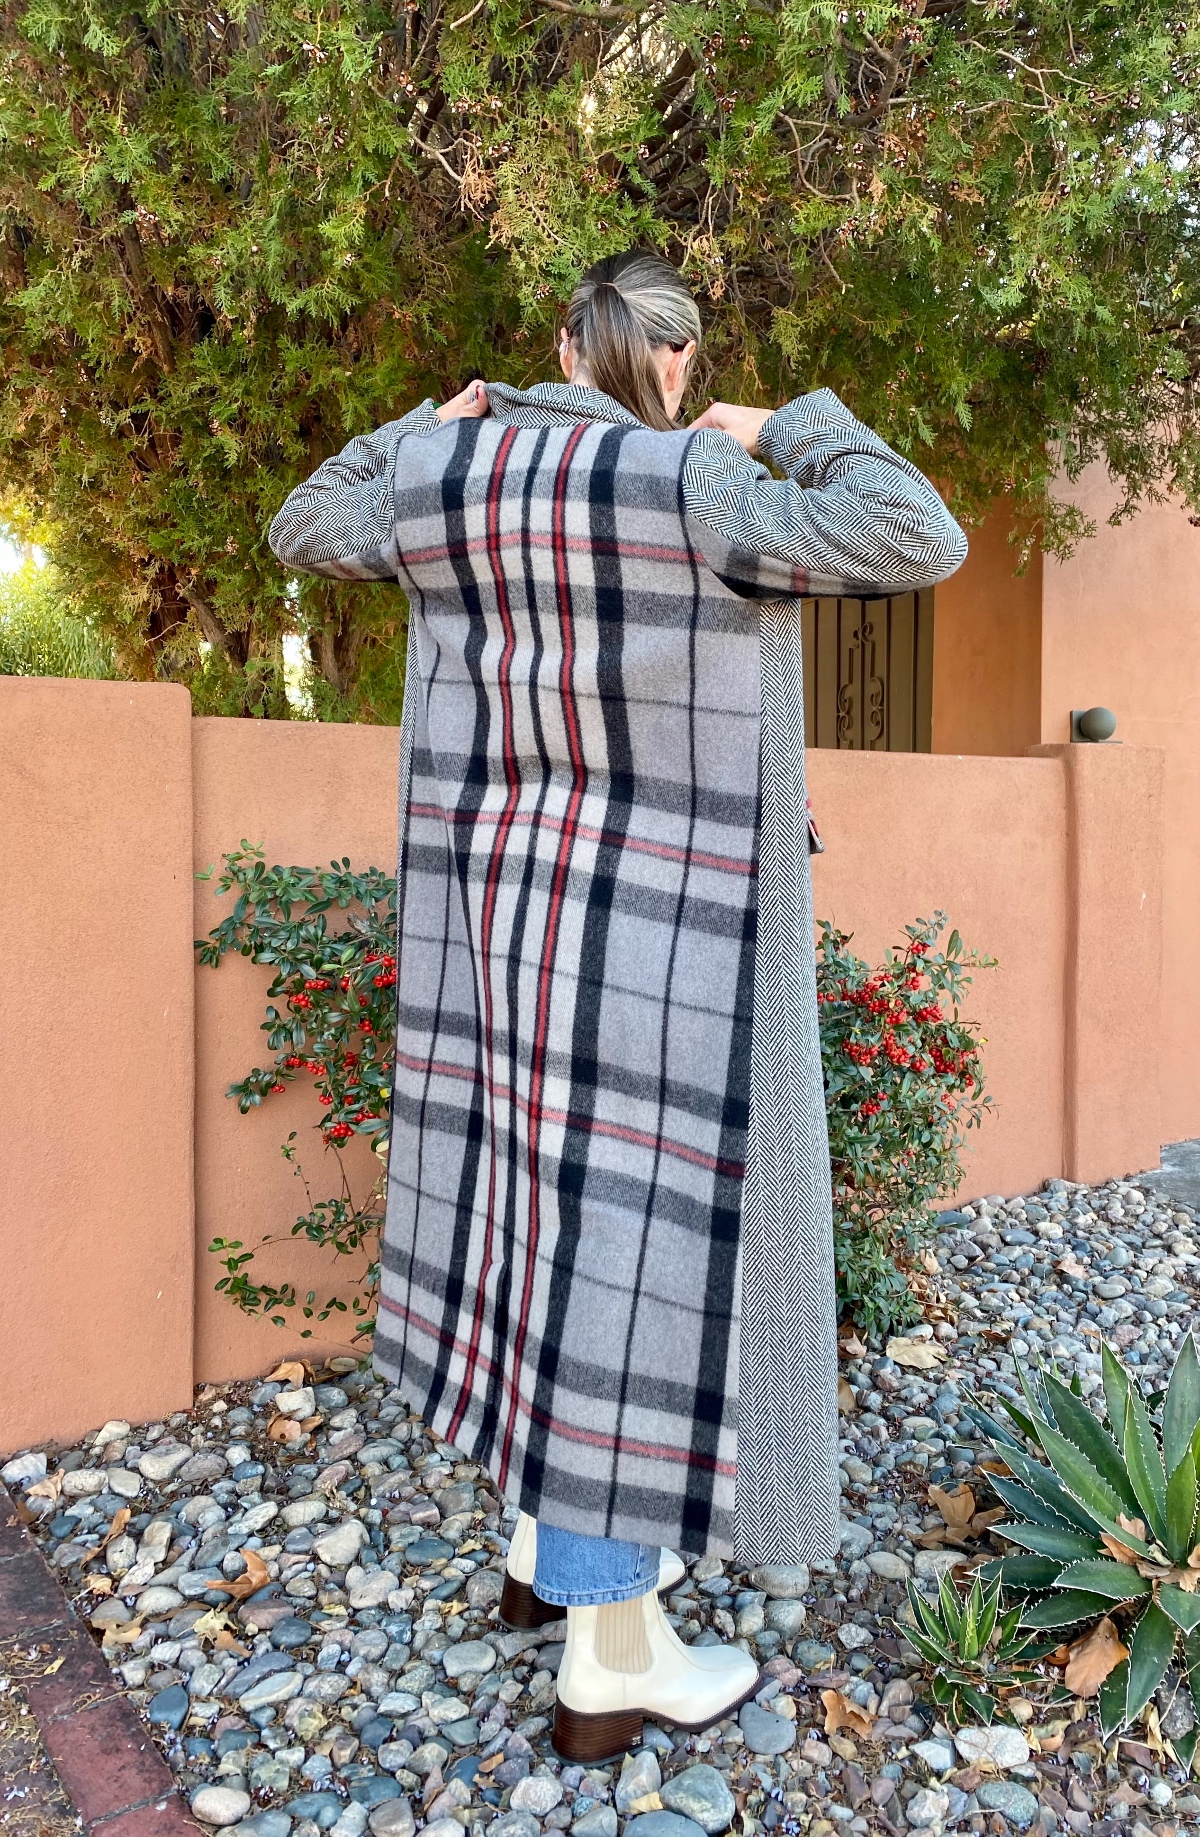
The classic silhouette of the Chaval Coat is the perfect canvas for modifications. Valentina took hers in a slightly edgy direction, lengthening it to maxi proportions and adding bold color-blocking.
Name: Valentina
Country: USA
Where can we find you on the internet: Instagram
Project details
Pattern used: Liesl + Co. Chaval Coat
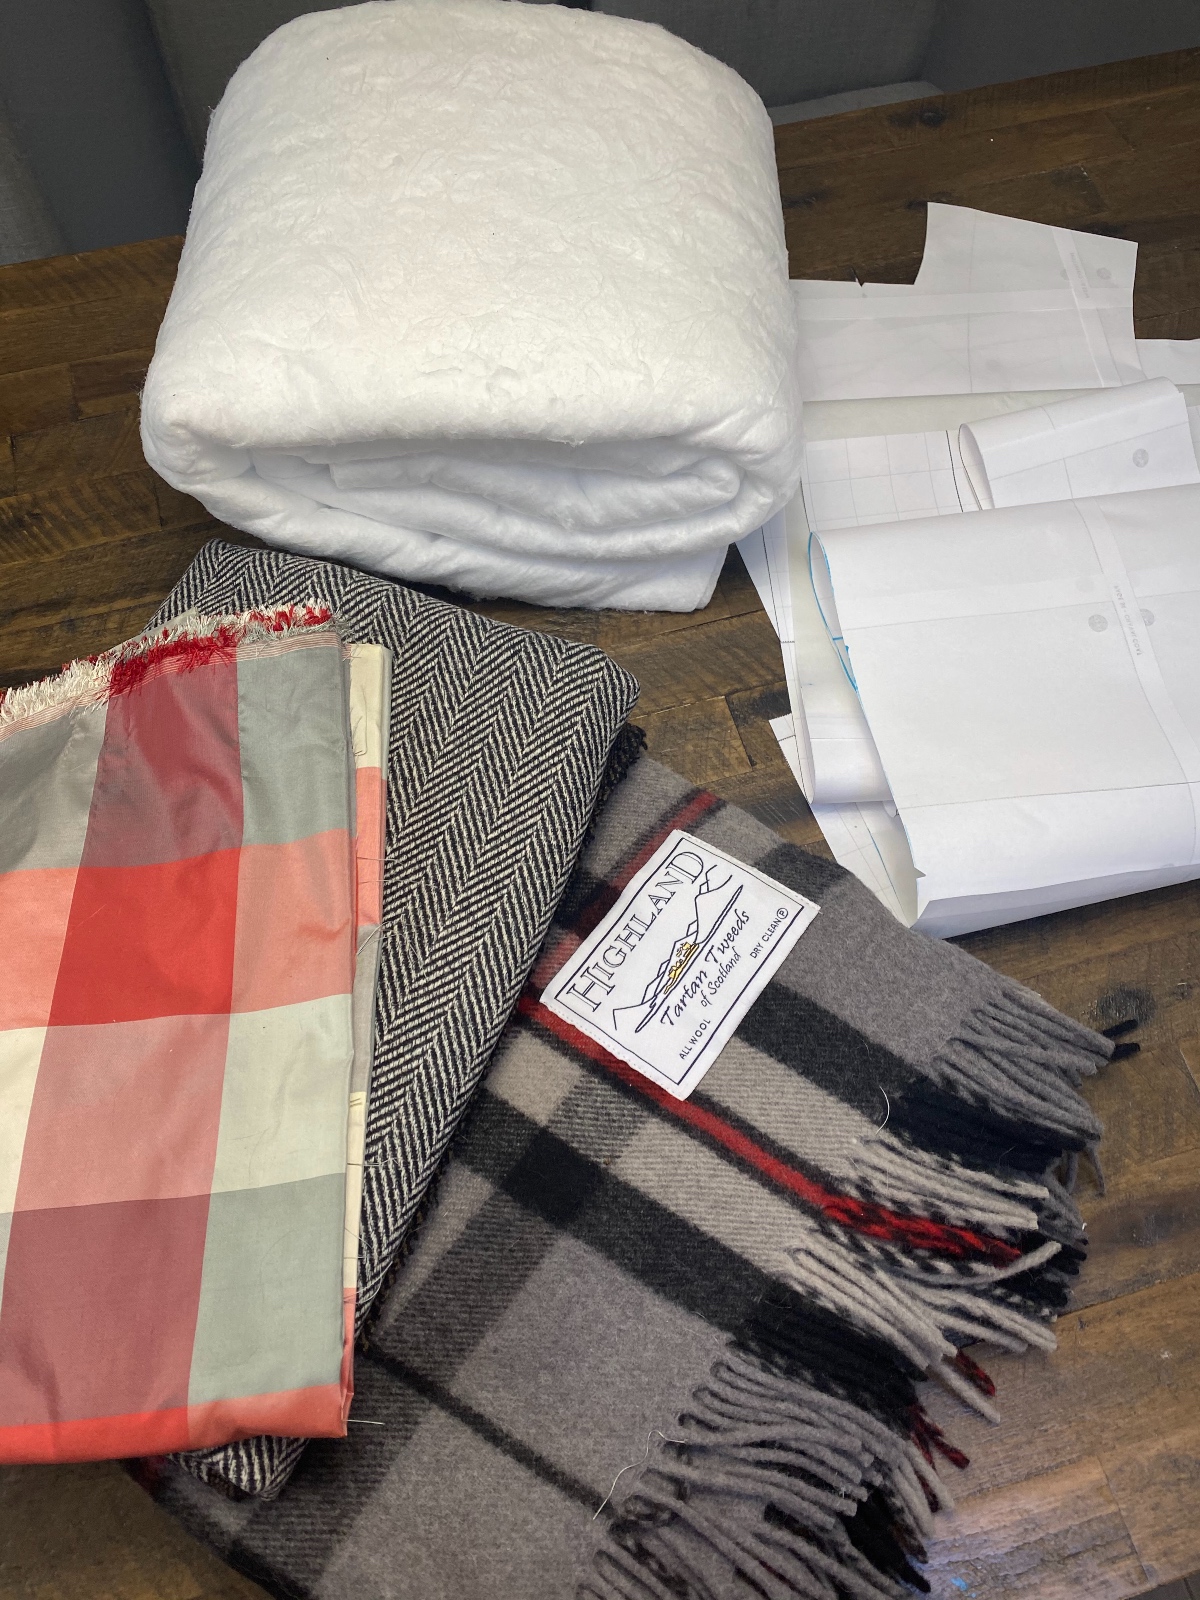
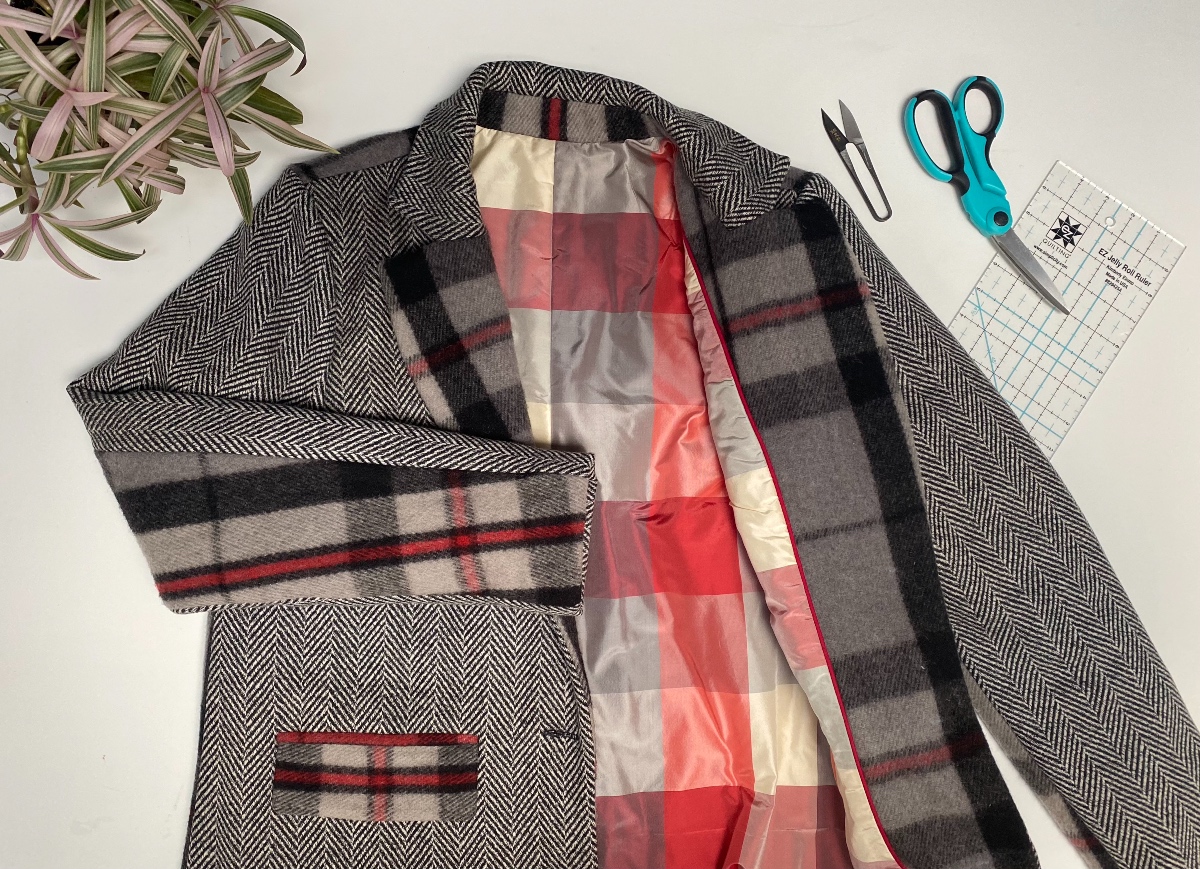
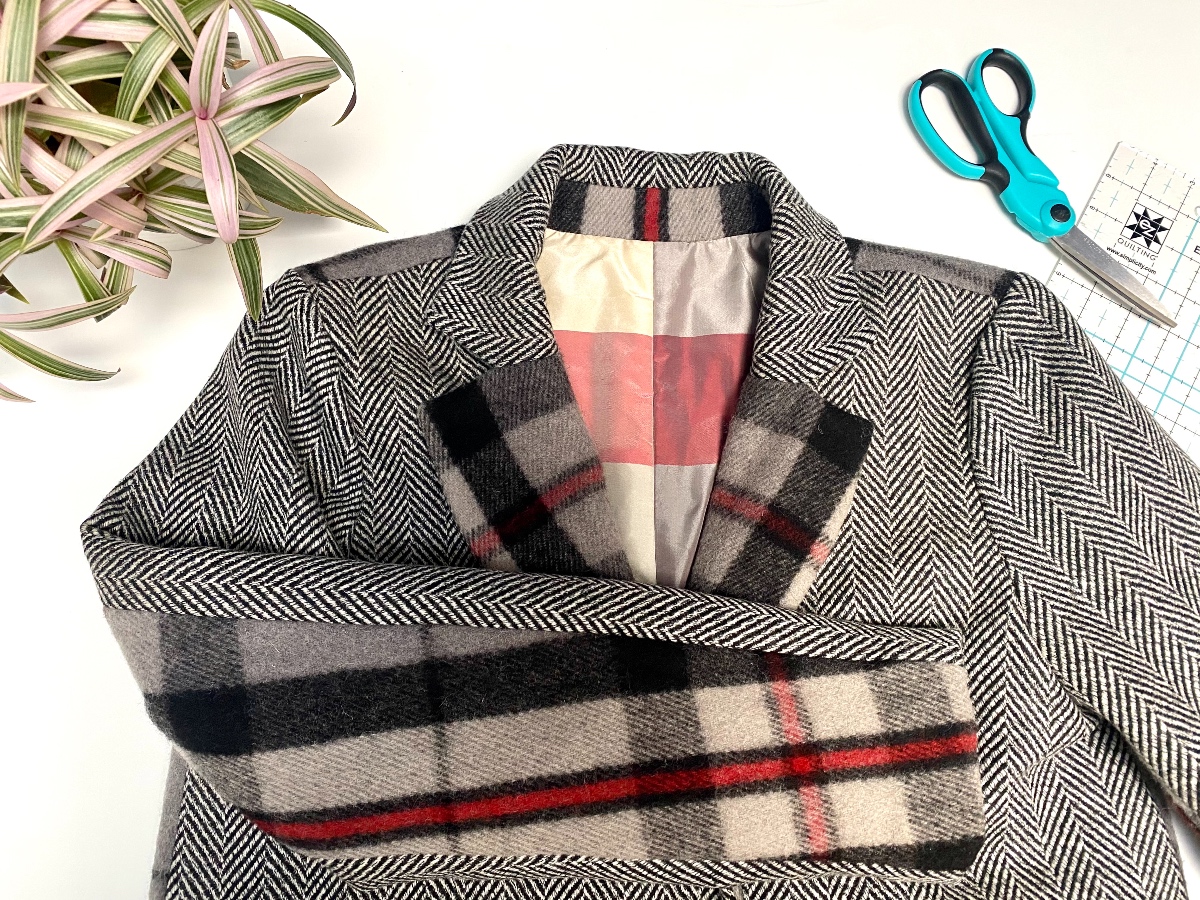
Fabric used: For the outside, I used a wool/poly jacketing fabric in herringbone and a 100% boiled wool tartan blanket that I bought specifically for this project. The lining is made out of 100% silk taffeta. The whole coat is interlined with Thinsulate material to add warmth.
I’ve been wanting a midi- to long-length color-blocked coat since last season. I checked all the stores, but nothing was quite right. Luckily for me, it took me only few months to realize that I could adapt the Chaval Coat pattern to make the coat that I envisioned in my head.
After taking copious fabric pictures and drawing different schematics of color-blocking (from blocking it horizontally with herringbone wool down to the pockets and quilted denim on the bottom, to keeping the blanket fringe on the back as a design element), I settled on a simple arrangement: making the back in one fabric and the front in the other, with a few little elements in contrasting patterns. As a point of interest, and because I have seen it done on other garments, I added a line of piping between the front facing and the lining.
I also had to adjust the pattern for my height and to lengthen the coat overall. I am 5’9” with rather long arms, so I started my alterations by adding an inch to the sleeve length. To add overall length to the coat, I added 10″ to all the main pieces right above the vent.
To make the coat more winter-friendly, I added a layer of Thinsulate to all the lining pieces. Unexpectedly, that ended up being the most tedious and time-consuming part of the project, since all the pieces had to be basted and all the seams had to be graded.
Once the boring part was done, the actual sewing of the coat went pretty smoothly. There were couple of snags due to me being tired and not reading the instructions quite right or forgetting to interface the coat facings (I managed to add that later without any damage to the integrity of the coat).
Overall, the fabric choices worked out well: The silk lining fit just right and the boiled wool of the tartan blanket was really easy to work with. But, of course, there were issues, like with any large project:
The added bulk of the Thinsulate pulled the main fabric in a way that I did not like. I was able to steam most of it out, but not all. Looking back, I probably could have solved that issue by grading and edge stitching the seam allowance of the front seams to the coat front facing. That would have helped to roll the front seams towards the facing instead of being pushed out to the front. But, as with all great ideas, this one came after I had already trimmed the seam allowance to 1/4″ as instructed.
The sense of accomplishment that I got once I sewed on the last button was overwhelming. It was even better once I wore the coat outside. At the end of the day, the coat turned out very close to what I envisioned. And since, it is also warm and fits me perfectly, I call that a win.