

Camelia achieved an absolutely perfect fit on her Saint-Germain Wrap Dress. She used her experience fitting her body and the muslin process to her advantage, making not one, but two muslins to ensure that the dress fit her exactly the way she wanted it to. The photos and details she provides in this post clearly illustrate how she solved her fit issues – and it did not even take that much time. Here she is to walk you through her process in the latest installment of our new blog series, The Fitting Room.
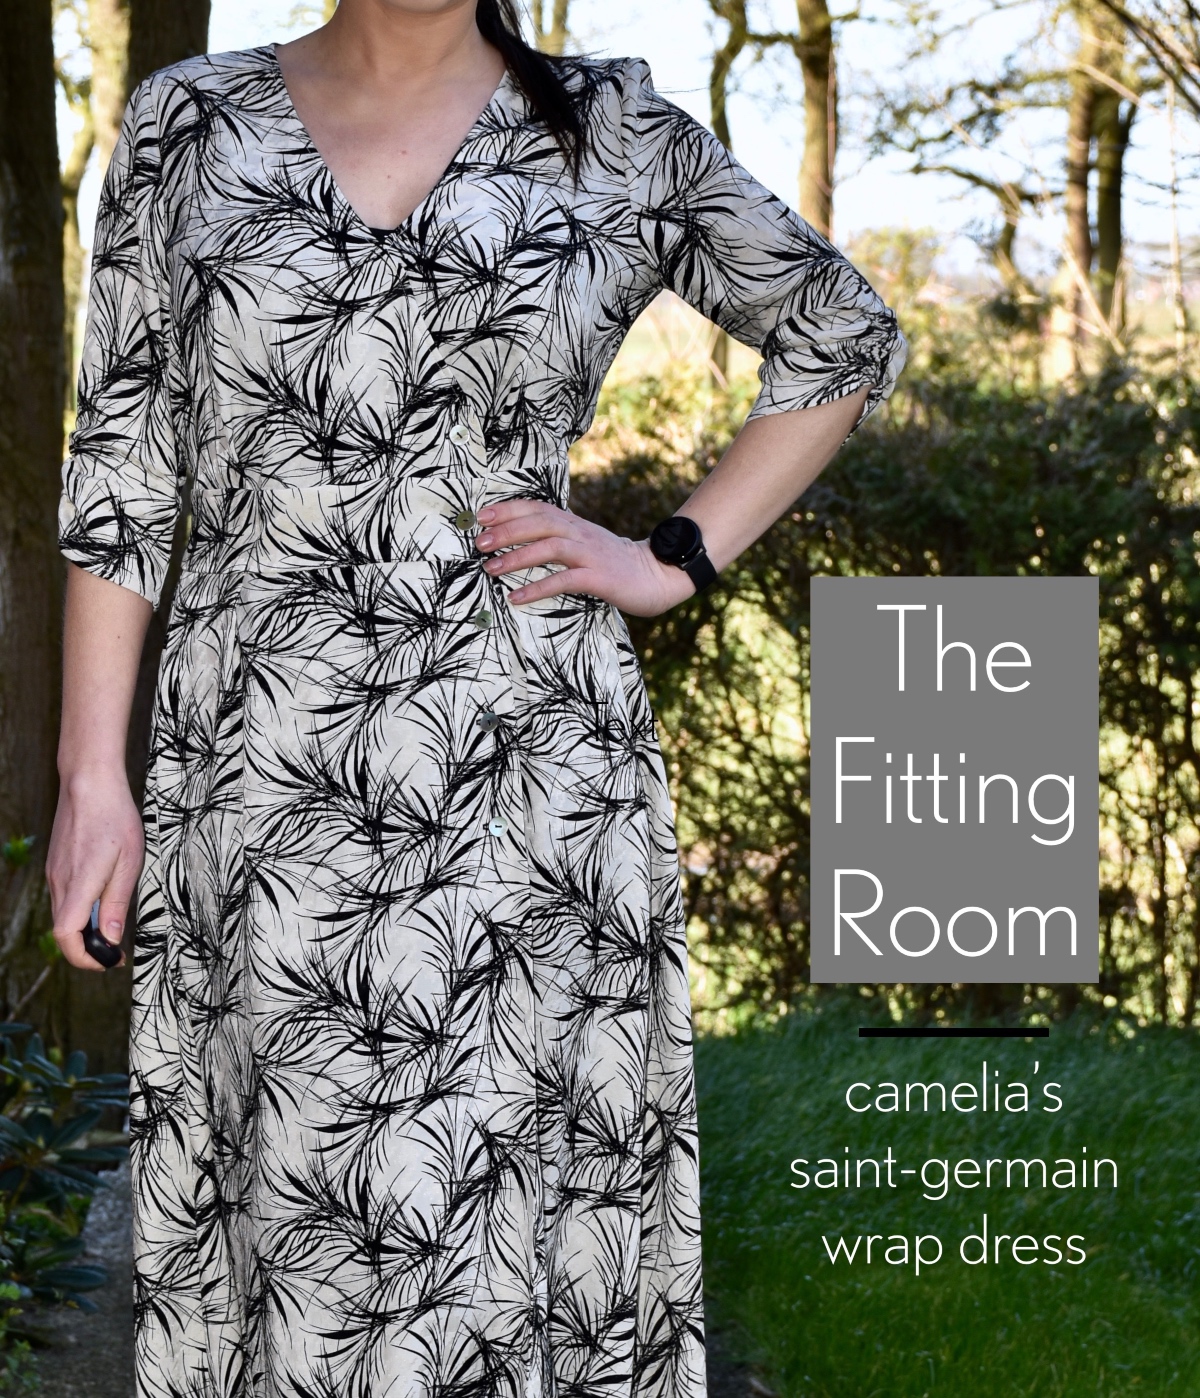
I loved the Saint-Germain Wrap Dress immediately when it came out – both the cover dress and Liesl’s floral version. It’s really nice and romantic.
I made my final dress out of rayon. But before I cut my final fabric, I made a muslin, as I always do when I sew a woven pattern. There are a few standard changes I usually need to make in the patterns I am sewing: a swayback adjustment, a narrow shoulder adjustment, and a full bust adjustment.
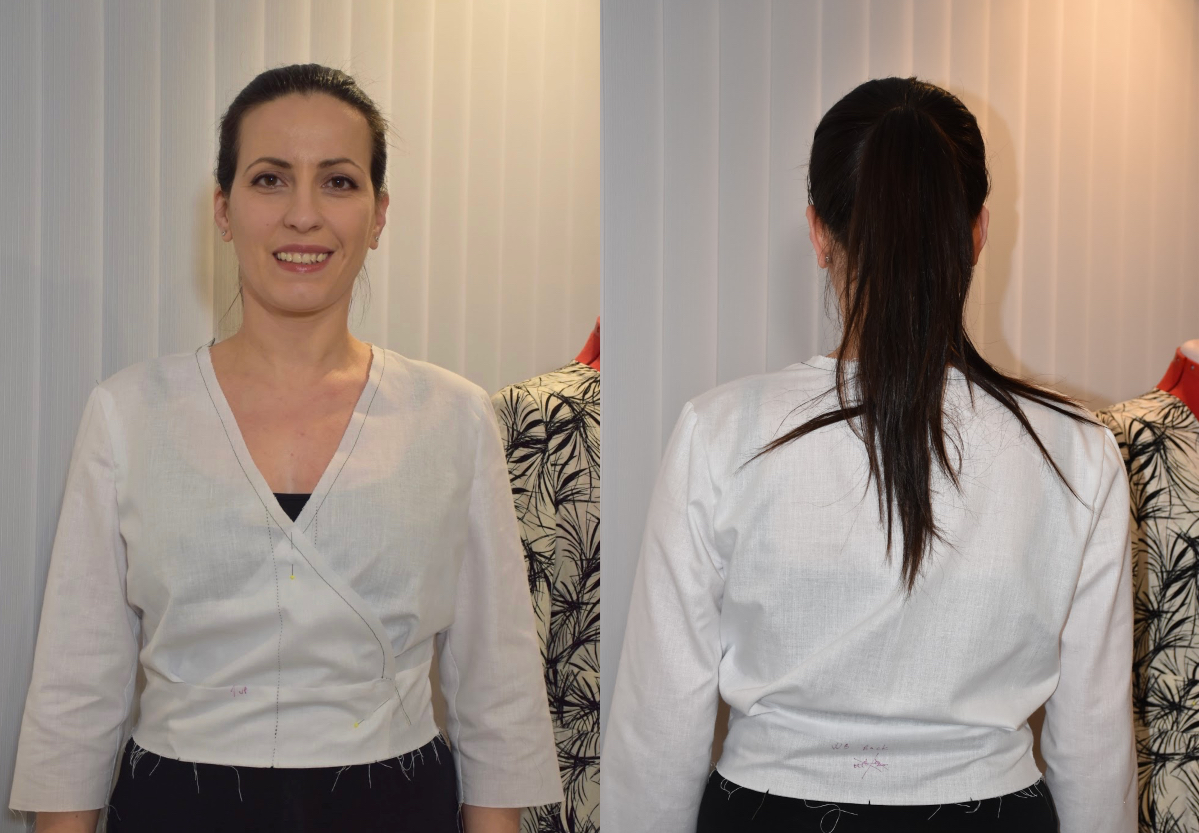
In this case, I made them all. This was my bodice muslin before any adjustments. I started with the size 10 B cup, based on my measurements. I knew that the skirt would fit well, as it has enough ease over the hips, so I did not muslin it.
I used some thin cotton for the muslin and my final fabric is rayon with a bit of stretch. This was not the best choice, as you should always use for your muslin the same kind of fabric as for your final garment: it’s easier to get a precise fit if you use fabric that has the same stretch, weight and drape.
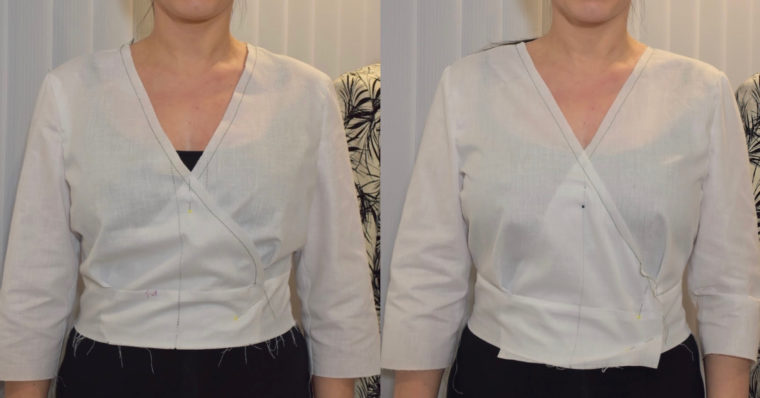
As you can see in the above pictures, the center front of the bodice does not reach my center front, the shoulder seam is too long and is not sitting at my shoulder point, and there is too much length in the center back.
There are a few ways to make a full bust adjustment: the slash method, which adds a dart and is demonstrated in the sew along; the seam method where you manipulate the seam allowances; and the pivot-and-slide method (see our tutorial for that here).
I decided to try the pivot-and-slide method, as the dress pattern does not have a dart, and I wanted to see whether I could get a good fit without adding one. I added 1.5 cm (5/8″) to the bust.
I also removed 1 cm (3/8″) from the shoulder seam in a narrow shoulder adjustment (we have a tutorial for that adjustment here) and removed 2 cm (3/4″) in a swayback adjustment. Here are my final adjusted pattern pieces.

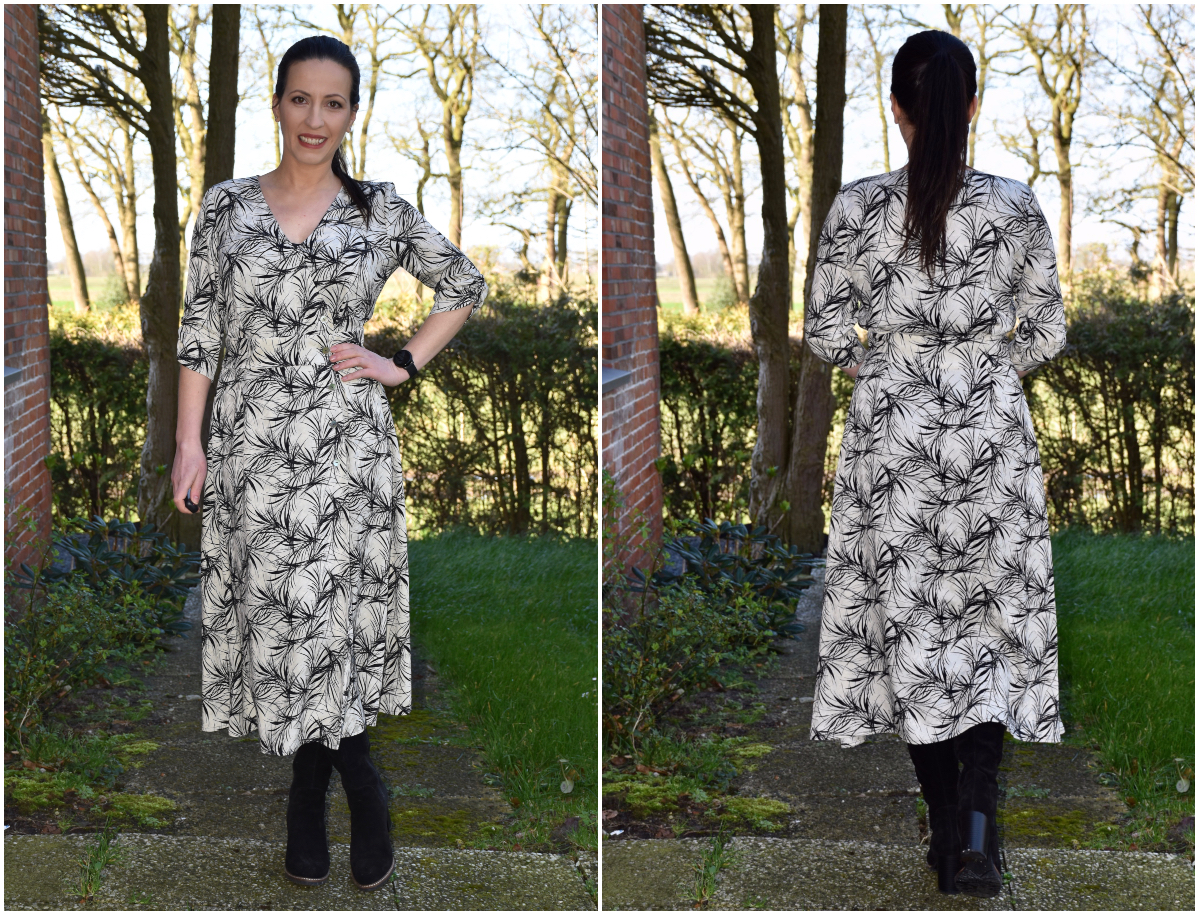
And here is my second muslin, after all the pattern adjustments. You can see that the center front is at my center front, and the fit in the back is much improved.
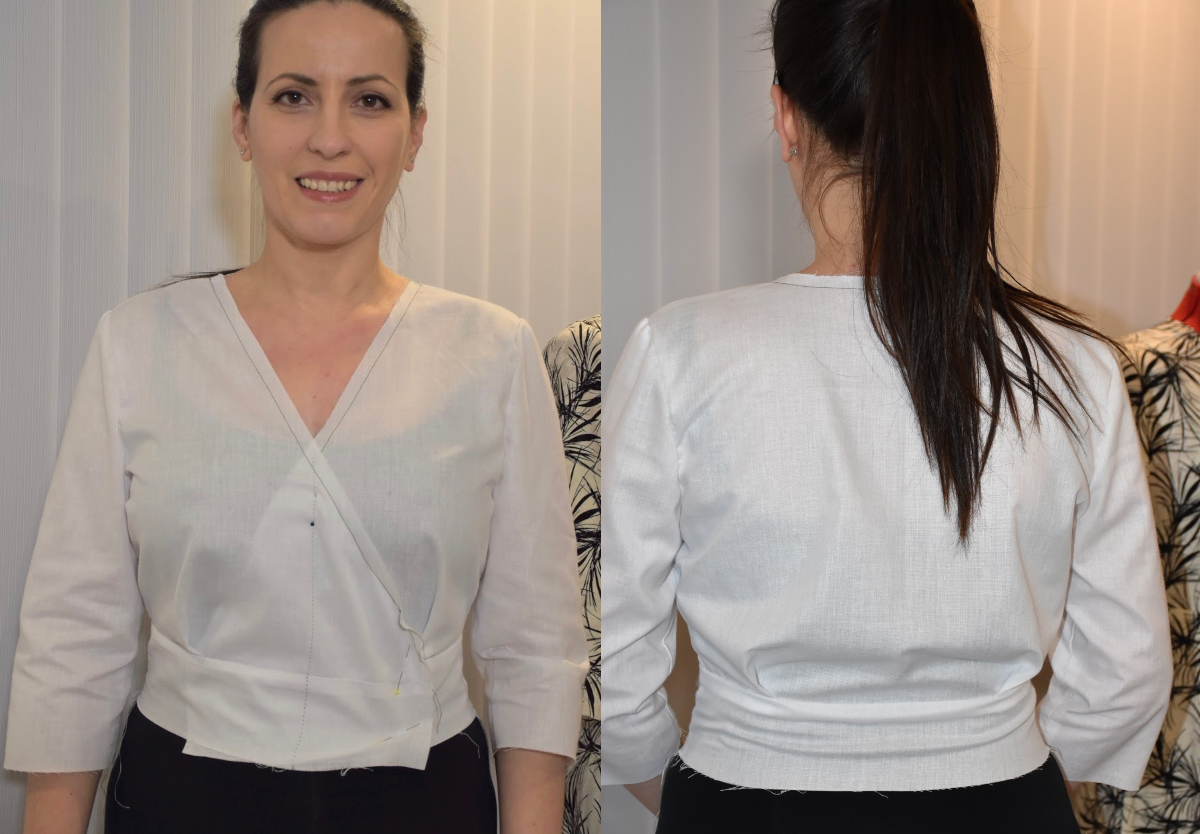
These were very easy changes and took just a bit of time. Now I have a pattern that fits me the way I want, and I can use it over and over again.
I love doing the fitting work before starting on my good fabric. The sewing process is much more enjoyable when I know that the final garment is going to fit me, and that it will not be a waste of fabric and time.
Are you a fitting nerd? Do you use tried-and-true fitting techniques to customize your garments? If you’re interested in writing about your experience fitting a Liesl + Co. or Oliver + S garment, drop us a line at contributors@oliverands.com.