

Lisa is here today from the Advisors Circle. She has stopped by in the past to contribute her Weekend Links post and share how she added hemstitching to the Weekend Getaway Blouse. Now she’s here to show you how she turned the Liesl + Co. Chai Tee into a dress/tunic. Take it away Lisa!
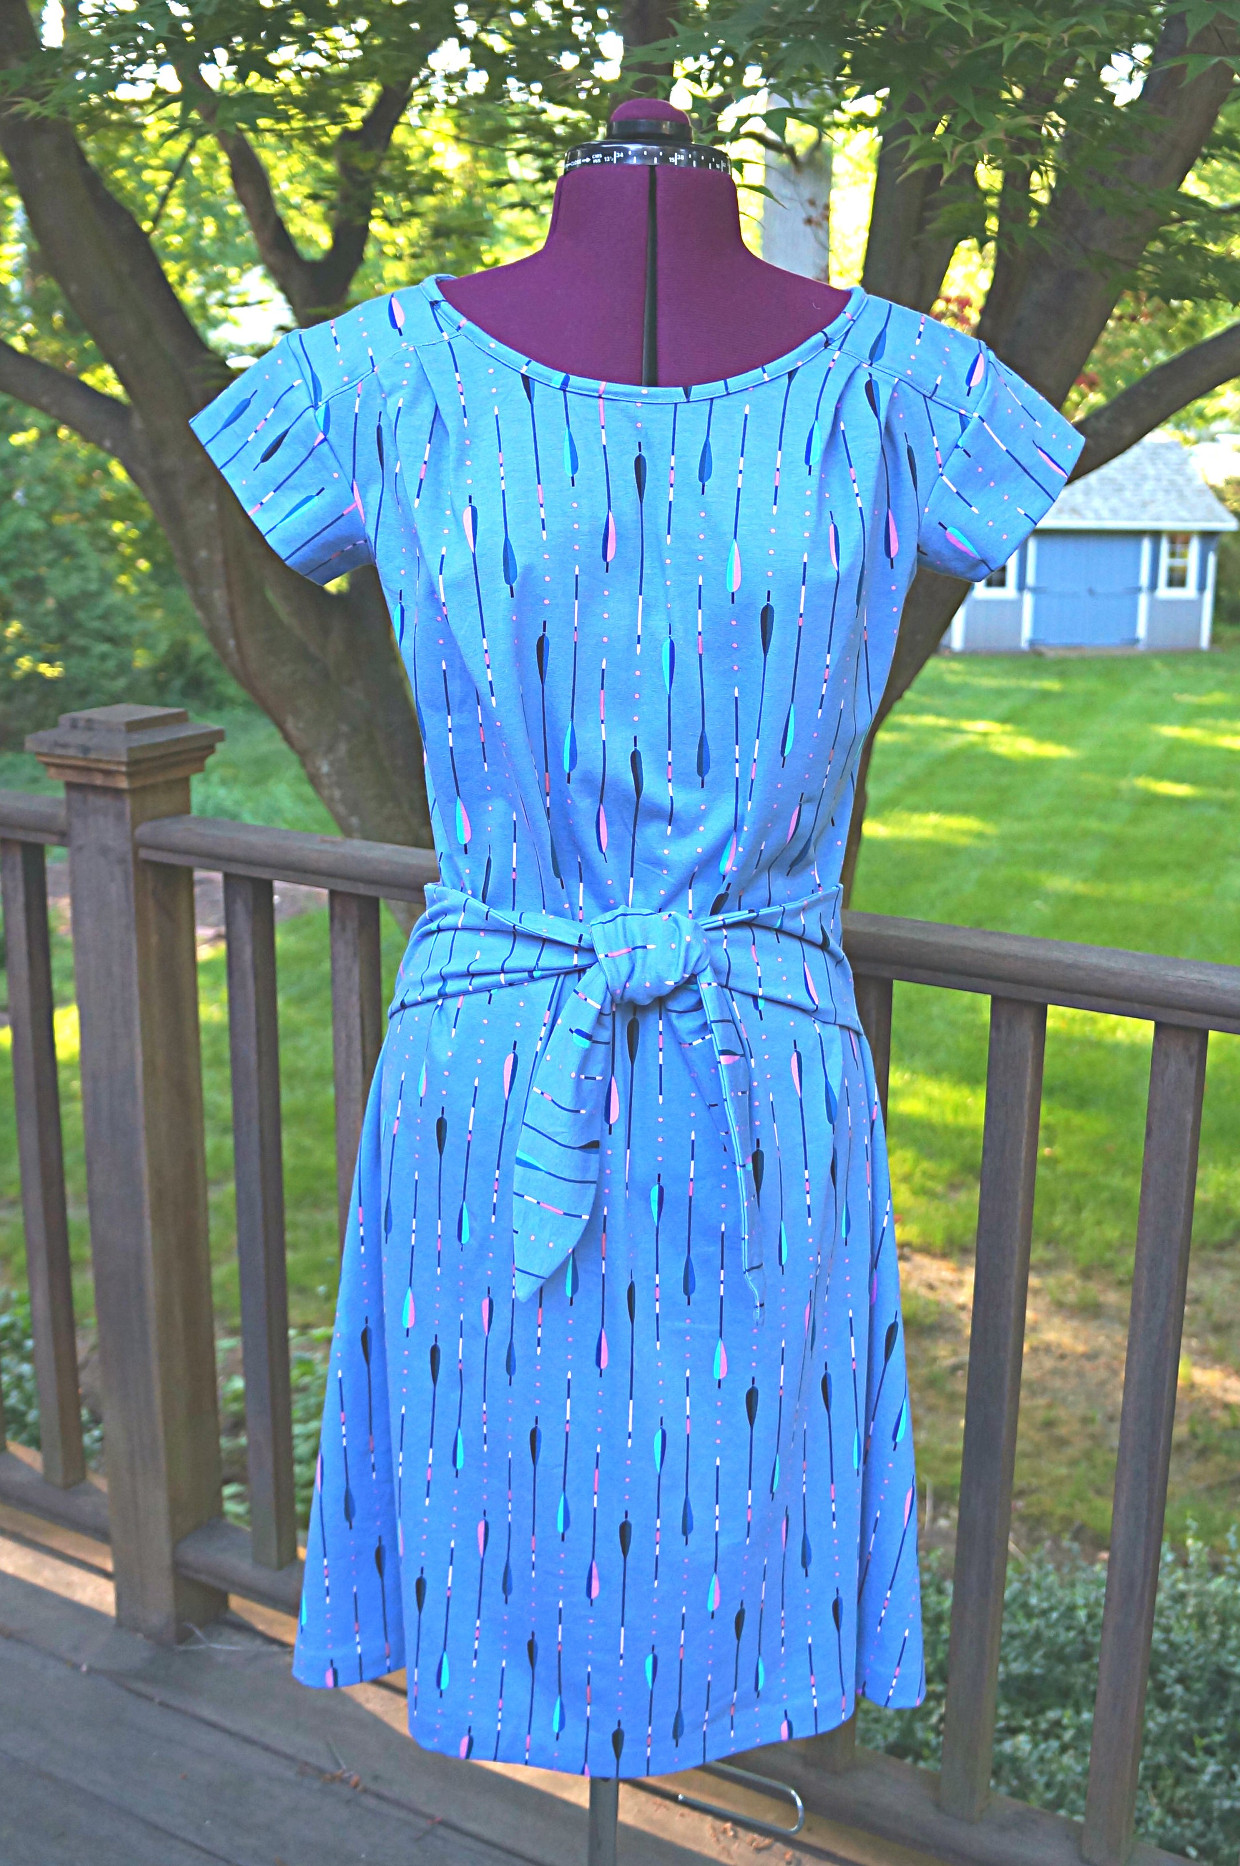
When the Chai Tee came out last fall, I immediately planned on making it. The Chai Tee was a perfect pattern for me – a simple knit T-Shirt, but with a little something extra to set it apart– saddle shoulders and soft pleats! It has also become a tradition for me to stitch up a knit dress for each of my daughters come summer. I was contemplating extending the Chai Tee into a dress for them, but wasn’t sure they would like it without some waist definition. Well the great thing about the online sewing community is the wonderful way we can all inspire each other! Erica, a member of the Advisors Circle, who made the Girl on the Go Dress with her daughter, also made one for herself as well (she could fit into the largest tween size), and there was my answer: use the ties from the Girl on the Go Dress to provide the waist definition for a Chai Tee Dress!

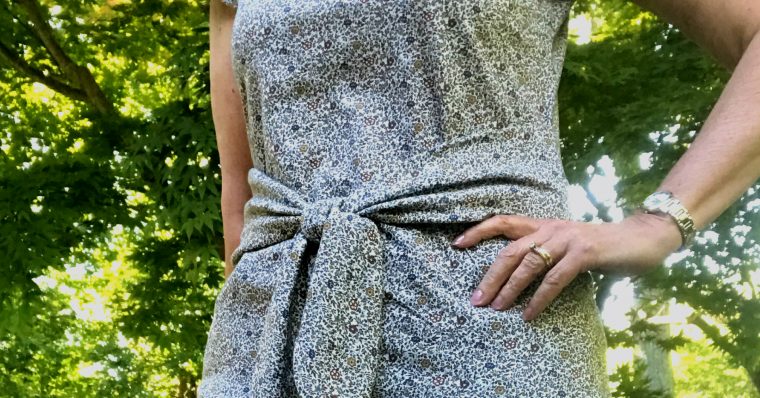
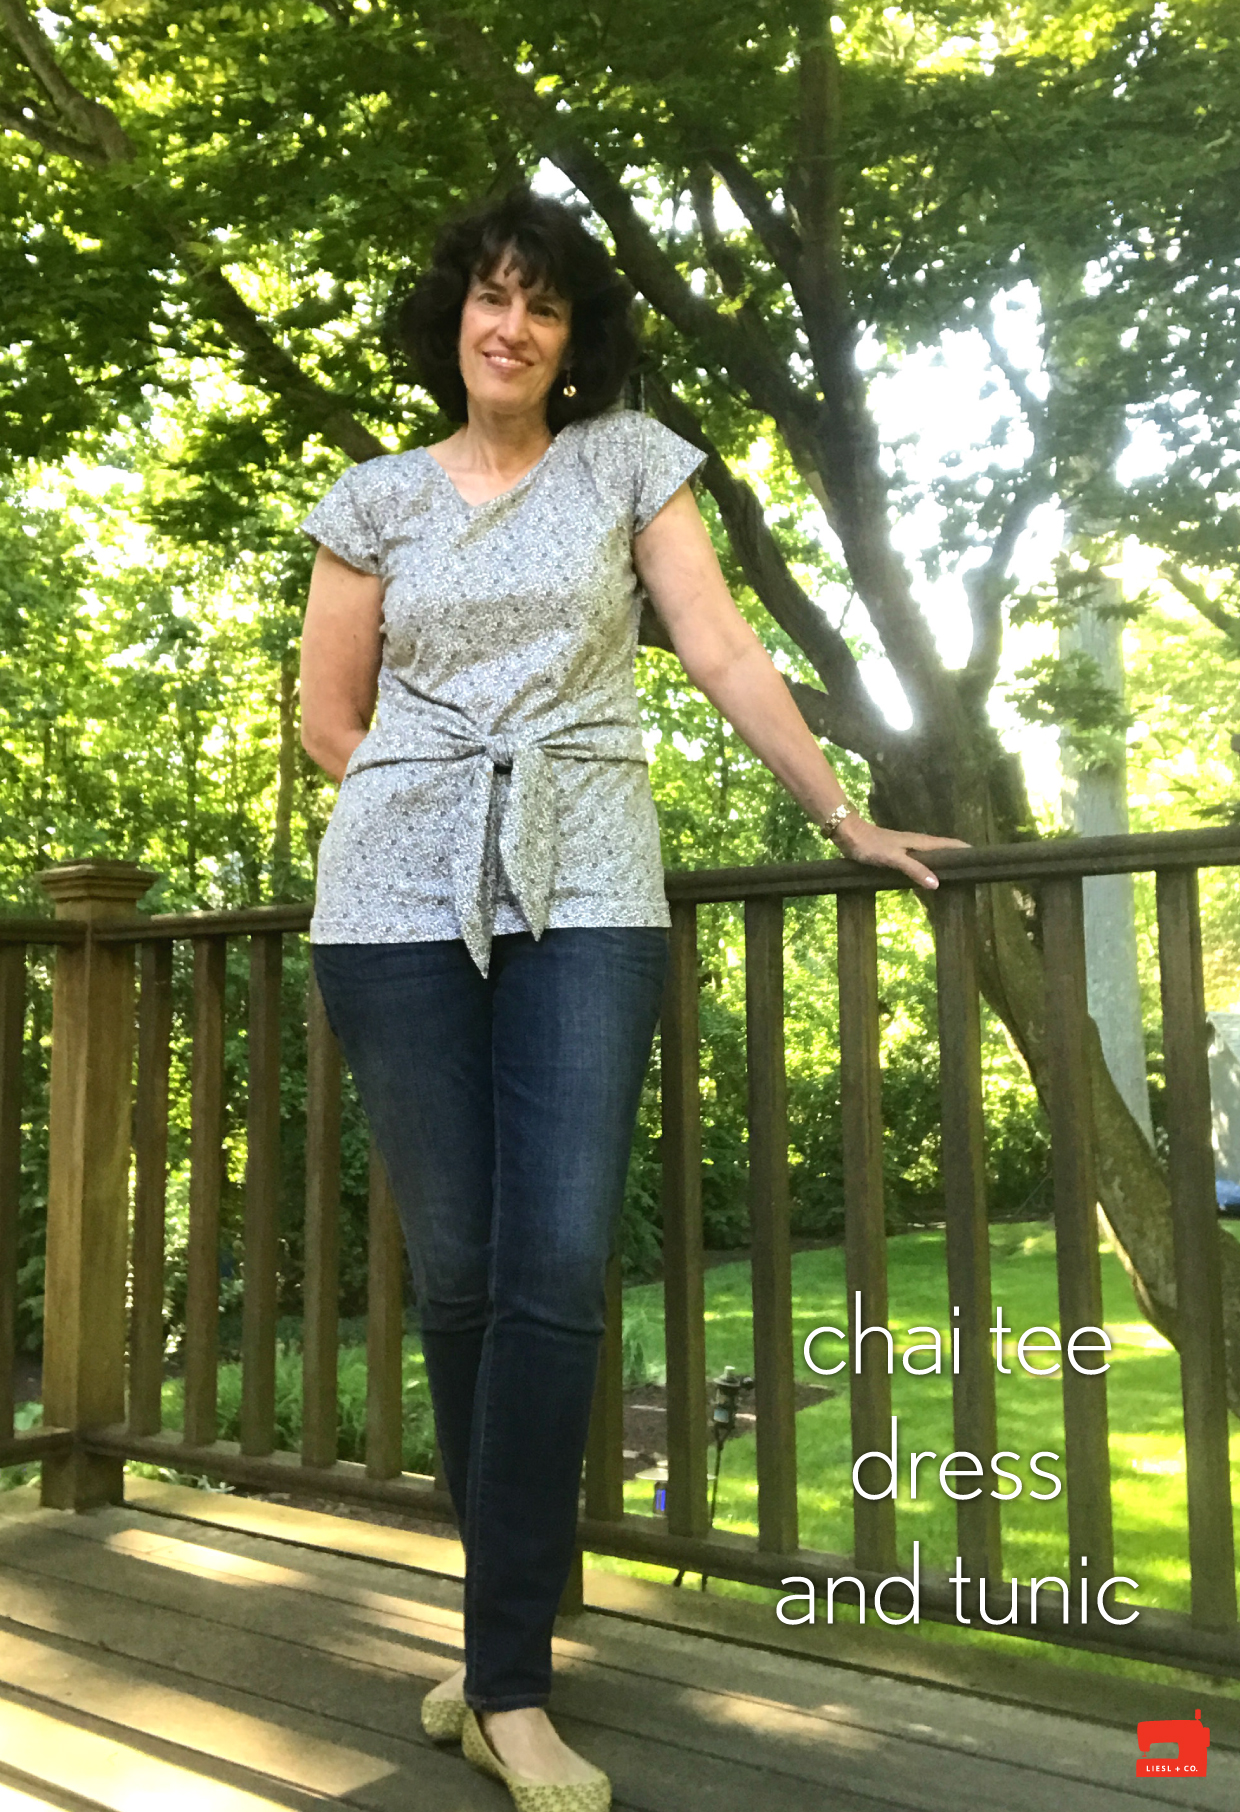
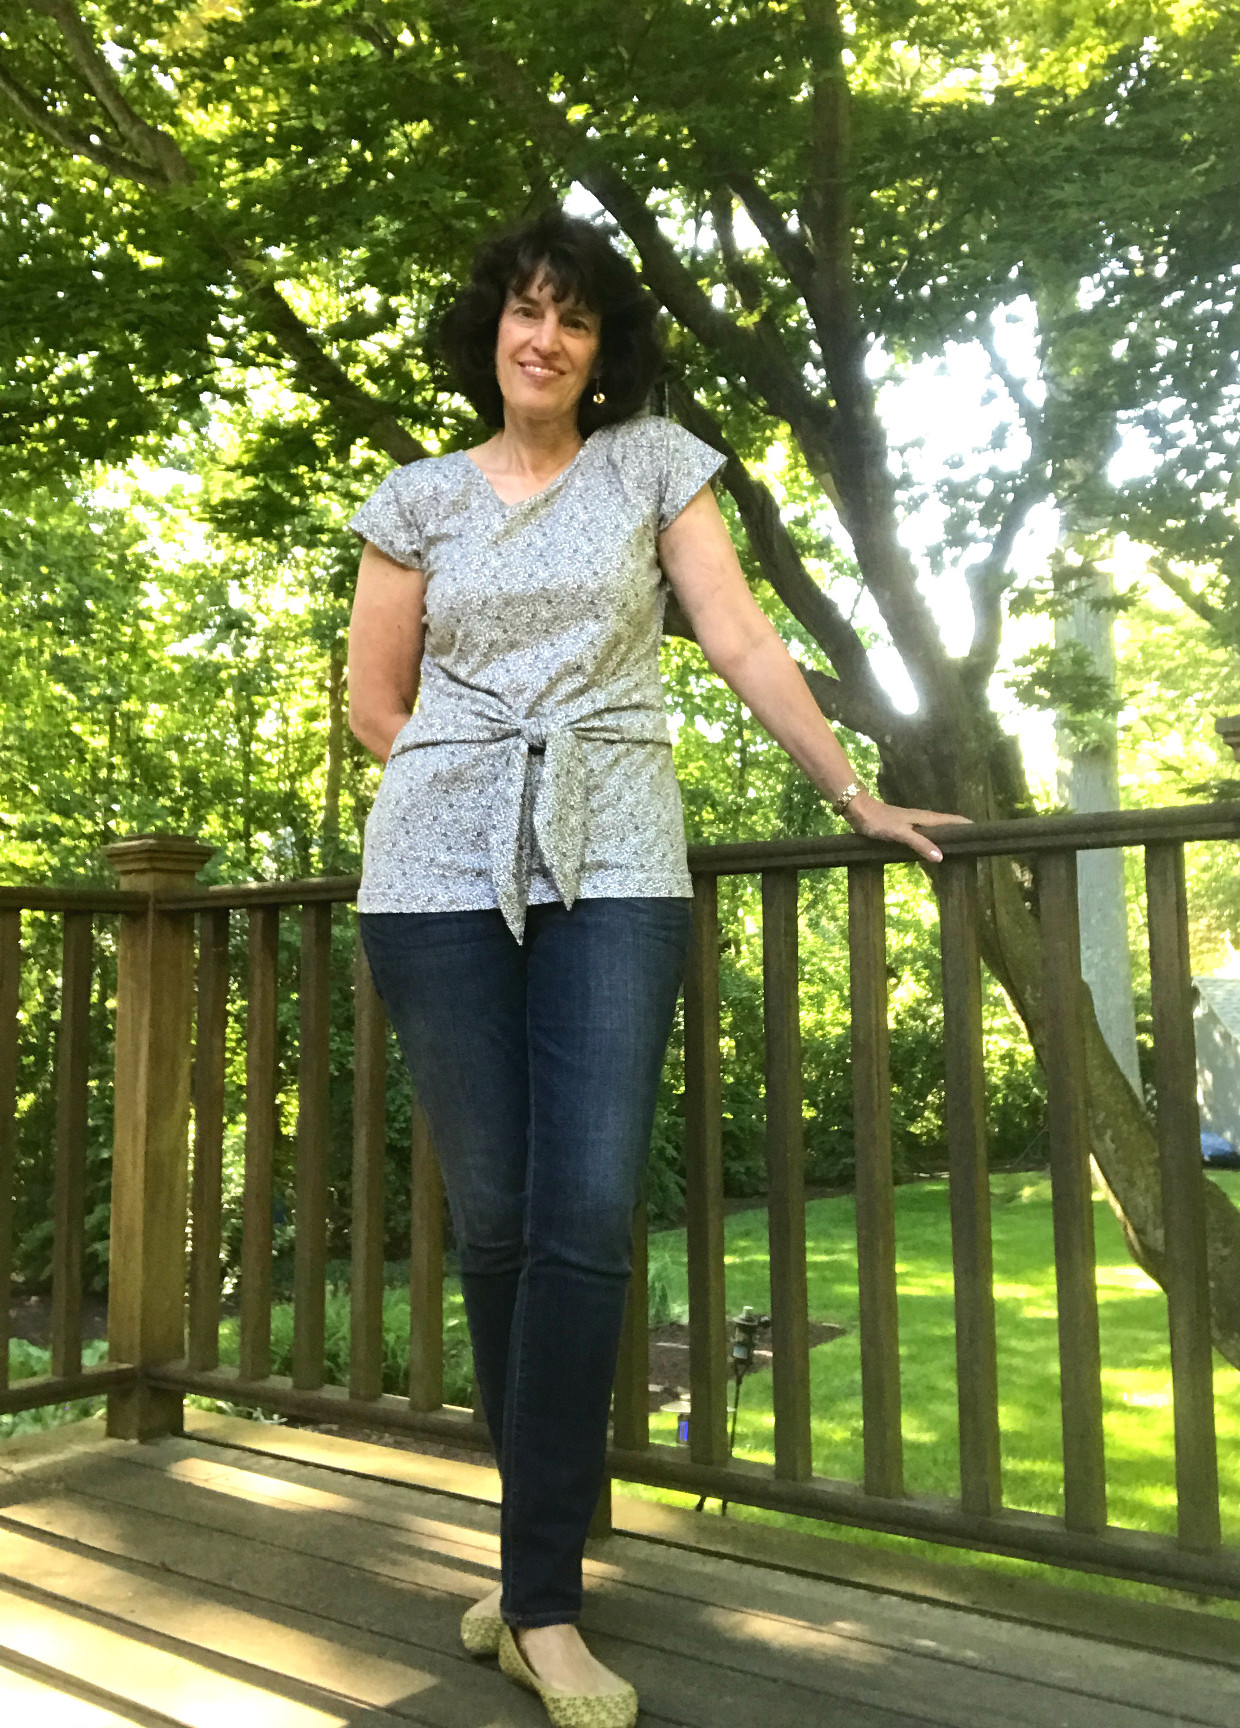
The Chai Tee comes with bust sizing, so there is no need for a full bust adjustment, and of course, it comes in the full range of misses sizes so you are all set if the largest tween size of the Girl on the Go Dress isn’t for you! I didn’t need a dress, so instead extended the Chai Tee to a tunic length and added the ties.
To turn the Chai Tee into a dress or tunic, the pattern needs to be extended to the finished length and then walking ease added to the hips for the dress. (I graded from a small in the top to a medium at my hips for my tunic but didn’t add additional walking ease) To get started, you will need a few measurements:
- Total finished length from your back neck to the hem of the dress or tunic. My tunic is 26 inches from my center back neck and my daughter’s dresses are 31 and 36 inches.
- Your back neck to waist measurement (narrowest part)
- Your hip measurement at the widest part
- Your waist to hip measurement. Not everyone’s widest part is in the same place – one daughter’s waist to hip measurement is 7 inches and another’s is 9! My dress form’s widest part is 8 inches below her waist.

Begin by tracing off the back piece of the Chai Tee and then extend it to your desired finished length (Don’t forget to add a hem allowance!). Do not use the “lengthen pattern here line” but extend the center back length and then add the same amount to the side seam. Using your back neck to waist measurement, mark your waist on the pattern.
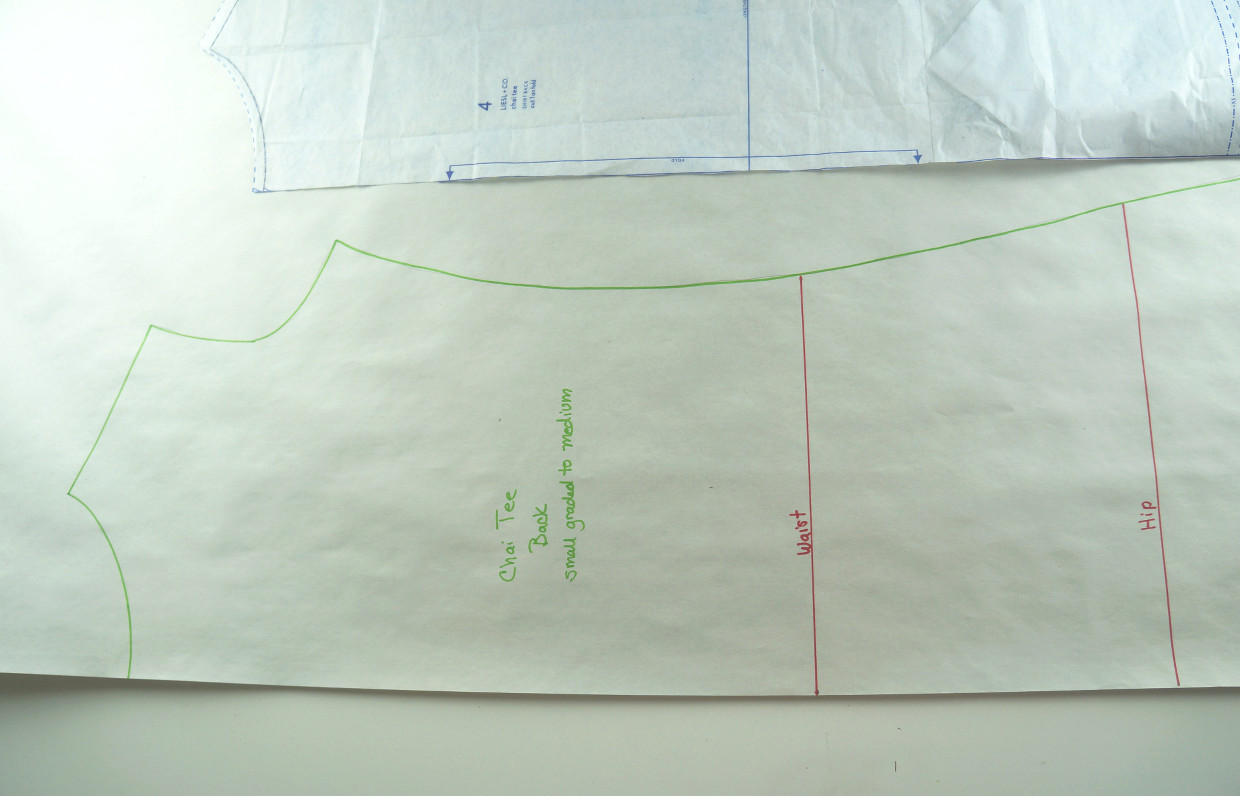
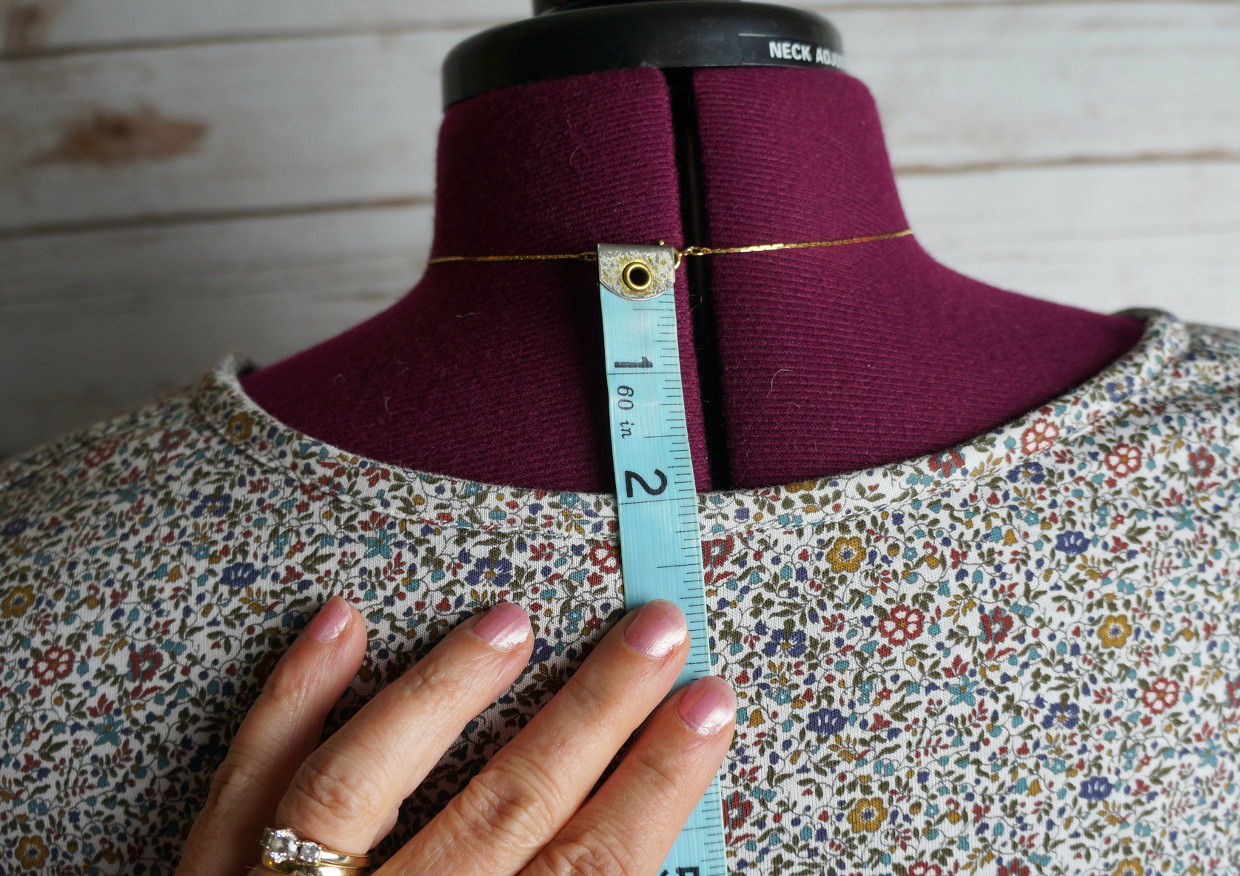
The center back neckline of the Chai Tee is 2 inches below the actual center back neck so make sure to allow for that by subtracting 2 inches from the back neck to waist measurement before marking it on the pattern.
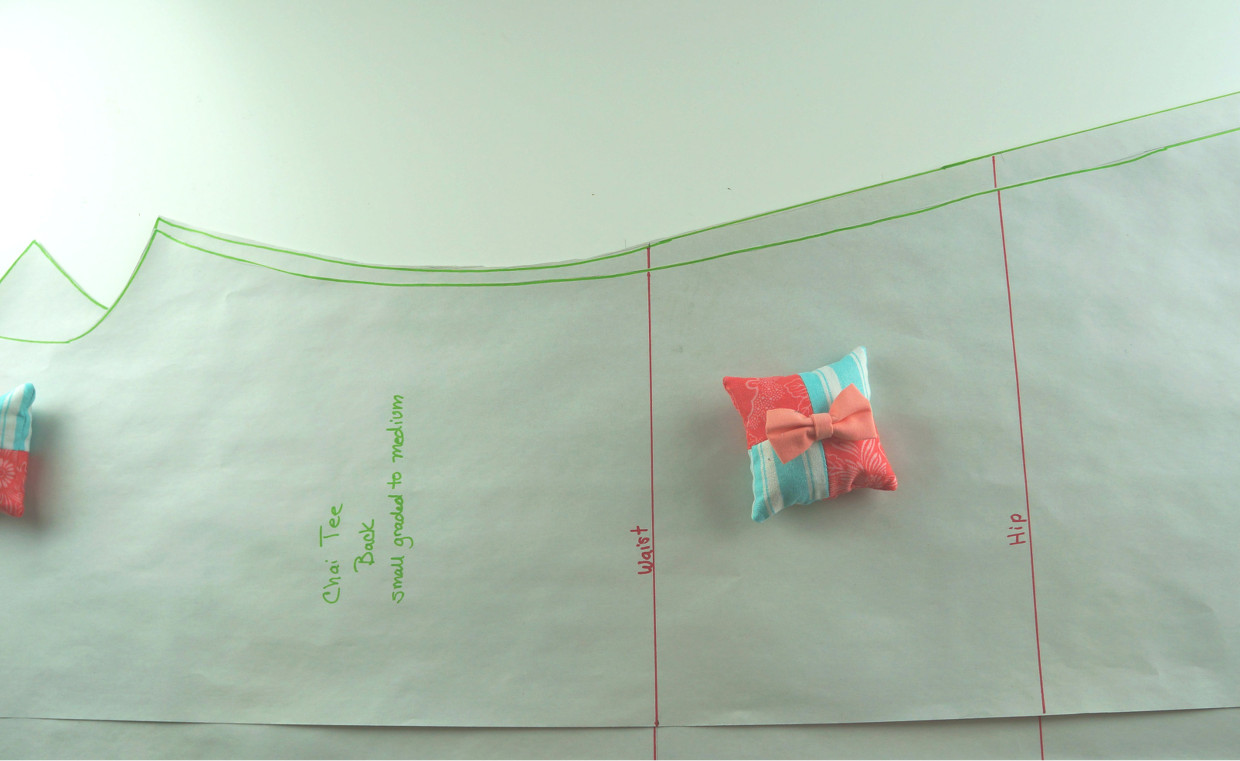
Using your waist to hip measurement, measure down from your waist line on the pattern and mark your hip line. Trace off the front pattern piece of the Chai Tee and extend the length by the same amount that you added to the back pattern piece. Lay the front pattern piece on top of the back pattern piece, lining them up at the underarm. Mark the waist and the hip on the front pattern piece.
Now measure the hip line on both the front and back pattern pieces. Add them together and multiply by 2 to get the total diameter of the hips and subtract 2 inches for the seam allowances. Compare this number to your actual hip measurement. You want the pattern to be 4 inches larger than your actual hip measurement to allow for walking ease. Liesl advised that you don’t want more than 4 inches of ease or the side seams will be pulled to the front by the waist ties.
So, for example, the initial hip measurement of the pattern was 43” – 2” Seam Allowances = 41”. Actual hips measured 42” plus 4” of ease = 46 inches. I needed to add a total of 5 inches (46-41) to the dress at the hip line. Divide the amount that needs to be added by 4 and extend the hip line by that amount. In my case, I added 1 ¼ inches at the hip line to both the back and the front.

Grade out from the waist to the hip line and extend that line down to the hem. Your pattern is now altered and ready to be cut out! For the ties, I used the size 18 Girl on the Go ties. If you would like them longer, just extend the pattern at the end that attaches to the dress to make them as long as you would like. Sew the Chai Tee as instructed in the pattern except remember to baste the ties, centering them on the waist line of the front dress, before sewing the back to the front at the sides.
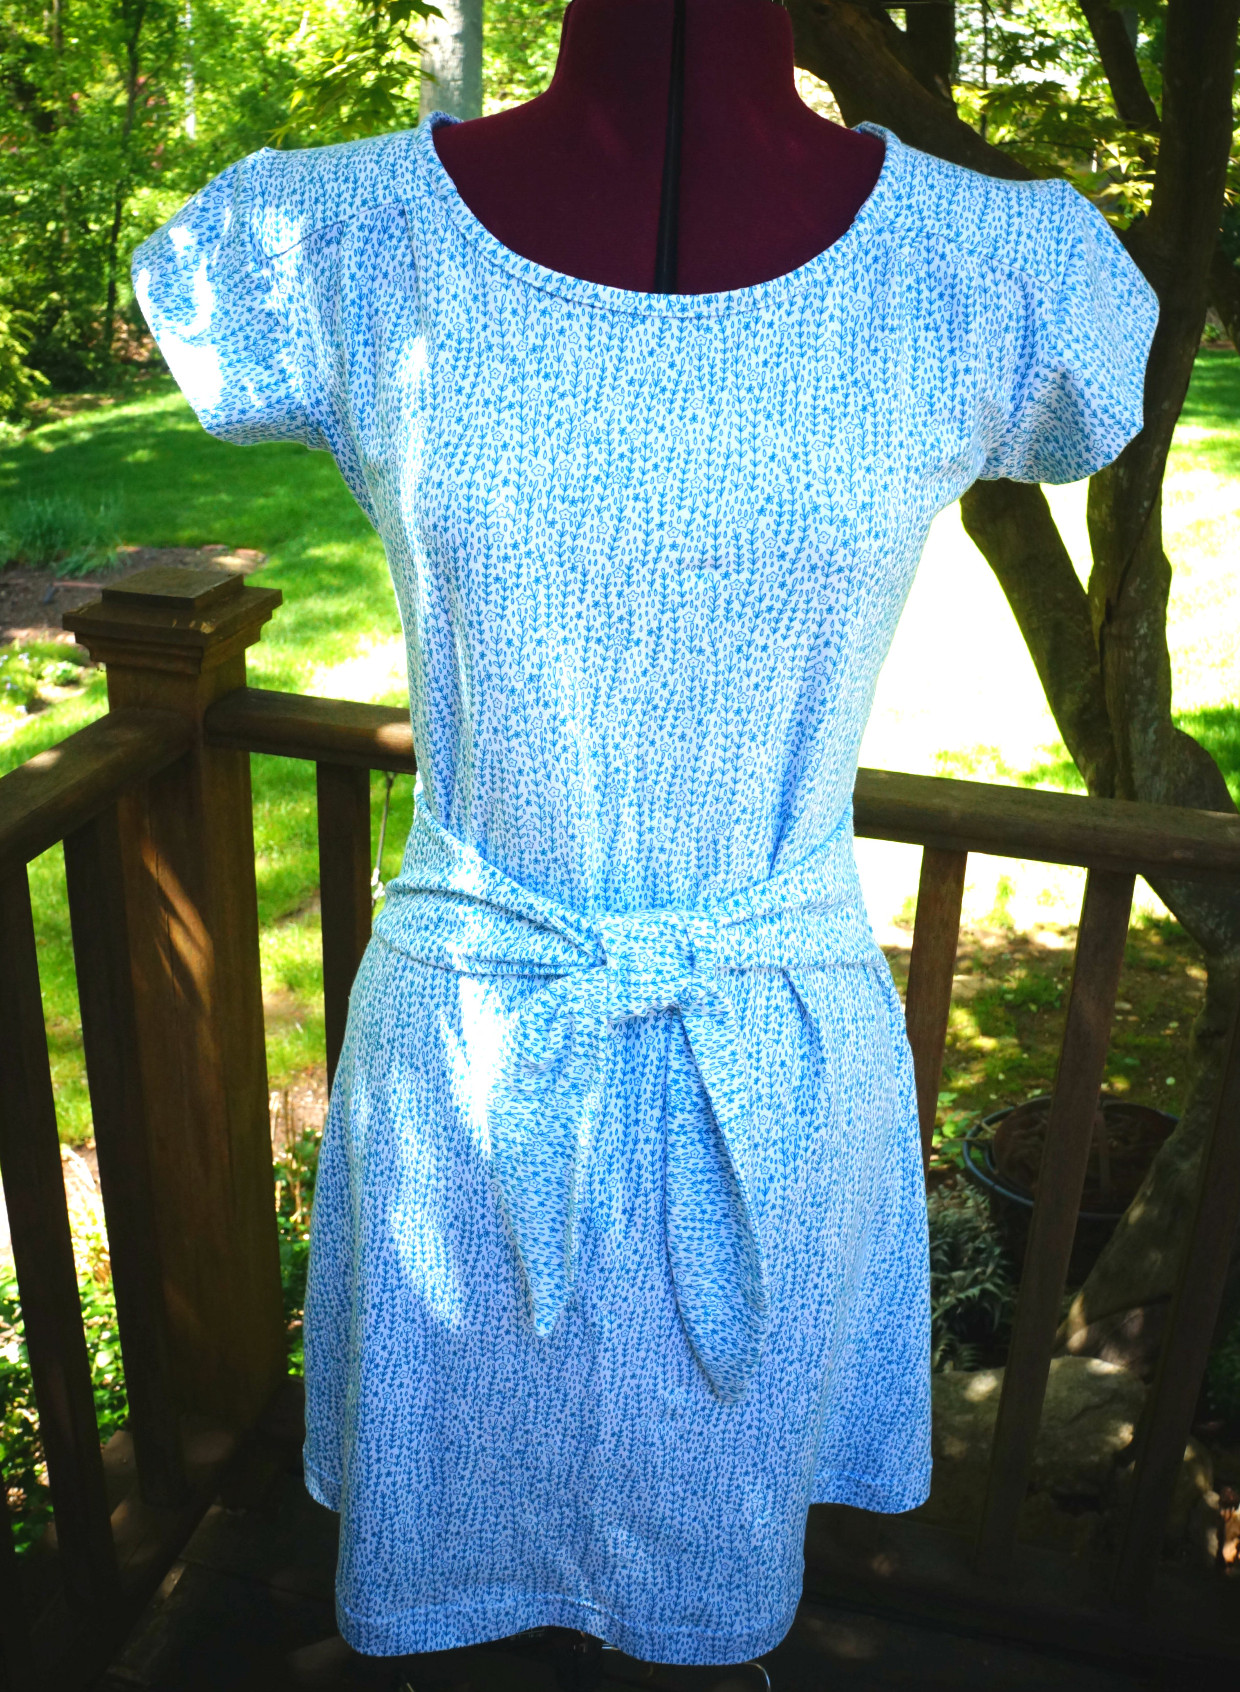
My daughters love their dresses and I am thrilled with my tunic! All three fabrics are available from Pink Hollybush Designs.