

We are delighted to welcome back Rebekah who blogs at Wisconstitches. A couple of months ago she stopped by to talk about her favorite Oliver + S pattern. She is returning today to share her exquisite formal flower girl dress and she has included a lacework tutorial. Here it is. Enjoy!
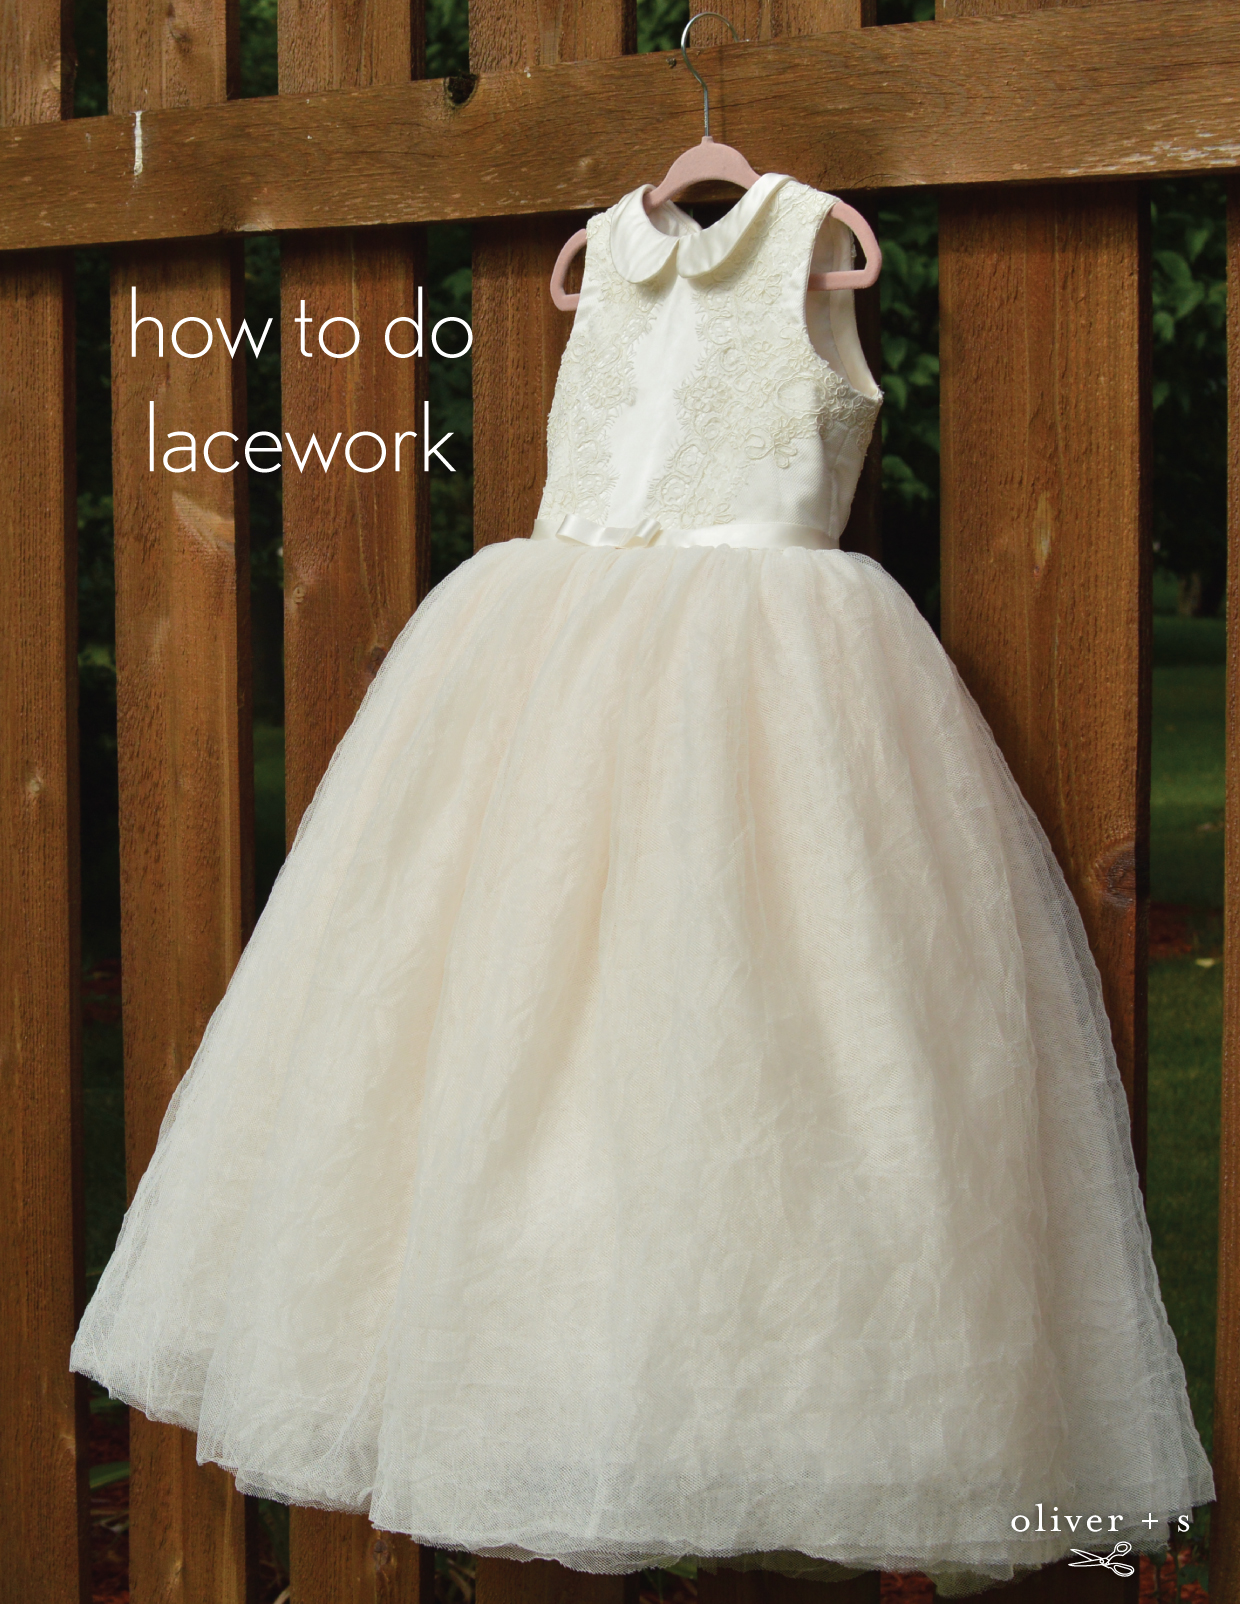
Hello again fellow Oliver + S lovers! Today I wanted to share a variation I made of the Fairy Tale Dress for my daughter who was going to be a flower girl, and share some tips and tricks that will help you when you’re working with lace.
Before I began staying at home to raise my kids, I made custom bridal gowns. So when my niece asked if my daughter would like to be the flower girl at her wedding, I jumped at the chance to design something special. I stayed up all night playing with various lace borders I had in my stock before deciding on one: a delicate Alençon. The bride’s gown was an ivory tutu; the bridesmaids were wearing pinky-taupe. So I opted for a tutu skirt entailing four layers of ivory English net over ten layers of mixed ivory and blush tulle, giving a layered hue that would change in the light as she moved. After playing with the border in various ways on her figure to see where the pattern placement would be best put to use, I decided the Fairy Tale Dress was the perfect pattern for a start: elegant and traditional in shape for a flower girl, easily adaptable to a full tutu skirt, and a good structured bodice to be a base for lacework.

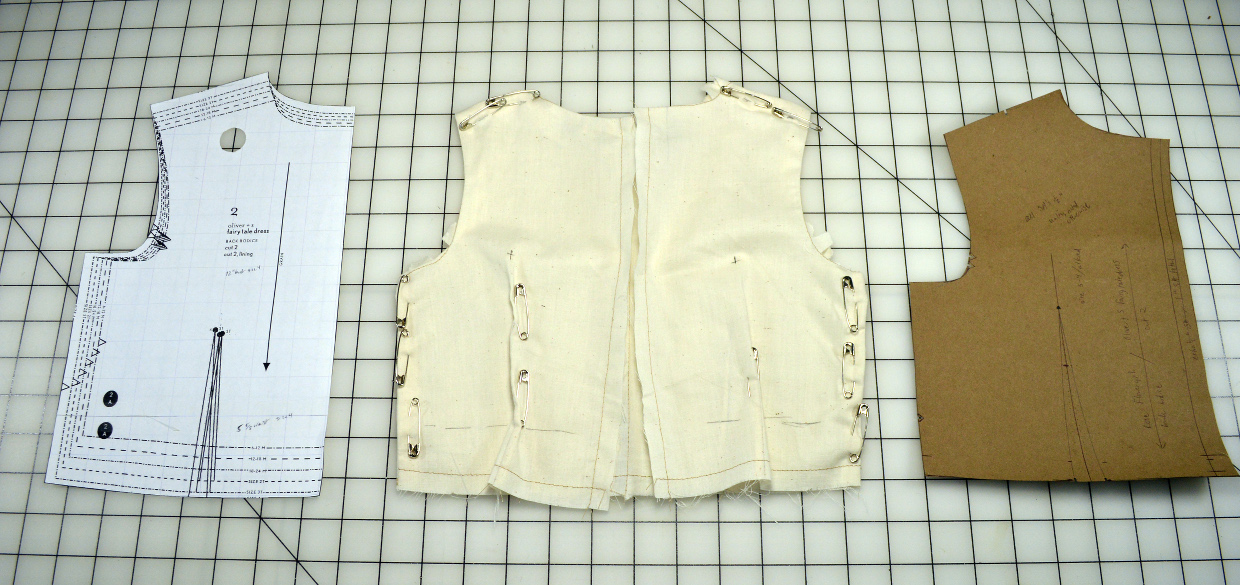
I made a mockup of the bodice and fit it to my daughter before cutting into the final fabrics. I deepened the back darts and eliminated the front darts completely (as she still has a little bit of a toddler belly), and I took the shoulders up a pinch. Tying a ribbon around her waist, I drew a line where her level natural waist sat on the bodice and shortened the pattern accordingly, as the tutu needed to fall straight and level.
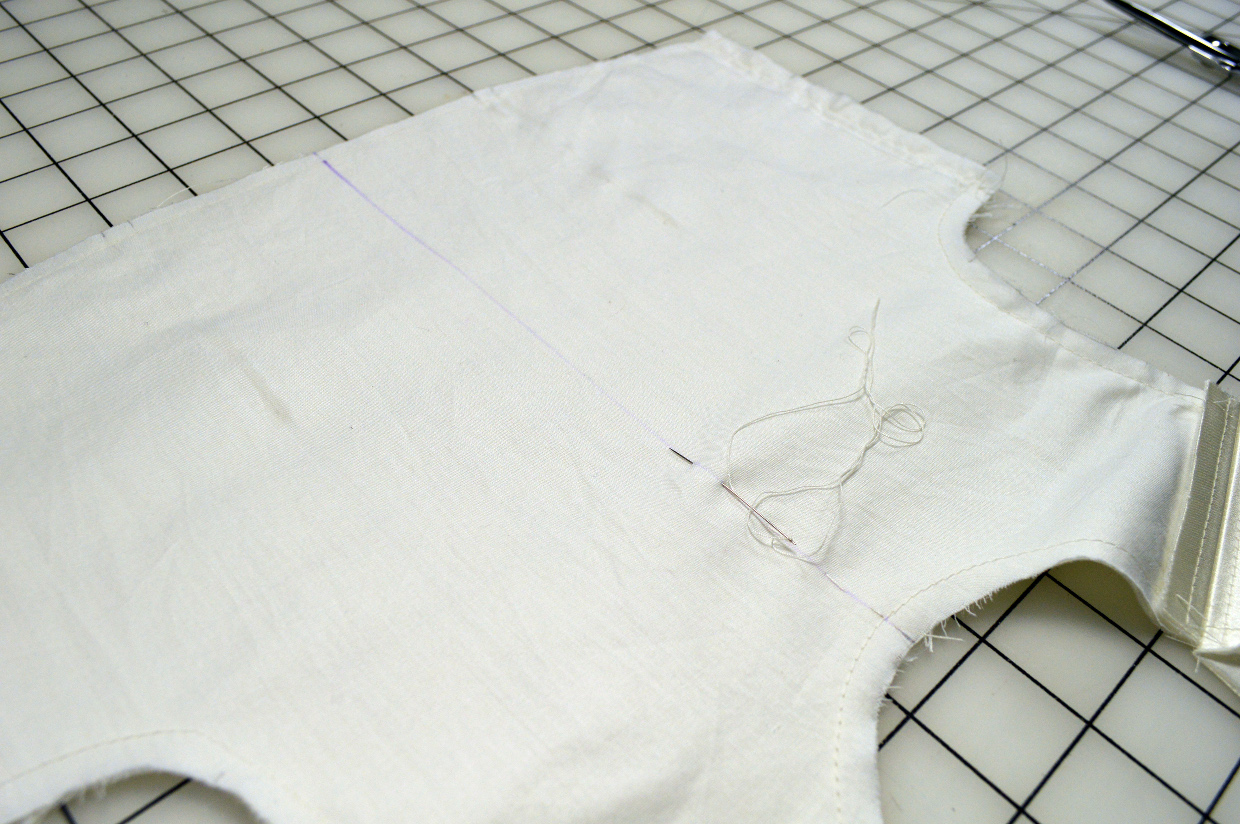
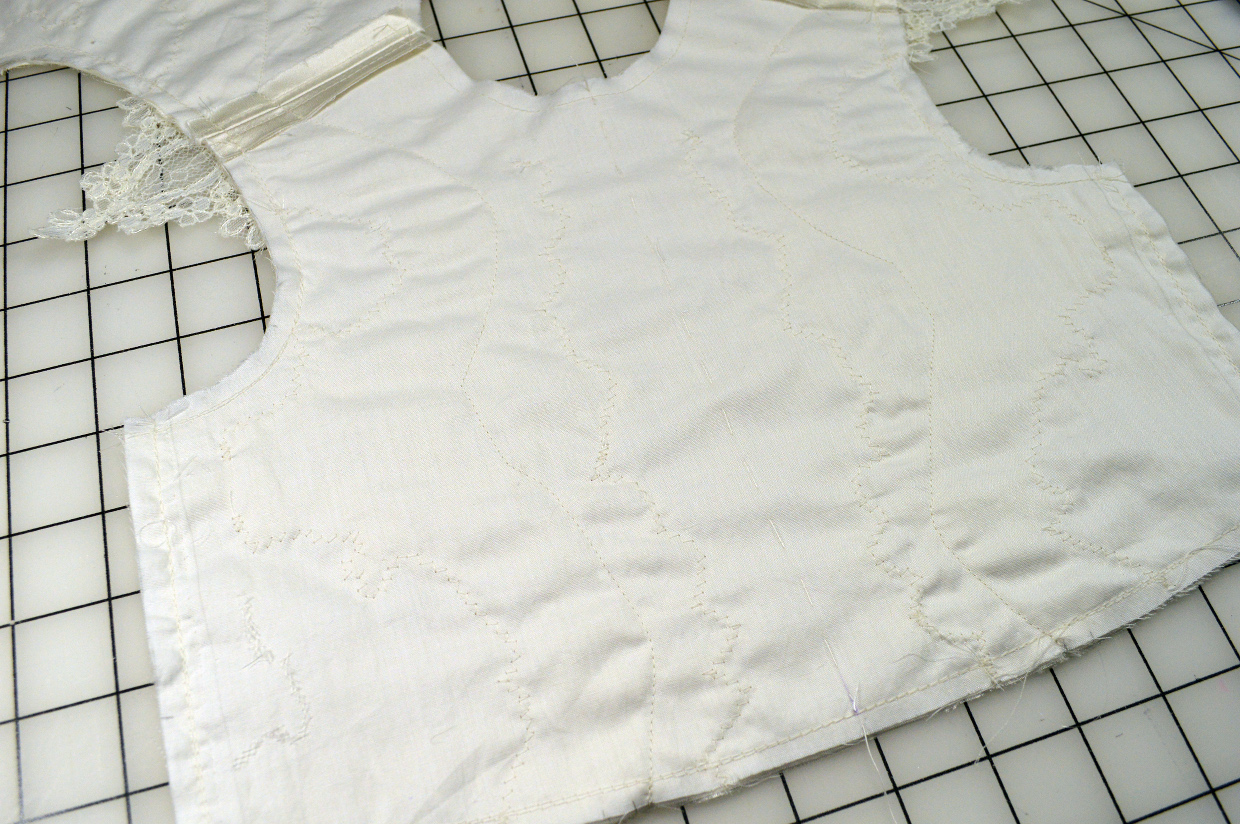
I like to make sure when working with lace that it will be supported properly. For this bodice, I chose to cut layers out of ivory silk satin, ivory silk organza to add crispness and structure, and an heirloom cotton batiste to add body and color. I began by basting all these layers together with a larger stitch, a scant 1/2″ in from the cut edge so the stitch wouldn’t be seen in the final garment (this is often referred to as “flat lining”). I then sewed the shoulder seams, as I wanted the lace to be continuous over the top from front to back. I also thread traced a line down the middle of the bodice in silk thread by hand, which can be removed without leaving any marks.
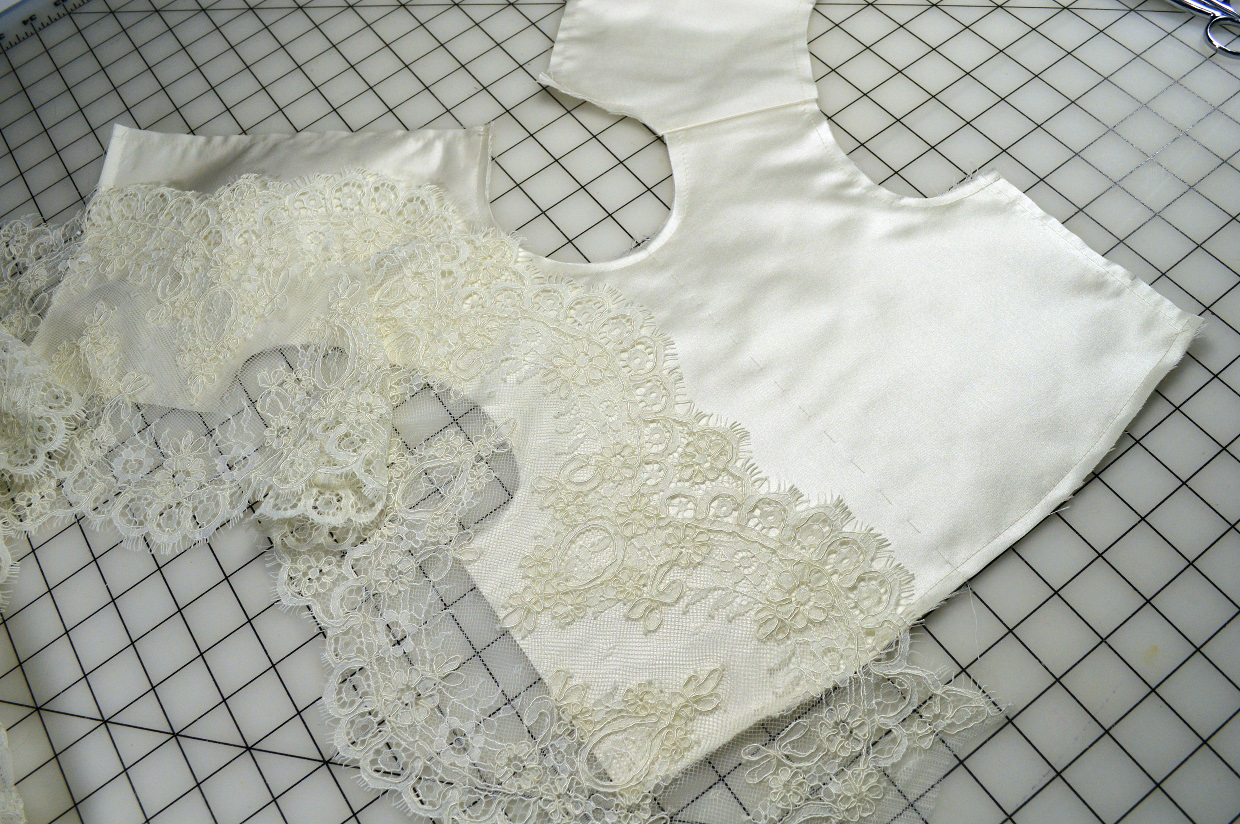
Lace time! Borders frequently come in a mirror image that need to be cut apart. I laid the border across the garment and played with where I wanted the pattern on the bodice, and then marked off generally how much I needed.
Using my 5″ tailor point scissors, I trimmed the border apart, following the cording line.
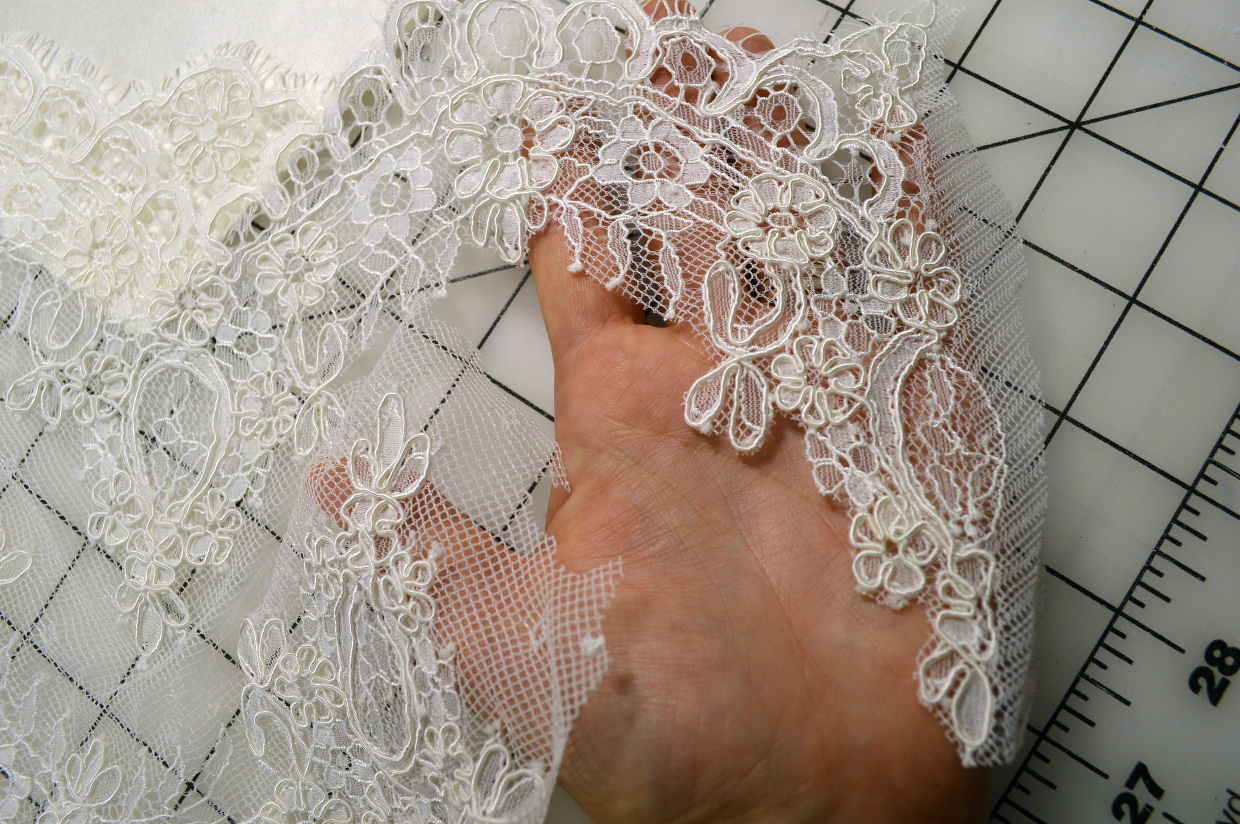
I cut sections of the same ivory net used in the skirt to slide under the border that would continue out to the sides (these would be trimmed down to exact size later).
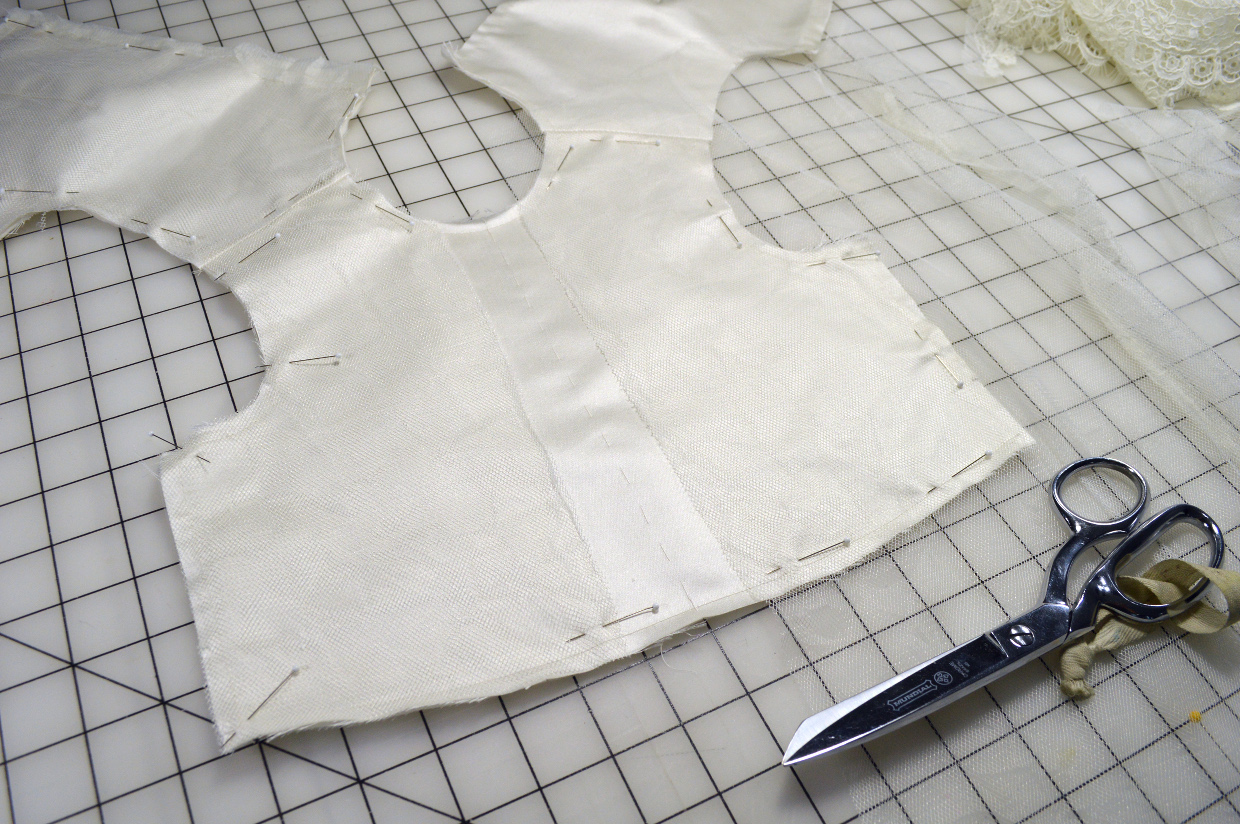
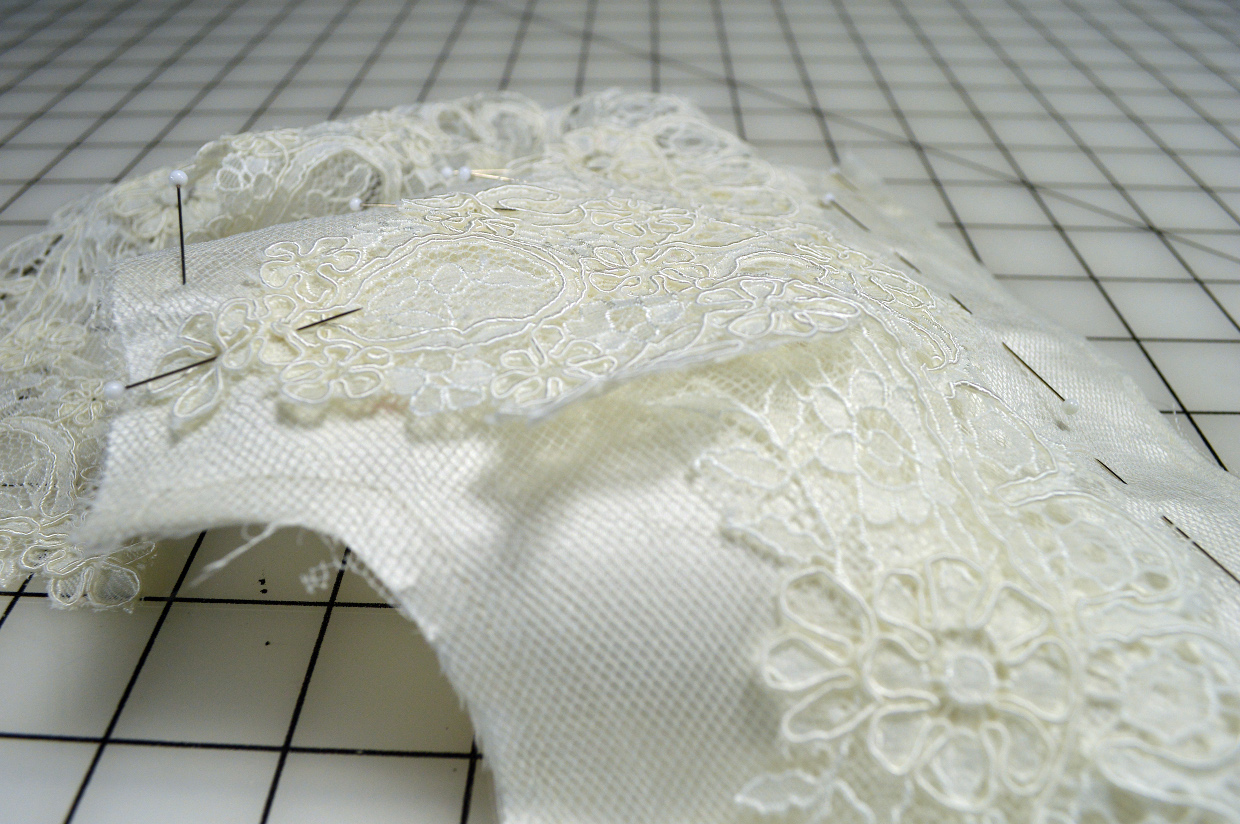
I wanted the border spaced apart a bit down the center, and used the thread traced center line as a guide. Starting at the underarm, where my most prominent motif sat, I worked down the front and up over the shoulder seam pinning the border into place.
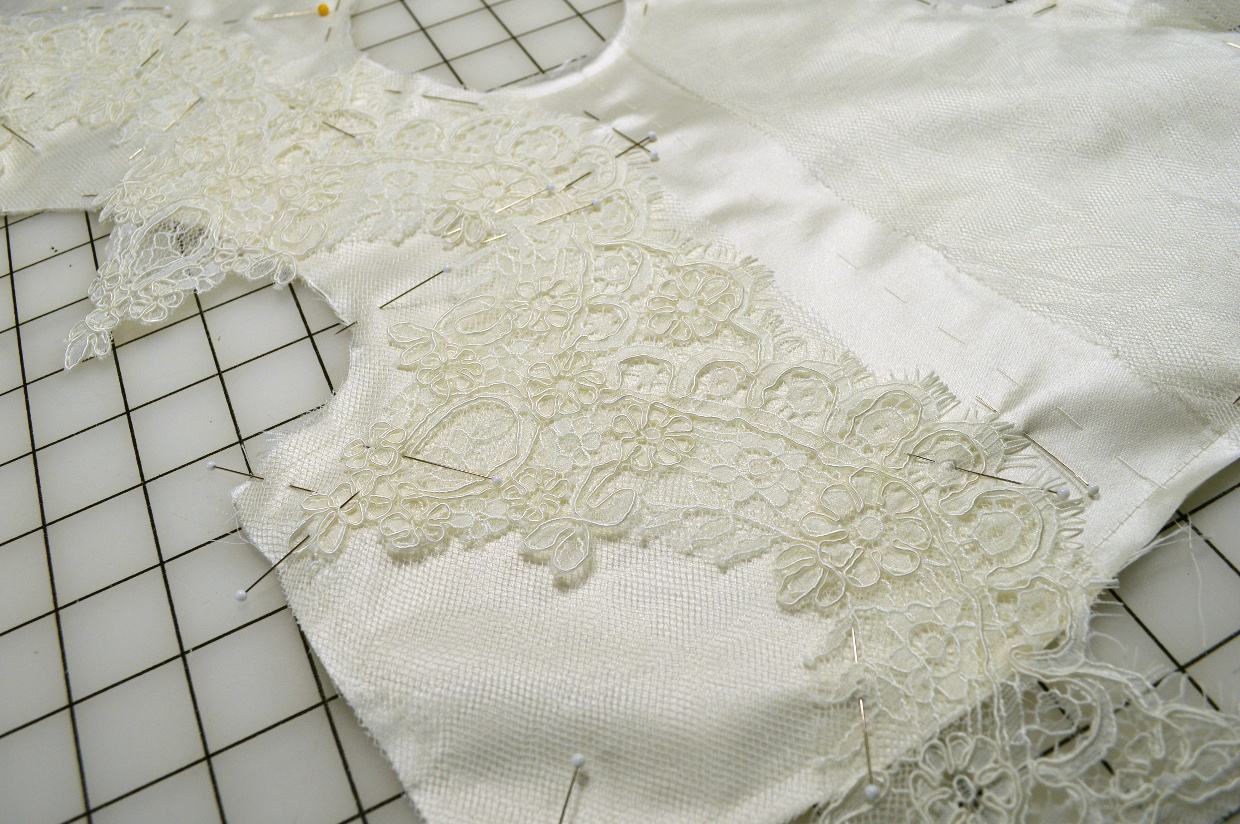
A little shaping needed to be done around the bottom of both underarms, much like sewing a dart. In lace, this is accomplished by cutting along a section of the motif where your bubble is happening until it lays flat. The lace can then be overlapped and pinned into place as much as needed, and will be stitched down.
Then to sewing! I like to stitch lace with an invisible thread in the needle and a matching ivory thread in the bobbin, and use a size 12 needle so the invisible thread will glide easily and not snap. You can stitch in straight lines or zig zag as needed for the lace you choose. I opted for a combination. I used a straight stitch down the main curved scallop to first tack the piece in place, and then used this as a line to trim away the netting so it wouldn’t show under the section of more openwork.
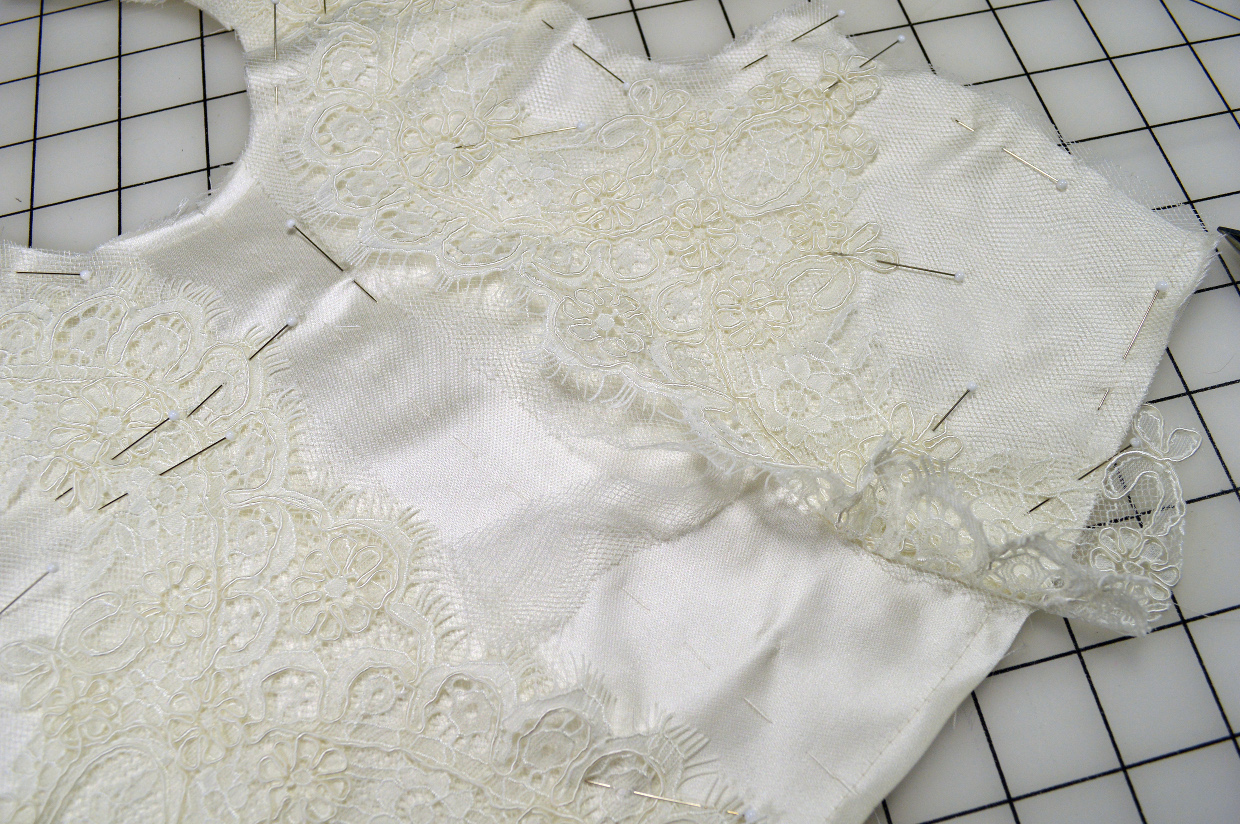
Then I used a zig zag set to 2.5 in width and 2 in length along the very outer edges, with the stitch encasing the cut edge of the lace. At the overlapped sections, I pivoted and worked inwards following the motif until the end of the cut. I then used a basting stitch along the outsides of all edges of the bodice to hold the net and the long sections of lace in place, like a secondary line of flat lining.
At this point, I just followed the instructions for the rest of the dress! The skirt tutu layers I cut 108″ wide by her waist to floor measurement, and gathered them in packs with my gathering foot, applying them carefully to the waist after the side seams of the bodice were sewn. The English net layers were finished with a continuous lap placket out of self netting, closing with clear snaps, and the tulle layers of the skirt closed with the invisible zipper that extended up into the bodice.

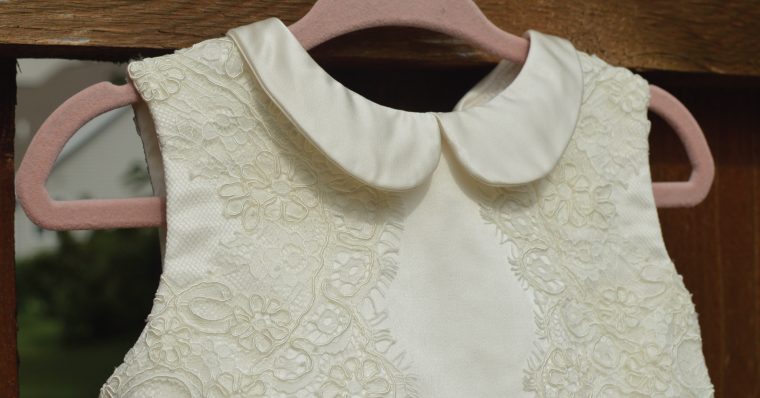
The collar was made from the same silk satin as the bodice, interlined again with organza and batiste to keep it crisp and opaque.

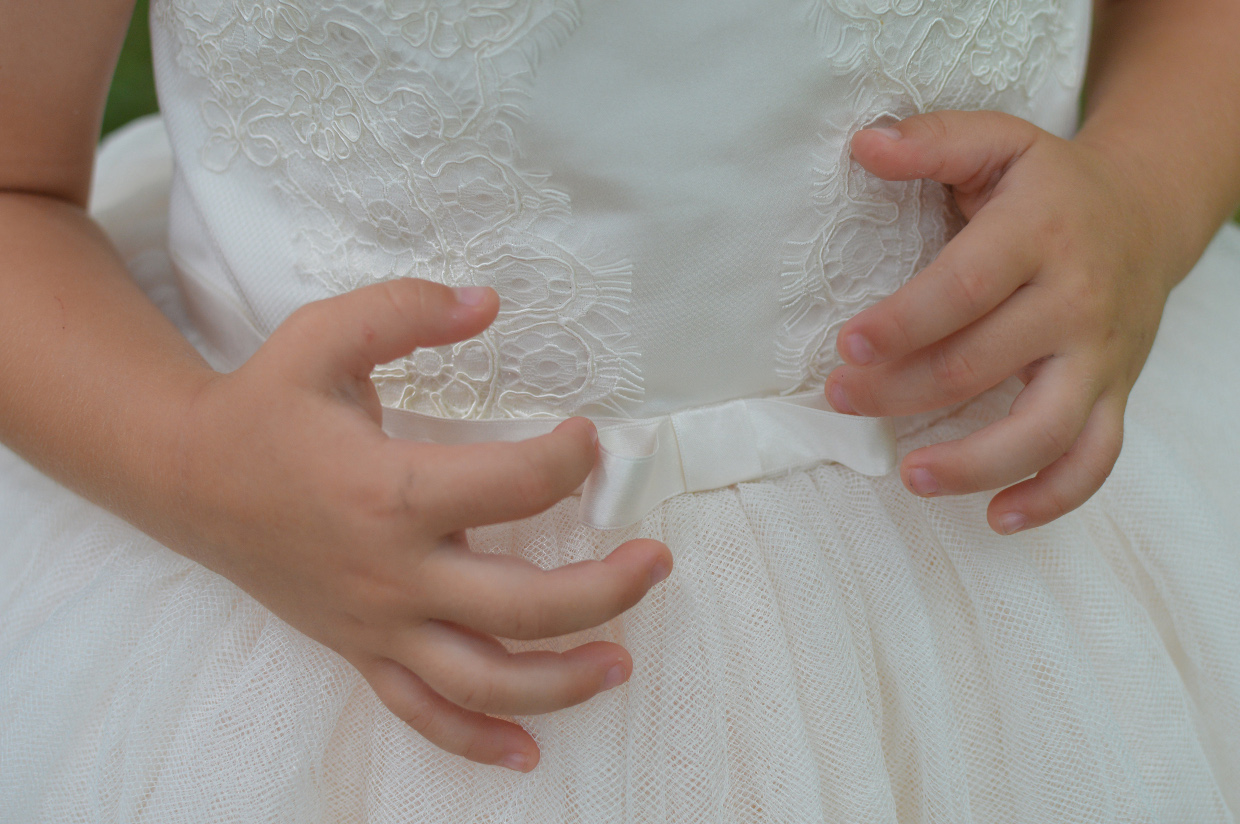
The silk satin ribbon bow at the waist was the perfect finishing touch.
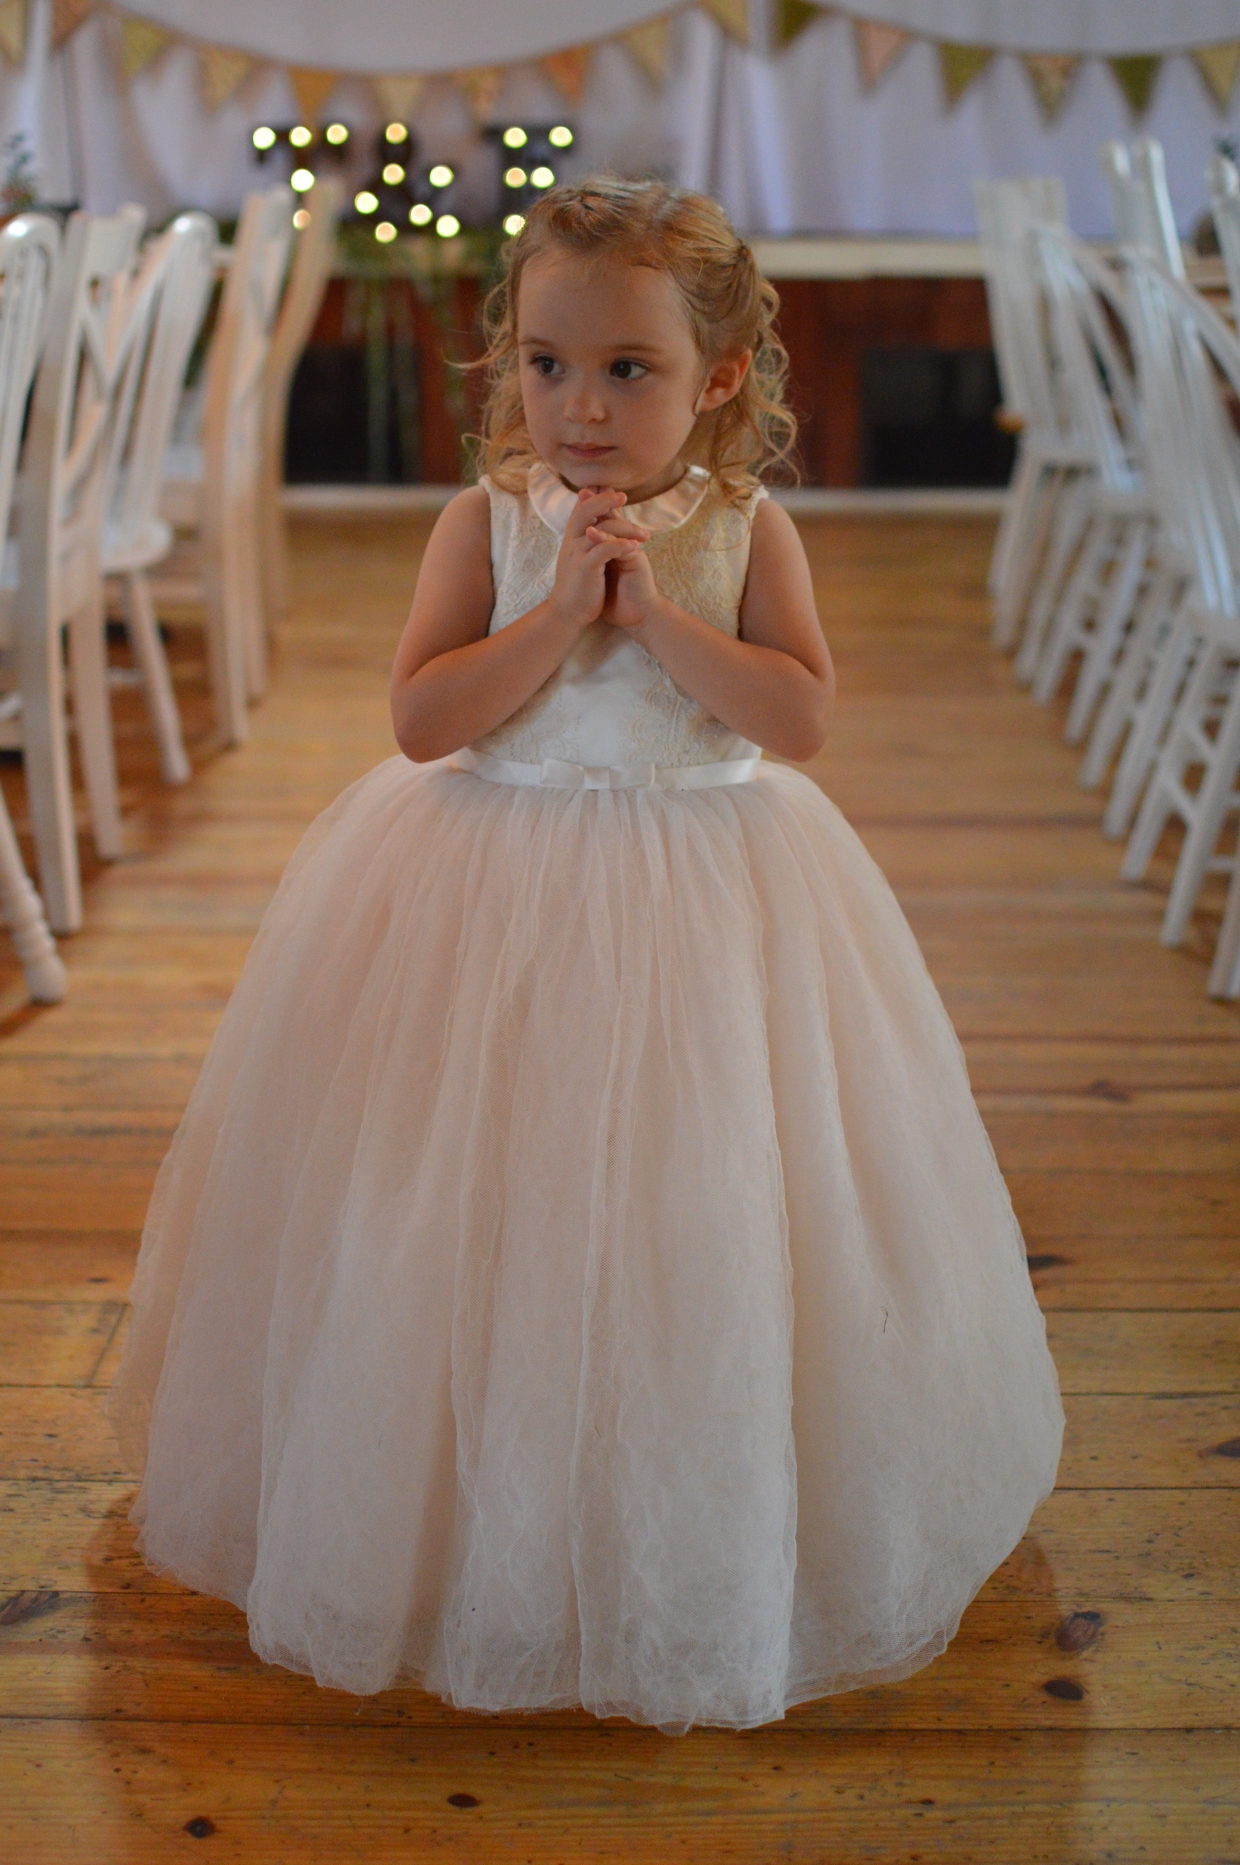
When the big day finally came, she was so excited that she got to be “one of the princesses” in the wedding party!

The bride and bridesmaids actually made her feel like she was one of the big girls. She twirled and danced the night away! The Fairy Tale Dress pattern turned out to be the perfect choice: comfortable enough for her to wear comfortably for a long day and a true heirloom of a garment at the same time. Judging from all the smiles and laughs and hugs and kisses, I think she loved wearing it as much as I loved making it for her.

Photo credit for the last two images goes to Carly Vitrano Photography.
Thank you Rebekah!
And in case that wasn’t enough of a fix for you, here are some other posts we had on the blog that you might be interested in: