
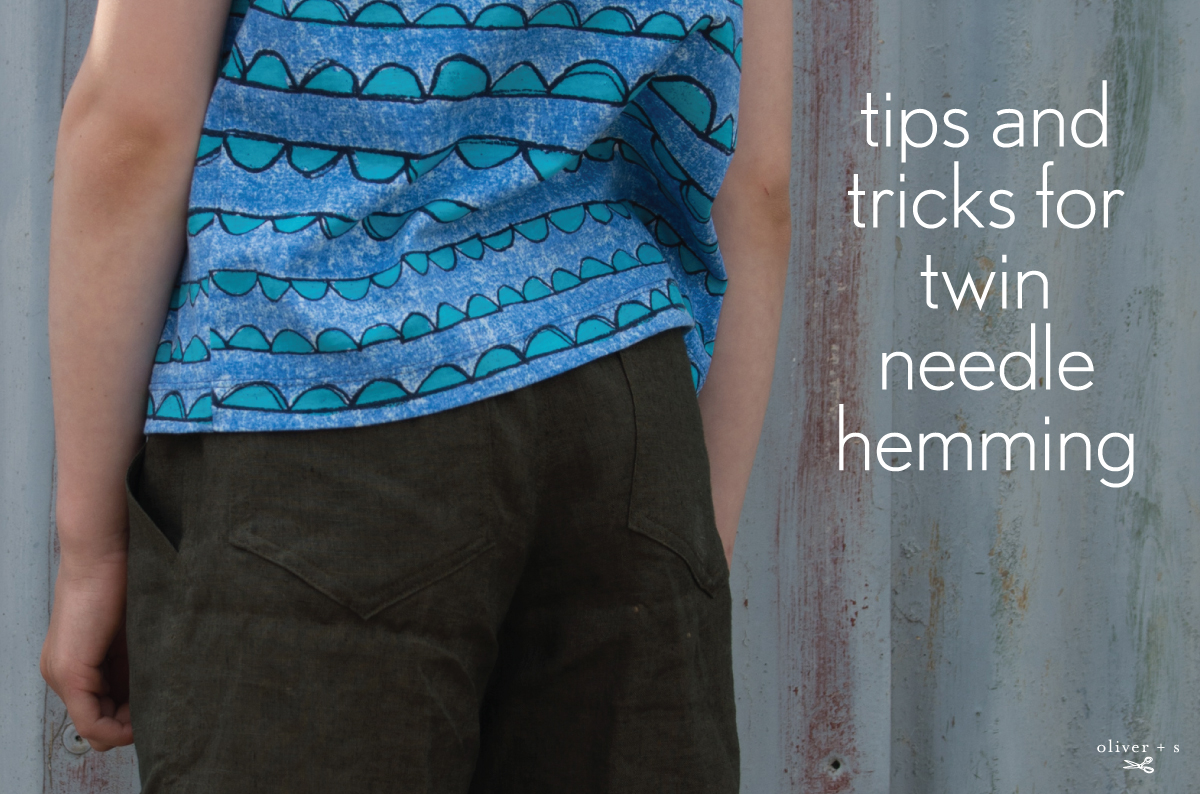
Our regular contributor, Shelley, is back today with some fantastic tips for twin needle hemming on knit fabrics. Let’s hear more from the lady herself.
Have you made any garments for your kids, or yourself, using knit fabrics? There’s been lots of inspiration for t-shirt sewing recently and I’ve realised that a lot of the tutorials and pattern modifications that I’ve shared here in the past have involved knit sewing. Today I want to tell you the story of my history with twin needle hemming. It’s part sewing evolution story, part cautionary tale and hopefully a bit useful. Please feel free to share any tips or tricks you might have as well in the comments below.
When I first started to sew knit garments for my kids I used a zig zag stitch on my hems, or experimented with a sewing machine lettuce hem and I was happy. For the most part. But I dreamed of a knit hem that looked like the shop bought t-shirts.
I heard about twin needles and set off to find out if my sewing machine could use them and to buy one.
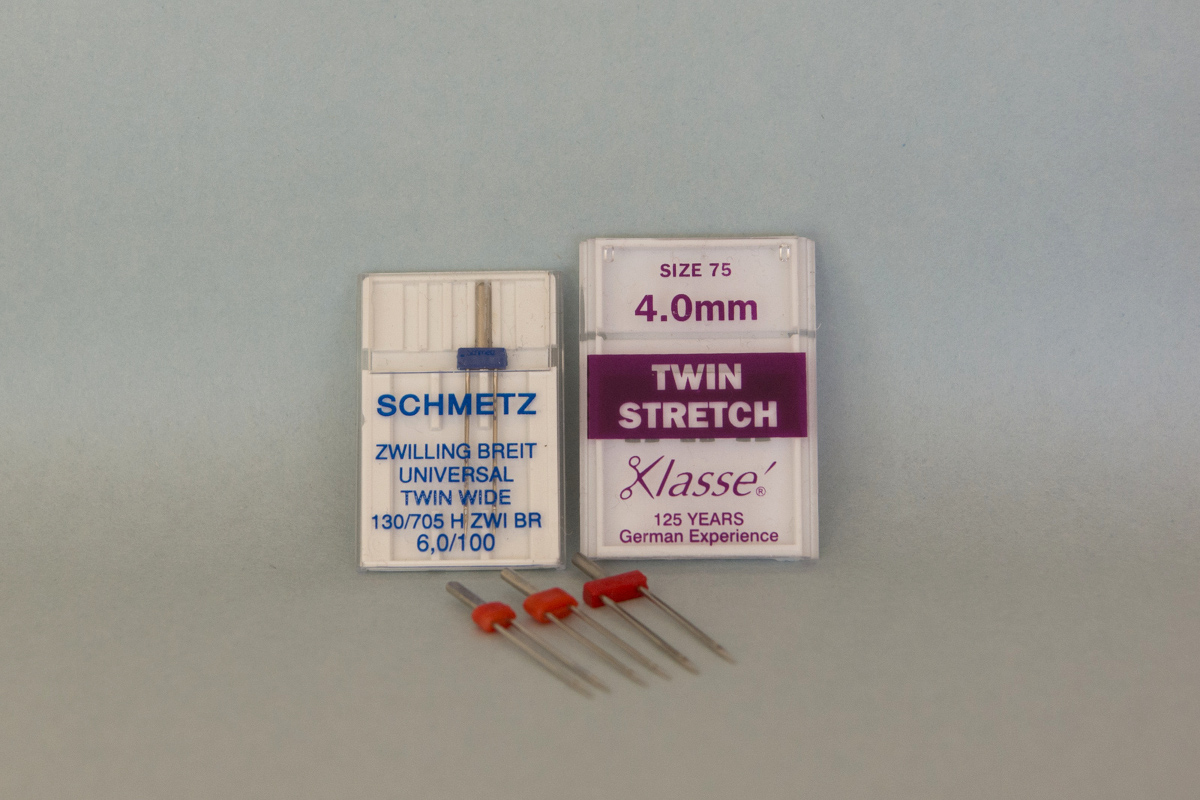
I was happy to learn that pretty much any sewing machine can use a twin needle and so I purchased one. Just one twin needle for a beginner. I went home and immediately broke my new twin needle as my sewing machine was still set in zig zag mode after constructing my t-shirt. First lesson learned.
Twin needles come in various widths and needle types. I probably only need to have the stretch twin needles, but I confess to being a bit blasé about needle types, hence that Universal one has snuck its way into the collection. I tend to use a 4mm twin needle for kids garments and a 6mm for adult garments, purely because that’s what looks about right to me.
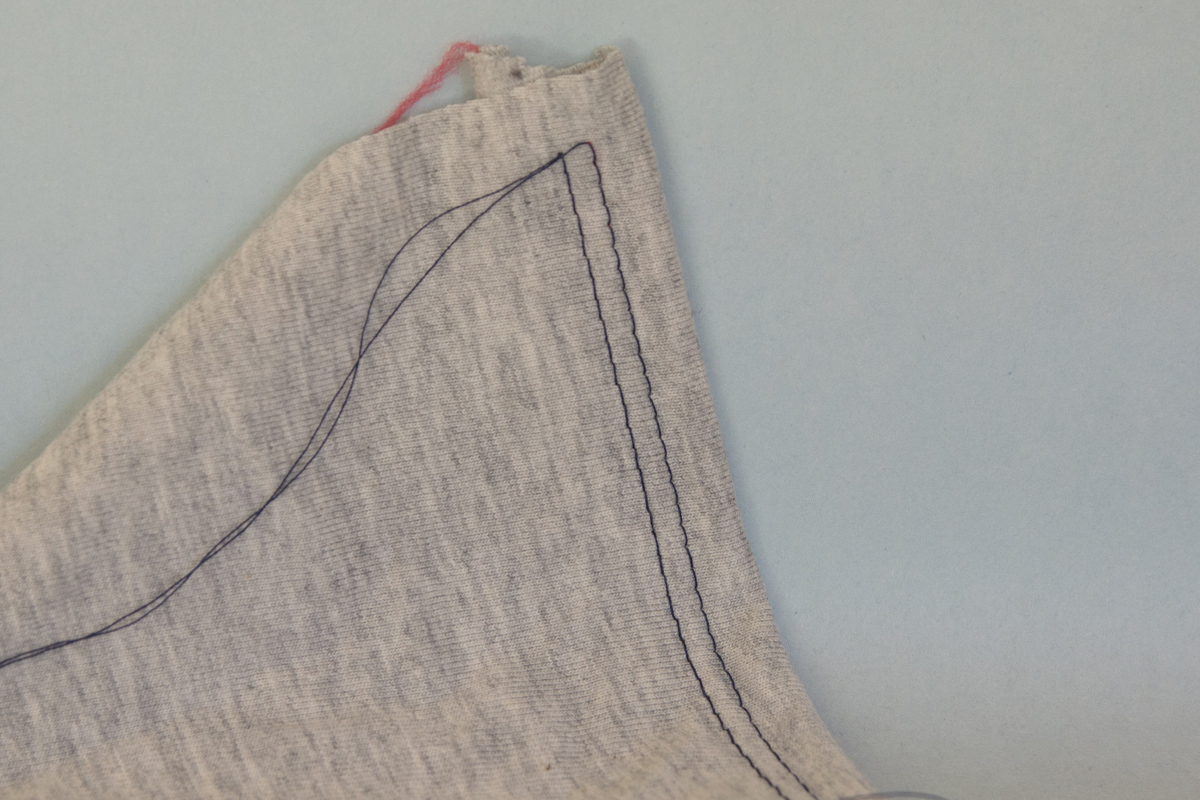
So I bought another twin needle, and a spare, and stitched my first double hems. They looked great from the front:
Although perhaps not quite right from the back.
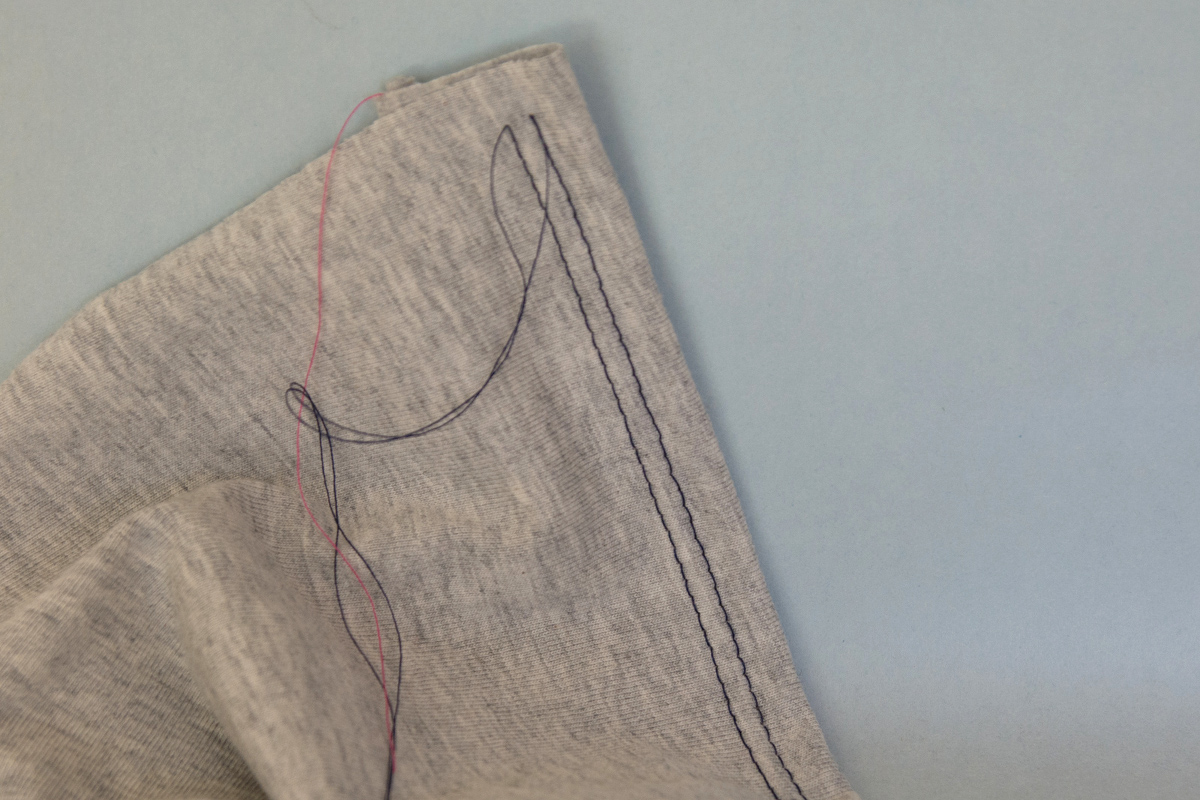
It was only after a couple of wears that I noticed the kids were breaking the hems. The bobbin thread was snapping when stretched and the needle threads all “popped.” I realized that for the hem to stretch the bobbin thread needed to zig and zag more in order for it to have the potential to lengthen.
When the needle threads appear on the underside of the fabric like that, the sewing machine manual will tell you to increase your needle thread tension. So I did.
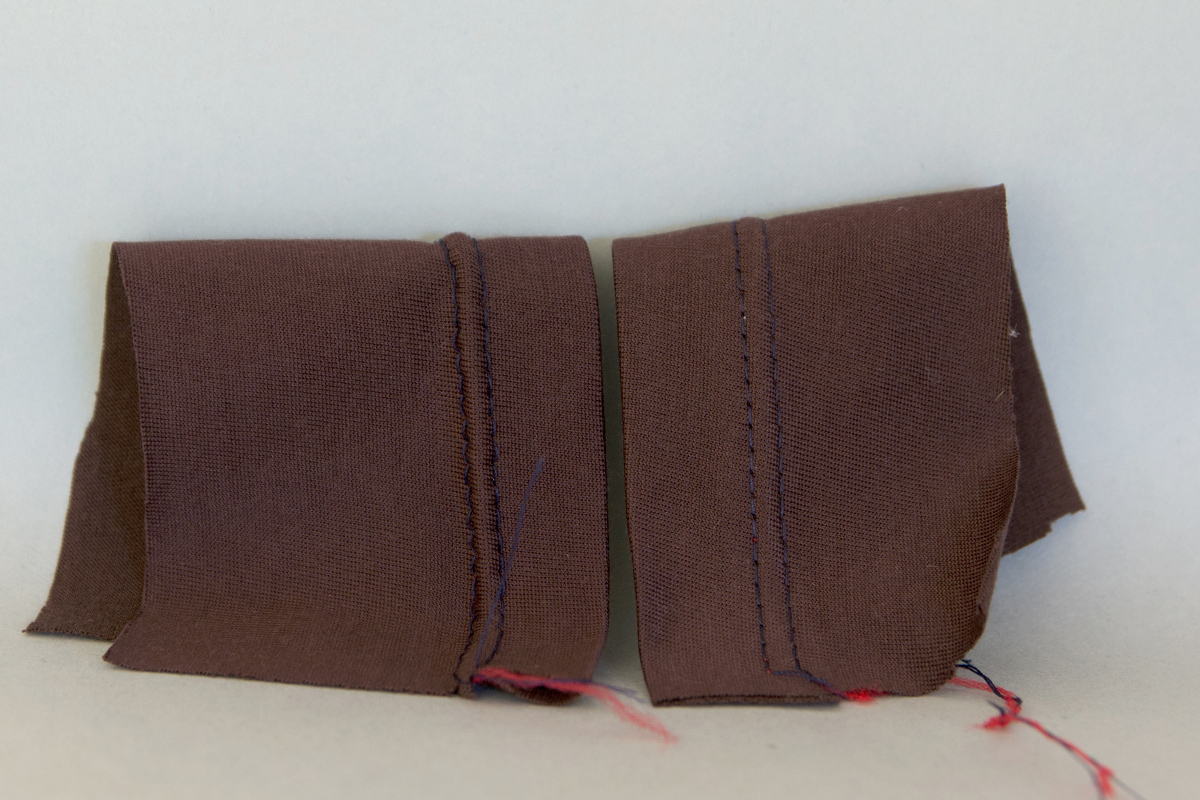
Here you can see, from left to right, the effect of increasing needle thread tension on the bobbin thread:
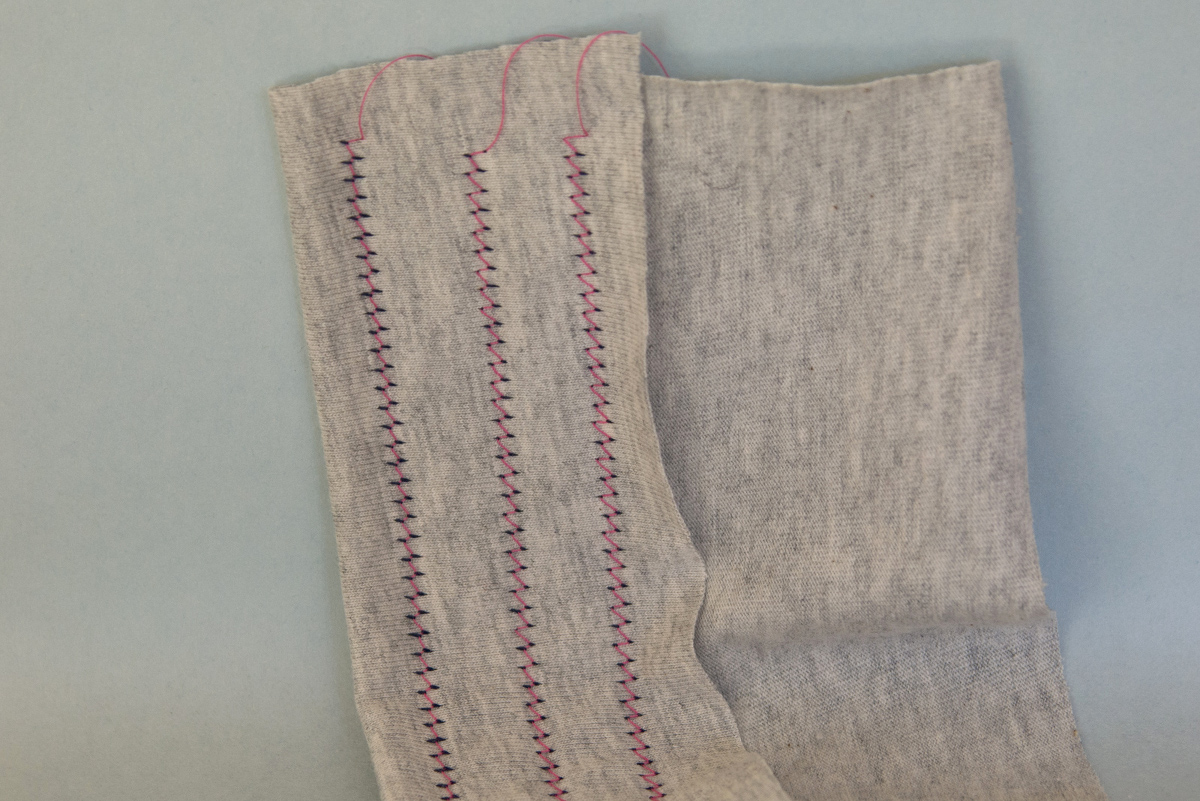
The problem with increasing the needle thread is that, while the bobbin thread zig zags nicely, the needle threads draw together and the double hem ends up creating a tunnel effect. Here are the same three hems seen in profile. The increased needle tension gives this lumpy seam finish seen on the right.

And still, they broke.
Now, that happens with shop bought garments too, but I wasn’t satisfied with my lumpy one-wear-hems. I posed the question of what to do on the forum and Liesl introduced me to Woolly Nylon.

Woolly Nylon is a multi-filament nylon thread that is wonderfully strong and has a bit of stretch to it. You’ll find it in a few colors, but you can probably get away with just having one cone each of black and white, or perhaps even only grey.
By using woolly nylon for the bobbin thread you get a stronger, stretchier double hem. However, the woolly nylon has more “drag” than a normal thread, so the tension problems were exacerbated.
I figured if I couldn’t raise the needle thread tension any further, and I didn’t want to anyway because of the tunneling, I’d have to lower the bobbin thread tension.
How you do this will be different for every machine, but I’m sure it’s achievable for every machine. I imagine there are fancy machines out there with bobbin tension dials. If you have one, then lucky you. Dial down your tension, sew your hem, then dial it back up for regular sewing.
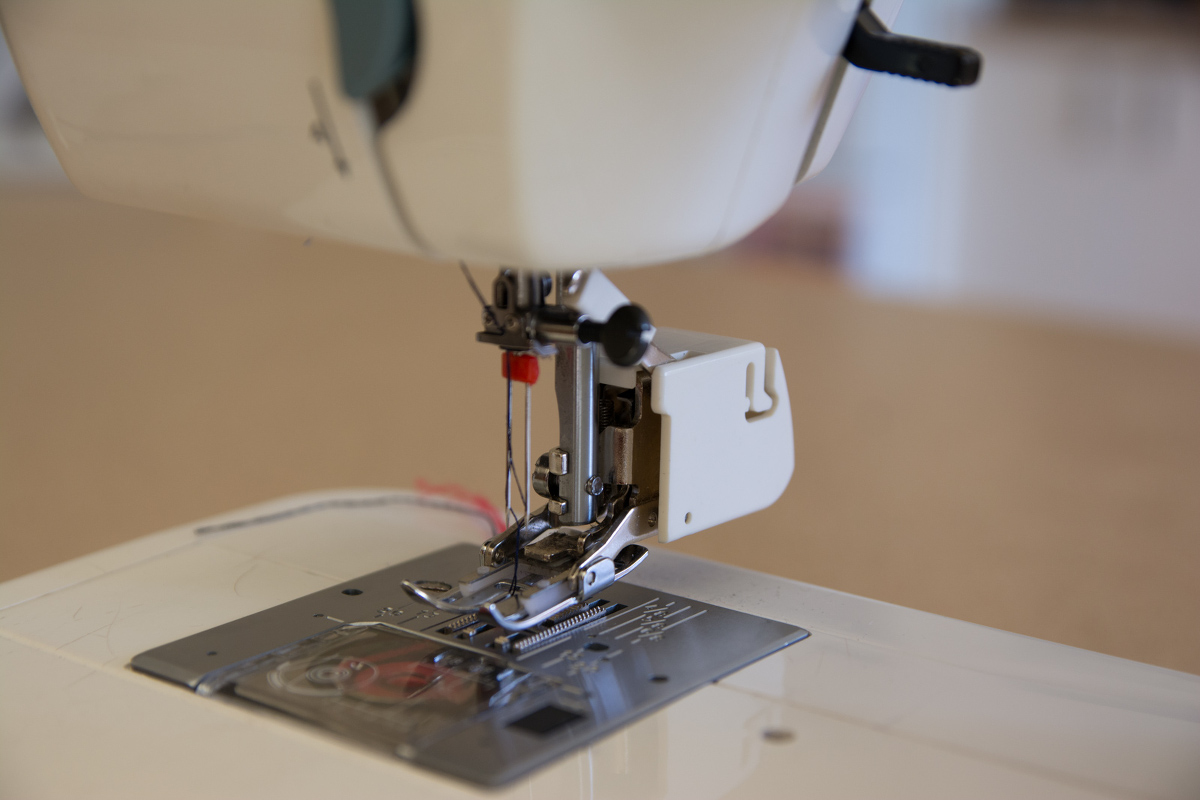
My basic machine has a bobbin casing, like this:
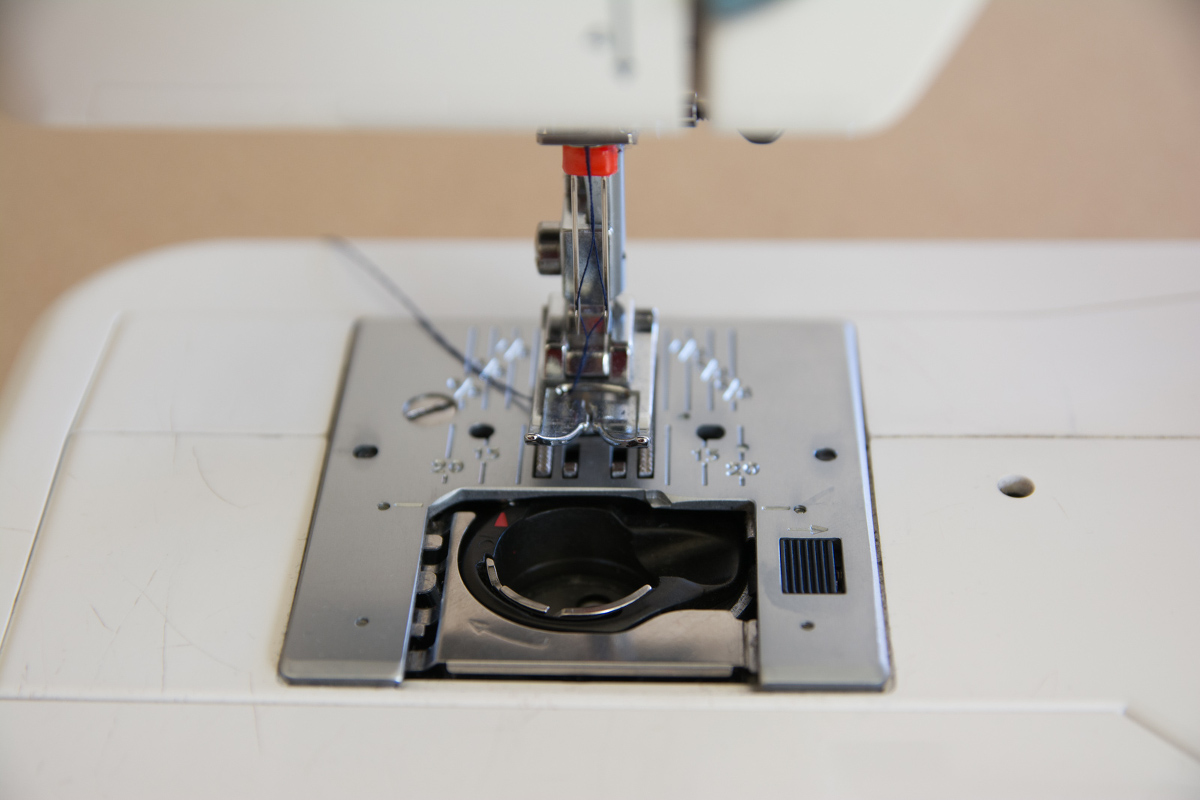
When you remove the footplate and take the bobbin casing out you’ll see a little screw that can be adjusted to change the tension.
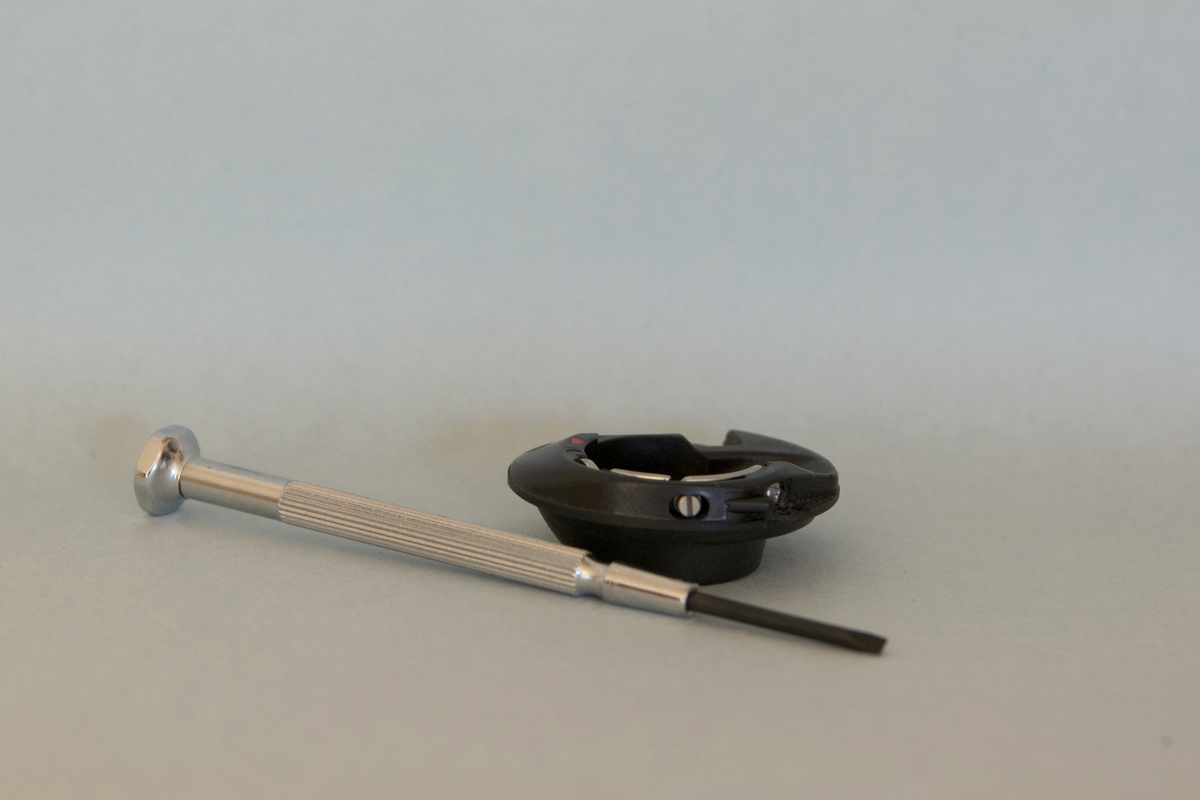
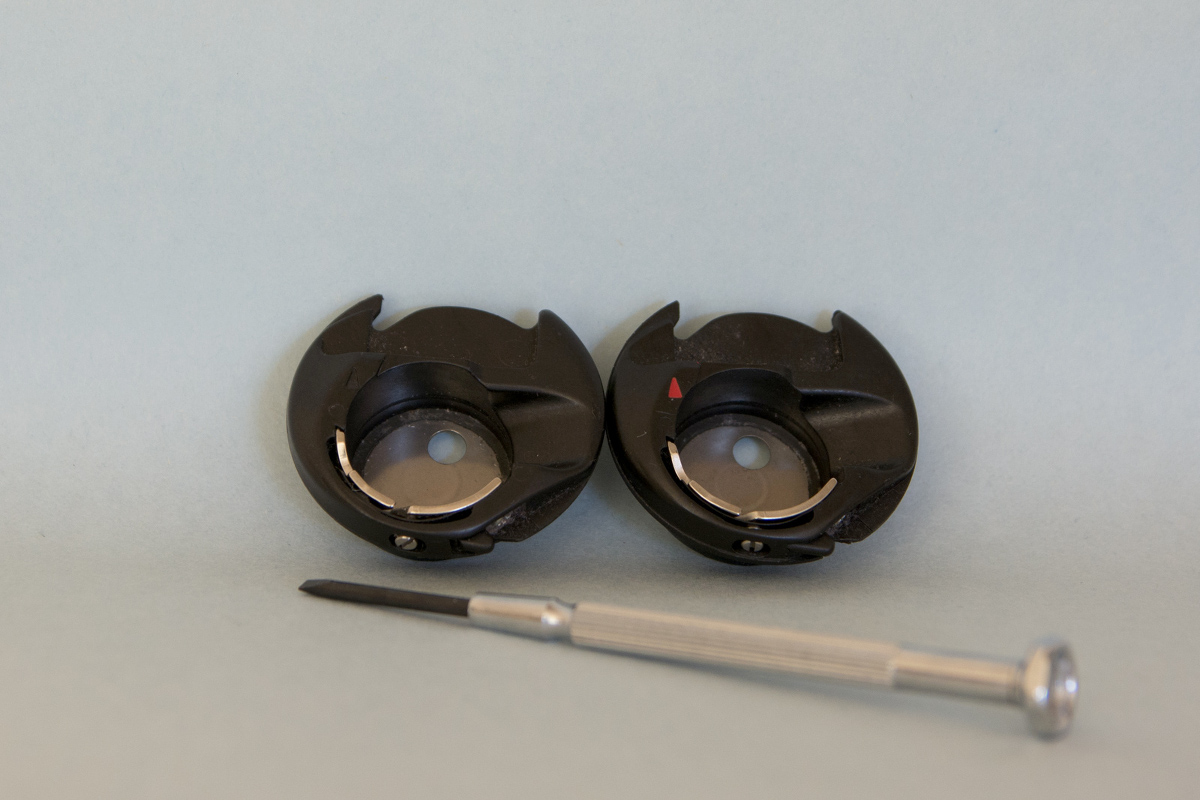
I was a bit wary of fiddling too much with the screw, as I worried I might not get it back to a good setting for regular sewing. So I made a small financial outlay for a second casing. That one I dialled all the way out to “super loose”.
Thankfully, my new super loose bobbin casing doesn’t have the red arrow of my original, so I can tell them apart. A bit of nail varnish or correction fluid would work to mark which was which had they looked identical.
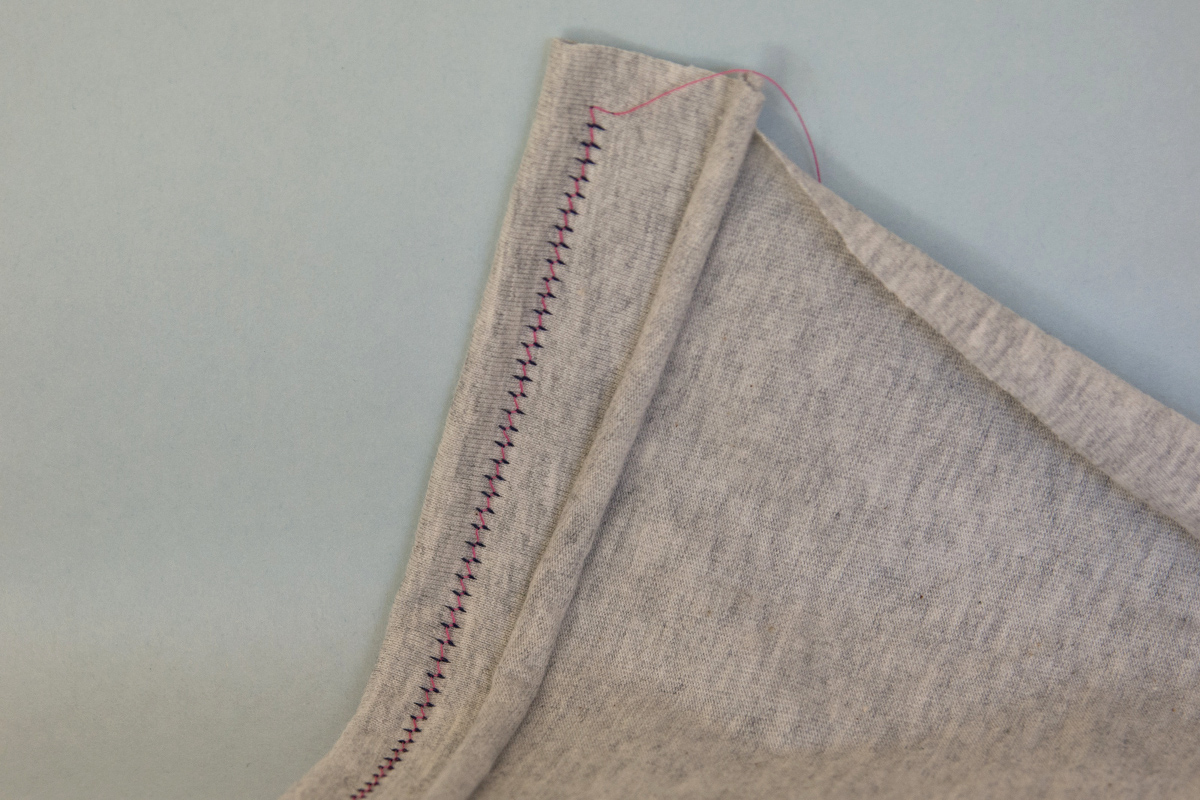
And now I could sew a nice, flat, strong and stretchy twin needle hem.

You can see here that I’m using a cotton lycra with its notoriously curly edge. It’s a great fabric for sewing kid’s clothes, but trying to hem the unfinished edge can be a nightmare.
At this point in the story I was hooked on sewing knit garments for my kids (no ironing!) and I was now the happy owner of an overlocker. Finishing the fabric edge with the overlocker makes it lie flat, behave itself better, and adds some stability to the fabric to help prevent the dreaded tunneling.

I thought I had twin needle hems licked and then I started to sew more for myself. What was working on cotton lycra was not working with lightweight jersey fabrics.
To prevent tunneling when sewing a lightweight knit fabric you’ll need to stabilize the fabric further. Overlocking helps, but a thin strip of knit interfacing, fusible webbing, or a wash away hem stabilizer will do wonders. Where maintaining the fabric’s full stretch is crucial, the wash away hem stabilizer will be the best product for the job. Buy bigger sheets and use a ruler and rotary cutter to cut it into 1/4″ strips to make it cost effective.
Here’s a rayon jersey that’s hemmed with my final “perfected” twin needle hem on the left, and then again on the right, but this time with a thin strip of stabiliser underneath.
It takes me only a minute to swap over my bobbin casings and insert the twin needle. When I remember to, I also swap to a walking foot. This does help prevent the fabric getting stretched out as you sew, and stops me getting stuck on the side seam bumps. I’m not convinced it’s essential for hemming knits, rather it’s the icing on the cake.
Sometimes the needle threads get a bit twisty and knotted together. If you’re going to hem a dozen t-shirts in a row, you may have to stop and rethread your needles half way through. I’ve definitely noticed that using cheap overlocker type thread for the needle threads leads to a hot knotty mess quite quickly. Stick to good quality threads up top.
Does it make any difference which direction the two needle threads unwind in? I honestly don’t think it does. But, if things are getting knotty, you won’t do any harm in flipping over the second thread spool. I never remember to make a note so I can record any statistically significant difference….
I’m happy to say that when I rummaged through my kid’s wardrobes to find a t-shirt with a “popped” hem to take a photo, I couldn’t find any. They’ve all been outgrown and handed on now and become someone else’s mending problem!
Shelley.