
Brittney is so talented at sewing with knit fabrics. You’ll see what I’m talking about when you go see her knit romper and faux layered long sleeve t-shirt tutorials. Brittney is here again, this time with a how-to on adding a hood to an Oliver + S t-shirt pattern. The temperatures are cooling down, and if you’re ready to sew something perfect for fall, you’ll like this one!
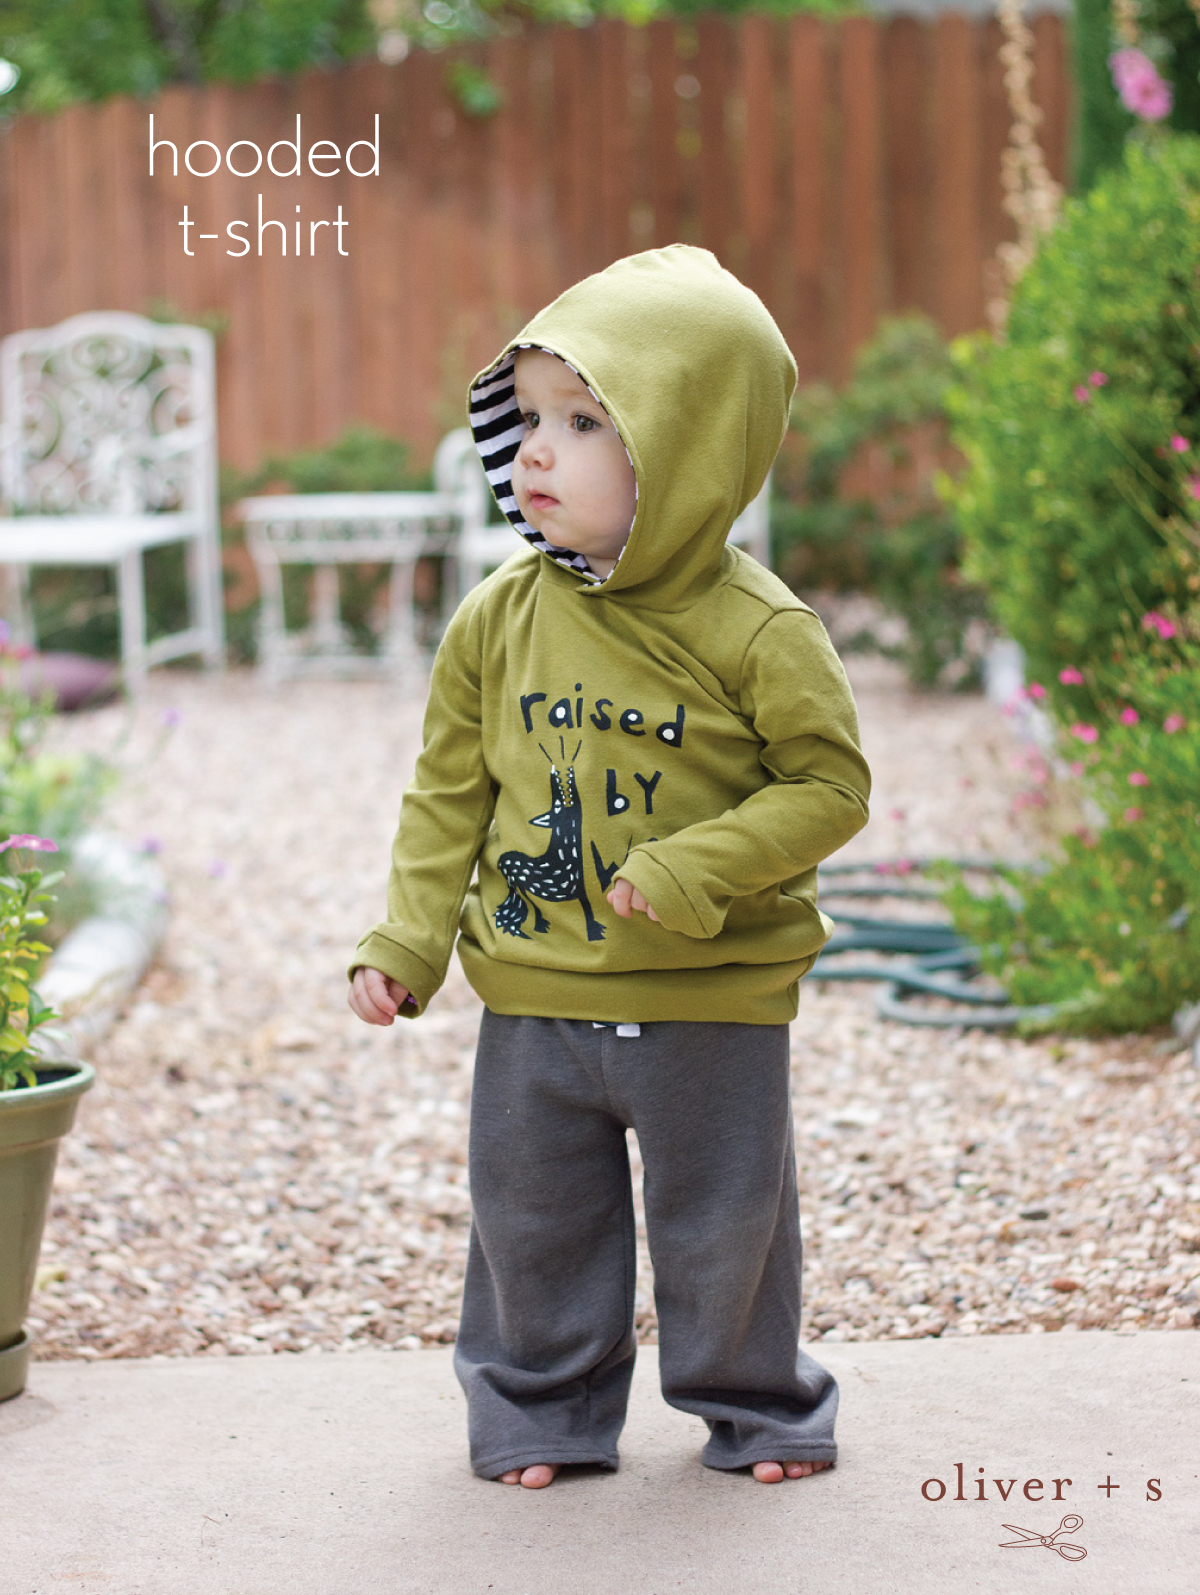
Today I am going to show you how to use the School Bus T-shirt to make a hooded sweatshirt. This method would also work with the Field Trip Raglan T-shirt. In this example I used a French Terry, but have also used a cotton interlock. If you choose to use a sweatshirt material with little stretch keep in mind you will need to size up the width even more.
Are you ready to get started? Off we go!
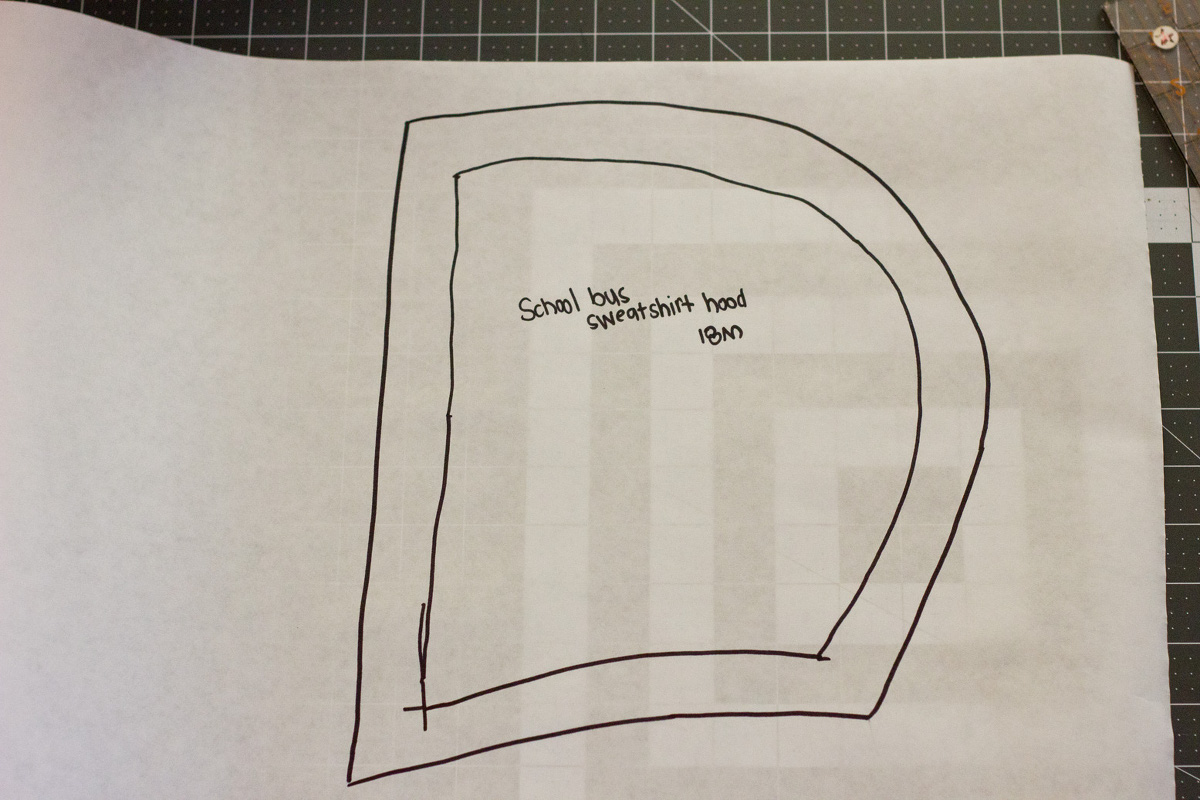
First, start by tracing around the hood of an existing sweater. Mine was from last year, I just added a little more to the seam allowance in the next step. Mark the base of the hood front and back.
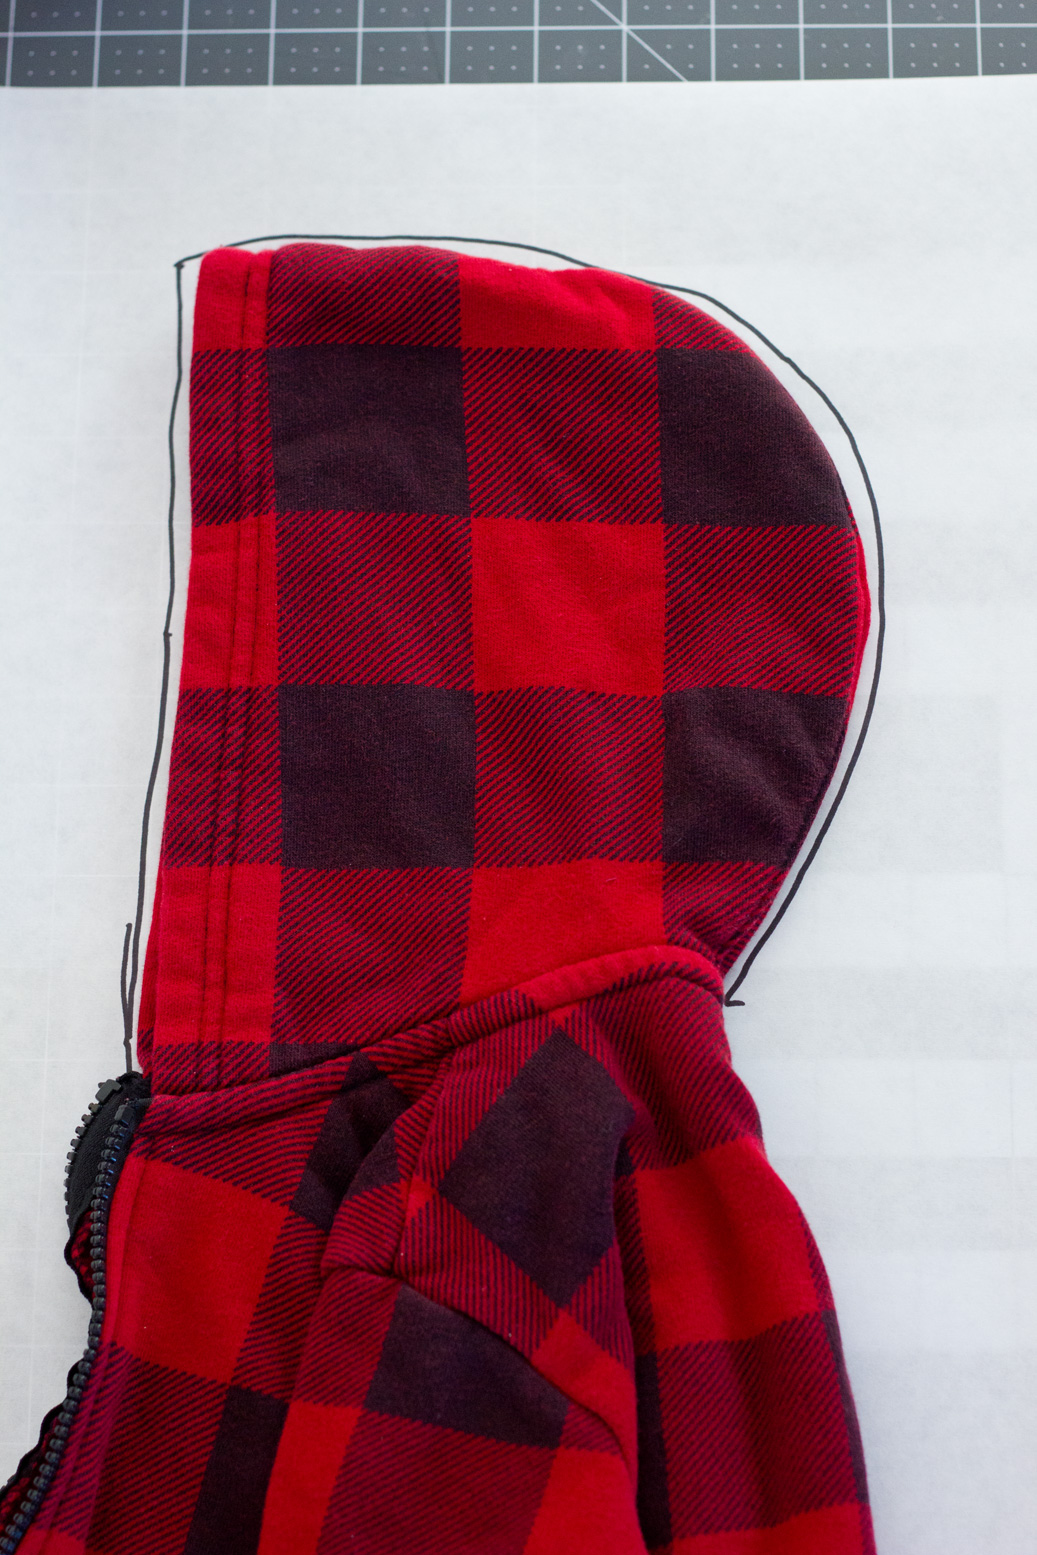
Draw a slight curve to connect the bottom of the pattern piece. Add a seam allowance. Because I was using one that was outgrown and I wanted it to overlap in the front, I added one inch to my pattern piece all around.
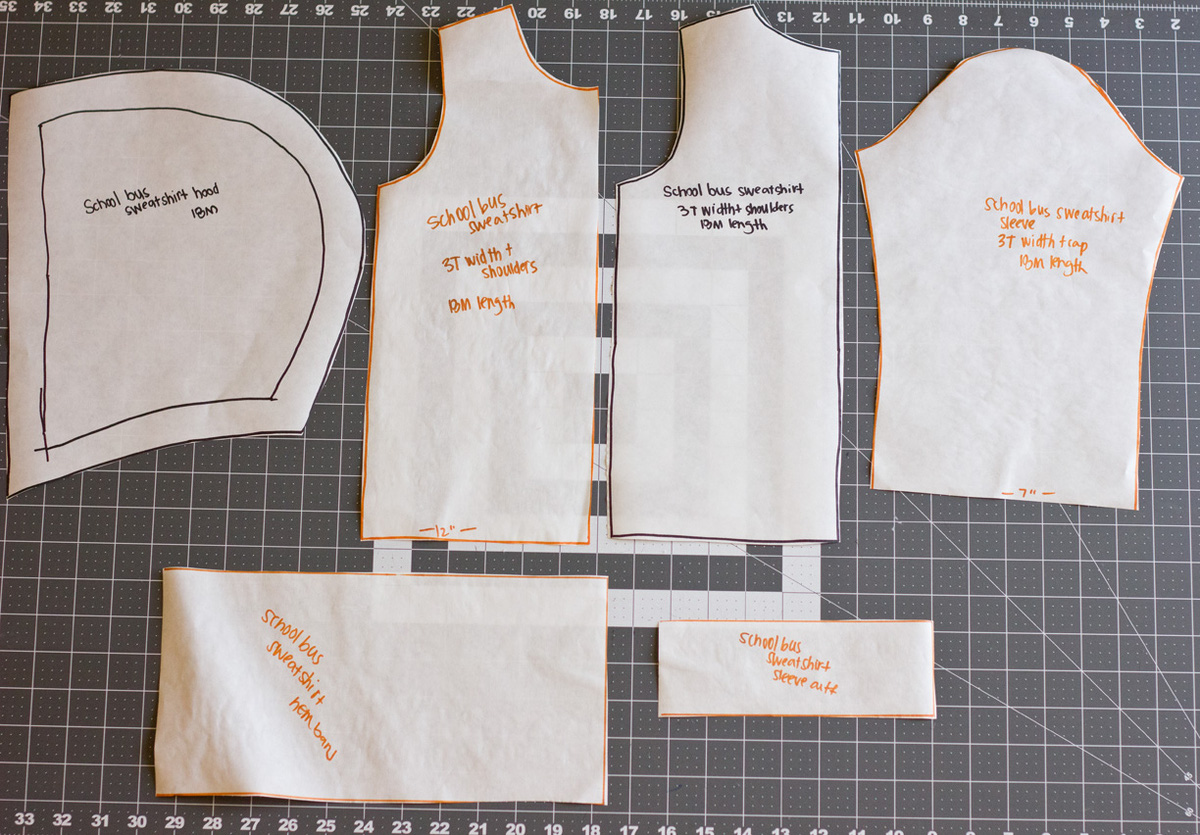
Next, decide which size to make. My son wears an 18 month in this pattern and I wanted a looser fit hoodie, so I sized up the width to a 3T, but kept the 18 month length. Although I added a hem band, I kept the 18 month length as it will still be a while before it is cold enough here to wear this hoodie. Consider using a shorter length for the shirt piece if you don’t want such a long top.
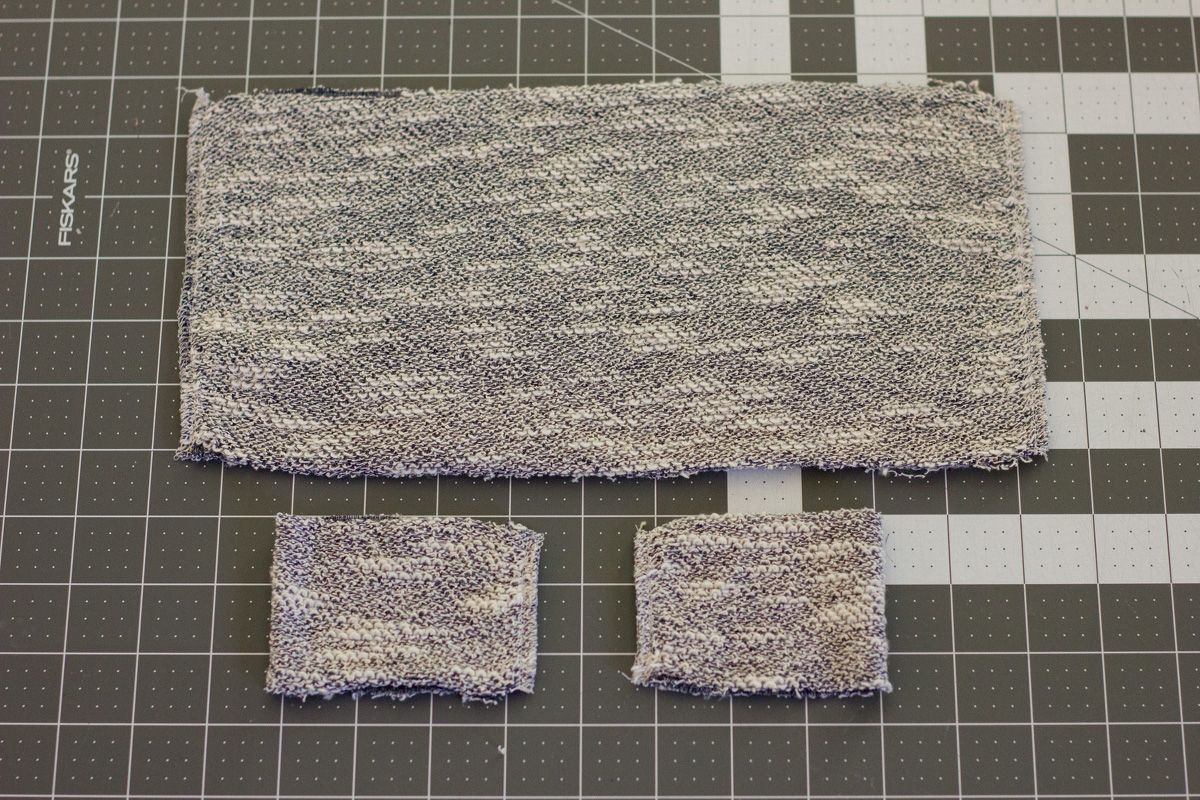
Measure the bottom of the shirt and sleeve, using this measurement make a waistband and cuff pattern piece. For example, my 3T width shirt was 12 inches across, so I made the waistband 12″ x 6″. The sleeve piece was 7 inches, so I made the sleeve cuff 7″ x 3″.
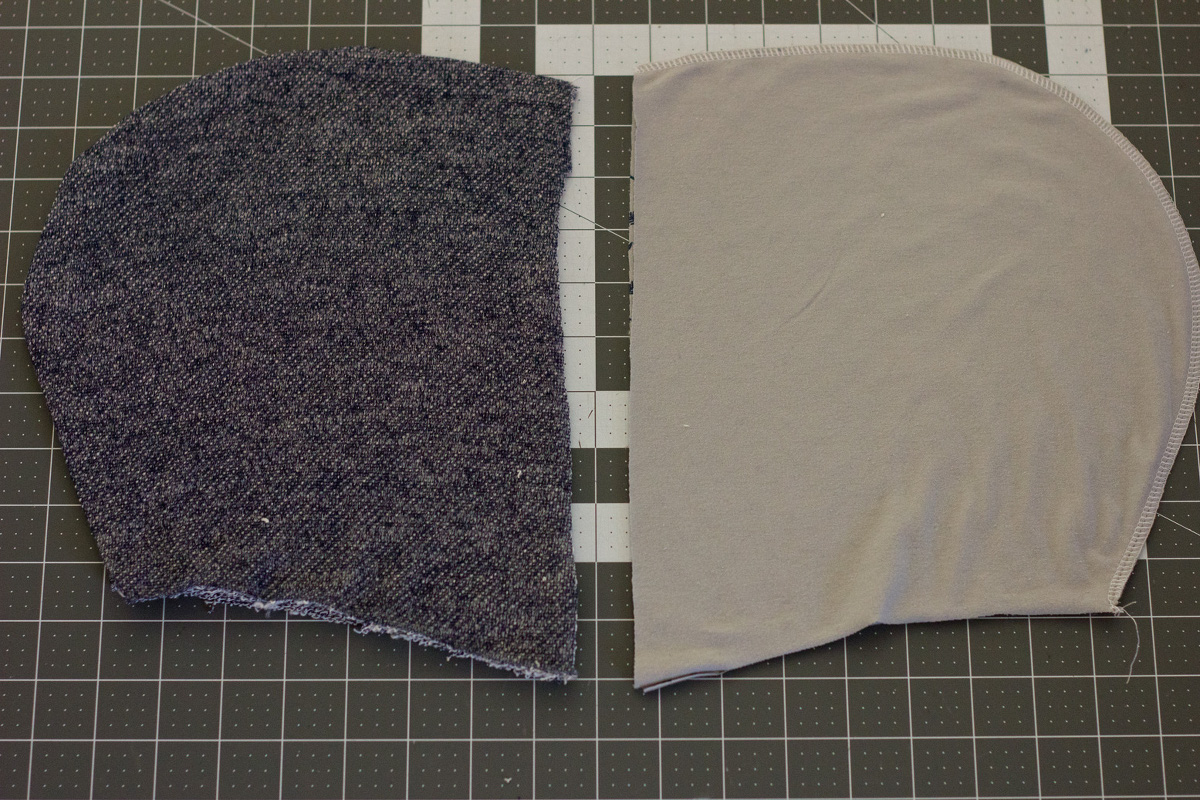
Cut two main hoods, two lining hoods, one front on the fold, one back on the fold, two sleeves, two hem bands and two sleeve cuffs.
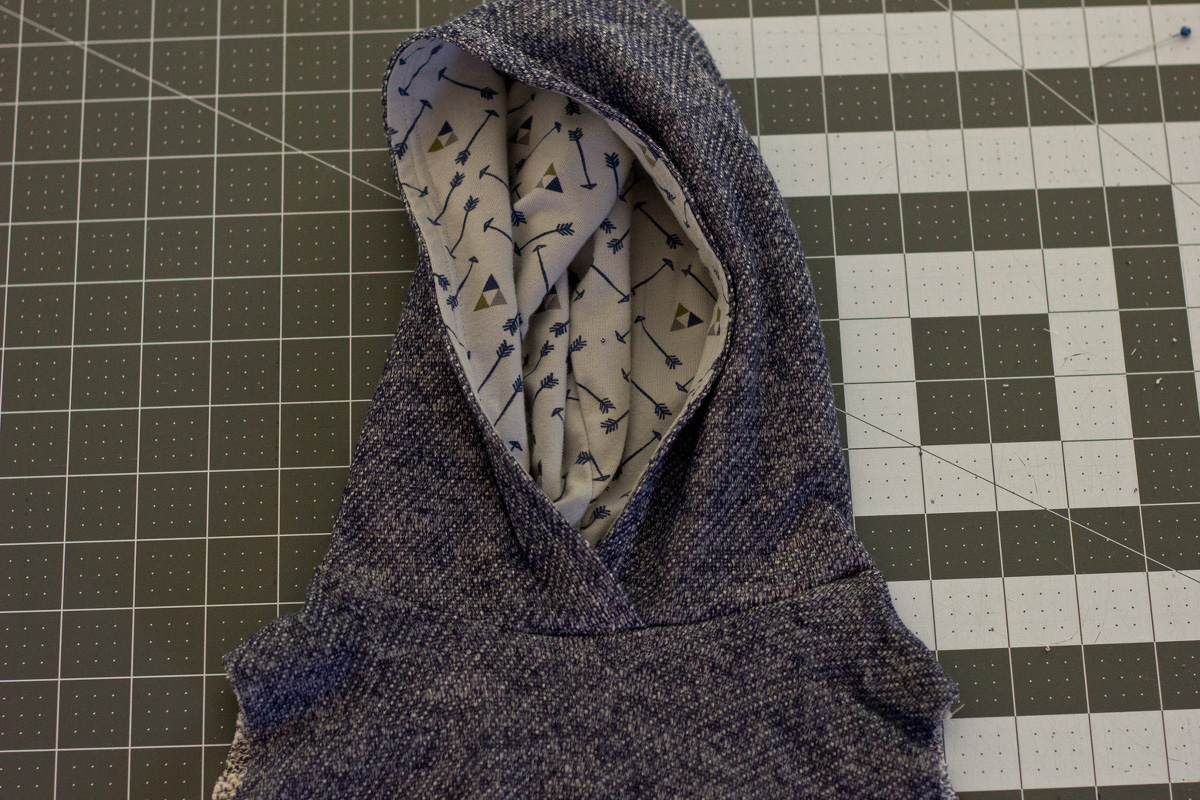
Right sides together, sew or serge the main hood and hood lining. Turn right side out and press the seam allowance.
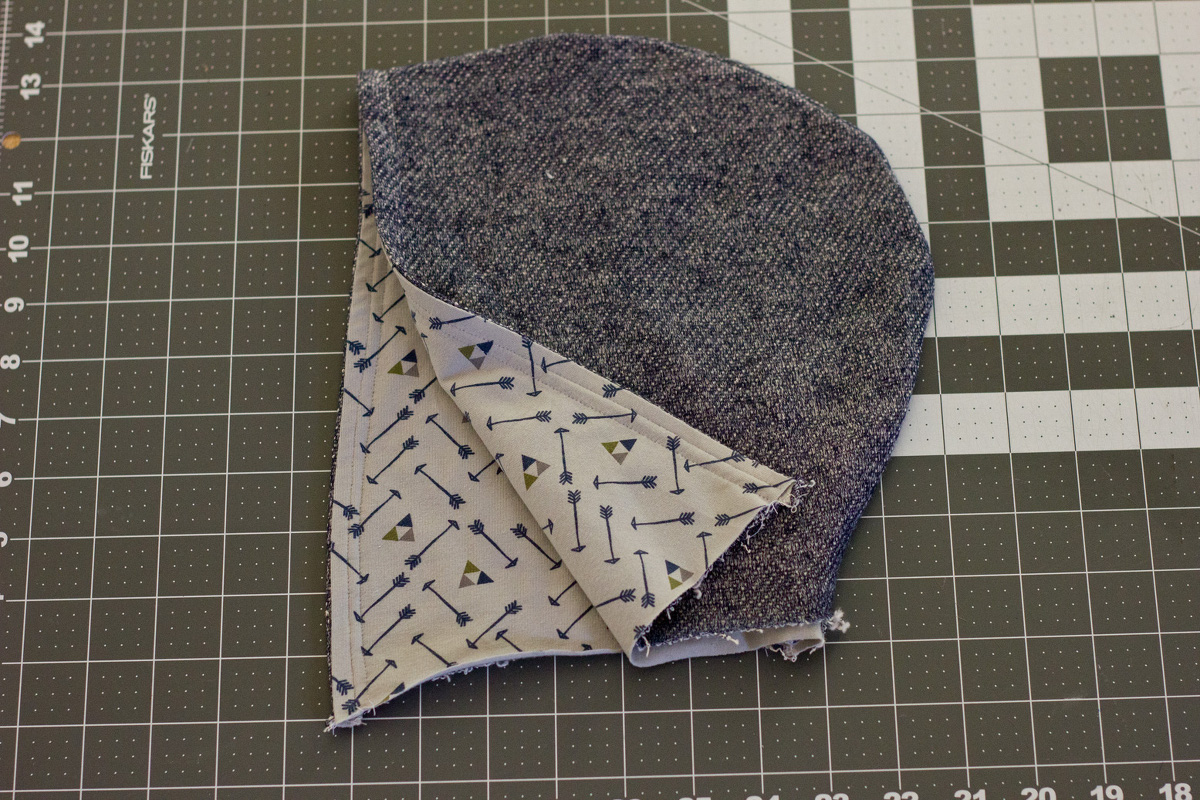
Right sides together, sew the front of the hood. Make sure to leave the neck unsewn.

Turn the hood right side out. Press the seam you just sewed and topstitch.
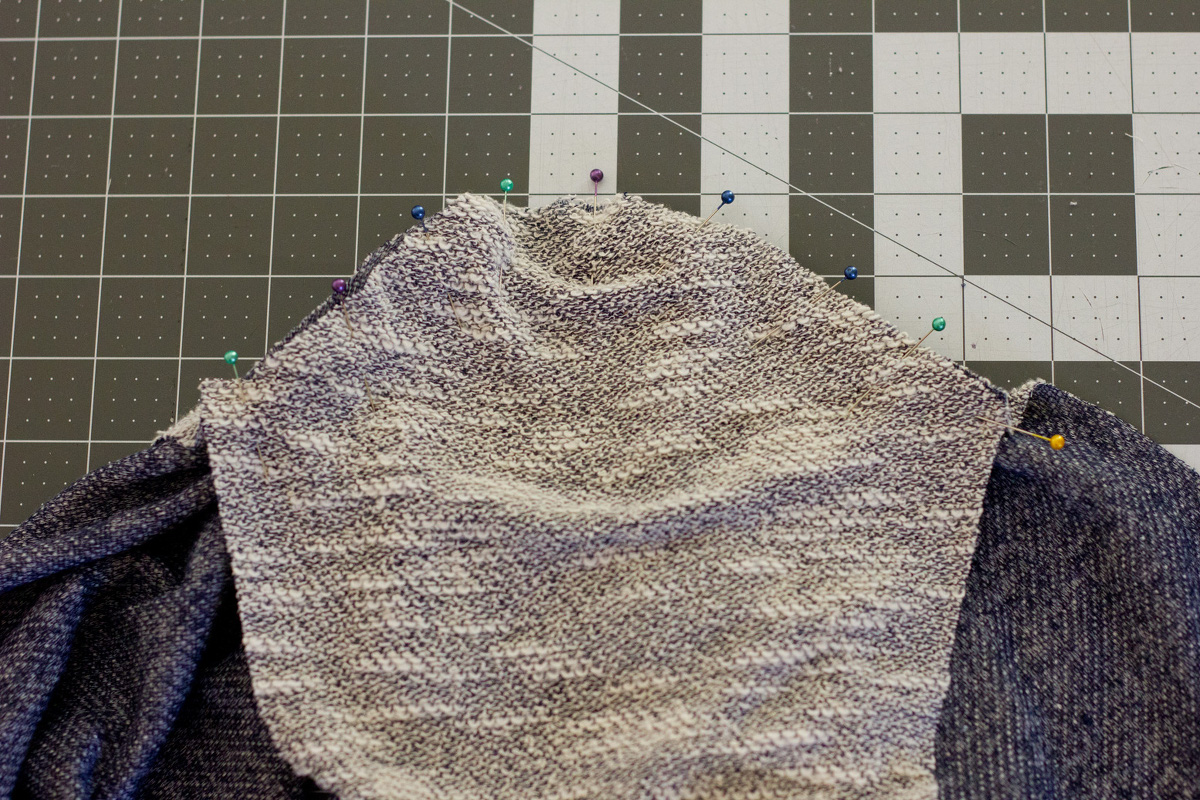
Right sides together, sew the shoulder seams. Mark the center front and center back on the shirt.
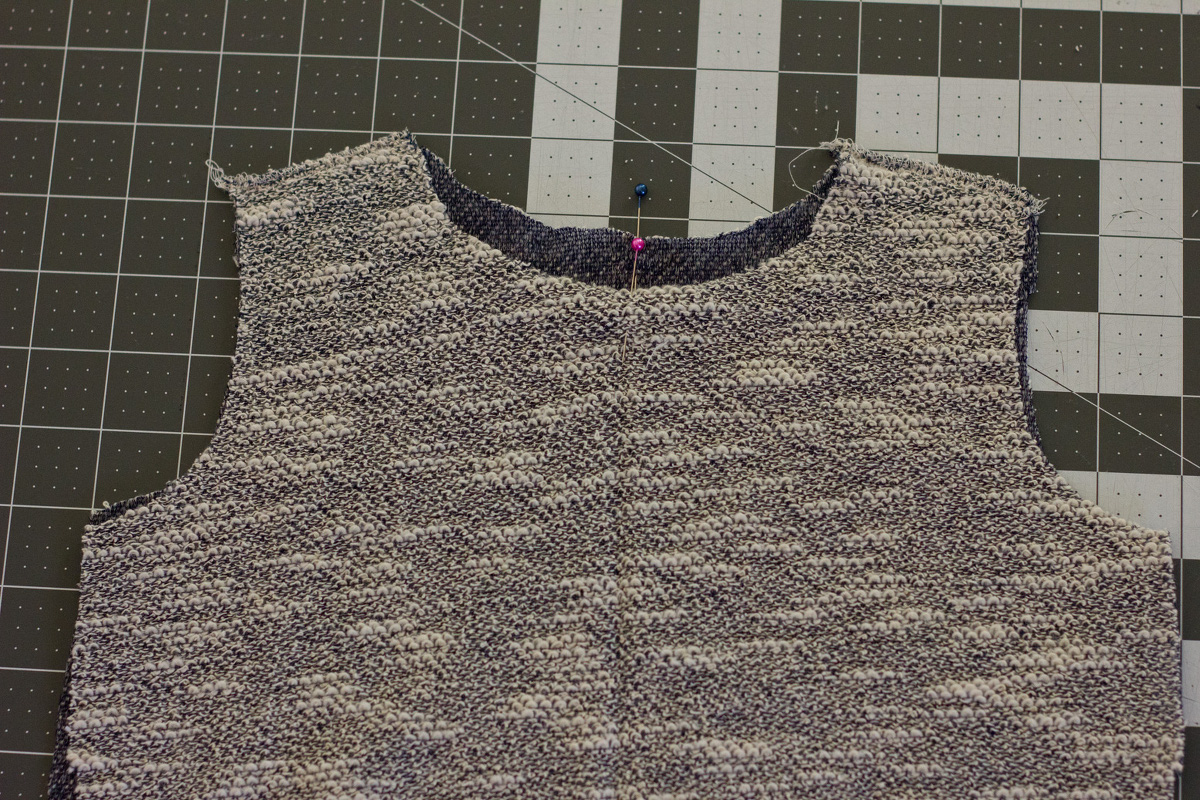
Right sides together, line up the center back seam of the hood with the back of the shirt, overlap the hood in the center front. Stretching as needed, pin the rest of the hood to the neck opening on the shirt and sew together.
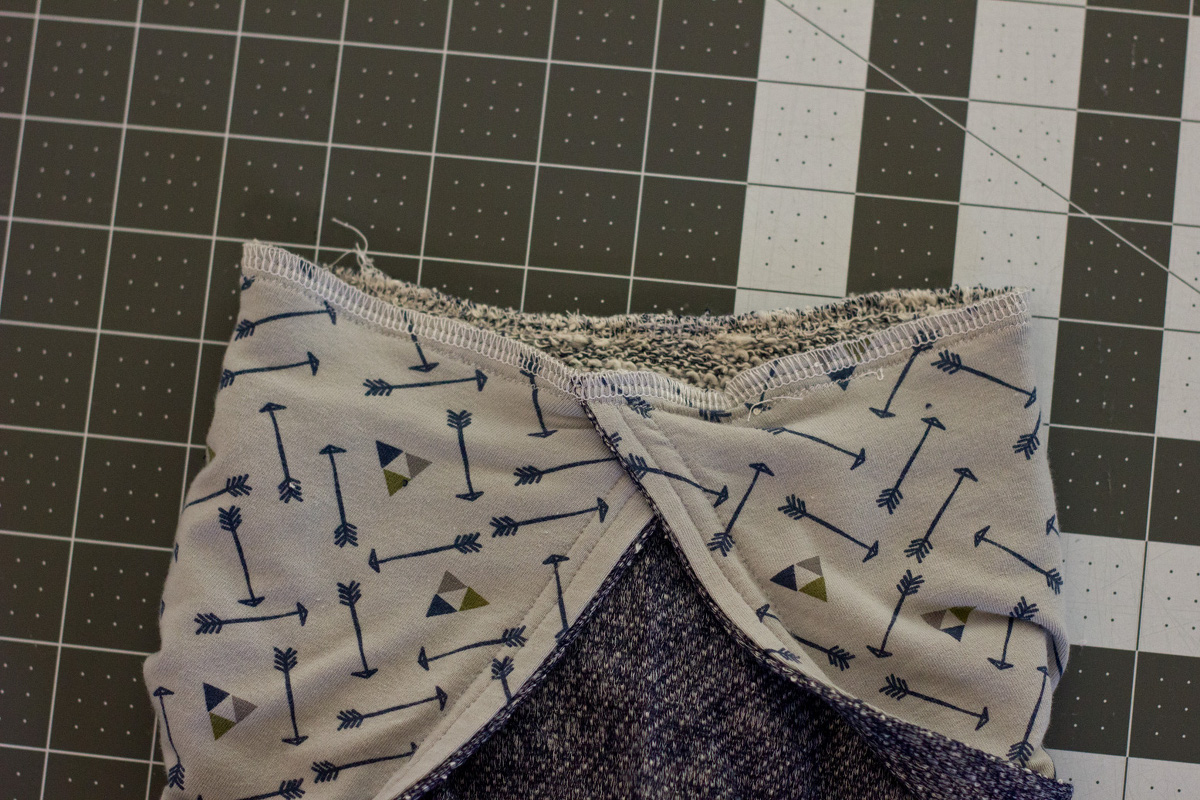
Turn right side up and press the seam.
Right sides together, pin and sew the sleeve.
Right sides together, sew the side seams.

Right sides together, sew the waistband pieces together at the side seams. Fold the sleeve cuff in half, right sides together, and sew.
Turn right side out, and fold each piece in half.
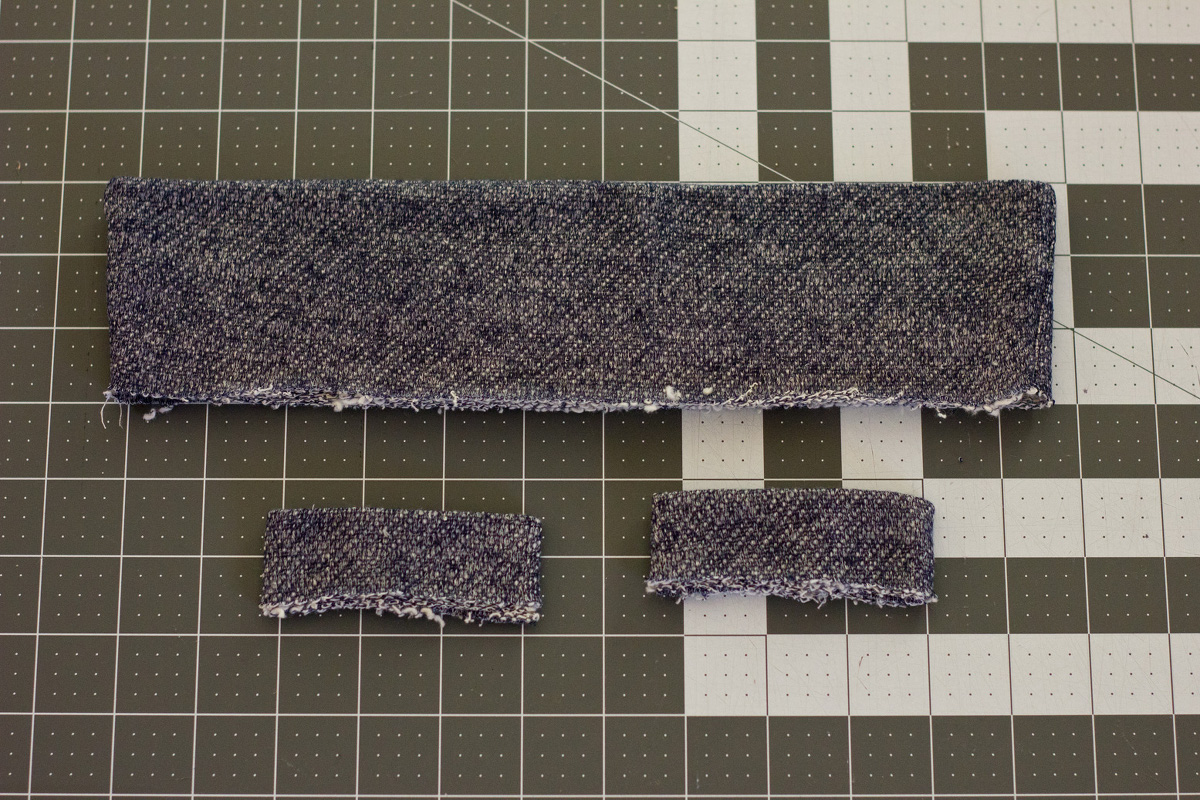
Right sides together, sew each of the sleeve cuffs and waistband.

Press the cuffs and waistband, if they don’t lay nice and flat or have wavy seams, a lot of times a good steam with the iron or throwing it in the dryer will fix any problems.
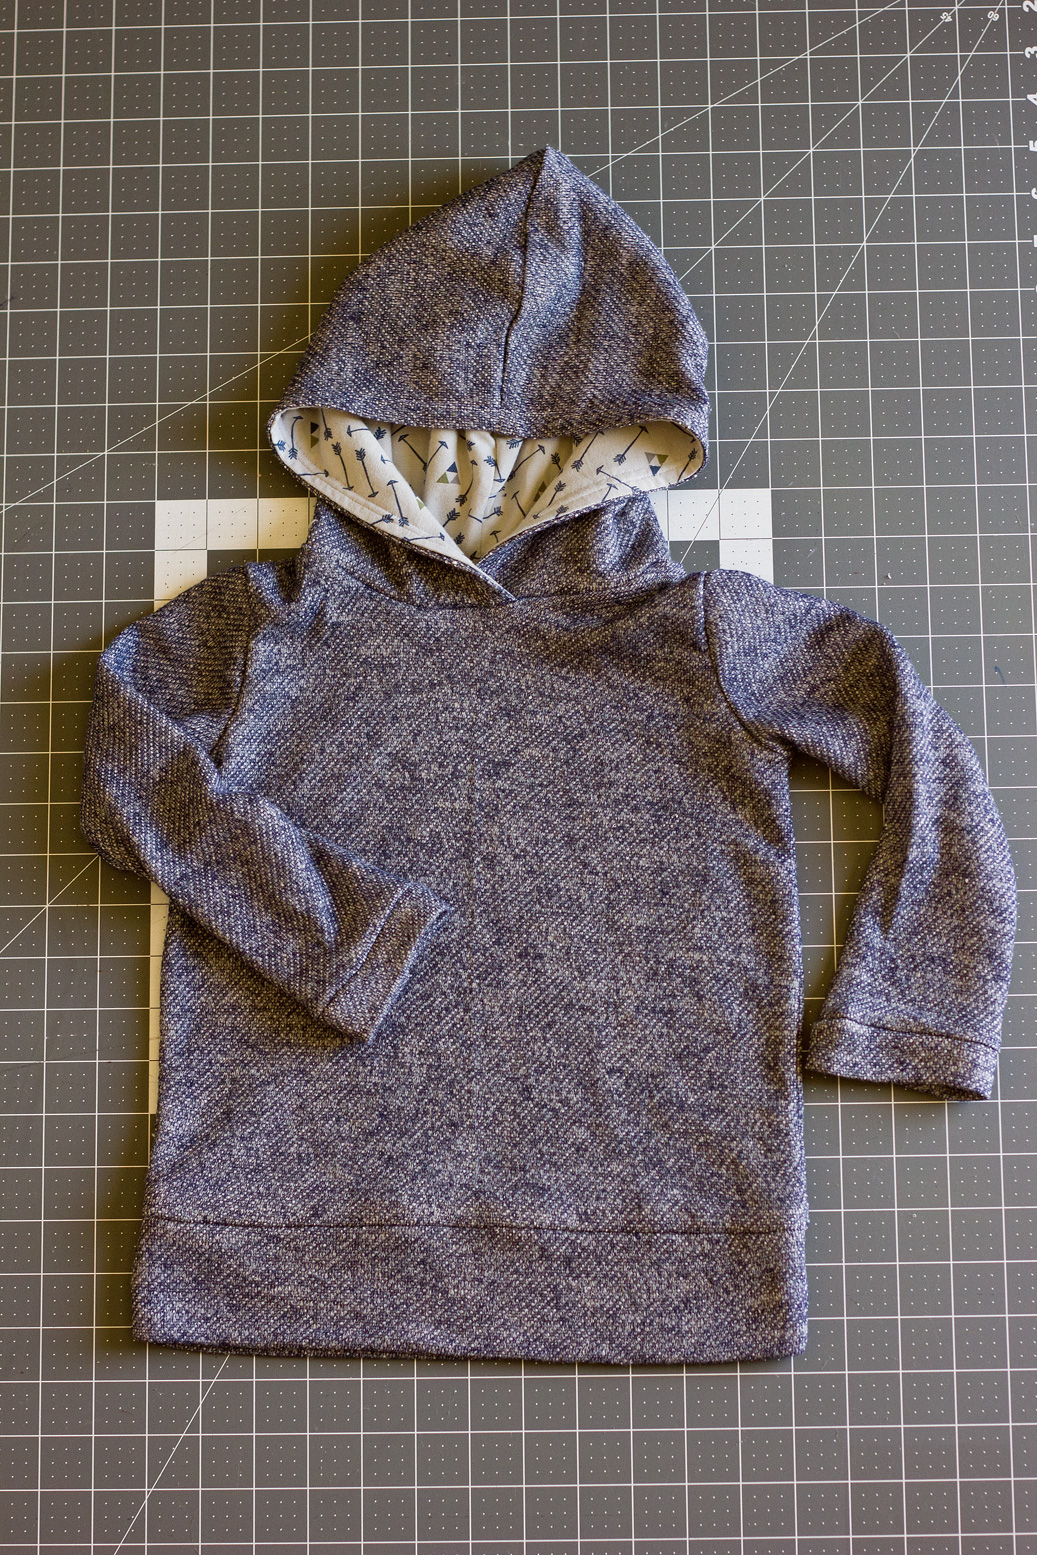
You have now finished!
