Today we are delighted to welcome back Nele who hails from Belgium. She’s the one who did the fantastic tutorial on adding a scalloped yoke to the School Photo Dress. You might also know her because she was the winner of the last season of Project Run and Play! She was kind enough to take the time to share a tutorial on how to add bow welt pockets to the Art Museum Trousers, but keep in mind that they can also be added to the vest, too. Great to have you here, Nele!
Hello everyone! I am Nele and I blog at Spiegelstiksels. I’m happy to be over here on the Oliver + S blog to show you how I added a bow welt pocket to the Art Museum Trousers. I first tried this pocket two and a half years ago on a dress I made for my daughter. She doesn’t wear dresses anymore, but she can still appreciate a little girly touch to her trousers.

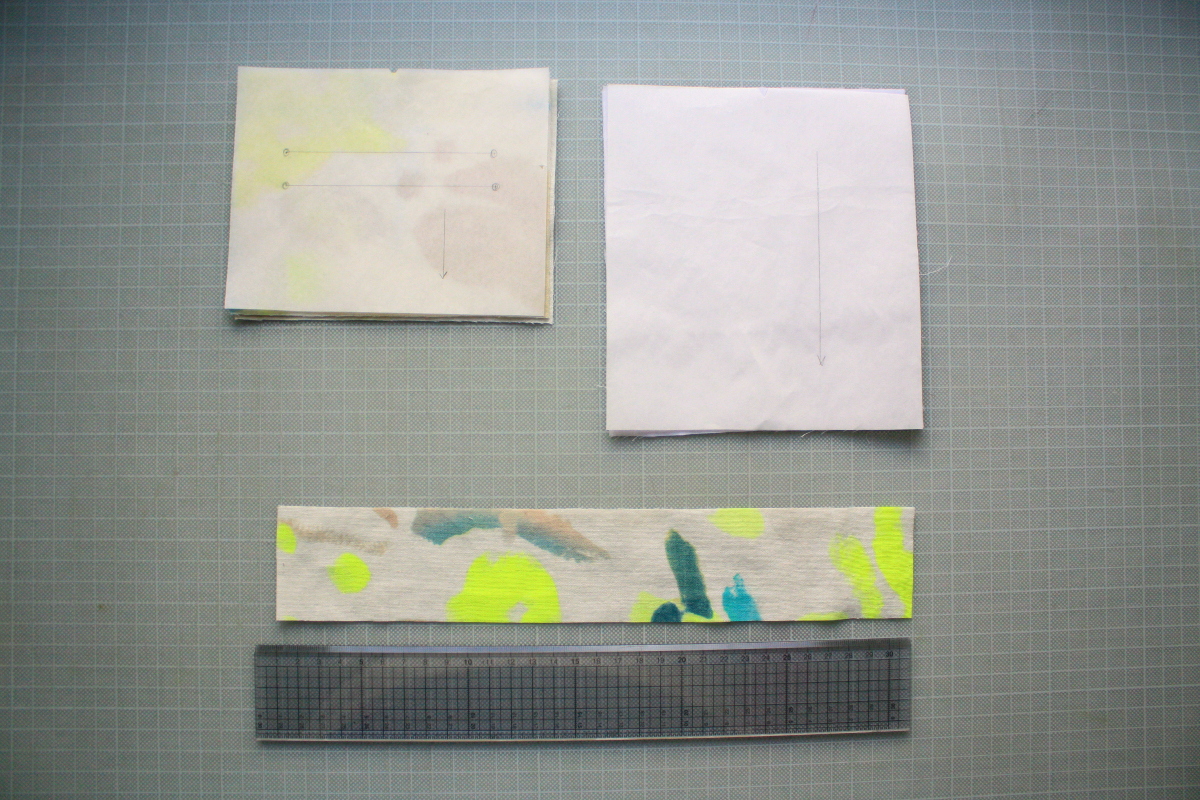
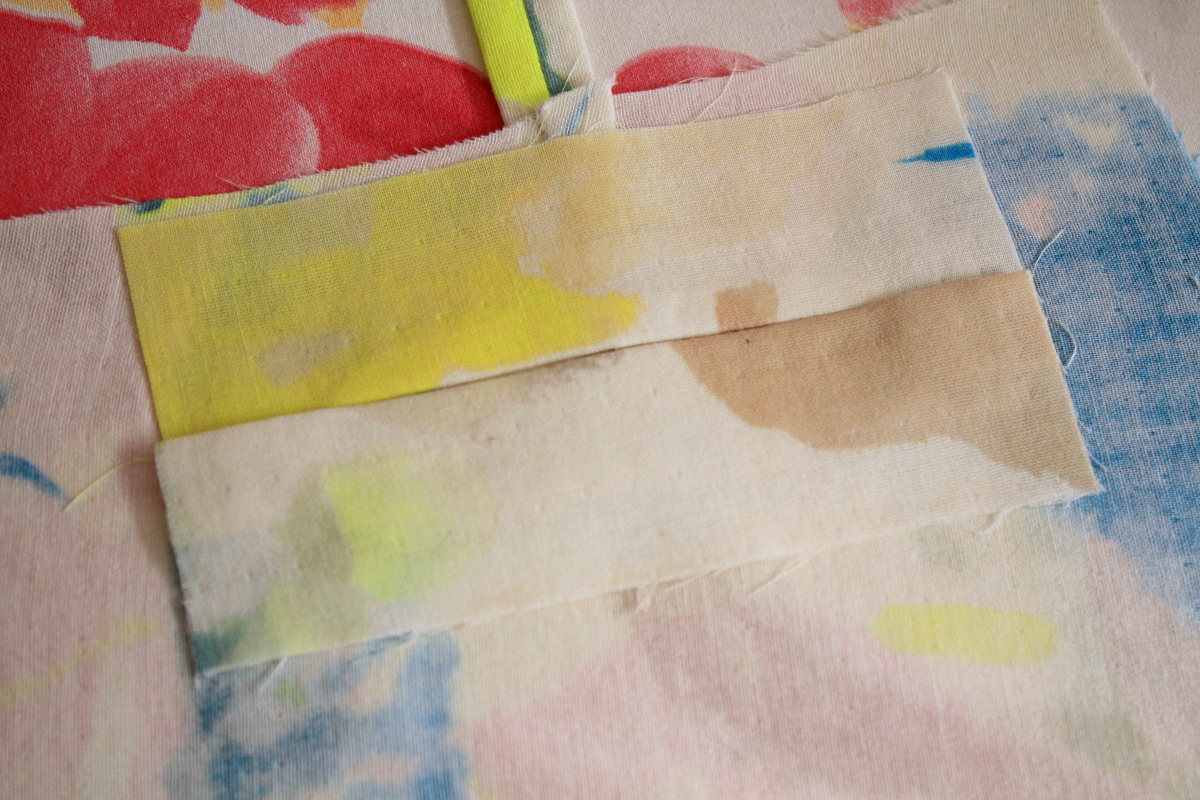
I worked with the pattern pieces for the welt pocket that are provided with the regular pattern. All you need is an extra strip of fabric.
The piece in the picture is 5.5 cm by almost 30 cm. You will have more than enough for the pocket with only half of the length.
For these trousers I used a Nani Iro double gauze which is very soft fabric. I wanted to use an interfacing that doesn’t make the fabric stiffer but does help to retain the shape, so I chose H 410 to add to the welt pockets.

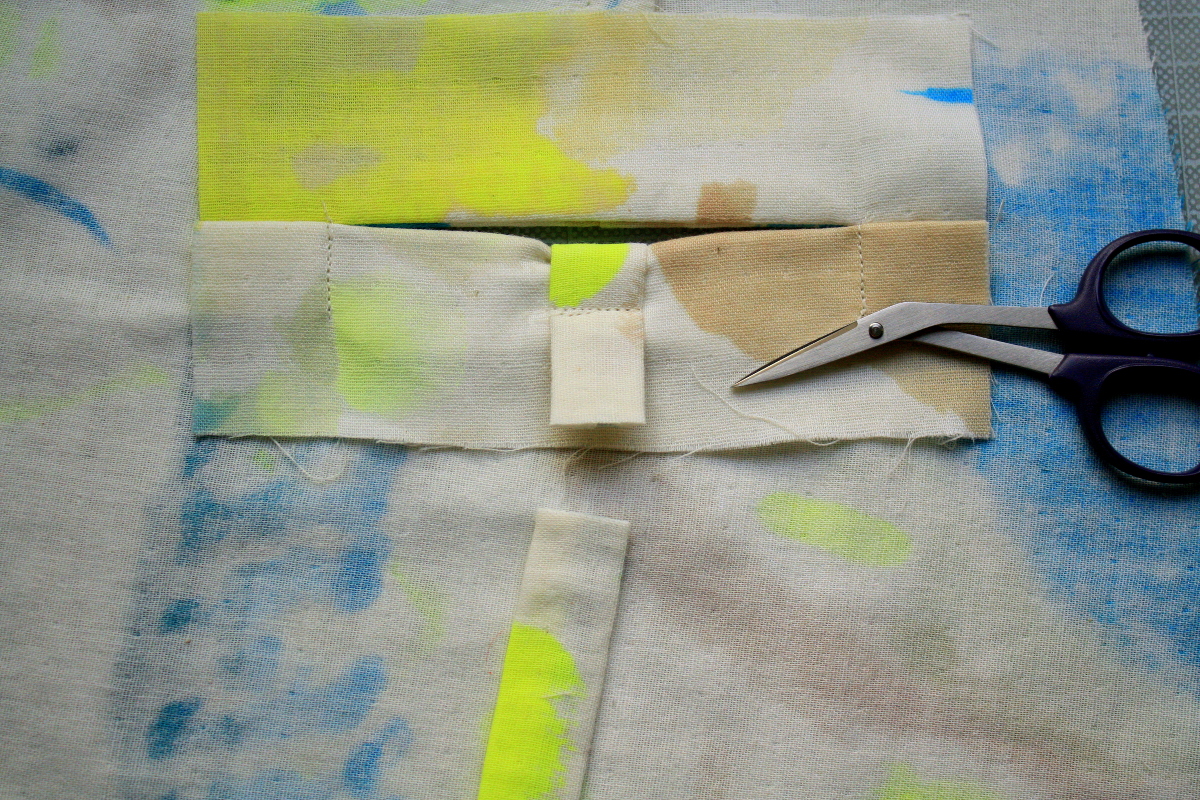
Fold the extra strip of fabric in half lengthwise, with right sides together and sew with a 7.5 mm seam allowance. You now have a tube. Turn this tube right side out and press it, centering the seam. Snip it in the middle so you have two equal pieces. These will be used as loops that go around the welts.

Sew the darts as instructed by the pattern and transfer the markings for the pockets from the pattern to your fabric.
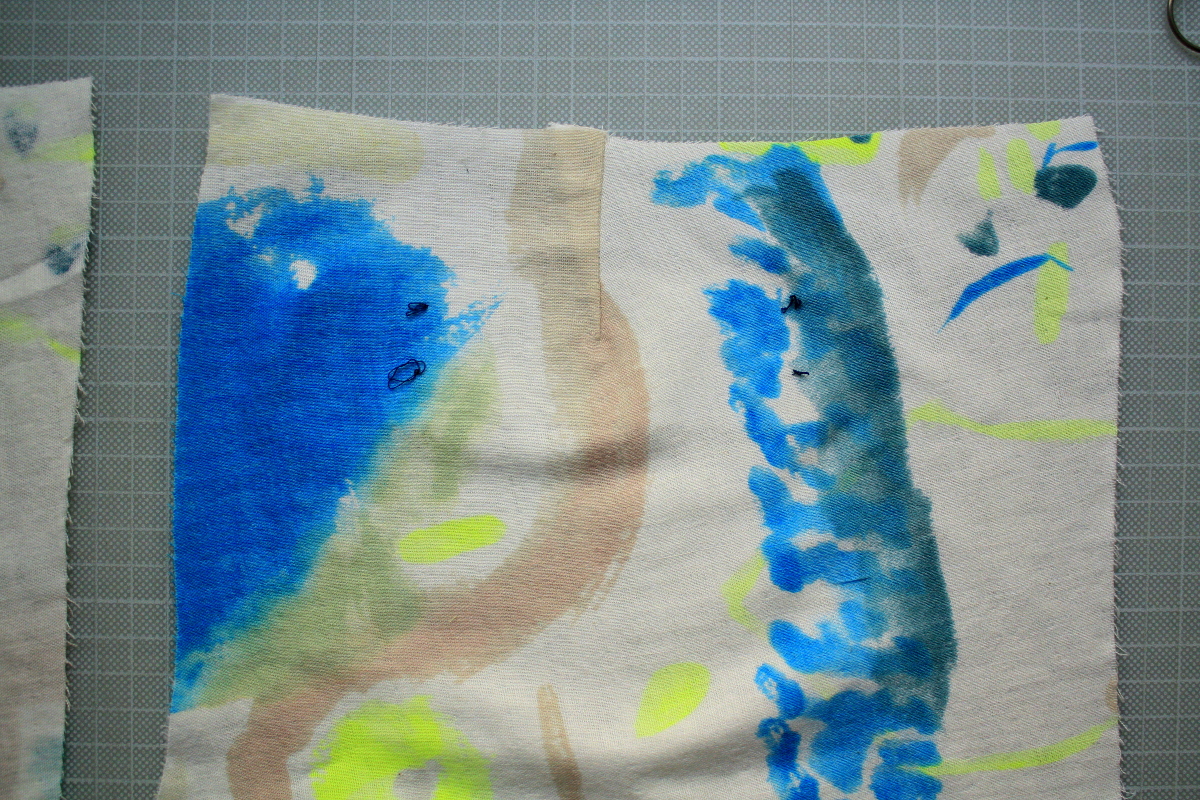
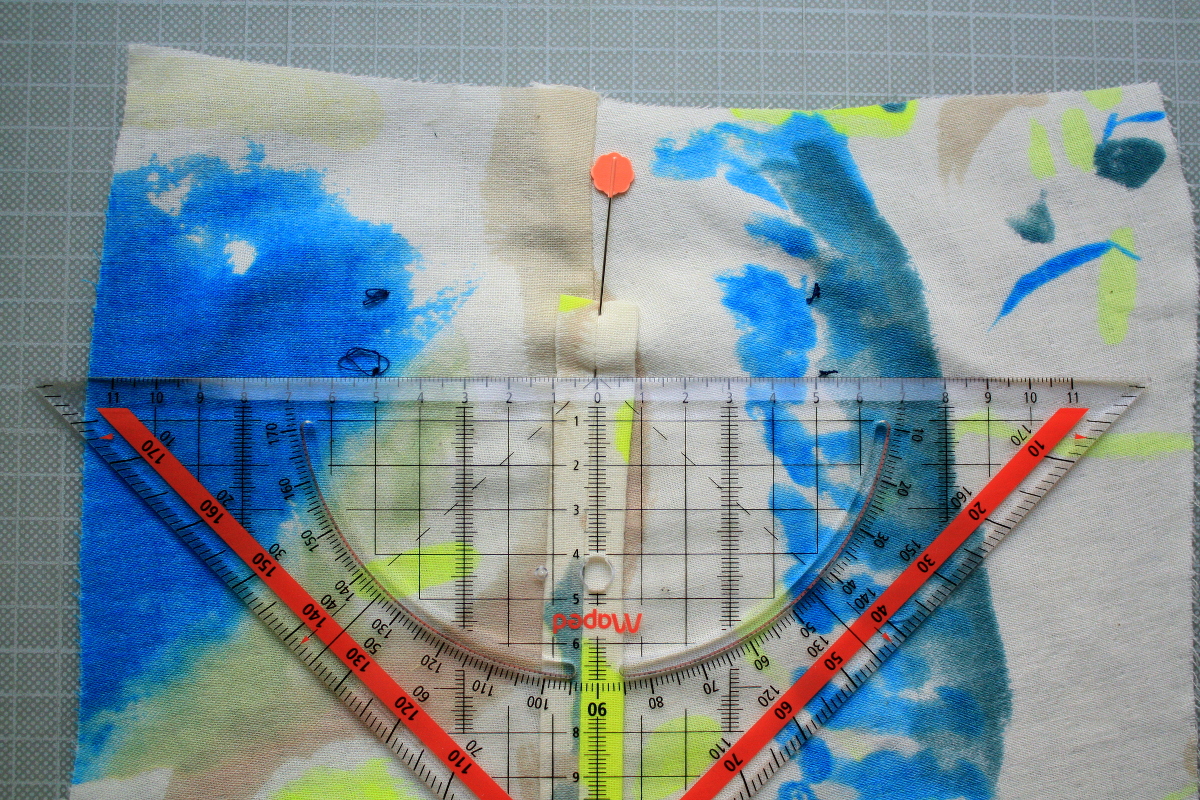
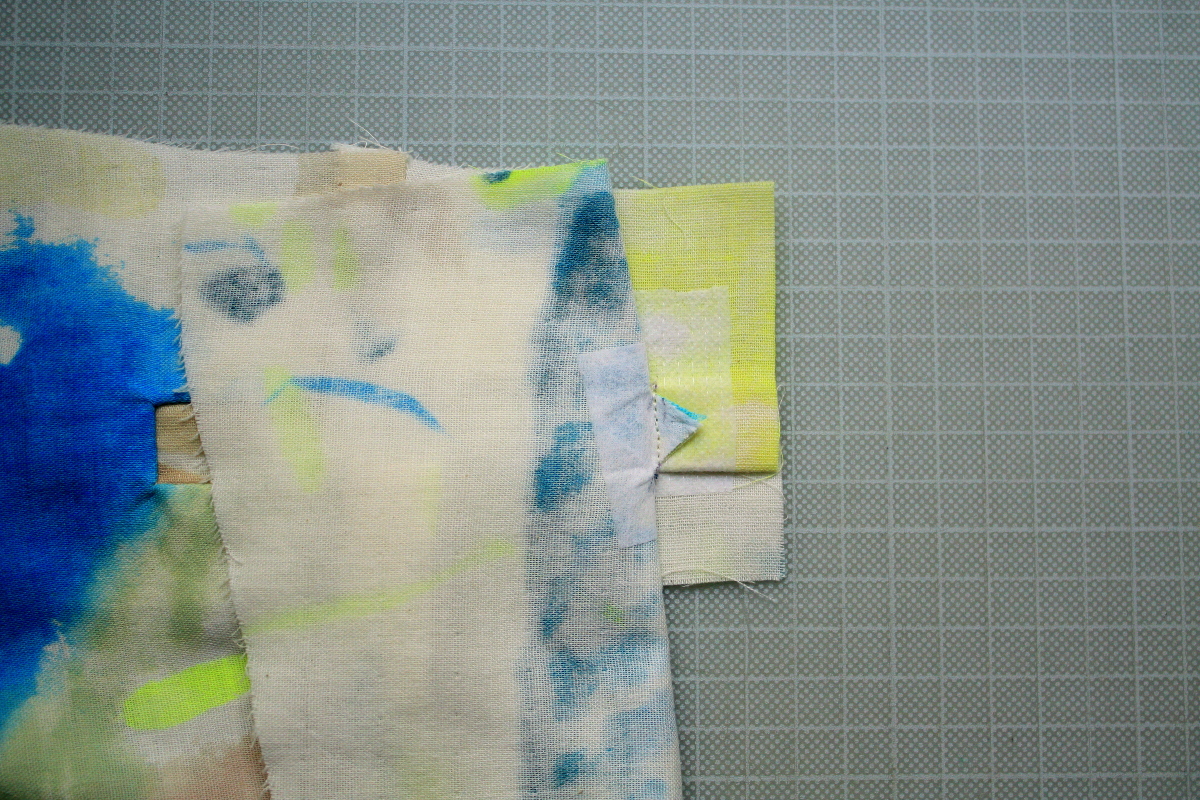
Place the loop piece in the middle between the markings. Make sure it overlaps the (invisible) line between the lower two markings, but does not overlap the line between the upper two markings. The right side of the loop is facing down, so the center seem is visible at this point of the process.
Pin the welt pocket to the trousers with the right sides together, matching the placement markings.
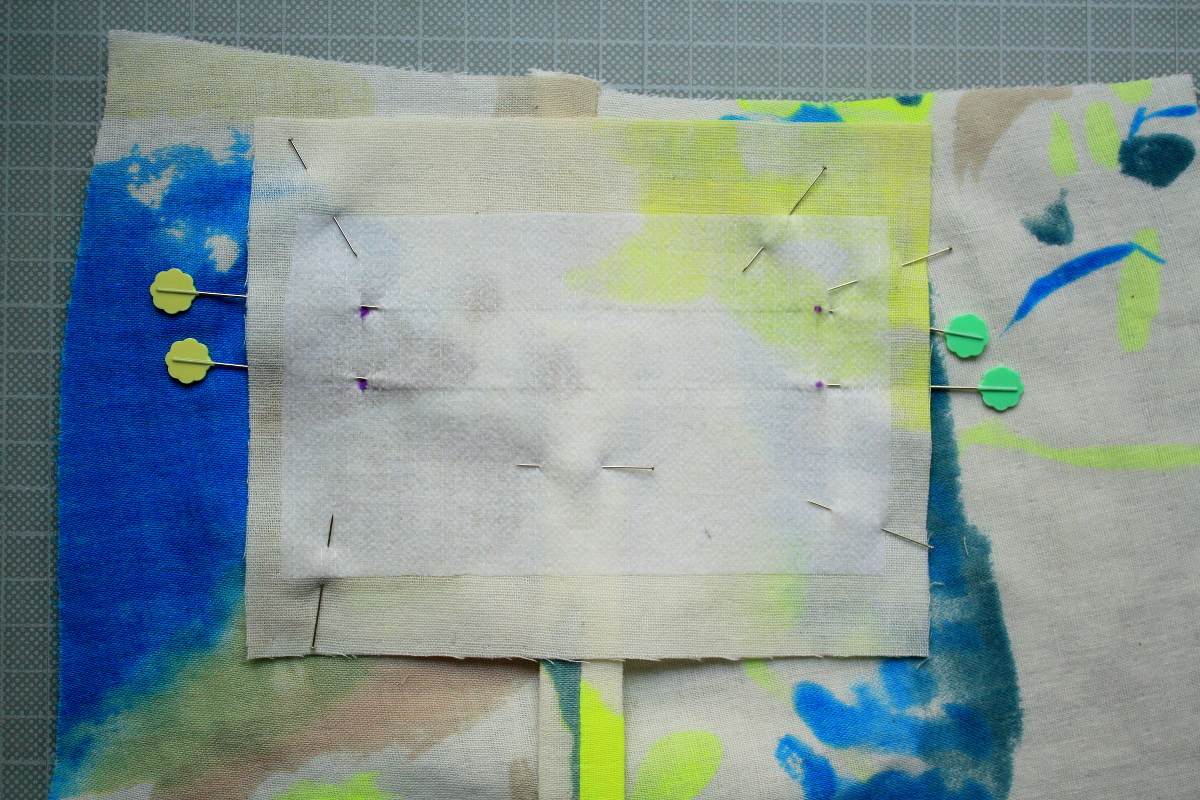
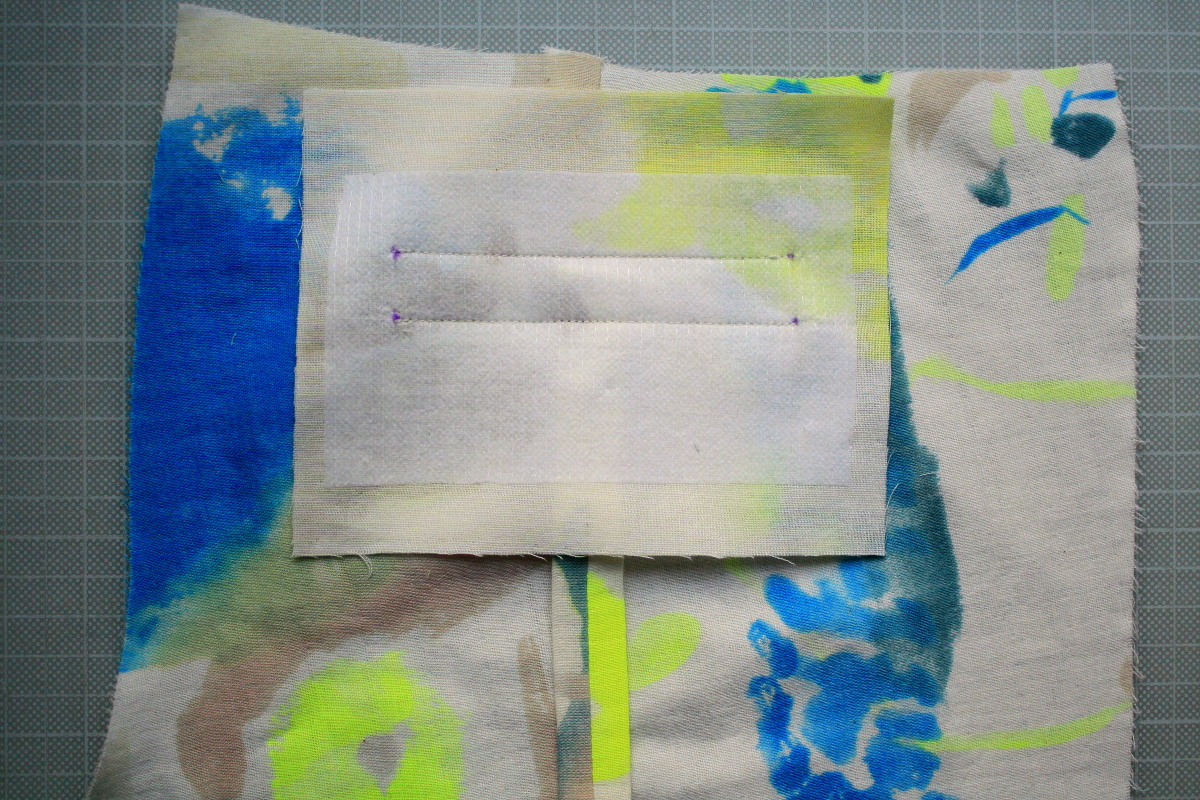
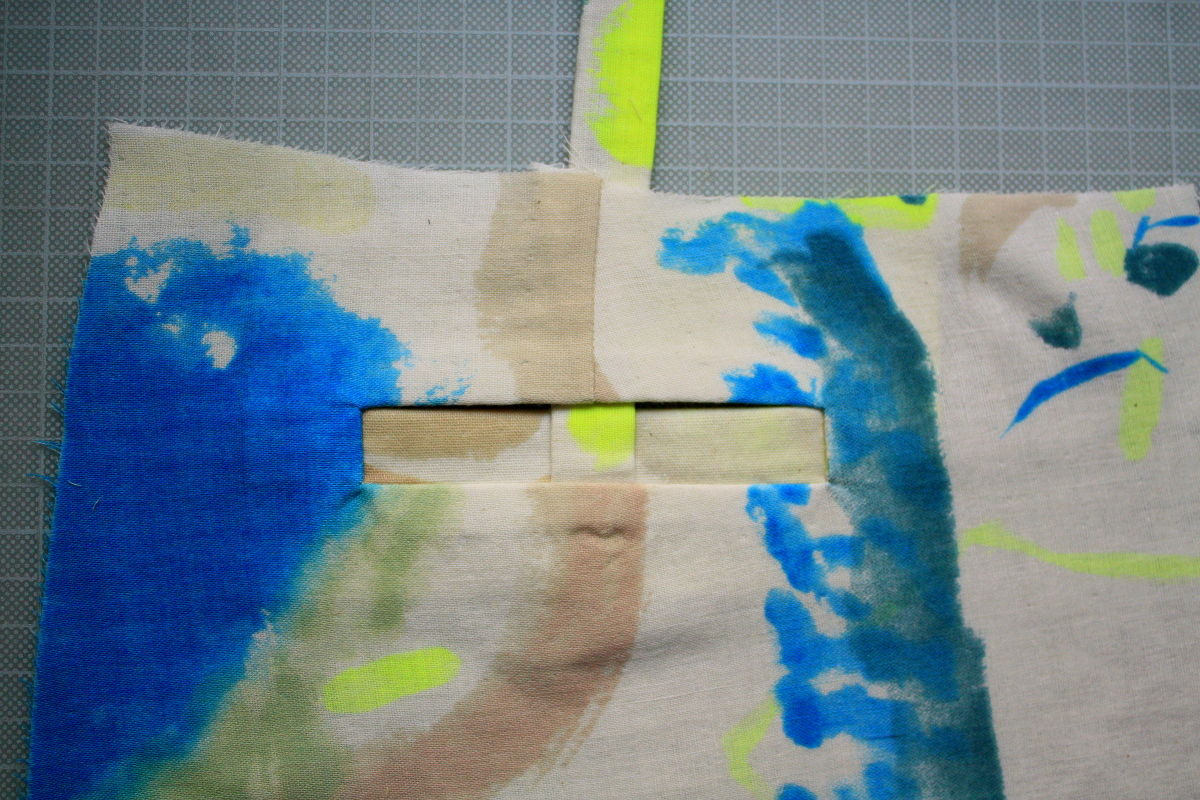
Stitch the top and bottom lines. Make sure they are parallel and exactly the same length.
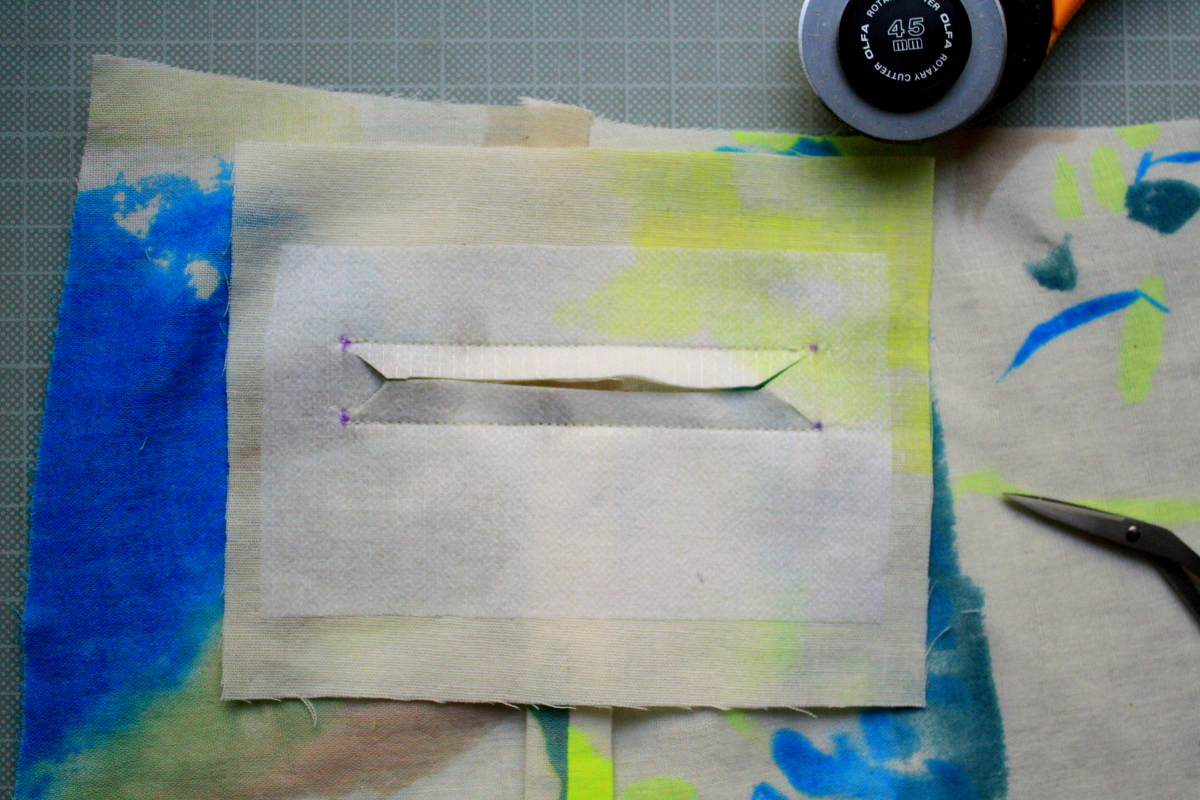
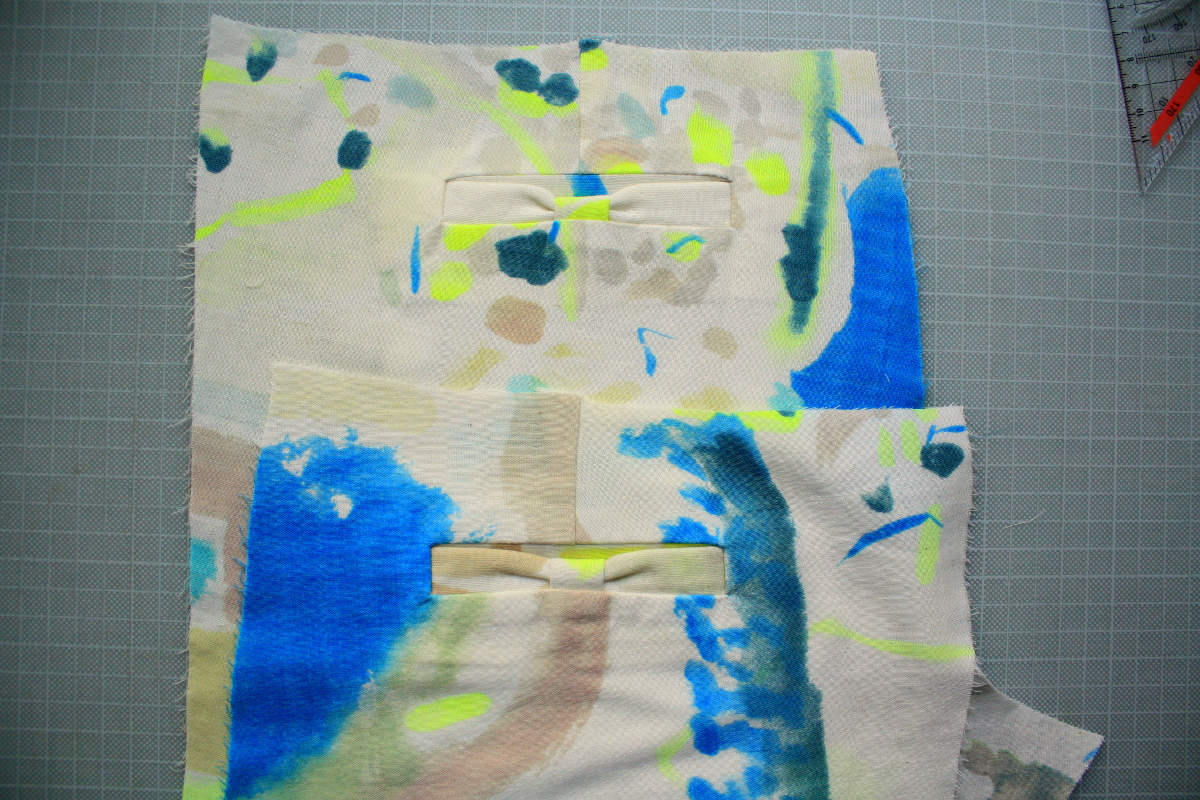
Cut a slit through both layers of fabric between the two stitching lines, ending on both sides in a Y-shape as closely as possible to the stitching.
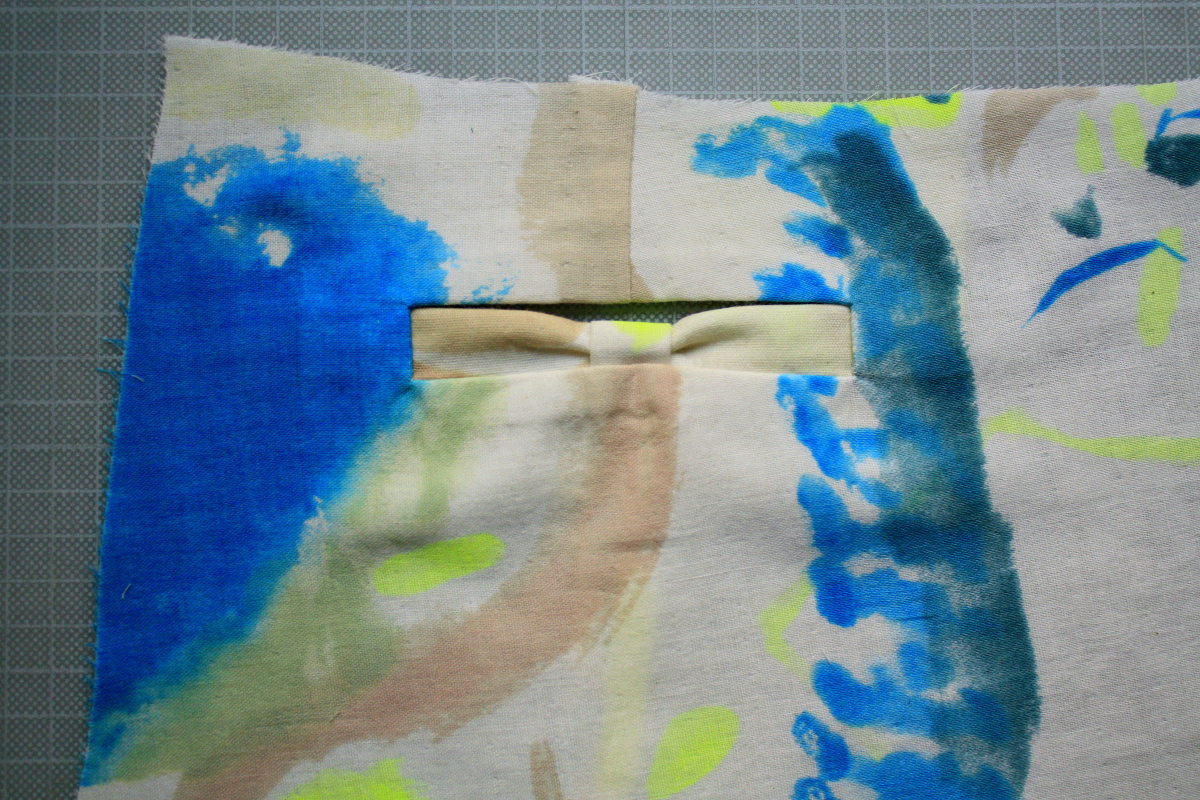
Pull the welt pocket through the opening to the backside and press. The picture shows the right side of the trousers at this point of the process.

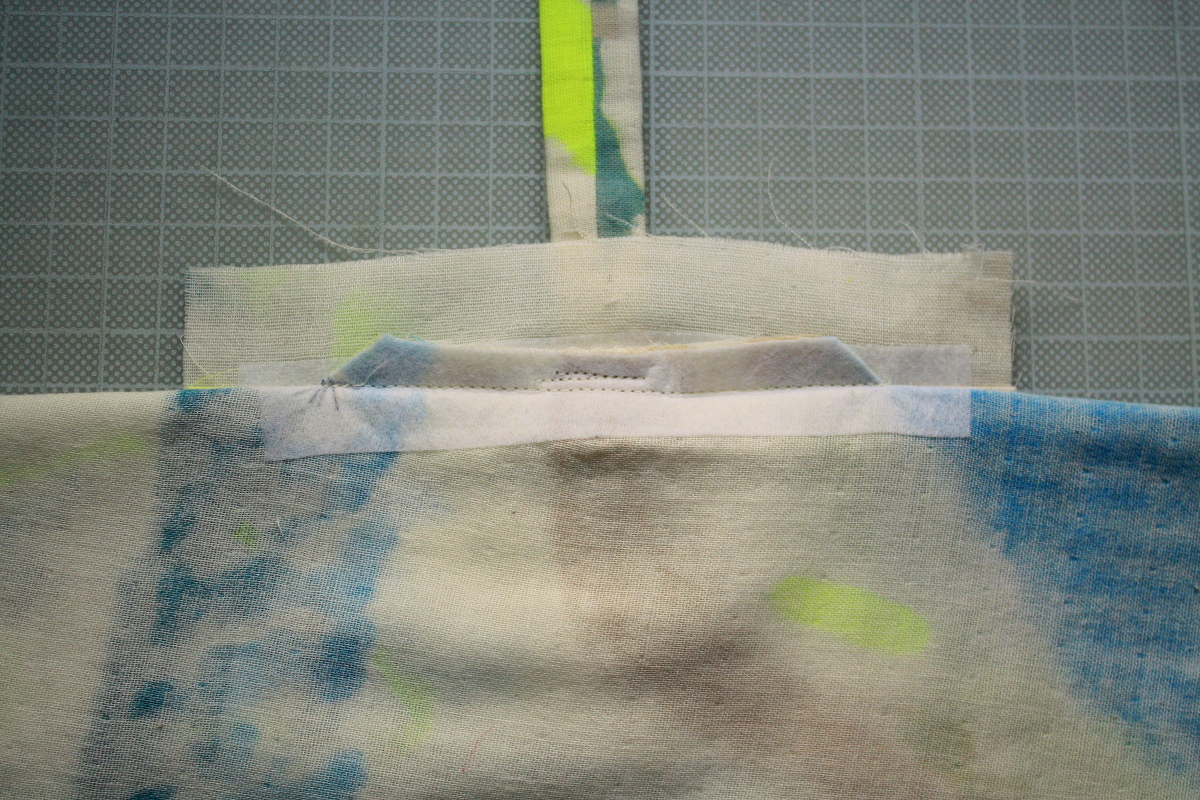
Press the bottom of the welt pocket piece up.

Fold the welt down again matching the top of the opening.
Check the right side, fold the fabric away at the side of the pocket and stitch down that little cut triangle.
Pull the loop piece to the back side of the fabric.
Pull the loop down to create a bow shaped welt.
Once you like the shape of the bow, pin it to secure it.

Now take the lower part of the welt in one hand and fold away the fabric of the trousers with your other hand. Sew the loop to the welt and the seam allowances but not to the trousers.
Cut off the excess part of the loop piece.
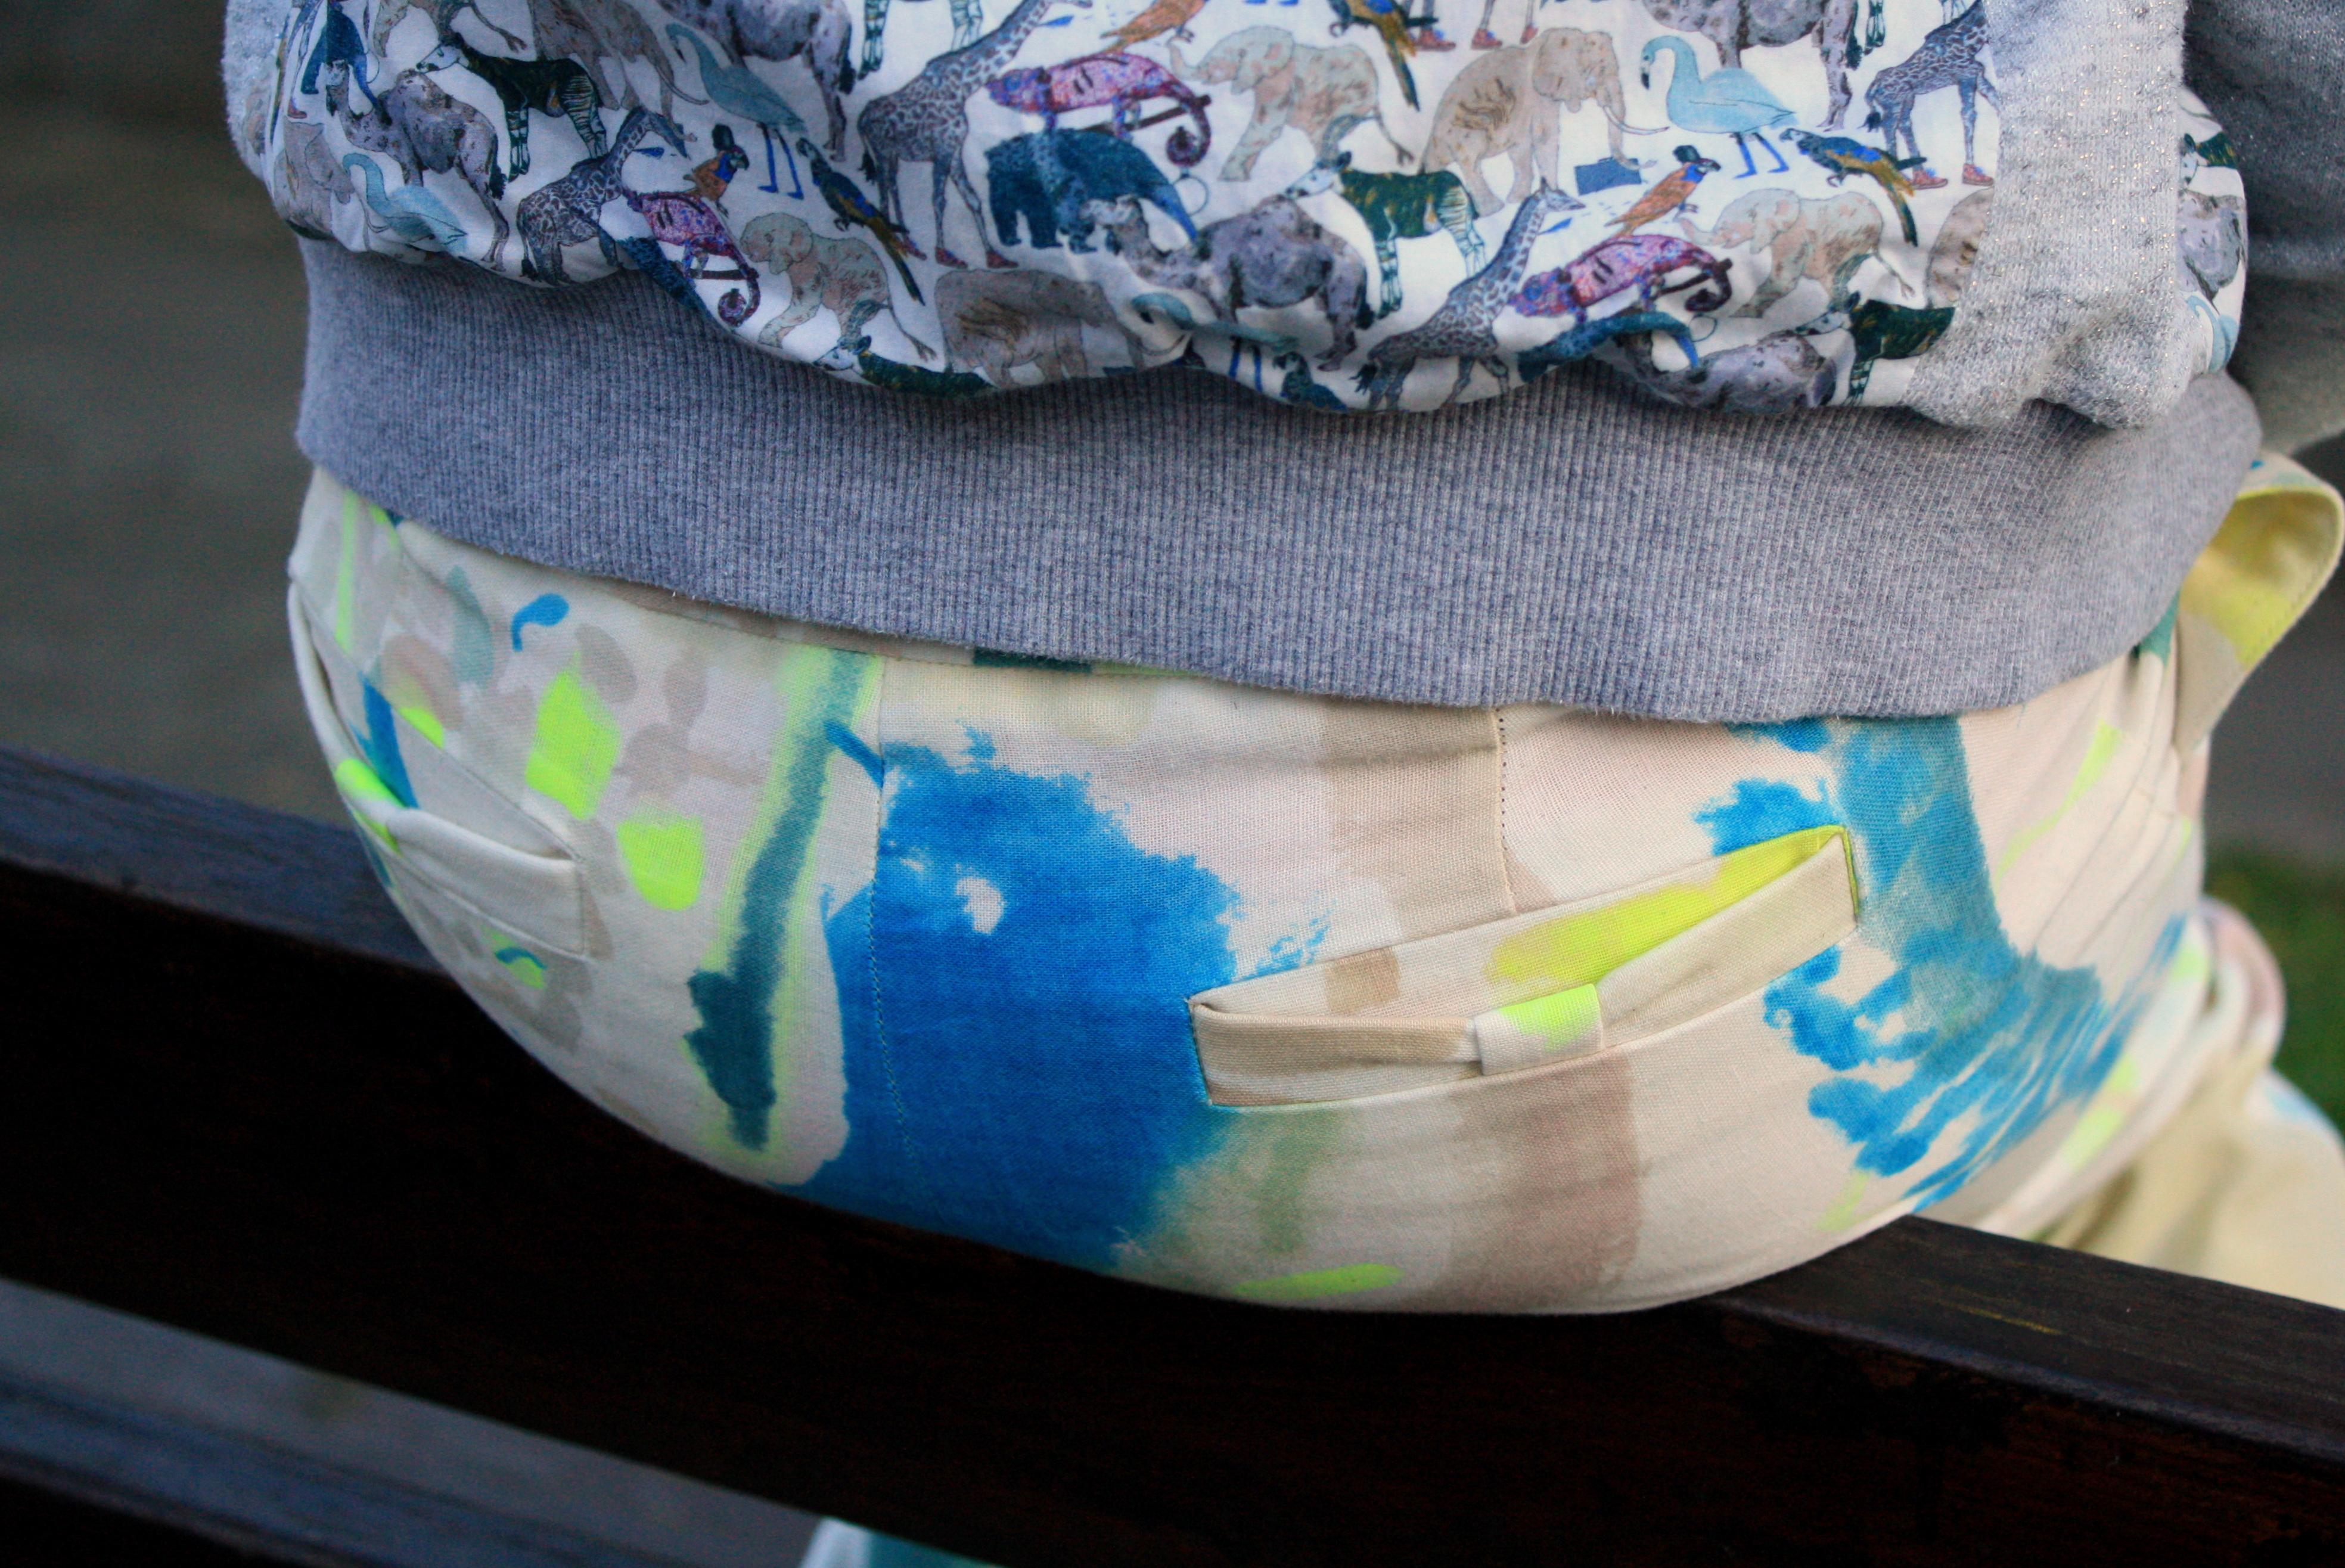
Finish up the pocket as indicated in the Oliver + S welt pocket tutorial. Take a moment to admire your work.

Repeat these steps for the second pocket.
Finish sewing up the trousers an indicated in the instructions. I hope this tutorial helps you to create as many bow welt pockets as you’d like. I’m curious to see what you make, so feel free to comment on my blog and I will come over to yours to have a look. Have fun!