
We are happy to welcome Johanna to the blog today. She has a very clever project to share with us involving sewing a little toy into the pocket of the Lunch Box Tee. This idea is not limited to only this pocket. Just think of all the other Oliver + S pockets where toys could be added; like the Hopscotch Skirt, the Puppet Show Shorts, the Music Class Skirt, the Ice Cream Dress, the Jump Rope Dress, the Book Report Dress, and the Carousel Dress. Thanks so much for showing us this cute idea Johanna!
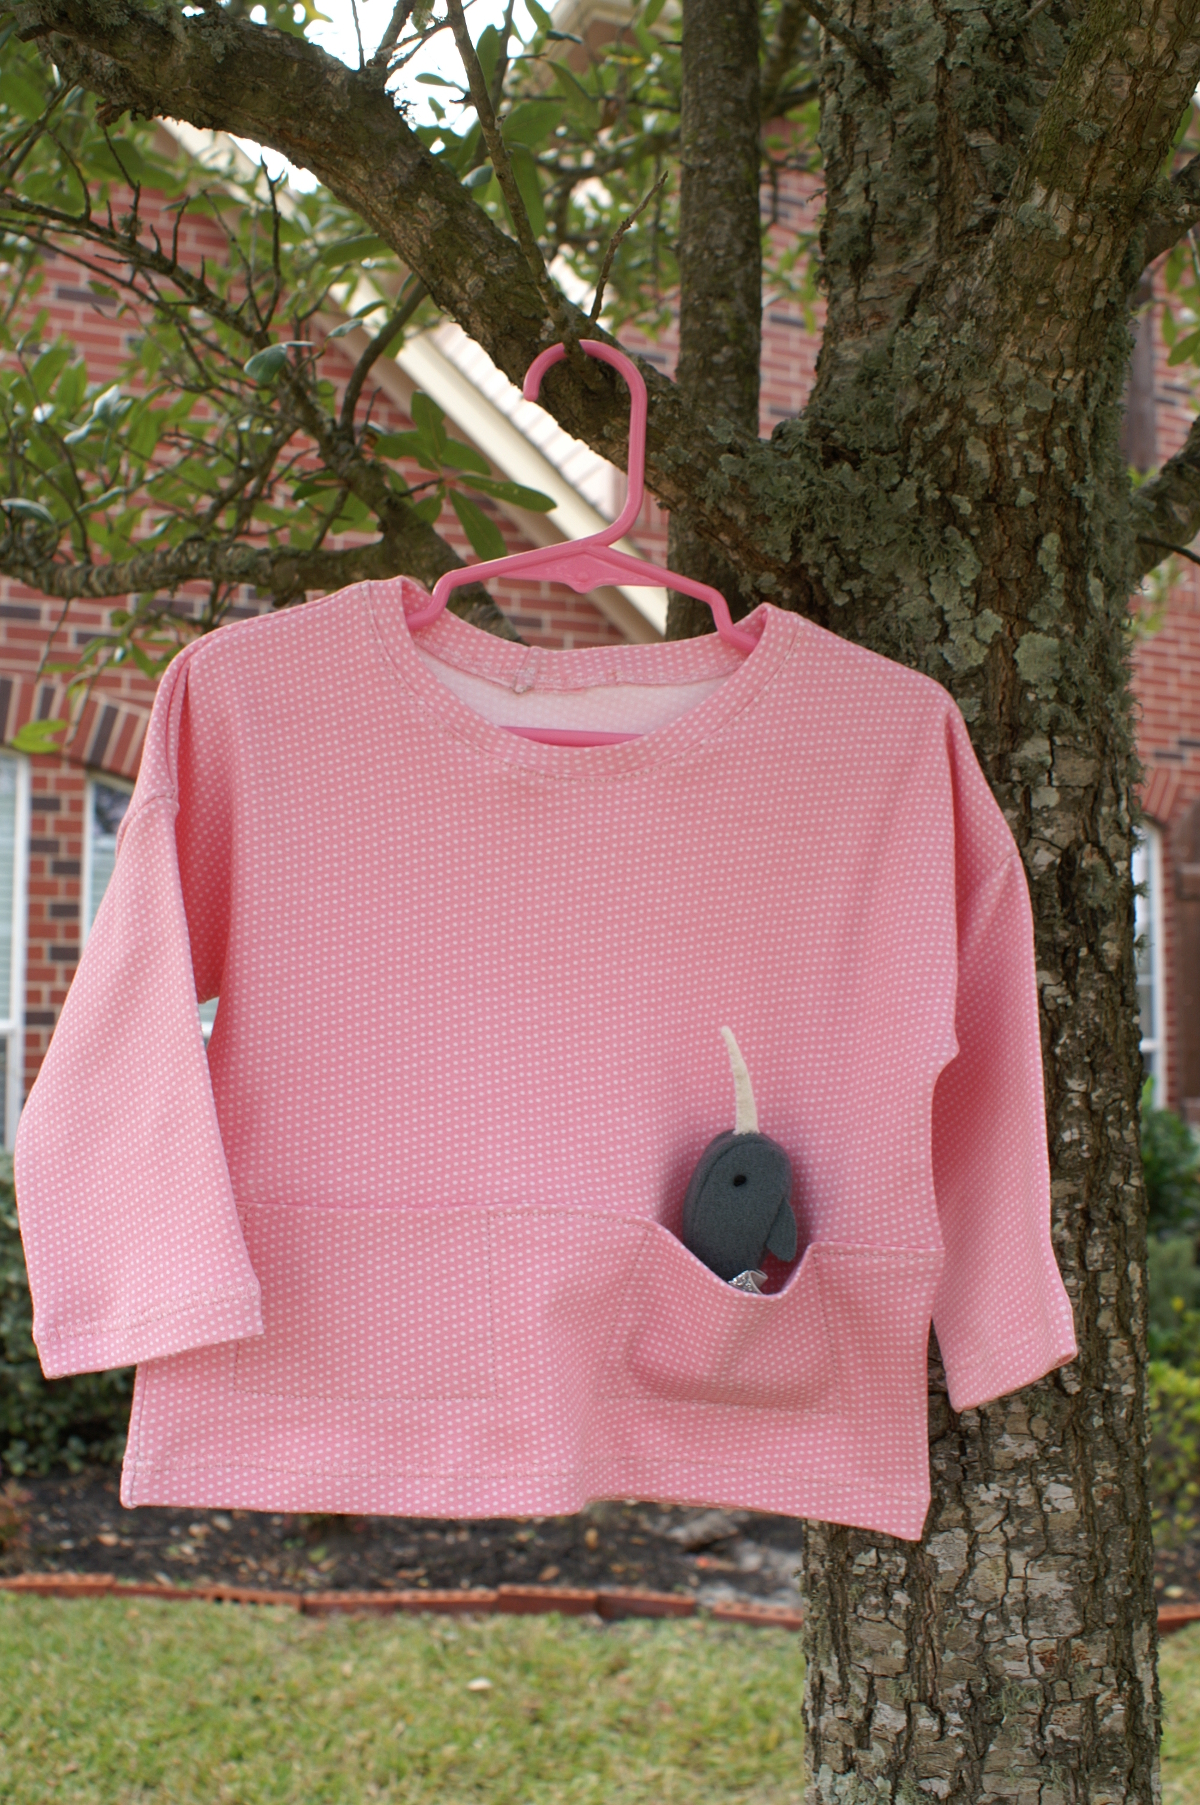
A while back, I was a tester for the Lunchbox Tee + Culottes. I loved the little hidden pockets on the front of the tee, and my daughter loved to dig her hands deep into them, and then give a little jump for joy. It reminded me of some overalls my oldest daughter had around the same age that had a small stuffed animal attached on a string, sewed into the pocket. My oldest daughter would spend her day stuffing the toy in and out of the pocket, and giving that same little jump for joy. So, I decided that my next shirt would have a little animal in the pocket, and I set about making it work.

The first step was to find a pattern that was free, and was pocket sized.
After some trial and error, my best search terms were “ornament” “stuffed” “pattern” and “free.” I found one that was perfect, and extremely cute.
Meet the Narwhal ornament.
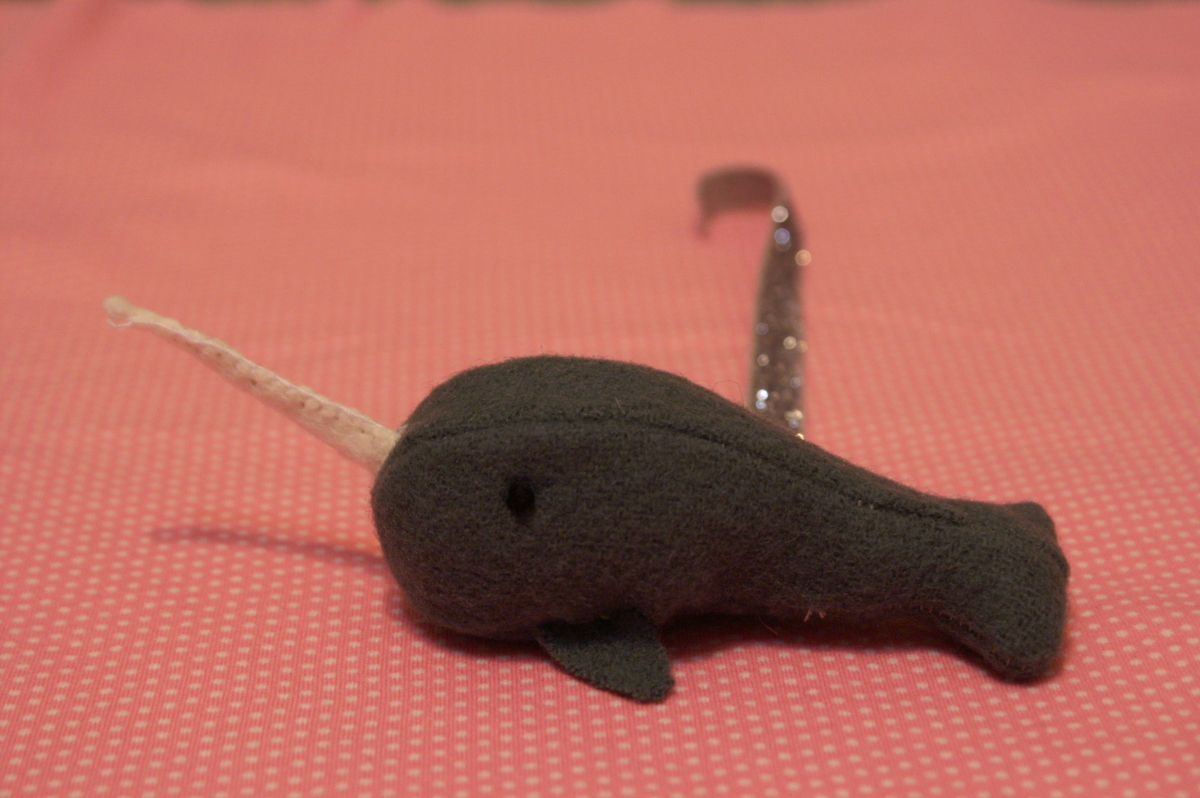
My first step was to make up the ornament. I changed two things about the construction. I added a silver piece of elastic that was about 7” long to one of the side seams, and I used a twist tie from my bread to keep the tusk straight, since I didn’t have any copper wire hanging around the house.
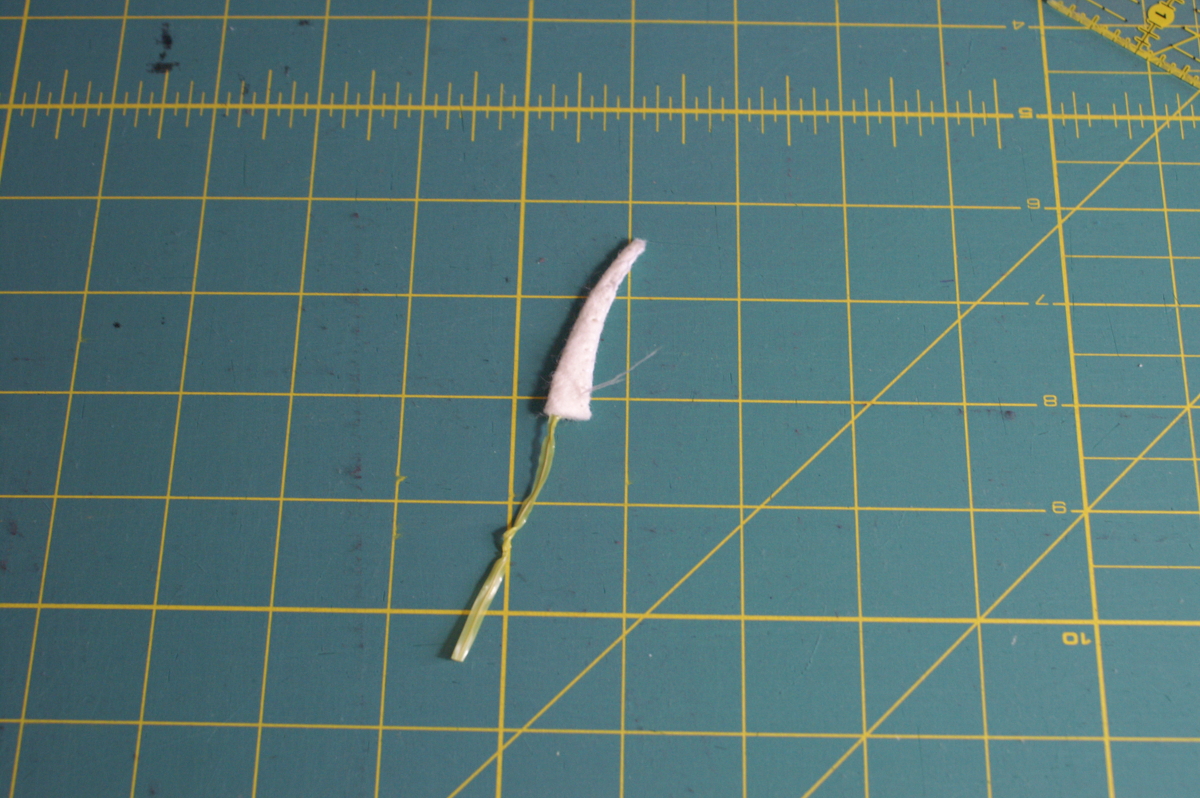
I also hand stitched the tusk with a blanket stitch, because I couldn’t get my felt to turn right side out. After I stuffed it, I sewed the last side seam by hand, and added French knots in black for the eyes.
After the ornament was made up, it was time to prep my shirt. The directions call for interfacing across the top of the pockets, but to make sure the seam didn’t stretch too much, I added interfacing to the bottom of the pockets as well.
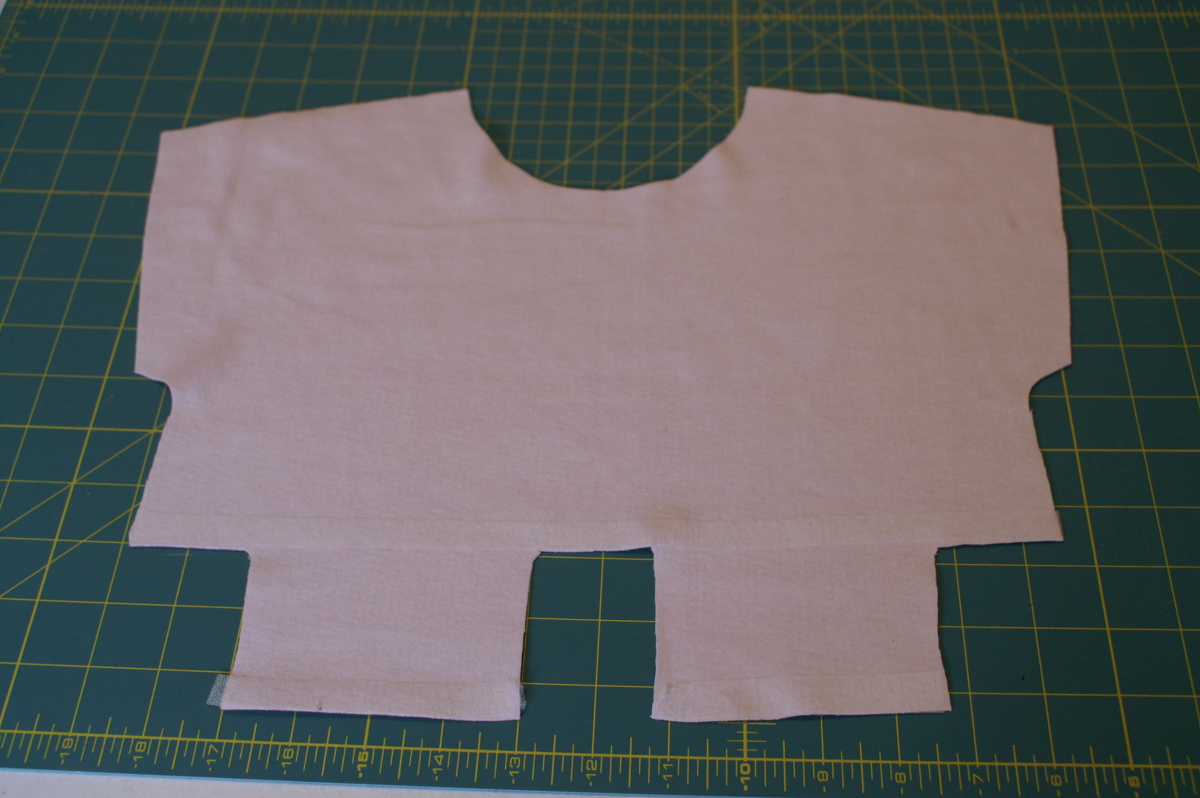
In chalk, I drew my 1/4” stitching lines, and I’ll show you where that comes in handy in a minute.

My daughter is left handed, so I pinned the bottom of the elastic to the middle of the bottom left pocket.
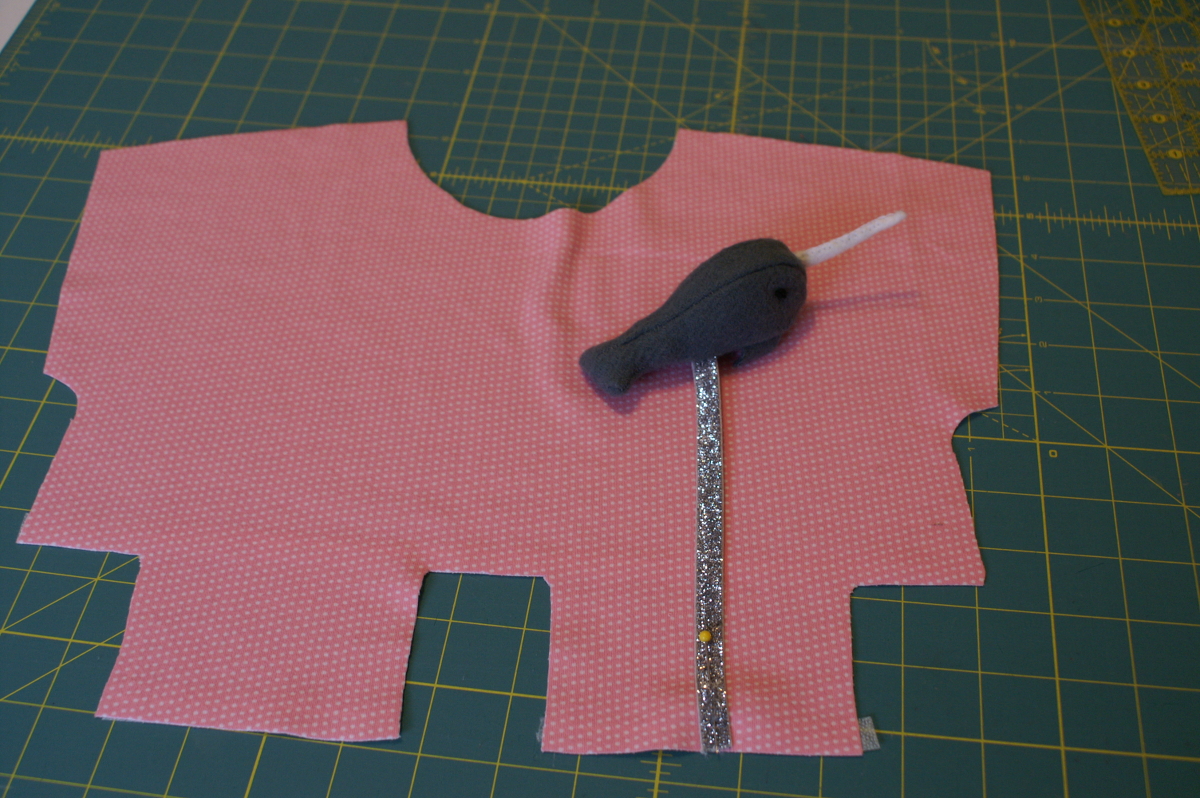
I stitched the two layers together, and then steamed and ironed them into shape. Once everything looked right, I set my machine to baste, and stitched on top of my lines through all the layers of the tee.

I ironed it again, and then used my basting lines as a guide, and used my triple straight stitch to stitch the pockets down.

This does two things, it reinforces the stitching of the toy to the shirt, and ensures that each time your child tugs on the pocket, it doesn’t go inside out. After using the triple stitch, I pulled out my basting stitches, and re-ironed.
I followed the rest of the instructions as they were written, and my daughter was pleased, and gave that little jump for joy.
When I was searching, for my ornament to put in my daughter’s pocket, I found a lot of patterns that would work, if only a little bit smaller. The first two times I tried this, I had to reduce the size of the pattern to make it fit into a pocket, and I wanted to walk you through the steps for this.
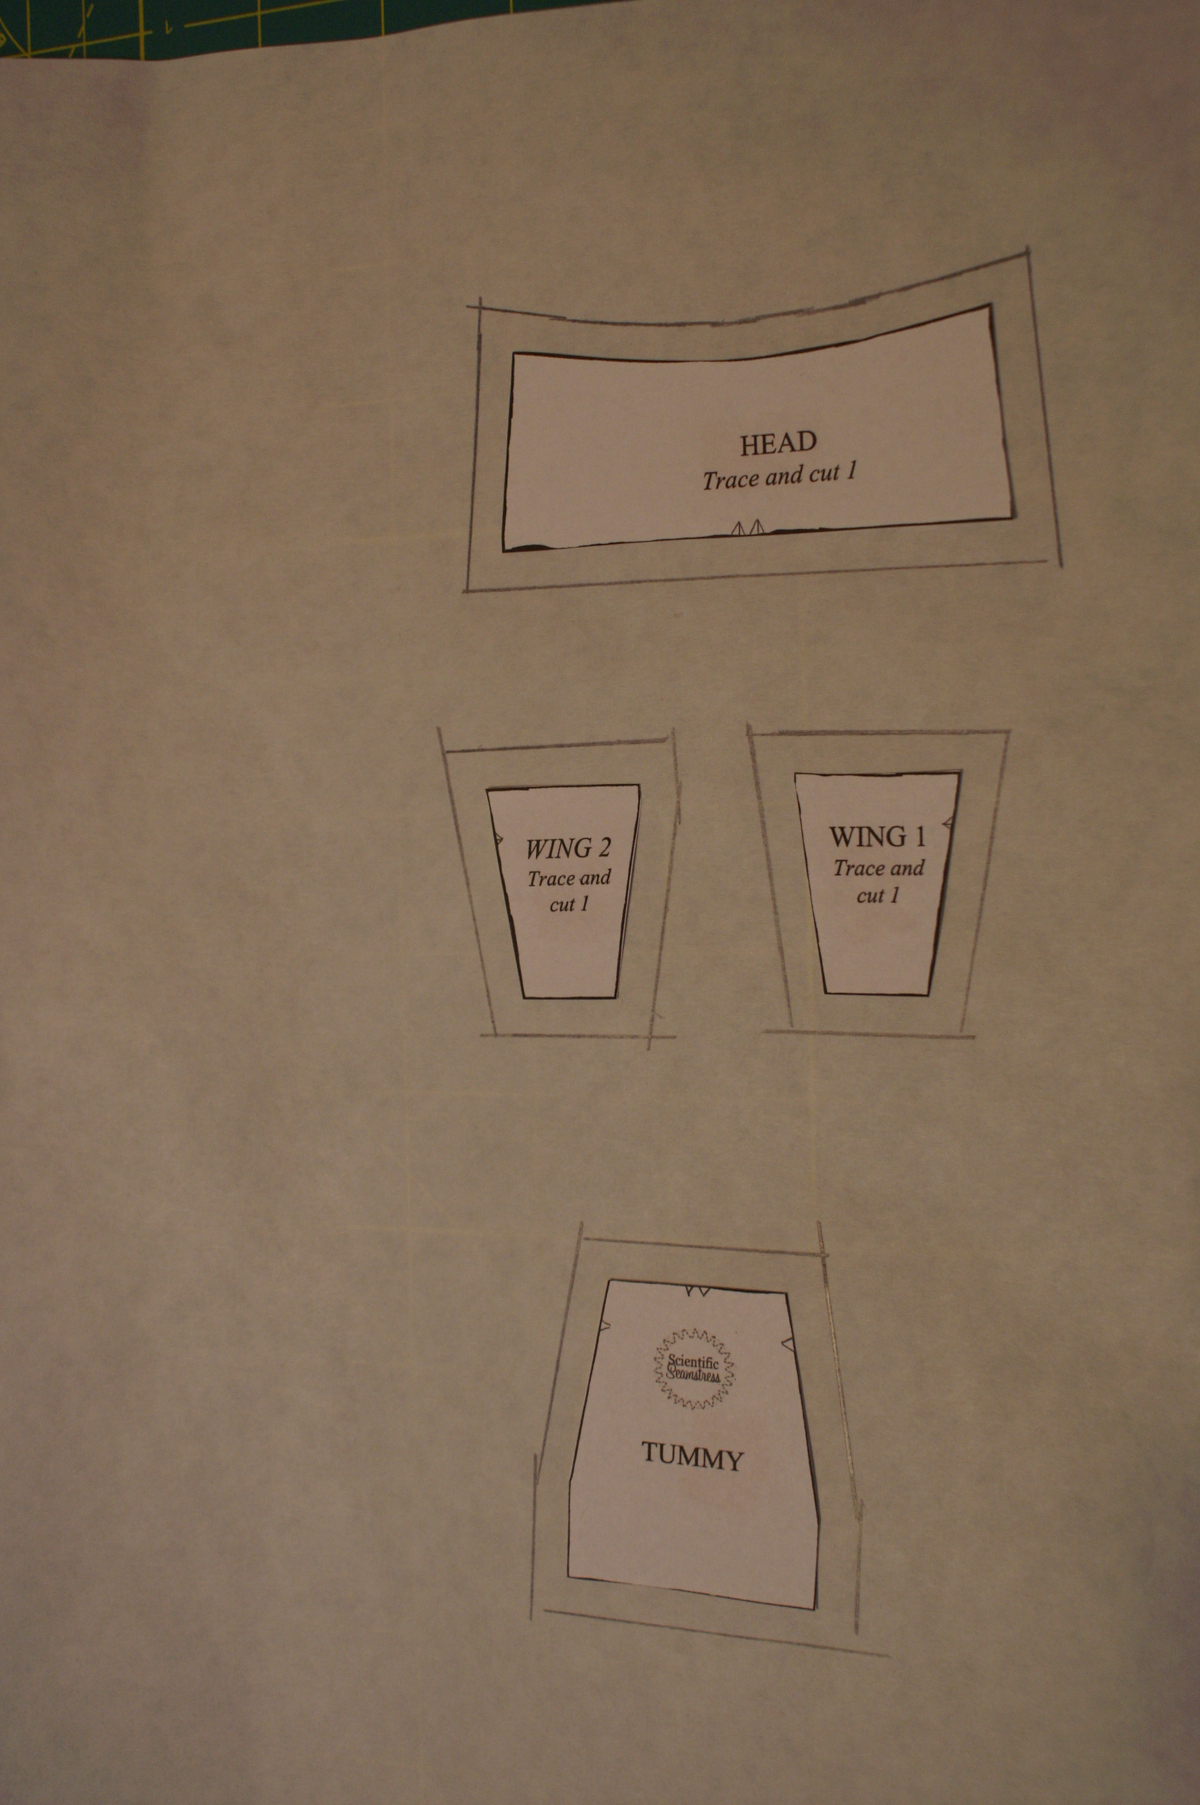
First, find your pattern. I used Scientfic Seamstress’s “Owls for All.” It has nice straight lines, and very simple construction methods.
My first step was to print off the pieces at full size, and then remove the seam allowances.

Once I had that done, I colored the edges of the pieces without the seam allowances with a Sharpie, and put them down on our “all in one” copier/scanner. I reduced the pieces to 40% of their original size (and could probably have even gone to 35%) and printed again.

I put the new, smaller pieces onto my freezer paper, and then re-drew the 1/4” seam allowance.
I cut my pieces from quilting cottons, and found a nice piece of coordinating bias tape. I used a 7” piece of bias tape, so it would be long enough to come out of the pockets, but not a strangulation hazard. I edgestitched both sides of the bias tape. I attached it to the bottom of the owl, curled the bias tape up so it wouldn’t get caught in any seams, and then put right sides to right sides, leaving an opening on the side seam of the owl instead of the bottom, as that is where I had attached my “string.”

I wanted the strength of the machine stitch, as my hand stitches tend to get a little sloppy or loose, and I didn’t want to re-do this seam. I eliminated the bottom feet for simplicity. I traced around a small button to make the whites of the eyes from felt. I thought the heart eyes were darling, so I just drew those onto some fusible web, and then bartacked them onto the white part of the eyes.
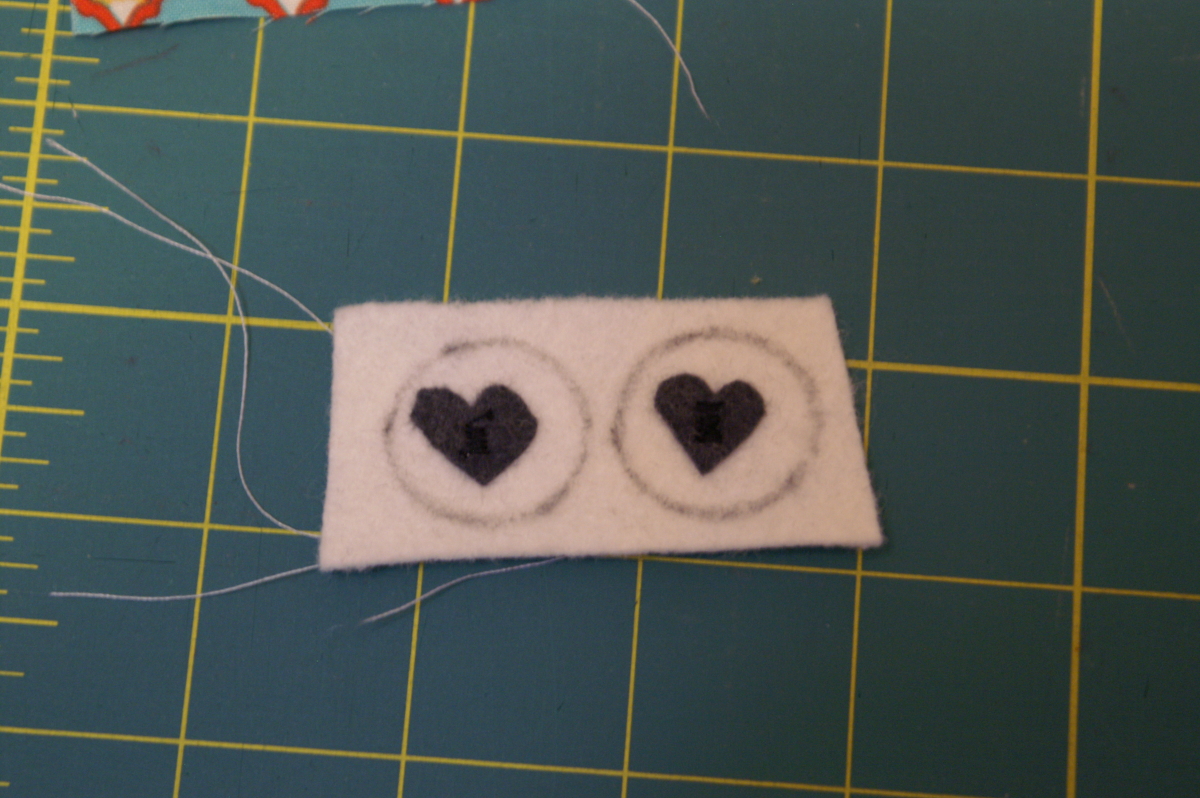
After cutting them out, I attached them to the top part of the owl with a narrow zig zag. I attached the owl the same way that I attached the narwhal ornament. And my daughter gave her leap of approval.
