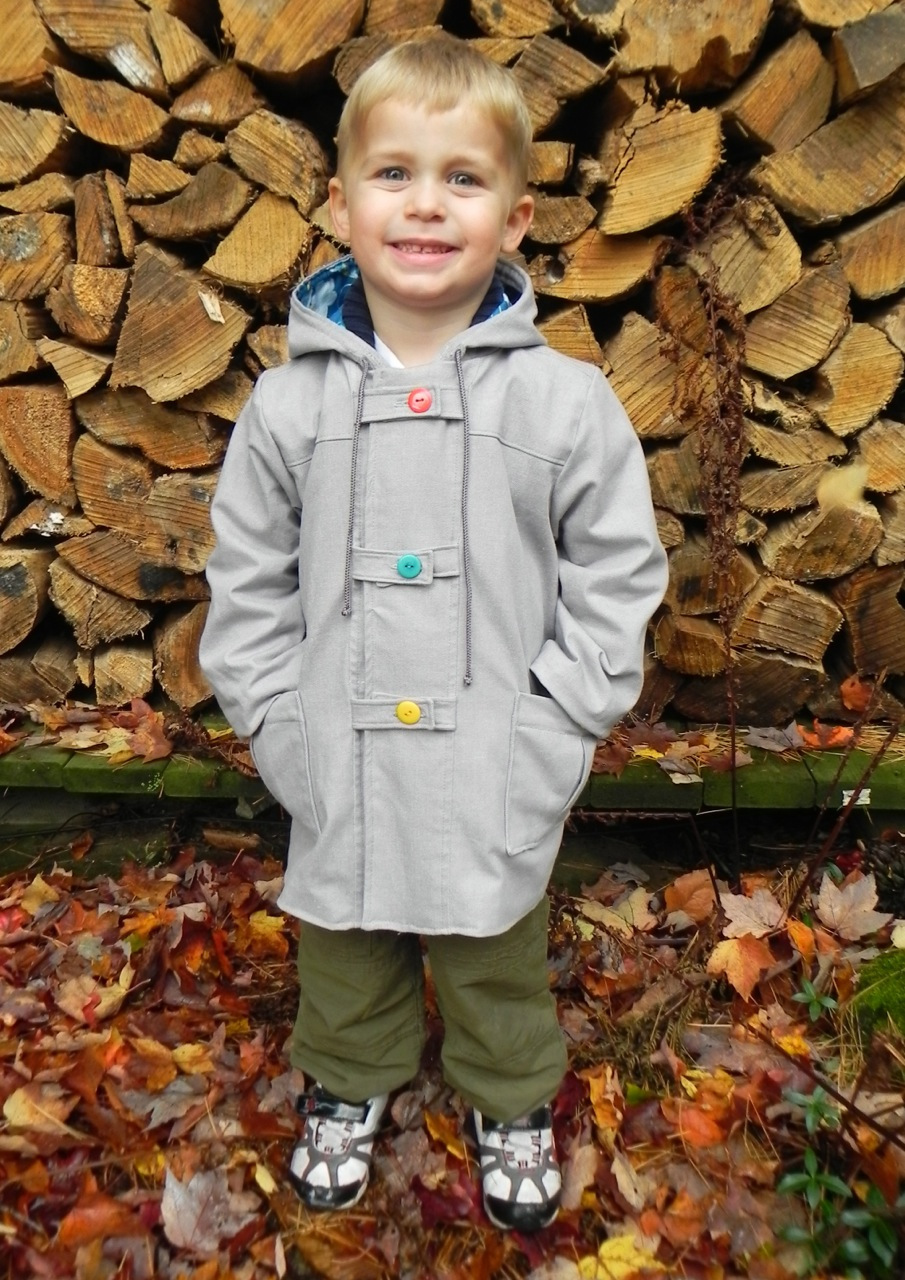
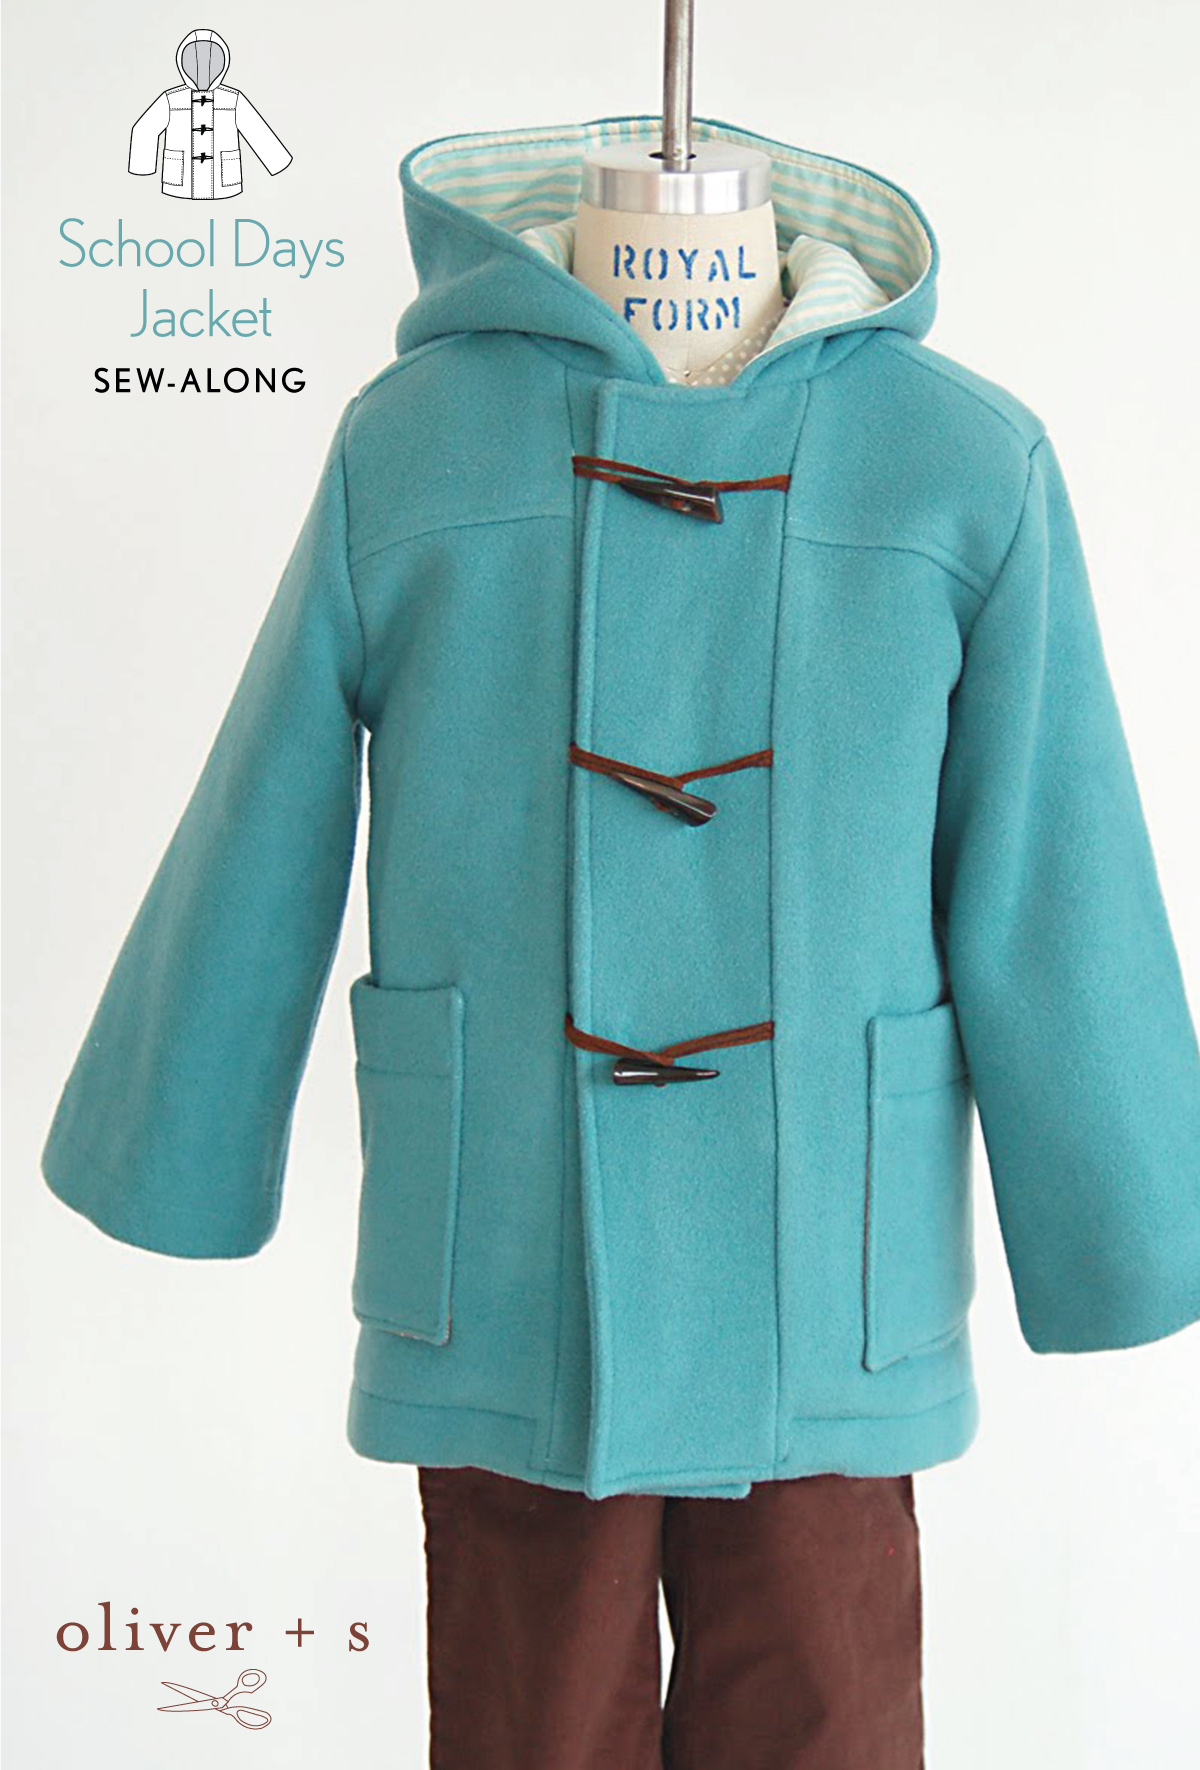
This is day two of the School Days Jacket Sew-along. Our friend, Deb, is back today. You remember Deb, right? She has stopped by before with her lab coat, favorite pattern, and Flat S visit (which included pirates!). Today she is taking us through this second day with the following steps: assembling the back jacket, sewing the shoulder and side seams, and sewing and attaching the patch pockets. Now I’ll hand it over to Deb.
This section of the jacket is easy and for the most part, fairly quick.
With your cut out pattern pieces #5 back yoke, #7 back, #10 pocket, #11 pocket lining and the finished front portion that was done during day 1 of the sew-along, let’s get going.
Starting with pattern piece #5 the back yoke, pin it to pattern piece #7 the back, with both pieces having their right sides facing each other.
Stitch with a 1/2” seam allowance.
Next, flip the yoke upwards and then press the seam so both sides of the seam allowance are on the yoke portion.
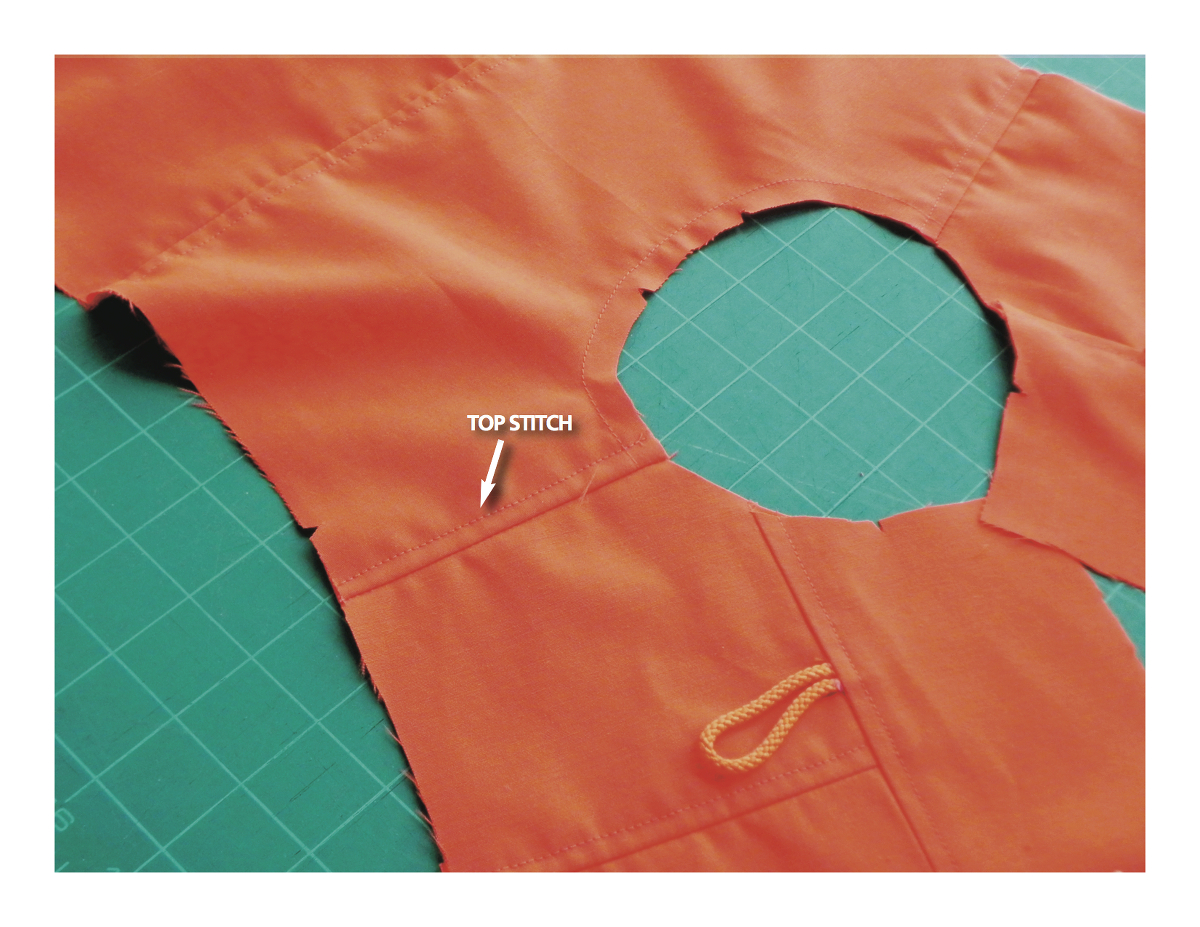
On the outside (right side) edgestitch or topstitch on the yoke side of the seam. Use the same topstitching distance and stitch length as you did on the front of the jacket.
When you’re finished, trim the excess seam allowance on the inside (wrong side) if you want, being careful not to cut into the stitching or jacket.
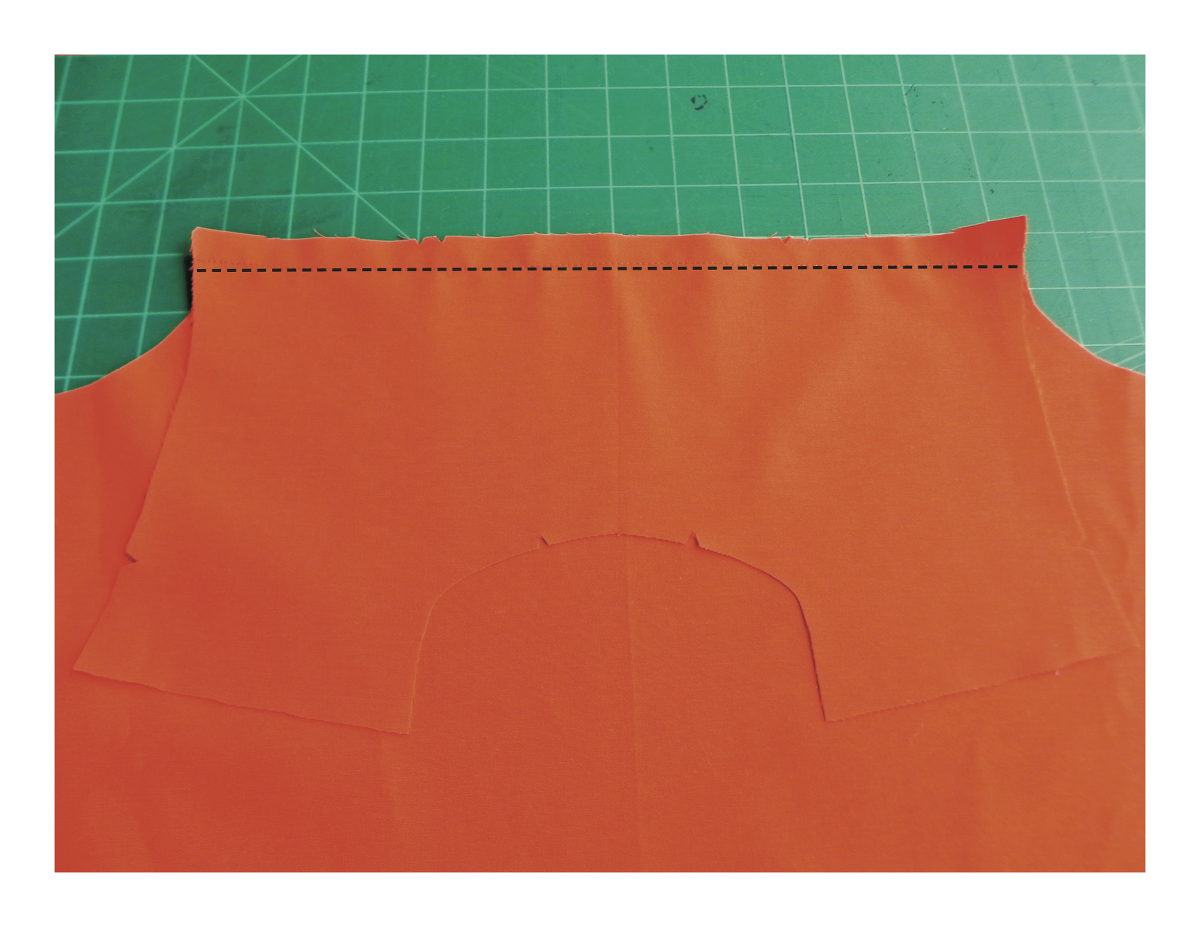
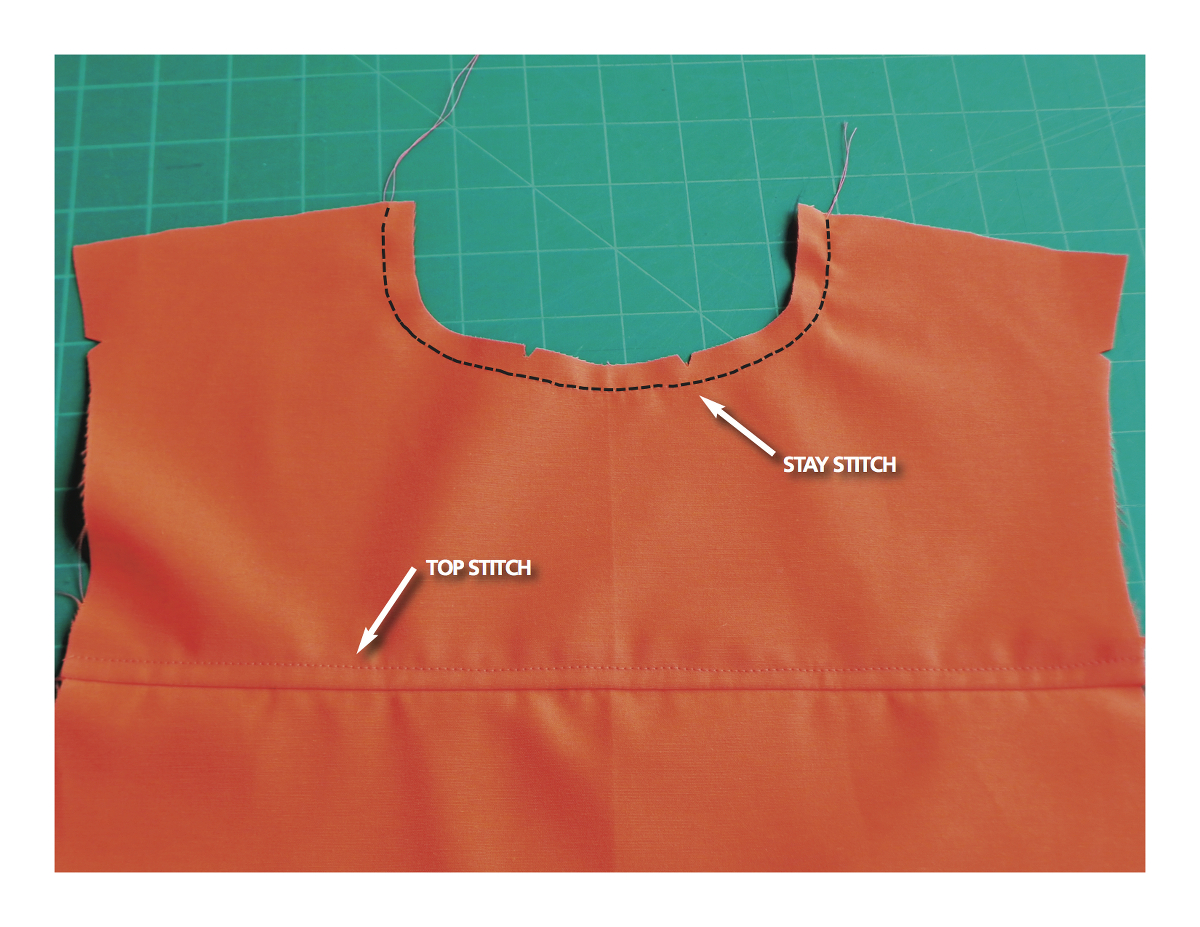
Then move up to the back neck edge, and stay stitch all around the neck 3/8” from the edge.
The next step is to attach the two front pieces with the back piece you just finished.
With the right sides together, pin the front sections to the back section at the shoulders and stitch with a 1/2” seam.
(Note that the shoulder seams have been moved 1″ forward therefore the lengths for the front and back will look uneven. This is part of the design but will look perfect when the jacket is completed.)
Press the seam towards the back section and edgestitch or topstitch.
On the inside, trim excess seam allowances if you want being careful not to cut the wrong bit of fabric!
With right sides together, pin the sides of the jacket together matching the notches and stitch with a 1/2” seam allowance.
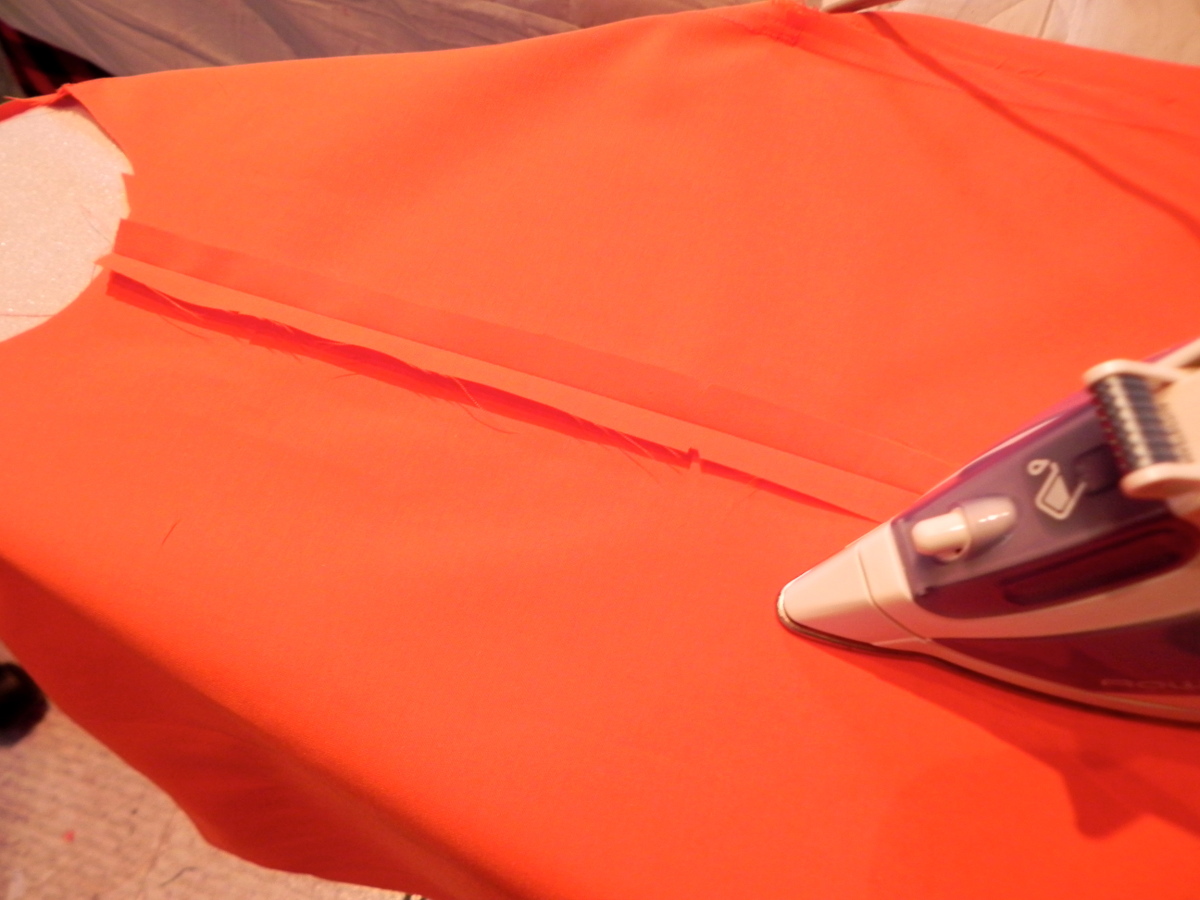
Then press the seams well. The pockets are going on that area so those two seams need to be flat.
Since the side seams will be hidden in the lining, it isn’t necessary to finished the seam allowance edges.
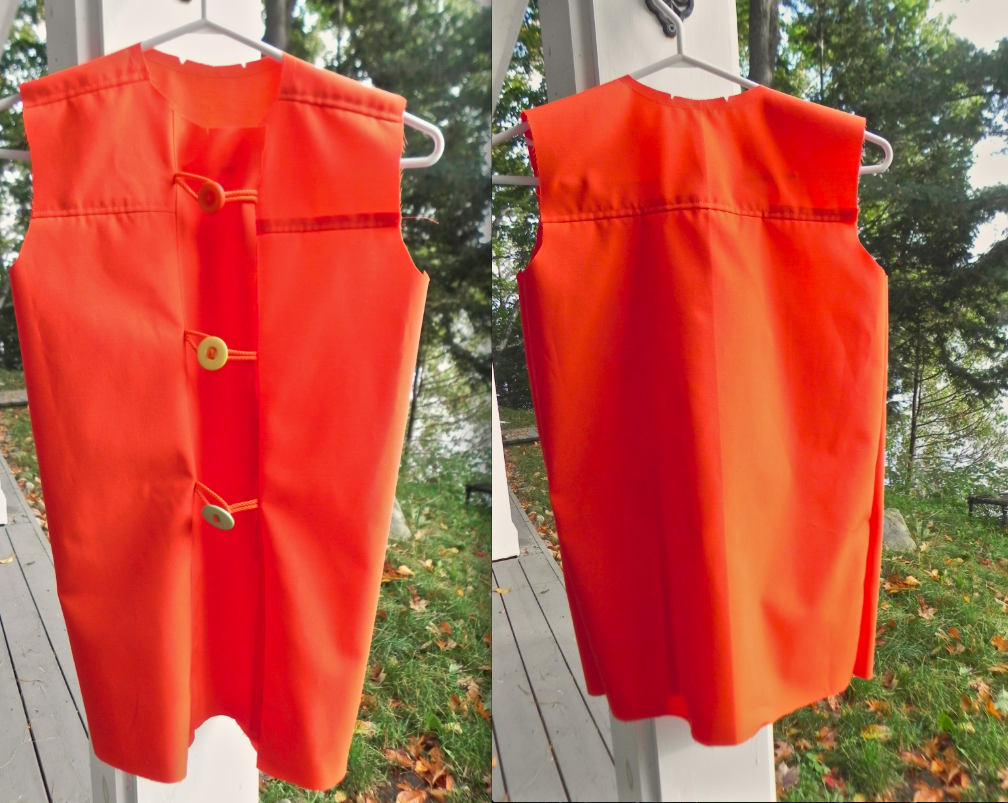
Say, this project is starting to look like a jacket now! There’s a front section with closures, a back section and even side seams.
It’s also time to turn the instruction sheet over to Page 3. Woo-hoo, progress!
Now we’re going to construct the pockets.
At the end of the instructions for Pocket Construction are some tips and ideas for pocket lining and design.
You may want to read ahead before continuing with the pocket construction.
Pocket Construction
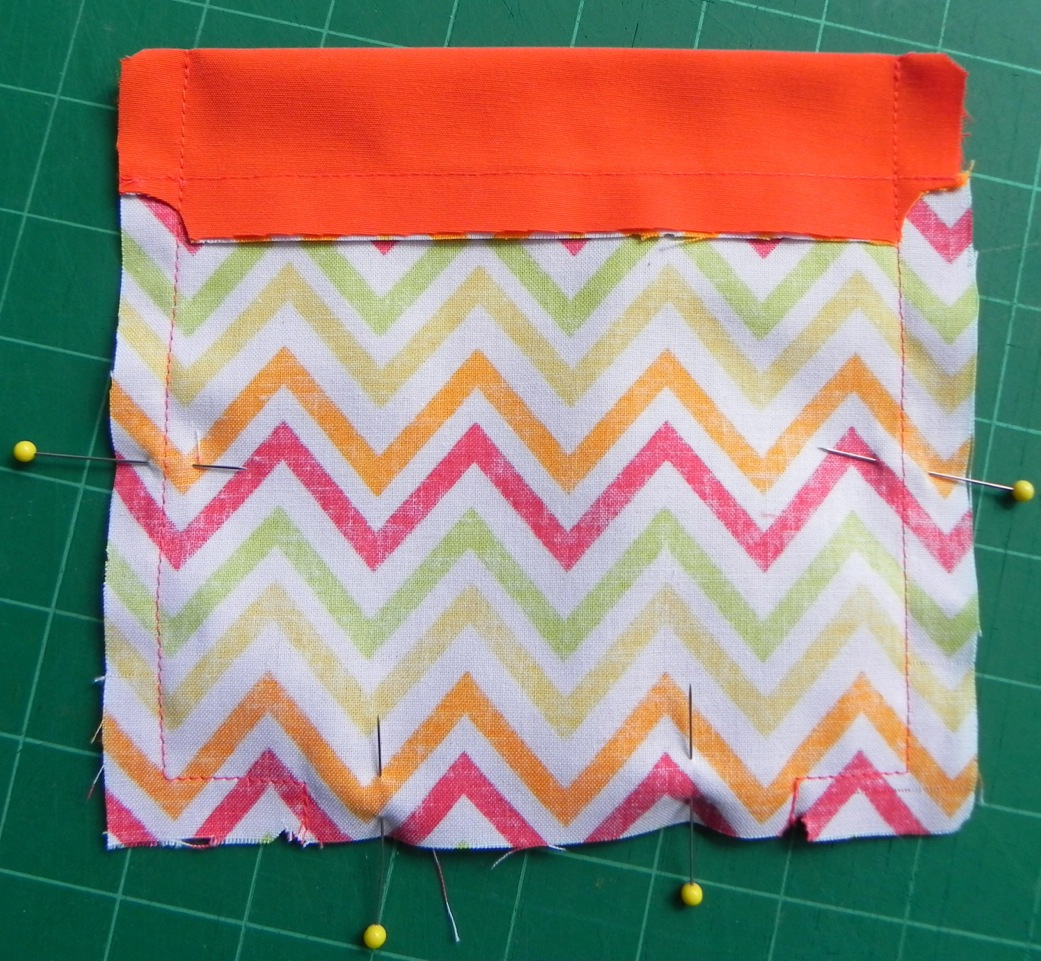
Using pattern piece #10, the outside pocket, pin it to pattern piece #11, the pocket lining, with right sides together along the unnotched edge.
Stitch the two together with a 1/2” seam allowance.
Press that seam downwards toward the lining and trim the edges to reduce bulkiness.
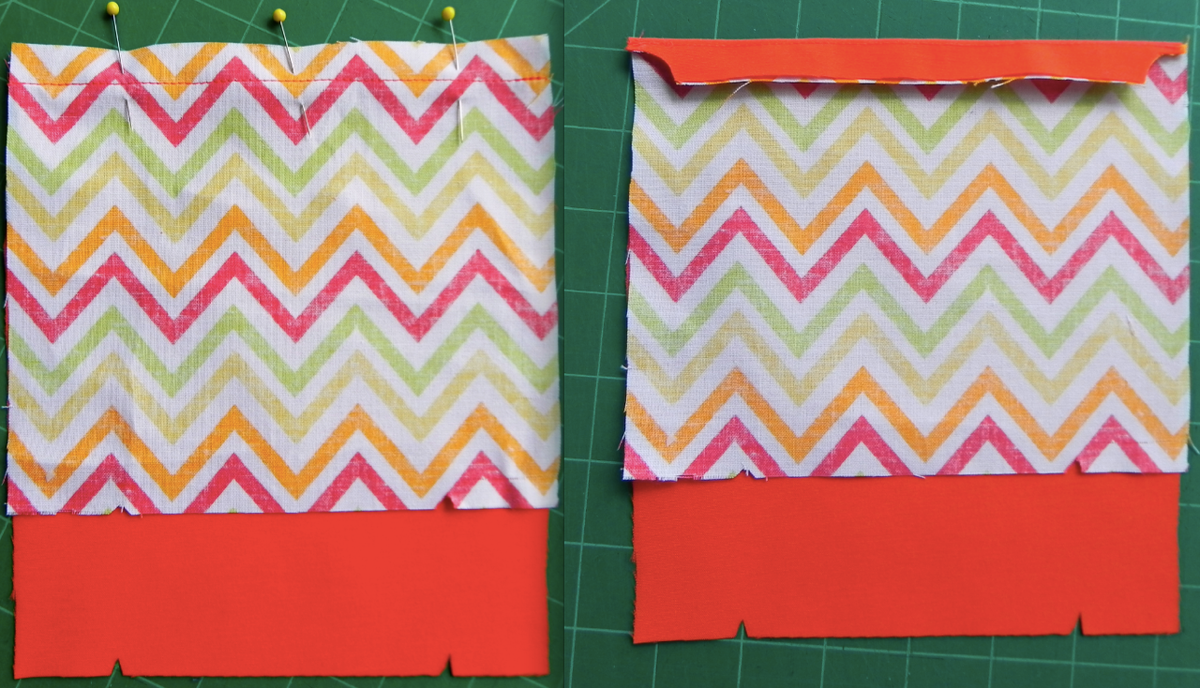
With right sides together, line up the notches on the lining piece with the notches on the outer pocket piece along the bottom edge. To do this, it will be like pulling the lining piece down to meet the outer pocket piece. In doing so, you will notice that there is more of the outer piece fabric showing at the top.
Pin and stitch with a 1/2” seam allowance, but leave open the area between the notches. When you get to the notches, pivot the fabric so that you are stitching into the seam allowance.
With your scissors start trimming all around the pocket to within an 1/8th” or so, clipping corners and being very careful not to clip into the stitching. Leave the seam allowance at the bottom between the notches untrimmed. You’ll need to turn the pocket inside out through that opening and because of the stitching into the seam allowance by the notches, that section will be forced neatly inside.
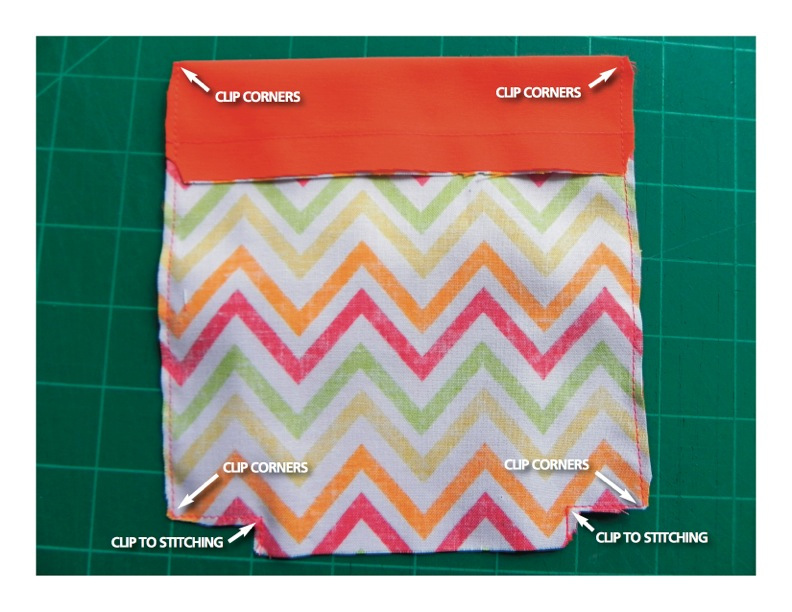
Now turn your pocket right side out.
My favorite tool for this task is to use a bamboo point turner and presser The pointed end isn’t too sharp so it’s perfect for poking corners out.
It’s slightly contoured and because it’s wood, it can lay behind fabric and then ironed without fear of melting.
Oliver + S sells them in their ‘Supplies and Tools’ section and they aren’t very expensive.
Actually, I have two point turners in case one goes missing mid-project. My husband does the same thing with his hammers.

Then topstitch along the top edge of the pocket on the outside (right side) 1″ from the top edge.
The bottom open edge will get sewn shut when it’s placed on the jacket and stitched in place.
Do the same procedure for the other pocket and then your pockets are ready to stitch to the jacket.
Pocket Tips and Ideas
Because I used a heavy wool, pink Melton and black Cashmere for two of the jackets I made, (you can see them on my blog) I found the lining needed to be made from broadcloth in the same color as the outer fabric. The pockets sit nice and flat on the jacket and don’t look bulky at all.

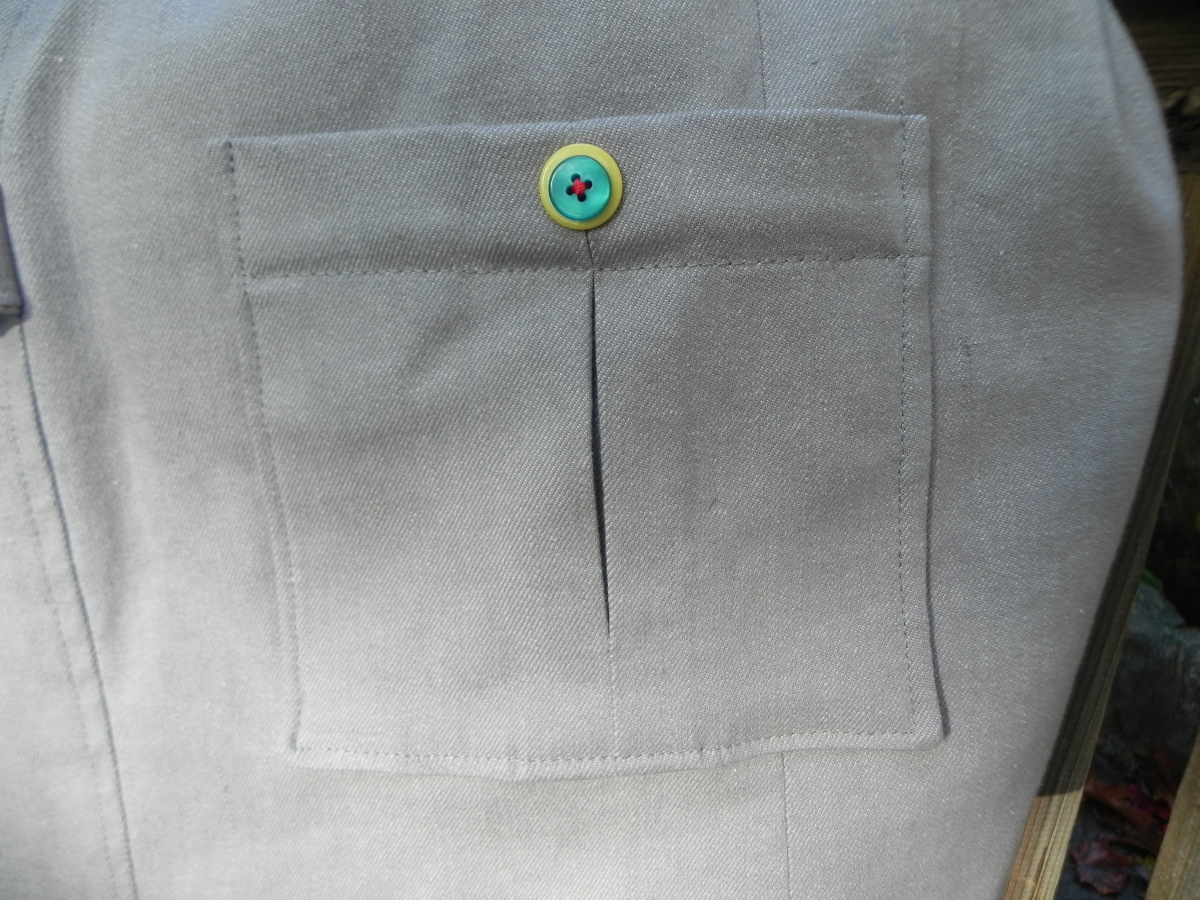
On the grey denim jacket I made, the plain pockets looked a little bland to me so I created an inverted pleat.
To do that, I simply cut the fabric wider than the pocket pattern piece and played around folding and creating a pleat until I was happy with how it looked.
Then I placed the traced pattern piece over what I had been folding and cut it to the correct size.
Because the denim was fairly thin, it could be used for the pocket lining too.
For added interest (and because I have a small cache of colorful buttons thanks to a sale at a craft store) I stacked and stitched some buttons matching the jacket lining on the pocket.
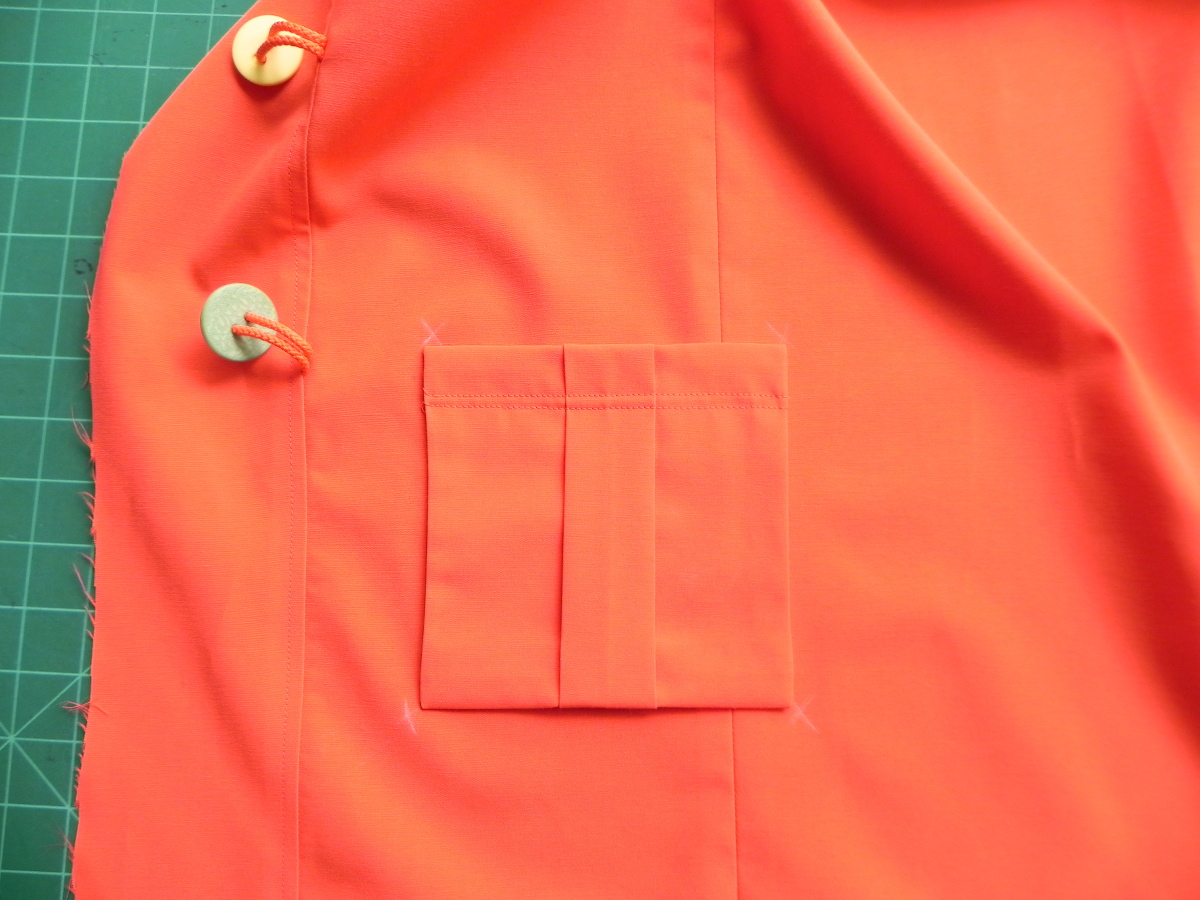
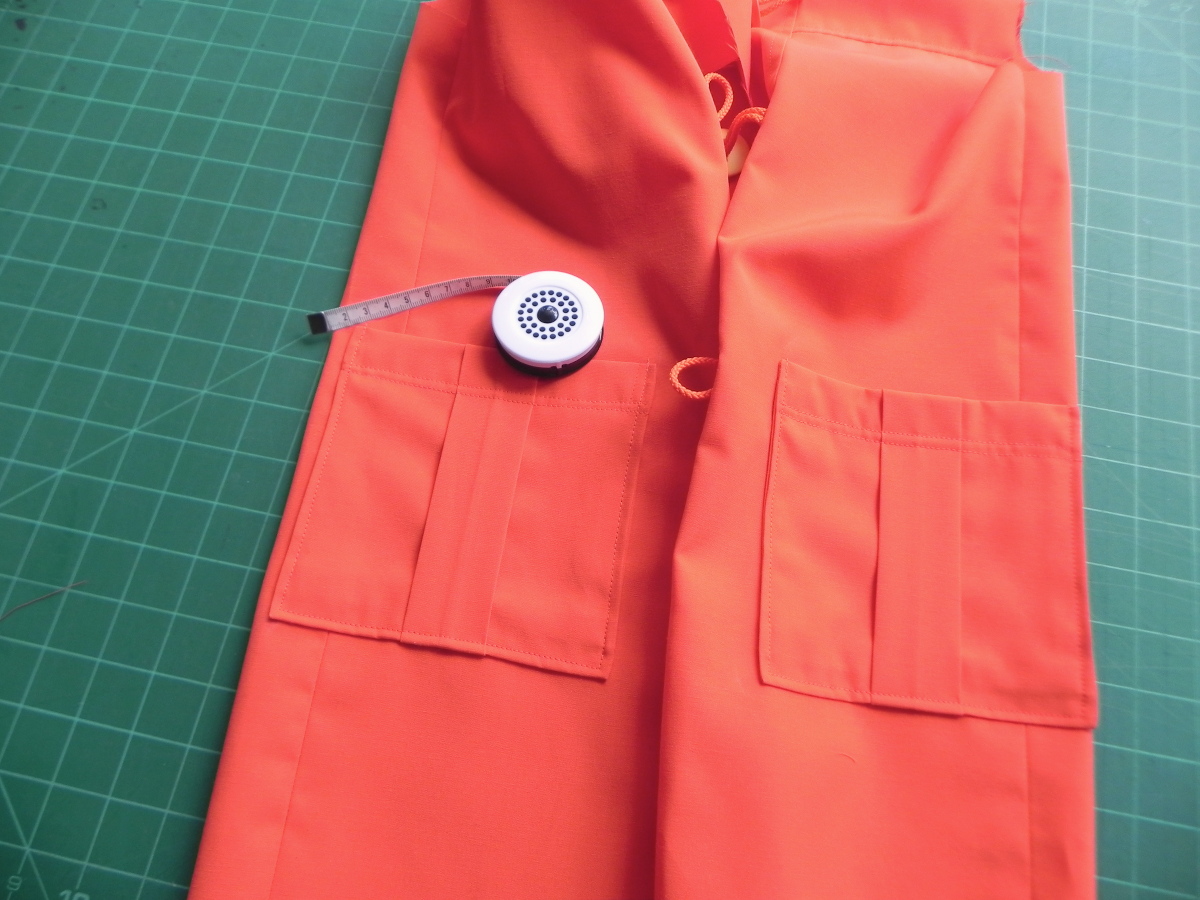
After making an inverted pleat pocket on the grey denim jacket, for the orange rain jacket I thought I might try making a regular pleated pocket and with a flap.
The pocket was constructed the same way as the grey denim pocket, playing with a wider piece of fabric and then cutting it to fit the traced pattern piece.
The lining was also the same outer fabric, except for the flap because I wanted the lining fabric to show.
The pocket flap pattern piece comes from the Explorers Vest in Little Things to Sew book.
Topstitch it on the jacket, the flap straight edge was butt up to the top edge of the pocket, stitched on the inside, then topstitched on the outside and lastly trimmed on the inside.
Once again, the big box of colorful sale buttons came in handy to decorate the flap.

Pockets for this jacket could be many different styles depending, of course, on the type of fabric used.
You could make pockets like the ones on the Field Trip Cargo pants, ….or like the pockets on the Hopscotch skirt …. or the pockets on the Secret Agent Trench coat ….or a welt pocket …or a repurposed jean pocket …. or a zippered pocket … or a shaped pocket …or an appliquéd pocket … or a machine embroidered pocket …. goodness, I’m starting to sound like Bubba from Forest Gump when he was describing ways to prepare shrimp!
Okay, so let’s get our pockets attached to the jacket.
Hopefully, on the front and back pieces you cut out, the pocket placements have been marked with either chalk or water soluble marker.
Place the finished pocket within that marked area and pin in place.
You will notice that a small portion of the pocket is about an inch on the other side of the side seam sitting on the back piece.
Do this step on both sides of the jacket.
To make sure the pockets are the same on both sides, after pinning them in place, take the time to measure.
Measure up from the hem, in from the placket and over the side seam.
When they both have the same measurements you can edgestitch the pockets in place along the sides and across the bottom, pivoting at the corners and backstitching and the beginning and end of the stitching.
In the stitching, you’ll be encasing the open edge that’s on the bottom of each pocket.
Well, that’s it from me for my section of the sew-along.
Tomorrow Amanda will take you through more steps. In the meantime, sit back and admire your handiwork. The jacket is working up quickly and overall, rather easily don’t you think? All the jacket needs now are the sleeves, hood, and lining.

Here are my finished School Days Jackets.

I have documented on my sewing blog some tips, tricks and short cuts that I discovered during my journey with this pattern.