
When we were sewing silk and rayon samples of the Cappuccino Dress + Tunic for the photo shoot I wanted to find a method of hemming that would be easy and fast. I often hand-sew silk hems because I like the finish and I don’t mind spending extra time. But the Cappuccino is a relatively casual style that can handle a machine-sewn hem, so it seemed like the perfect opportunity to try a few machine hemming techniques.
If you spend any time on Pinterest, you may have seen this fantastic tutorial for sewing a baby hem using Ban-Rol.
I’ve never used Ban-Rol and was eager to give this idea a try because it looks so easy and neat. But I didn’t want a baby hem, just a narrow hem about 1/4″ wide. Still, I thought the same technique would work, and it did! Here’s what I did.
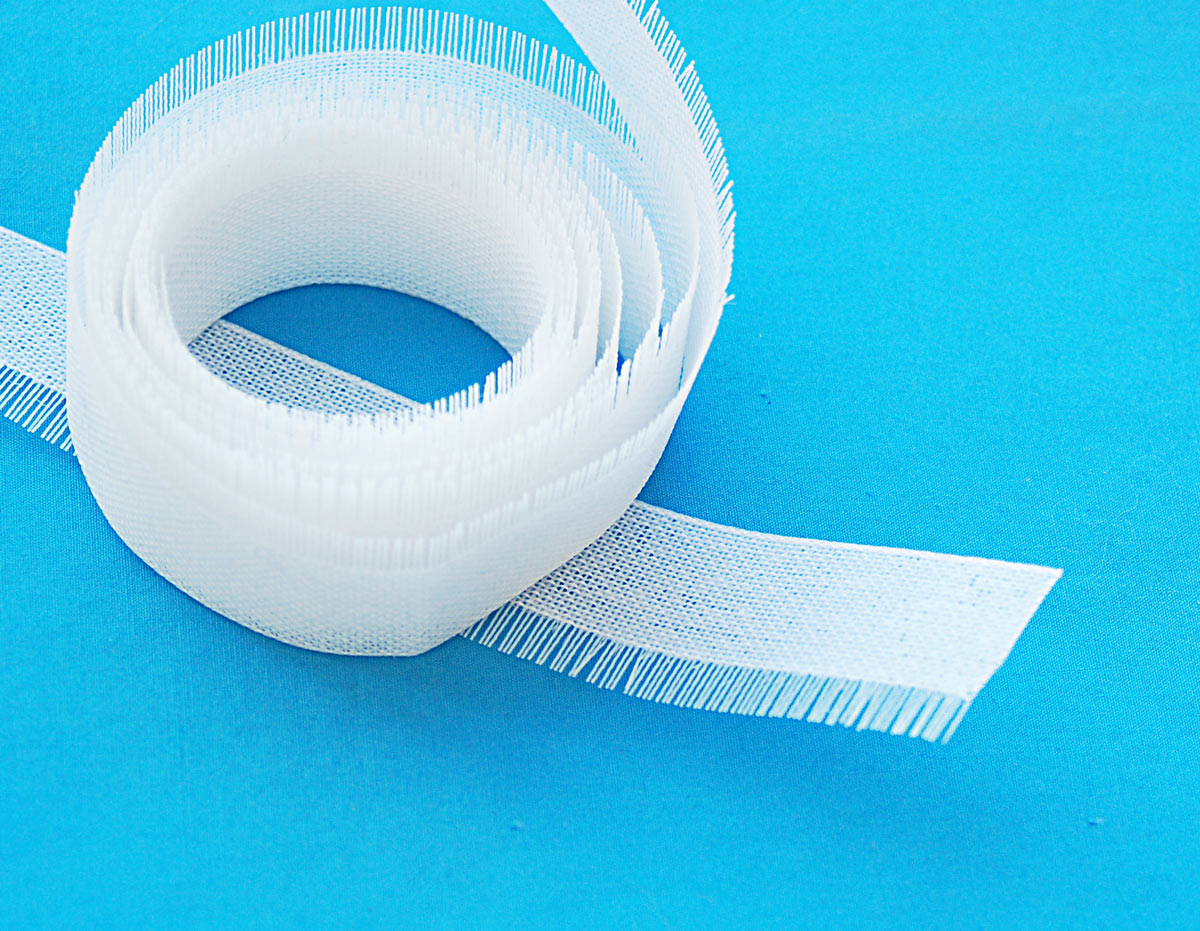
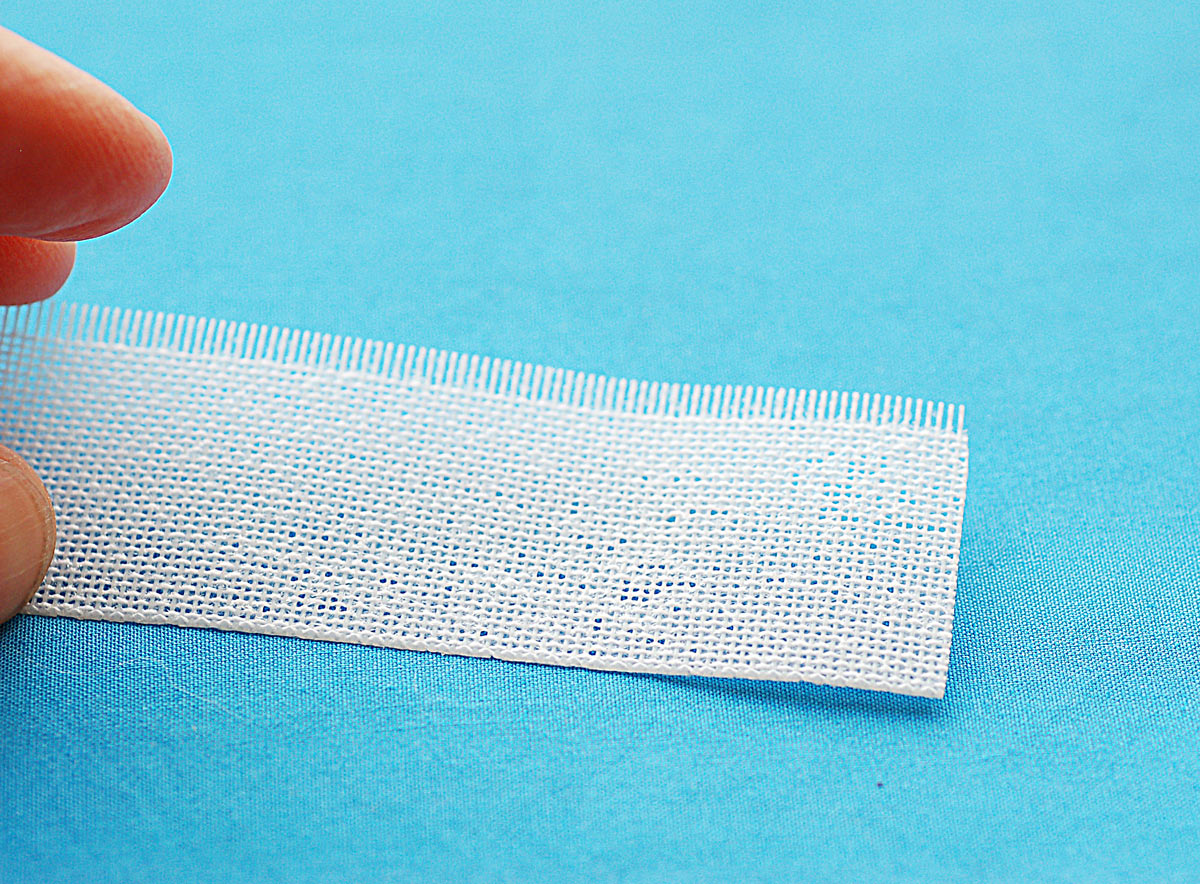
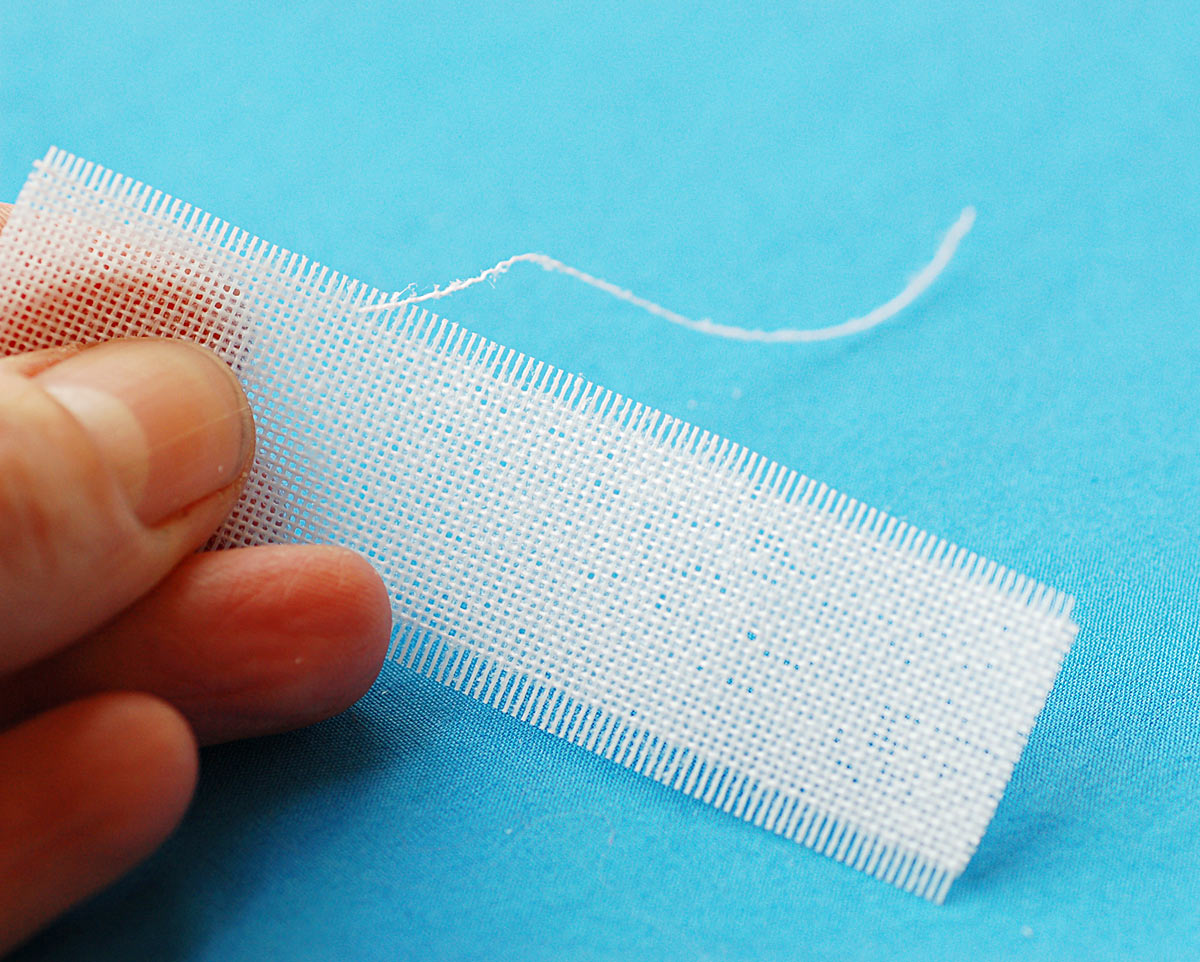
First, I purchased about four yards of Ban-Rol, which is a really stiff, highly starched but loosely woven product which is designed to stabilize waistbands in clothing and is sold by the yard. I purchased it at Steinlauf and Stoller here in NYC, but I’m sure you can find it other places as well. It’s inexpensive and can be re-used over and over again, so I prepared two yards for a baby hem and set it aside for the next time I need it. I prepared the other two yards for a 1/4″ hem by continuing to remove enough threads from the edge to expose 1/4″ of the “comb.”
I trimmed the hem edge of my Cappuccino Tunic so it was neat and even. Then I laid the Ban-Rol on the right side of the fabric and lined up the edges. I stitched over the exposed “teeth” of the Ban-Rol, just inside the woven edge, so my stitches lined up with the last woven thread but stayed in the comb area. This is important because you’ll be pulling the comb out when you’re finished, and you won’t be able to remove it if you’ve stitched over any of the woven threads.
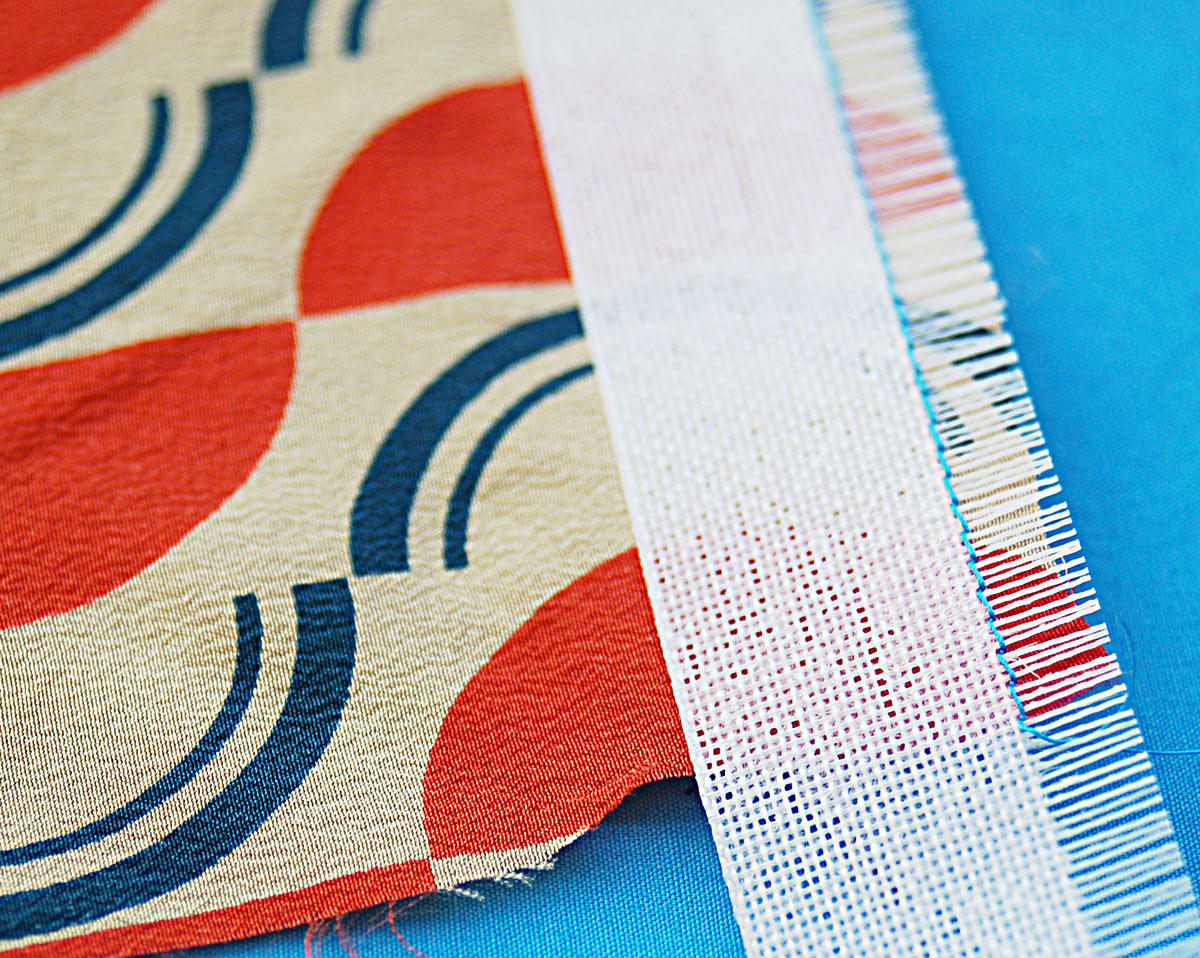
Stitching over the teeth, right along the woven edge.
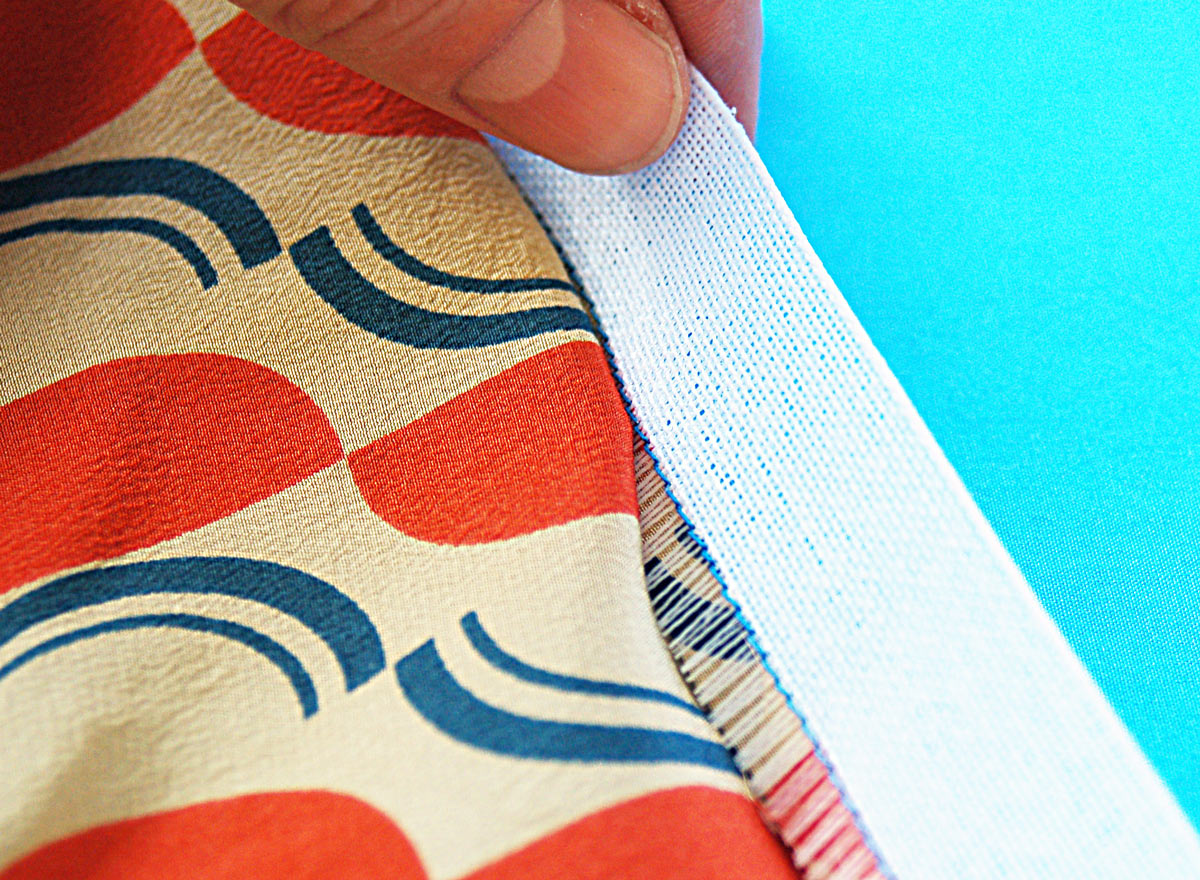
Once you’ve stitched the Ban-Rol all the way around (you can overlap the strip when you come back around to your starting point), flip the Ban-Rol away from the fabric so the comb and stitched seam allowance turn to the wrong side of the fabric. At first I was a little concerned that the comb would slip out of the stitches and fall off, but it stays quite secure when you’re handling it. Gently press the fabric at the stitching to make a fold so you get a nice crease at the stitched edge. I think it’s easiest to press the crease from the right side of the fabric .
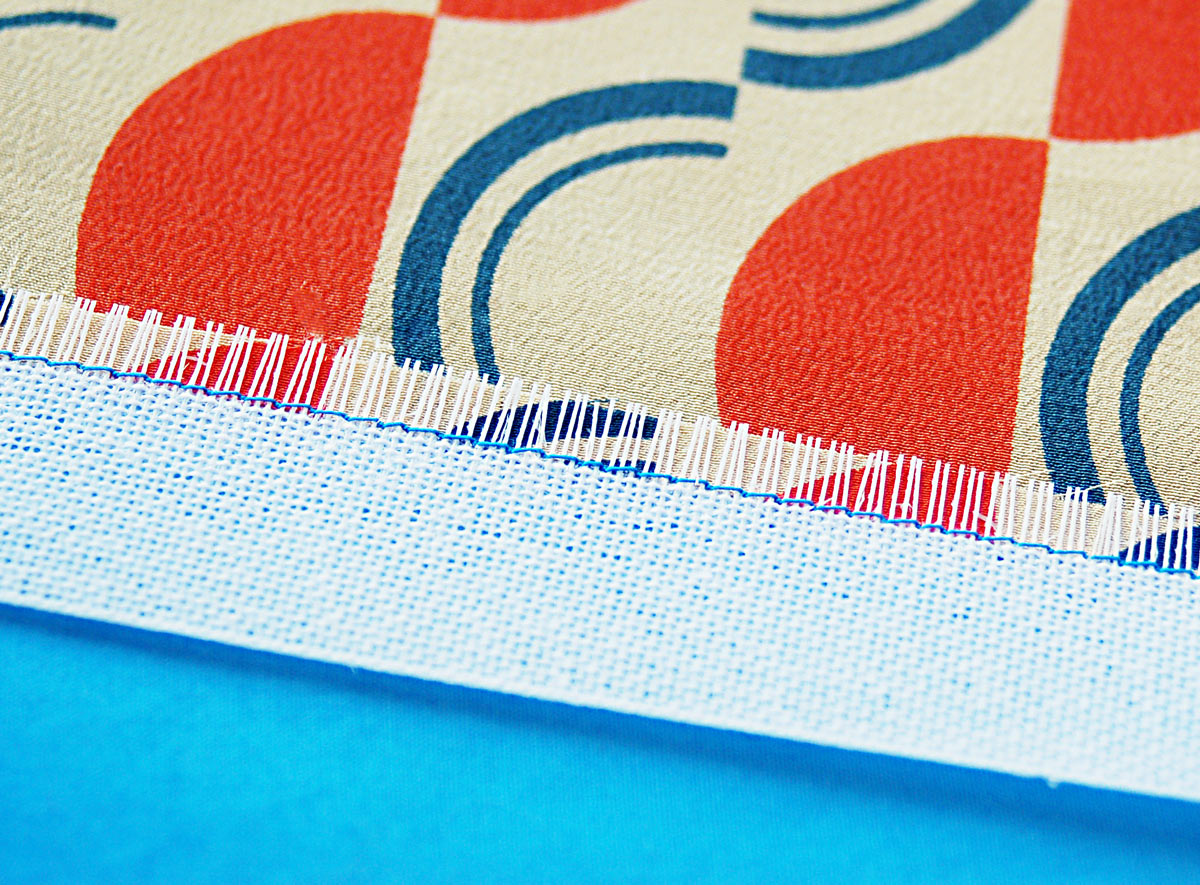
The cut edge of the fabric is visible under the comb.
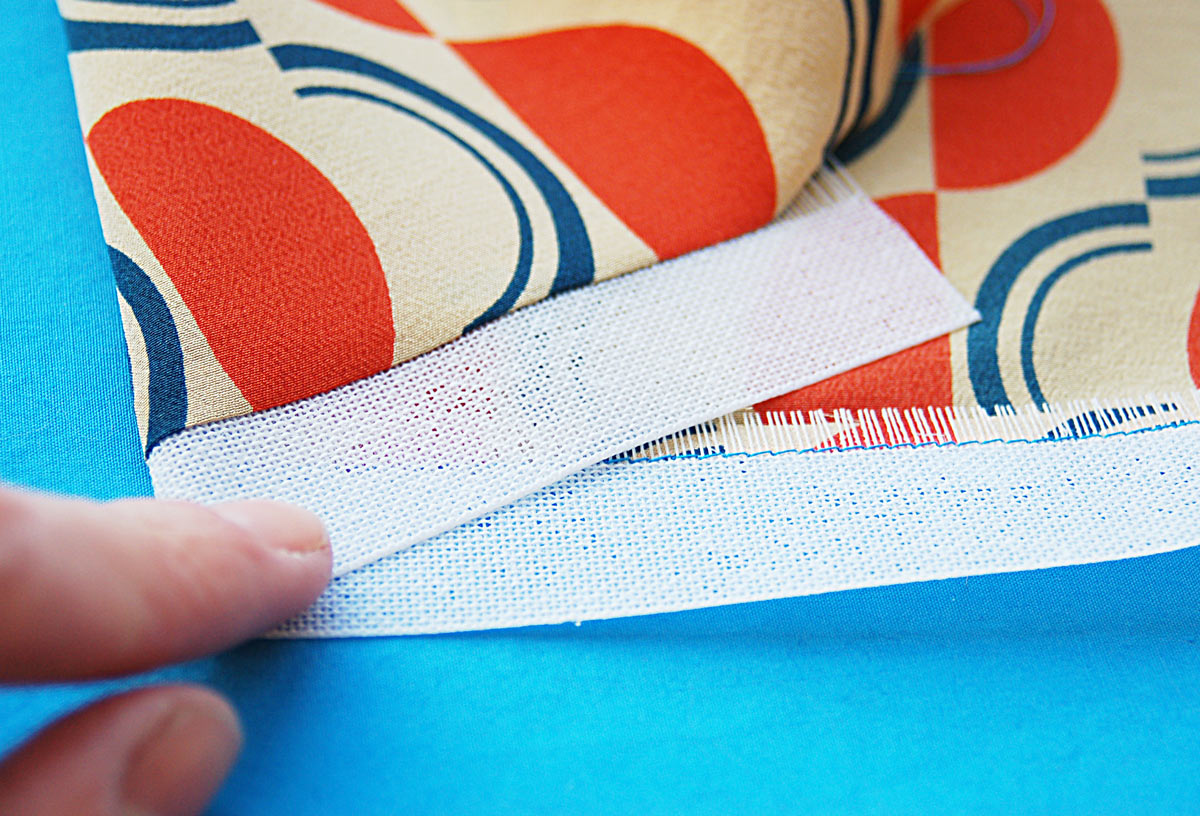
In this photo you can see both sides of the fabric with the Ban-Rol stitched once and turned to the wrong side.
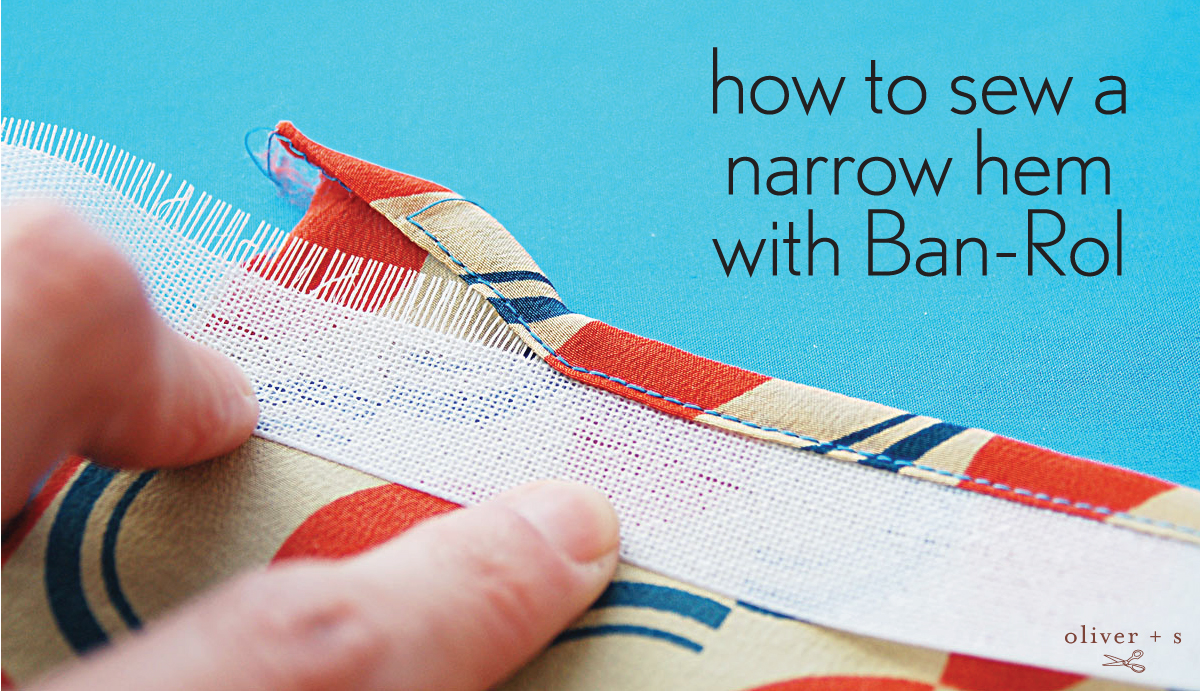
Then flip the Ban-Rol to the wrong side of the fabric. This wraps the fabric around the teeth of the comb to form the narrow hem. The teeth and seam allowance are completely hidden by the fabric now.

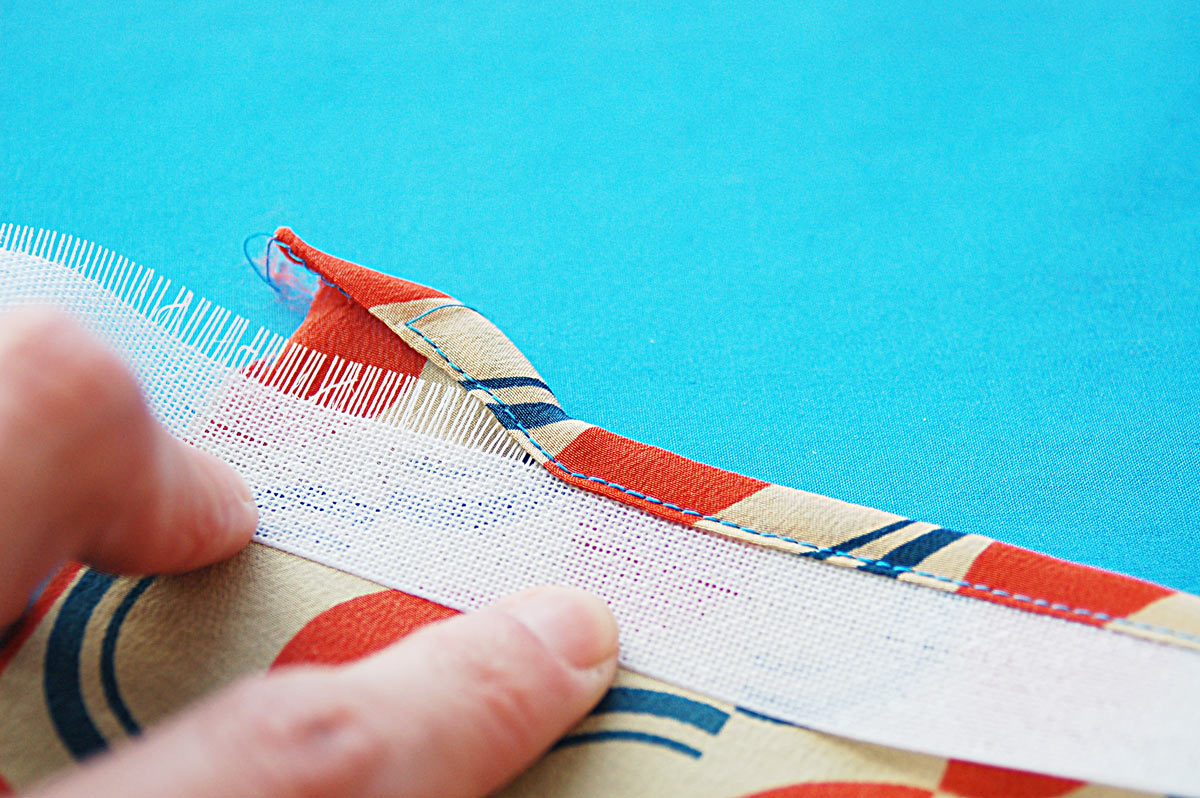
Edgestitch along the inside fold, like this:
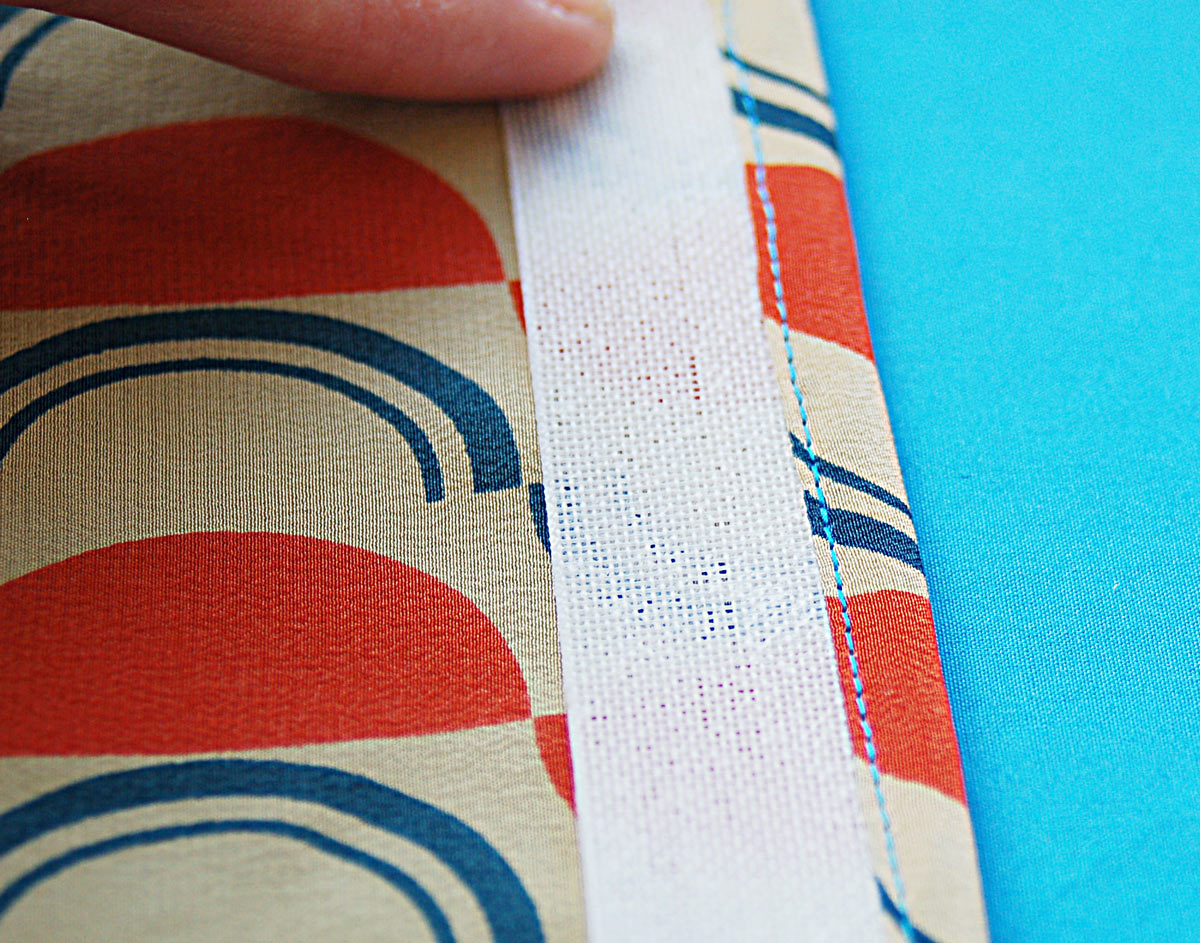
If you’re curious, as you’re edgestitching you can lift up the Ban-Rol to take a peek and see that the fabric is folded around itself over the comb, making a very even hem.
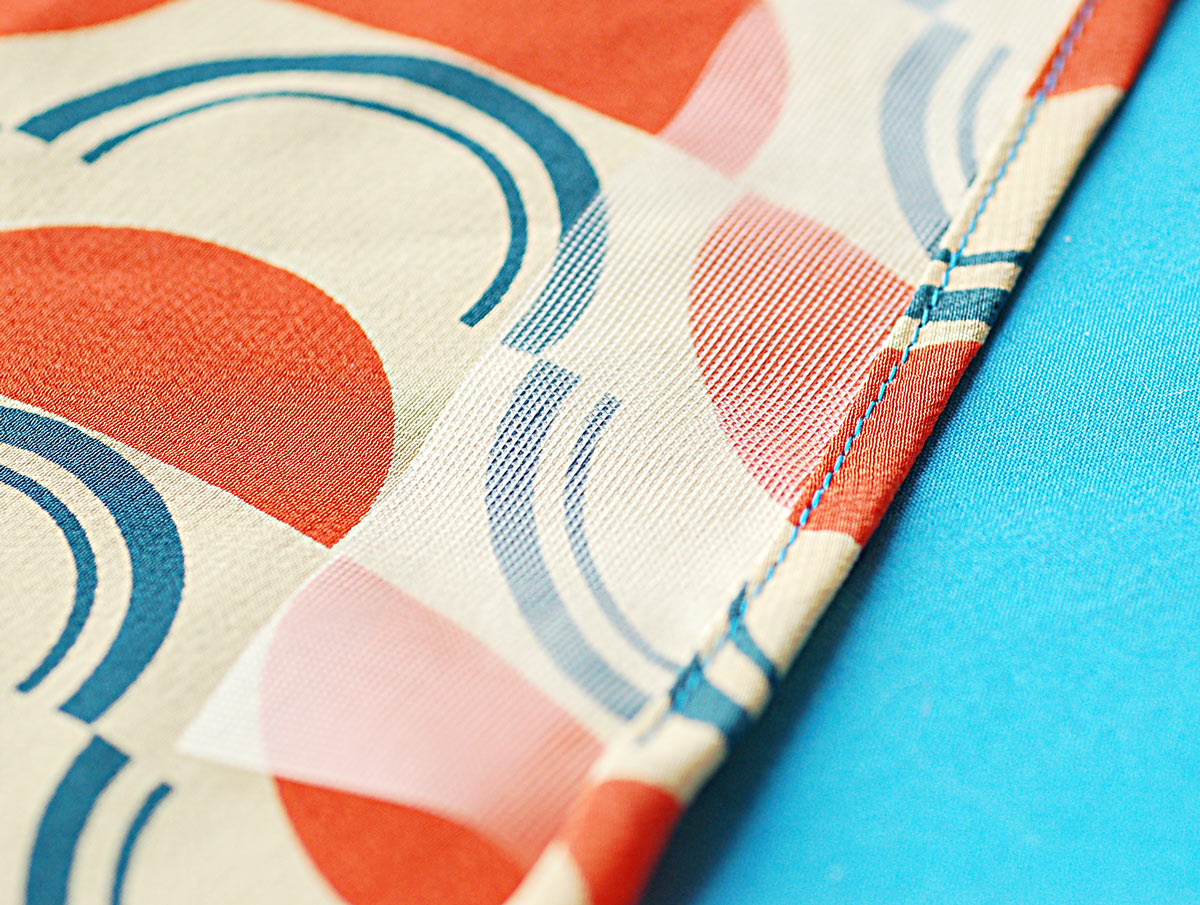
Once you’ve stitched all the way around the hem, you’ll simply lift the stitched hem off the teeth of the comb, and there’s your narrow hem, perfectly even and not stretched or wavy. Plus, you haven’t burned your fingers in the process of trying to fold and press a tiny edge!
Someone mentioned the other day that you can also use tear-away stabilizer instead of Ban-Rol for a similar effect. If you do this, keep in mind that the edge of the stabilizer will be left inside the hem when you tear it, since the stabilizer won’t have teeth that can slip out from between the stitches. The leftover stabilizer may stiffen your hem, so that might be a concern for drapey or sheer fabrics especially.
I also tried using a water-soluble stabilizer, just out of curiosity. I cut a strip of the stabilizer and lined it up with the edge of the fabric before stitching with a 1/4″ seam.

Wrapped and hemmed fabric using water-soluble stabilizer.
I ran into two possible issues when I tried this: one problem was that the stabilizer melts when ironed, so I couldn’t press the folds and wasn’t able to get a nice crease. My hem wasn’t as even as a result. The other possible concern is that if you don’t want to wash or wet the silk when you’re finished and were planning to dry clean it (to maintain the color or the hand of the fabric, depending of the fabric you’ve chosen), you won’t be able to wash the stabilizer away. I usually wash silk with gentle shampoo, but sometimes water can change the look or feel of the fabric, so this is something to keep in mind as you’re planning your hem.
Do you have any special techniques for making a narrow hem, especially on slippery or sheer fabrics? Let us know!