Sew Alongs
Join us as we sew through some of your favorite Oliver + S, Liesl + Co., and Lisette patterns in the Sew Alongs group.
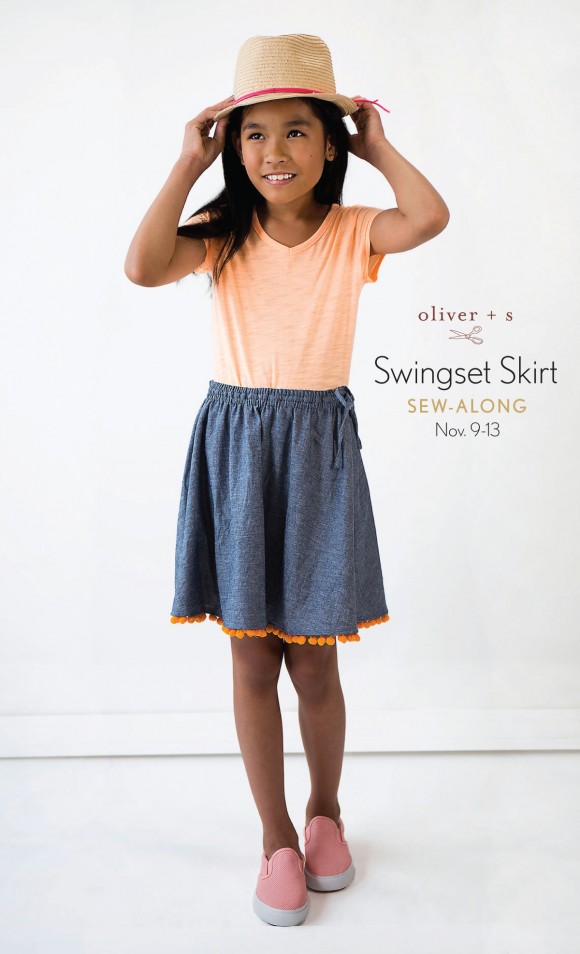
Swingset Skirt Sew Along
-
10 years ago LINK
Welcome to the Swingset Skirt Sew Along. Join us on November 9 for the start!
10 years ago LINKHere are the Swingset Skirts sewing during the sew along. Nice work, everyone!
-
This reply was modified 10 years ago by
 Todd Gibson. Reason: Modify text after link closed
10 years ago LINK Rachel Le Grand
@nestfullofeggs
Hello and welcome! We hope you’ve been inspired and gathered your supplies for your Swingset Skirt. We’re so glad you’re joining us for the sew-along.
Here is the daily plan for this week’s Swingset Skirt sew-along:
Day 1 (today): Prepare the outer skirt and skirt lining
Day 2 (Wednesday November 11th): Assemble the skirt and lining, feed the elastic through the casing
Day 3 (Friday November 13th): Make and insert the drawstring, hem and finish the skirtLet’s begin, shall we?
Day 1Prepare the outer skirt
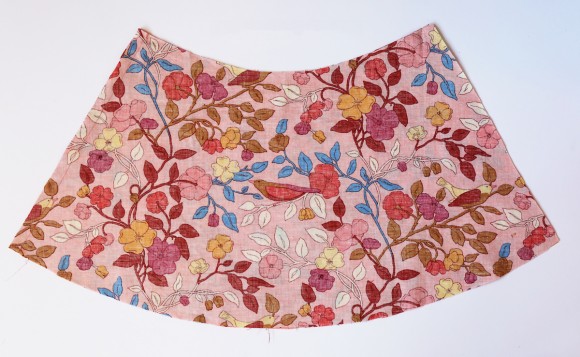
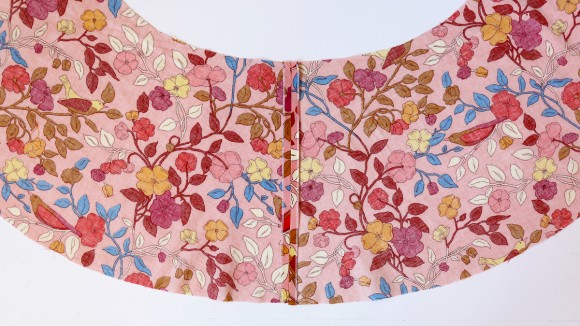
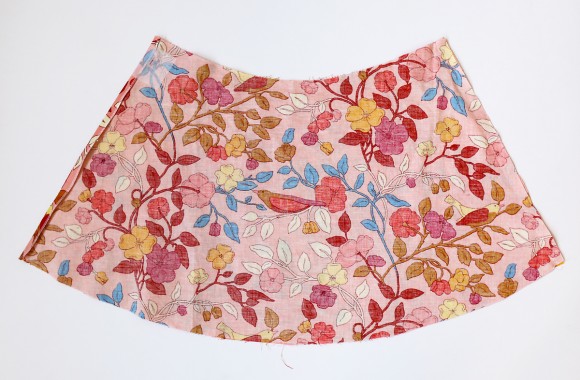
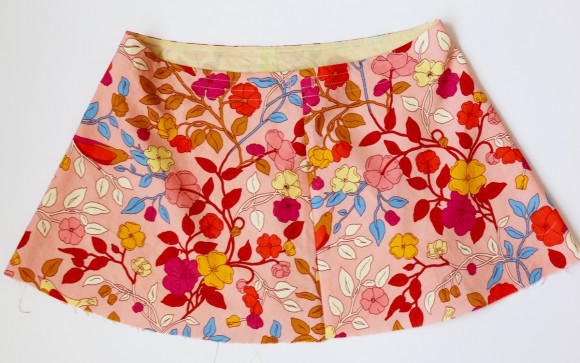
1. Align and pin the outer skirt front and back pieces with right sides together and the notches and raw edges aligned. Stitch one side seam with a 1/2” seam, backstitching or lockstitching at both ends.
Press the seam allowances open and finish them using your preferred method.
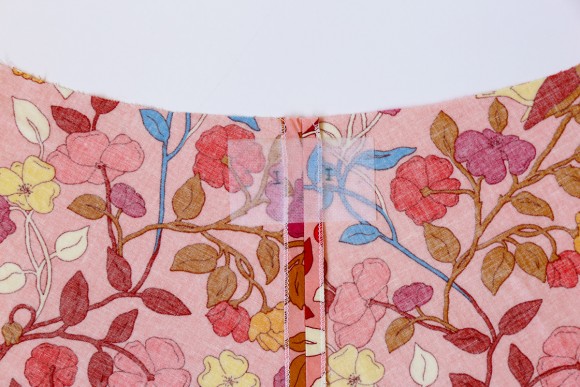
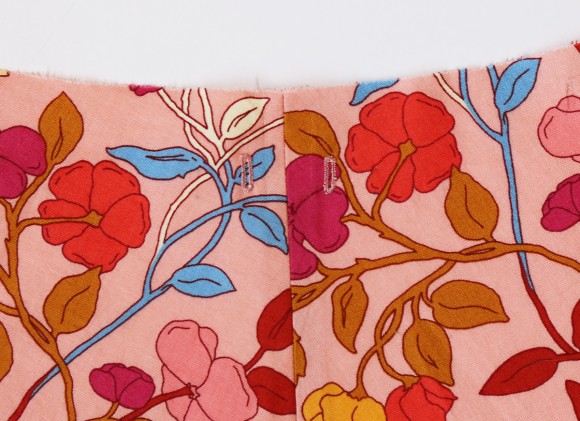
2. Following the manufacturer’s instructions, press a small piece of fusible interfacing (approximately 1/2” by 1 1/2”) to the wrong side of the fabric behind the marked buttonholes near the stitched seam. This interfacing will help to stabilize the buttonholes.
3. Stitch the marked buttonholes at either side of the seam. Carefully cut open the buttonholes in preparation for the elastic and drawstring.
4. Pin the front and back skirts again, with right sides together and the notches and raw edges aligned, and stitch the second seam with a 1/2” seam. Press the seam allowances open and finish them using your preferred method.
Prepare the skirt lining
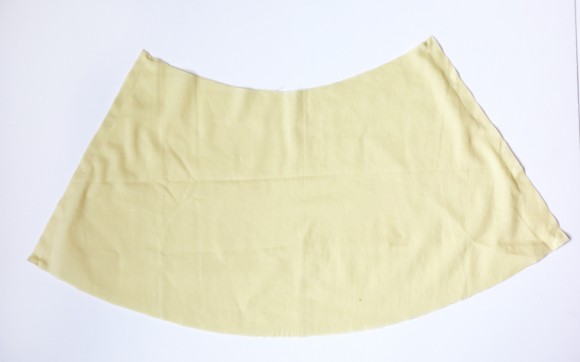
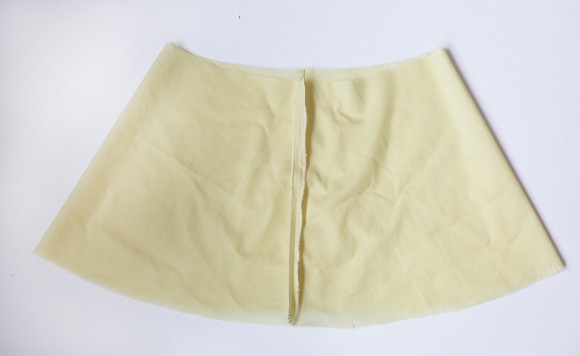
1. Align and pin the skirt lining front and back pieces with right sides together and the notches and raw edges aligned. Sew both side seams with a 1/2” seam, backstitching or lockstitching at both ends.
Press the seam allowances open and finish them using your preferred method.
All OK so far? We’ll see you back here for Day 2, see you then!
Day 2
Good morning sew-alongers! Well, here we are at day two of the sew-along. Let’s dive right in!
Assemble the skirt and lining
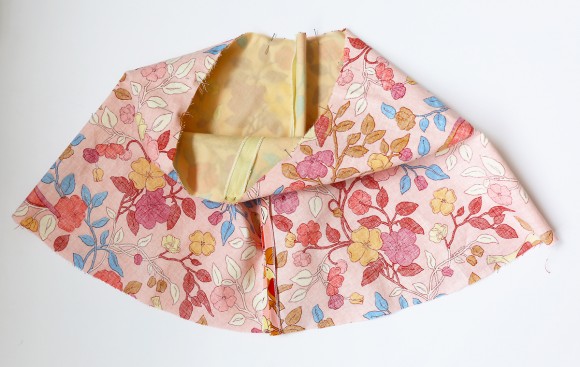
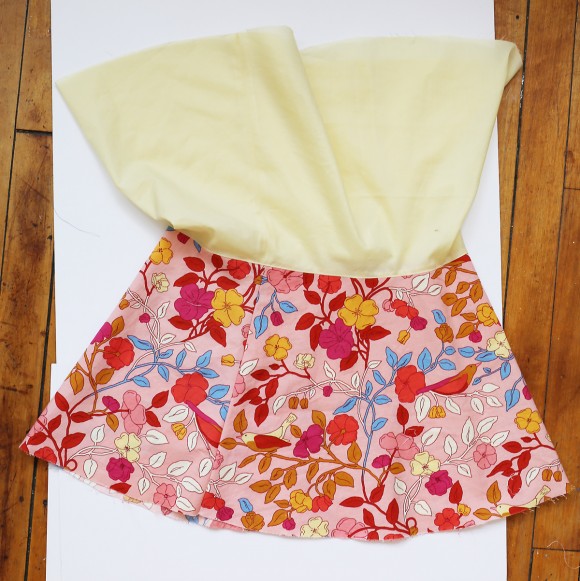
1. Turn the outer skirt wrong side out, turn the skirt lining right side out, and slip the skirt lining inside the outer skirt with right sides together, matching the side seams and notches. Pin the lining to the skirt at the waist edge, and stitch the waist with a 1/2” seam.
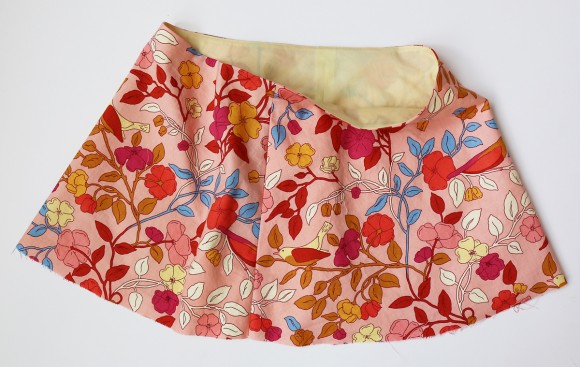
2. Trim the waist seam allowances to approximately 1/8” and press the seam allowances toward the lining. Turn the skirt right side out and tuck the lining inside the skirt. Press the waist seam, rolling the seam slightly toward the lining side so it won’t show on the finished skirt.
Smooth and pin the lining to the skirt near the waist so that the lining lies flat against the skirt fabric. Edgestitch the waist a scant 1/8” from the waist seam. The closer you can get the edge stitching to the edge of the skirt, the better.
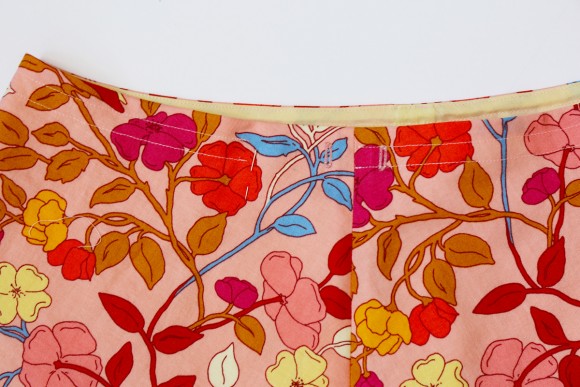
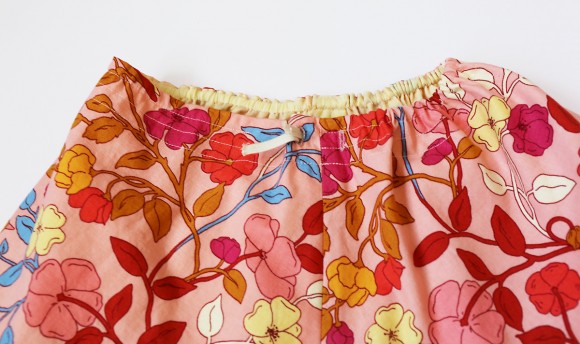
3. Topstitch the waistband 3/8” below the edge stitch to create a casing for the elastic. As you stitch, leave an opening of about 2” near the left buttonhole so that the elastic can be fed into the buttonhole and through the casing, as shown below. (Don’t worry if the topstitching overlaps the buttonhole ends a little bit.)
HINT: To topstitch the casing, find or make a spot on your presser foot to use as a 3/8” stitching guide. If your presser foot isn’t wide enough, mark the stitching line directly on the fabric with a ruler and a water-soluble fabric pen before stitching.
4. Sew a second row of topstitching 3/8” below the previous row, again leaving an opening of about 2” near the left buttonhole. This row of stitching will align with the bottom edge of the buttonholes.
5. Stitch a third row of topstitching all the way around the skirt 3/8” below the previous stitching row. Stitch this row without leaving and opening; instead, backstitch or lockstitch to complete the stitching all the way around the skirt.
Feed the elastic through the casing
1. Cut two pieces of 1/4”-wide elastic to be 1” smaller then the child’s waist measurement. With a safety pin or bodkin attached to one end of the first length of elastic, feed the elastic through the top casing of the left buttonhole (the one without the topstitching surrounding it), returning the elastic back out through the same buttonhole.
2. Adjust the length of the elastic to fit the child’s waist and trim the elastic to the desired length. Overlap the two ends of the elastic by about 3/4” and pin them together, taking care not to twist the elastic. Sew the pinned ends together with a zigzag stitch or by stitching a small rectangle on the overlapped edges, removing the pin as you sewn and lockstitching at the beginning and end of the rectangle.
3. Feed the second length of 1/4” elastic through the bottom casing in the same manner as described in Step 1. Adjust the elastic to the wearer’s waist and stitch the ends together as you did in Step 2. Leave the center casing open for the drawstring.
4. Stretch the elastic to smooth the fabric while you finish topstitching the openings in the casings closed, backstitching or lockstitching at the beginning and end of each one. The elastic waistband part of the skirt is finished.
We’re almost done! Come back on Day 3 when we’ll be finishing the skirt.
Day 3
Welcome back! Let’s sew this one up. Don’t forget to show us your finished skirt to be entered in the contest. See the very end for details.
Make and insert the drawstring
1. Pin the two drawstring pieces together at one short end with right sides together. Stitch the short ends with a 1/2” seam. Press the seam allowances open and trim to 1/4”.
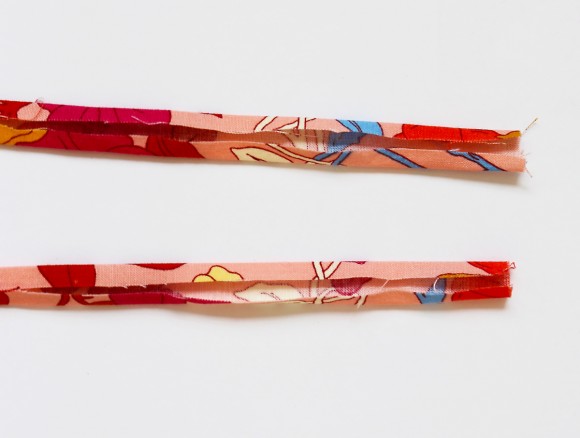
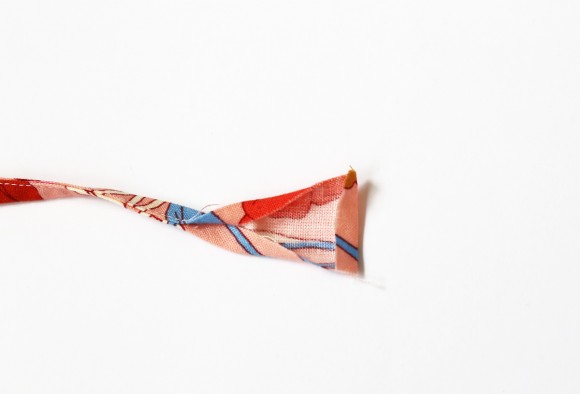
2. Fold the drawstring in half lengthwise, with wrong sides together, and press the fold to make a center crease. Unfold; then fold and press each of the long edges to meet at the center crease.
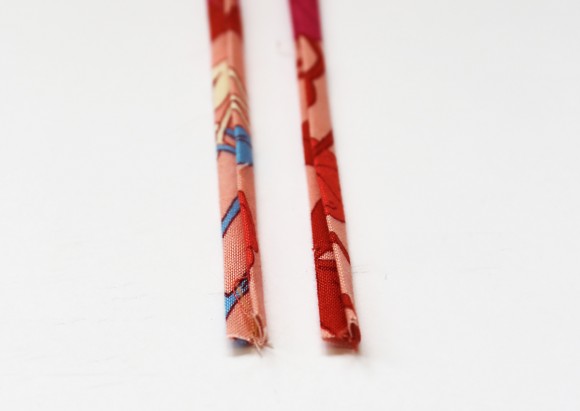
3. Fold and press the short ends of the drawstring to the wrong side by 1/2”. Fold the drawstring in half again and press it, enclosing the raw edges in the fold. The drawstring is now folded into four fabric thicknesses, with folds at the ends to give them a clean finish. Edgestitch the drawstring to finish it.
HINT: An alternate method of creating the drawstring is to fold the strap in half length of the strap using a 1/4” seam. Trim the seam allowances to approximately 1/8”, and then turn the drawstring right side out using a small tube turner or bodkin. This will create a drawstring without any visible stitching. Such the ends inside the resulting tube, and edgestitch or hand stitch the ends to finish it.
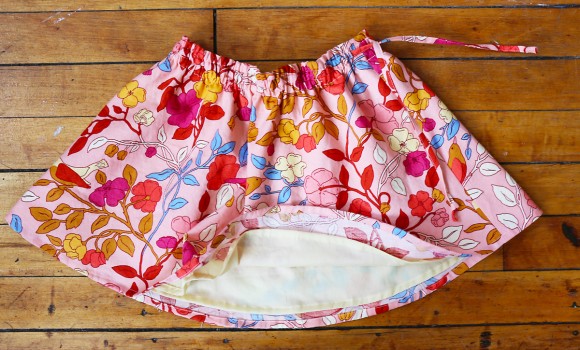
4. Feed the drawstring through the center channel of the waistband via the buttonholes, using a safety pin or bodkin attached to one end of the drawstring.
HINT: Once the drawstring is positioned as you like it, stitch the drawstring to the skirt at the opposite side seam so it won’t accidentally get pulled out of the casing.
Hem and finish the skirt
1. To hem the skirt, sew a line of basting stitches 5/8” from the outer skirt’s bottom edge. These stitches will become the fold like for the hem. Fold and press the outer skirt’s raw edge to the basting line on the wrong side. Then fold and press the fabric again along the basting line to enclose the raw edge and create a narrow hem. Edgestitch the innermost fold to finish the hem. Remove any visible basting stitches from the fold line.
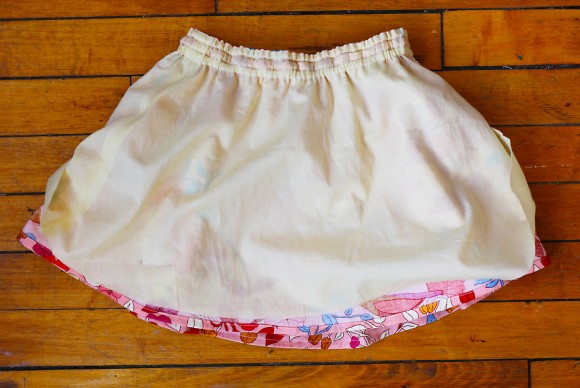
2. Repeat Step 1, above, to hem the skirt lining. Fold the hem so it finishes on the wrong side of the fabric and the hems of the skirt and the lining will be hidden between the layers.
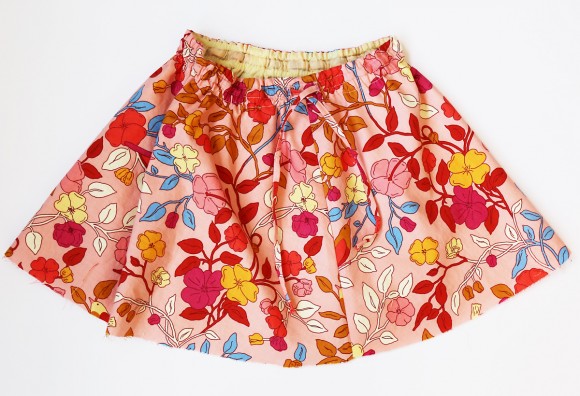
She’s got herself a twirly skirt now. One can never have too many twirly skirts.
Once you’ve completed your skirt, take a photo and post it somewhere, then add it to the linky party. Add it by Friday November 20th, 11:59PM to be entered in the contest to win a prize.
We can’t wait to see your skirts!
-
This reply was modified 10 years ago by
 Rachel Le Grand.
-
This reply was modified 10 years ago by
 Rachel Le Grand.
10 years ago LINK Rachel Le Grand
@nestfullofeggs
Happy Wednesday! For those of you who are sewing along with us this week, day two is now up!
10 years ago LINK Rachel Le Grand
@nestfullofeggs
The third and final day of the sew-along has now been added. How did your skirt turn out? Please share photos of your finished skirts to be entered in the contest.
-
This reply was modified 10 years ago by
You must be logged in to reply to this topic.
copyright
Unless otherwise credited, all work on this blog is © Liesl + Co., Inc, 2008-2026. You are welcome to link to this blog, but please ask permission before using any text or images.
