

Pattern hacking is a great way to get more bang for your buck and express your creativity at the same time. Reeni from New York combined not two, but three of our patterns, to come up with this edgy hoodie. She’s here to tell you how she did it in the latest installment of our Sew + Tell series.
Name: Reeni Espino
Where can we find you on the internet? Blog, Instagram, Facebook, Pinterest, and Flickr.
Project details: My daughter Frou is small for an 11-year-old, but has a definite sense of visual style. Because of her size, the clothes she likes don’t always fit her, and the ones that do are too “kiddish.”
This rose-gold tween hoodie for my girl, whose middle name is Rose, was one of her Christmas present IOUs. I wrapped up the fabrics and put them under the tree with notes saying what projects they were for. I finally finished it two weeks into the new year.

Link to your project: https://www.instagram.com/p/B7WzzL9Brtr
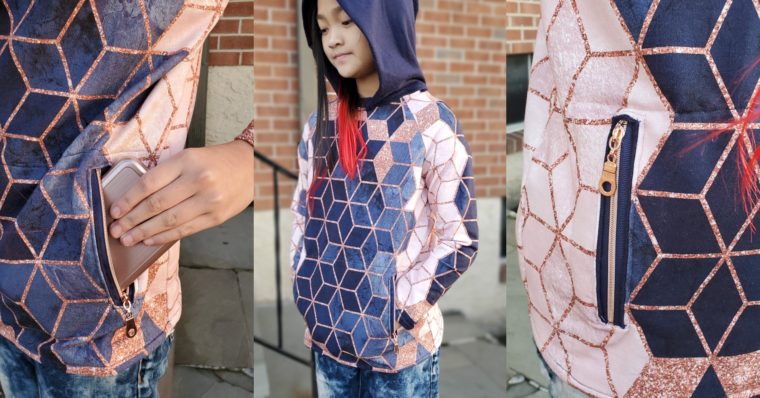
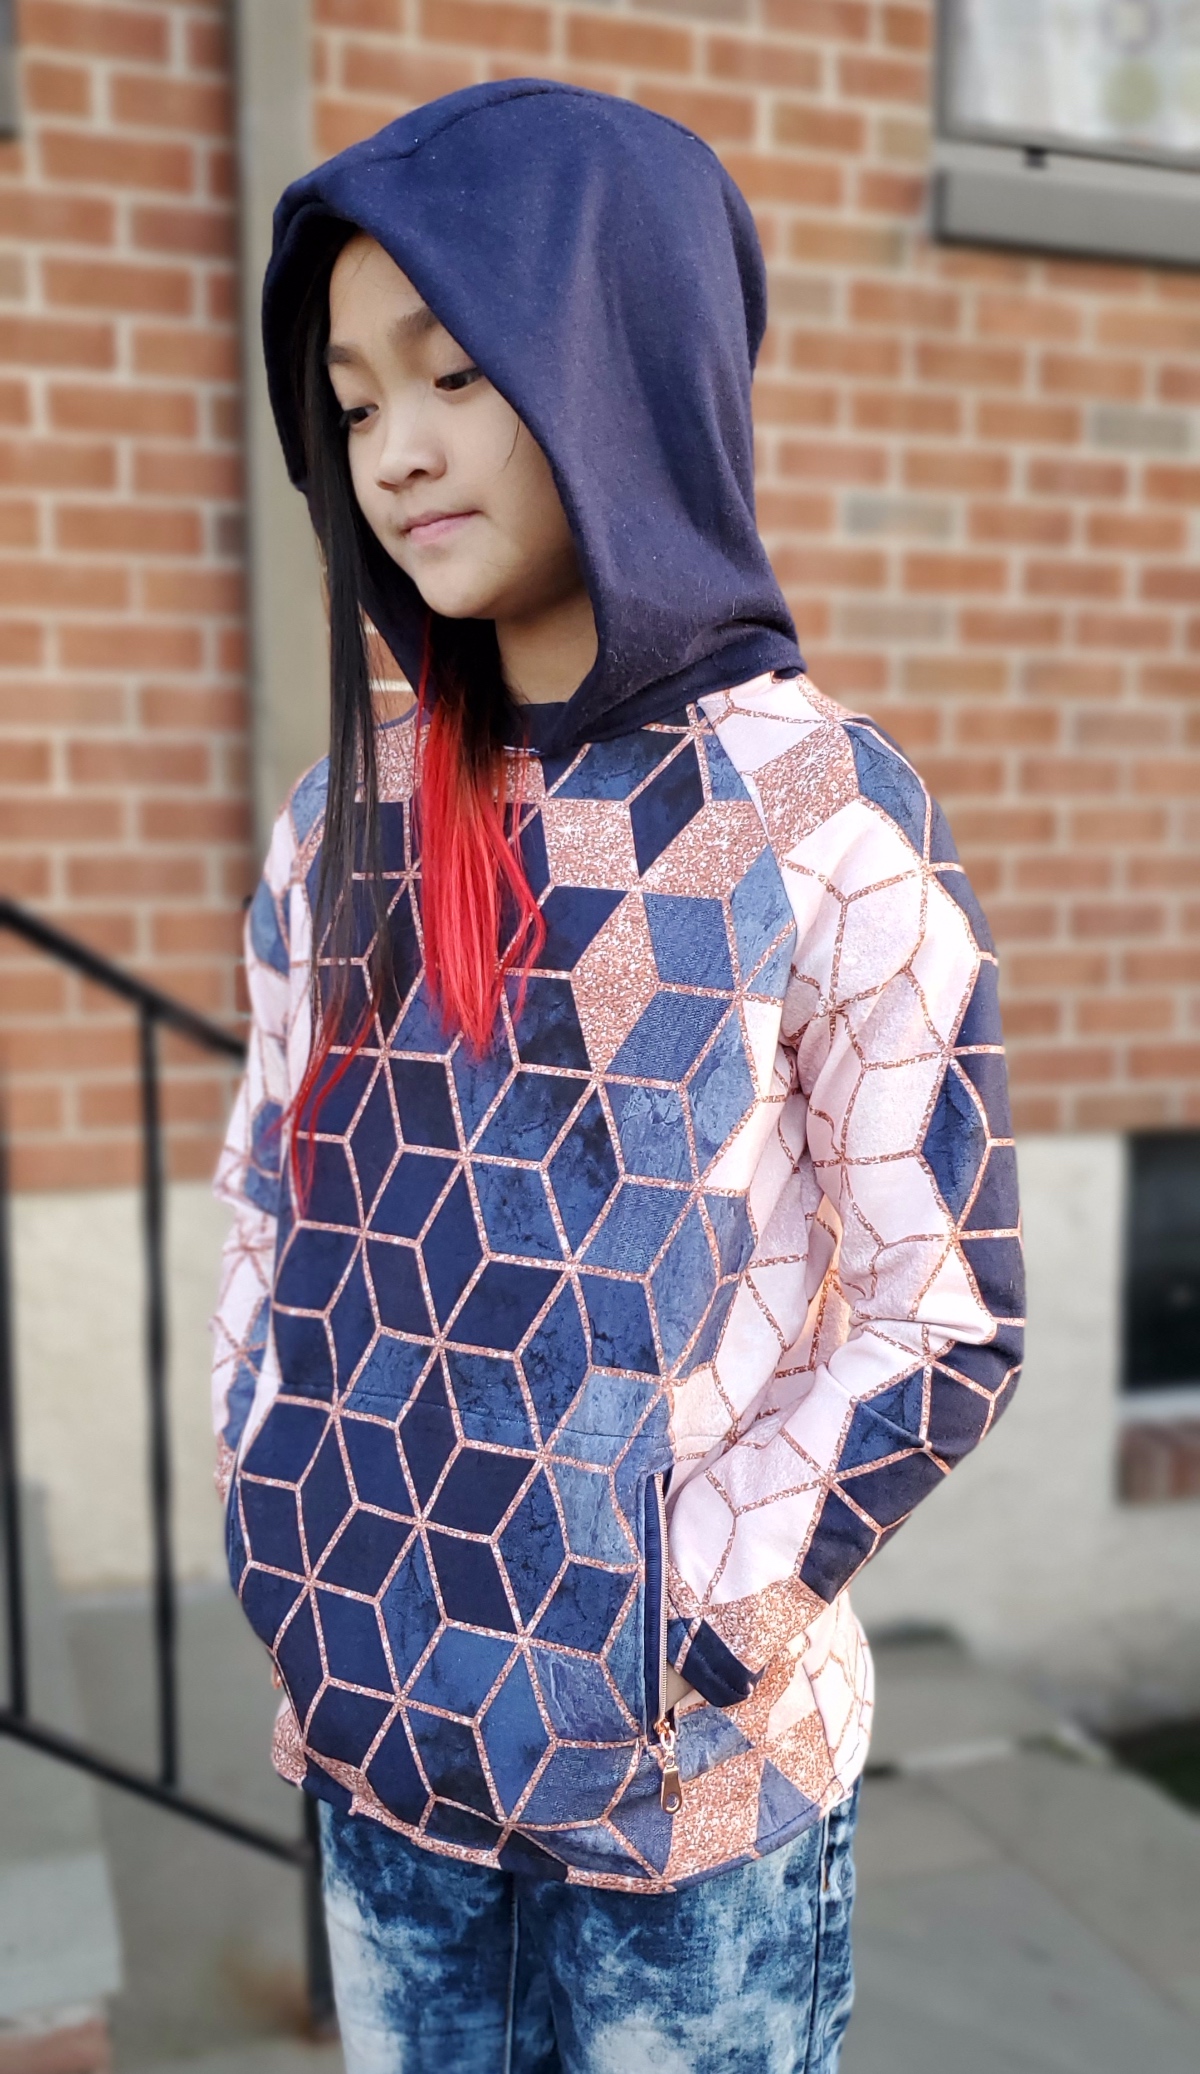
Pattern used: The main body is a size 12 Field Trip Raglan. The hood is from the largest size of the School Days Jacket + Coat. (This hood and the one on the Red Riding Hood pattern are very similar; I’ve put them on so many things.) We like the pocket from the Nature Walk Pullover pattern, but I put it on the inside so as not to cover the lovely specialty print, and added zippered welt openings instead.
Fabric used: The main fabric is a navy/rose-gold geometric pattern on cotton/lycra French terry from Blended Thread, and the hood is Fabtrends navy French terry from fabric.com.
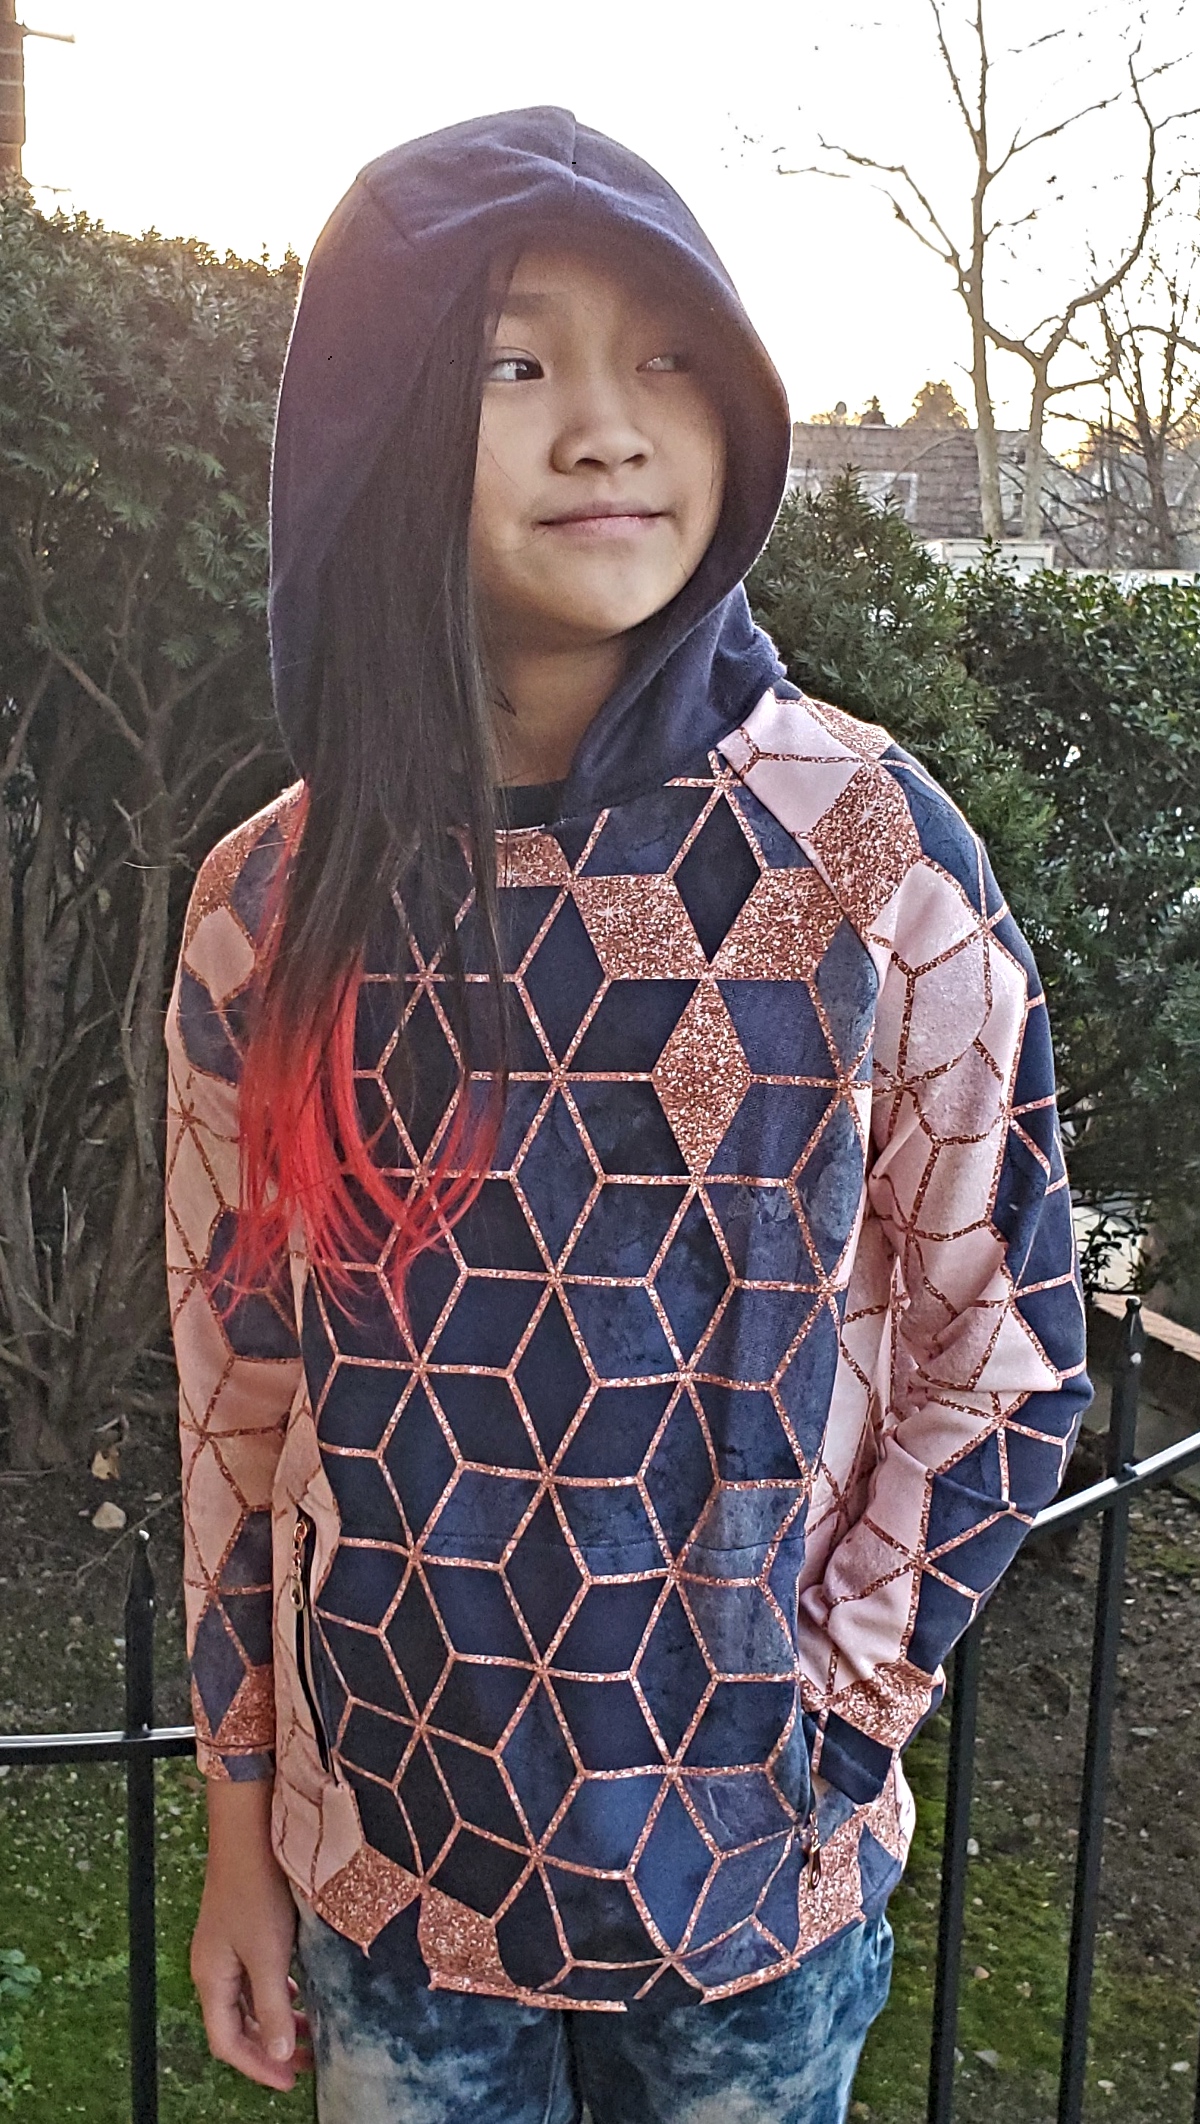
Did the fabric work well? The cotton/lycra stretch French terry print is easy to sew with a walking foot. I was so nervous to ruin this special-order fabric, and tried several placements of the pattern pieces to show the print to best advantage. I only had 1/2 yard and needed to cut either the hood or the sleeves in a matching solid. My daughter chose to have the hood in the solid. I tried several “fussy-cut” layouts to get the colors where they looked best, with the navy parts centered in the front and the pale-pink parts in front on the sleeves. The solid navy French terry only has two-way stretch, so it was ideal for the pocket as well as the hood.
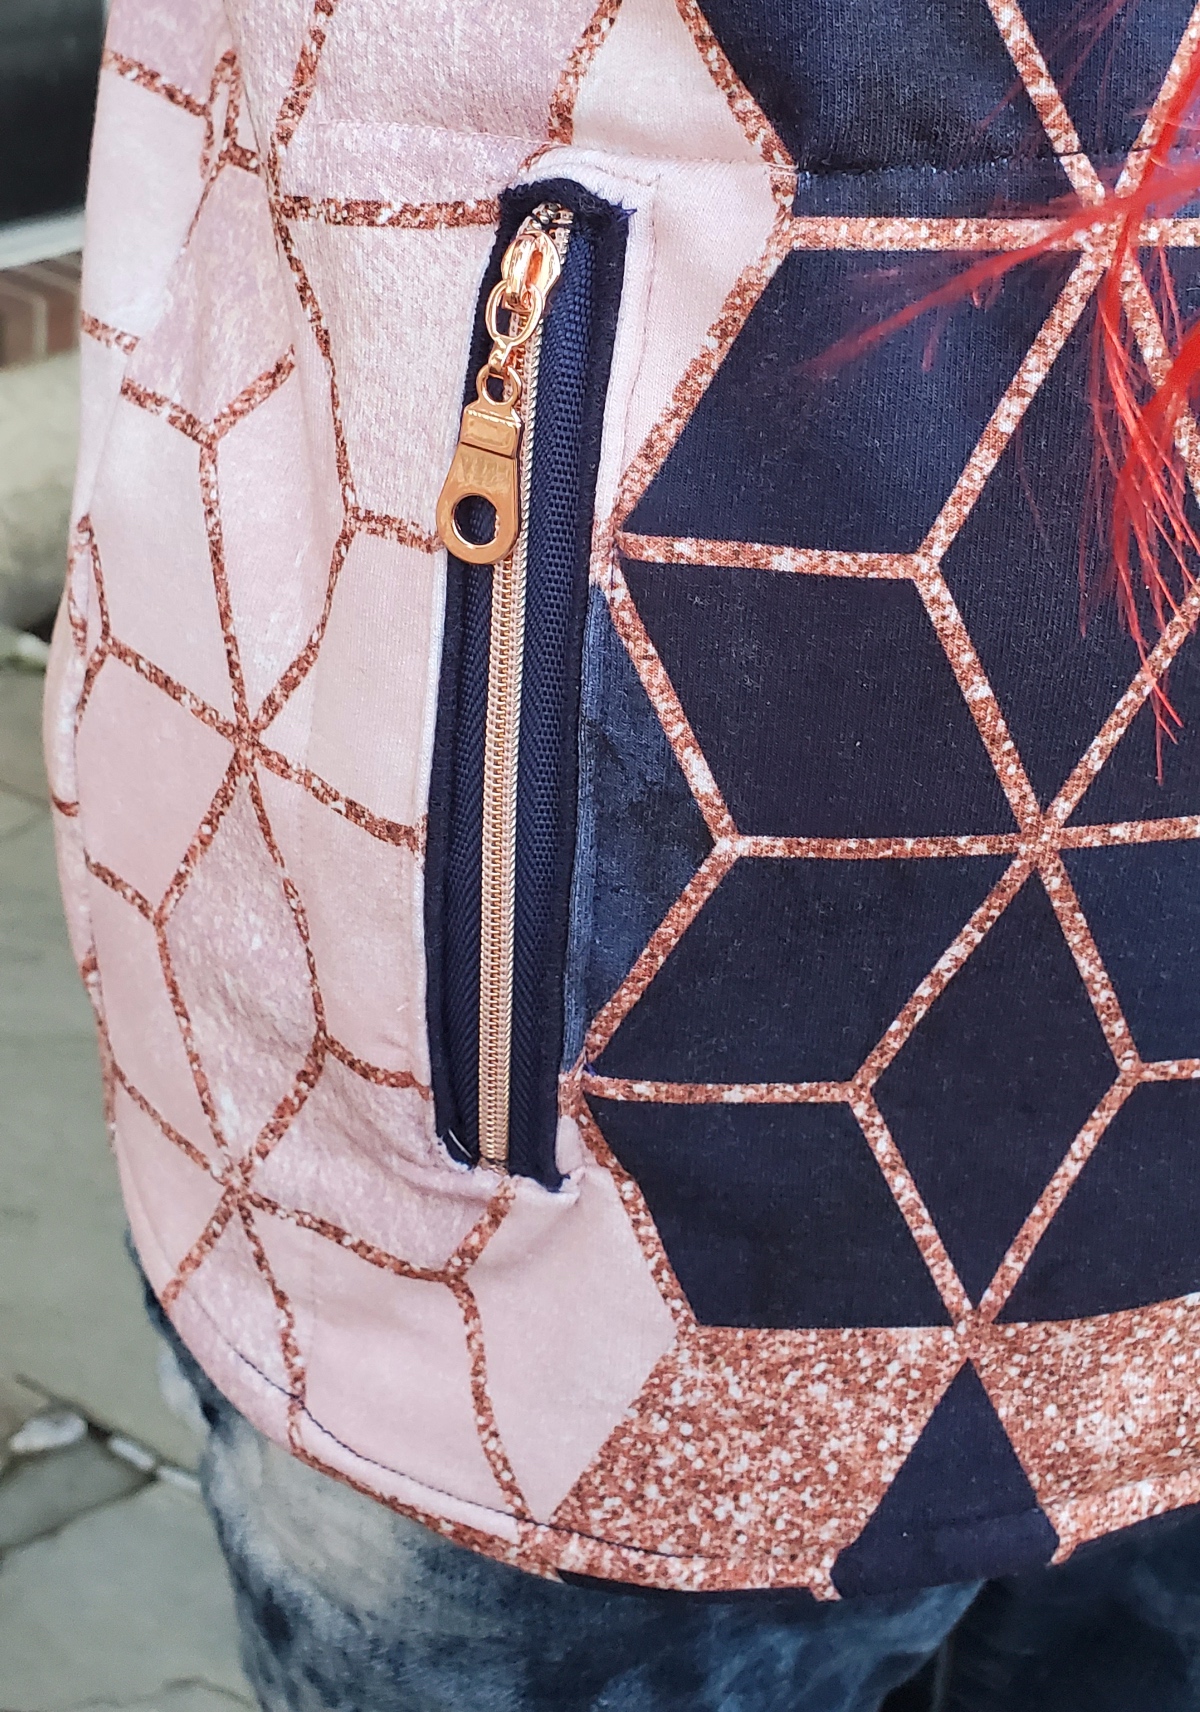
How did the sewing go? I’ve become well-versed in using my favorite Oliver + S patterns to create the clothes my daughter and I see in our heads. In this case, she definitely wanted a pull-on hoodie with a pocket for her phone (so important!) from this print, with zippers to secure. I found and ordered the perfect zipper: navy tape and shiny rose-gold pull and teeth.
I sewed the shirt and attached the two layers of the hood to sandwich the raw edge of the shirt. I needed to add a small facing to the front of the neckline between the edges of the hood, and finished the inside edges. In hindsight, it would have been easier to do the welt openings and pocket first before sewing the raglan together!
She tried it on to determine the exact placement of the welt openings. It was my first time working with zippers by the yard, and the first time where the welts were front and center. The Oliver + S exposed zipper welt pocket tutorial and this tried-and-true tutorial helped!
I used fusible tricot interfacing on the wrong side of the main fabric to stabilize the welt openings and the top edge of the pocket (anticipating a lot of pulling down when worn). I was so scared that the welts would come out uneven. I don’t think I’ve ever hand-basted more!
After the zippers were done, I sewed the pocket (the Nature Walk pocket pattern piece, but with straight sides instead of shaped) to the hem allowance for a clean bottom finish, and sewed from the right side on the other three sides. I even changed thread colors mid-seam from blue to pink to match each area.
What was the best part? When she tried it on, jumped up to hug me and couldn’t wait to wear it the next day. The other best part was being asked to write about it for this blog!