


Have you been wanting to add a handmade turtleneck to your wardrobe, but don’t want to buy a new pattern? Do you have a go-to t-shirt pattern lying around, one that fits perfectly, but doesn’t include a turtleneck view? Drafting a turtleneck piece for an existing knit t-shirt pattern is a piece of cake, and I’m going to walk you through the process.
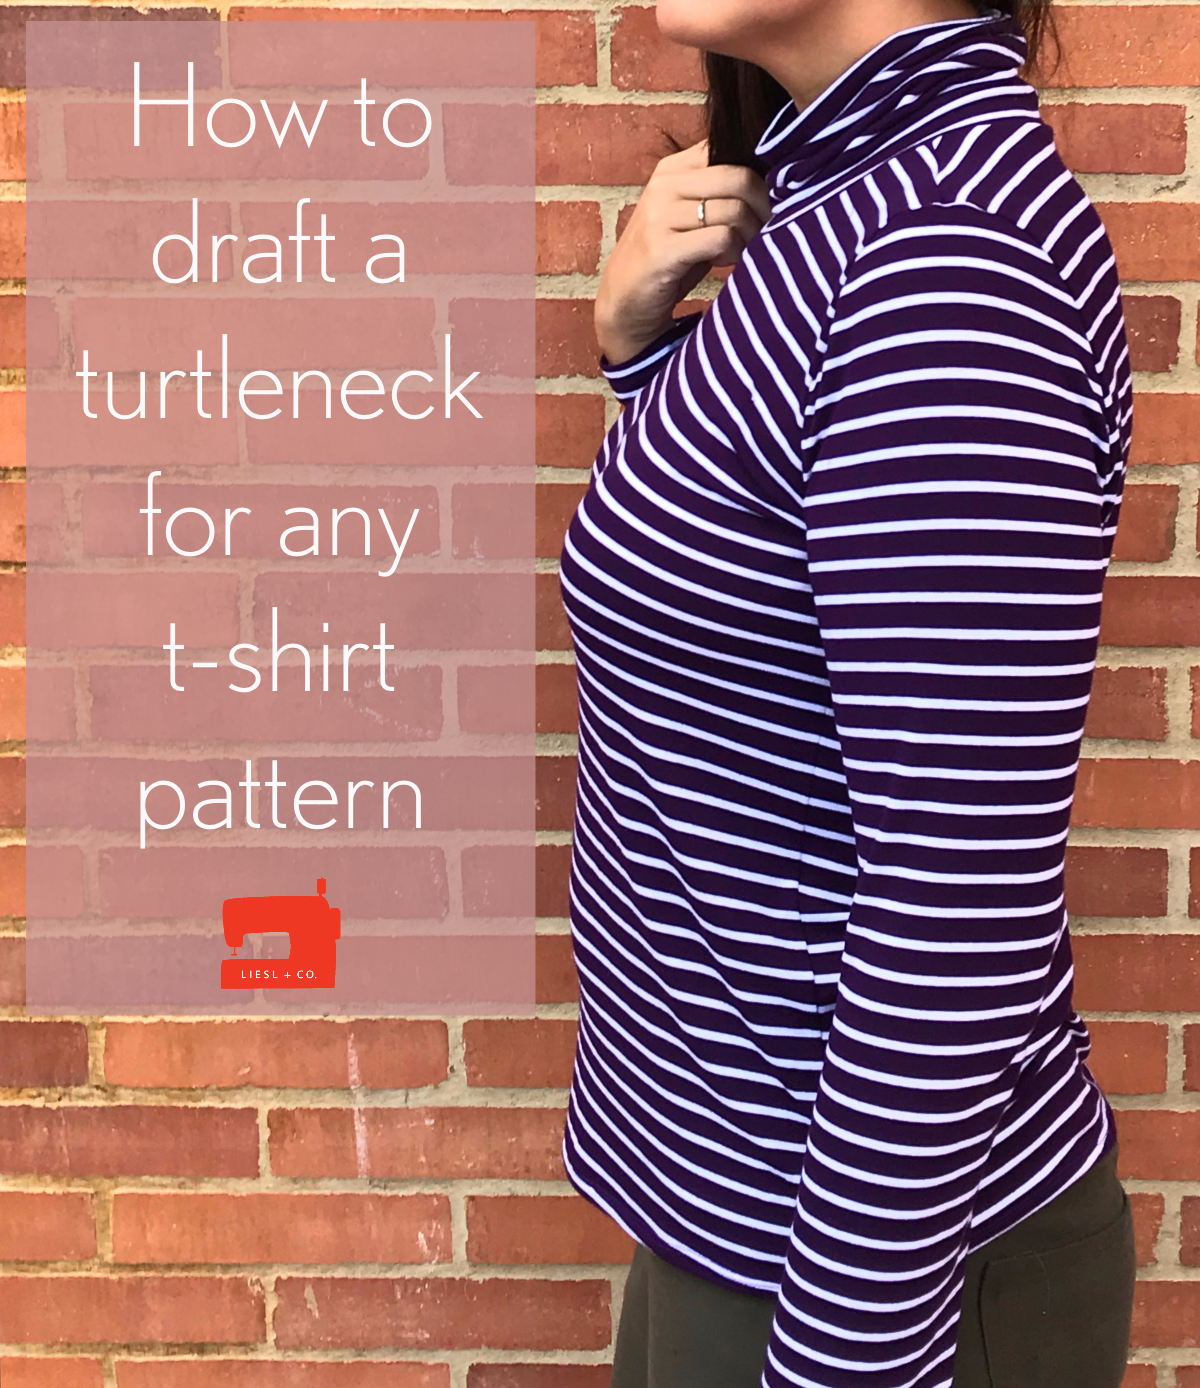
For these turtlenecks, I used the Liesl + Co. Metro T-shirt pattern. This is a great basic t-shirt with a higher neckline than many of the other options on the indie market. The higher neckline is important because that’s what you want if you’re going to draft a close-fitting turtleneck.
To make this t-shirt, we’re going to use the bodice front and back pattern pieces and the sleeve pieces as they are drafted. We will draft a turtleneck piece to replace the neckband.
To draft the turtleneck, you will need two measurements. First, you want the length of the neckband that is included in your t-shirt pattern. For the size large of the Metro T-Shirt, that is 18 1/2″. This measurement will be the length of your turtleneck pattern piece.
Then, you need to decide how high you want your finished turtleneck. We will call this measurement B. Use this formula for a single-layer turtleneck (one that doesn’t fold over): (A+1/4″) x 2 = B. B is the width of the rectangle we are going to cut.

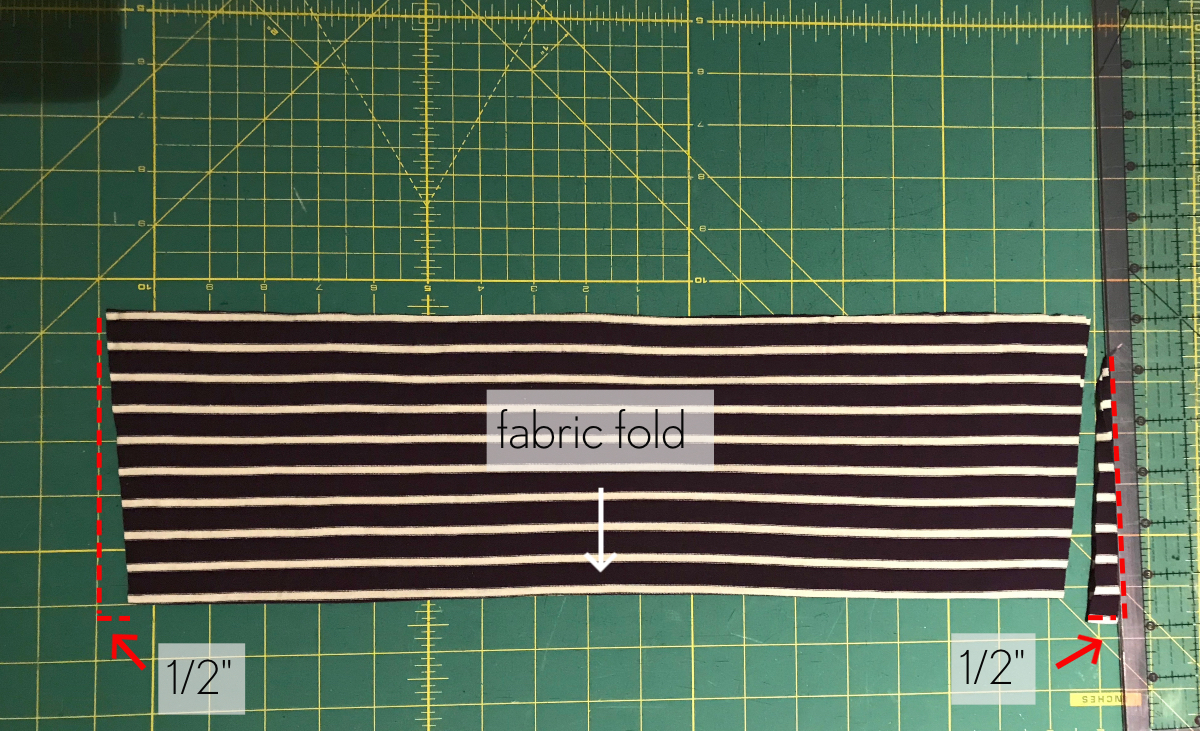
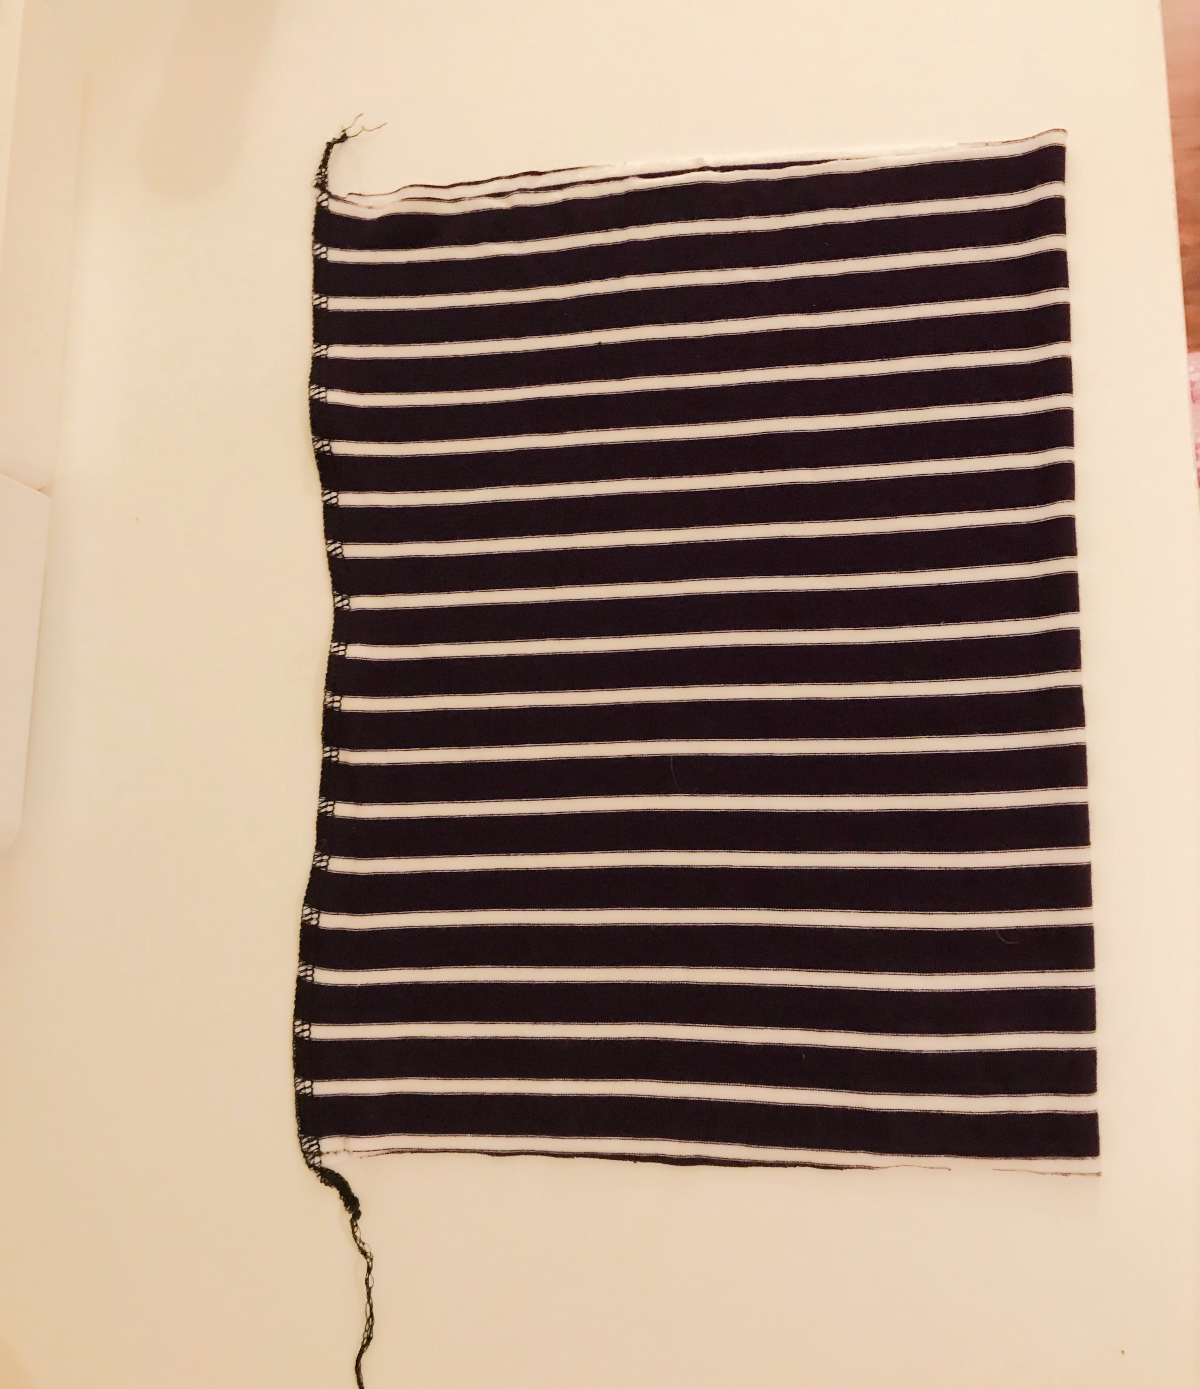
I made two turtleneck tops. I did not shape the turtleneck piece of the black top at all; it is just a rectangle that was 18 1/2″ long and 10 1/2″ high, for a finished turtleneck height of 5″ after doubling the fabric and subtracting the 1/4″ seam allowance. For the striped turtleneck, I wanted the top of the turtleneck to be 1″ narrower than the bottom. To achieve this, I folded my turtleneck rectangle in half lengthwise, so that the long edges are aligned from corner to corner, as pictured below. Then I cut off 1/2″ at the fold, tapering to nothing at the other end of the short side of the rectangle.
You’ll see the difference in the shape of the my two turtlenecks at the end of this post. I don’t like my turtlenecks to be very close fitting, but if you do, you can always measure your neck at the desired turtleneck height to determine how narrow to make the top of the turtleneck. Make sure your fabric is stretchy enough to go over your head! I might go 1″ narrower in the future, but probably not more than that.
Now it’s time to assemble the turtleneck. Fold it in half width-wise, so that the short edges are aligned, and sew them together with a 1/4″ seam allowance. I used my serger because the angle created by my taper was not very pronounced. If you have a more dramatic taper, you might want to use a stretch stitch or short zigzag on your sewing machine for more control. This edge does not have to be finished because it will be encased in the turtleneck.
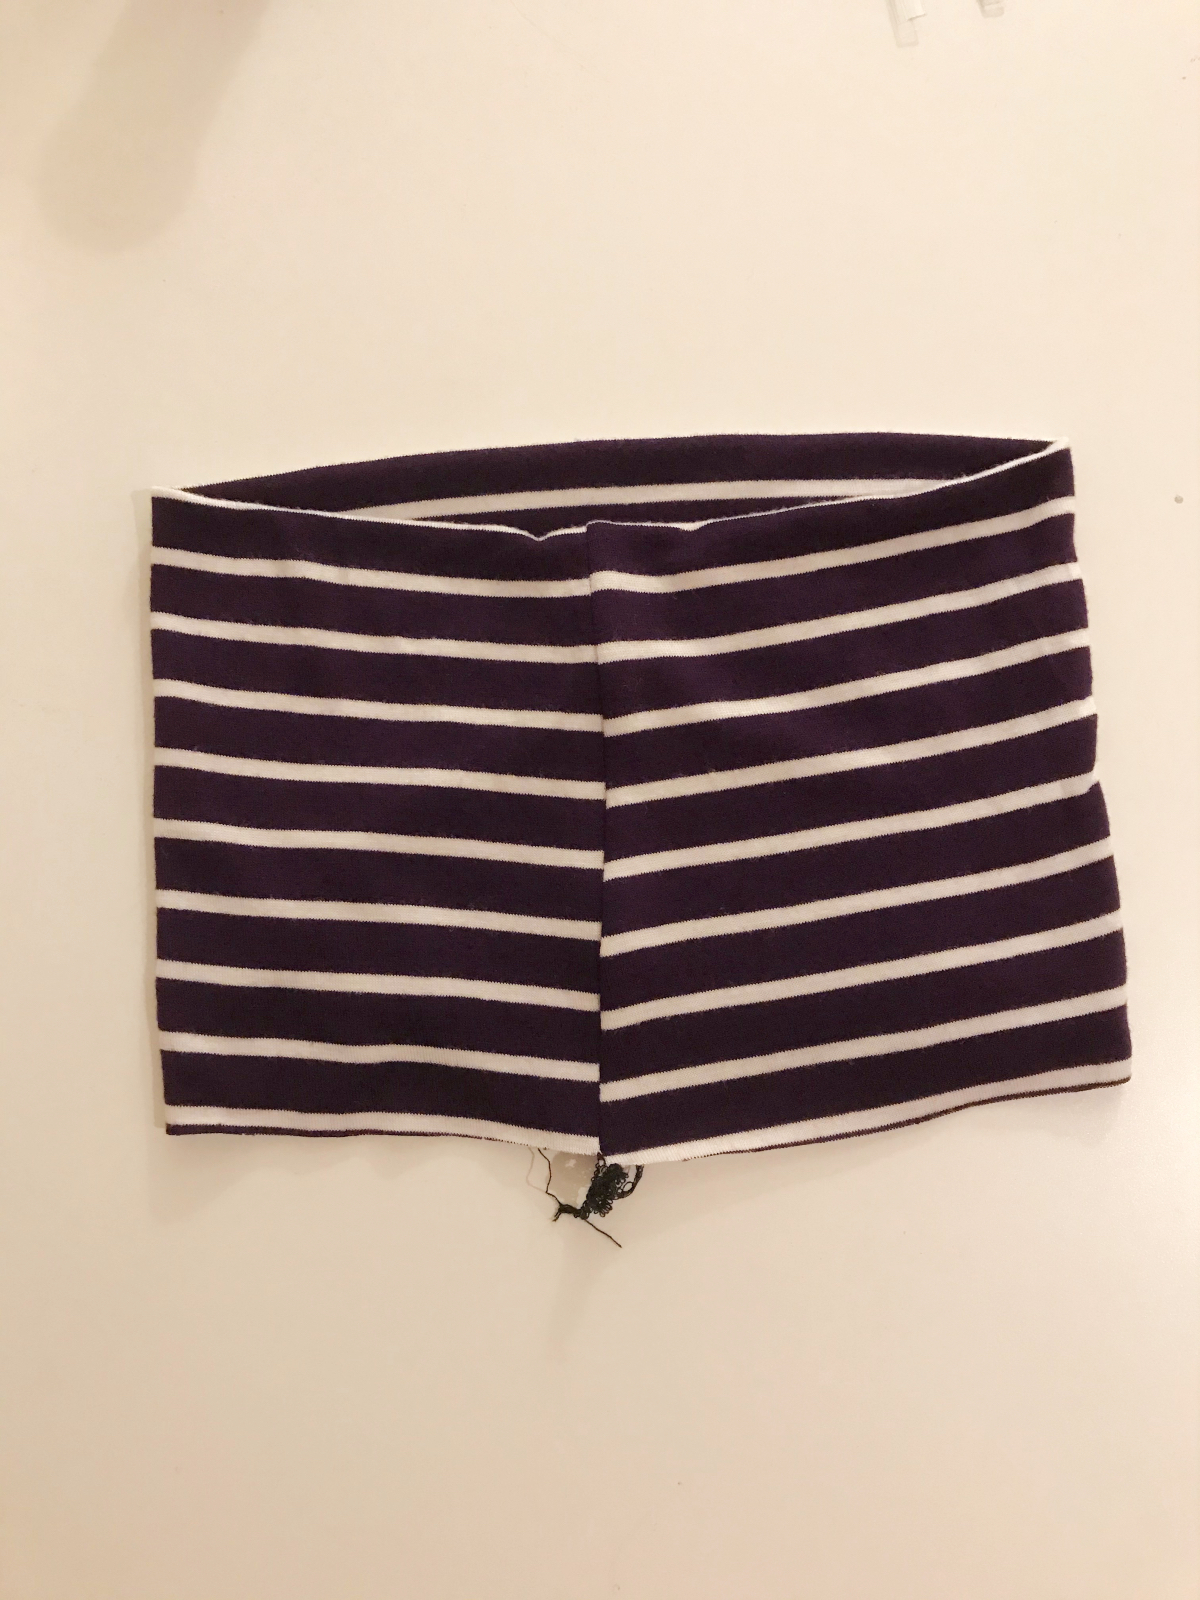
Next, press your seam allowance to one side. Then fold your turtleneck in half so that the two raw edges are aligned and press the fold. If you would like, you can baste the edges together. Myself, I just pin.
Set your turtleneck piece aside and assemble your t-shirt, stopping just before your instructions tell you to sew on the neckband. We will sew on our turtleneck instead.
Find the quarter marks of your turtleneck piece and your neckline. Pin the turtleneck to the neckline of the t-shirt, right sides together, aligning quarter marks. Because I did not baste my turtleneck edges together first, I used a lot of pins.
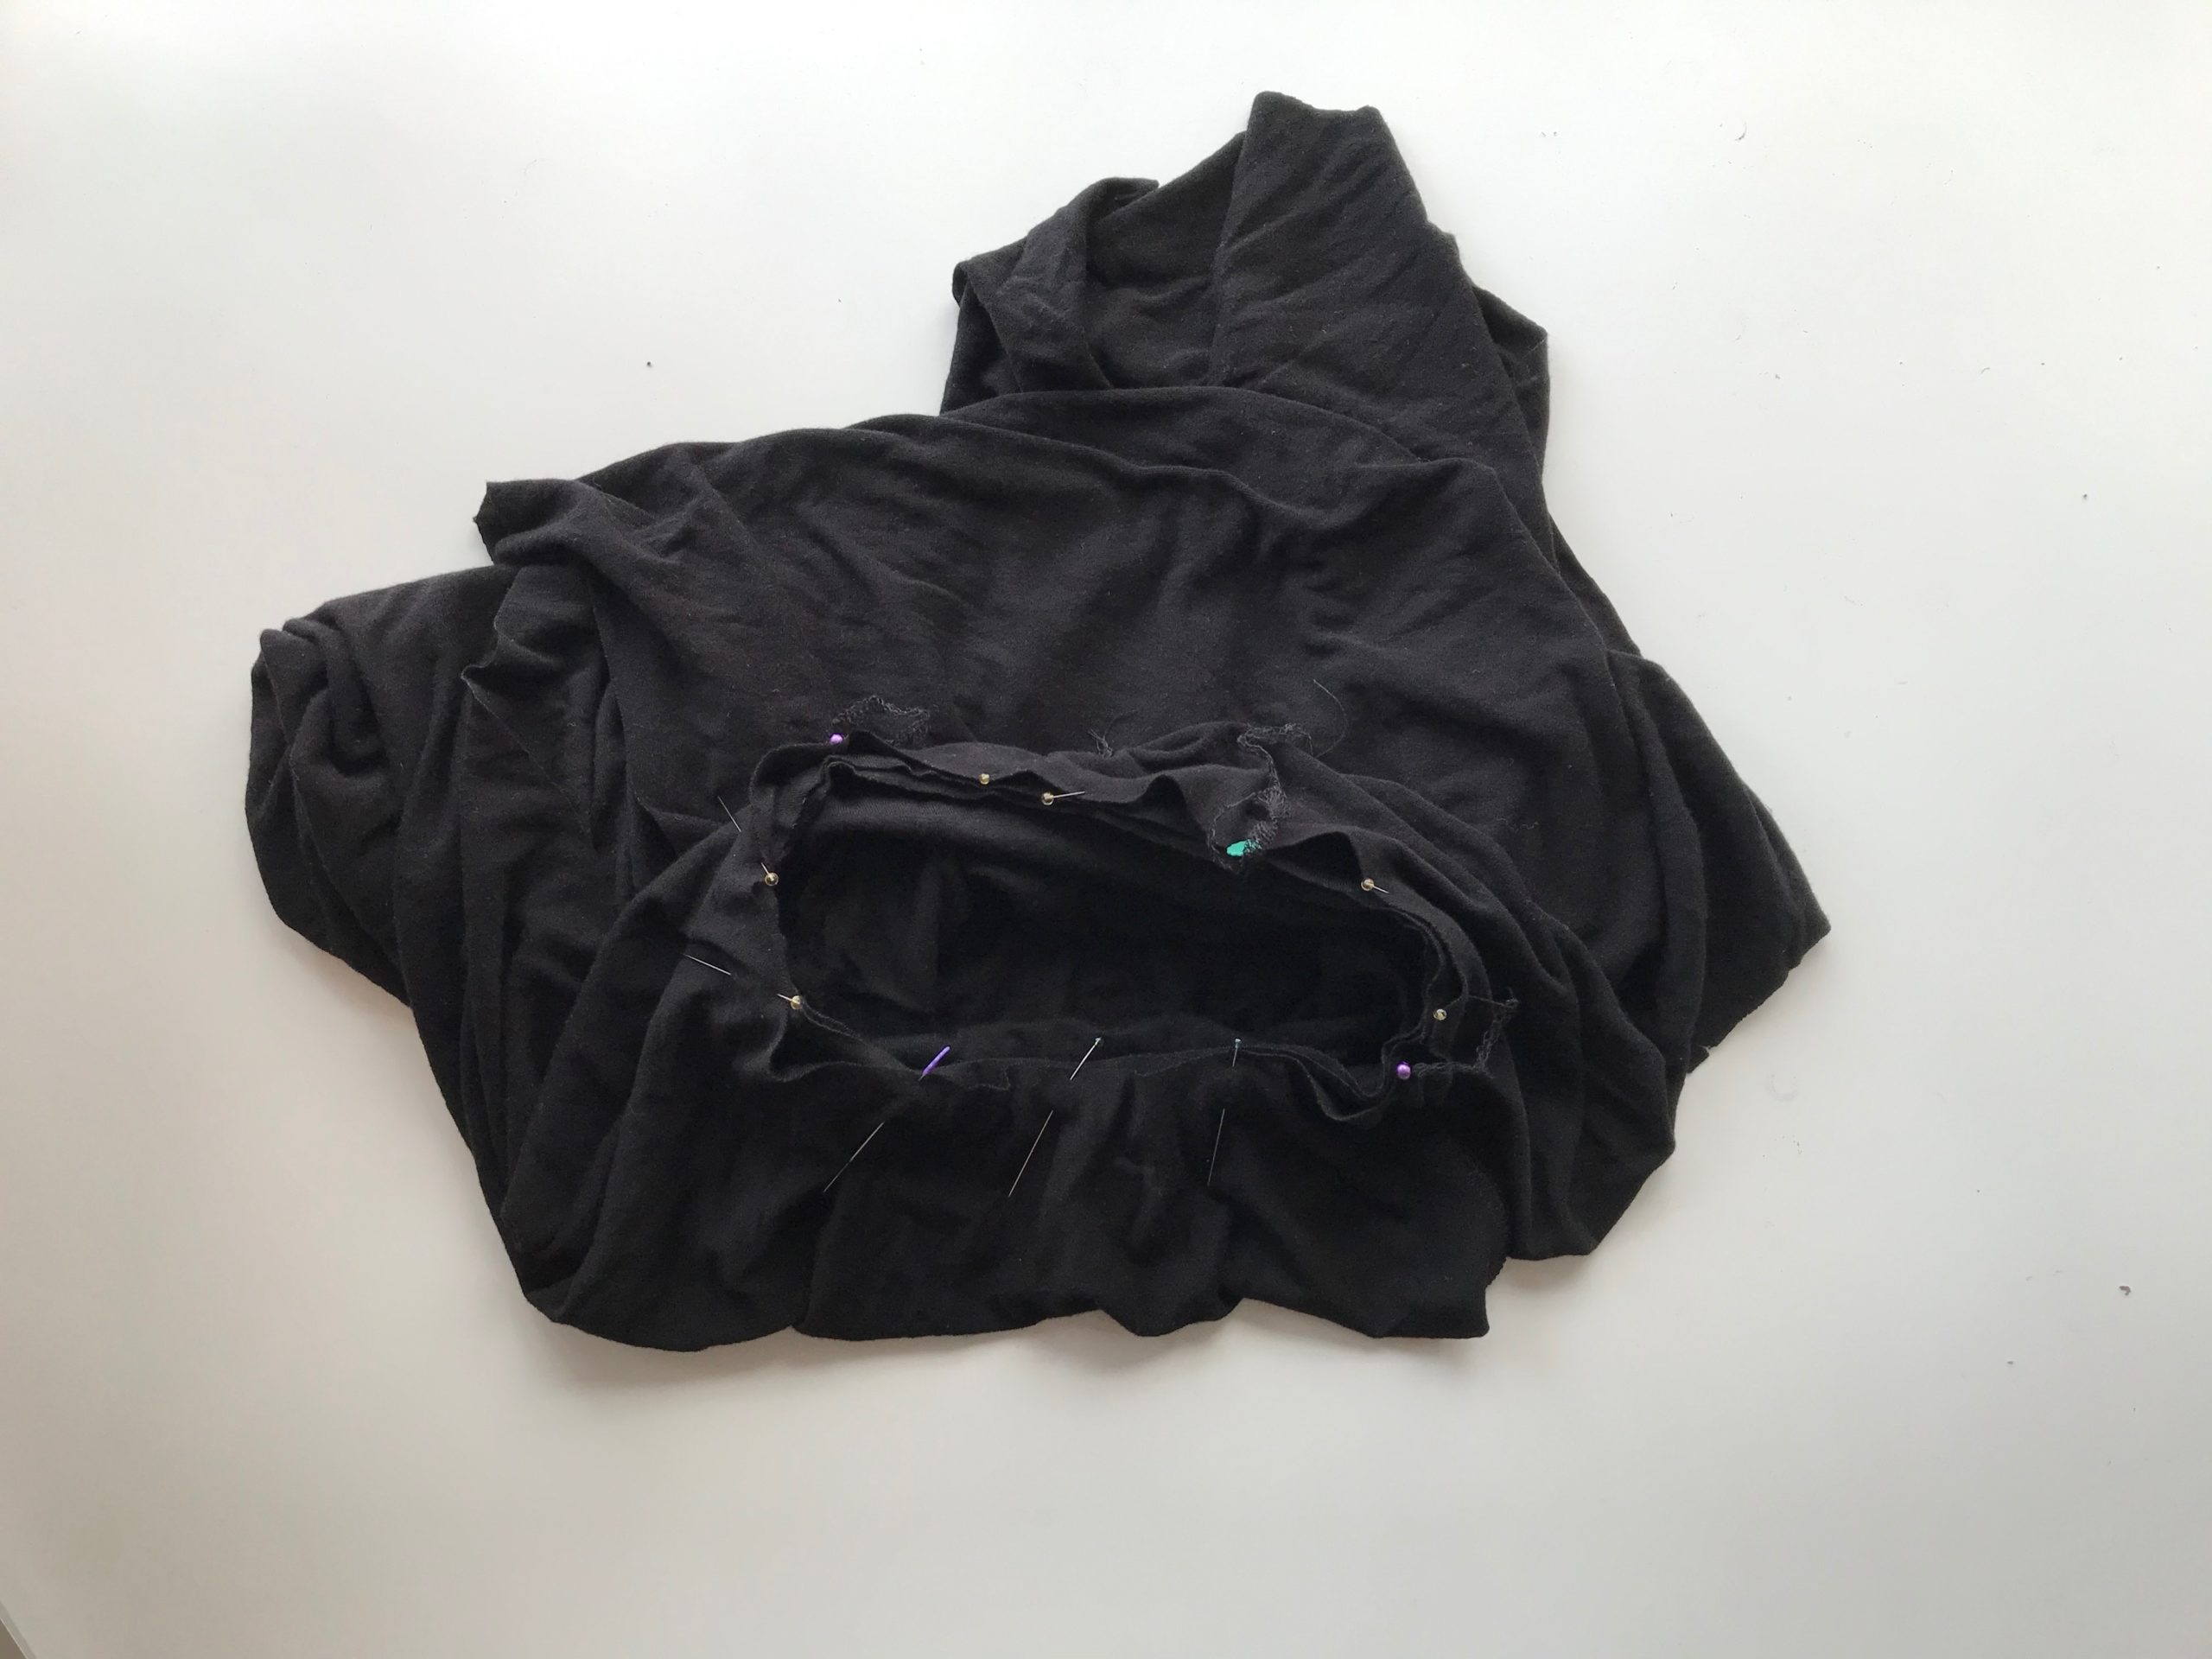
Now sew or serge your turtleneck to the neckline with a 1/4″ seam allowance. Because this is a knit top, if you sew, rather than serge, the turtleneck to the neckline, you’ll want to use a stitch that stretches, such as a stretch stitch or a small zigzag. If you sew the turtleneck on, finish your seam allowance with a serger, overlock stitch or wide zigzag stitch.
Turn your turtleneck right side out and press.
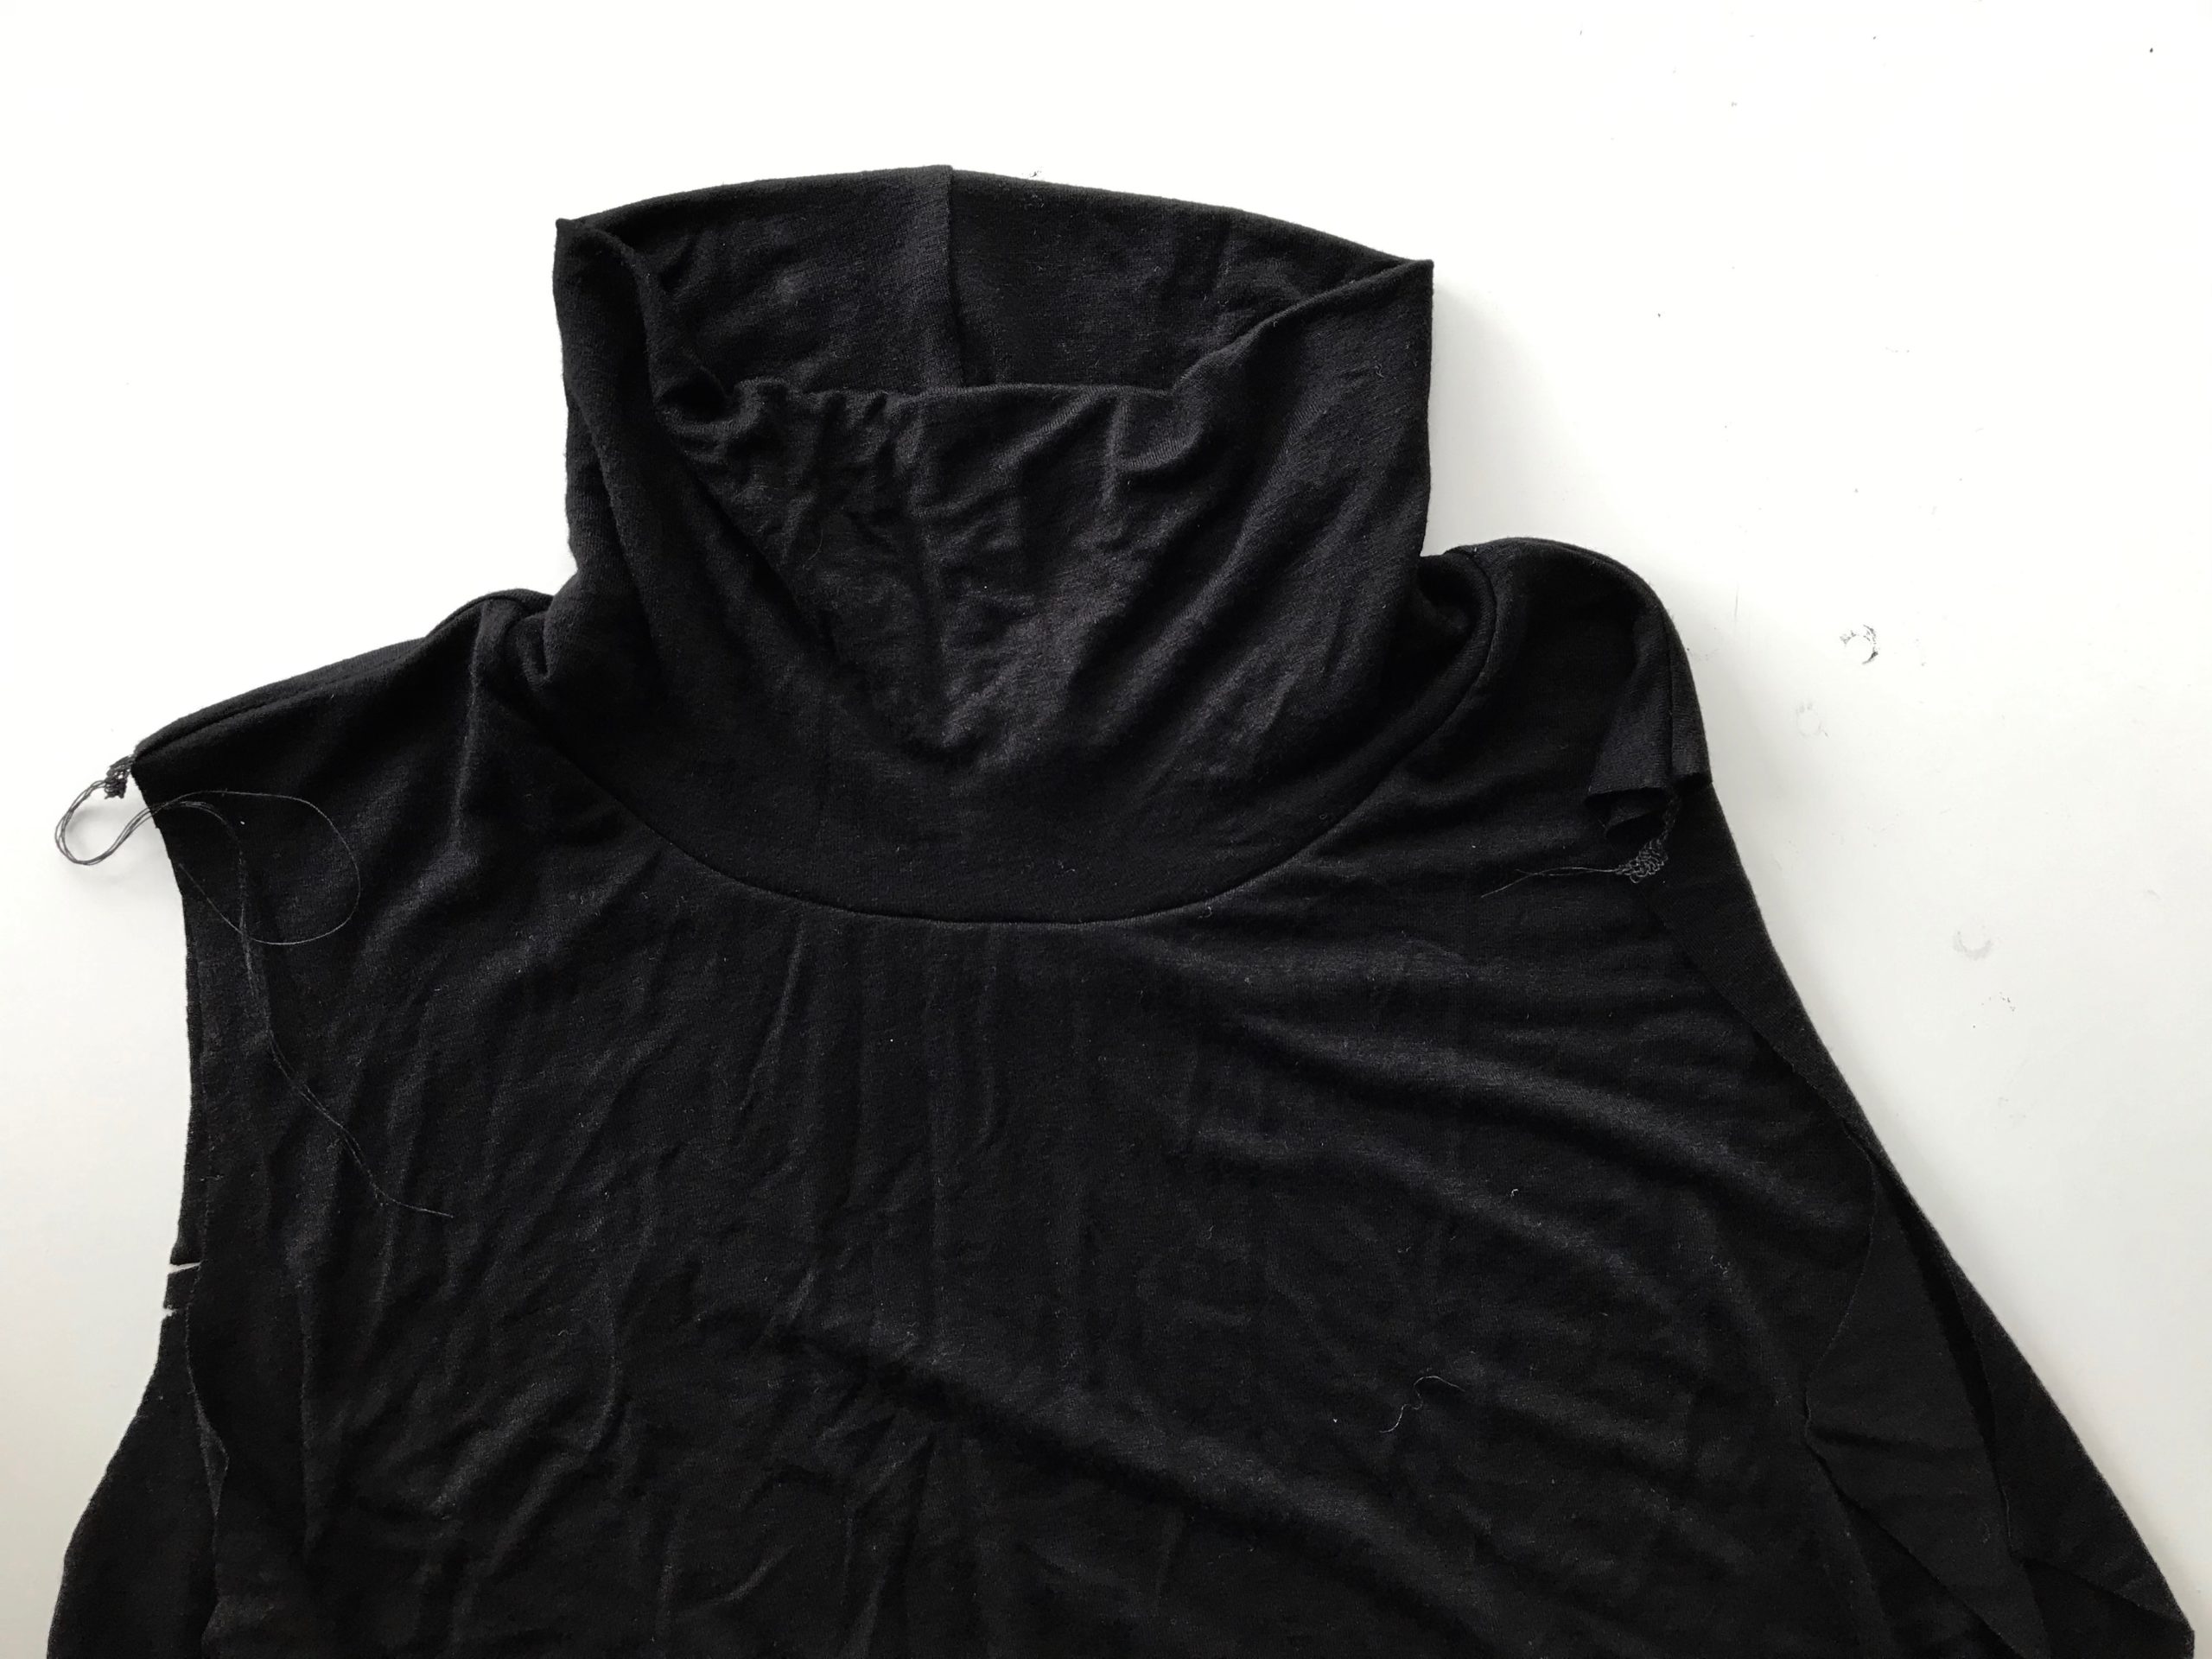
Finish your t-shirt according to your pattern. Congratulations! You just drafted and sewed a turtleneck!
As promised, I’m going to show you the difference between my two turtlenecks. Remember, the black one was just a rectangle that measured 18 1/2″ long and 11″ wide before I folded it. The striped one was 18 1/2″ long and 10 1/2″ wide before folding, but I shaped it so that the top of the finished turtleneck is 1″ narrower than the base. If you want a turtleneck that you can fold over, you can make your pattern piece higher.
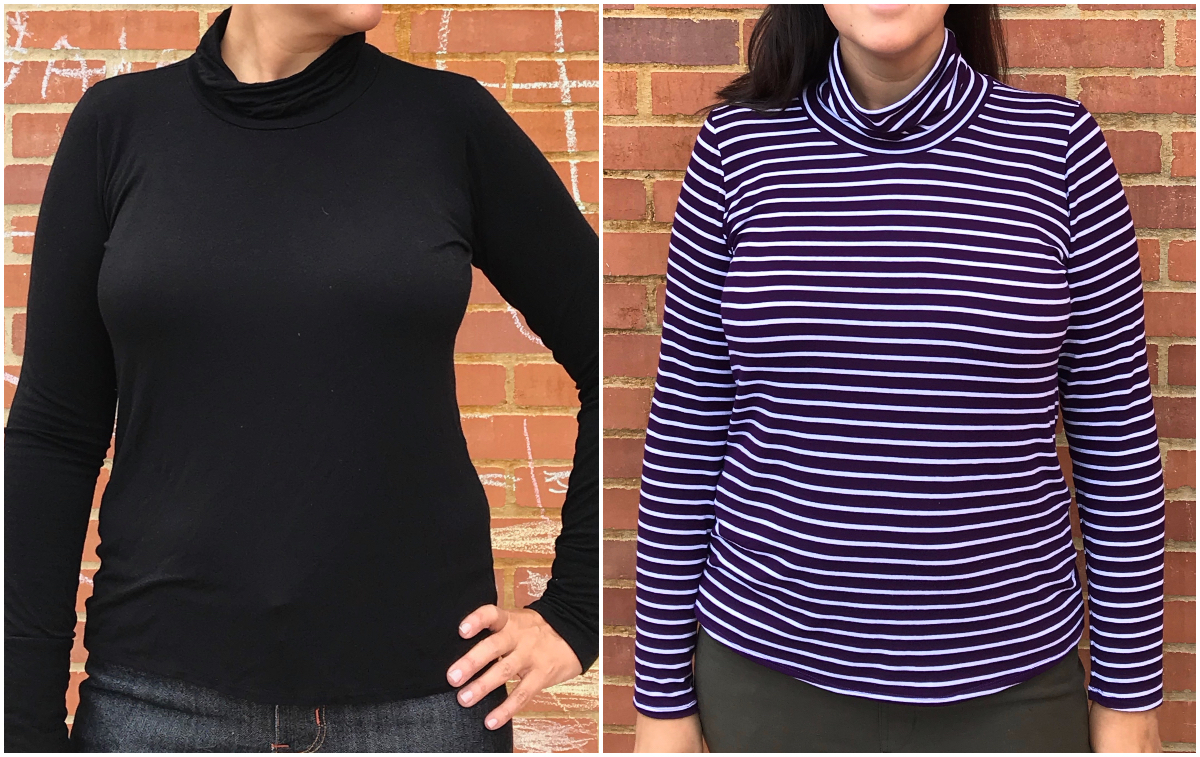
I sewed both tops using drapey rayon/lycra jersey knit. The turtlenecks themselves would stand up more and scrunch less in a more stable fabric, such as a cotton/lycra jersey.

That was easy, wasn’t it? This method will work on any t-shirt with a crew neckline (as opposed to a v-neck or scoop neckline). I’m planning to use it to make a turtleneck for my daughter using the Oliver + S School Bus T-Shirt pattern.
Now go draft a turtleneck! You can pick up the women’s Metro T-Shirt pattern here. We also have a men’s version, which you can buy here. Or you can save some money and get the family pack which also includes the School Bus T-Shirt pattern. Turtlenecks for everyone! Don’t forget to share your makes on social media using the #lieslandco or #oliverands hashtags!