

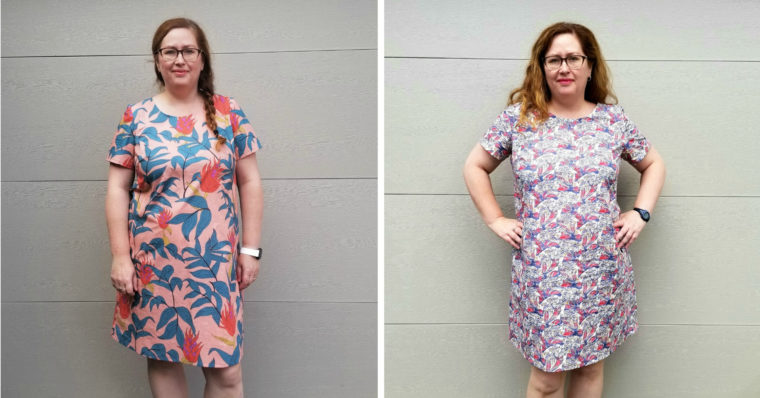
Visiting us today from our Advisors Circle is Claire who has stopped by in the past with her Weekend Getaway Blouse with Bias Bound Edges, Adding Waist Ties to the Breezy Blouse, and her tried and true sewing pattern. Today she’s back with a double scoop of Gelato; making the same dress in regular and extended sizing.
I’m one of those people that could be called a “straddler” when it comes to pattern sizing. I usually find myself towards the upper end of most “regular” pattern sizing, but also straddle the gap into the lower end of plus-size or extended sizing for many designers. I had already started making my first Gelato Dress when Liesl announced she would be providing the pattern in extended sizing too, and her explanation of the different blocks for each range made me wonder – would a larger size in the original sizing, or a smaller size in extended sizing be better and/or easier? As well as the criteria of “looking better,” there is also the ease of construction to consider.

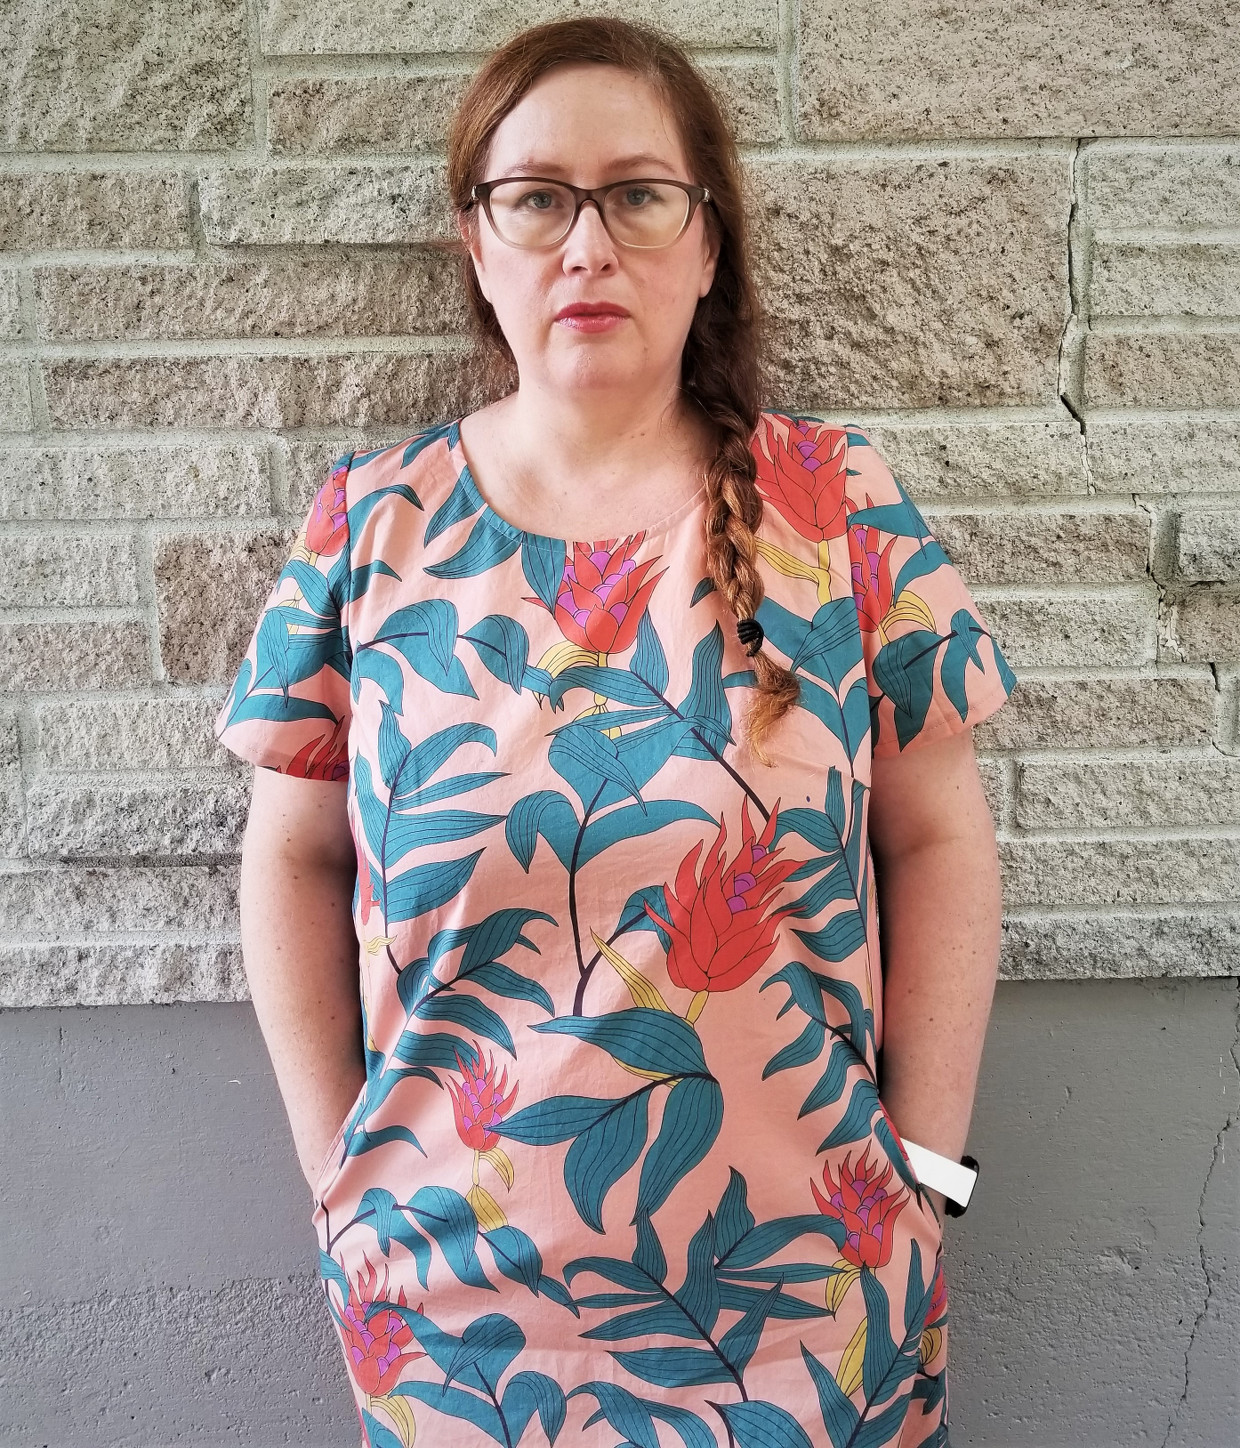
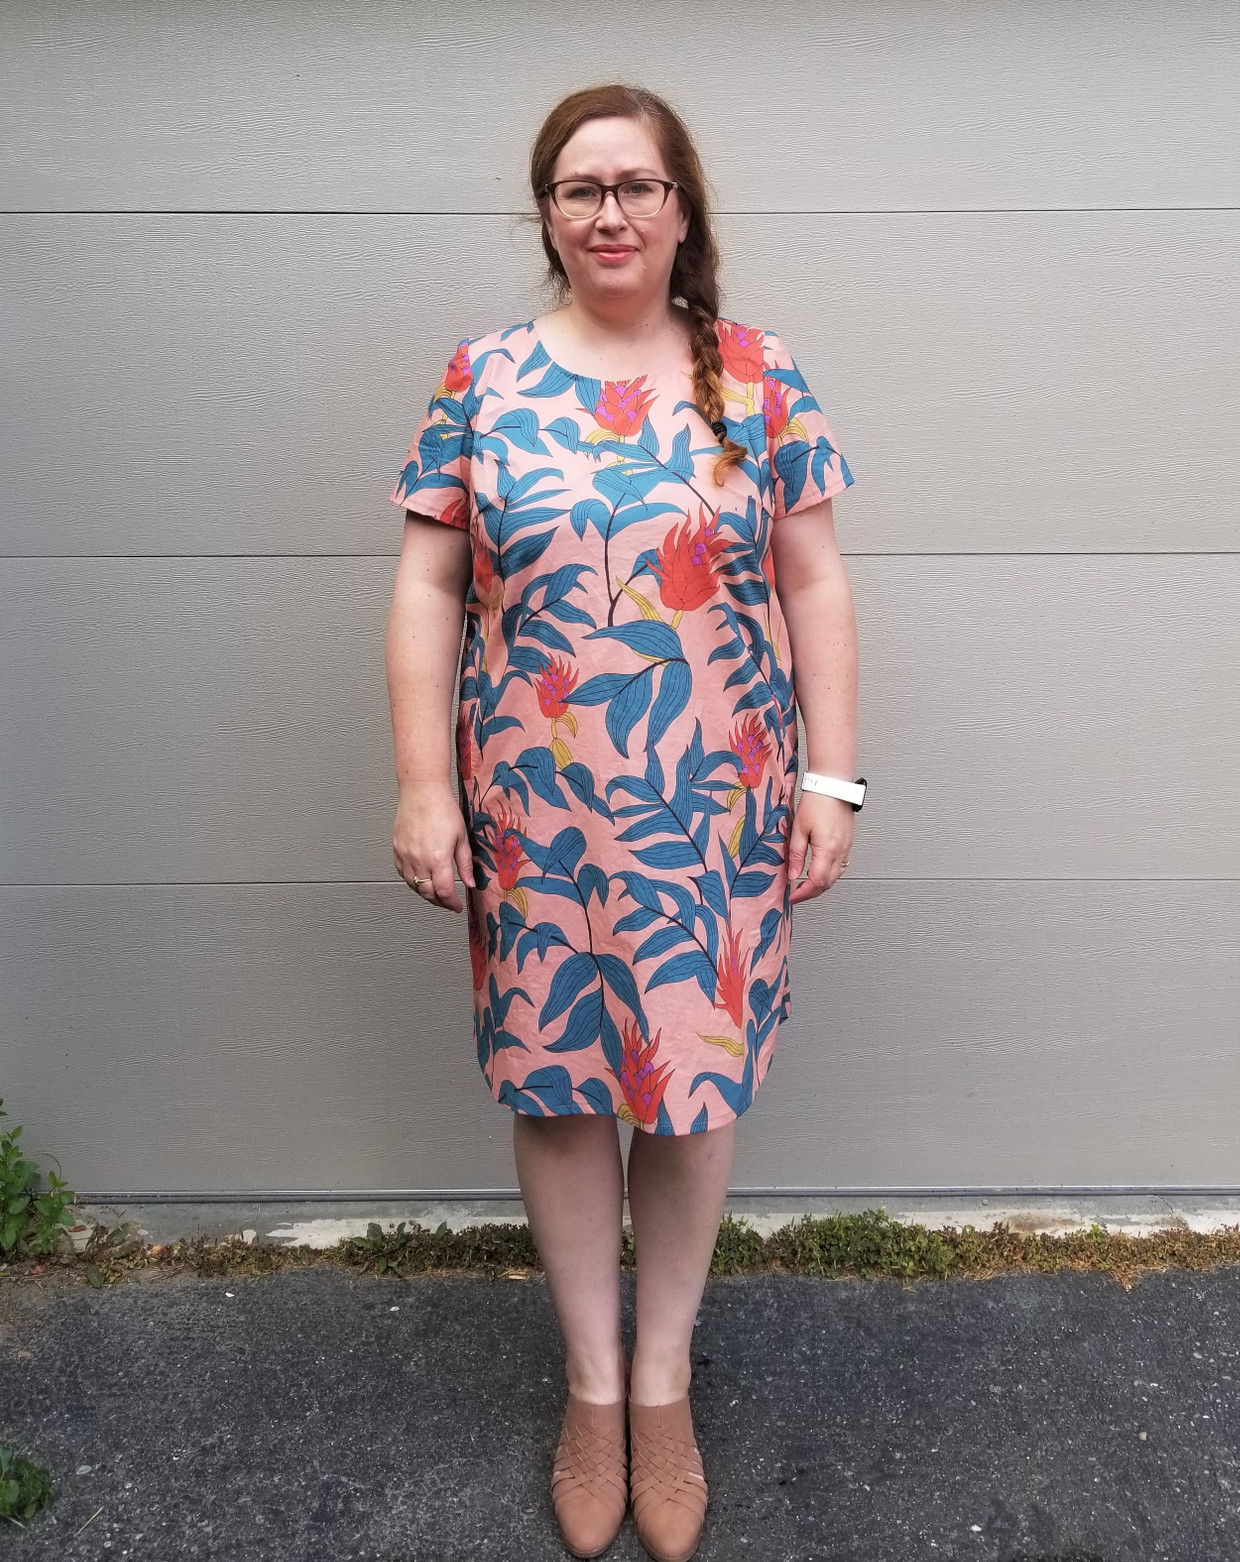
First, let me talk about what I did for my first Gelato dress. The shift dress is not a silhouette I wear too often if I’m honest, because, as a curvy hourglass(ish) type, I usually prefer some waist definition. Nevertheless, the elegant shape of the Gelato appealed to me, so I decided I wanted to ensure I got a neat fit around the shoulders and upper bust to give me some shaping reference.
My measurements are: Full bust: 43/44”, High bust 40”, Waist 37”, Hips 46”. I carry most of my excess weight around my tummy these days and my measurements would put me in at a 16 to 18 in original Liesl + Co. sizing. However, to get a good fit, I decided to make a 14 based on my high bust measurement, (as my shoulders are proportionately smaller) and then grade out at the waist and hips, as well as do a full bust adjustment (FBA). This is a set of very common adjustments for me.
Here’s how I approached the changes: I traced the 14 at the shoulders, down to the bust and then graded out to the size 18 at the waist and hips. I took 3 inches off the length as I wanted the dress to hit just above knee-length as I find that a flattering length for my figure (I’m 5’6” for reference). I then needed to make a full bust adjustment of 1.5” (total 3”) and I also lowered the bust darts by an inch. I actually should have lowered them by two inches. Again, these are all standard procedure for me – I could have a made a straight 18 of course, but I’ve found through trial and error that the shoulders and back are all wrong if I do that.

In numbers you can see it as:
14 bust = 40.5″ + 1.5″ FBA = 43.5″ There is also 2.5″ of ease, so the finished bust measurement is 46″
14 waist = 33” graded to 36.5”
14 hips = 43” graded to 46.5”
The important numbers are the bolded measurements for comparison.
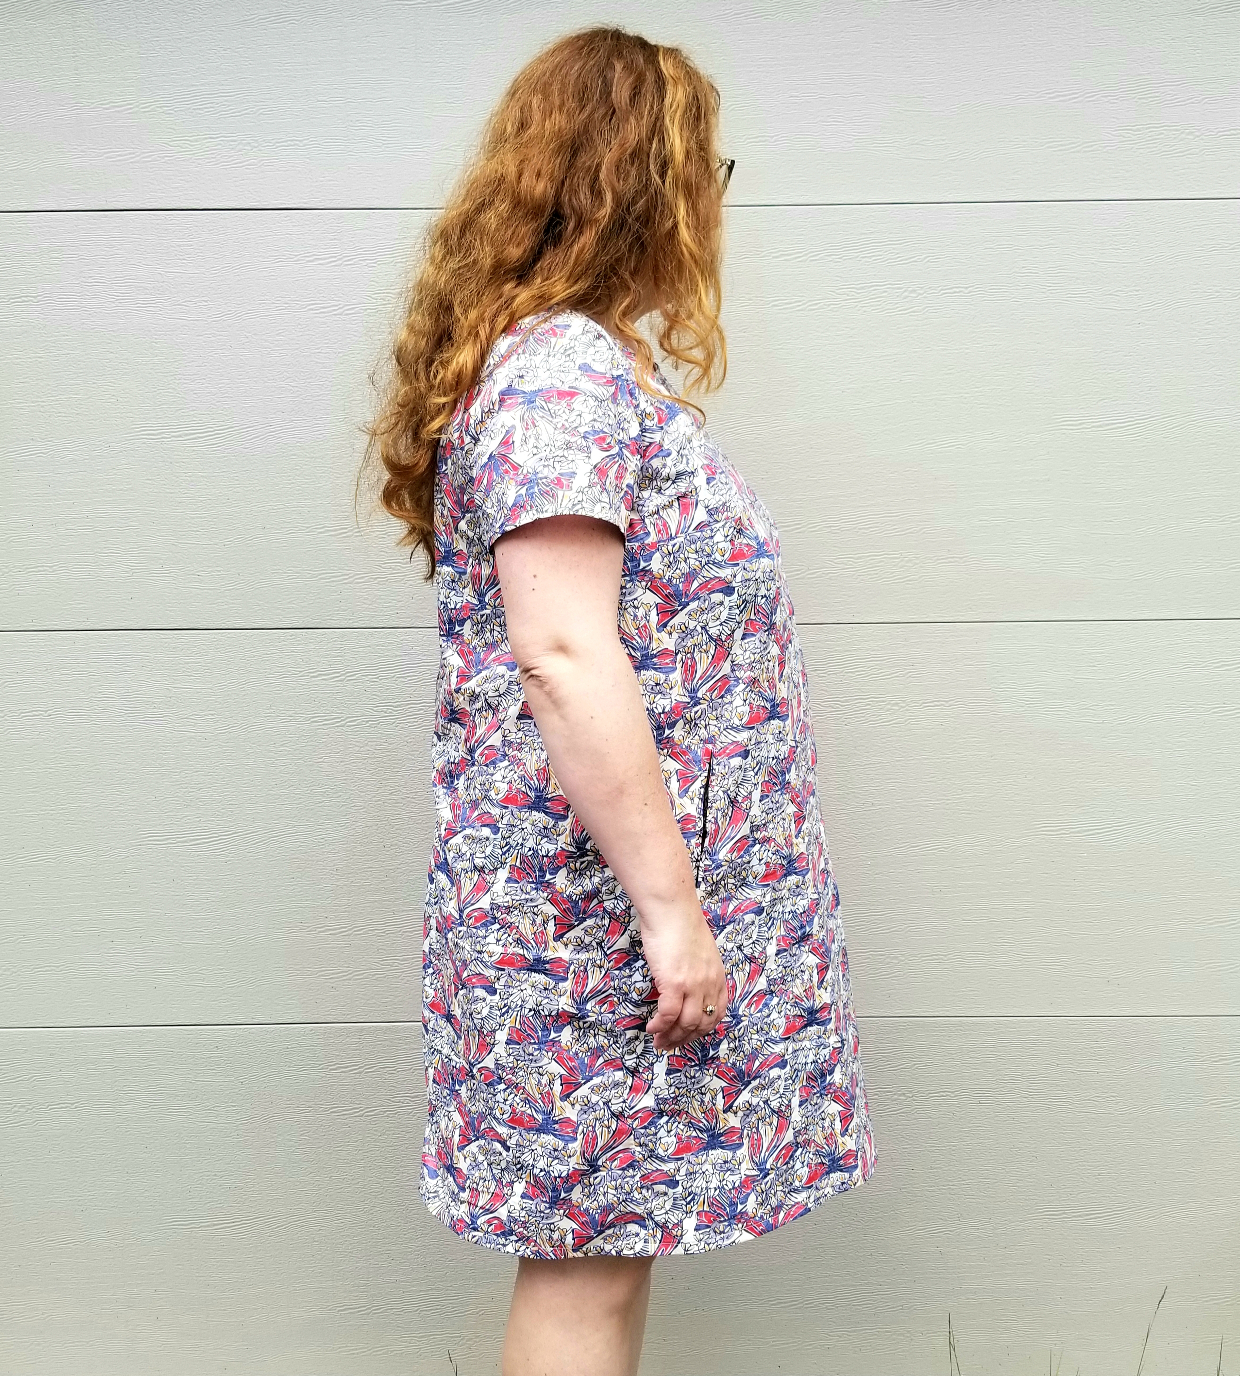
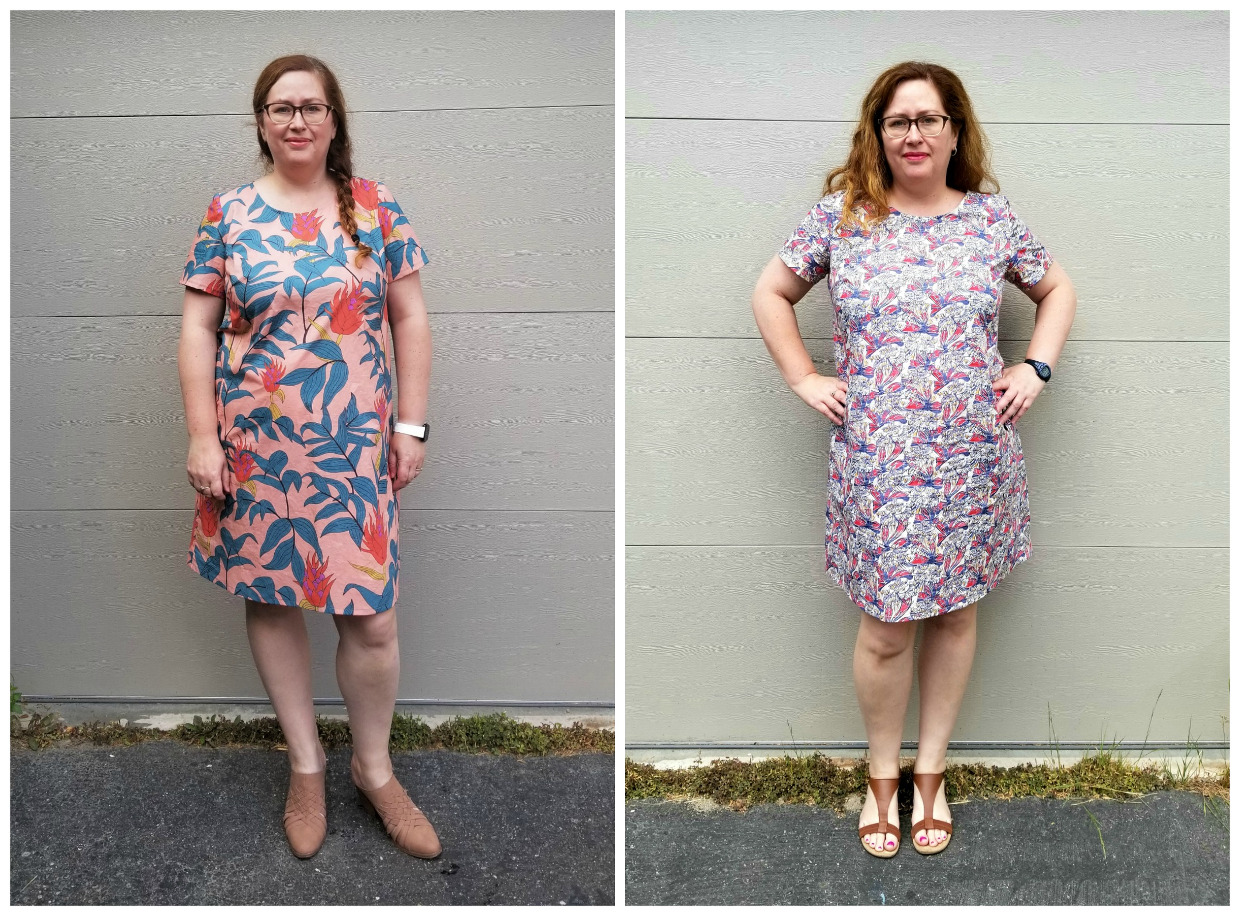
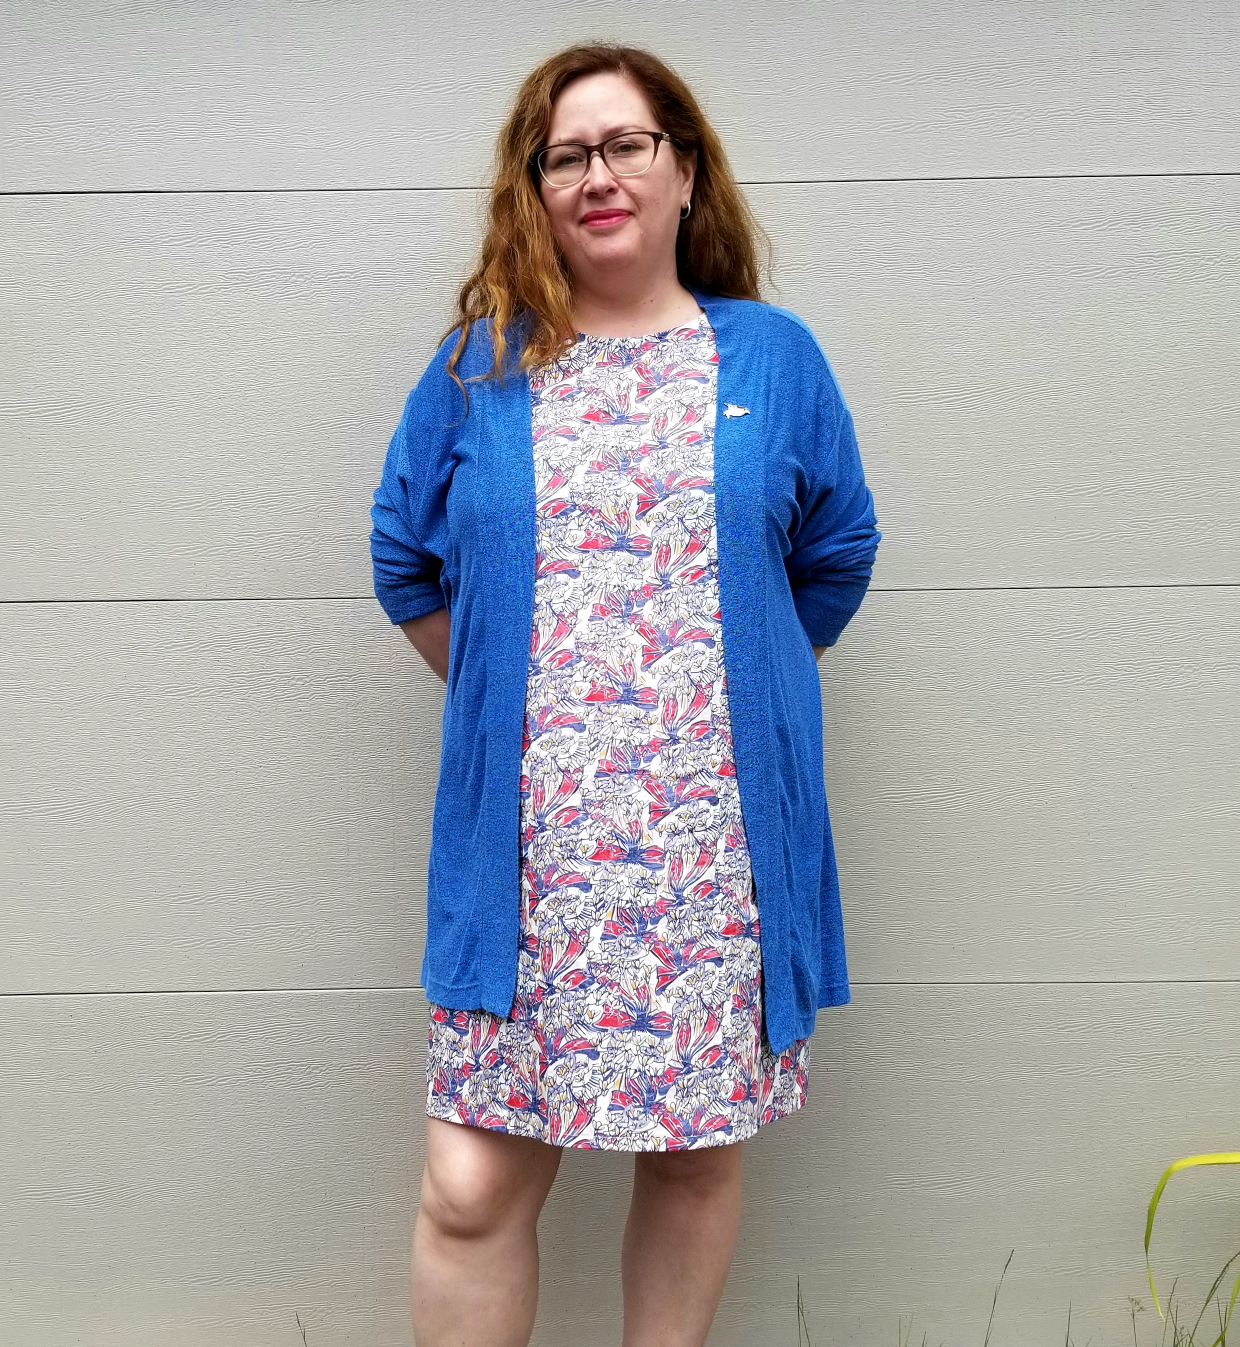
I was super happy with the fit I got. I used this lovely Liberty Tana Lawn and so it was a joy to sew, but I think the end result was better than I had hoped. It’s a very sophisticated shift dress shape and the ease was definitely still there – i.e. it’s still a classic shift shape, but it also meant the dress didn’t feel like a tent. Here it is styled with a long cardigan, which I particularly like.
Now to the extended sizing version. As I mentioned, it was when Liesl talked about the two blocks I got interested. She mentioned that the extended size block had proportionately smaller shoulders compared to the standard sizing block, as well as slightly more room at the bust, waist and hips. Obviously these are very similar to the normal adjustments I make! When I looked at the extended size 16, it was almost an exact match.
16 ext bust = 42”
16 ext waist = 37”
16 ext hips = 45.5”
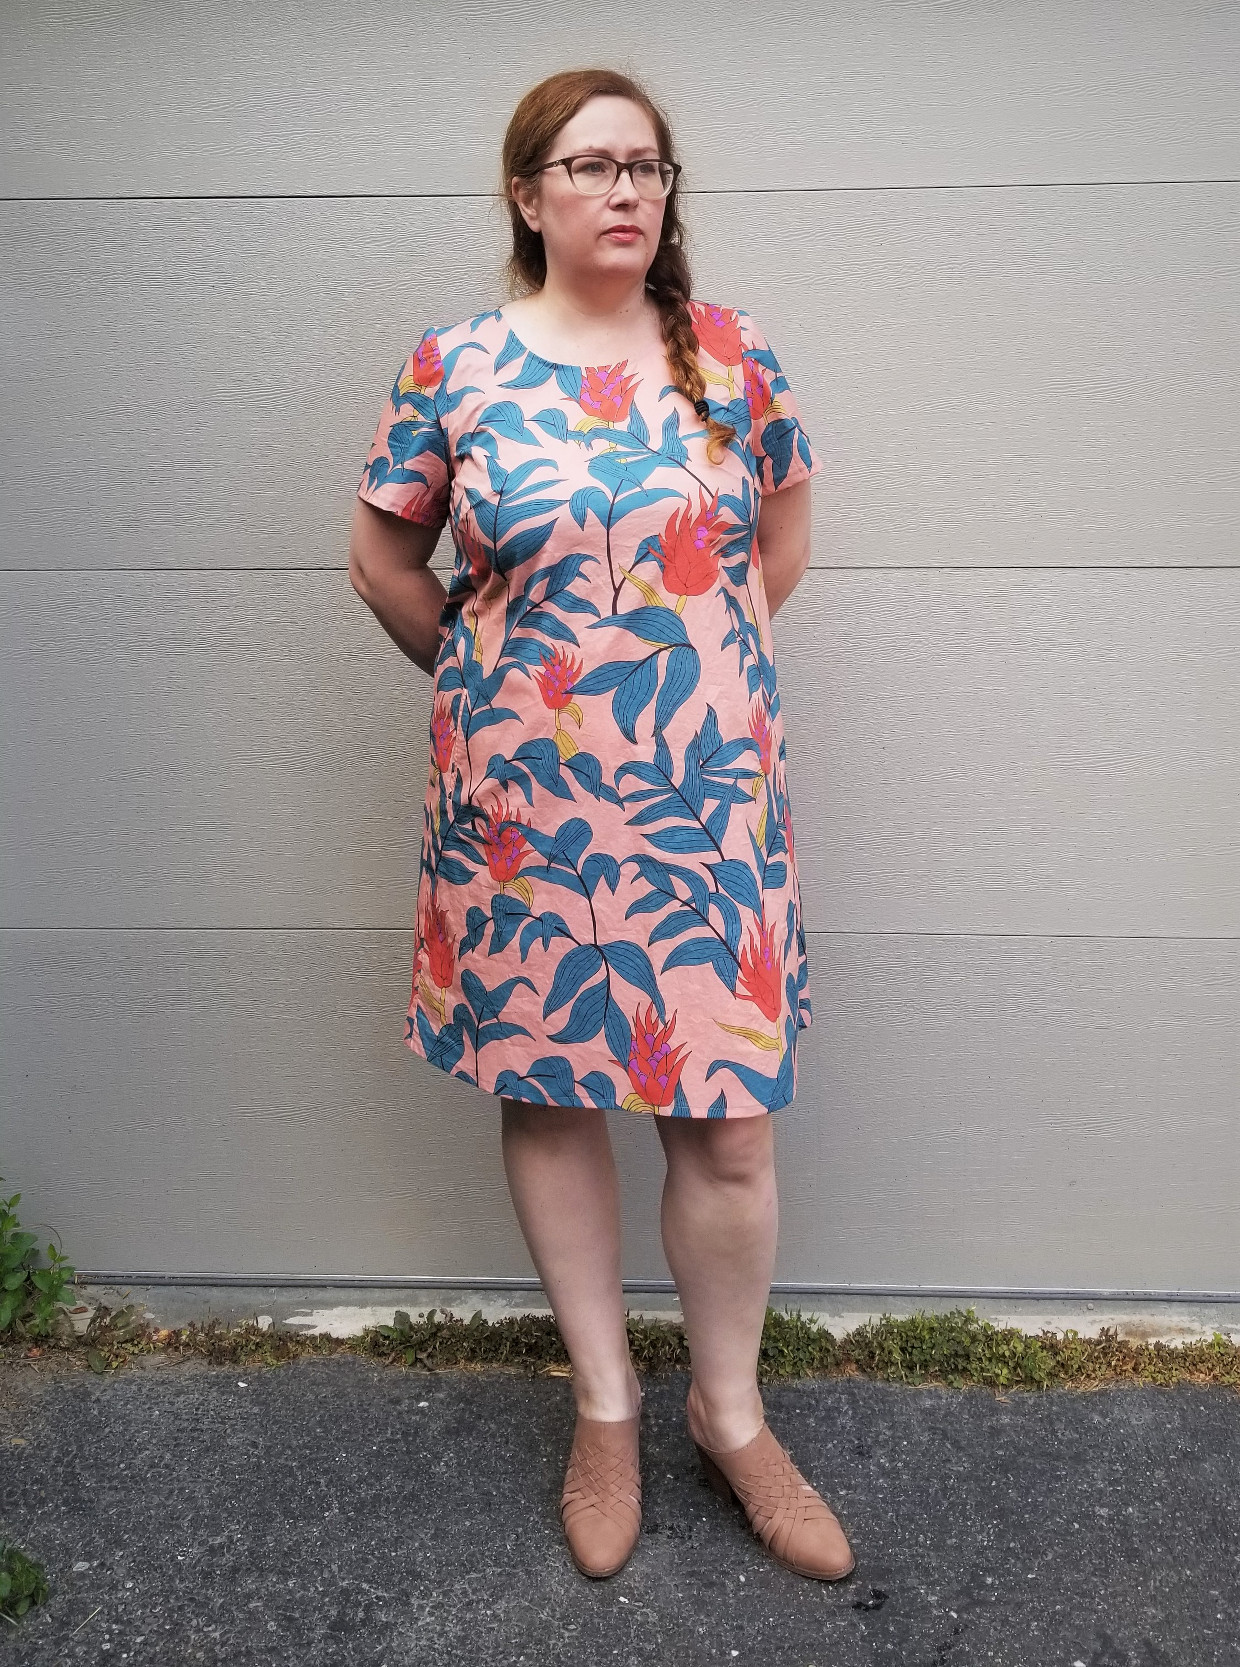
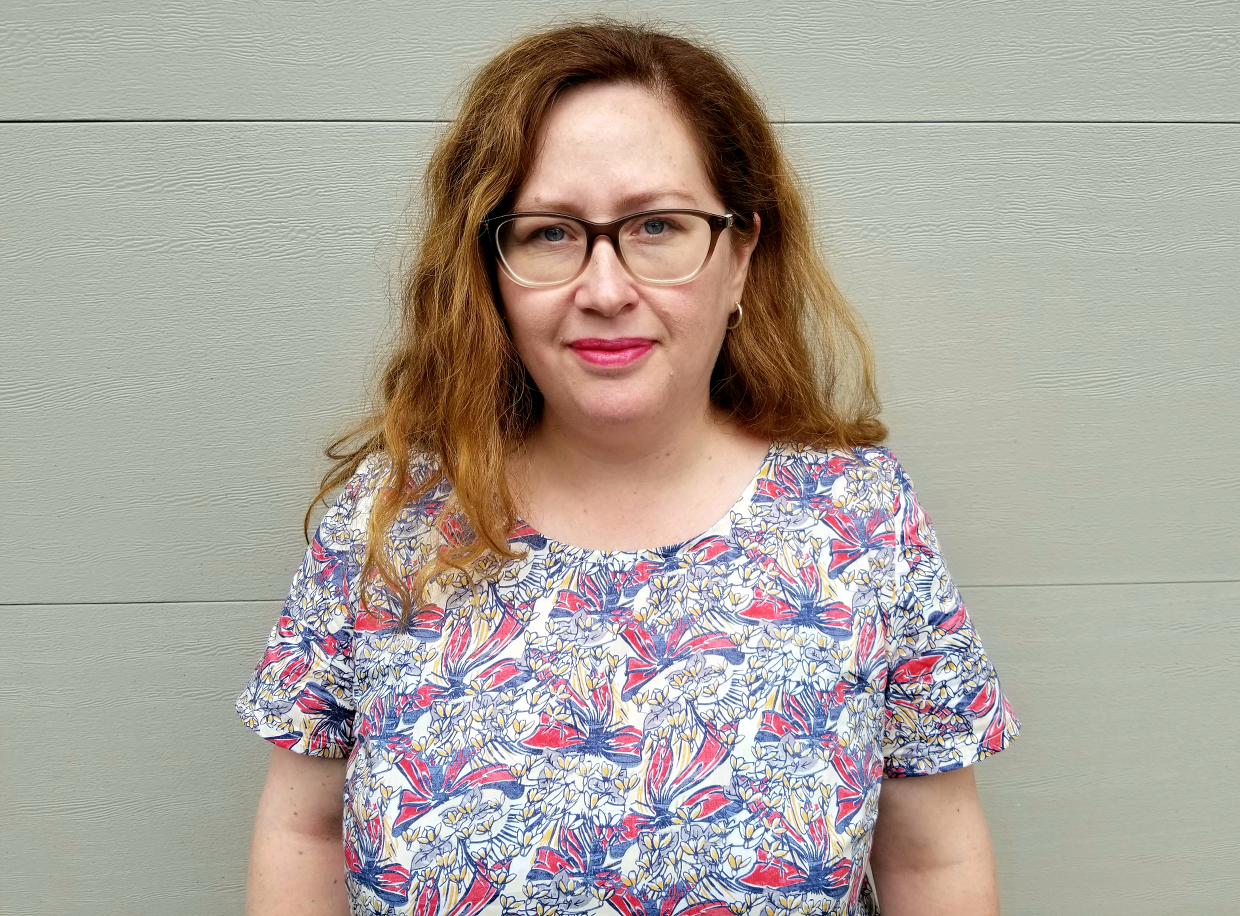
The main discrepancy was the bust at only 42”. However, because there is slightly more ease on the extended sizing, this brought the finished measurement up to 45.75”, which is almost exactly the same as my finished measurement for the original sizing version. Therefore, I decided what I wanted to try was a straight extended size 16. Quite a difference in effort! I removed an inch in length on this version to make it comparable with the first and used another lawn for an equally fair comparison. It’s slightly more crisp than the Liberty lawn, but similar enough. The bust darts are around an inch lower on the extended 16 (as far as I could tell), which is great, but I could actually have used another half an inch lower. Oh well – next time!
So what do you think? I have to say that my first thought was, wow! They’re pretty similar really! What I really like and what definitely worked out is that the shoulders are a perfect width, but there is still a good amount of ease through the waist and hips, very similar to the first version after all my adjustments.

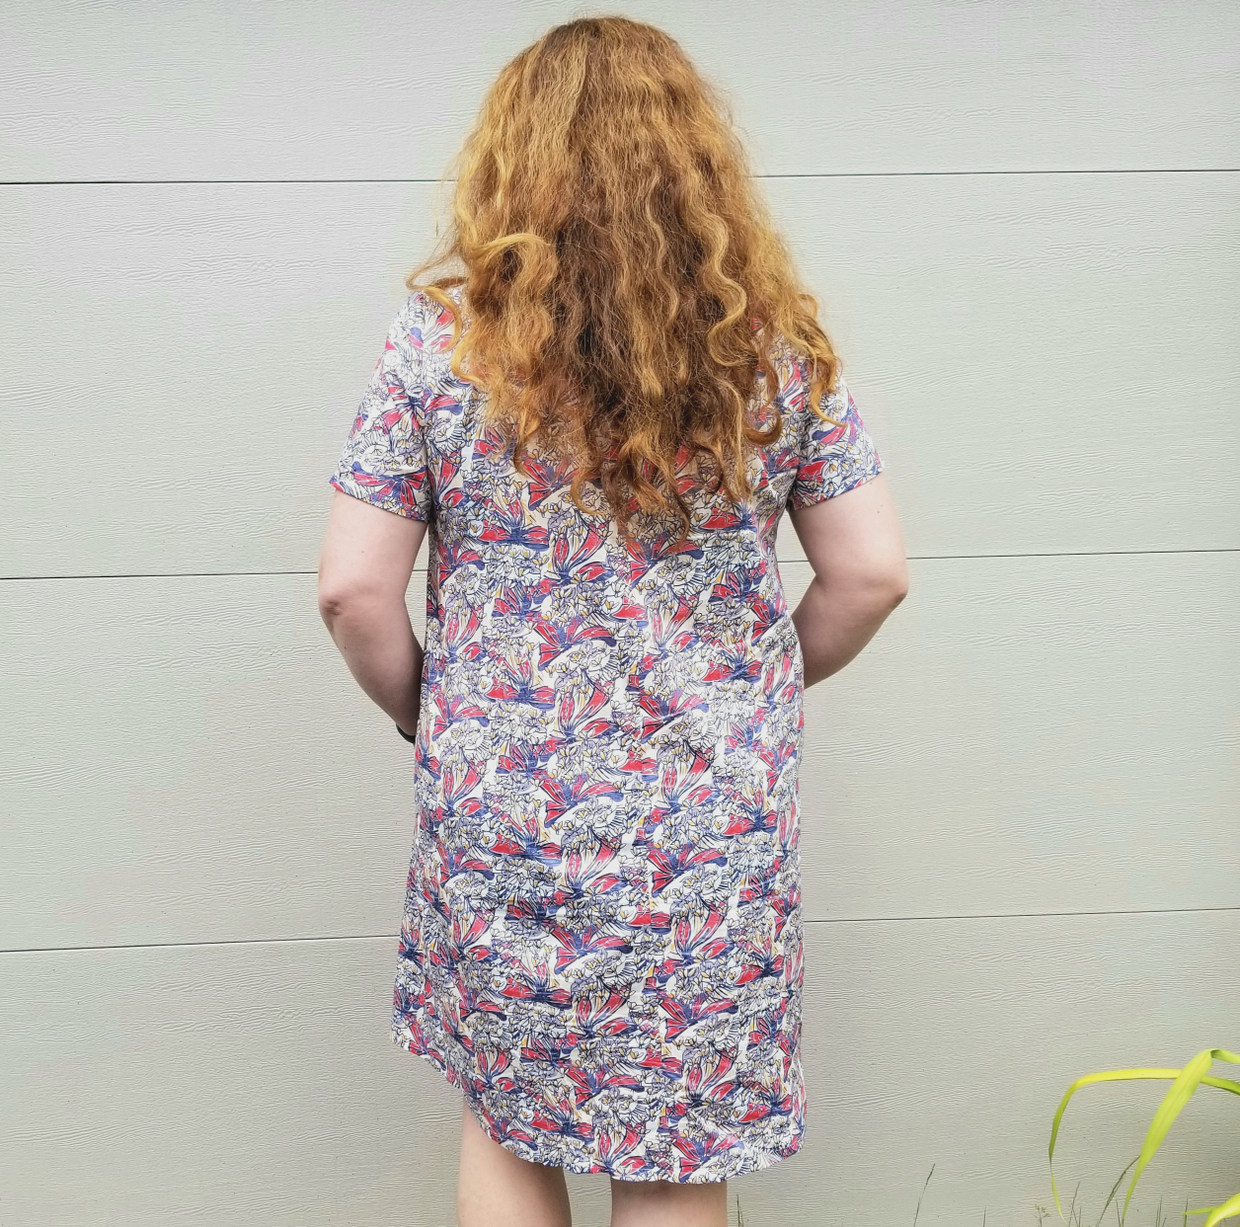
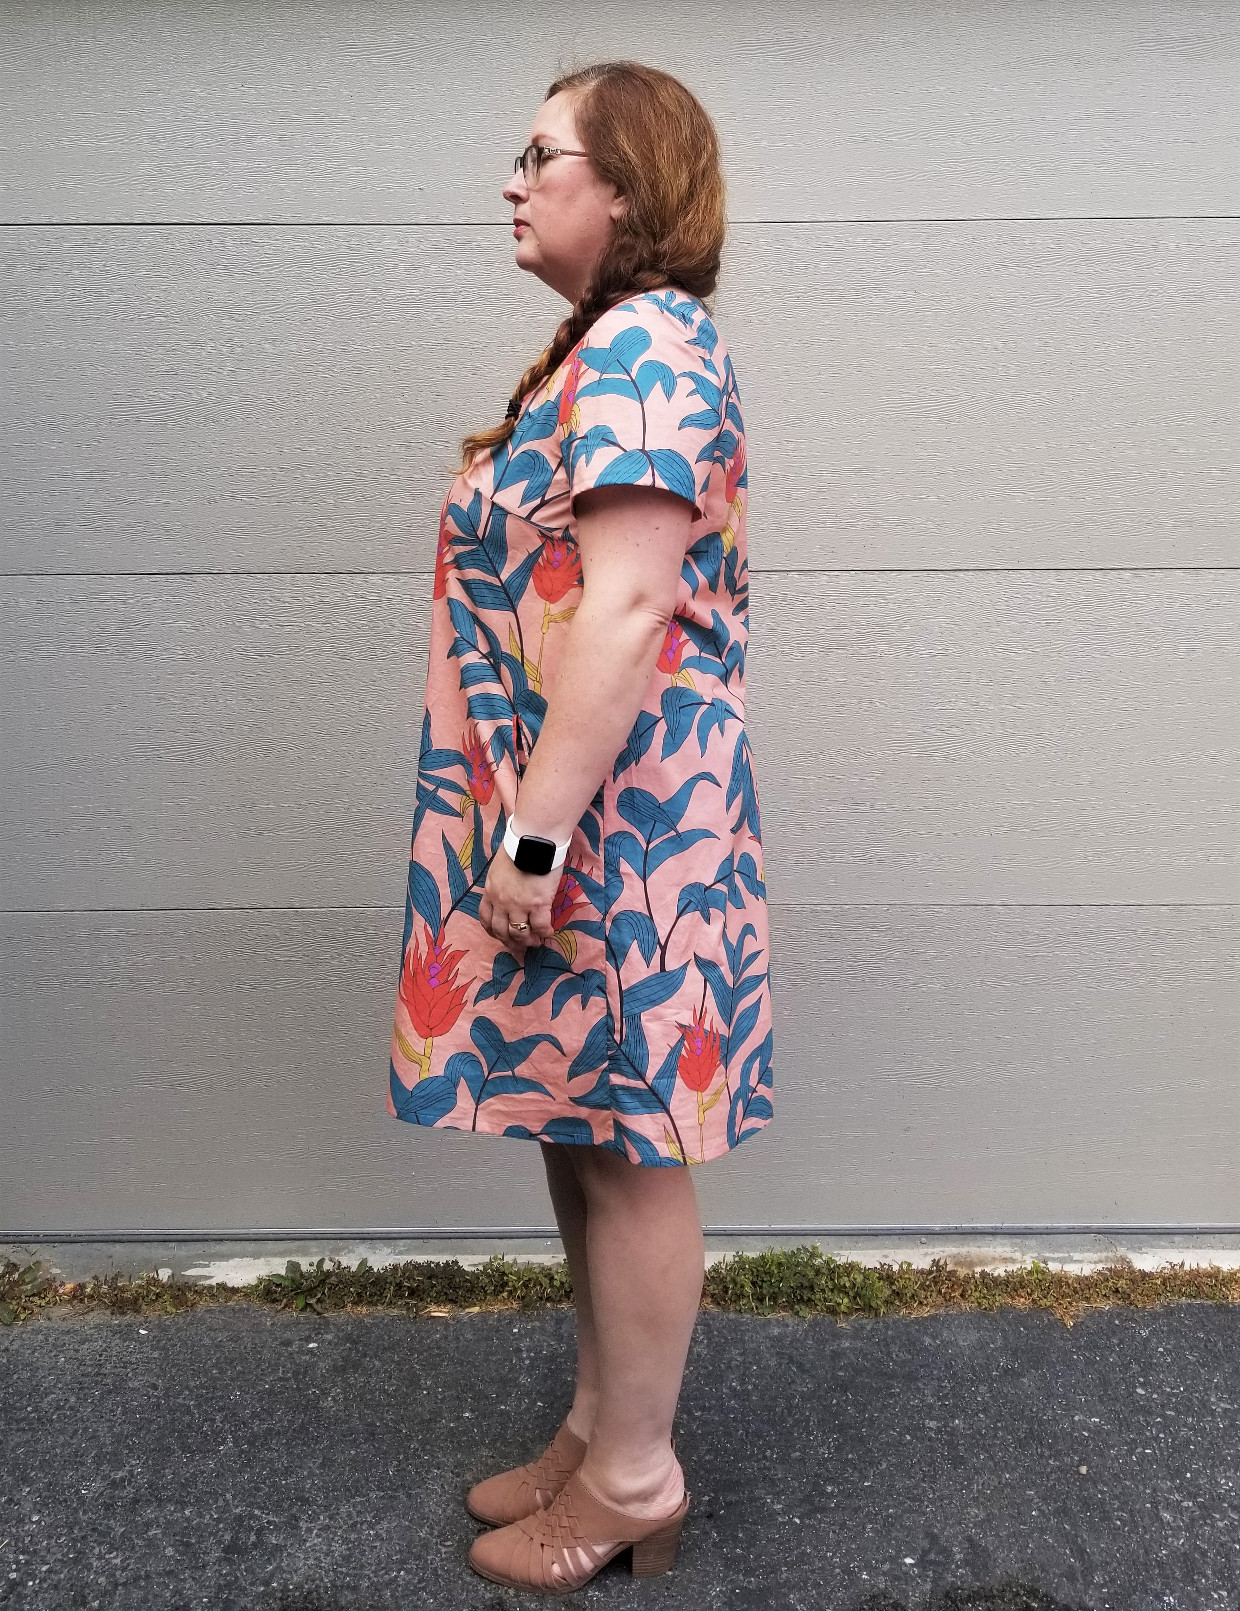
Of course, it would be a miracle if it was perfect and the one part of this version that isn’t quite right is the back. I often have to make a swayback adjustment on a woven blouse or dress and was very surprised I didn’t have to on the Tana Lawn Gelato. On this version, however, I am getting a bit of that familiar pooling in the back. It’s not bad and I think it’s partly because this lawn is a bit more “grippy”, but I wonder if the back is slightly longer in the extended sizing.
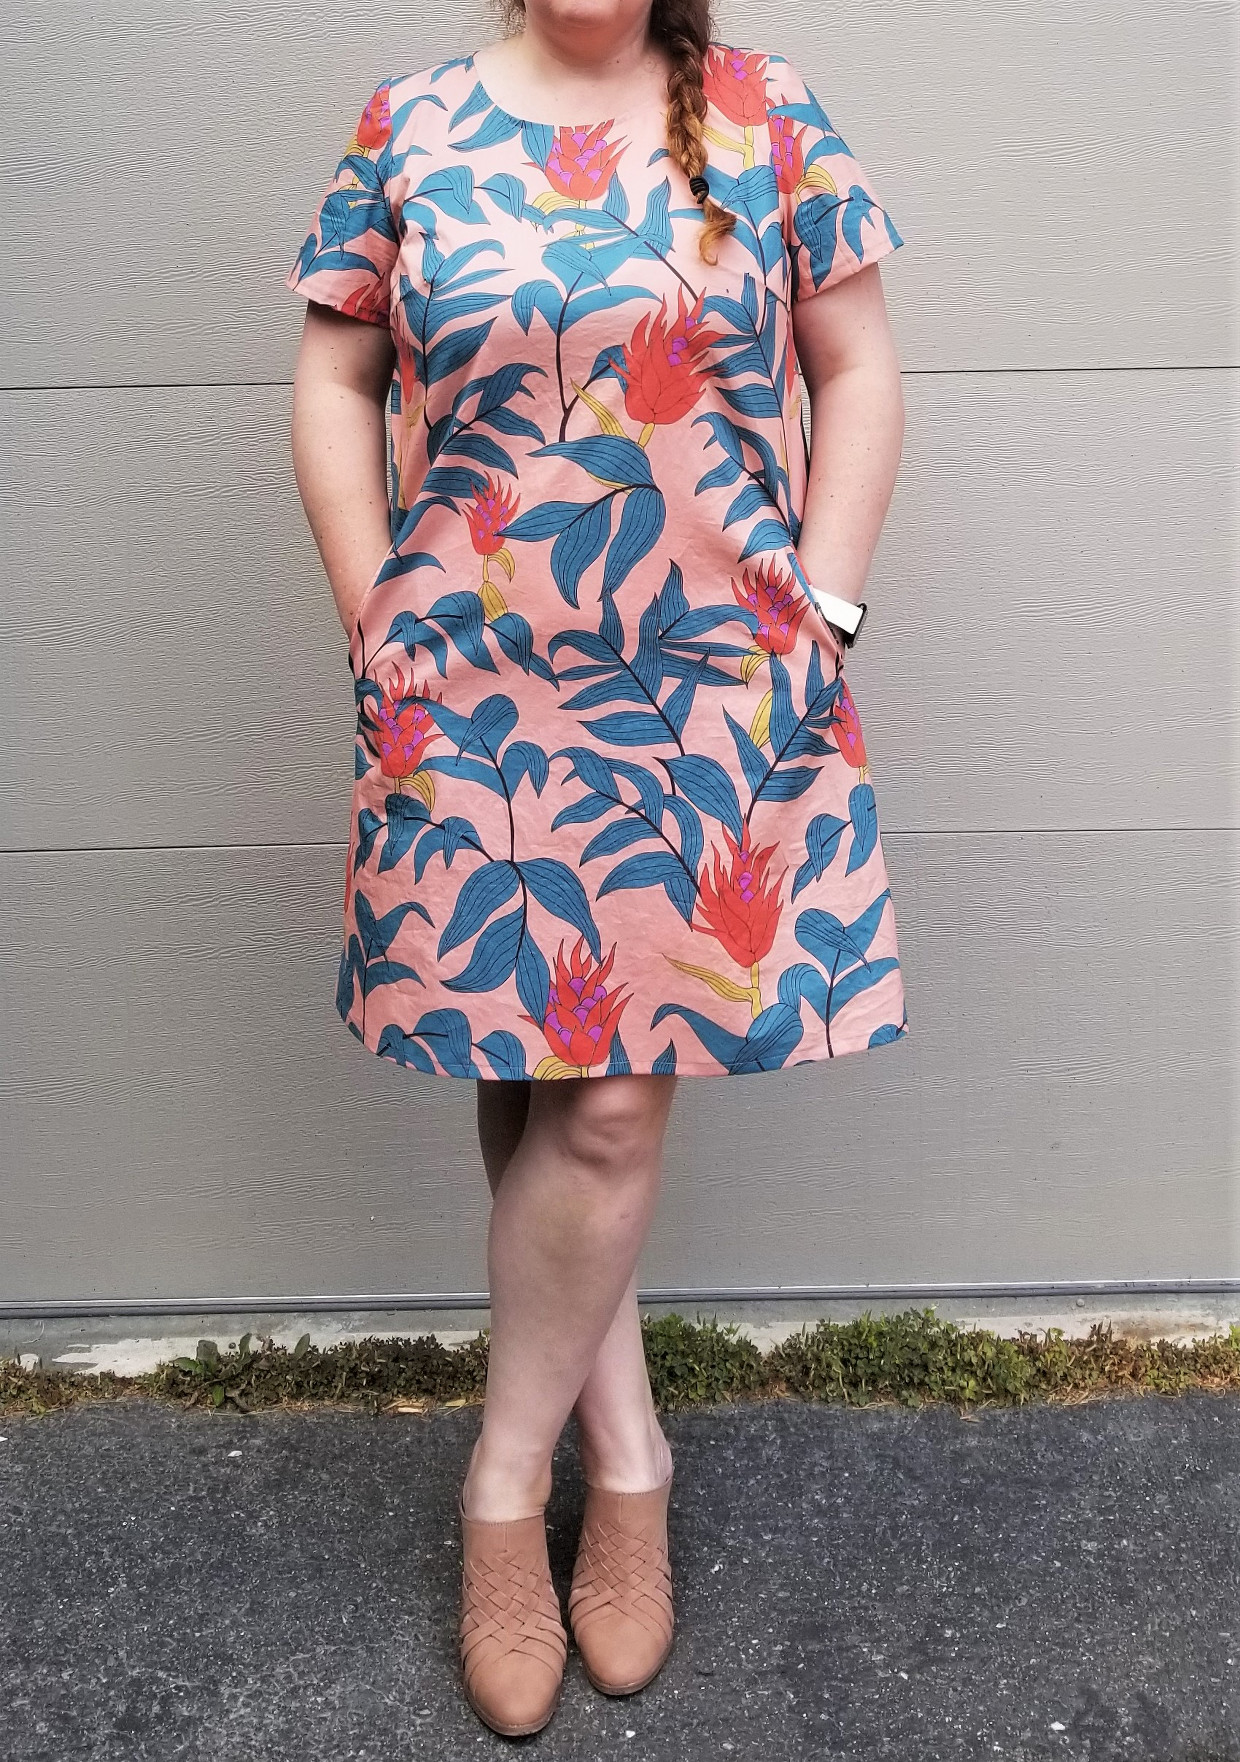
Overall, I love both dresses and perhaps the extended size wins out because it’s just slightly sleeker somehow. In terms of adjustments it is also the least work and there’s also another aspect to take into consideration. When you make several significant alterations to a pattern it can throw some design details off a little.
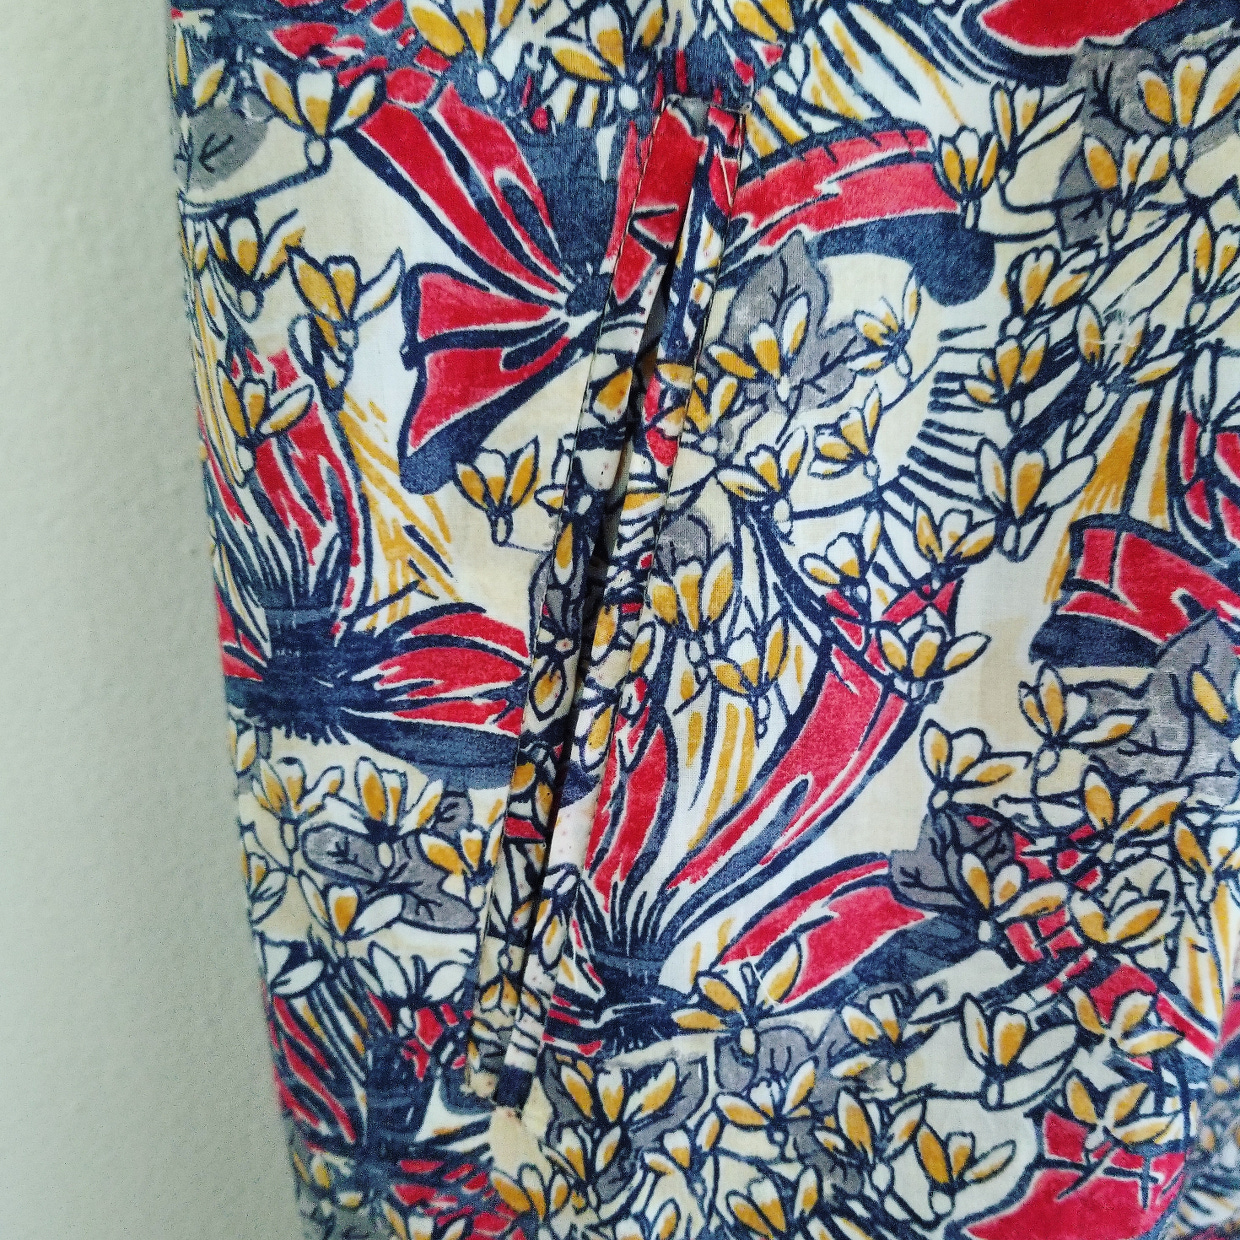
Making the Gelato dress is really a pleasurable experience and very fast too. I made both my dresses in a day or so each and I am not a fast sewist! One of the notable details is the welt pockets and constructing these, attaching the neck binding and setting the sleeves are the three construction elements that make up the bulk of the work. My alterations on the first pattern meant that my welt placement was not entirely clear and my best guess was not very successful and affected the pocket construction. It wasn’t a difficult fix, but it took some time.
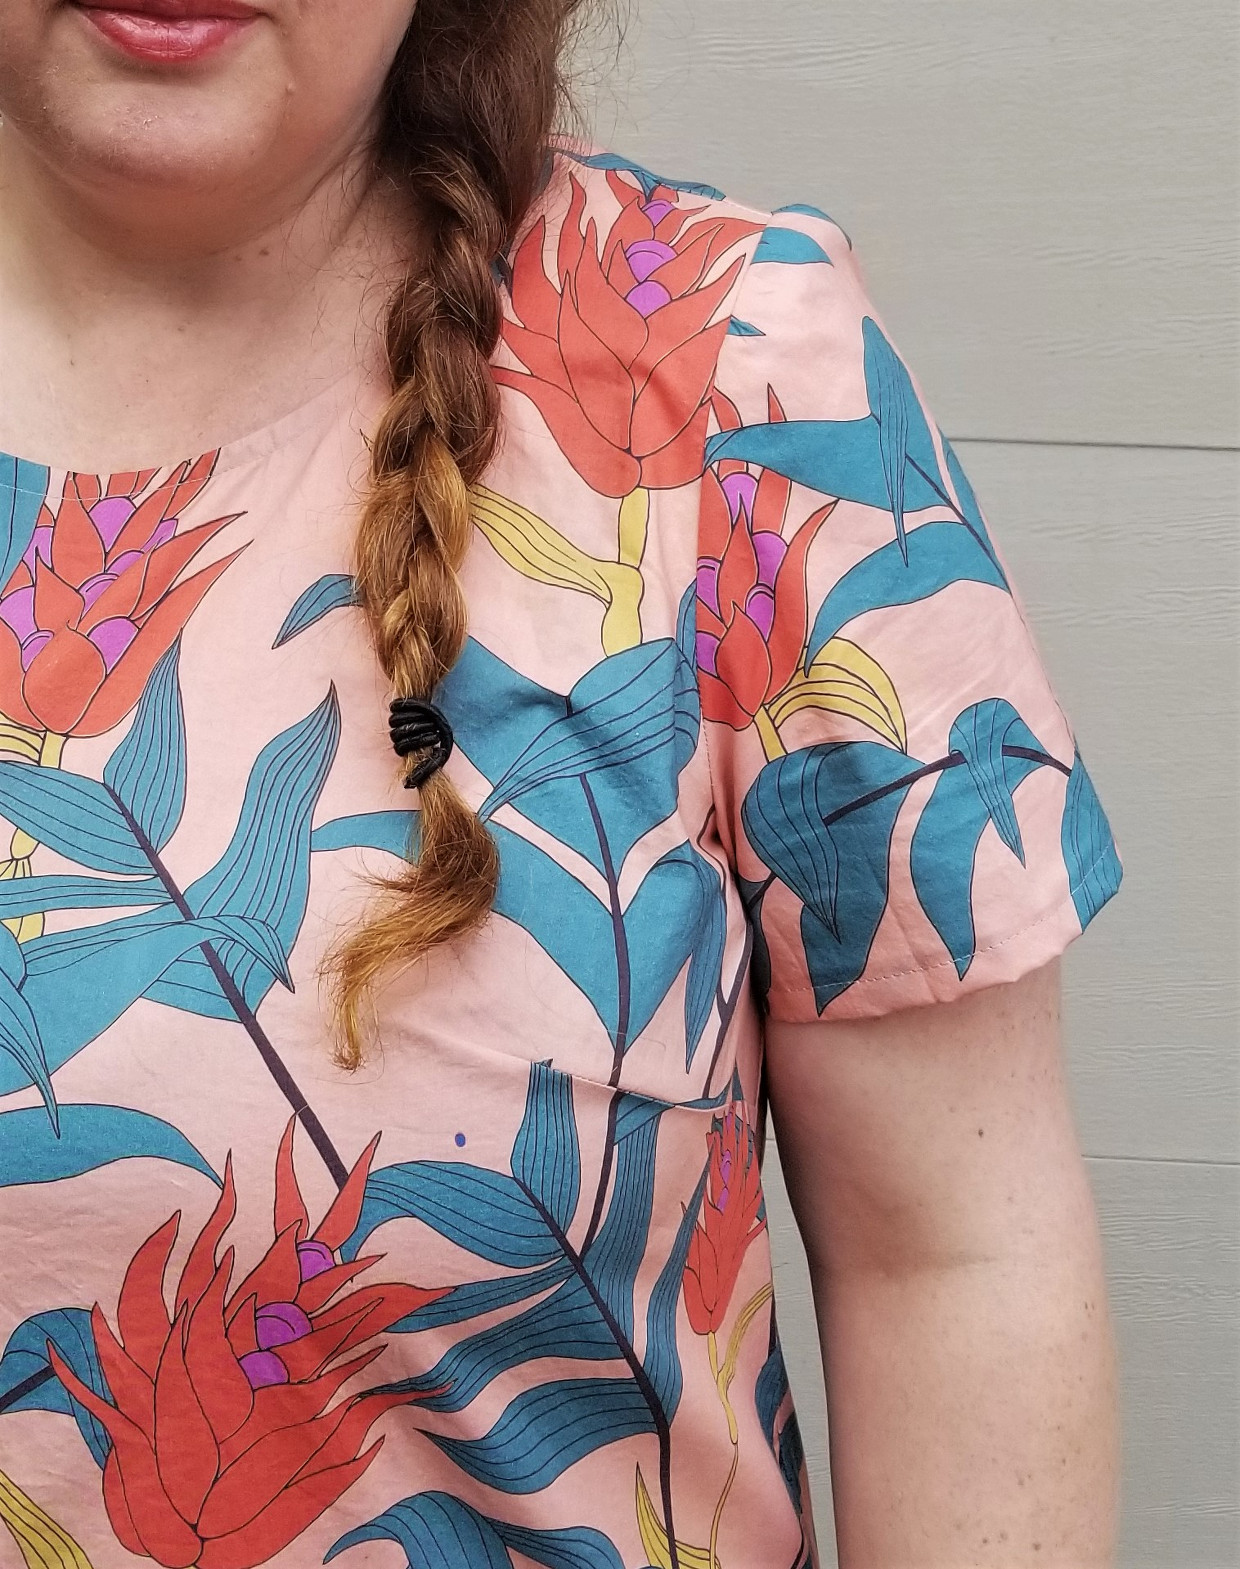
Similarly the sleeves were a little tricky to set. I thought this was probably just my lack of skill, but I found the sleeves on the second version a breeze! The adjustments I made on the first version shouldn’t really have affected the sleeve/armscye area, but perhaps I did alter it slightly in error. I got that nice little puff at the top of the sleeve in the second version as well – all in all it was a much smoother experience.
Conclusion: Well, as you may have guessed, I’m glad I went ahead and tried out the 16 in extended sizing. The block is much closer to my own proportions and I will definitely be opting to try that in any other fitted woven patterns.
I hope this little experiment might be of some use to any sewists in the same “straddle” zone as myself, and as a source of info even if you’re not in that situation. Happy sewing!