


Visiting us today from our Advisors Circle is Meredith who has stopped by with her Pleated Fairy Tale Bodice and Terrace Dress in Rayon. Now she’s here to share a micro modification on the Afternoon Tea Blouse. Thanks for stopping by to share your tutorial Meredith!
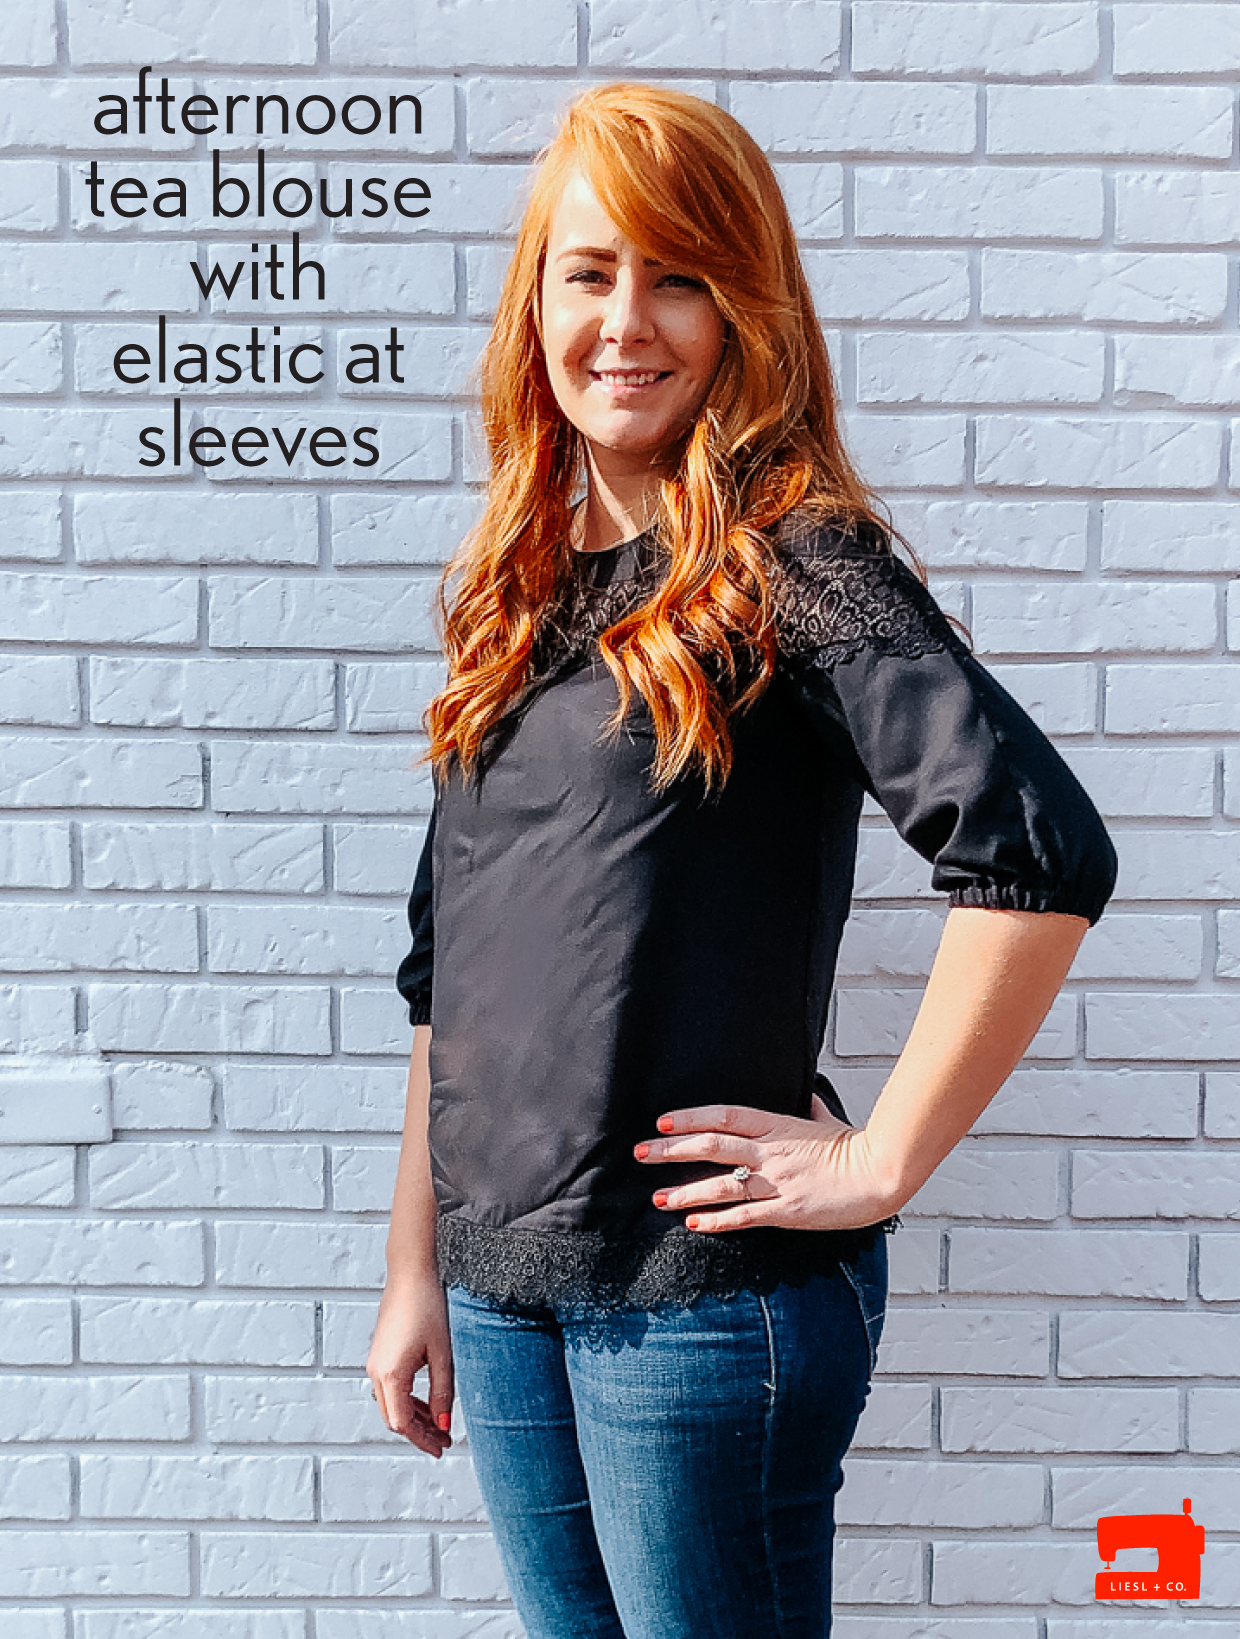
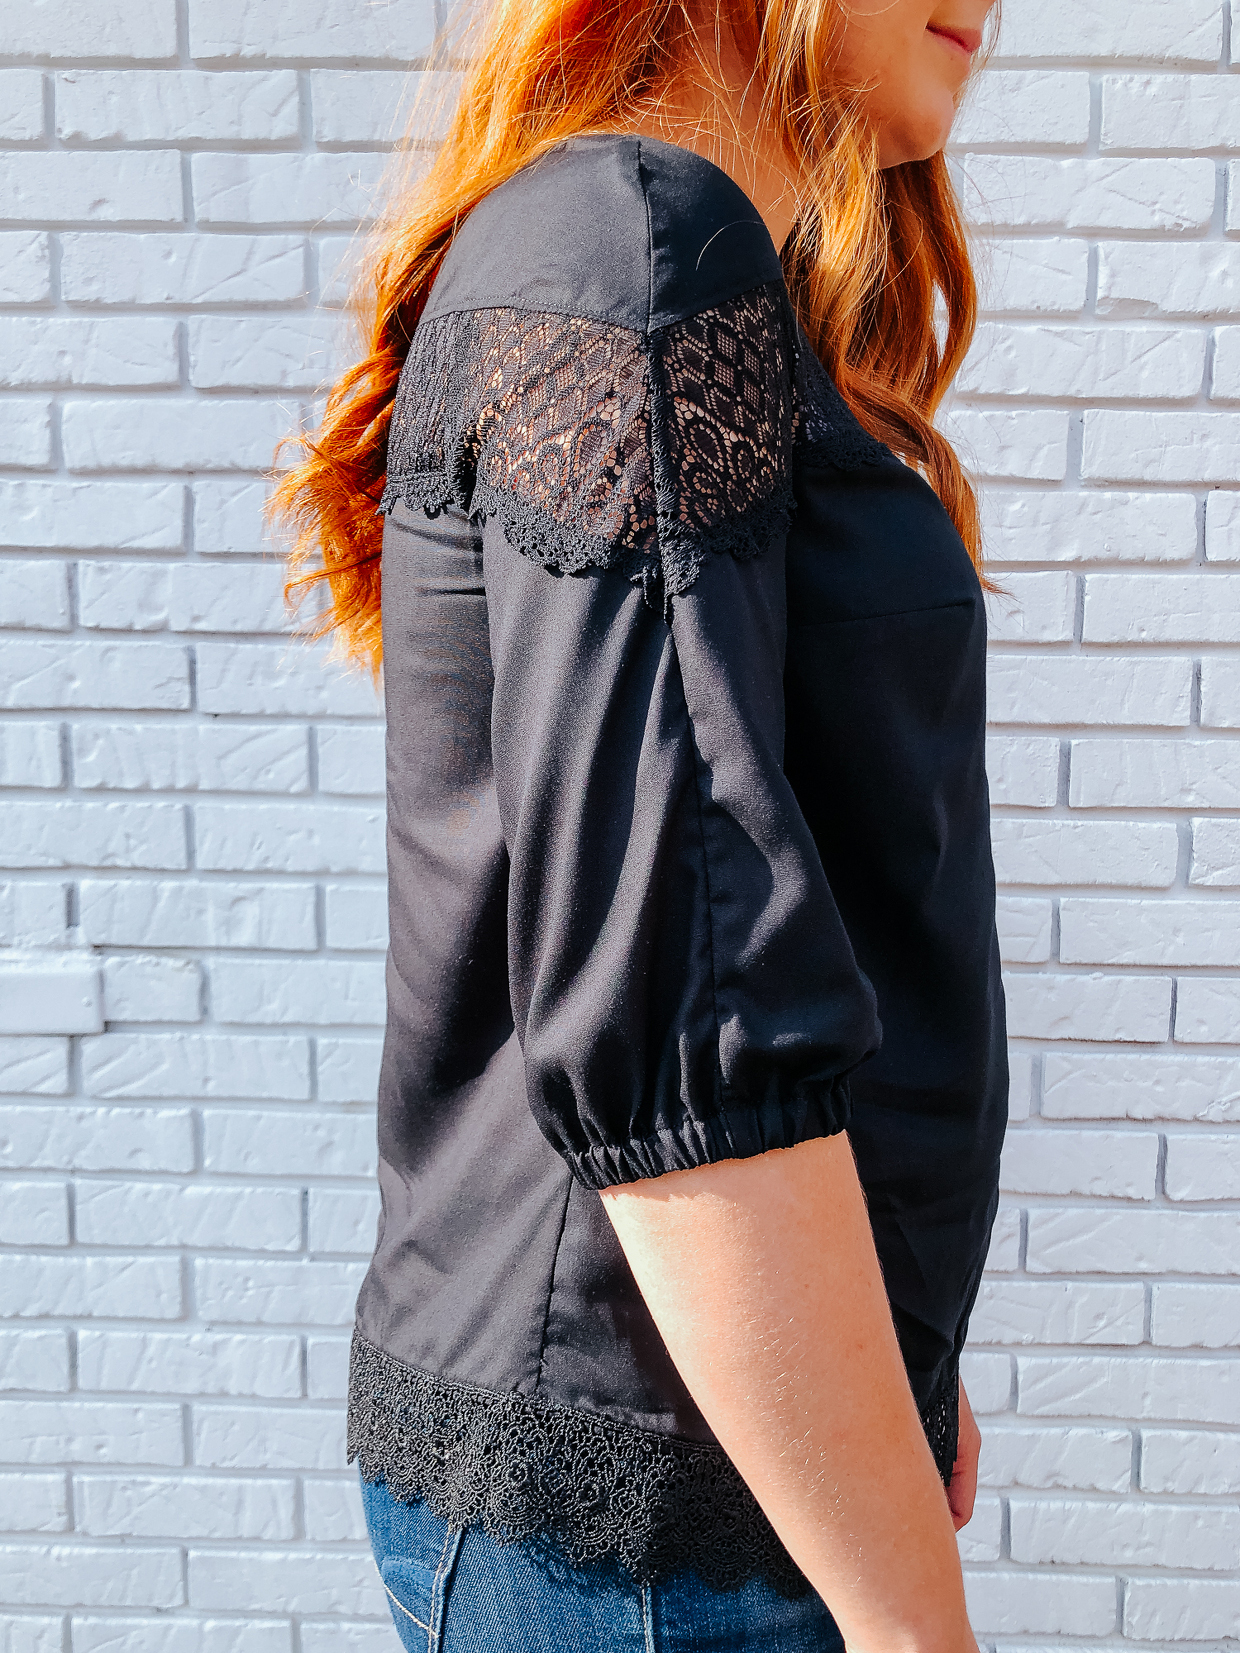
Hi everyone! I’m Meredith and I blog over at Olivia Jane Handcrafted. I post more often over on Instagram. I got the wonderful opportunity to make the Liesl + Co. Afternoon Tea Blouse, and today I’m going to be sharing with you a sleeve modification for it. I love the bell sleeves on the pattern, but I thought having the option to elasticize the sleeves at the hem would be lovely too. I made my blouse with a really lovely rayon poplin, and used a lace in the inset. I sewed it to the outside of the blouse along the bottom edge because it was too lovely to hide in a seam. I also used a lace trim around the bottom of the blouse because I thought it would be pretty.


At first, I was tremendously puzzled, because the sleeve for this pattern goes together much differently than a traditional sleeve and has six total pattern pieces. It’s very simple to put together, but the challenge for me was to figure out how to use the original silhouette and modify it to fit my preferences. I over complicated it at first, but thanks to the very logical eye of my dad who was here working on our bathroom renovation, I realized simple was not only easiest, but absolutely the best approach. So how can you sew this very simple modification?
All I ended up doing was taking the bell portion of the pattern pieces that go under the inset, and folded in about 2.5” all the way down each of them where they would meet at the outside center of the sleeve. This removes the extra fabric that would have originally been used for gathering and creating volume, but preserves the “v” shape that is needed for that beautiful inset. I would recommend adding an inch or so to the length of the sleeve. I didn’t do that here, but I will do that in the future.
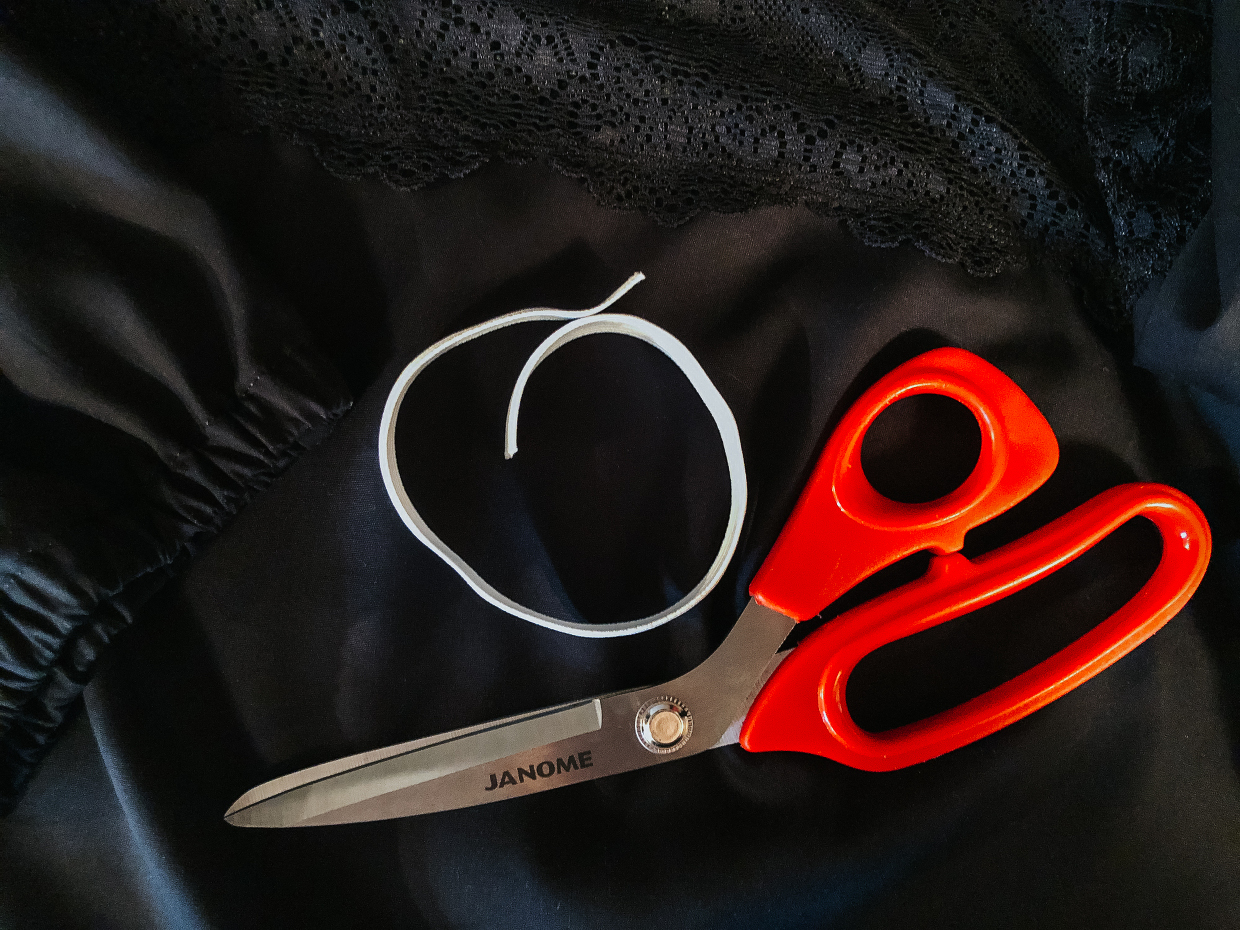
Assemble the pattern the very same way, but to finish the sleeve, first measure around your arm where your sleeve will fall, and cut a piece of 1/4” or 3/8″ elastic to that length or just a half inch longer.
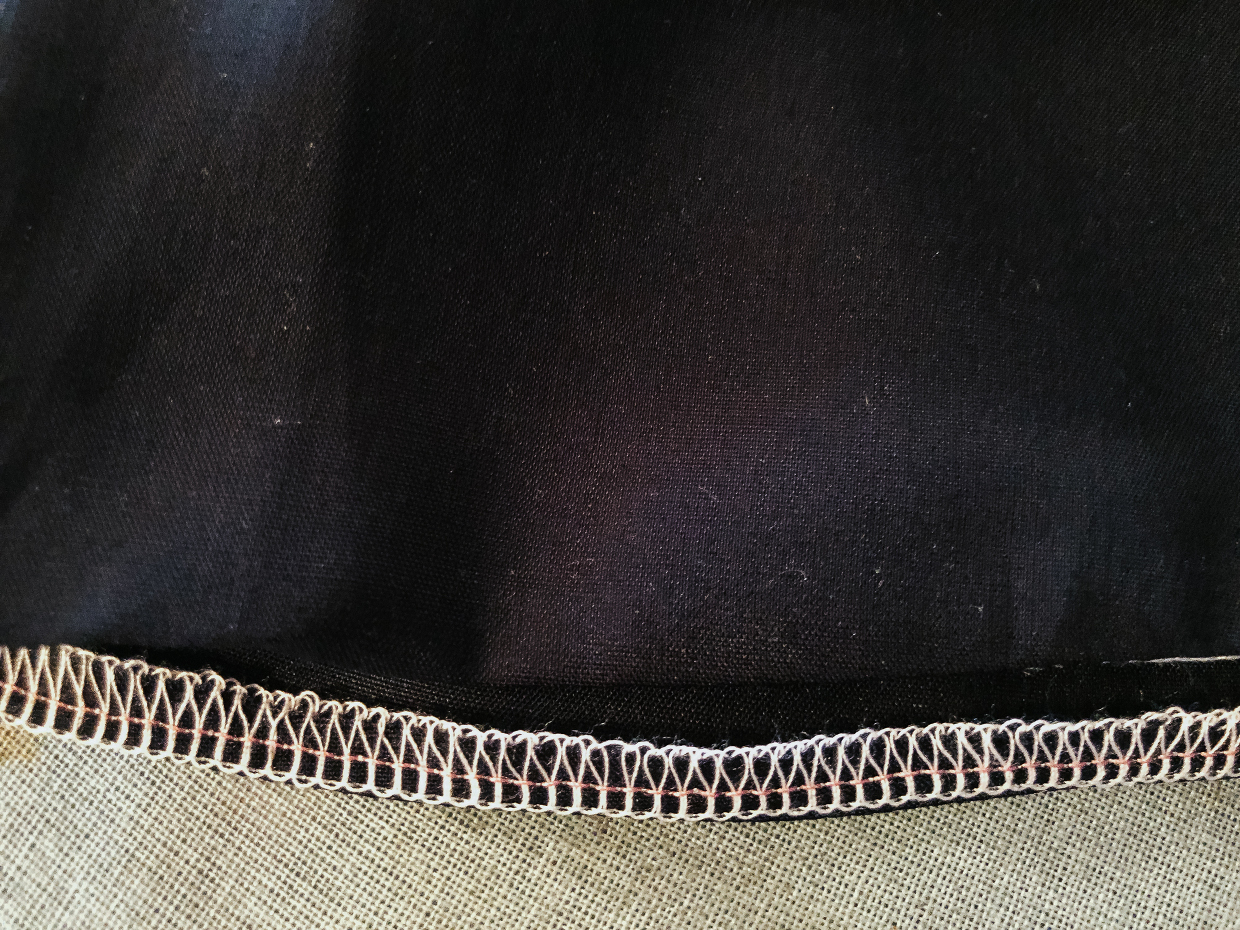
I like to serge anything I have to hem, because it gives me a great folding guide, so I did that here.
I folded my sleeve under by 1/4” then, again so that it was only 1/8” wider than my elastic. Give it a good press so it’ll stay in place, and then beginning at the inner seam, sew around your folded hem no more than 1/8” from the folded inner edge. Stop about 1.5” before you reach back around to your first stitch. Use a safety pin to pull your elastic through the opening and around your sleeve.

When you get back around, overlap the ends of your elastic by 1/2” and sew a square around it to secure the elastic. Pull the elastic back into your sleeve channel so its fully in, and then finish stitching that opening closed.

Voilà! You have a classic elastic sleeve.