

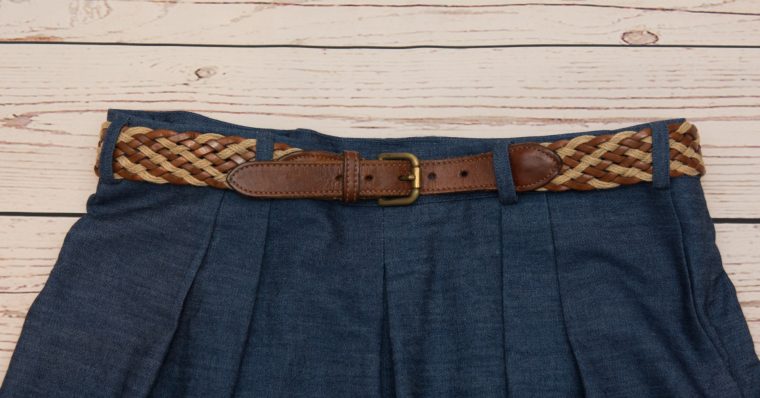
Shelley is back with a tutorial on how to add belt loops. She’s going to demonstrate it on a pair of SoHo Shorts. Take it away Shelley.
Hello everyone, how is your SoHo Shorts sew-along going? I thought I’d interrupt the regular sew-along broadcast with a timely tutorial for adding belt loops to your shorts or skirt.
If you haven’t yet attached your waistband, then now is the time to consider whether you would want to wear a belt with your SoHo Shorts or Skirt. It’s super easy to add some belt loops. Here’s how.
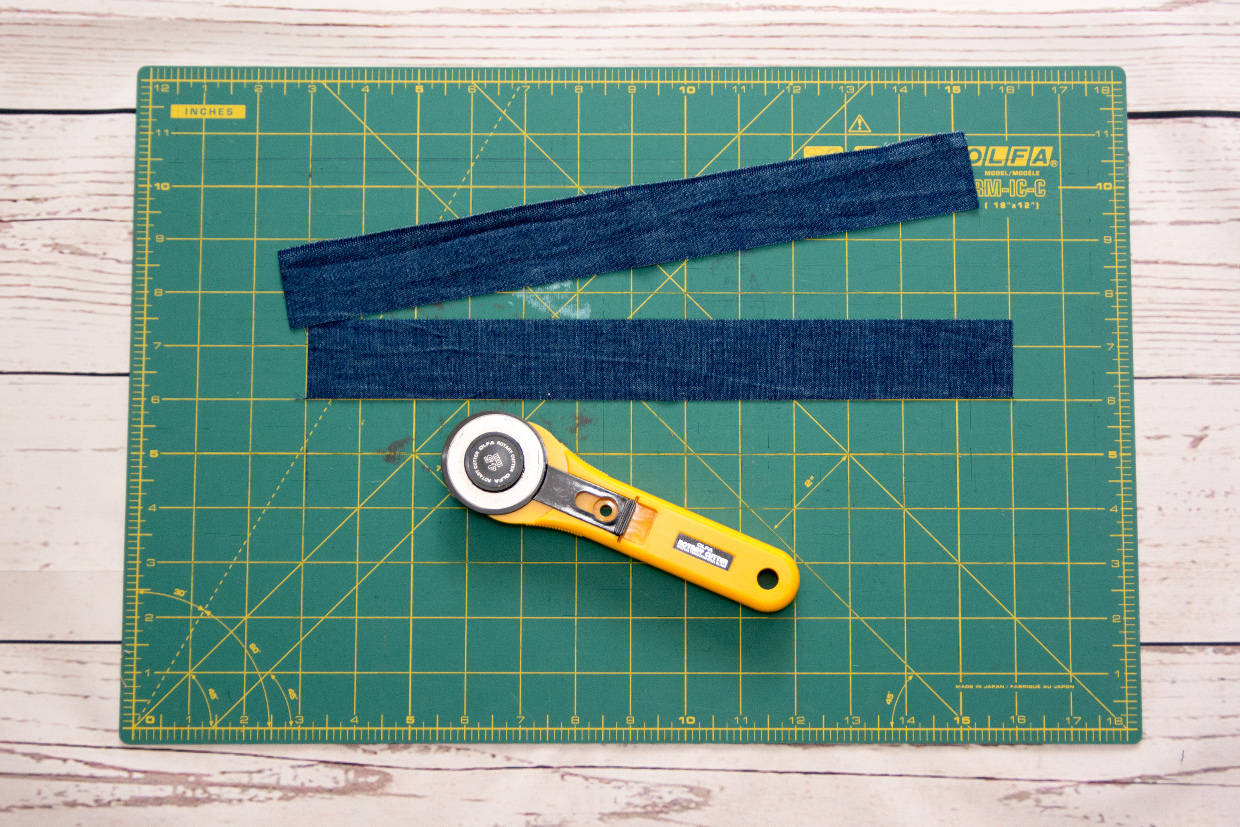
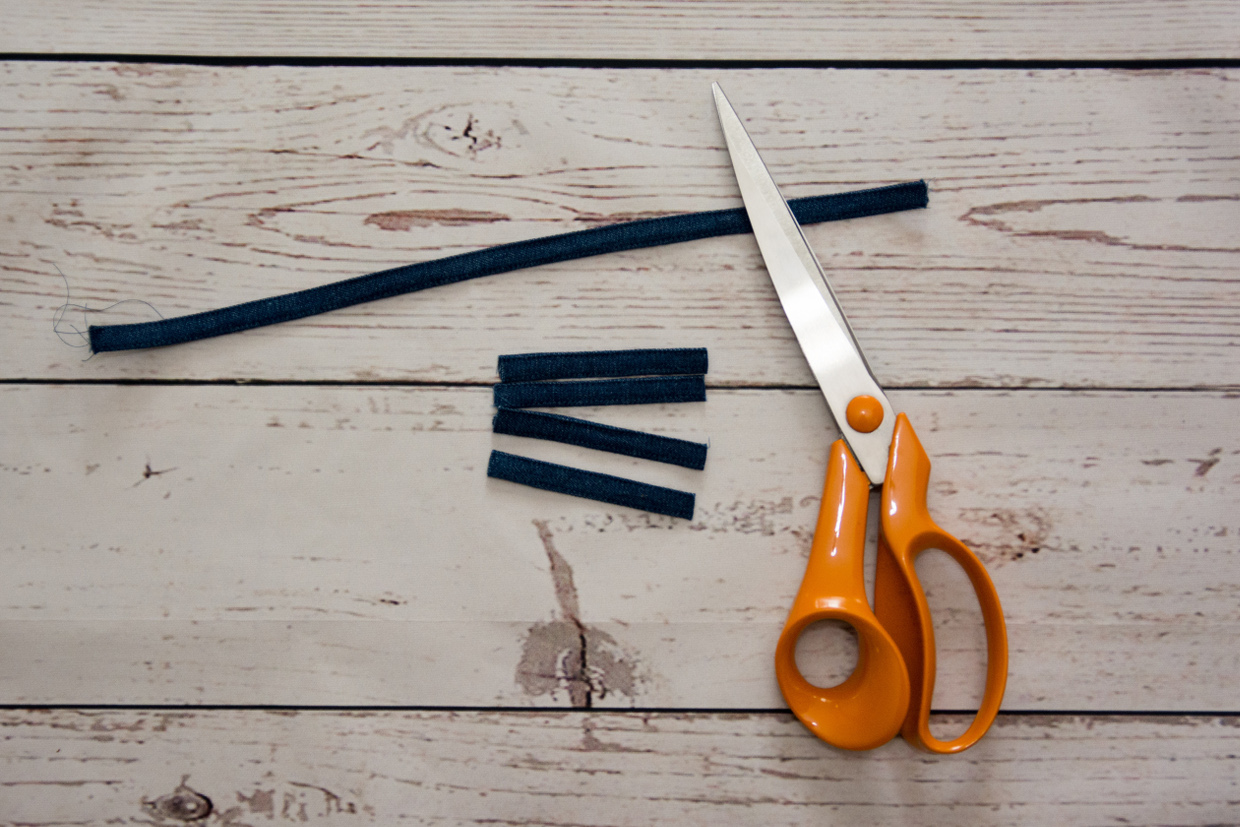
Cut two strips of your main fabric measuring 1.5” by 13” each. This will give a finished belt loop of 3/8” width.
Now press the belt loop strips in half lengthwise, wrong sides together. Unfold this crease, then press each long edge in to the center fold line.
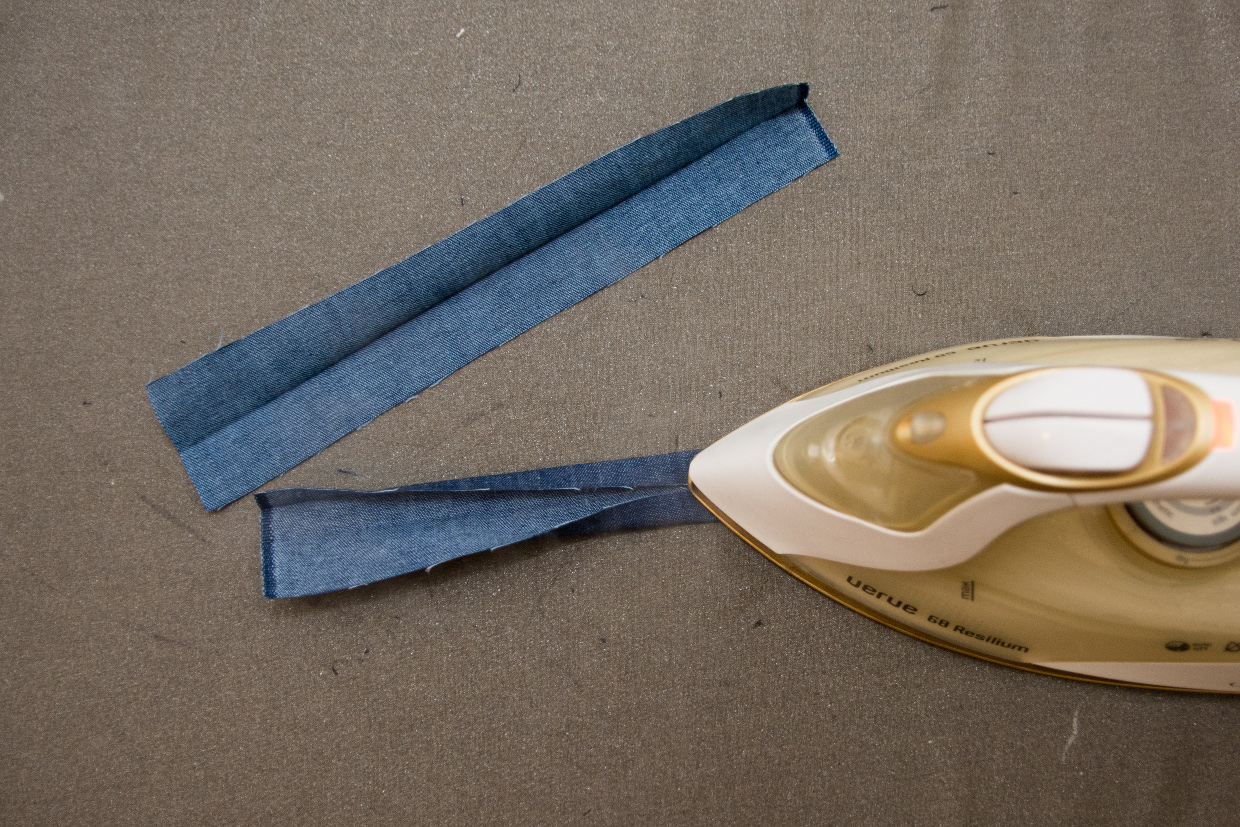
Re-fold the center crease and press the strips in half again lengthwise.

Edgestitch both long edges of the belt loop strips. Then cut each strip into four equal lengths.
Now construct your shorts/skirt and your waistband right up to the point where you are about to attach the waistband (end of Step 6, Attach the Waistband).
Pin the belt loops to the top, raw edge of the shorts or skirt. I’ve made the shorts and show where I put my belt loops in the following images, but the skirt pattern will lend itself to similar belt loop placements.
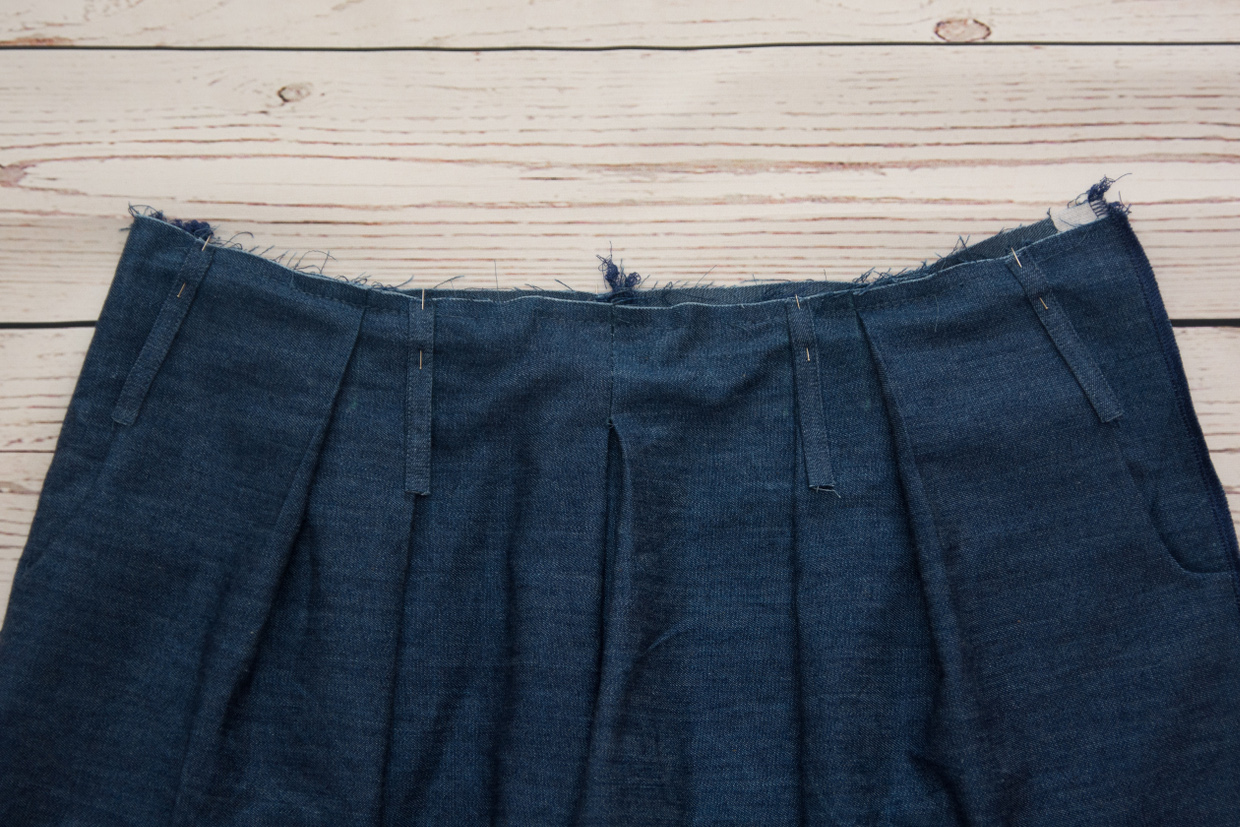
On the front I’ve pinned a belt loop over the center-most pleat lines as well as over each pocket edge line.
At the back, I’ve positioned my belt loops over the back pleat lines and one on each side of the center back, with the edge of the belt loop about a ¼” from the center back seam.
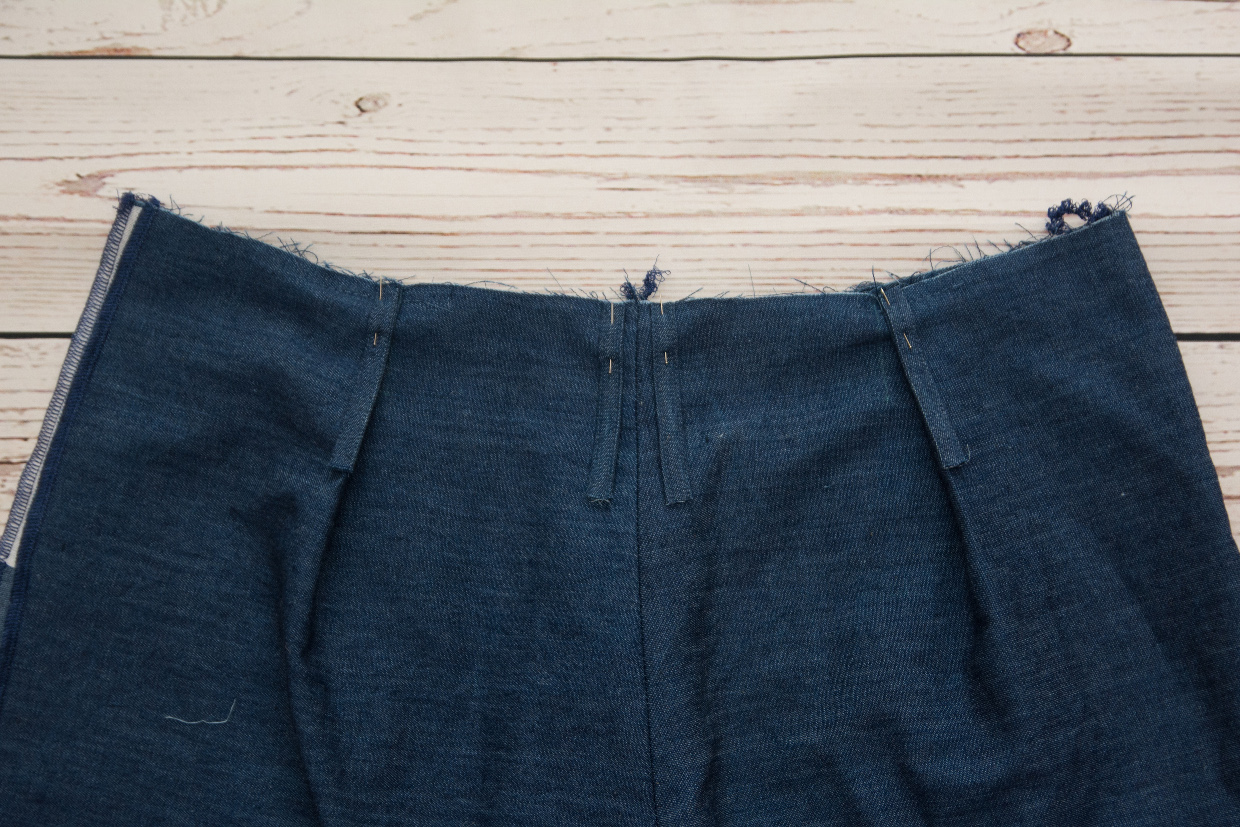
If you have topstitched your belt loops with a contrast thread, or if they just look much neater on one side than the other, be sure to pin them with the right side down. They will get flipped up after we attach the waistband and the side which is facing down in this step will become the visible side of the belt loop.
Attach the waistband as per the instructions. When you press the waistband and seam allowances up and away from the shorts or skirt make certain to keep the belt loops pointing down.
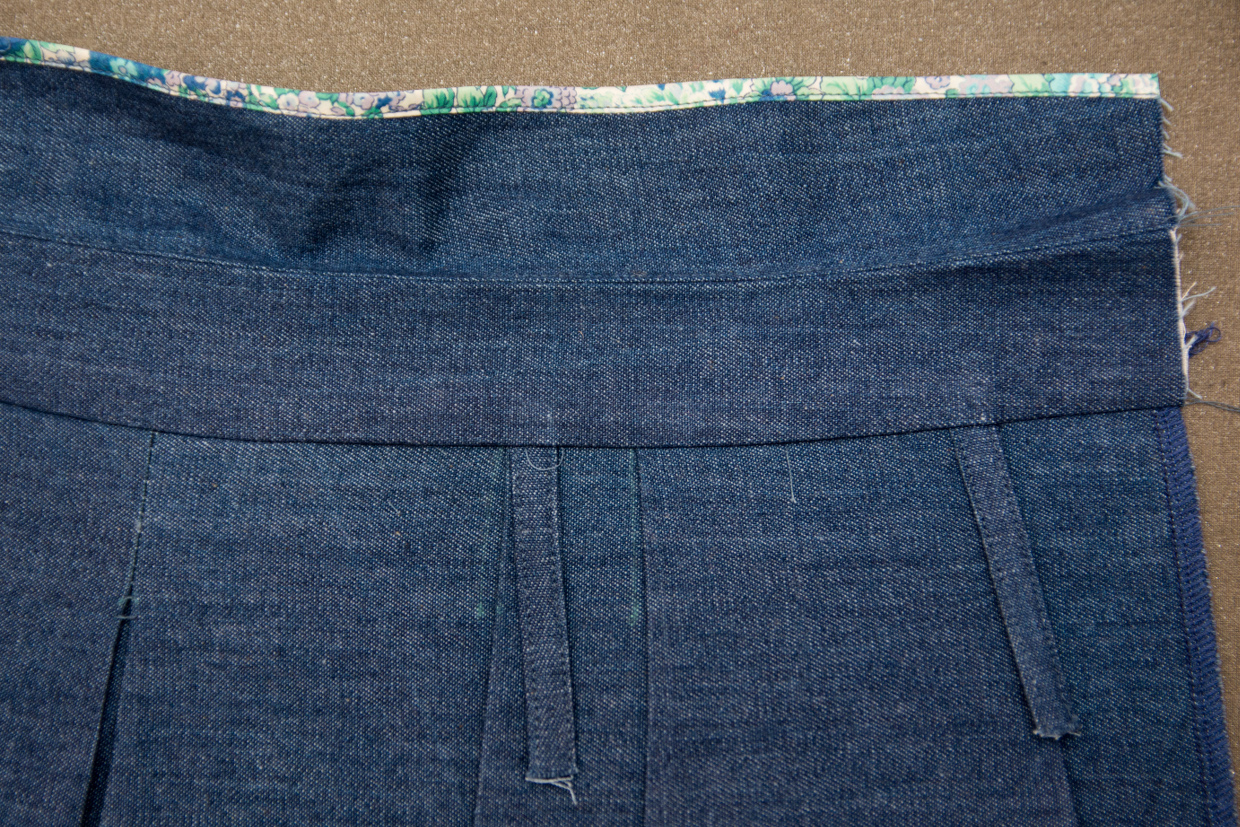
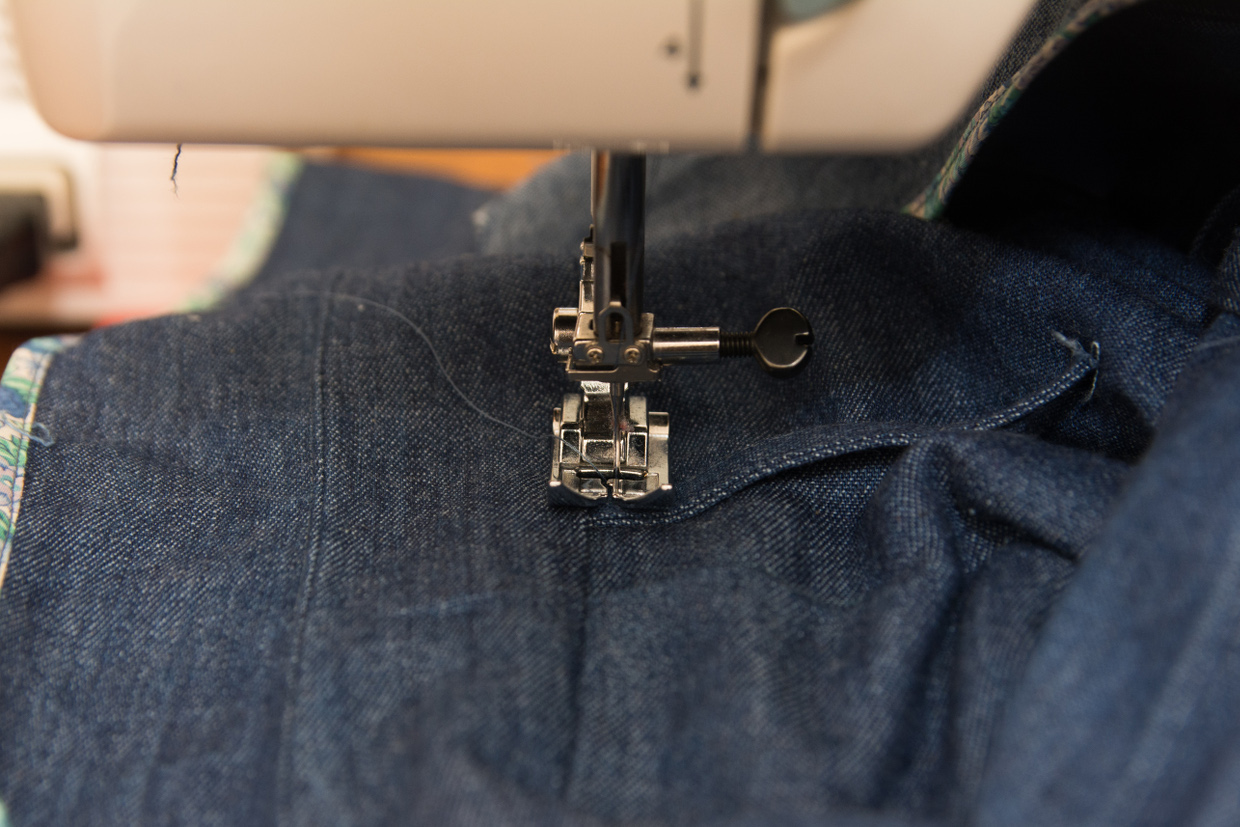
Stitch across each belt loop about ¼” below the waistband seam. This will stop them from sticking out too much once finished.
Now you can go on to insert the zipper, finish the waistband and facing and hem the shorts as per the instructions. Finally, we will press the belt loops up, fold over about ¼” at the top and then edgestitch the top of the belt loop to the top of the waistband. Be careful not to make your belt loop too tight and flat against the waistband. You need a bit of room for the thickness of a belt to slide easily underneath the belt loops.

Trim any visible ends of the belt loop from underneath and, if you like to, edgestitch again a scant 1/8” below the first line of stitching.
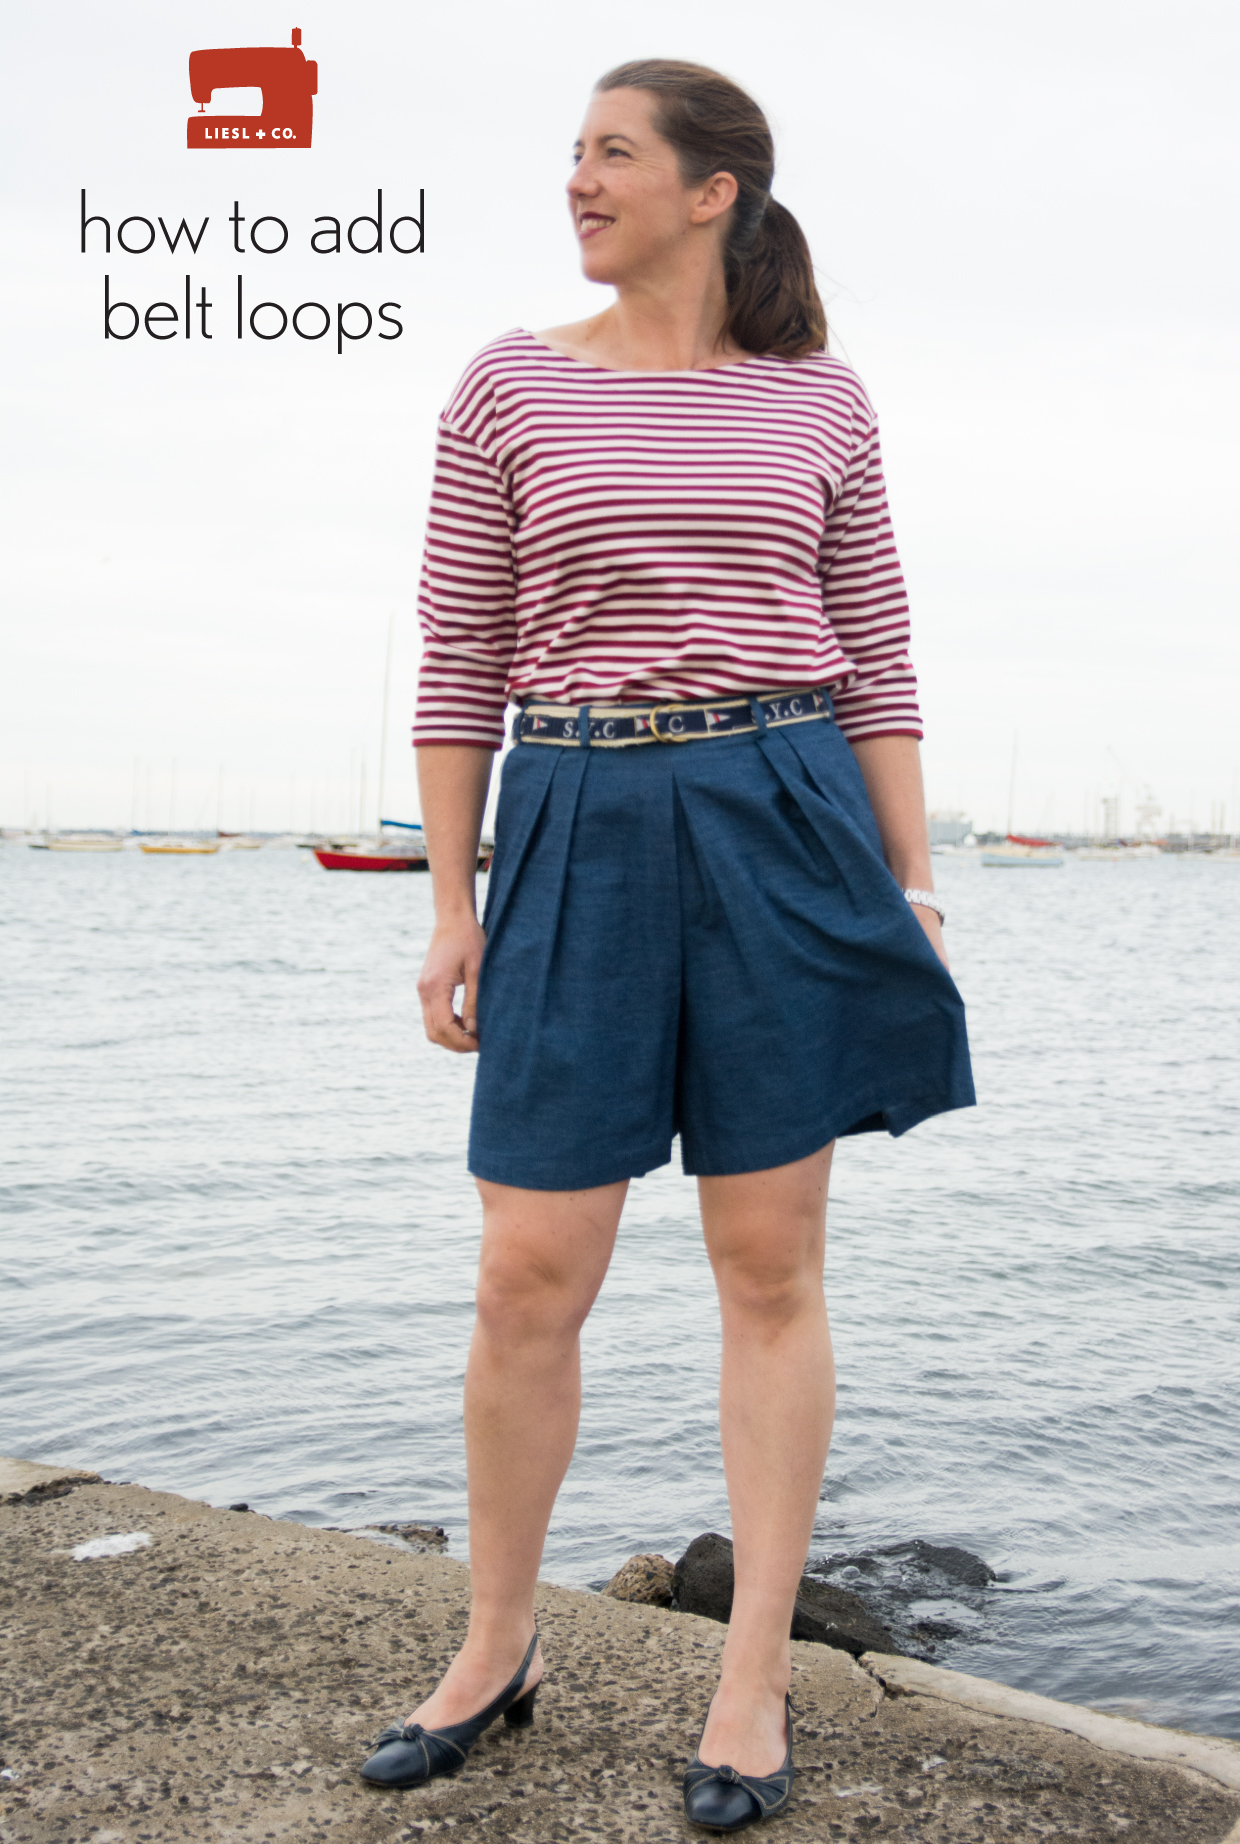
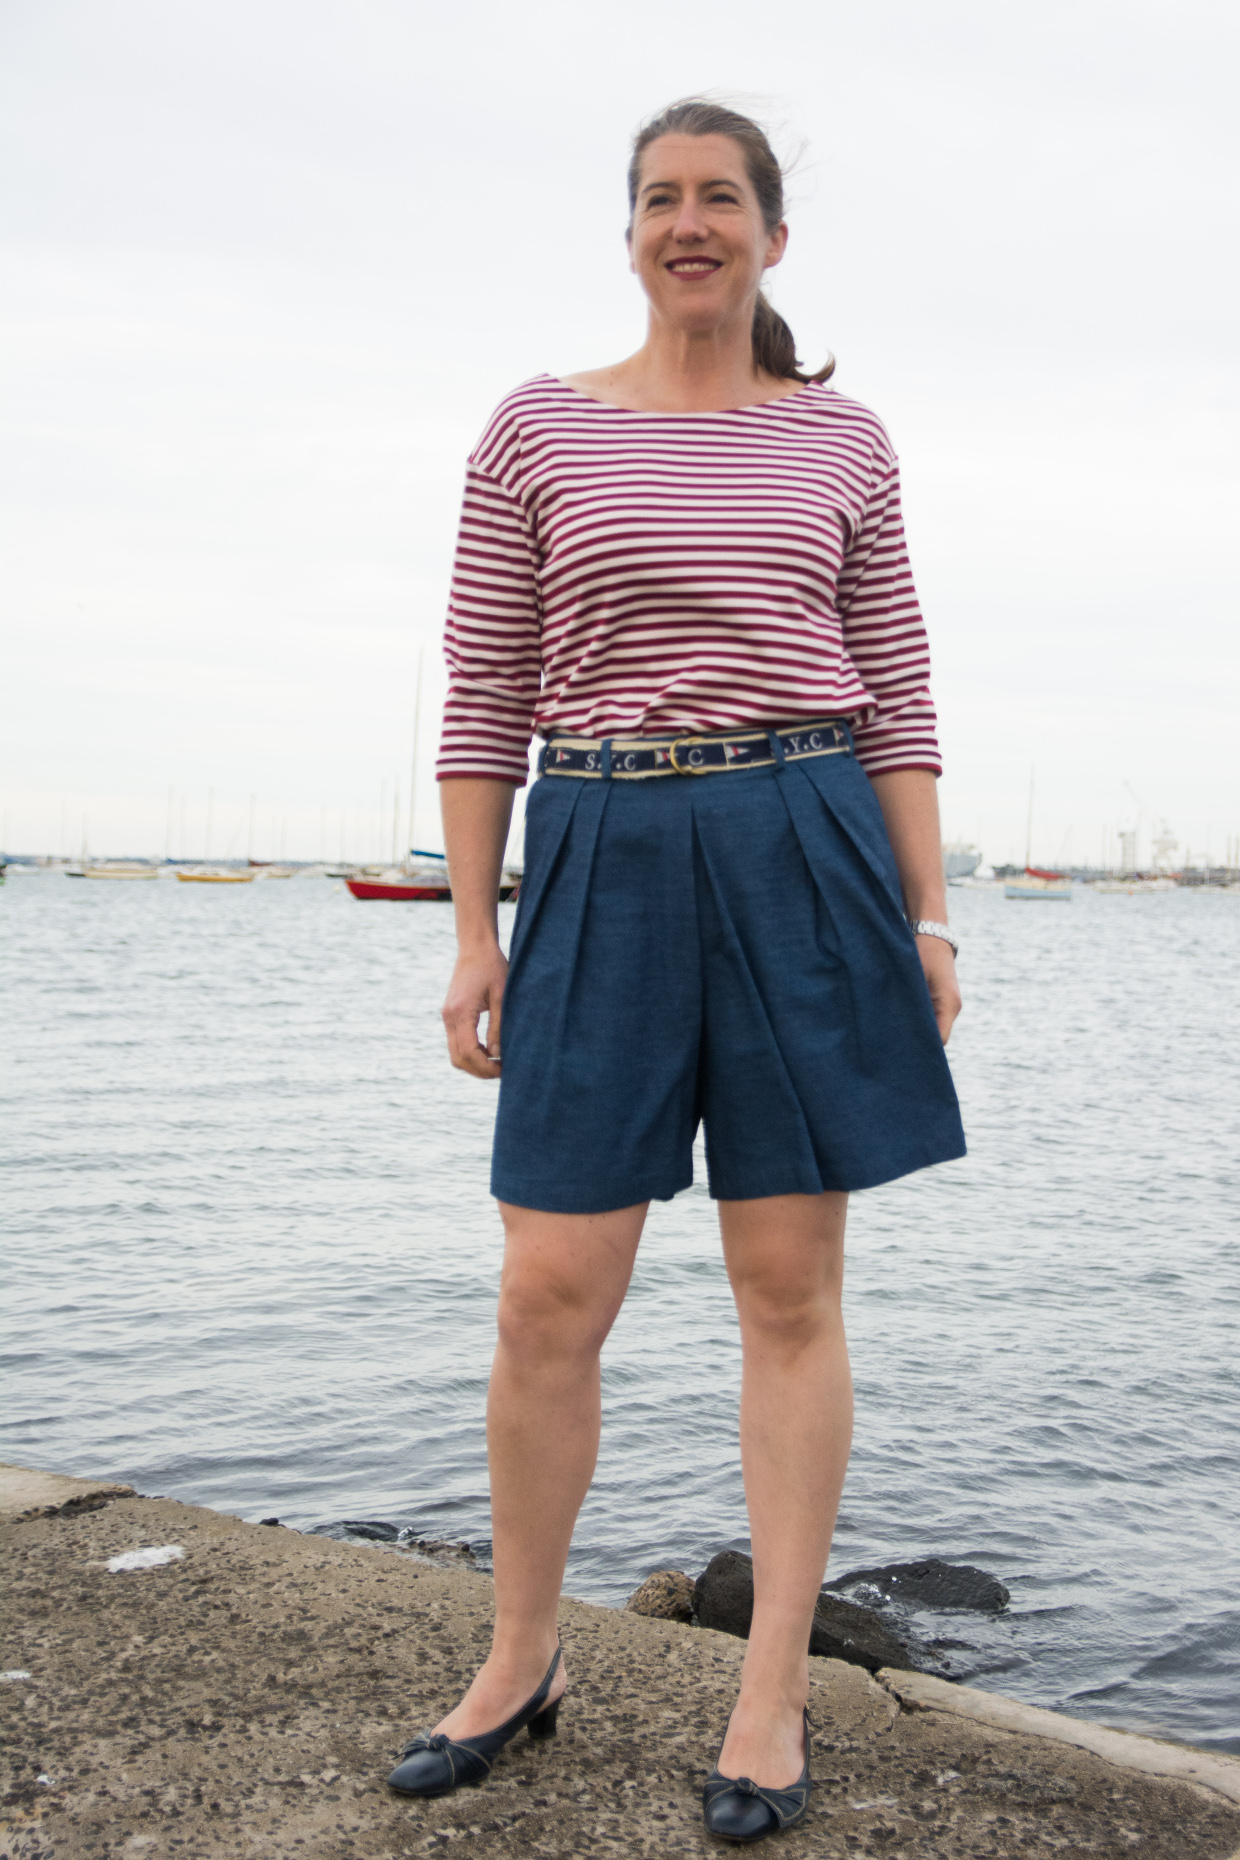
There you have it, an easy way to dress up your SoHo Shorts or Skirt.
I loved sewing these shorts and I’m delighted with the fit and so pleased I added the belt loops. Now if only it was shorts weather here in Australia. I think I’ll make another pair in wool to wear over tights for our winter! I hope you’re all getting some bare-leg-weather in time for the end of the sew along.
Happy sewing!